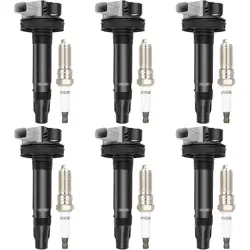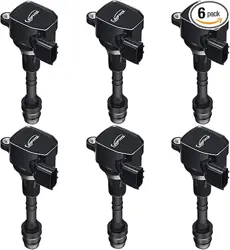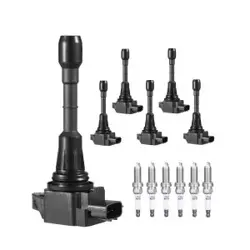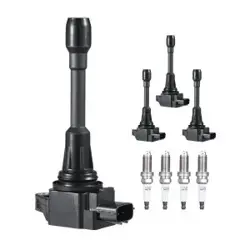
ECCPP Ignition Coils Installation
Guide
1. Safety Precautions
• Perform all repair operations only after the engine has fully cooled down to avoid
high‑temperature burns.
• Disconnect the battery negative terminal before removing any ignition system parts
to prevent electric shock, accidental engine start, and ignition failure.
• Wear safety gloves and protective goggles throughout the entire process.
• Do not touch ignition coils or wiring harnesses while the engine is running or the
ignition is turned ON.
• Keep the spark plug tube clean – free of dirt, debris, or foreign particles to avoid
contaminants entering the combustion chamber.
2. Pre‑Installation Inspection
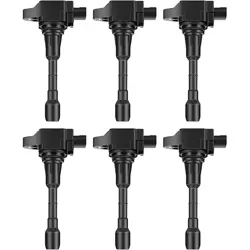
Confirm that the new ECCPP single ignition coil matches OEM specifications, including: pin
layout, mounting hole position, coil resistance, and boot size.
Check the coil housing and rubber boot for cracks, damage, or defects.
Prepare necessary tools: socket set, 10mm socket, ratchet, extension bar, torque wrench,
and dielectric grease (optional).
Figure 1: Parts & Tools Inspection
Verify that the ECCPP ignition coil is complete with all accessories and free from
surface damage; confirm compatibility with your vehicle model.
3. Old Ignition Coil Removal Procedure

1. 1. Completely disconnect the vehicle battery negative cable.
2. 2. Locate the faulty ignition coil mounted on the valve cover or cylinder head above
the target cylinder.
3. 3. Press the locking tab and gently pull off the electrical connector – avoid breaking
the plastic lock.
4. 4. Remove the single mounting bolt (standard 10mm size) that secures the
ignition coil.
5. 5. Pull the ignition coil straight upward out of the spark plug tube – do not twist or
squeeze the rubber boot violently.
6. 6. Inspect the coil boot for carbon tracking, oil contamination, or aging cracks for
failure analysis reference.
Figure 2: Ignition Coil Removal
Vertically lift the coil assembly out of the spark plug well; avoid prying sideways to
prevent boot damage.
4. New ECCPP Ignition Coil Installation Procedure
1. 1. Align the new ignition coil with the spark plug insulator and push it straight down
into the spark plug tube until the boot fully seats on the spark plug.
2. 2. Hand‑tighten the mounting bolt to avoid cross‑threading, then torque it to 8–12
N·m (7–10 ft‑lbs) using a torque wrench.
3. 3. Reconnect the electrical connector until a distinct “click” is heard, confirming full
locking.
4. 4. If multiple coils are faulty, repeat the above steps for each cylinder separately.
Figure 3: Ignition Coil Installation & Torque
Use a torque wrench to tighten the fixing bolt to the specified value, preventing
loose coils or thread damage.

Important Note: All new ECCPP coils are fully pre‑processed before shipment.
The inner rubber boot is pre‑coated with insulation protection – no extra grease
application or on‑site adjustment is needed.
5. Post‑Installation Inspection & Verification
1. Double‑check that the coil connector is fully locked and the mounting bolt is properly
torqued without looseness.
2. Clear the engine bay and confirm no tools or waste are left inside.
3. Reconnect the battery negative cable.
4. Start the engine and let it idle for 3–5 minutes.
5. Observe engine running status: no rough idle, single‑cylinder misfire, arcing, or
abnormal ticking noise.
6. Carry out a short road test to check smooth acceleration and stable power output.
6. Troubleshooting Common Issues
Symptom Possible Cause Solution
Rough idle & noticeable
cylinder vibration
Loose ignition coil or
incomplete connector lock
Re‑seat the coil and re‑lock
the electrical plug
Misfire during
acceleration
Defective coil or poor contact
between boot and spark plug
Replace the coil; reinsert
tightly to ensure full boot
contact
Continuous clicking /
arcing sound near the coil
Insufficient insulation
between boot and spark plug
Reinstall the coil to ensure
full sealing contact
Hard starting or
intermittent no‑start
Disconnected coil wiring or
loose mounting bolt
Recheck and retighten all
connections and fasteners
Oil leakage inside spark
plug tube after
Damaged valve cover gasket Replace the valve cover
gasket and clean the tube
Symptom Possible Cause Solution
installation thoroughly
7. Important Installation Notes
• All new ECCPP ignition coils are fully pre‑processed before shipment. The inner rubber
boot is pre‑coated with insulation protection – no extra grease or adjustment is
needed.
• Do not reuse aged, cracked, or deformed coil boots.
• Replace faulty ignition coils promptly to avoid uneven engine combustion.
• Never over‑tighten the mounting bolt to prevent thread stripping on aluminum valve
covers.
• Keep spark plug tubes clean at all times to eliminate misfire faults.
• After installation, clear all stored cylinder misfire trouble codes to restore normal
vehicle operation.
Final Reminder
This ECCPP ignition coil is fully pre‑processed for direct installation.
Strictly follow the torque standards and installation sequence to avoid
ignition system failure and component damage.