IgnitionCoilswithSparkPlugsInstallation
Guide
1.SafetyPrecautions
Performallrepairworkonlywhentheengineisfullycooleddowntopreventburninjuries.
Disconnectthebatterynegativeterminalbeforeremovinganyignitionsystemcomponentsto
avoidelectricshock,accidentalenginecranking,andignitionsystemmalfunction.Wearsafety
glovesandsafetygogglesduringtheentireoperation.Donottouchignitioncoilsorsparkplug
wireswhiletheengineisrunningorthevehicleignitionisON.Keepallsparkplugholesclean
andfreeofdirt,debris,andforeignparticlestopreventengineinternaldamage.
2.Pre-InstallationInspection
ConfirmthatthenewignitioncoilsmatchtheoriginalOEMspecifications,includingconnector
pinlayout,mountingposition,andcoilresistanceparameters.Verifythatthenewsparkplugs
meetthefactoryrequirementsinheatrange,threadsize,andoverallstructure.Inspectthe
insulatorsurfaceforcracks,chips,ordefects.Preparerequiredtools:socketset,sparkplug
socket,ratchet,extensionbar,torquewrench,feelergauge,anddielectricgrease.
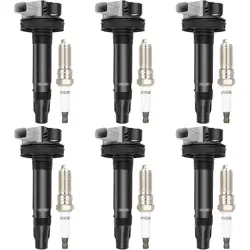
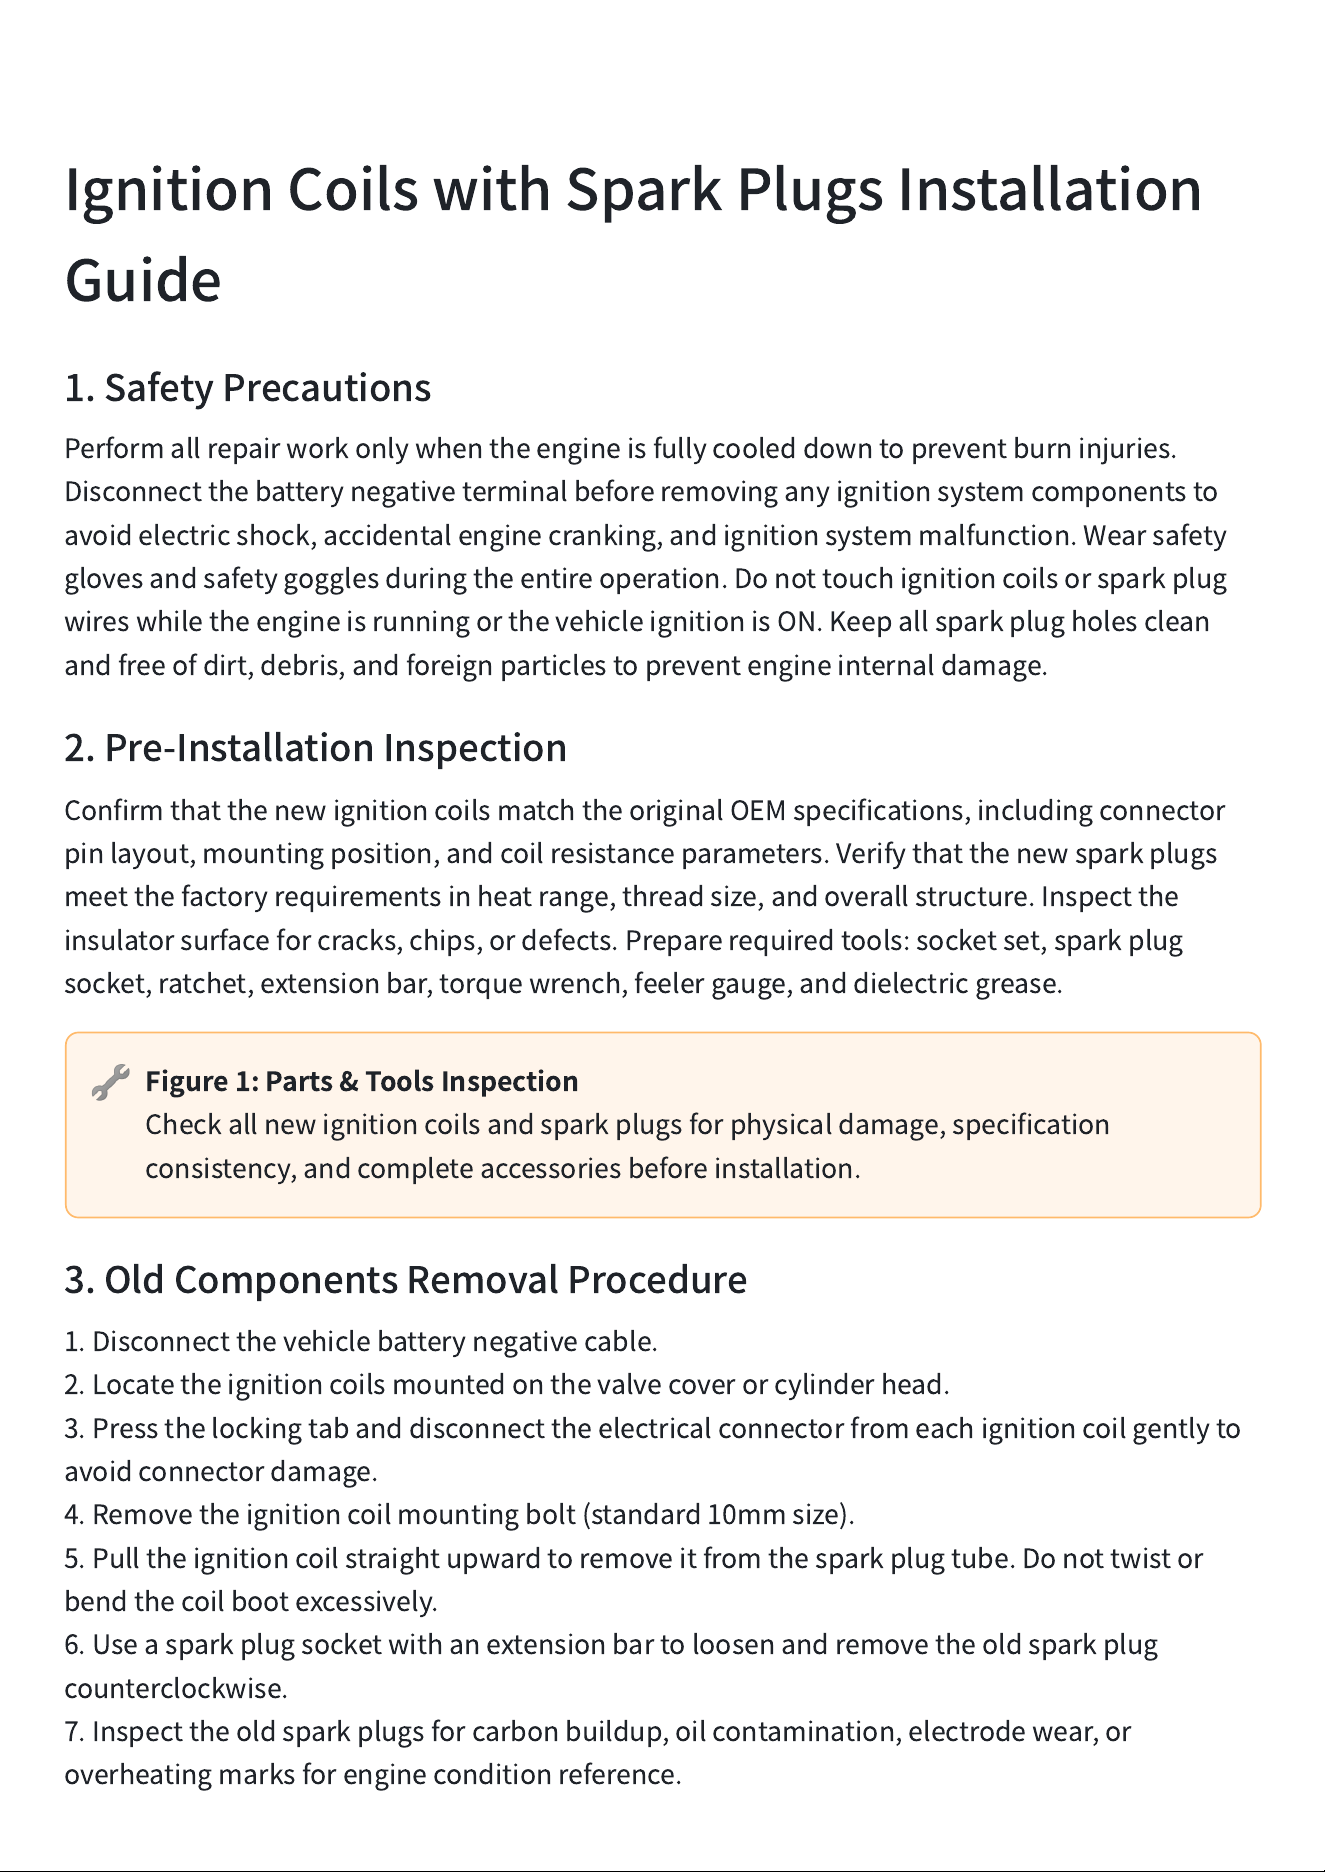
🔧
Figure1:Parts&ToolsInspection
Checkallnewignitioncoilsandsparkplugsforphysicaldamage,specification
consistency,andcompleteaccessoriesbeforeinstallation.
3.OldComponentsRemovalProcedure
1.Disconnectthevehiclebatterynegativecable.
2.Locatetheignitioncoilsmountedonthevalvecoverorcylinderhead.
3.Pressthelockingtabanddisconnecttheelectricalconnectorfromeachignitioncoilgentlyto
avoidconnectordamage.
4.Removetheignitioncoilmountingbolt(standard10mmsize).
5.Pulltheignitioncoilstraightupwardtoremoveitfromthesparkplugtube.Donottwistor
bendthecoilbootexcessively.
6.Useasparkplugsocketwithanextensionbartoloosenandremovetheoldsparkplug
counterclockwise.
7.Inspecttheoldsparkplugsforcarbonbuildup,oilcontamination,electrodewear,or
overheatingmarksforengineconditionreference.
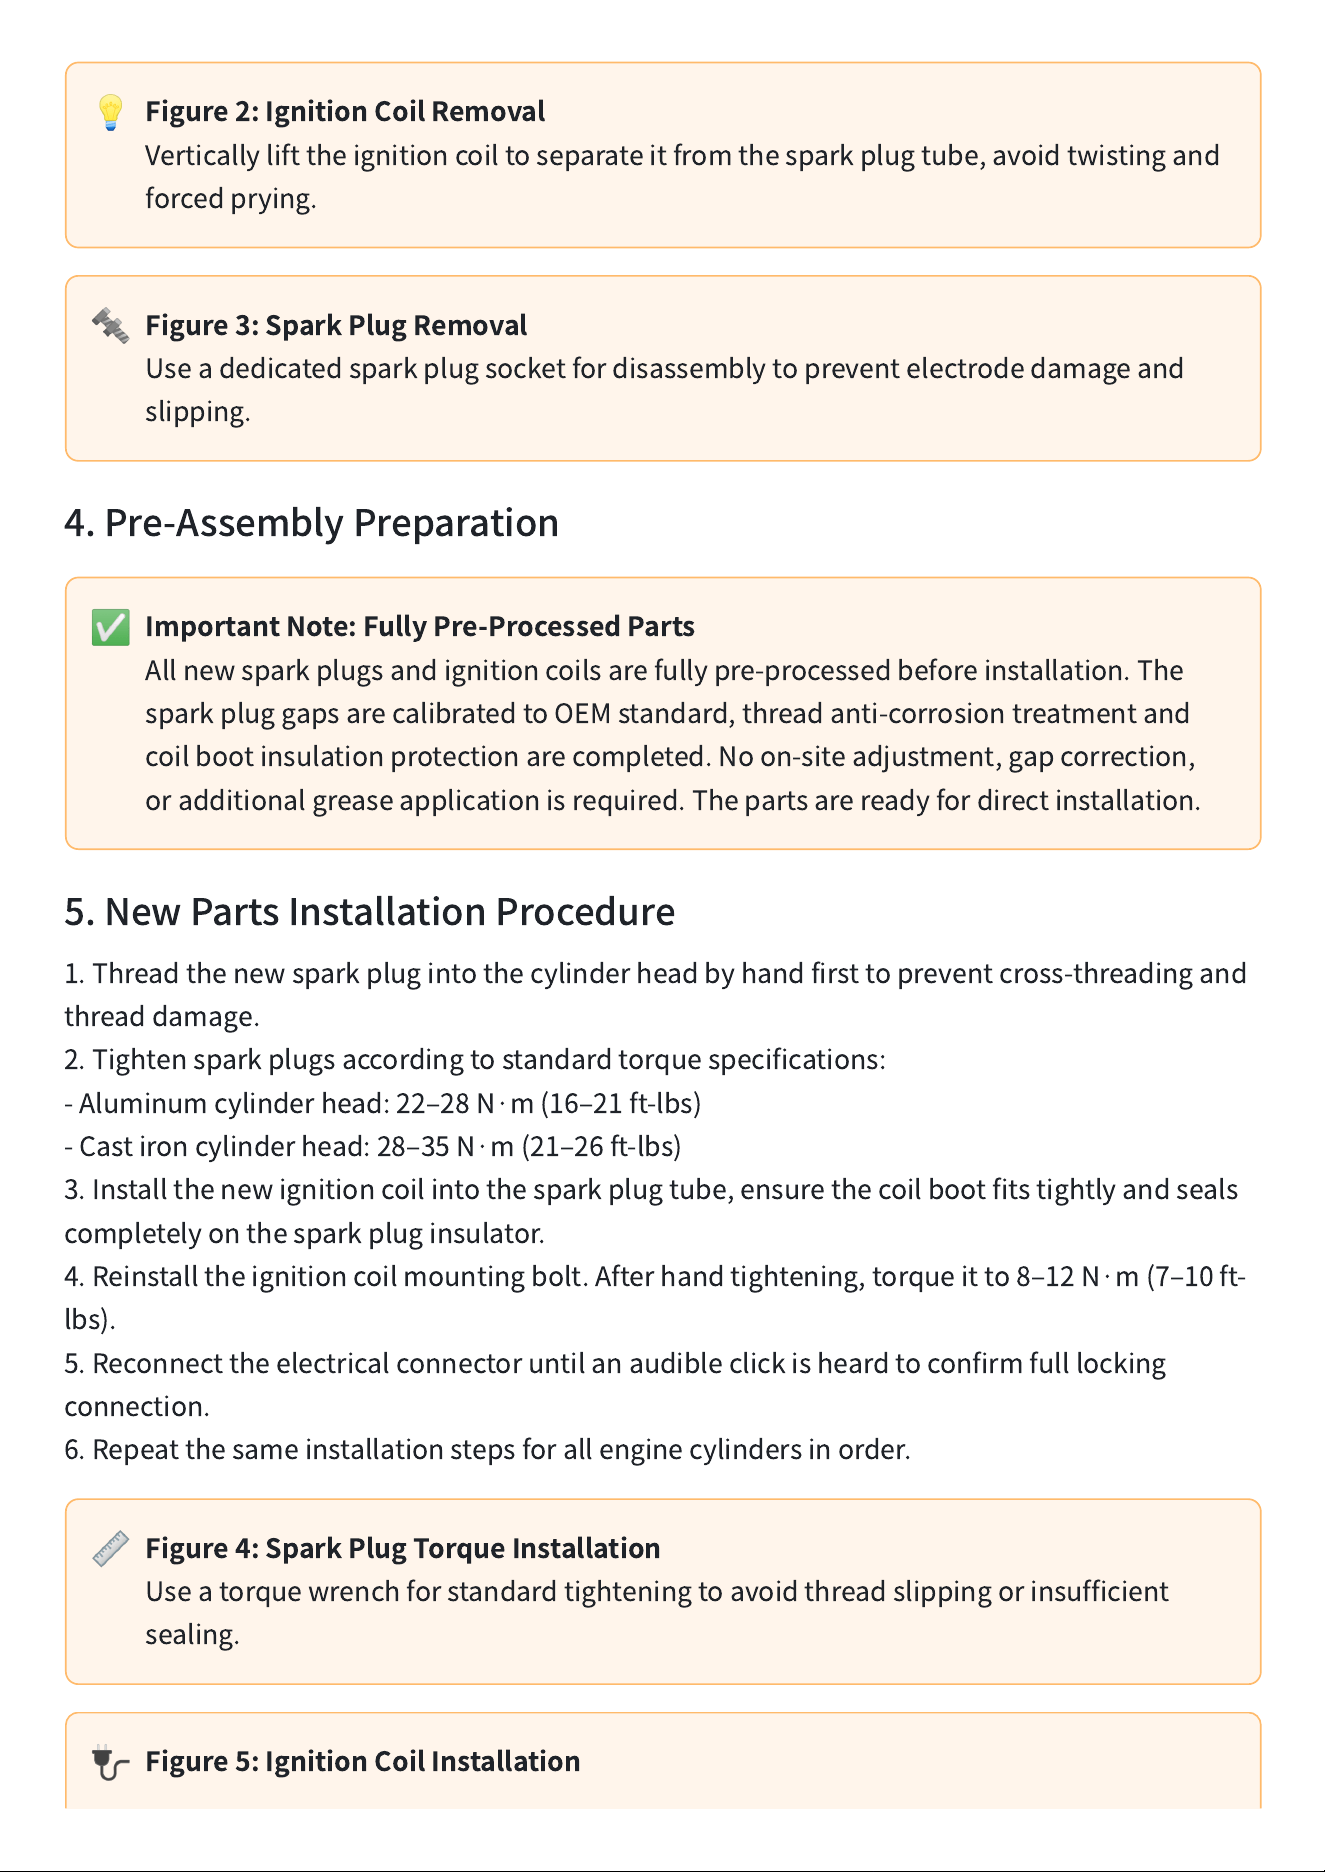
💡
Figure2:IgnitionCoilRemoval
Verticallylifttheignitioncoiltoseparateitfromthesparkplugtube,avoidtwistingand
forcedprying.
🔩
Figure3:SparkPlugRemoval
Useadedicatedsparkplugsocketfordisassemblytopreventelectrodedamageand
slipping.
4.Pre-AssemblyPreparation
✅
ImportantNote:FullyPre-ProcessedParts
Allnewsparkplugsandignitioncoilsarefullypre-processedbeforeinstallation.The
sparkpluggapsarecalibratedtoOEMstandard,threadanti-corrosiontreatmentand
coilbootinsulationprotectionarecompleted.Noon-siteadjustment,gapcorrection,
oradditionalgreaseapplicationisrequired.Thepartsarereadyfordirectinstallation.
5.NewPartsInstallationProcedure
1.Threadthenewsparkplugintothecylinderheadbyhandfirsttopreventcross-threadingand
threaddamage.
2.Tightensparkplugsaccordingtostandardtorquespecifications:
-Aluminumcylinderhead:22
‒
28N·m(16
‒
21ft-lbs)
-Castironcylinderhead:28
‒
35N·m(21
‒
26ft-lbs)
3.Installthenewignitioncoilintothesparkplugtube,ensurethecoilbootfitstightlyandseals
completelyonthesparkpluginsulator.
4.Reinstalltheignitioncoilmountingbolt.Afterhandtightening,torqueitto8
‒
12N·m(7
‒
10ft-
lbs).
5.Reconnecttheelectricalconnectoruntilanaudibleclickisheardtoconfirmfulllocking
connection.
6.Repeatthesameinstallationstepsforallenginecylindersinorder.
📏
Figure4:SparkPlugTorqueInstallation
Useatorquewrenchforstandardtighteningtoavoidthreadslippingorinsufficient
sealing.
🔌
Figure5:IgnitionCoilInstallation
Ensurethecoilbootisfullysealedandtheelectricalconnectoriscompletelylockedin
place.
6.Post-InstallationInspection&Verification
1.Double-checkallignitioncoilconnectorsarefullylockedandallmountingboltsareproperly
torquedwithoutlooseness.
2.Cleantheenginebayandensurenotoolsorforeignobjectsareleftinside.
3.Reconnectthebatterynegativecable.
4.Starttheengineandmaintainidlespeedfor3to5minutes.
5.Observeengineoperation:noroughidle,enginemisfire,abnormalnoise,ortickingsound.
6.Performaroadtesttoconfirmsmoothaccelerationandnormalenginepoweroutput.
7.TroubleshootingCommonIssues
Symptom
PossibleCause
Solution
Roughidleandengine
vibration
Incorrectsparkpluggap,
looseignitioncoil,poor
electricalconnection
Recalibratesparkpluggap,
reinstallandsecurecoils,
re-lockconnectors
Enginemisfireduring
acceleration
Defectiveignitioncoilor
damagedsparkplug
Replacefaultyignitioncoil
ordamagedsparkplug
withnewparts
Arcingorclickingnoise
duringignition
Insufficientinsulation
protectionorpoorcoilboot
sealing
Re-seatthecoilbootand
ensurefullsealing
condition
Hardstartingornostart
condition
Loosecoilconnectionor
cross-threadedsparkplug
Inspectallcomponents
andreinstallfollowing
standardprocedure
Oilresidueonsparkplug
threads
Valvecovergasketleakage
Replacevalvecovergasket
andcleansparkplugtubes
thoroughly
8.ImportantInstallationNotes
Donotreuseworn,cracked,oragingignitioncoilboots.Alwaysreplacesparkplugsina
completesettoensurebalancedengineperformance.Neverover-torquesparkplugstoavoid
strippingthreadsonaluminumcylinderheads.Keepsparkplugtubescleantopreventmisfire

issues.Afterinstallation,clearallstoredenginemisfiretroublecodestorestorenormalvehicle
operation.
📌
FinalReminder
Allcomponentsarepre-processedandreadyfordirectinstallation.Strictlyfollow
torquestandardsandinstallationsequencetoavoidenginemisfireandcomponent
damage.