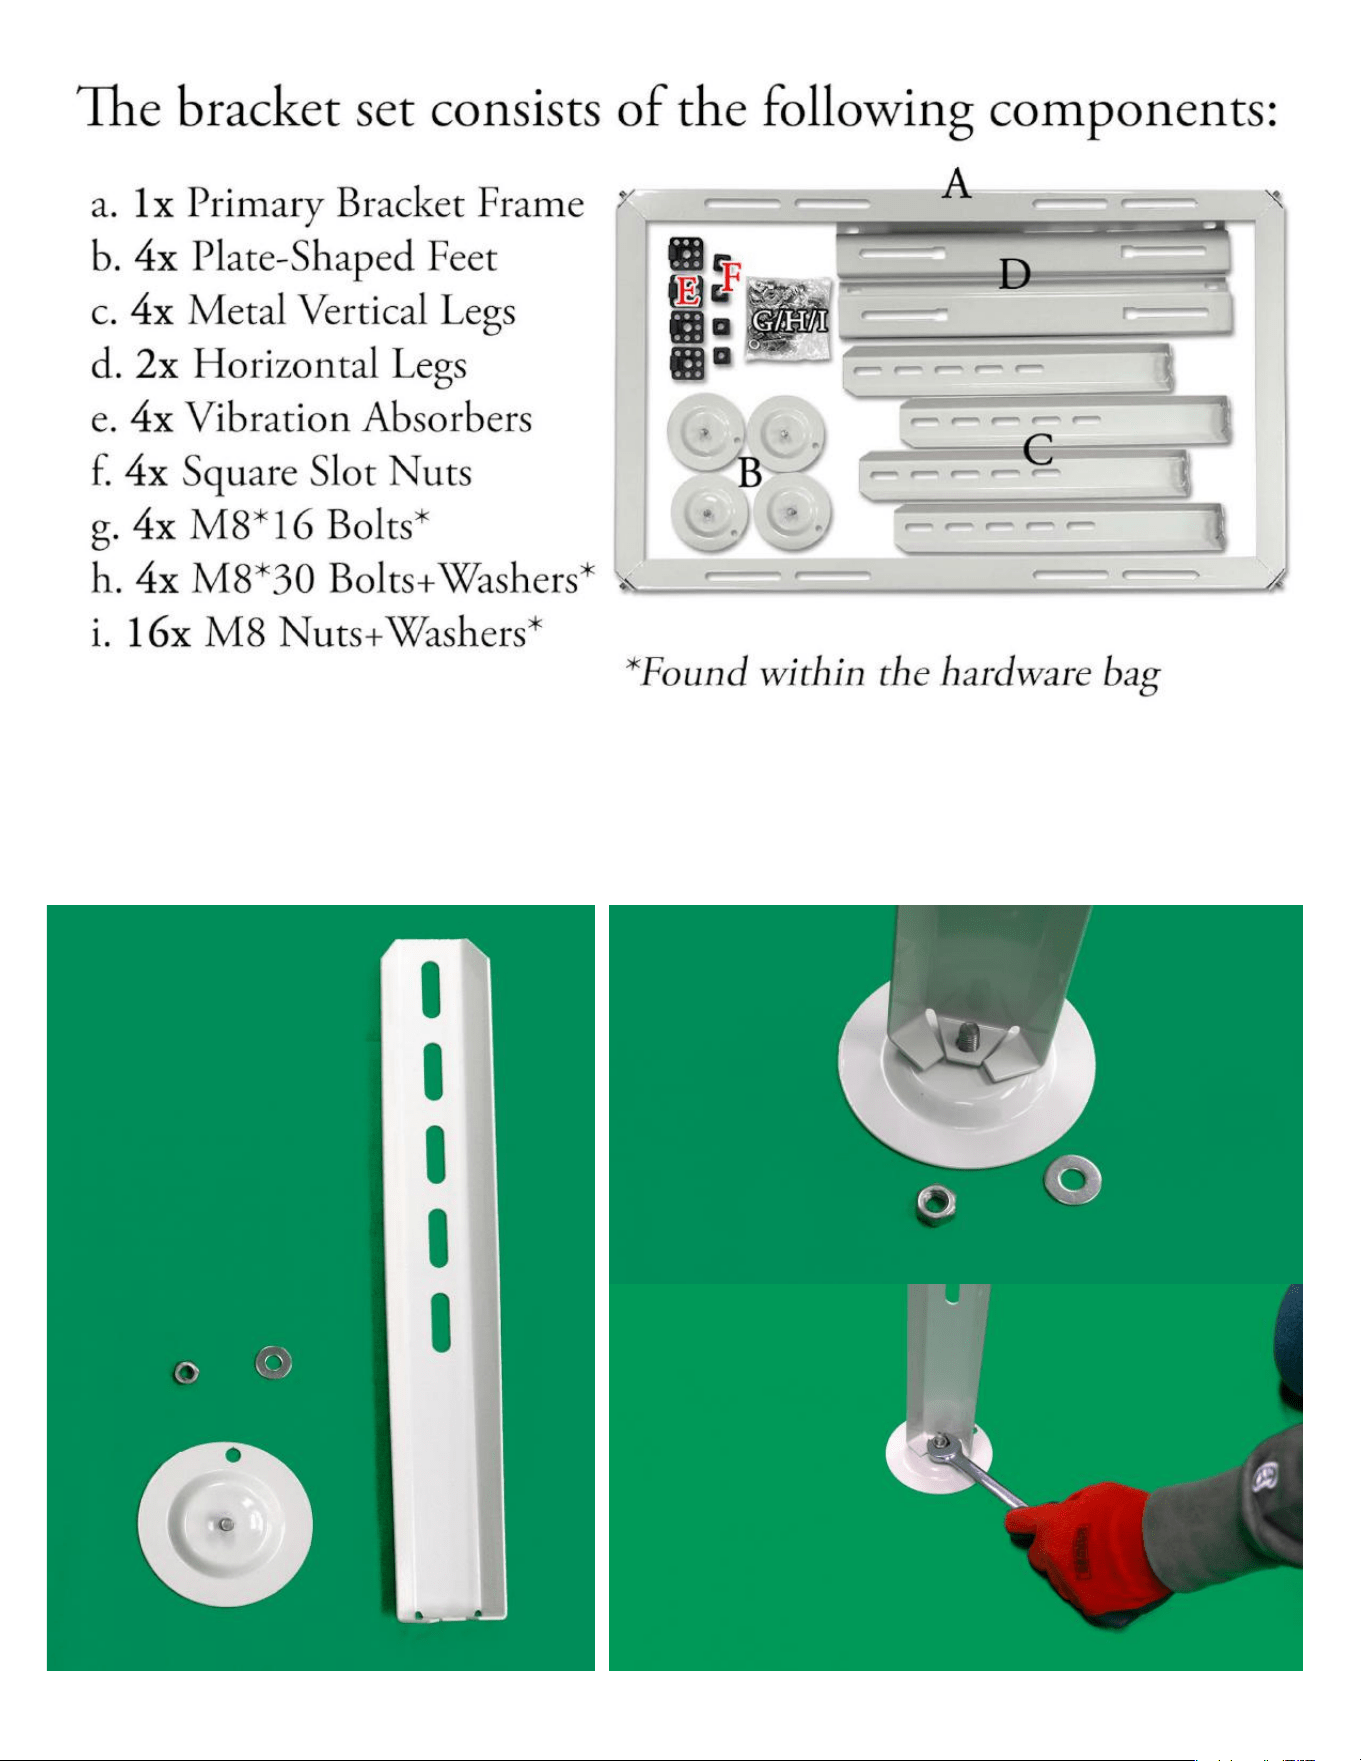
Step 1: Use the wrench to fix the foot plate to the vertical leg using 1x nut and 1x washer
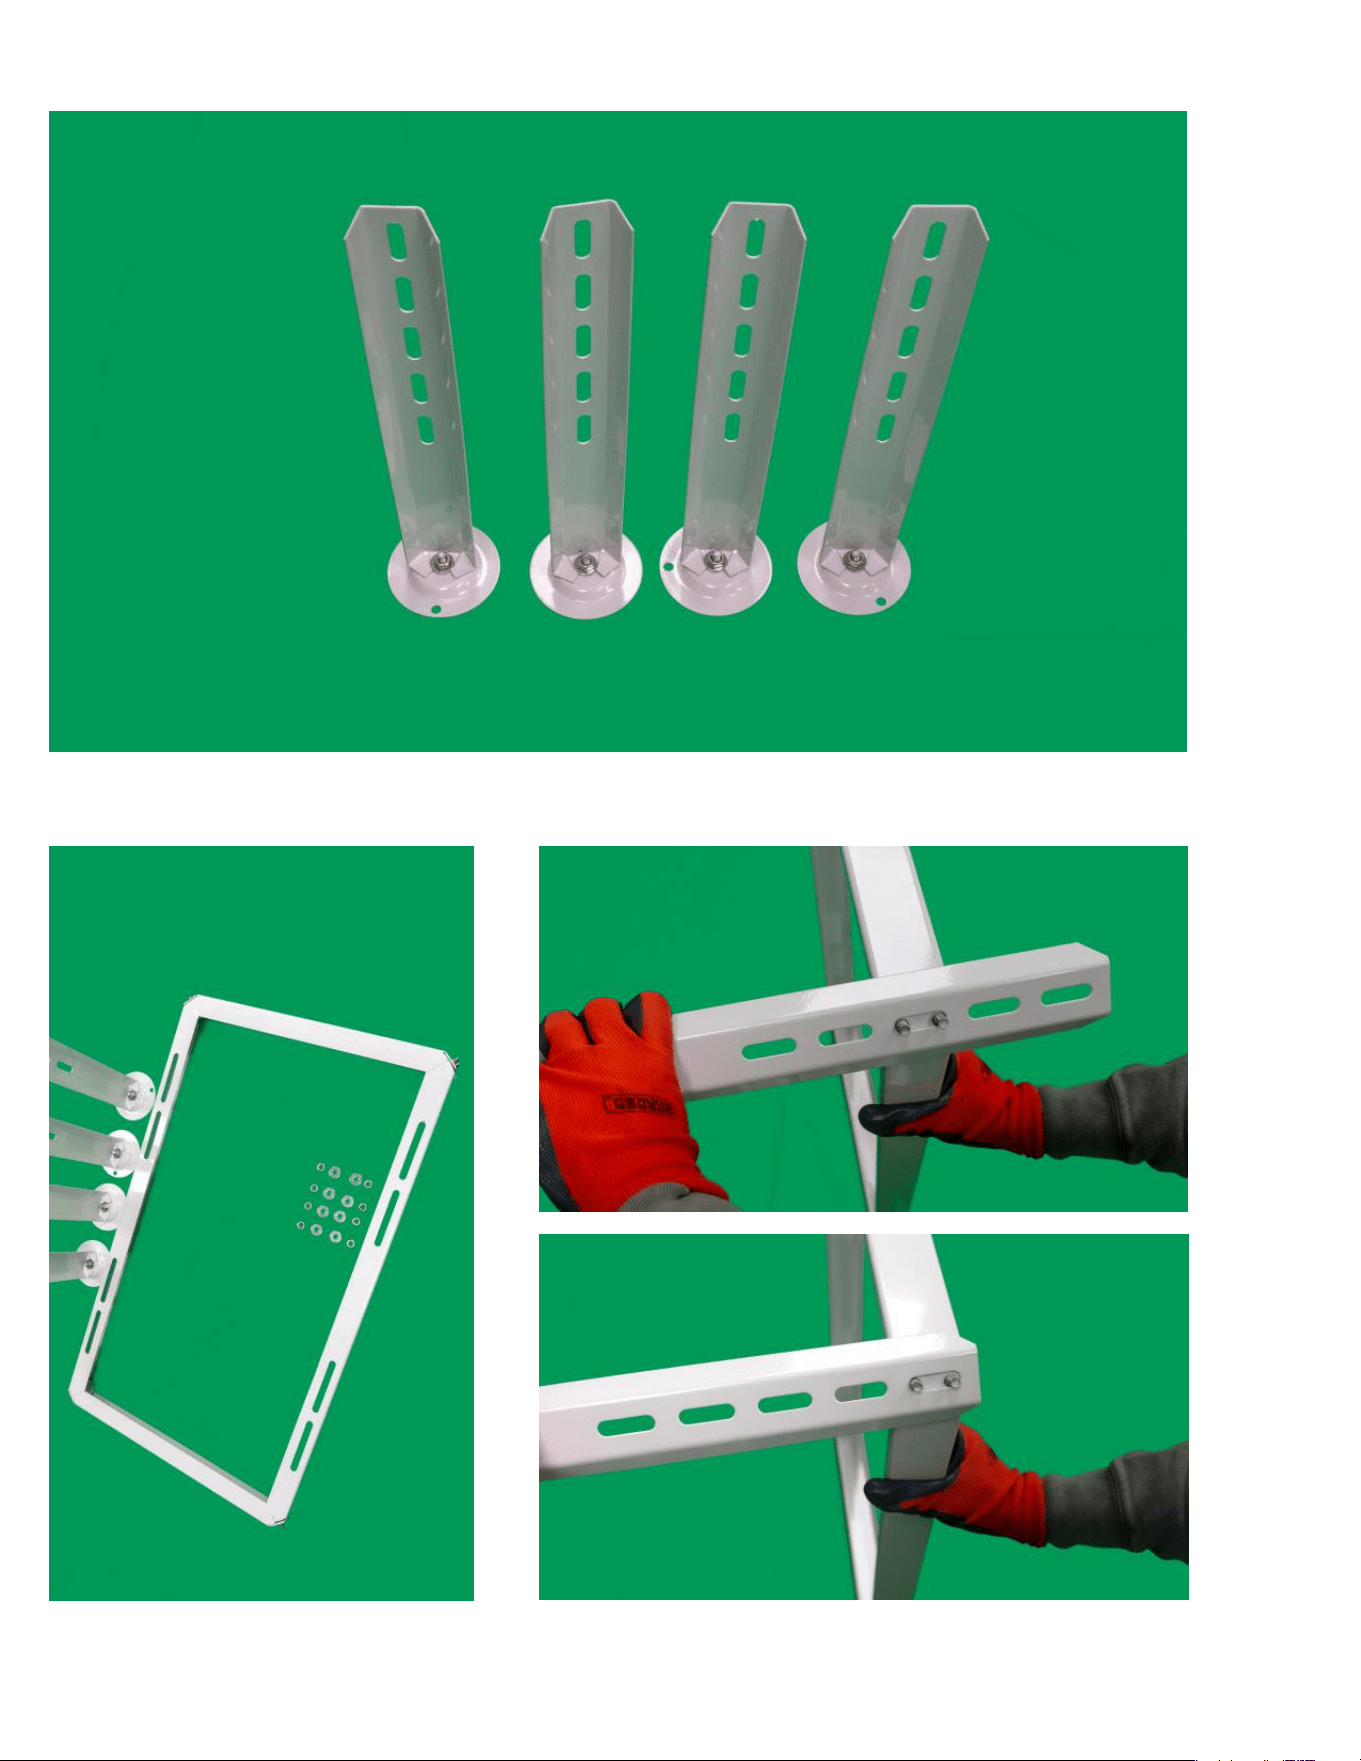
Step 2: Repeat Step 1 three times so that all four of the bracket stand legs are assembled
Step 3: Decide which of the 5 slots the primary frame will be fixed to, for each leg
Basically this will determine the height the unit will end up resting at once fully assembled.
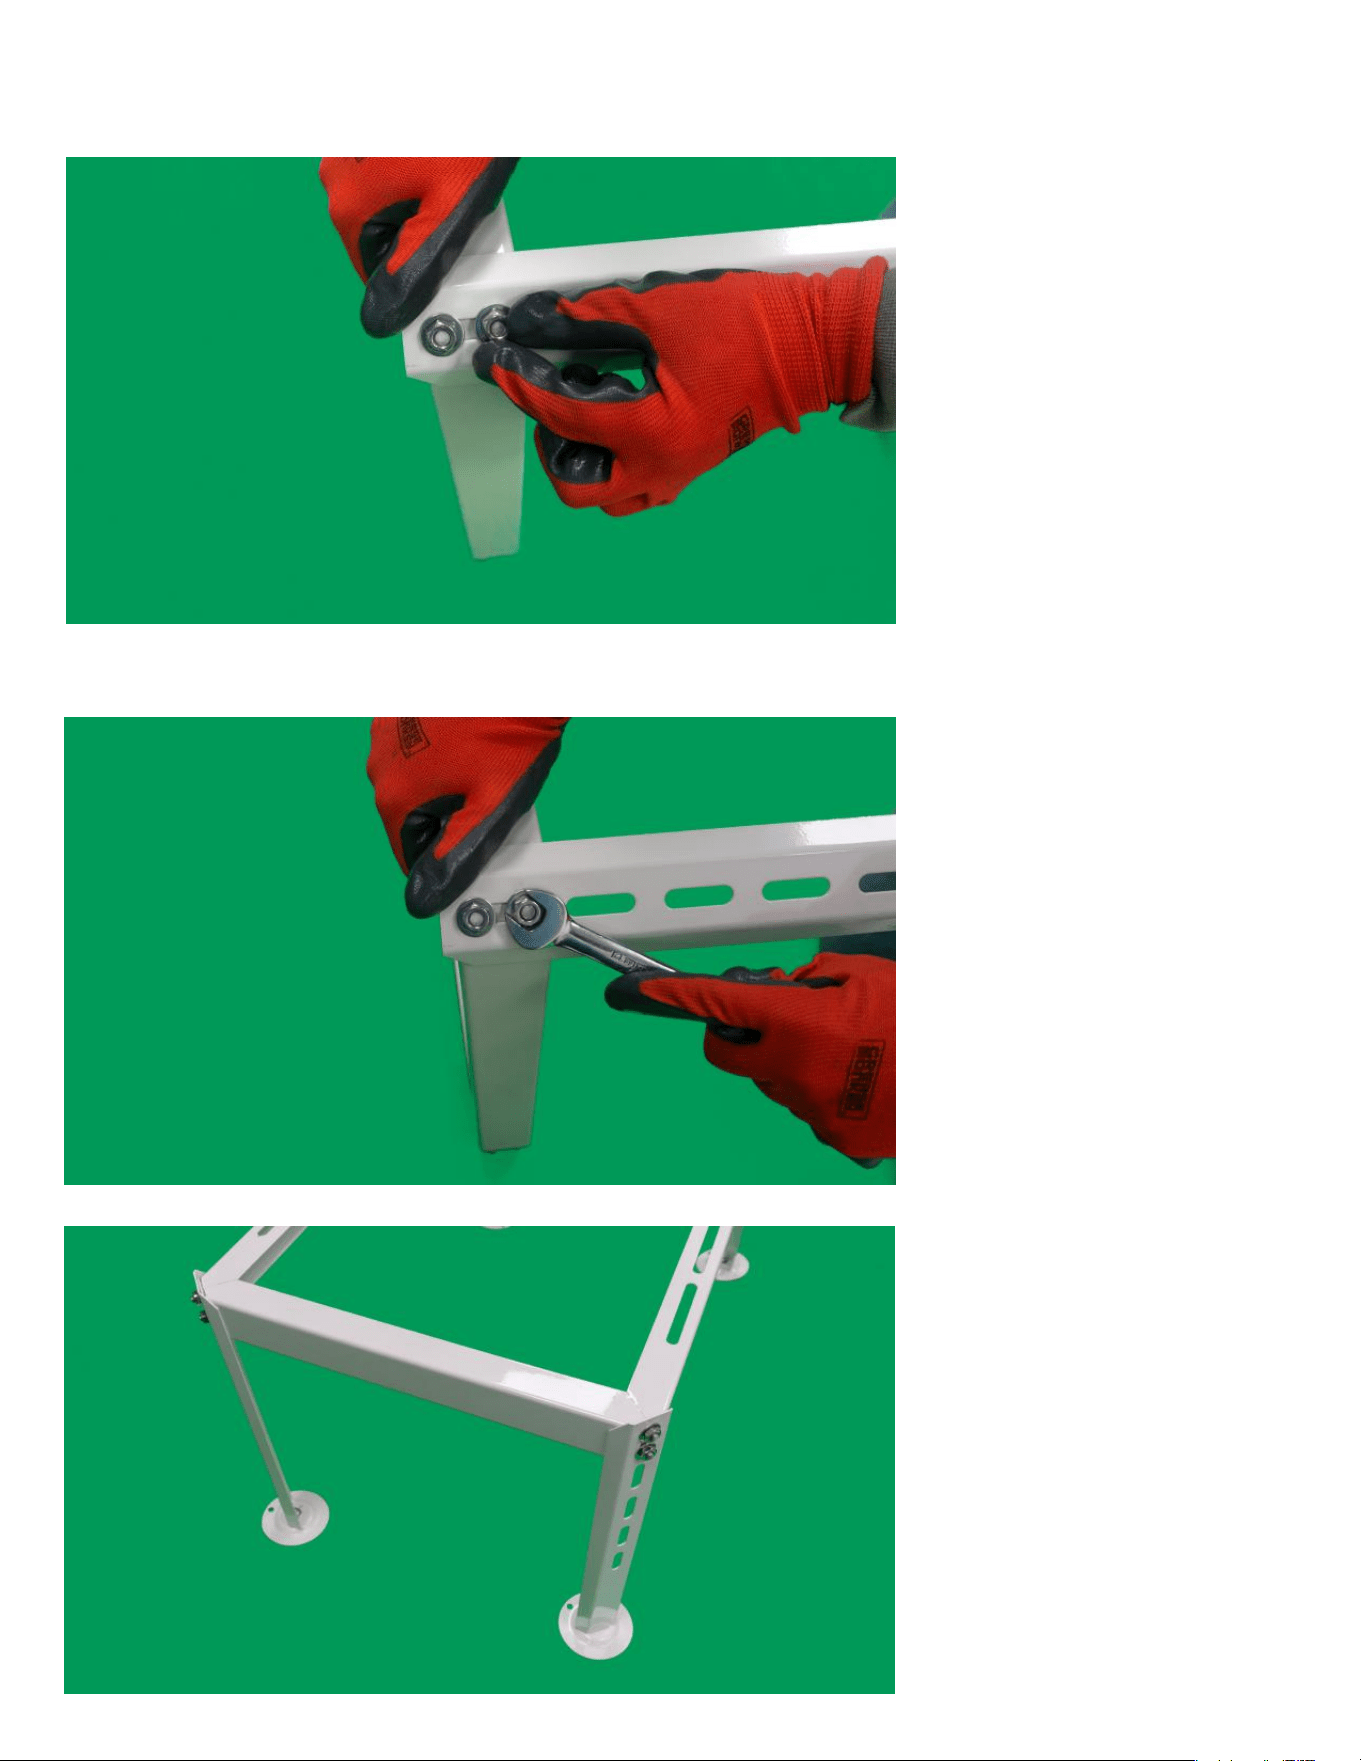
Step 4: Fix the 4 assembled bracket legs to each of the 4 corners of the main bracket frame
Use the wrench and 2x M8 nuts+washers to securely fasten into place, for each of the 4 corners
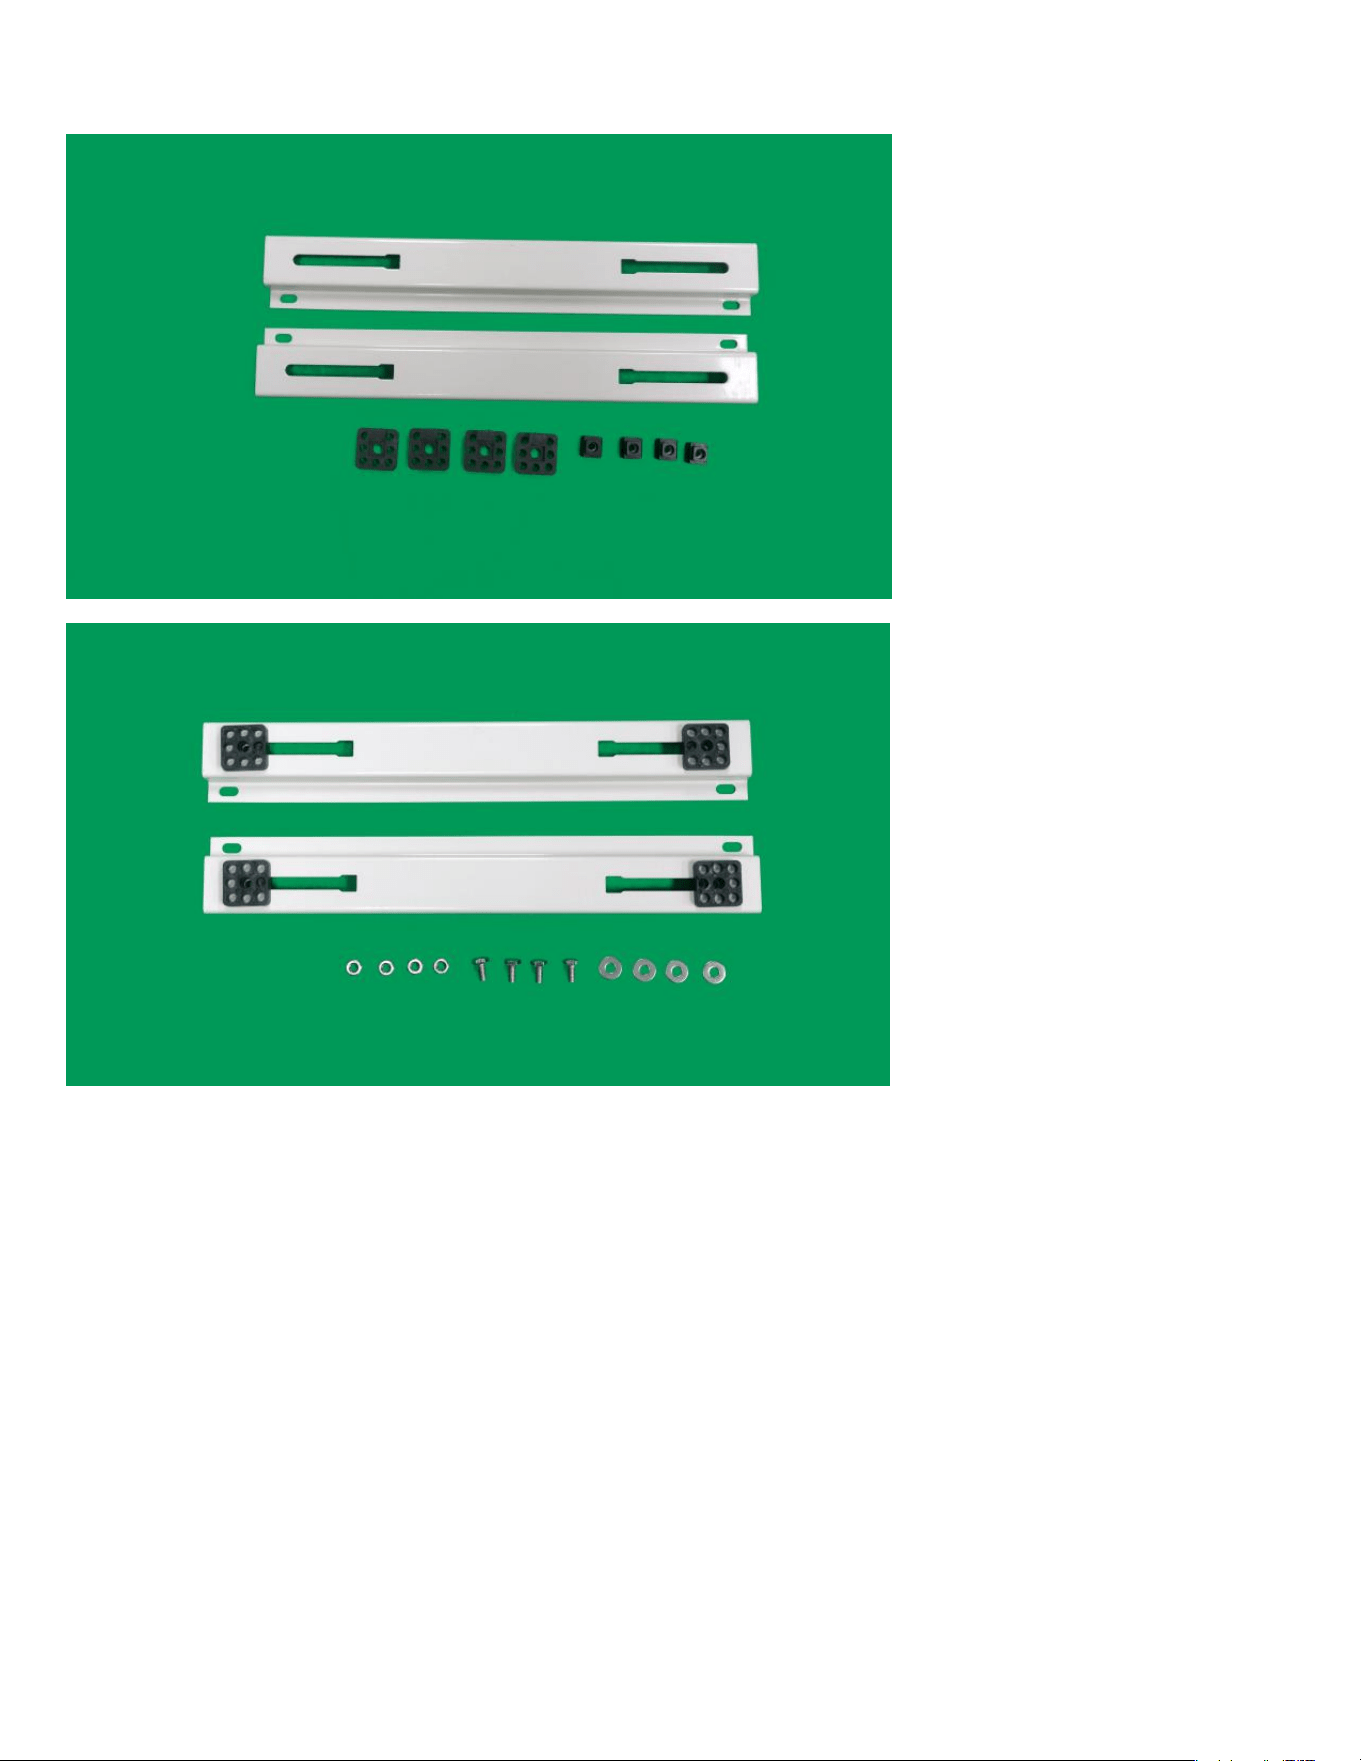
Step 5: Slide the small square nuts through all 4 slots on the 2 horizontal cross bar legs.
Step 6: Slide the vibration absorbers over each of the square nuts from Step 5 as shown below.
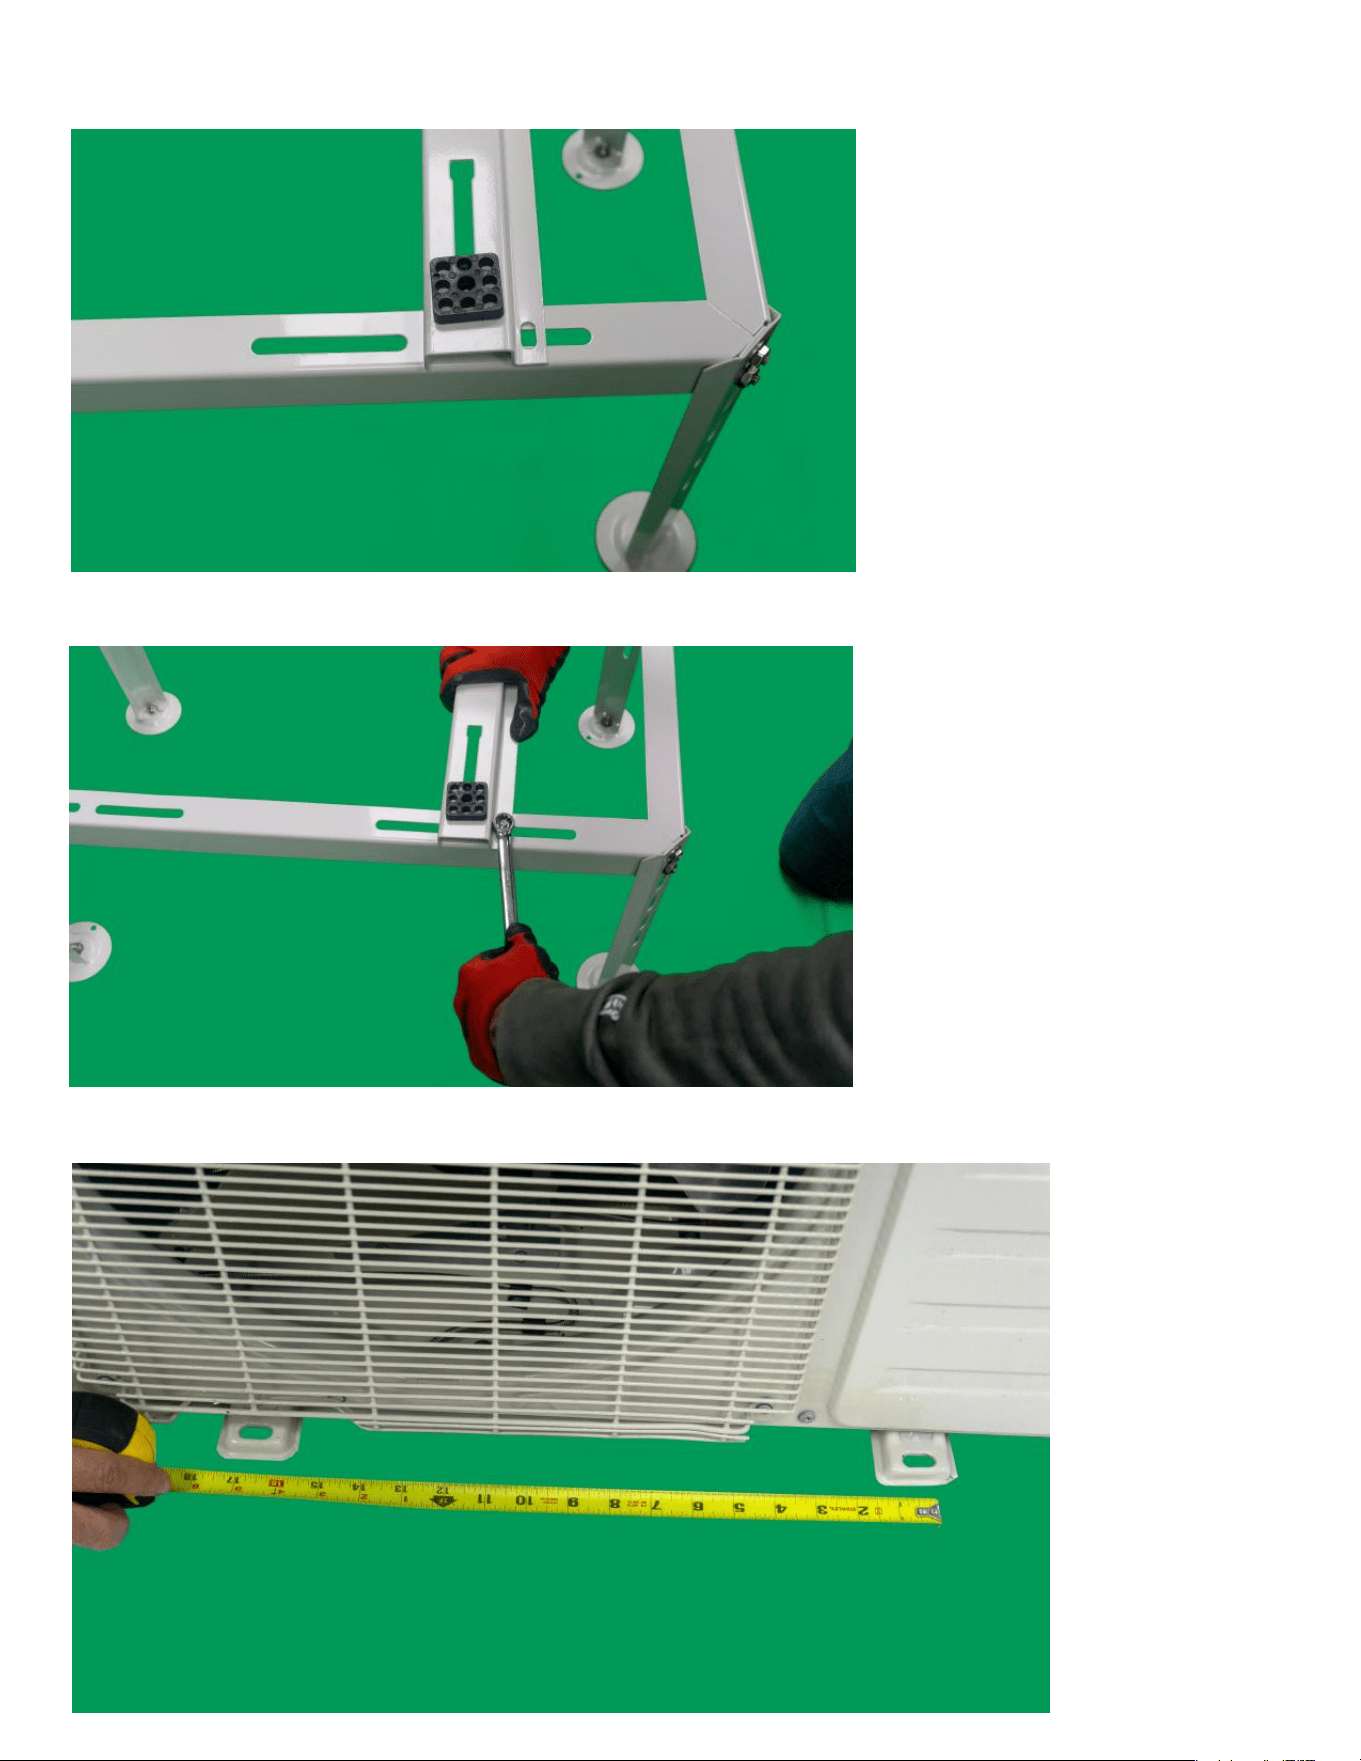
Step 7: Place the horizontal legs onto the frame and fasten using 4x M8*16 bolt+nut/washer.
Step 8: Measure and match the distance between the legs to that of the unit’s mounting feet.
(Don't tighten fully until Step 8 is completed)
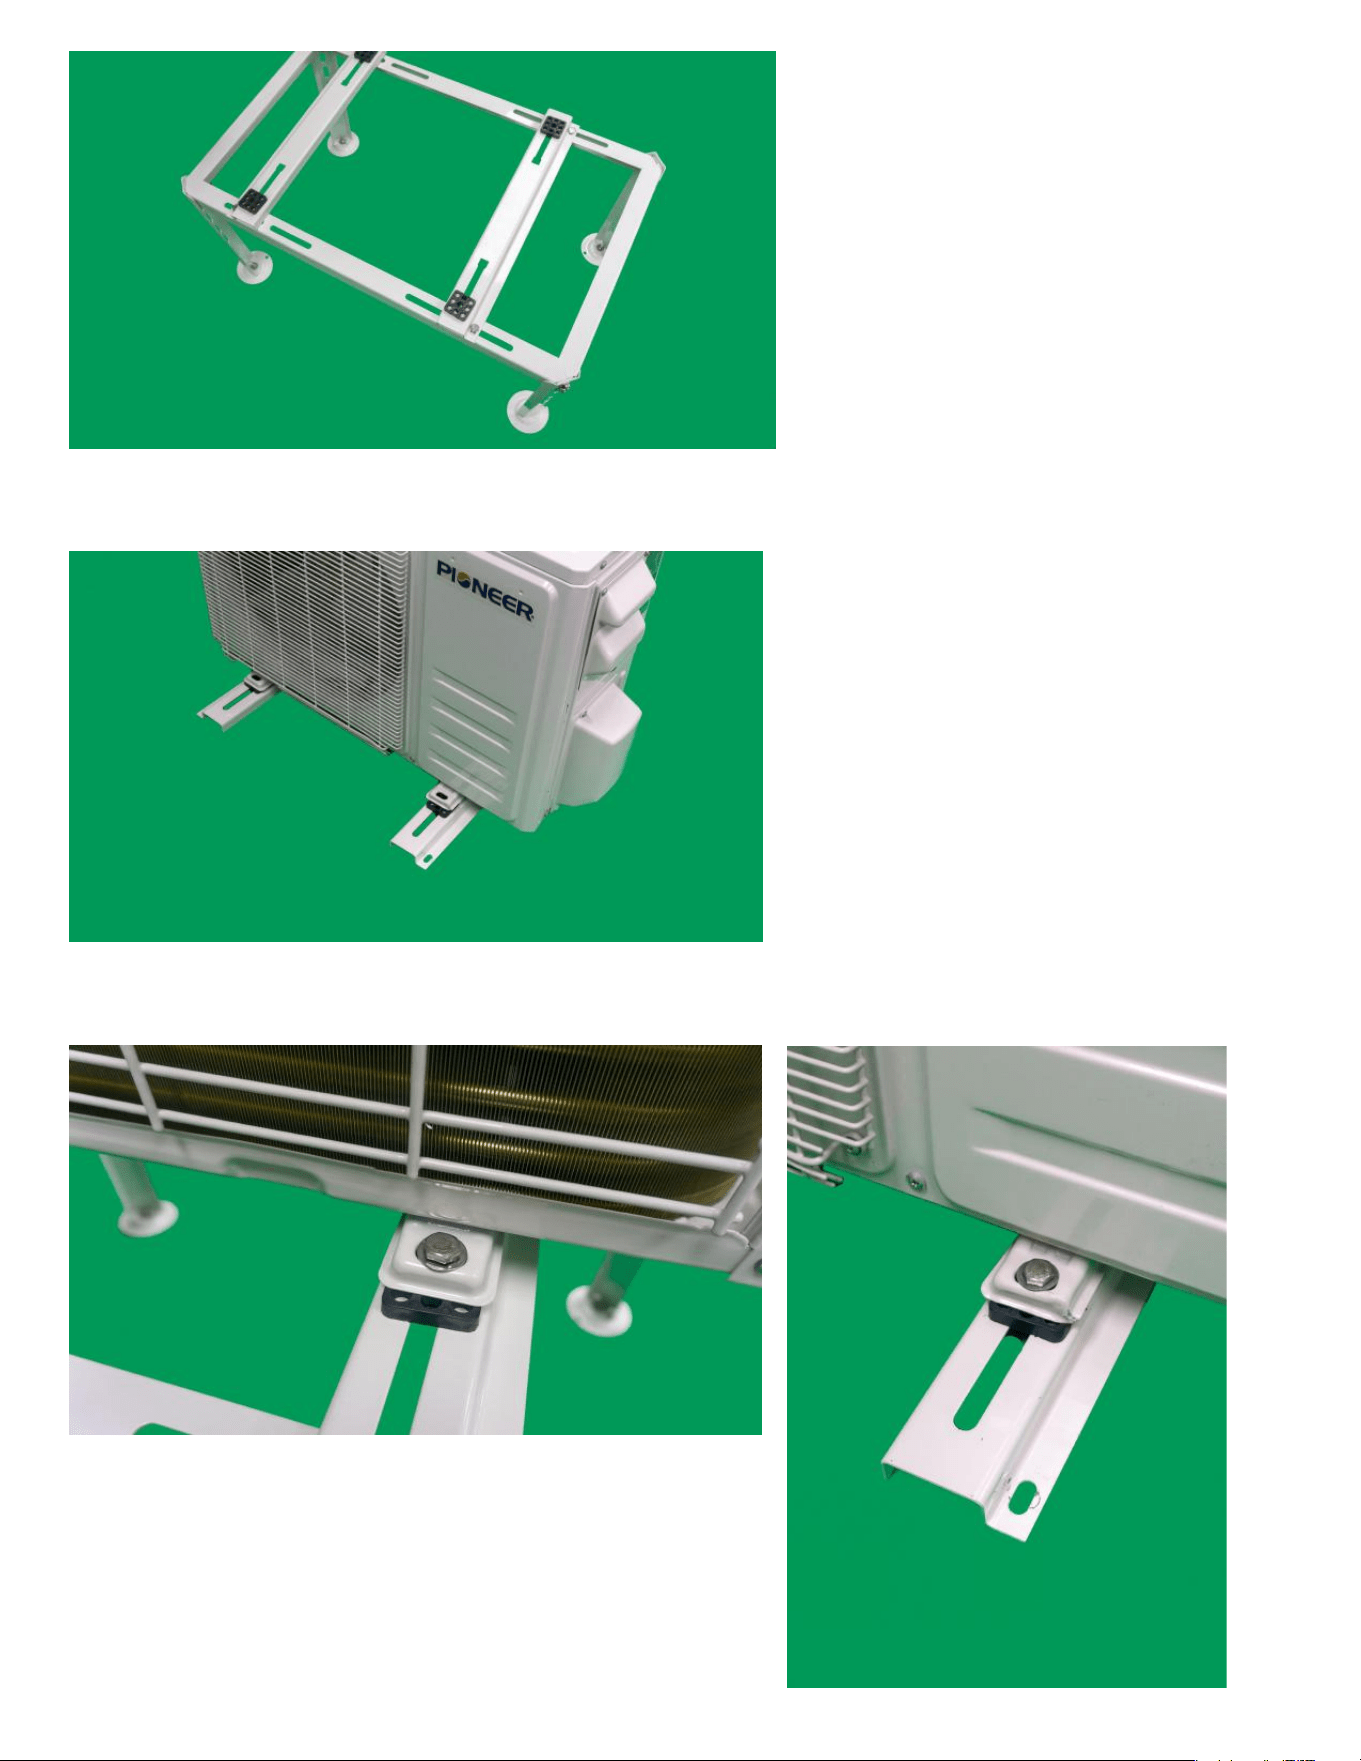
Step 9: Place the condenser unit onto the horizontal legs, and align the 4 feet and pad holes.
Step 10: Use 4x M8-30 bolts+nut/washer to securely fasten the unit to the assembled bracket.
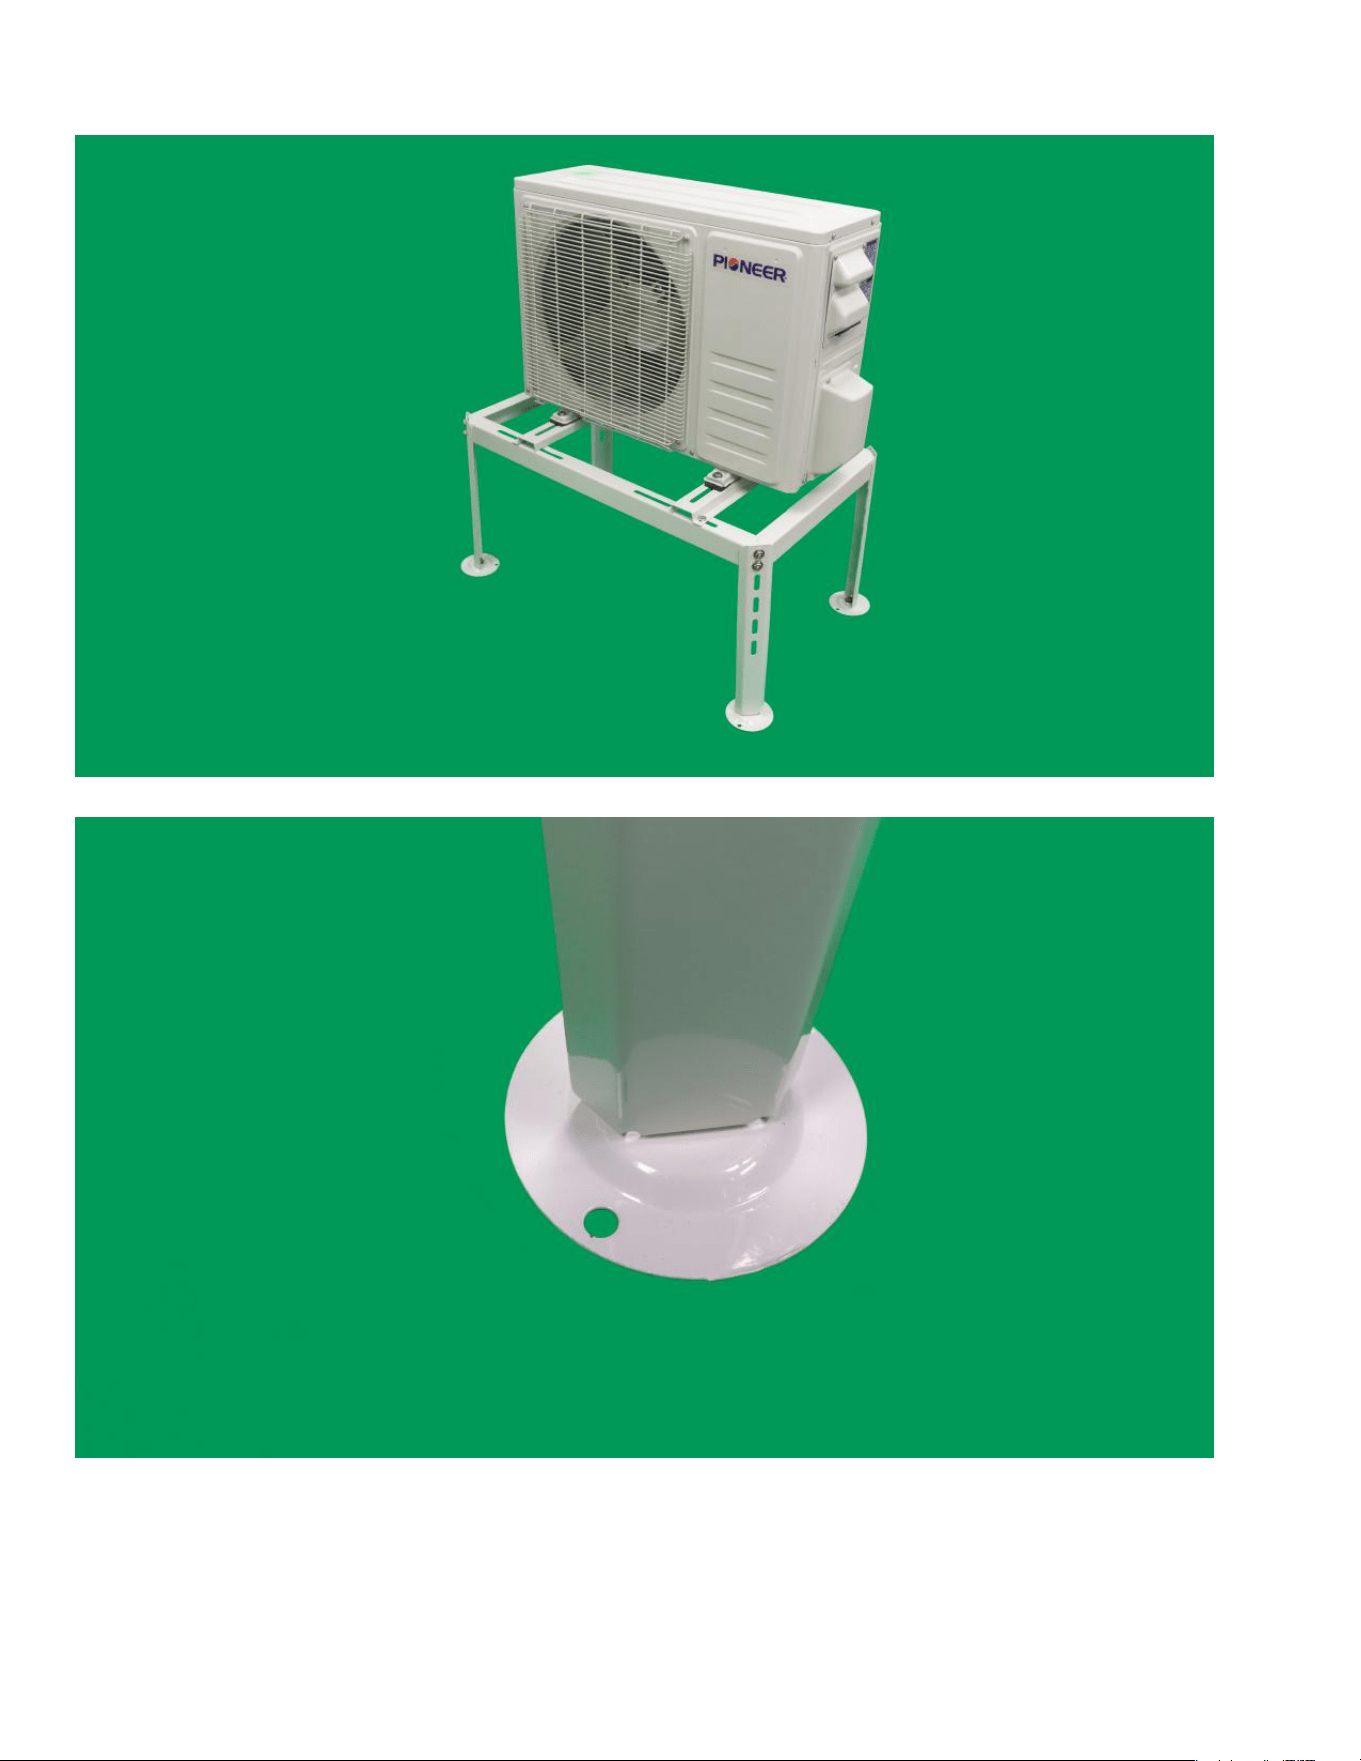
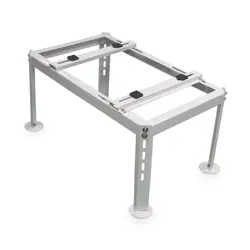
The system is now mounted to the bracket. Feet holes are available for mounting to a pad/slab.