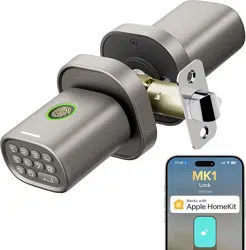

- 1
Local operation instructions for smart lock end
Product advantages and features
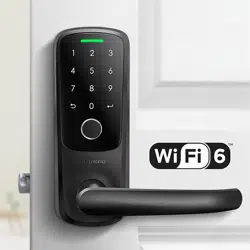
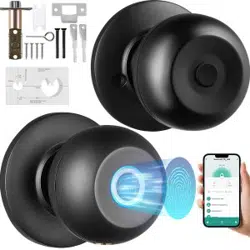
Can use fingerprints and passwords
Multiple door opening modes to choose from, enhancing the security level of the door
lock
User addition and deletion are managed based on numbering, which is easy to
operate
Equipped with anti peeping password function
Power on self-test, intelligent recognition function module, such
as fingerprint+password, etc
All components are made of internationally renowned brand products, with stable
and reliable quality.。
The door lock modules have undergone waterproof, moisture-proof, and mold proof
treatment,
The door lock modules have undergone high and low temperature, vibration, aging
and other tests to adapt to harsh environments。
Before entering the user, any fingerprint, and initial password
123456 can be unlocked. Registration refers to
After printing or password cards, illegal fingerprints and password
cards will not be able to unlock; If an administrator has already been
registered in the smart lock, adding or deleting users again requires
verifying the administrator's access to the menu settings. If an
administrator is not registered, the function of adding or deleting
users cannot be performed;
- 2
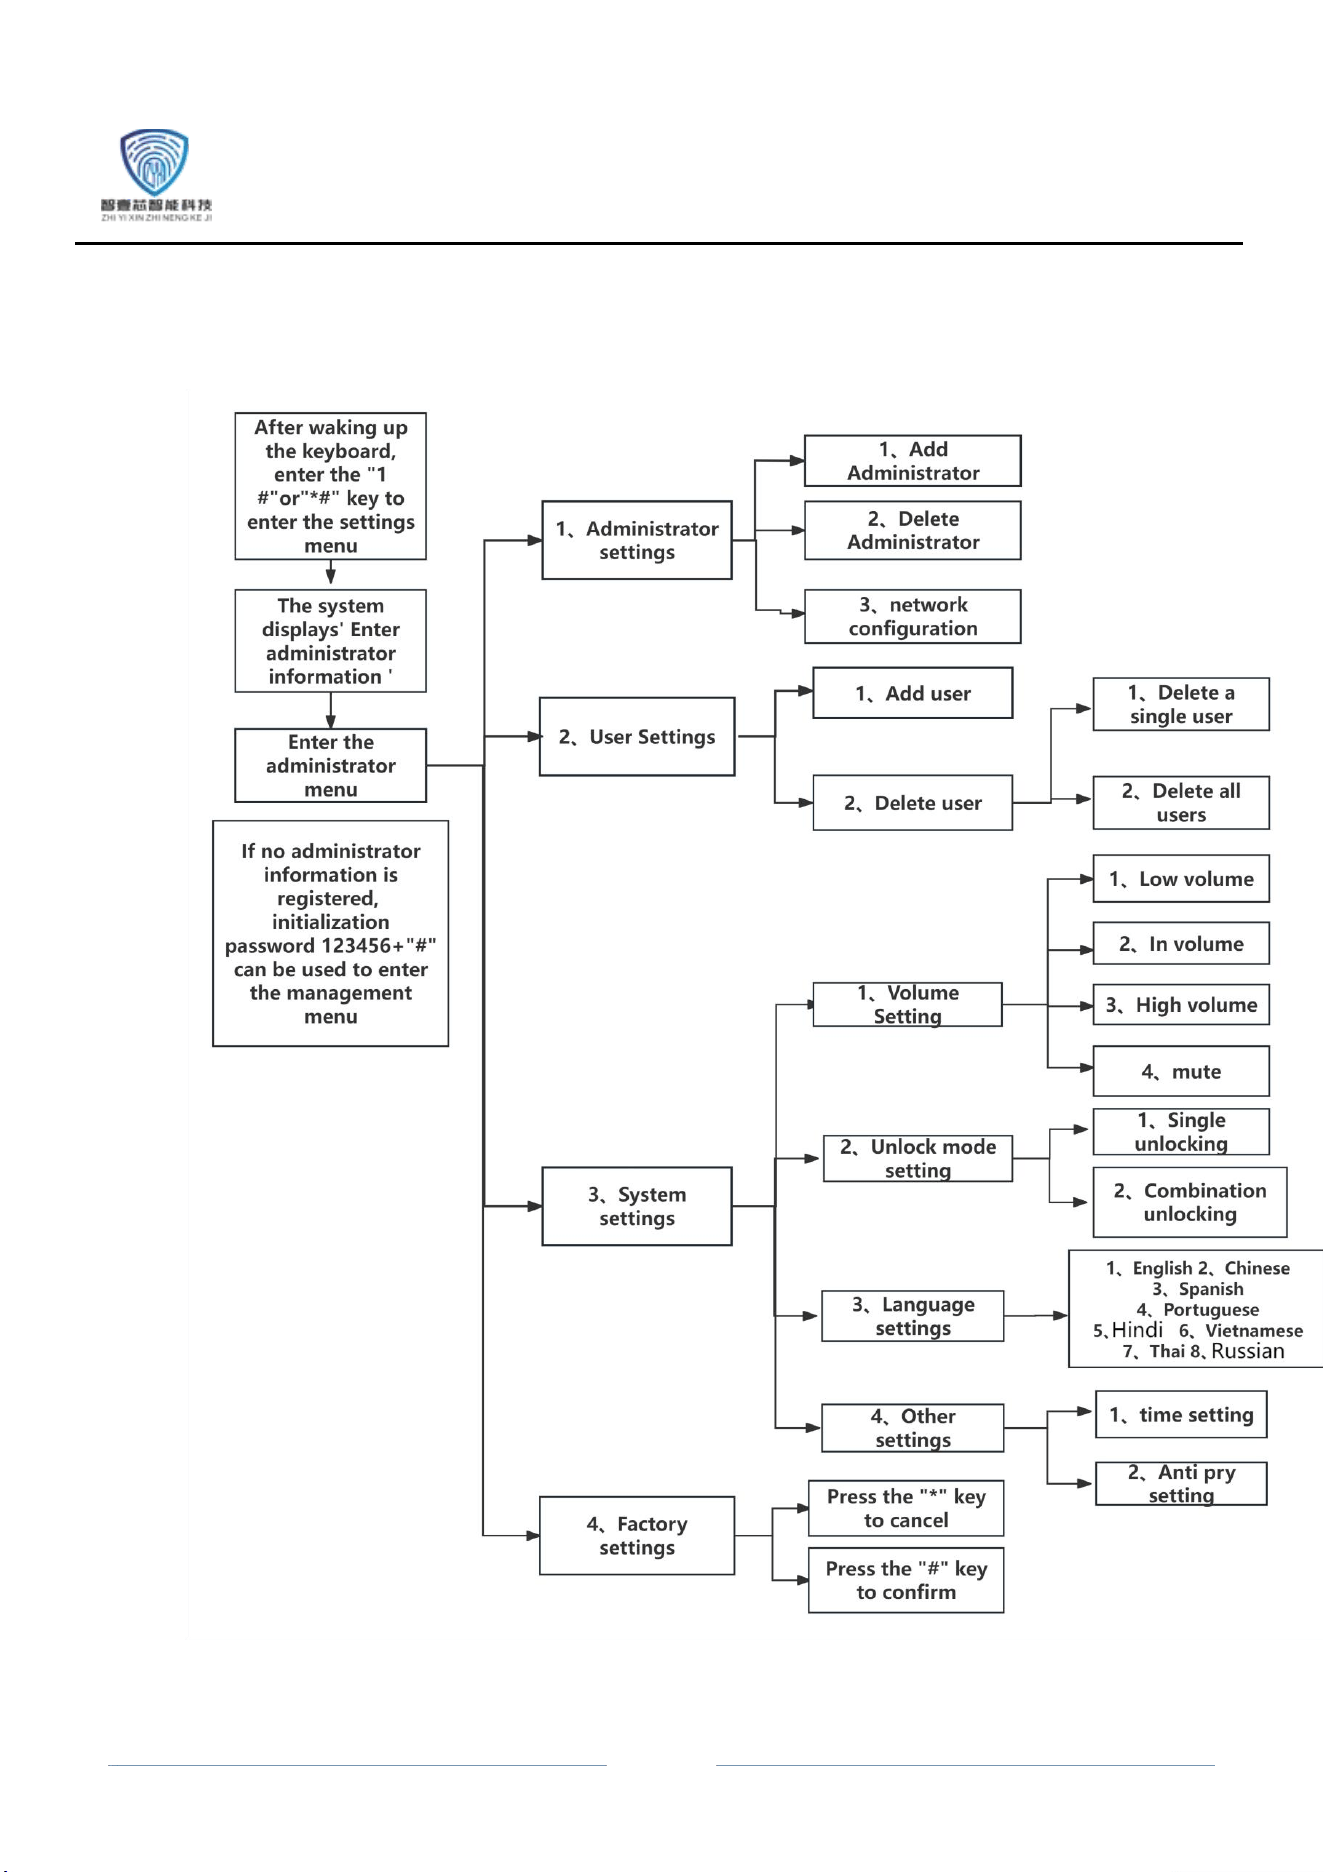
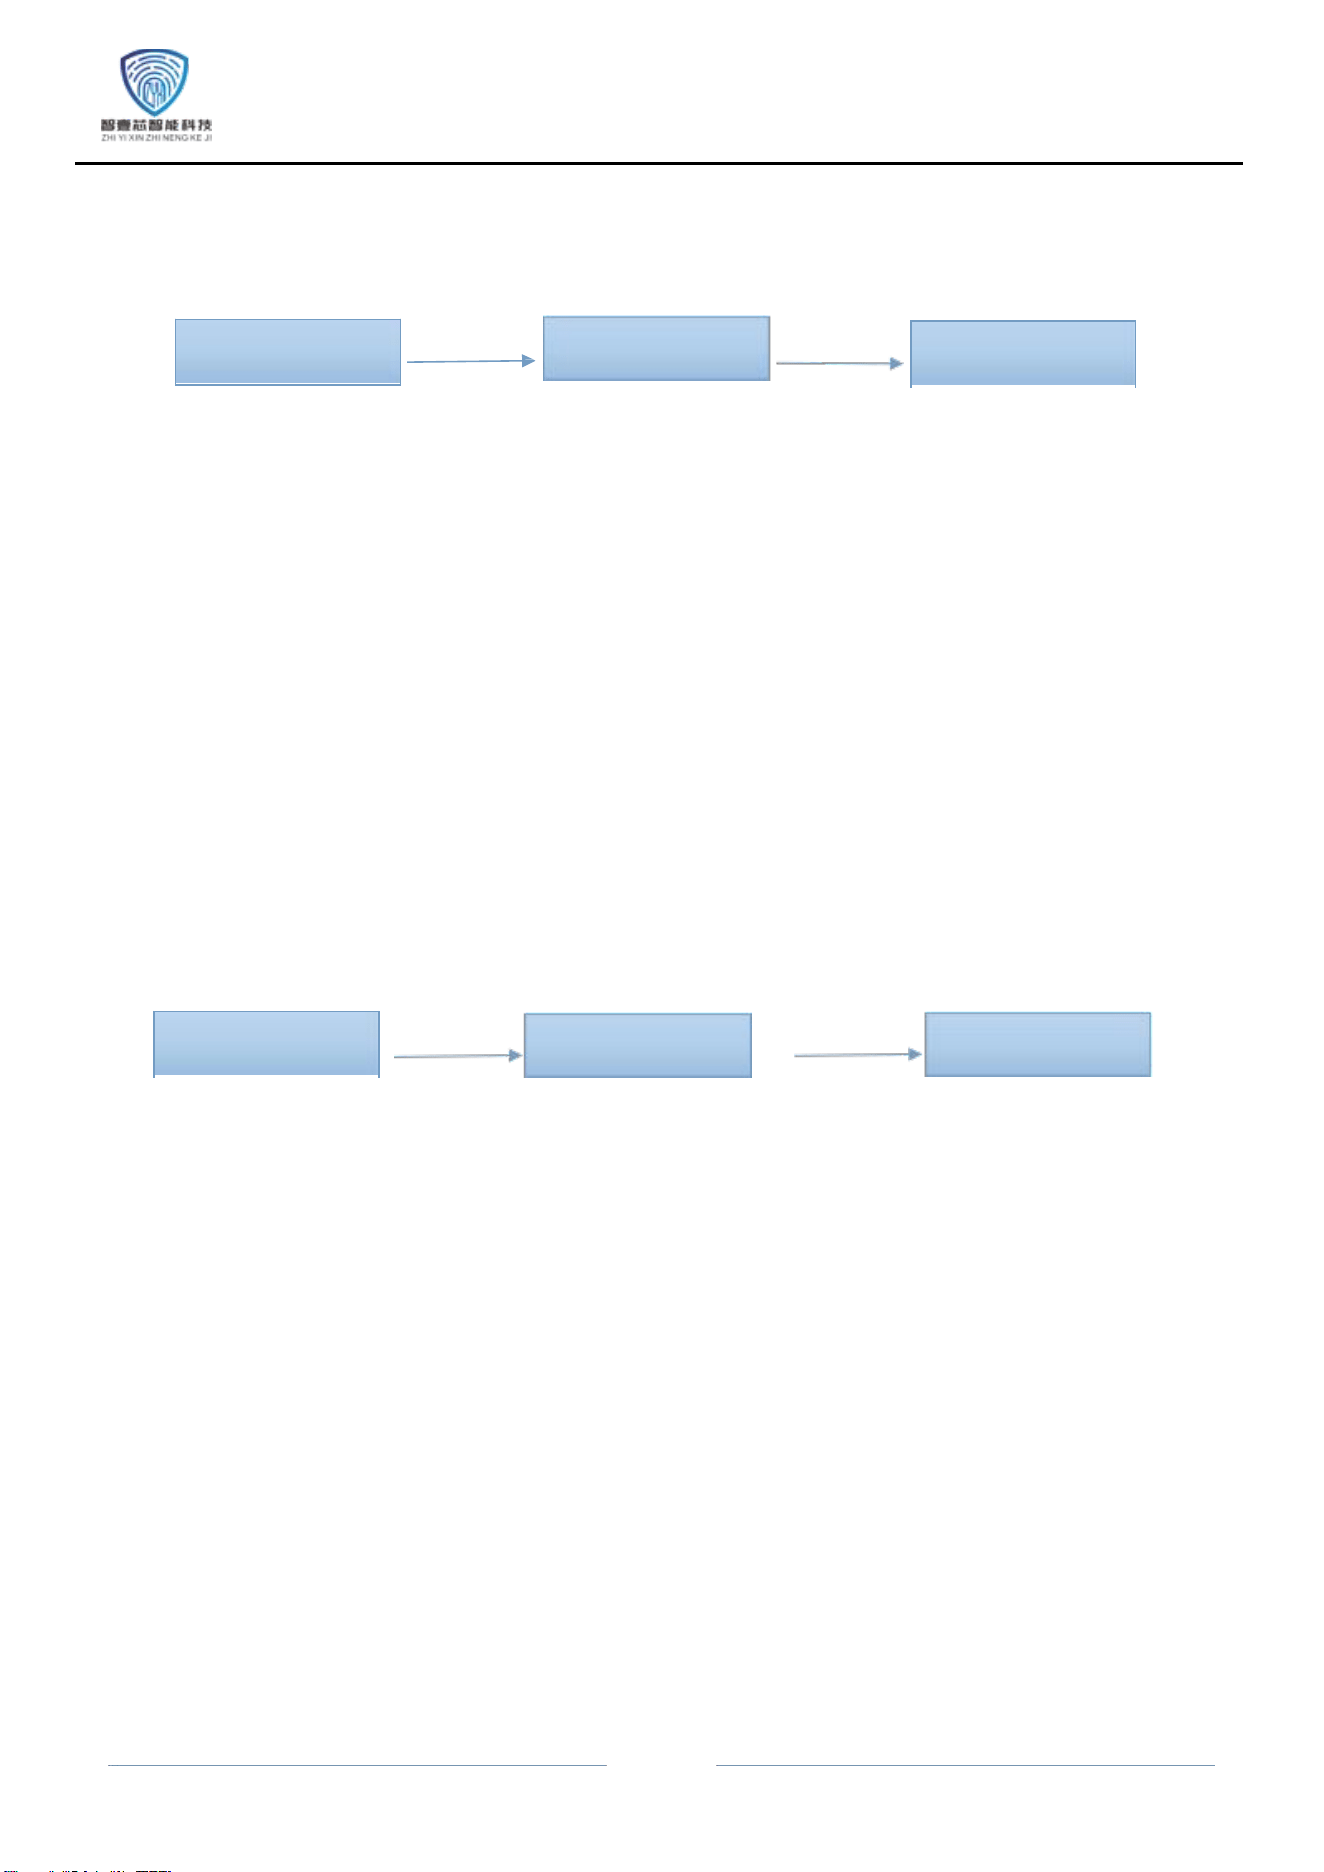
1.MenuStructureDiagram
-
3
Administrator
settings
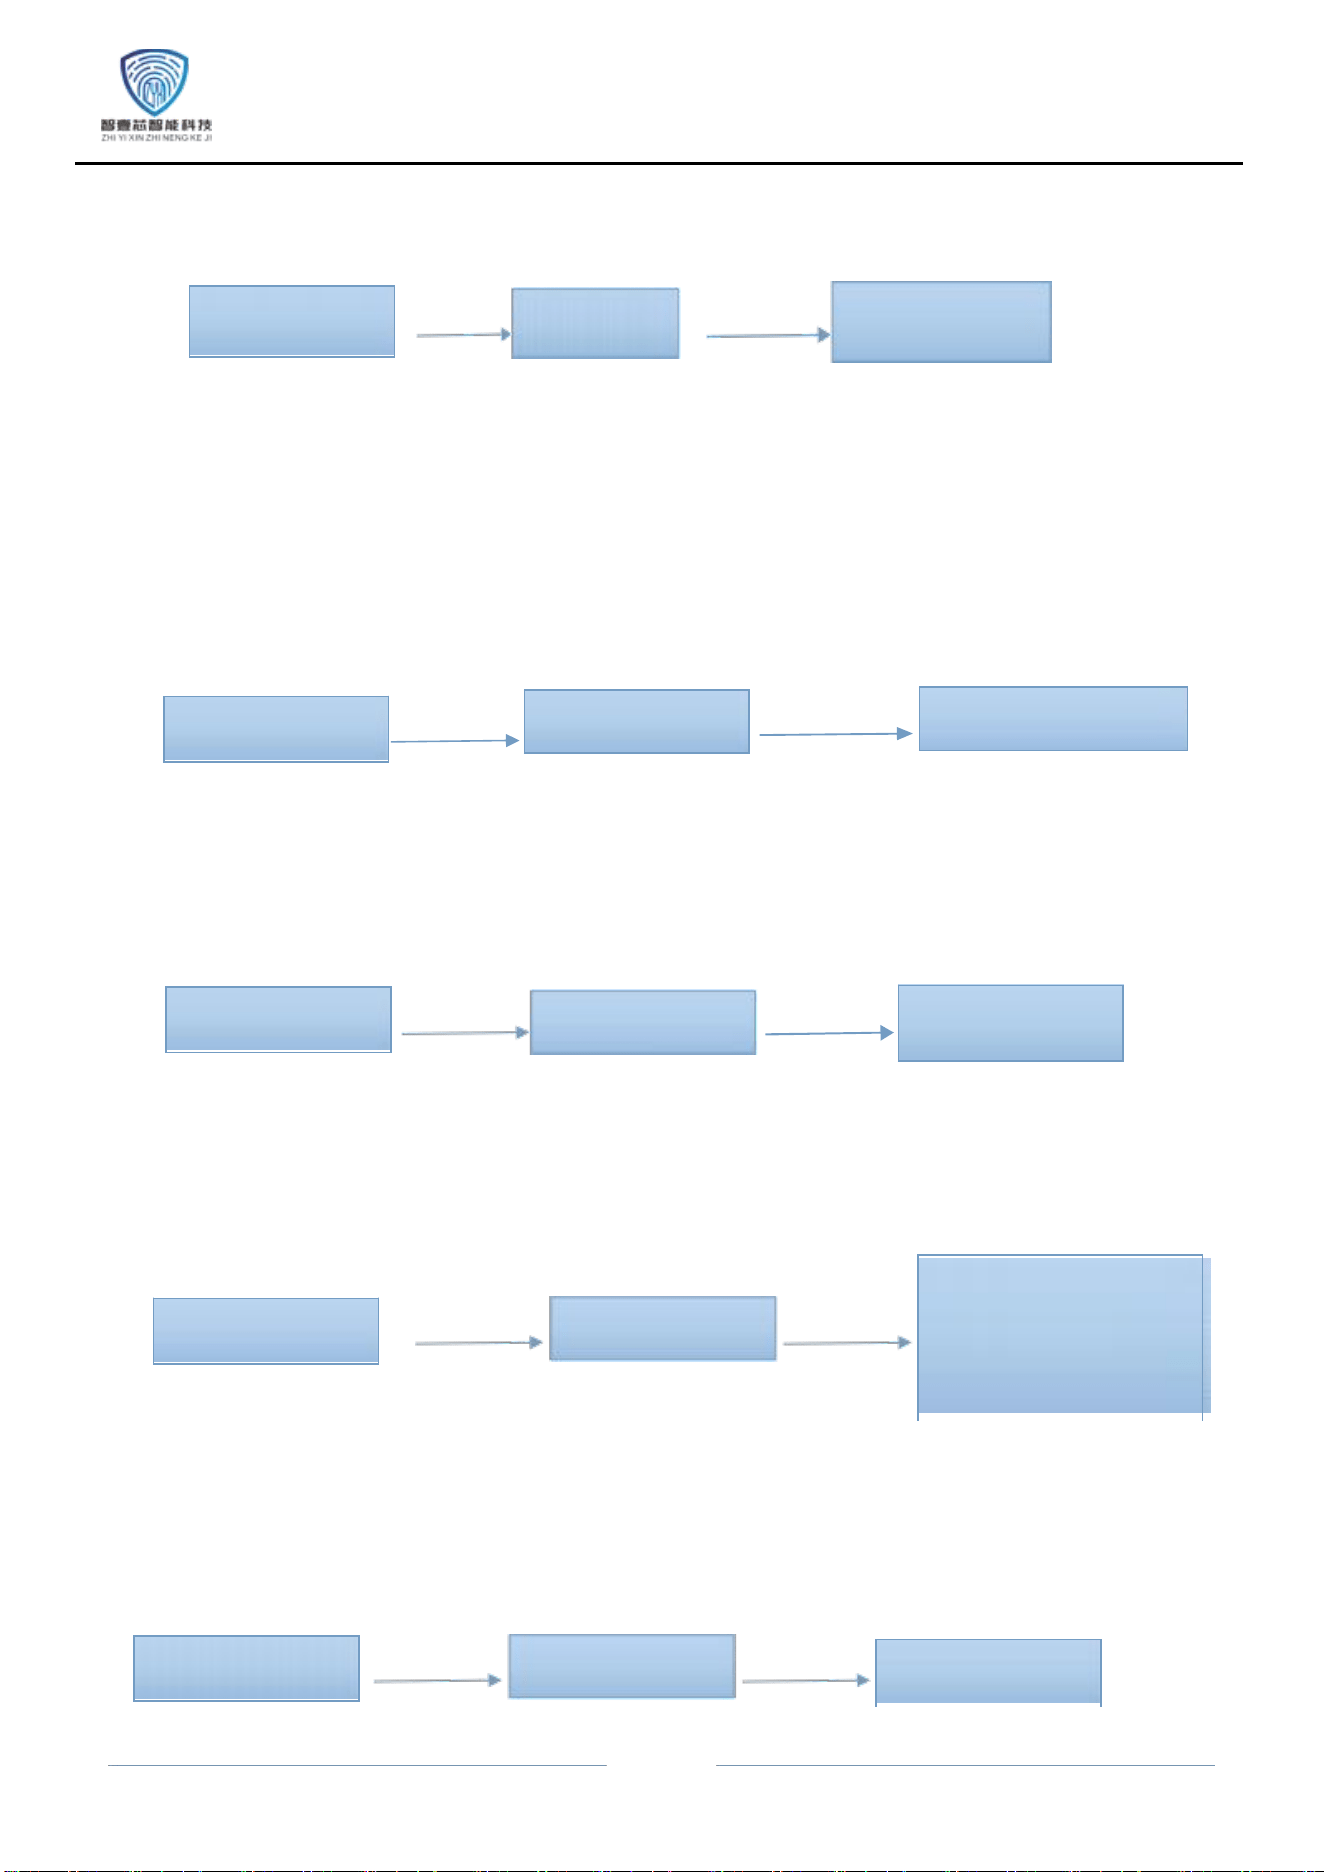
2.Add administrator operation:
Enter the
management menu
1.After entering the configuration operation, enter the fingerprint password that needs to
be entered, and the system will automatically assign a key number;
2.The first set of keys is the administrator password, and the system defaults to the serial number
"001";
3.The valid number of digits for a numeric password is 6-10;
4.Fingerprint input 5 times in a row, password input 2 times in a row input 1 time;
5.After successful entry, you can continue to enter other "administrator" keys. To return, please
press the "*" key。
3.Delete administrator operation:
Enter the
management menu
Press the "1" key
2. Delete administrator
1. Enter the number and press the "#" key to
confirm, for example: "002"+"#”;
2To ensure the normal operation of the system,
users cannot be deleted when there is only one
administrator left;
3. When other numbers are deleted by the administrator and entered again, the system will
automatically replace their numbers。
Administrator settings
1. Add
administrator
Press the
"1" key
Press the
"2" key
Press the
"1" key

-
3
4.Add regular user operation:
Enter the
management menu
Press the "2" key
User Settings
Press the "1" key
Add User
1. After entering the configuration operation, enter the fingerprint,
password, that needs to be entered, and the system will
automatically assign a key number;
2. The valid number of digits for a numeric password is 6-9;
3.Fingerprint input 5 times in a row, password input 2 times in a row input 1 time;
4.After successful entry, you can continue to enter other "user" keys. If you no longer want to
enter, please press the "*" key to return;
- 4
5.Delete single/all user operations:
Enter the
management menu
Press the "2"
key
User Settings
Press the "2"
key
delete user
1.
After entering the number, the corresponding user information can be deleted. Press the "#" key
to confirm, for example: "10"+"#";
2.After the user is deleted, when entering again, the system will automatically replace their
number。
6.Volume Setting:
1 Low volume 2 In volume
3 High volume 4 mute
1. Select the corresponding volume level as needed。
7.Unlock mode setting:
Enter the
management menu
Press the "3" key
System settings
Press the "2" key 1 Single unlocking
2 Combination unlocking
1.On this page, press "1" to select single unlocking mode, and press "2" to select combination
unlocking mode
;
8.Language settings:
Enter the
management menu
1.Press "1" to select English on this interface, and press "2" to select Chinese, and press "3" to
select Spanish , and press "4" to select Portuguese, and press "5" to select Hindi , and press "6" to
select Vietnamese, and press "7" to select Thai , and press "8" to select Russian;
9.Other settings:
Press the "3" key
System settings
System settings
Enter the
management menu
Press the
"1" key
Press the
"3" key
Press the "3" key
System settings
1、English 2、Chinese
3、Spanish
4、Portuguese
5、Hindi 6、Vietnamese
7、Thai 8、Russian
Enter the
management menu
1 time setting 2 Anti
pry setting
Press the
"3" key
Press the
"4" key
- 5
1. Press "1" on this interface to
select as the time setting;
2. Press "2" on this interface to
select the anti pry setting;
10.Restore factory settings:
Enter the
management menu
Press the "4" key
System initialization
Press the "*"
key to
return
Press the "#" key to
confirm
1. After restoring the factory settings, all data will be cleared, but the language selection and
automatic lock function will not be reset and will still run according to the previous settings。
11.Language switching function
Note: This function must be operated in the initialization state
Language ID:
1: English, 2: Chinese, 3: Spanish, 4: Portuguese
5: Hindi, 6: Vietnamese, 7: Thai, 8: Russian
Example: To switch to English, in the initialization state, enter "88991" to switch to English
8899+language code
Switching successful
-
6
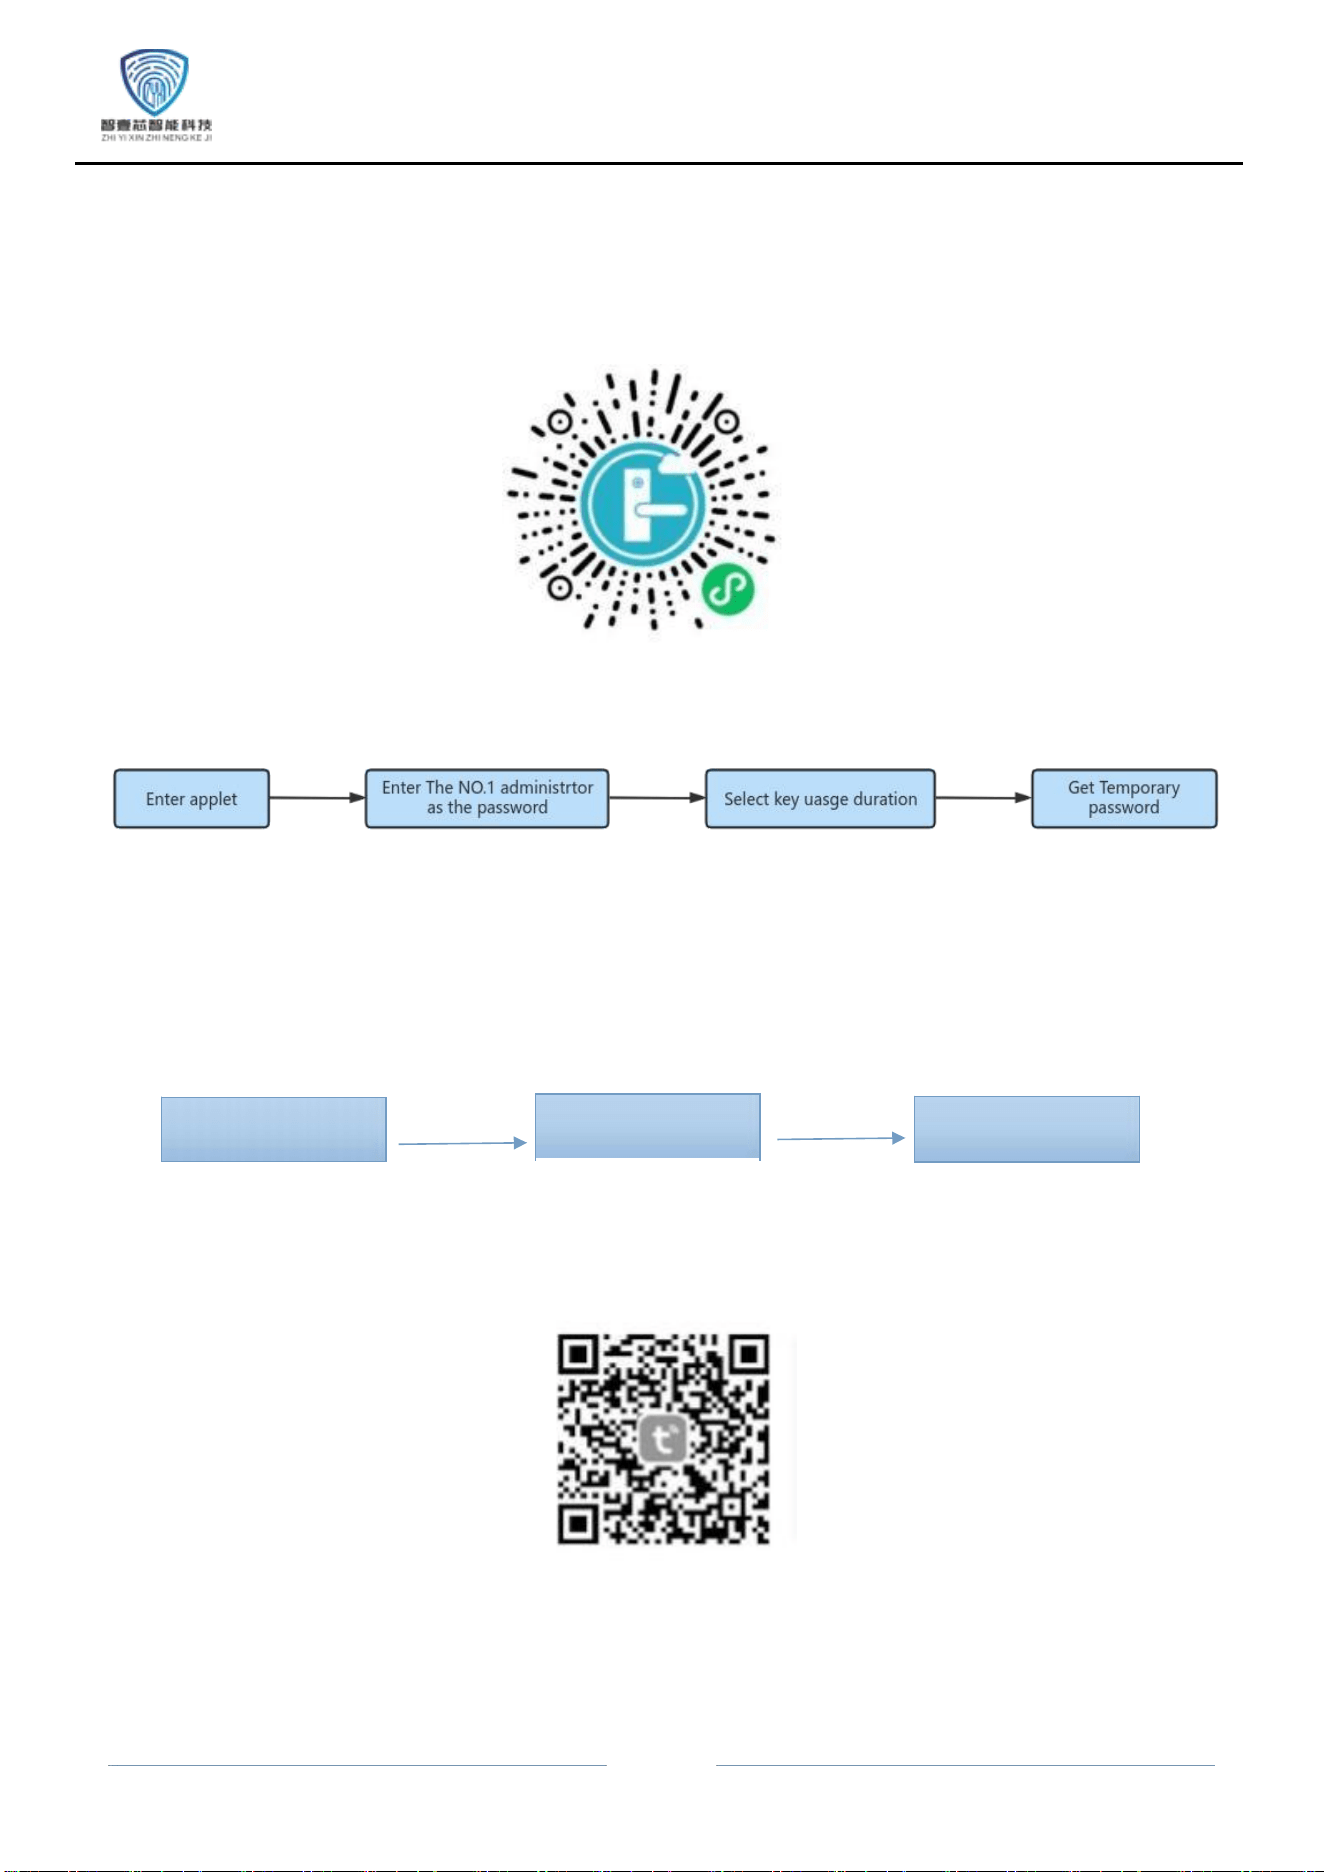
11.Temporary key function
Note: When distributing temporary keys, please enter the time setting in advance and set the time to the actual
time to ensure the timeliness of the keys; The name can be customized, and the password is the password of
the first administrator
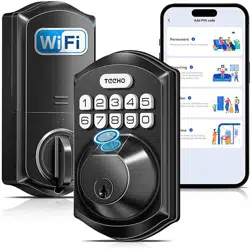
12.Network configuration (when using external modules):
Enter the
management menu
Press the "1" key
Administrator settings
Press the "3" key
Network
configuration
1. Please search for and download the "Graffiti Smart" app in the app store, or scan the QR code
to download it, and follow the software prompts to register an account;
2. After entering the network configuration of the lock body, open the "Graffiti Smart" APP to
pair the lock body, and enter the Wi Fi name and password used;
- 7
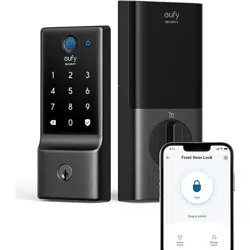
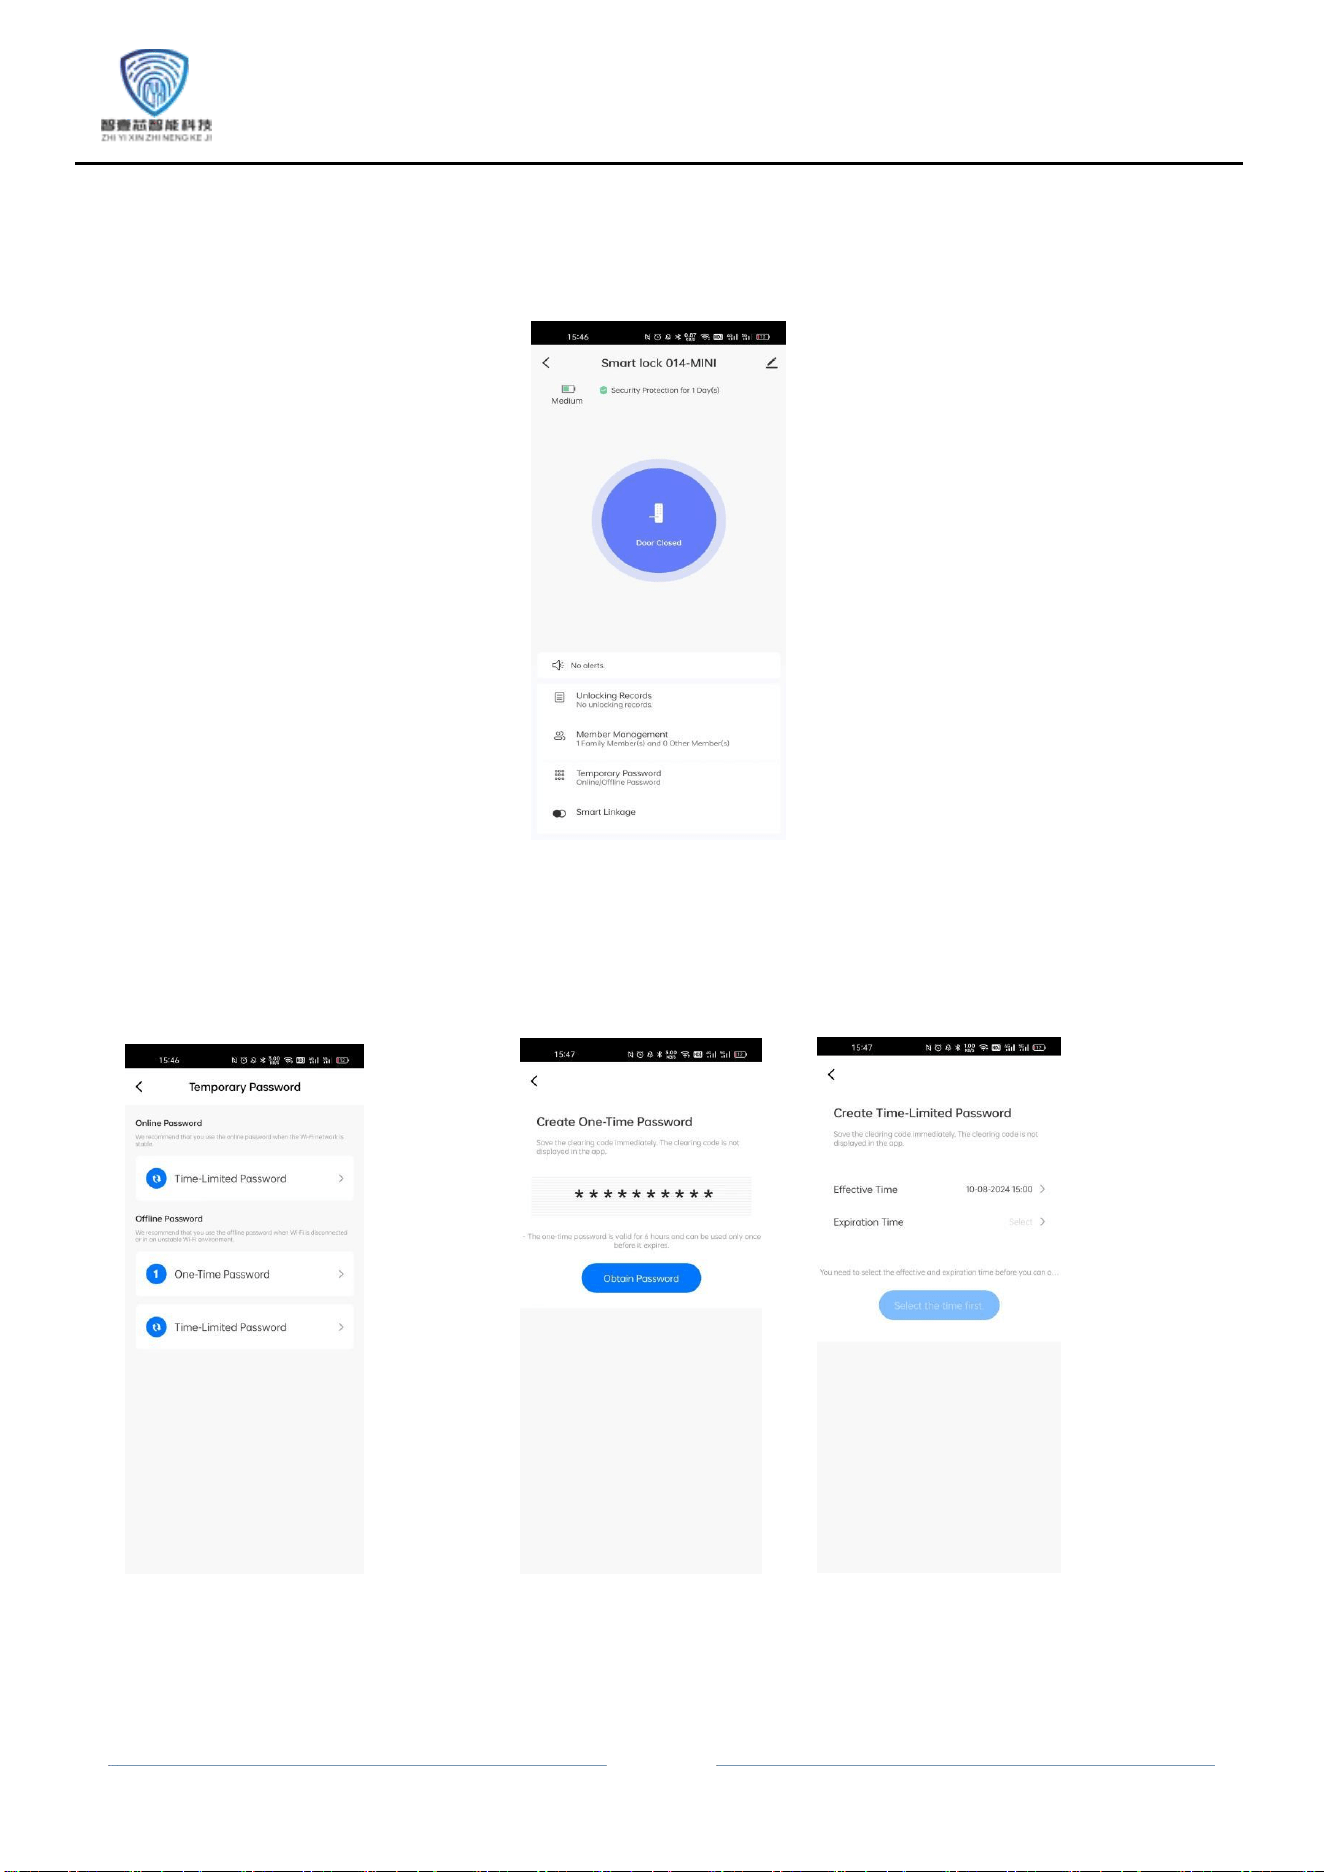
13.FUNCTION:
Figure 1 main page
1. Remote unlocking: Click the doorbell button to wake up the door lock and apply for remote
unlocking. After software confirmation, the unlocking operation can be completed;
2. Temporary password function: one-time password and unlimited password can be added;
Figure 2 Temporary password interface Figure 3 One-time Password Figure 4 Unlimited password
Note: The one-time password is valid for 6 hours and can only be used once within the
validity period;
An unlimited password can be set with an effective and expiration time, and there is no
limit on the number of unlocking attempts during its validity period。
-
8
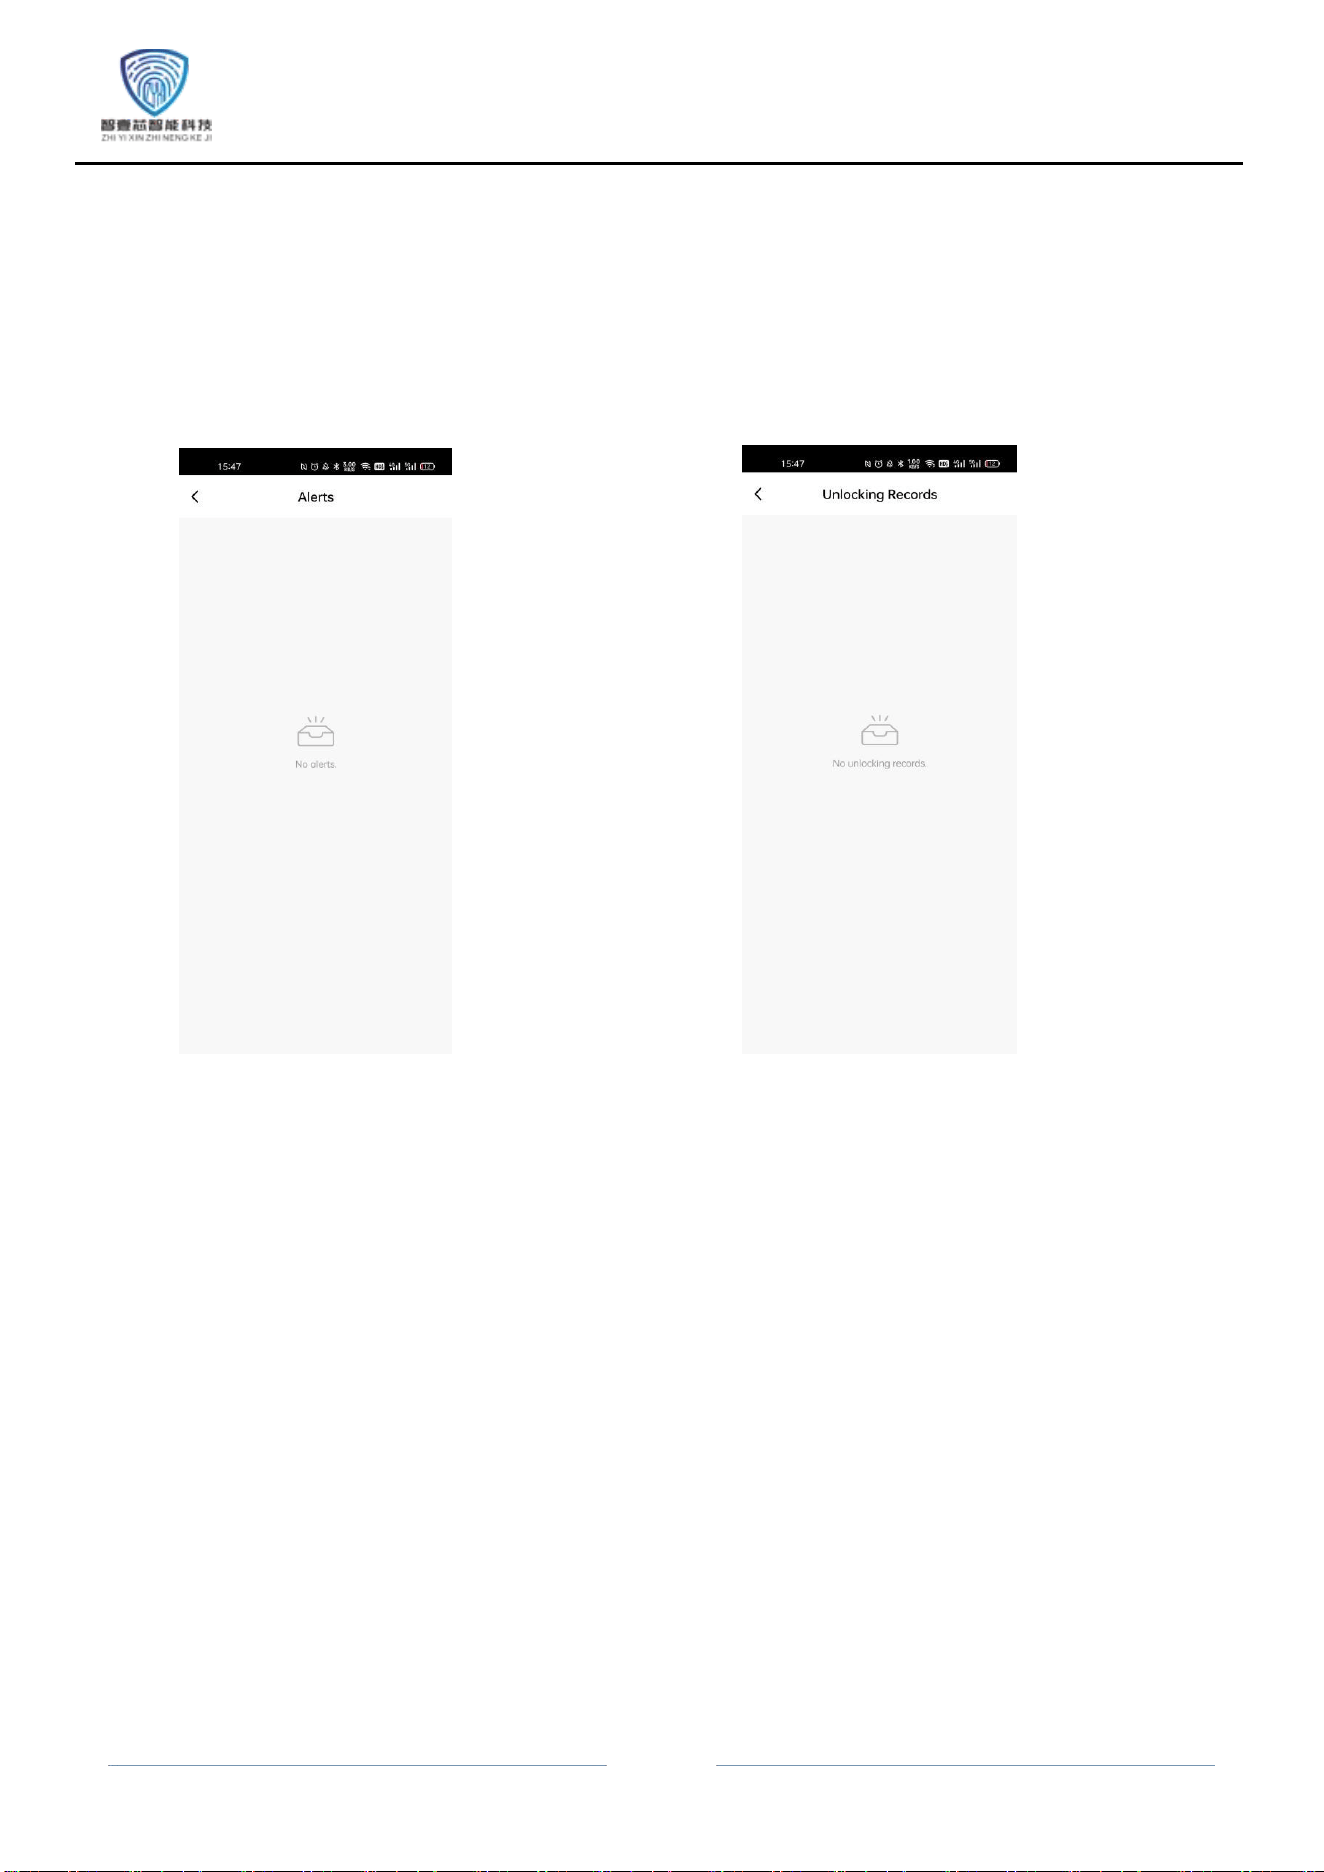
3. Door opening record function: After successful connection, the software will record the work
record of the door lock, including unlocking user and operation records;
4. Alarm record notification: The system will automatically record incorrect unlocking operations
and push them in the software;
Figure 5 Alarm Record Figure 6 Door Opening Record
-
9
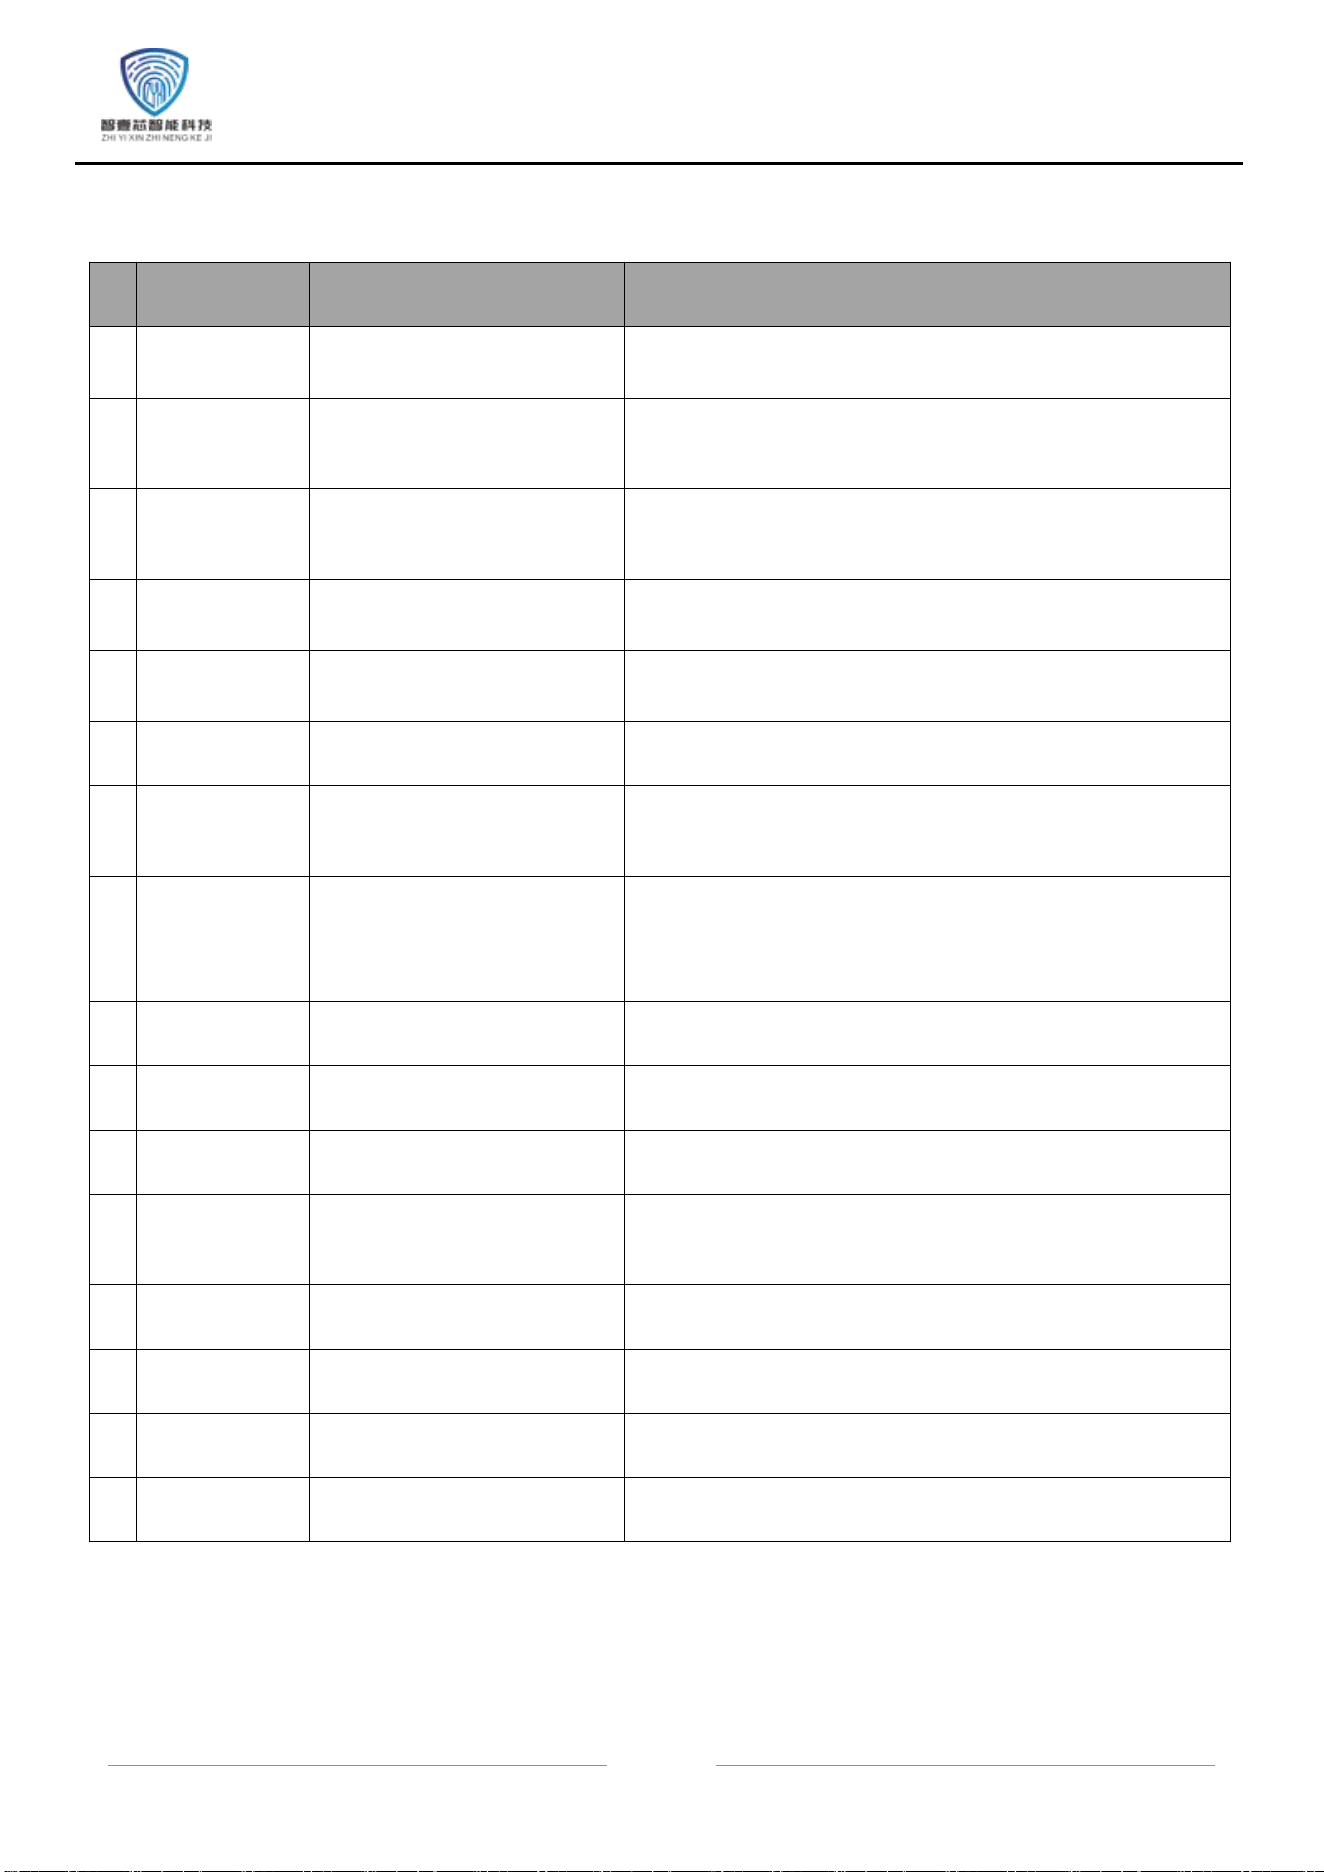
14.Product Technical Parameters
num
ber
function
content
detailed description
1
Unlocking
method
Fingerprint+password
+key
You can also use the app for remote
unlocking
2
Number of
administrator
s
10 people
Differentiate by input permissions
3
Number of
ordinary
users
100 people
Differentiate by input permissions
4
fingerprint
Up to 50 pieces (shared)
Fingerprint needs to be repeated 5 times
(please enter from multiple angles)
5
password
110 groups (shared)
Password needs to be entered twice and confirmed with the #
key (6-10 digit password must be consistent twice)
6
magnetic
110 sheets (shared)
Just enter the once;
7
Virtual
password
length
≤16 bits
This product has a virtual anti peeping password: you can
enter garbled characters in the front and back of the
registered password
8
Low voltage
alarm
4.8V ±0.2V
When the voltage is below 4.8V, it prompts "low battery level"
during the door opening process。
9
quiescent
current
≤80uA
10
dynamic
current
<250mA
11
supply
voltage
6V
Voltage when 4 dry batteries are fully
charged
12
Emergency
power
supply
5VDC
USB Interface
13
operation
temperature
-25℃ ~ 70℃
14
Working
humidity
20%~90%RH
15
Quick
locking
Quickly lock the door
outside
After unlocking, press the "*" button within five
seconds to quickly lock
16
fast
dormancy
Quick sleep mode with
the "*" key
Double click the "*" key on the main page to quickly
exit the system and enter sleep mode
Kind reminder: Please store your mechanical key outdoors for backup!

FCC Statement
Note: This equipment has been tested and found to comply with the limits for a Class B digital device, pursuant to part 15 of the FCC
Rules. These limits are designed to provide reasonable protection against harmful interference in a residential installation. This
equipment generates, uses and can radiate radio frequency energy and, if not installed and used in accordance with the instructions,
may cause harmful interference to radio communications. However, there is no guarantee that interference will not occur in a particular
installation. If this equipment does cause harmful interference to radio or television reception, which can be determined by turning the
equipment off and on, the user is encouraged to try to correct the interference by one or more of the following measures:
—Reorient or relocate the receiving antenna.
—Increase the separation between the equipment and receiver.
—Connect the equipment into an outlet on a circuit different from that to which the receiver is connected.
—Consult the dealer or an experienced radio/TV technician for help.
This device complies with part 15 of the FCC Rules. Operation is subject to the following two conditions:(1) This device may not cause
harmful interference, and (2) this device must accept any interference received, including interference that may cause undesired
operation.
Any changes or modifications not expressly approved by the party responsible for compliance could void the user's authority to operate
the equipment.
This equipment complies with FCC radiation exposure limits set forth for an uncontrolled environment. This equipment should be
installed and operated with minimum distance 20cm between the radiator & your body.