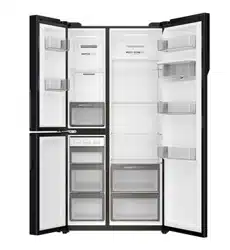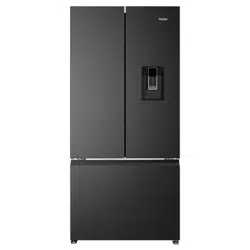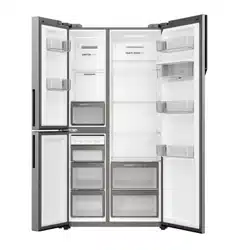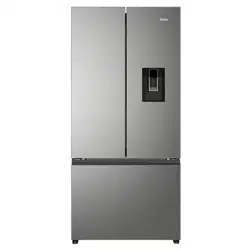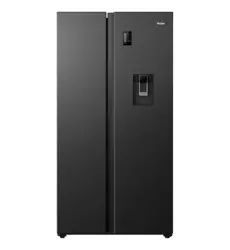
HRF523XHG
Refrigerator Freezer
USER GUIDE NZ AU

2

3
CONTENTS
SAFETY AND WARNINGS . . . . . . . . . . . . . . . . . . . . . . . . . . . . . . . . . . . . . . . . . . . . . . 4
PRODUCT OVERVIEW ...................................................7
CONTROL PANEL......................................................8
INSTALLATION ........................................................9
FIRST USE.............................................................11
SETTING THE TEMPERATURE ........................................12
SPECIAL FUNCTIONS.................................................13
CARE AND CLEANING ................................................14
TROUBLESHOOTING.................................................16
TECHNICAL DATA ....................................................19
MANUFACTURER'S WARRANTY ......................................20
CUSTOMER SERVICE .................................................22
4
SAFETY AND WARNINGS
WARNING!
READ AND SAVE THIS GUIDE
In the interest of your safety and to ensure the correct use, before installing and first using the appliance,
read this user manual carefully, including its hints and warnings. To avoid unnecessary mistakes and
accidents, it is important to ensure that all people using the appliance are thoroughly familiar with its
operation and safety features. Save these instructions and make sure that they remain with the appliance
if it is moved or sold, so that everyone using it through its life will be properly informed on appliance use
and safety. For the safety of life and property keep the precautions of these user’s instructions as the
manufacturer is not responsible for damages caused by omission.
Children and vulnerable people safety
• This appliance can be used by children aged from 8 years and above and persons with reduced
physical, sensory or mental capabilities or lack of experience and knowledge if they have been
given supervision or instruction concerning use of the appliance in a safe way and understand the
hazards involved.
• Children should be supervised to ensure that they do not play with the appliance.
• Cleaning and user maintenance shall not be done by children unless they are aged from 8 years and
above and supervised.
• Keep all packaging well away from children. There is risk of suffocation.
General safety
• WARNING! Keep ventilation openings, in the appliance enclosure or in the built-in structure,
clear of obstruction.
• WARNING! Do not use mechanical devices or other means to accelerate the defrosting process,
other than those recommended by the manufacturer.
• WARNING! Do not damage the refrigerant circuit.
• WARNING! When positioning the appliance, ensure the supply cord is not trapped or damaged.
• WARNING! Do not use other electrical appliances (such as ice cream makers) inside of
refrigerating appliances, unless they are approved for this purpose by the manufacture.
• WARNING! Do not touch the light bulb if it has been on for a long period of time because it
could be very hot.*
• Do not store explosive substances such as aerosol cans with a flammable propellant in this
appliance.
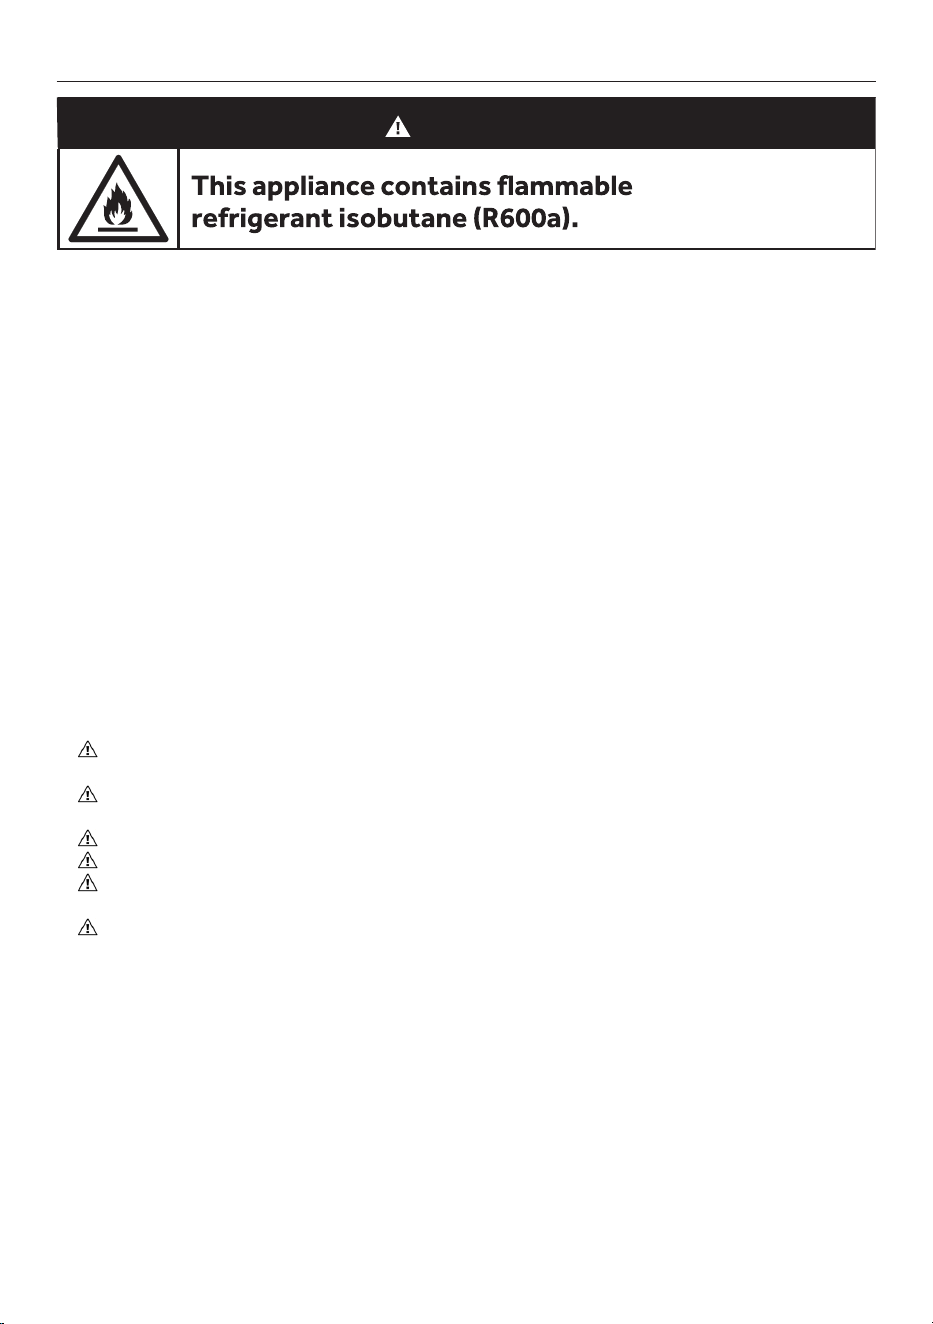
• The refrigerant isobutane (R600a) is contained within the refrigerant circuit of the appliance, a
natural gas with a high level of environmental compatibility, which is nevertheless flammable.
• During transportation and installation of the appliance, be certain that none of the components of
the refrigerant circuit become damaged.
• Avoid open flames and sources of ignition.
• Thoroughly ventilate the room in which the appliance is situated
• It is dangerous to alter the specifications or modify this product in any way. Any damage to the
cord
*if there is a light in the compartment
5
SAFETY AND WARNINGS
• This appliance is intended to be used in household and similar applications such as staff kitchen
areas in shops, offices and other working environments; farm houses and by clients in hotels,
motels and other residential type environments; catering and similar non-retail applications.
• WARNING! Any electrical components (plug, power cord, compressor and etc.) must be replaced
by a certified service agent or qualified service personnel.
• WARNING! The light bulb supplied with this appliance is a “special use light bulb” usable only with
the appliance supplied. This “special use light bulb” is not usable for domestic lighting.
• It is hazardous for anyone other than an Authorized Service Person to service this appliance. In
Queensland – the authorized Service Person MUST hold a Gas Work Authorization for hydrocarbon
refrigerants, to carry out Servicing or repairs which involve the removal of covers.
• Power cord must not be lengthened.
• WARNING! Make sure that the power plug is not squashed or damaged by the back of the
appliance. A squashed or damaged power plug may overheat and cause a fire.
• Make sure that you can reach the mains plug of the appliance.
• Do not pull the mains cable.
• If the power plug socket is loose, do not insert the power plug. There is a risk of electric shock or
fire.
• You must not operate the appliance without the light bulb.
• This appliance is heavy. Care should be taken when moving it.
• Do not remove nor touch items from the Cool Zone if your hands are damp/wet, as this could cause
skin abrasions or frost/freezer burns.
• WARNING! Do not locate multiple portable socket-outlets or portable power supplies at the rear
of the appliance
• Avoid prolonged exposure of the appliance to direct sunlight.
Daily use
• Do not put any hot items on the plastic parts in the appliance.
• Do not place food products directly against the rear wall.
• Frozen food must not be re-frozen once it has been thawed out.
• Store pre-packed frozen food in accordance with the frozen food manufacture's instructions.
• Appliance’s manufactures storage recommendations should be strictly adhered to. Refer to relevant
instructions.
• Do not place carbonated of fizzy drinks in the Cool Zone as it creates pressure on the container,
which may cause it to explode, resulting in damage to the appliance.
• Ice lollies can cause frost burns if consumed straight from the appliance.
• The supply cord is damaged it must be replaced by the manufacturer, service agent or similarly
qualified persons in order to avoid a hazard.
• Do not replace the LED light bulb yourself, it must only be replaced by either the manufacturer or
the authorised service agent.
Care and cleaning
• Before maintenance, switch off the appliance and disconnect the mains plug from the mains socket.
• Do not clean the appliance with metal objects.
• Do not use sharp objects to remove frost from the appliance. Use a plastic scraper.
• Regularly examine the drain in the refrigerator for defrosted water. If necessary, clean the drain. If
the drain is blocked, water will collect in the bottom of the appliance.
6
SAFETY AND WARNINGS
Installation(after unboxing)
Important! For electrical connection carefully follow the instructions below.
• Unpack the appliance and check it for damage. Do not connect the appliance if it is damaged.
Report possible damage immediately to the place of purchase. In that case retain packaging.
• It is advisable to wait at least four hours before connecting the appliance to allow the oil to flow
back in the compressor.
• Adequate air circulation should be around the appliance to avoid overheating. To achieve sufficient
ventilation follow the instructions relevant to installation.
• Wherever possible the spacers of the product should be against a wall to avoid touching or catching
warm parts (compressor, condenser) to prevent possible burn.
• The appliance must not be located close to radiators or cookers.
• Make sure that the mains plug is accessible after the installation of the appliance.
Service
• Any electrical work required to do the servicing of the appliance should be carried out by a qualified
electrician.
• This product must be serviced by an authorized Service Center, and only genuine spare parts must
be used.
Energy saving
• Do not put hot food in the appliance.
• Do not pack food close together as this prevents air circulating.
• Make sure food does not touch the back of the compartment(s).
• If electricity goes off, do not open the door(s).
• Do not open the door(s) frequently.
• Do not keep the door(s) open for too long.
• Do not set the thermostat to exceedingly cold temperatures.
• Some accessories, such as drawers, can be removed to achieve larger storage volume and lower
energy consumption.
Environment Protection
• This appliance does not contain gasses which could damage the ozone layer, in either its
refrigerant circuit or insulation materials. The appliance shall not be discarded together with the
urban refuse and rubbish. The insulation foam contains flammable gases: the appliance shall be
disposed according to your local authority's appliance disposal regulation. Avoid damaging the
cooling unit, especially the heat exchanger. The materials used on this appliance markd by the
symbol are recyclable.
• The symbol on the product or on its packaging indicates that this product may not be treated as
household waste. Instead it should be taken to the appropriate collection point for the recycling
of electrical and electronic equipment. By ensuring this product is disposed of correctly, you will
help prevent potential negative consequences for the environment and human health, which could
otherwise be caused by inappropriate waste handling of this product. For more detailed information
about recycling of this product, please contact your local council, your household waste disposal
service or the shop where you purchased the product.
Packaging materials
• Materials with this symbol are recyclable. Dispose packaging in a suitable collection containers to
recycle.
Disposal of the appliance
• Disconnect the mains plug from the mains socket.
• Cut off the mains cable and discard it.
7
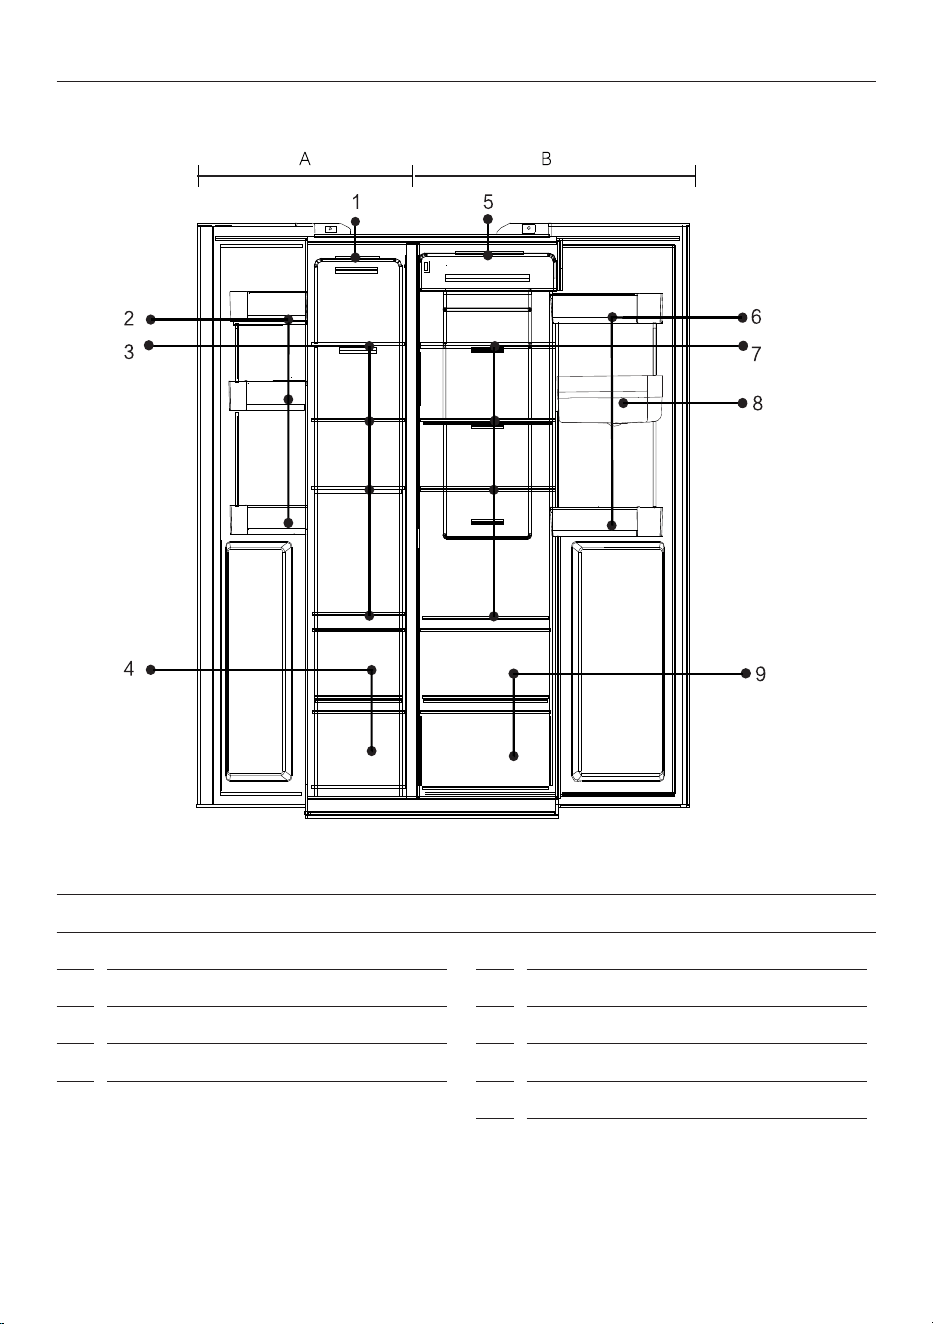
A: Freezer Compartment B:
1 Ceiling lamp
2 Door Shelves
3 Compartment Shelves
4 Freezer Drawers
PRODUCT OVERVIEW
Overview
5 Ceiling lamp
6 Door rack/bottle holder
7 Fridge Shelves
8 Water tank
9 Fridge Box
Fridge Compartment
8
CONTROL PANEL
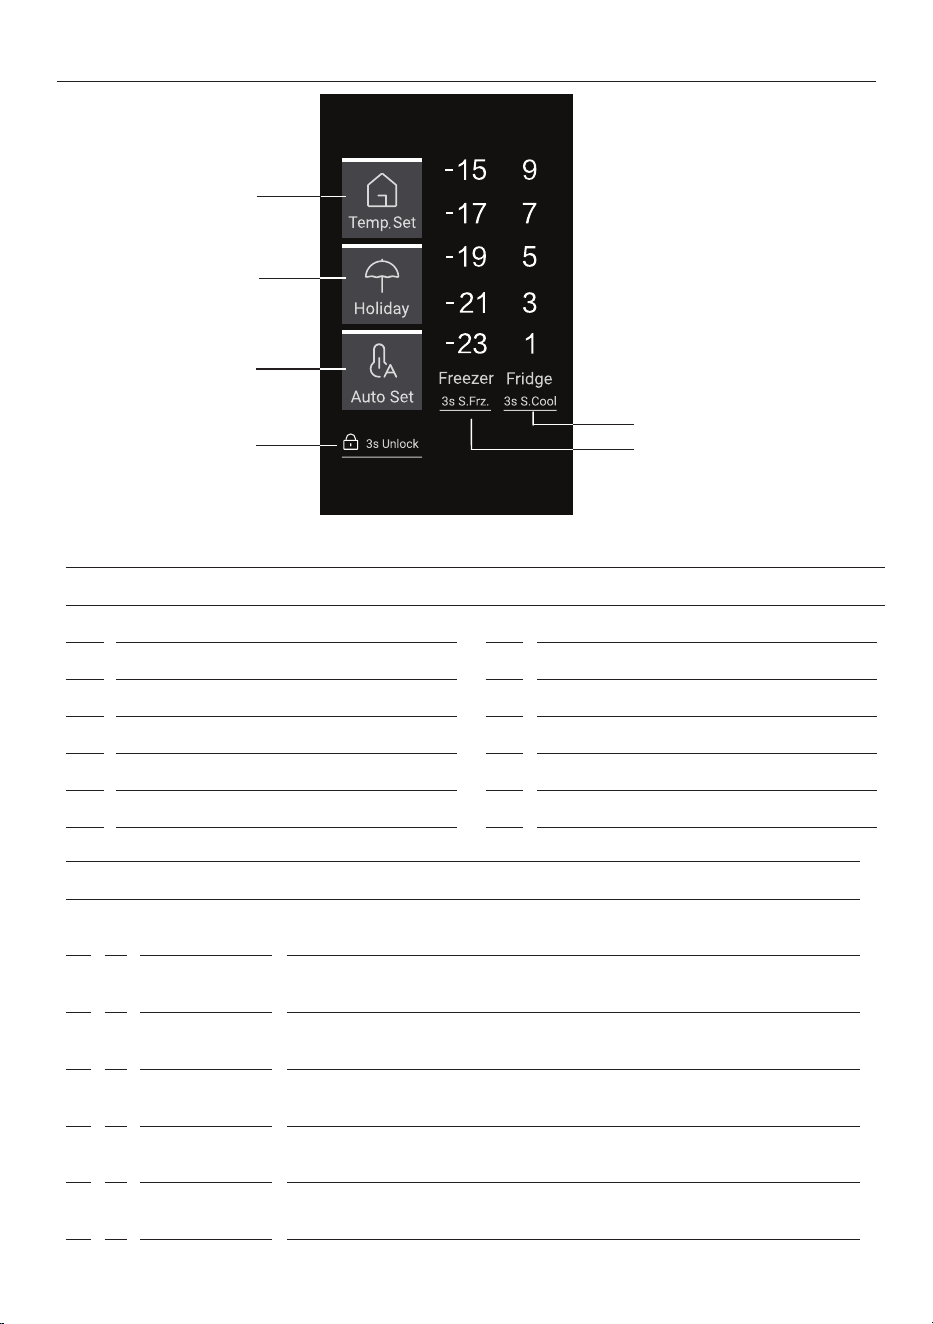
FUNCTIONS:
1 a Holiday mode
After starting this scene, the icon lights up, the refrigeration setting is set
to 9 ℃, and the temperature of freezer can be adjusted
2 b
Freezer
Temperature
Temperature set in the freezer compartment;
Fully illuminated during quick freezing
3 c Auto Set When illuminated, the intelligent temperature setting function is turned on
4 d
Fridge
Temperature
Temperature set in the fridge compartment;
Fully illuminated during rapid cooling
5 e
Control Panel
Lock
Press and hold the Lock icon for 3 seconds to switch between the lock and
unlock states of the display panel
6 f
Temperature Set
Mode
When the icon is illuminated, the fridge and freezer temperature can be
adjusted
D/d
B/b
F/ f
A/a
C/c
E/e
BUTTON SELECTION: INDICATORS:
A Holiday Mode
B Freezer Temperature
C Auto Set
D Fridge Temperature
E Control Panel Lock
F Temperature Set Mode
a Holiday Mode
b Freezer Temperature
c Auto Set
d Fridge Temperature
e Control Panel Lock
f Temperature Set
9
INSTALLATION
Unpacking
WARNING!
▶ The appliance is heavy. Always handle with at least two persons.
▶ Keep all packaging materials out of children´s reach and dispose them in an environmentally friendly
manner.
▶ Take the appliance out of the packaging.
▶ Remove all packaging materials.
Environmental conditions
The room temperature should always be between 10° C and 43° C, since it can inuence the temperature
inside the appliance and its energy consumption. Do not install the appliance near other heat-emitting
appliances (ovens, refrigerators) without insulation.
Space recommendation
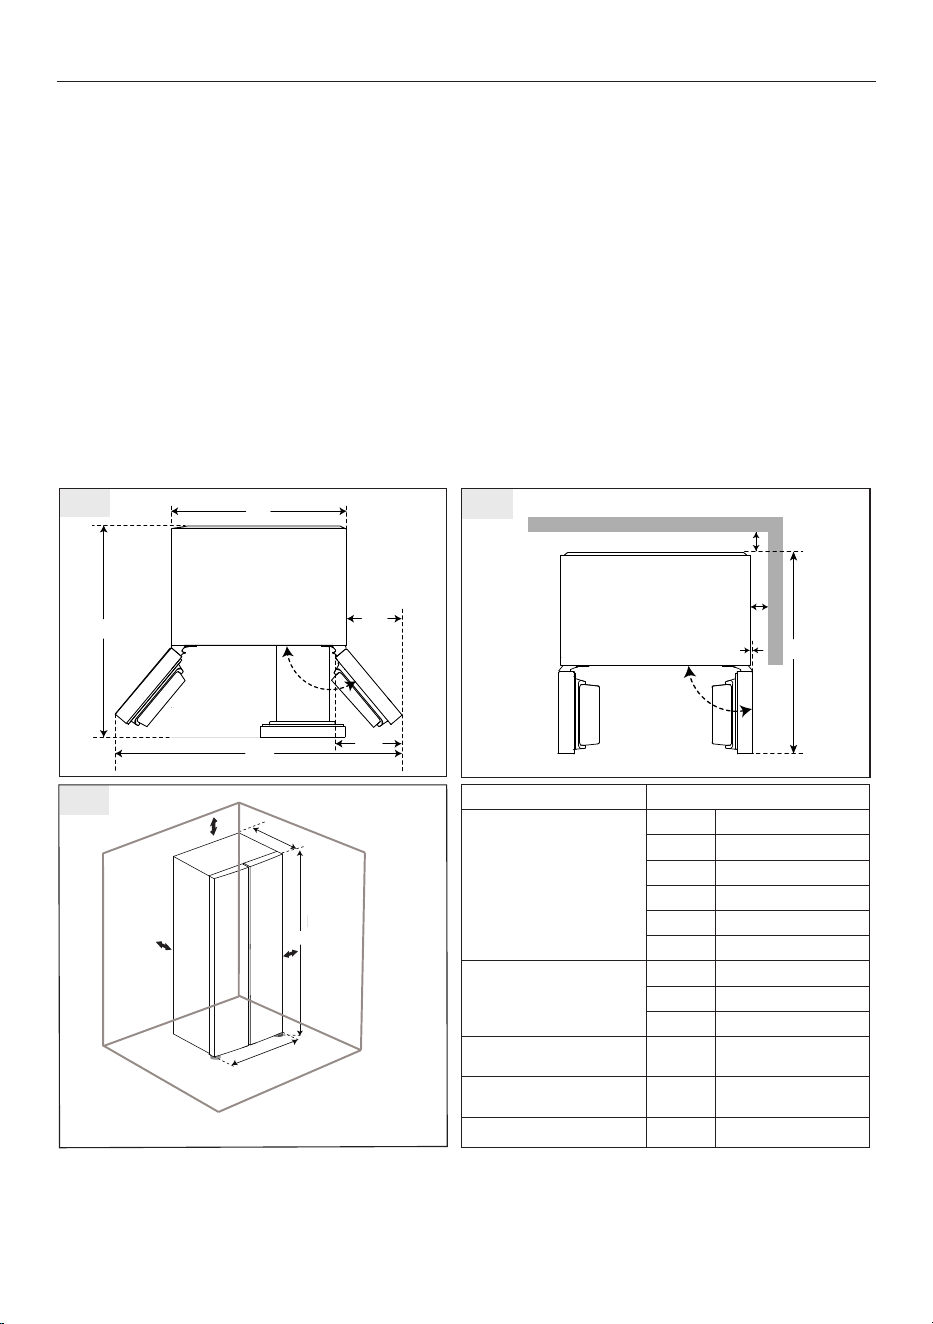
Recommended clearance when door is opened (Fig. 1.2.)
3.
1.
142
W3
W1
W4
D1
W2
H
D
>5cm
>5cm
>5cm
W
2.
A
D2
B
W5
90°
(Unit : mm) HRF523XHG
Width
W1 905
W2 381
W3 451
W4 1579
W5 20.5
W 908
Depth
D1 1005
D2 1103
D 647
Distance to
back wall
A >50
Distance to
lateral walls
B >50
Overall Height H 1775
10
INSTALLATION
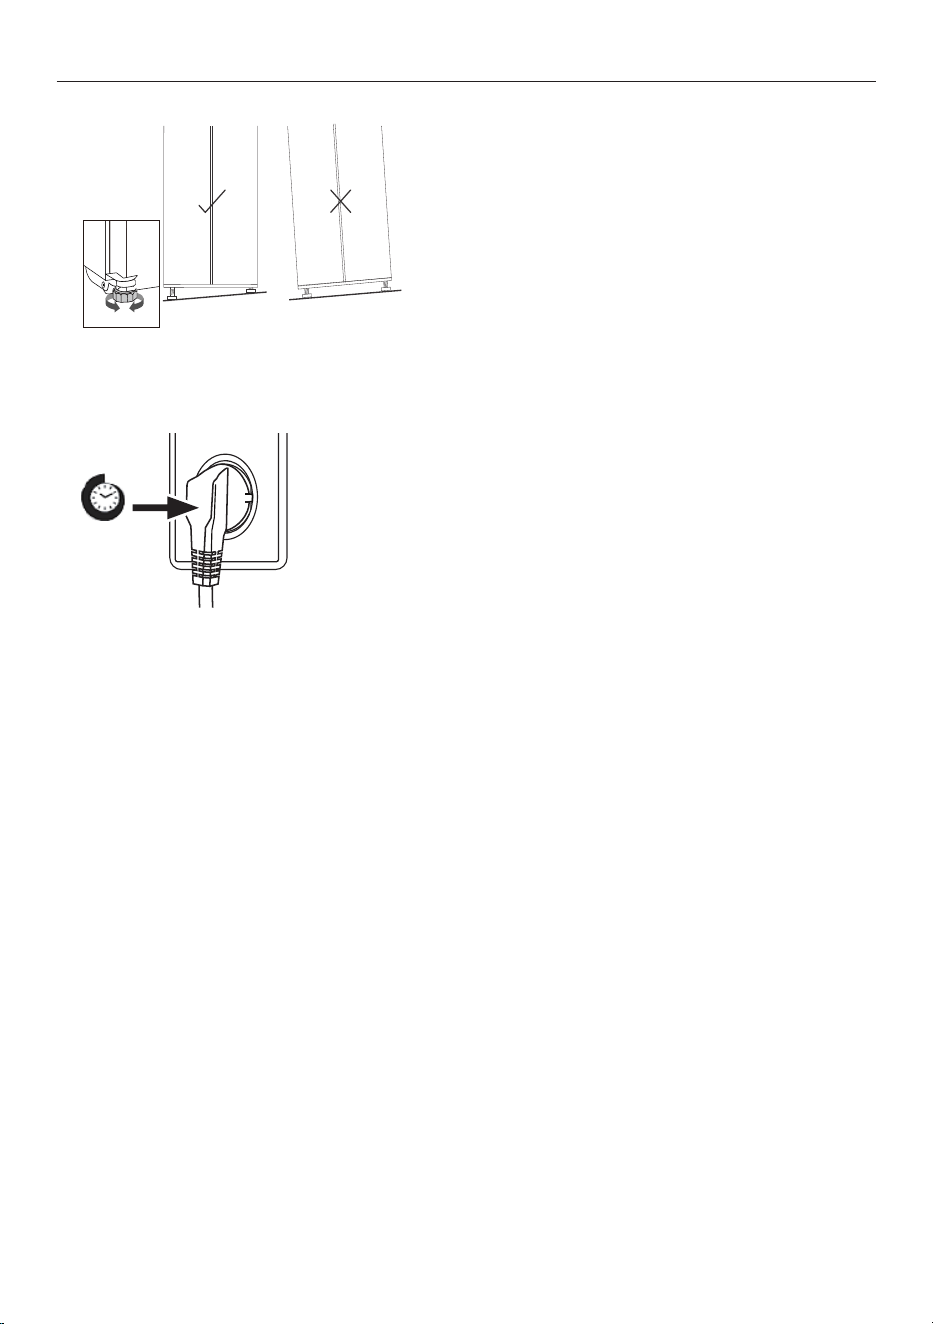
Aligning the appliance
The appliance should be placed on a at and solid
surface.
NOTICE
For a free standing appliance: this refrigerating appliance is not intended to be used as a built-in
appliance
Electrical connection
Before connecting, check:
- Power supply matches the specications on the rating
plate
- Power plug matches the power socket
WARNING!
To avoid risks a damaged power cord must be replaced by the customer service (see warranty
card).
2 h
11
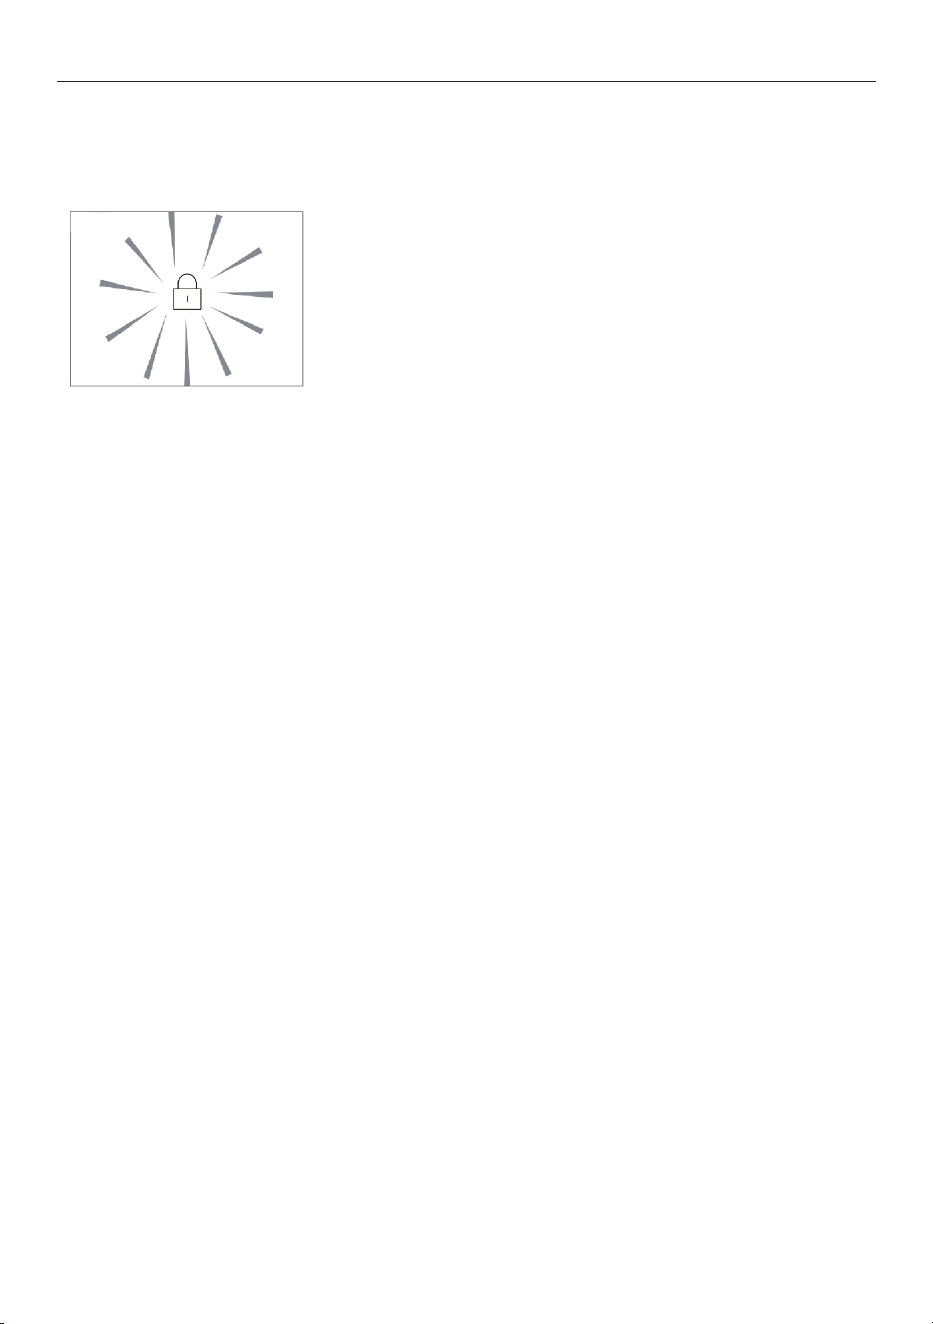
Lock / Unlock Control Panel
- The control panel is automatically locked if no key is touched
for 30 seconds. It will need to be unlocked to access any function
aside from the water dispenser.
- While in a locked state, hold key "3s unlock" for 3 seconds to
unlock the Control Panel.
- While in an unlocked state, hold key "3s unlock" for 3 seconds
to lock the Control Panel. Alternatively, if no key is touched for
30 seconds, it will also automatically lock.
FIRST USE
Remove all packaging materials, keep them out of children's reach and dispose of them in an environ-
mentally friendly manner.
Clean the inside and outside of the appliance with water and mild detergent. Dry well with a soft cloth.
Connect product to a power supply and ensure compartments are cold before loading with food.
Standby Mode
The display turns o automatically if no key is touched for 30 seconds and goes into a locked state. It
will light up again if any key is touched or one of the doors is opened.
Door Alarm
When a door is leftopen for more than 3 minutes, the door alarm will sound. The alarm will turn o
12
SETTING THE TEMPERATURE
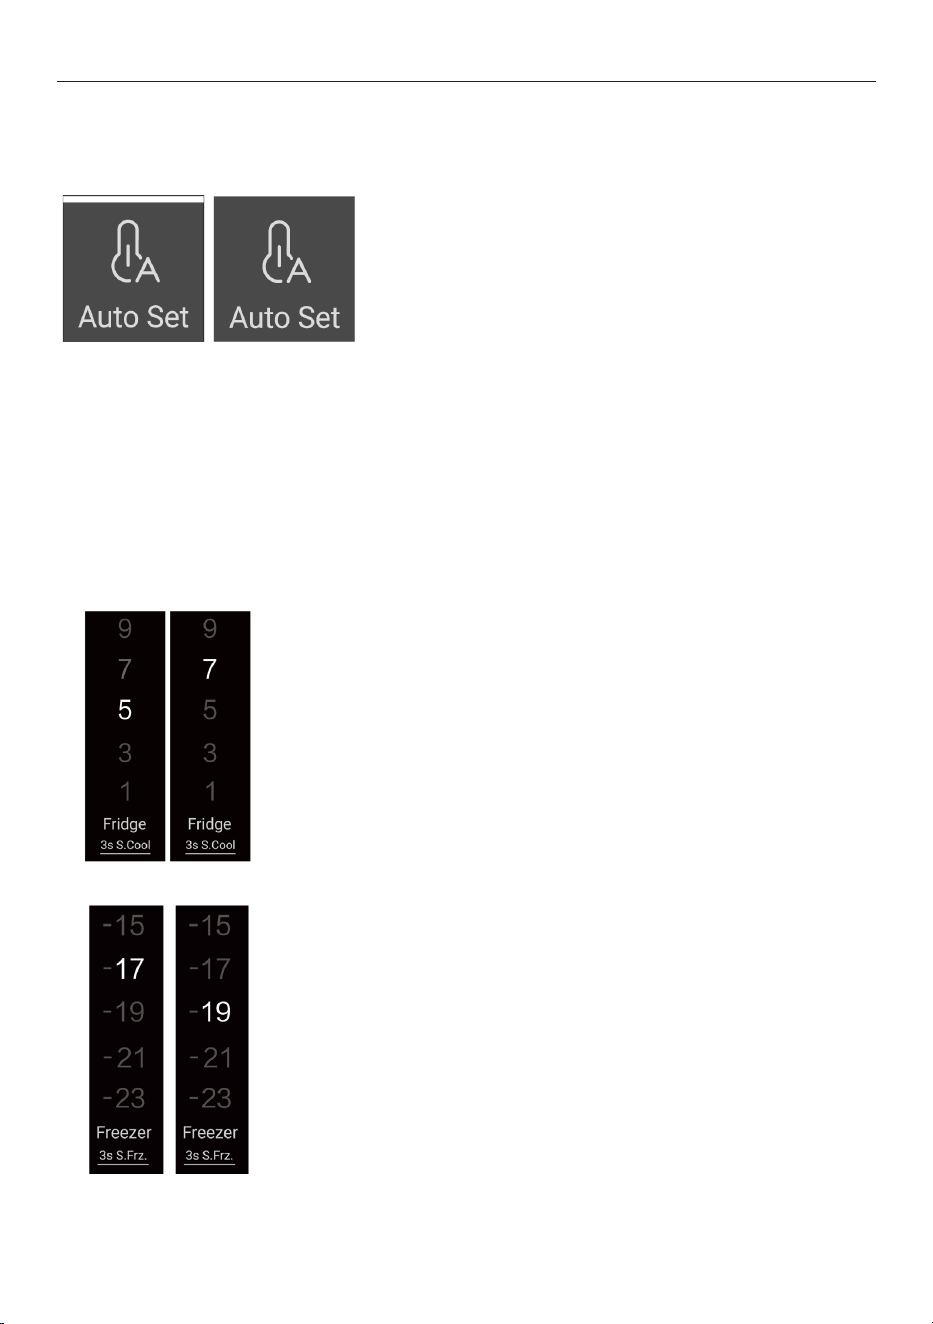
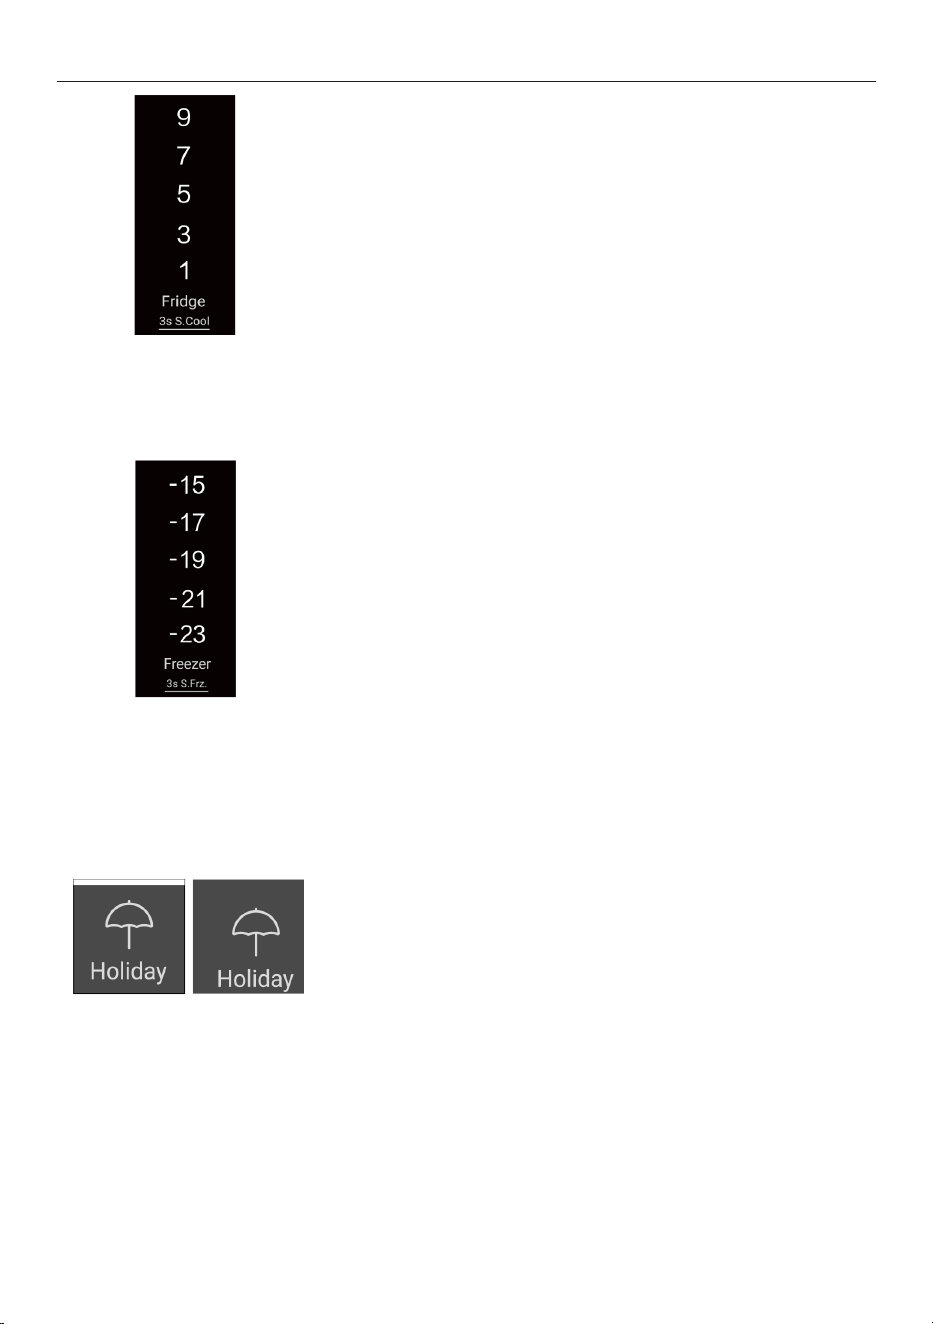
Adjust the temperature of the fridge
1. Unlock the panel by touching key “3s.unlock” for 3 seconds if it is
locked.
2. Touch key “Fridge” to select the fridge compartment. The tempera-
ture in the fridge compartment starts ashing.
3. Touch key “Fridge” repeatedly until the desired temperature is ash-
ing.A signal will sound at each key touch.
4. The temperature decreases in sequences of 2°C from a maximum of
9°C to a minimum of 1°C. The optimum temperature in the fridge is 5°C.
Colder temperatures mean unnecessary energy consumption.
5. Touch any key except “Fridge" to conrm, or the setting conrms
automatically after 5 seconds. The displayed temperature stops ash-
ing.
Adjusting the freezer temperature
1. Unlock the control panel by holding "3s unlock" if it is locked.
2. Press the "Freezer" key to select the freezer compartment. The tem-
perature of the freezer compartment will begin flashing.
3. Press the "Freezer" key repeatedly until the desired temperature is
reached.
4. Press any key other than "Freezer" to confirm, or it will automatically
confirm after 5 seconds and the displayed temperature will stop flashing.
Manual adjusting mode
If you want to manually adjust the temperature of the appliance in order to store a particular food,
you can set the temperature via a temperature adjusting key
Note: The temperature cannot be adjusted manually if any other function (Super Cool, Super
Freezer, Holiday, Auto Set) is activated or display is locked.
There are two ways to set the temperature of the appliance.
Auto Set Mode
The appliance automatically adjusts the temperature setting
based on the ambient temperature and temperature change in
the appliance. In this mode, the temperature of the fridge and
freezer cannot be adjusted manually.
To enter Auto Set Mode:
1. Unlock the control panel by holding "3s unlock" if it is locked
2. Press "Auto Set" key
3. The "Auto Set" indicator will light up when the function is
activated.
Pressing the Auto Set key again or selecting any of the
other functions (Holiday, Super Freeze, Super Cool)
will switch o Auto Set Mode.
NOTICE
In Auto Set mode, the temperature of the fridge and freezer cannot be adjusted manually.
13
SPECIAL FUNCTIONS
Super Cool Function
This function is recommended if you plan to add a large quantity of
food to the fridge.
To enter Super Cool:
1. Unlock the control panel by holding "3s unlock" if it is locked
2. Hold the "3s S.Cool" key for 3 seconds
3. The fridge temperature Indicators will light up to show the func-
tion is activated.
Holding the "3s S.Cool" key again or selecting Holiday function will
switch o Super Cool Mode. It will also automatically switch o after
~6 hours.
Super Freeze Function
This function is recommended if you want to freeze food as quickly as
possible. If you need to freeze a large amount of food, it is recom-
mended to set the Super Freeze function 24 hours before loading the
food.
To enter Super Freeze:
1. Unlock the control panel by holding "3s unlock" if it is locked
2. Hold the "3s S.Frz" key for 3 seconds
3. The freezer temperature Indicators will light up to show the func-
tion is activated.
Holding the "3s S.Frz" key again for 3s or selecting Auto Set Mode
will switch o Super Freeze Mode. It will also automatically switch o
after ~50 hours.
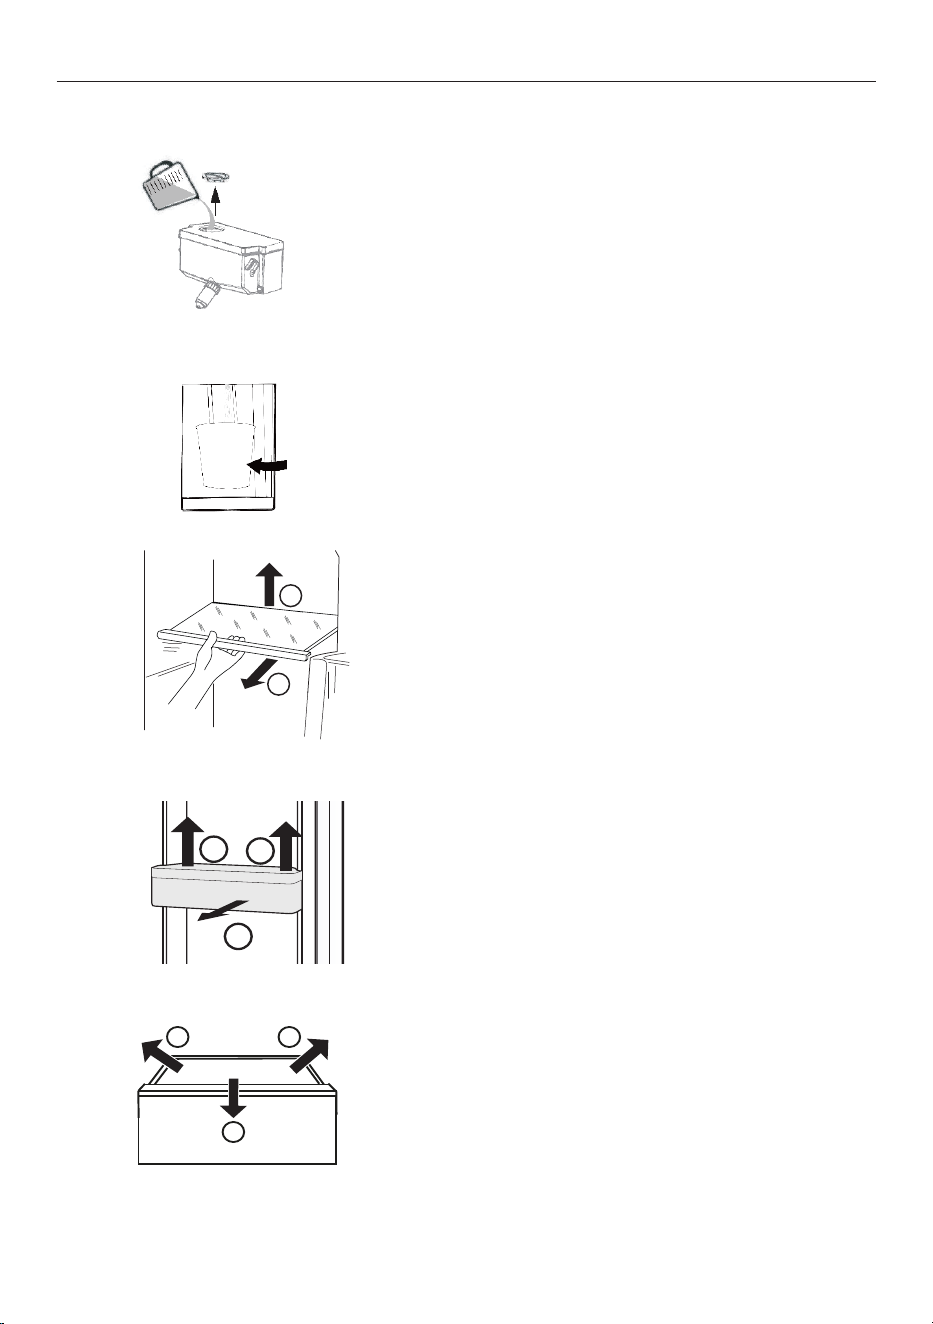
Holiday Function
This function sets the fridge temperature to 9°C. This is intended for
an empty fridge to prevent odours, not for food storage. The freezer
compartment is not aected by this setting.
To enter Holiday function:
1. Unlock the control panel by holding "3s unlock" if it is locked
2. Press the "Holiday" key
3. The Holiday icon lights up to show Holiday function is activated
Pressing Holiday key again switches o the function.
Warning: No food should be stored in the fridge compartment when
Holiday function is activated as 9°C is unsafe for food storage.
14
CARE AND CLEANING
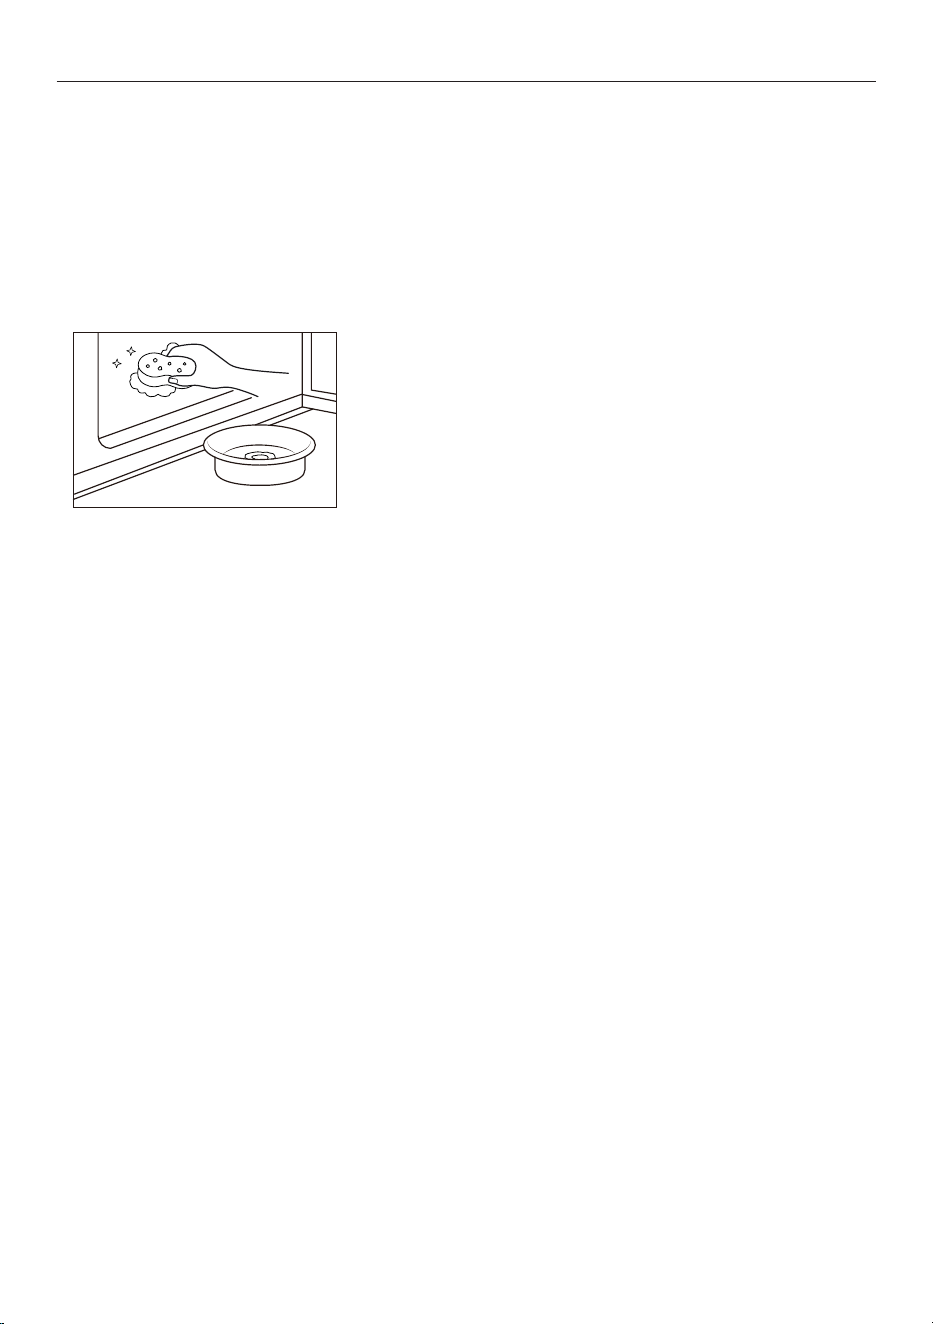
Filling the water tank
1. Rotate and lift the round lid and l the water tank
up with drinking water. No other liquids should be
used.
2. Fill water only up to a maximum of 2.5L as there
is risk of overow when lled above this level.
3. Regularly clean the tank and replace the water.
Dispensing Water
1. Place glass underneath the water outlet.
2. Push the glass gently against the water dispenser
paddle to dispense water.
Water dispenser
The water tank should be cleaned before rst use-see "Care and Cleaning" section.
Removing Drawers
1. To remove the drawer, pull it out to its full exten-
sion, then lift and remove.
2. Repeat step 1 in reverse order to re-insert.
Adjusting Shelves
The height of the shelves can be adjusted based on
your storage needs.
1. To remove the shelf, lift it up by its rear edge and
then pull it out.
2. To reinstall, place it on the lugs on both sides and
push it back until the shelf stays in place.
Removing Door Shelves
The door shelves can be removed for cleaning.
1. To remove the door shelves, hold both sides of the
shelf and lift it up (1) and pull it out (2).
2. Repeat step 1 in reverse order to re-inserted.
2
1
1
2
1
1
2 2
15
CARE AND CLEANING
Tips
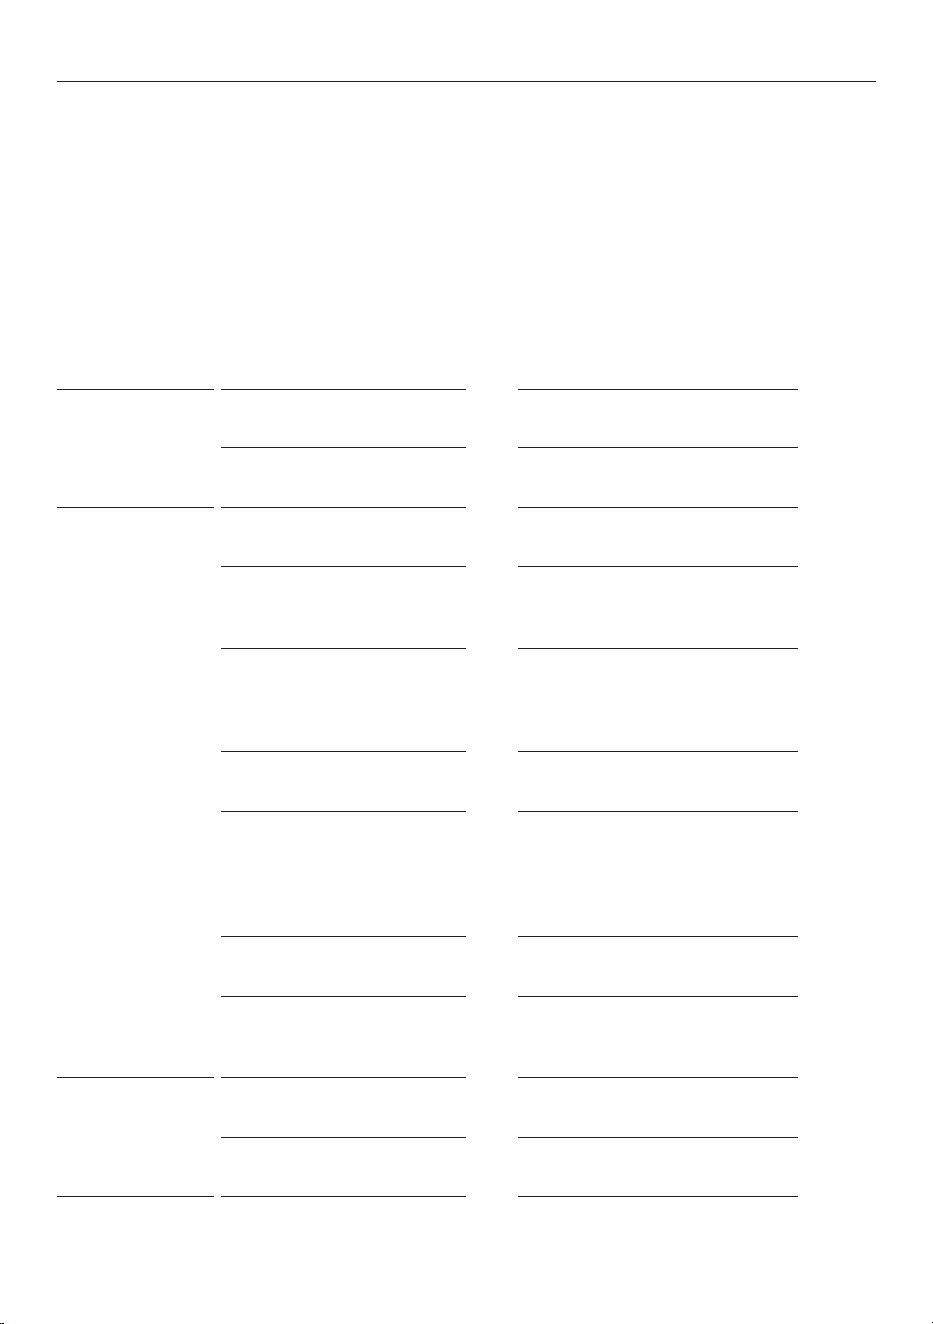
- Use a sponge or cloth, cleaning the interior, exteriors, and
gasket.
- Take care with cleaning the freezer compartment, as wet hands
may freeze onto the surface.
- Do not clean the appliance with hard brushes, wire brushes,
acidic or alkaline solution.
- Do not clean any parts of the appliance in a dishwasher.
WARNING!
Disconnect the appliance from the power supply before cleaning.
Cleaning
1. Clean the appliance when only little or no food is stored.
2. The appliance should be cleaned every four weeks for good maintenance and to prevent bad stored
food odors.
Defrosting
The defrosting of the refrigerator and the freezer comhpartment are done automatically, no manual
operation is needed.
16
TROUBLESHOOTING
Overview
Many occuring problems could be solved by yourself without specic expertise. In case of a problem please
check all shown possibilities and follow below instructions before you contact an after sales service. See
CUSTOMER SERVICE.
WARNING!
▶ Before maintenance, deactivate the appliance and disconnect the mains plug from the mains socket.
▶ Electrical equipment should be serviced only by qualied electrical experts, because improper repairs
can cause considerable consequential damages.
▶ A damaged supply should only be replaced by the manufacturer, its service agent or similarly qualied
persons in order to avoid a hazard.
PROBLEM POSSIBLE CAUSES WHAT TO DO
The compressor
does not work.
Mains plug is not connected in
the mains socket.
Connect the mains plug.
The appliance is in the
defrosting cycle
This is normal for an automatic
defrosting
The appliance runs
frequently or runs
for a too long period
of time.
The indoor or outdoor temper-
ature is too high.
In this case, it is normal for the appli-
ance to run longer.
The appliance has been o
power for a period of time.
Normally, it takes 8 to 12 hours for
the appliance to cool down com-
pletely.
A door of the appliance is not
tightly closed.
Close the door/drawer and ensure
the appliance is located on a level
ground and there is no food or con-
tainer jarring the door.
The door has been opened too
frequently or for too long.
Do not open the door/drawer too
frequently.
The temperature setting for the
freezer compartment is too low.
Set the temperature higher until a
satisfactory refrigerator tempera-
ture is obtained. It takes 24 hours
for the refrigerator temperature to
become stable.
The door gasket is dirty, worn,
cracked or mismatched.
Clean the door/drawer gasket or re-
place them by the customer service.
The clearance gaps around the
product are insucient
for air circulation.
Ensure recommended clearance
around the appliance.
The inside of the
refrigerator is dirty
and/or smells.
The inside of the refrigerator
needs cleaning.
Clean the inside of the refrigerator.
Food of strong odour is stored
in the refrigerator.
Wrap or seal food tightly.
17
TROUBLESHOOTING
It is not cold
enough inside the
appliance.
The temperature is set too high. Set a lower temperature.
Too warm goods has been
stored.
Allow goods to cool prior to putting
into the fridge.
Too much food has been stored
at one time.
Store food in small quantities.
The goods are too close to each
other.
Leave gaps between stored food to
allow air ow.
A door/drawer of the appliance
is not tightly closed.
Close the door/drawer.
The door/drawer has been
opened too frequently or for
too long.
Do not open the door/drawer too
frequently.
It is too cold inside
the appliance.
The temperature is set too low. Set a higher temperature
The Super-Frz/Super-Coolfunc-
tion is activated or is running
too long.
Switch o the Super-Frz/Super-Cool
function
Moisture forma-
tion on the inside
of the refrigerator
compartment.
The climate is too warm and
toodamp.
Increase the temperature.
A door/drawer of the appliance
is not tightly closed.
Close the door/drawer.
The door/drawer has been
opened too frequently or for
too long.
Do not open the door/drawer too
frequently.
Food containers or liquids are
left open.
Let hot foods cool to room tempera-
ture and cover foods and liquids.
Moisture accumu-
lates on the refrig-
erators outside
surface or between
the doors/door and
drawer.
The climate is too warm and too
damp.
This is normal in damp climate and will
change when the humidity decreases.
The door is not closed tightly.
The cold air in the appliance
and the warm air outside it
condensates.
Ensure that the door/drawer is tightly
shut.
PROBLEM POSSIBLE CAUSES WHAT TO DO
18
TROUBLESHOOTING
Ice and frost build-
up in the freezer
compartment.
The goods were not adequate-
ly packaged .
Always pack the goods well.
A door/drawer of the appliance
is not tightly closed.
Close the door/drawer.
The door/drawer has been
opened too frequently or for
too long.
Do not open the door/drawer too
frequently.
The door/drawer gasket is
dirty, worn, cracked or mis-
matched.
Clean the door/drawer gasket or
replace them.
Something on the inside
prevents the door/drawer from
closing properly.
Reposition the shelves, door racks, or
internal containers to allow the door/
drawer to close.
The sides of the
cabinet and door
strip get warm.
This is normal.
The appliance
makes abnormal
sounds.
The appliance is not located on
level ground.
Adjust the feet to level the appliance.
The appliance touches some
object around it.
Remove objects around the appliance.
A slight sound is
to be heard similar
to that of owing
water.
This is normal.
Power interruption
In the event of a power cut, food should remain safely cold for about 5 hours. Follow these tips during a
prolonged power interruption, especially in summer:
▶ Open the door/drawer as few times as possible.
▶ Do not put additional food into the appliance during a power interruption.
▶ If prior notice of a power interruption is given and the interruption duration is longer than 5 hours,
make some ice and put it in a container in the top of the refrigerator compartment.
▶ An inspection of the goods is required immediately after the interruption.
▶ As temperature in the refrigerator will rise during a power interruption or other failure, the storage
period and edible quality of food will be reduced. Any food that defrosts should be either consumed,
or cooked and refrozen (where suitable) soon afterwards in order to prevent health risks.
PROBLEM POSSIBLE CAUSES WHAT TO DO
19
TECHNICAL DATA
Brand Haier
Model name / identier HRF523XHG
Category of the model
Refrigerator-freezer
Energy eciency class 4.5 STARS
Annual energy consumption(kWh/year)(1) 368
Total volume(L) 523
Volume refrigerator(L) 331
Volume freezer(L) 170
Volume of two star(L)
22
Temperature of other compartments>14°C
Non applicable
Frost-free system
Yes
Freezing capacity(kg/24h)
10
Climate rating(2)
T
Noise emission class and airborne acoustical noise emis-
sions(db(A) re 1pW)
C(38)
Temperature rise time (h)
6
Type of appliance
freestanding
Explanations:
(1) Based on the results of the standards conformance test over 24 hours. The actual
consumption depends on the use and the location of the appliance.
(2) Climate rating SN: This appliance is intended for use in an ambient temperature of
between + 10°C and +32°C
Climate rating N: This appliance is intended for use in an ambient temperature of
between + 16°C and +32°C
Climate rating ST: This appliance is intended for use in an ambient temperature of
between + 16°C and +38°C
Climate rating T: This appliance is intended for use in an ambient temperature of
between + 16°C and +43°C
Voltage / Frequency 220-240V ~/ 50Hz
Input current (A)
1.8
Coolant R600a
Dimensions (H/W/D in mm)
1775 / 908 / 647
Additional technical data
20
MANUFACTURER'S WARRANTY
Please read this warranty card carefully. Attach your purchase receipt to this warranty card and keep in a
safe place. You must produce both warranty card and proof of purchase in the event of a warranty repair
being required.
When you purchase any new Haier Product you automatically receive a two year Manufacturer's Warranty
covering parts and labour for servicing.
The Manufacturer undertakes to:
Repair or, at its option, replace without cost to the owner either for material or labour any part of the
Product, the serial number of which appears on the Product, which is found to be defective within TWO
YEARS from the date of purchase.
This warranty DOES NOT cover:
A Service calls which are not related to any defect in the Product. The cost of a service call will be charged
if the problem is not found to be a Product related fault. For example:
1 Correct the installation of the product.
2 Provide Instruction on use of the product or change the setup of the product.
3 Replace house fuses or correct house wiring.
4 Correcting faults) caused by the user.
5 Noise or vibration that is considered normal.
6 Water on the floor due to incorrect loading or excessive suds.
7 Blocked pumps, removal of foreign objects/substances from the machine, including the pump and
inlet house filters.
8 Correcting damage caused by pests, eg. rats, cockroaches etc.
9 Correct corrosion or discolouration due to chemical attack.
!0 Power outages or surges.
B Defects caused by factors other than:
1 Normal domestic use or
2 Use in accordance with the Product's User Guide.
C Defects to the Product caused by accident, neglect, misuse or 'Act of God'.
D The cost of repairs carried out by non-authorised repairers or the cost of correcting such
unauthorised repairs.
E Normal recommended maintenance as set out in the Product's User Guide.
F Repairs when the appliance has been dismantled, repaired or serviced by other than an AUTHORISED
CUSTOMER SERVICE CENTRE or the selling dealer.
G Pick up and delivery.
H Transportation or travelling costs involved in the repair when the product is installed outside the
AUTHORISED CUSTOMER SERVICE CENTRE'S normal service area.
This product has been designed for use in a normal domestic environment. It is not intended for
commercial use. Doing so may affect product warranty.
Service under this warranty must be provided by an Authorised Service Repairer (refer to the Customer
Care section for contact details). Such service shall be provided during normal business hours. This
warranty certificate should be shown when making any claim.
21
MANUFACTURER'S WARRANTY
Note:
This Warranty is an extra benefit and does not affect your legal rights and applies only to product
purchased in New Zealand and Australia. Please keep this Warranty Card in a safe place.
For Australian customers:
Our goods come with guarantees that cannot be excluded under the Australian Consumer Law. You are
entitled to a replacement or refund for a major failure and for compensation for any other reasonably
foreseeable loss or damage. You are also entitled to have the goods repaired or replaced if the goods fail to
be of acceptable quality and the failure does not amount to a major failure.
22
CUSTOMER SERVICE
We recommend our Haier Customer Service and the use of original spare parts.
If you have a problem with your appliance, please first check TROUBLESHOOTING. If you cannot find a
solution there, please contact:
z
Your local dealer
z
The Service & Support area at
www.haier.com.au or
www.haier.co.nz
where you can activate the service claim and also find FAQs.
To contact our Service, ensure that you have the following data available.
The information can be found on the rating plate at the door.
Model
Serial No.
Complete and keep for safe reference:
Model
Serial No.
Purchase Date
Purchaser
Dealer
Suburb
To w n
Country
0060543585
WWW.HAIER.COM.AU
WWW.HAIER.CO.NZ