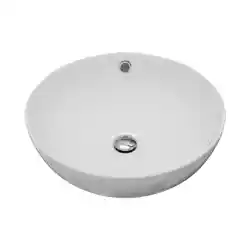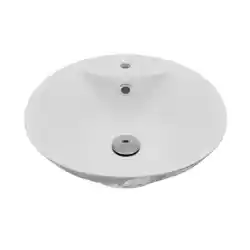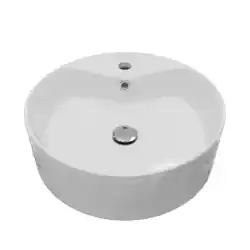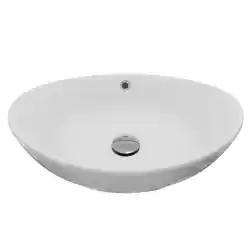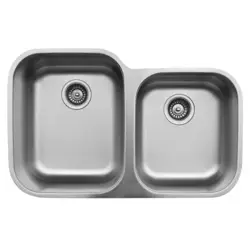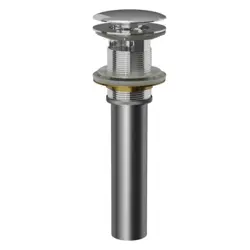
PUOF25 - DIAGRAM AND PARTS BREAKDOWN
STEP TWO
Install the drain body (a), with the rubber washer (b)
attached, into the drain hole of the vanity bowl.
From underneath the bowl, attach concave washer (c)
(narrow end facing up), plastic washer (d)
and mounting nut (e) to drain body (a).
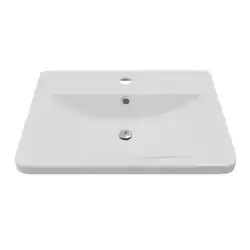
SPECIFICATIONS
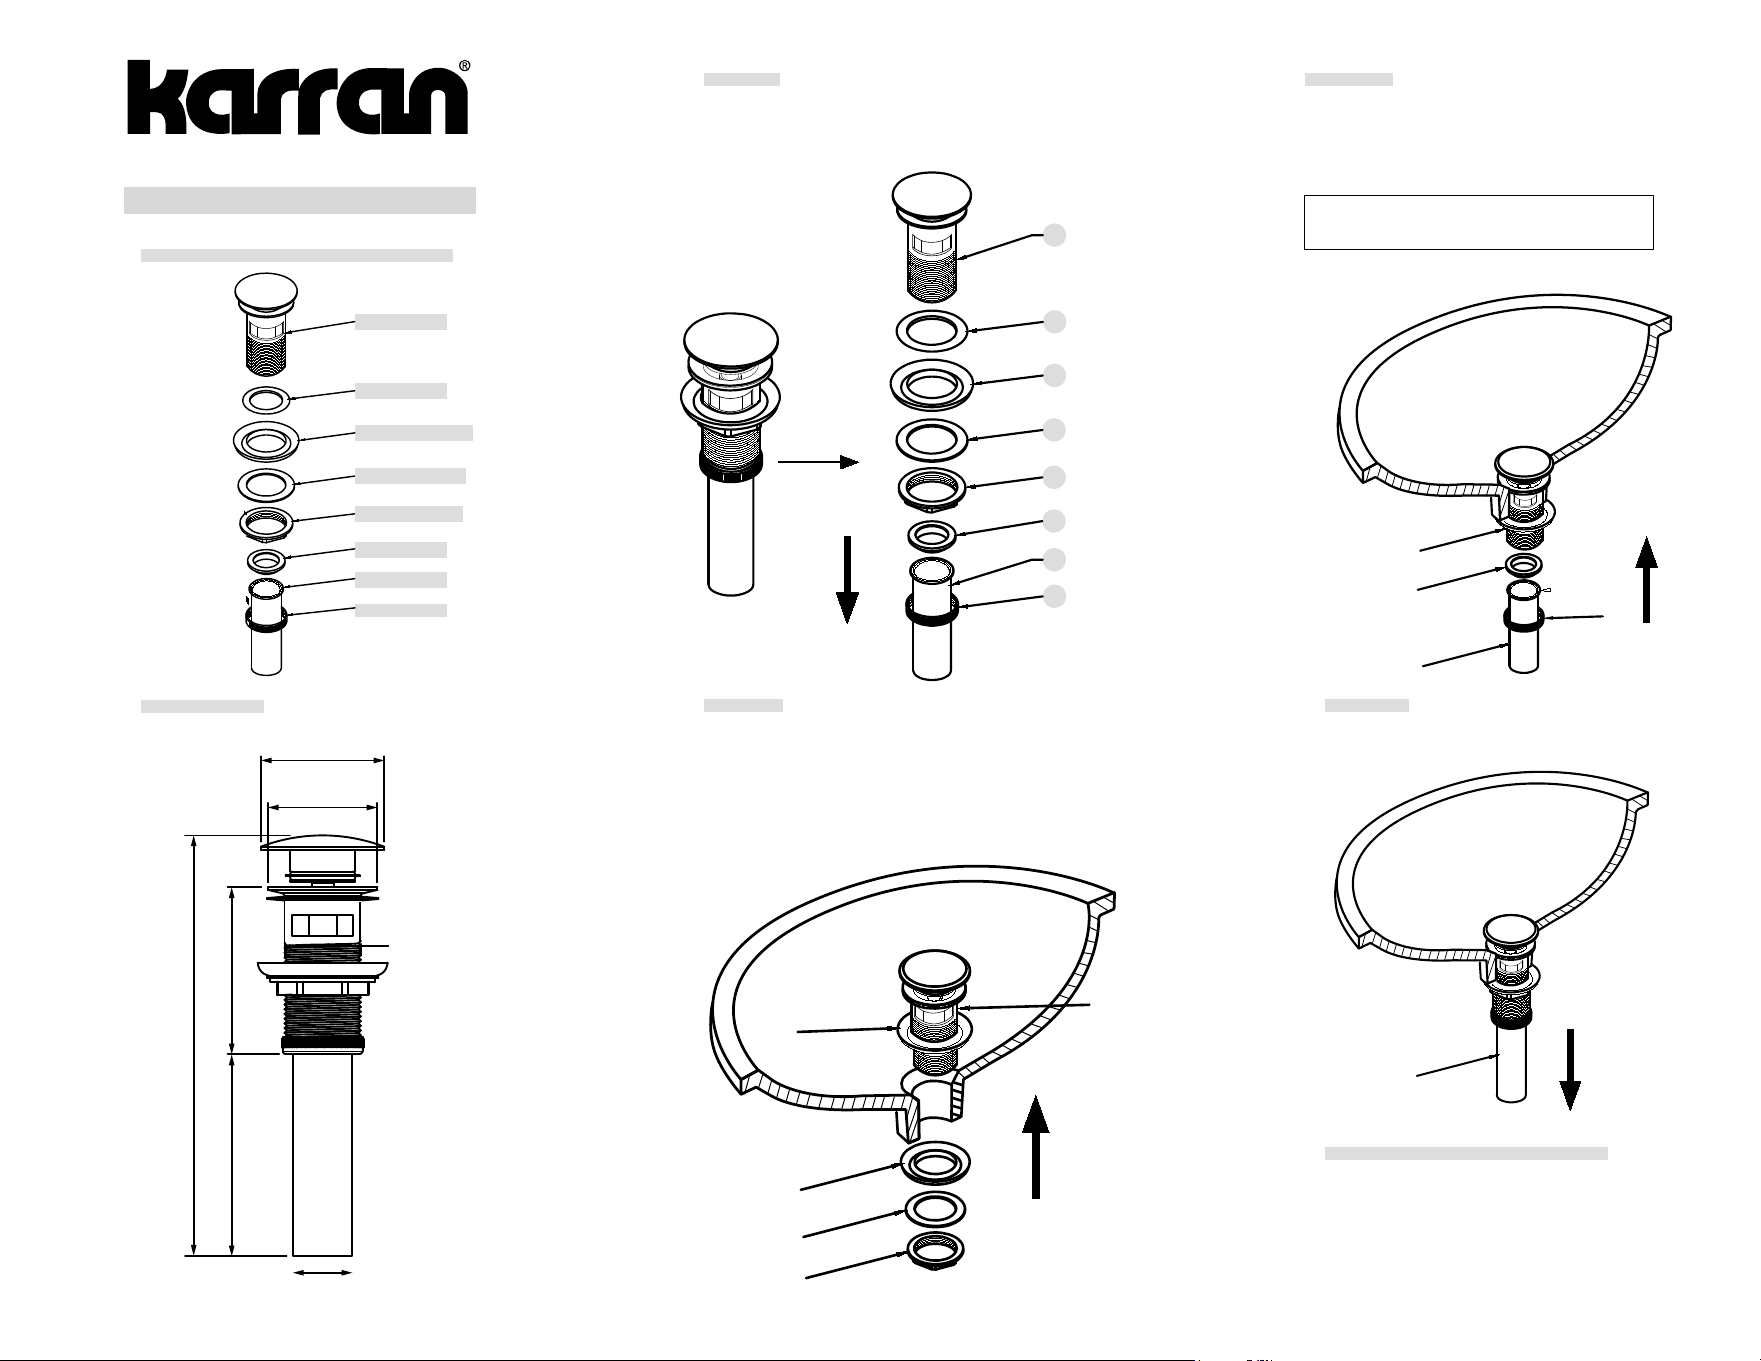
STEP ONE
Begin by removing the nut (h), tailpiece (g), mounting
nut (e), plastic washer (d) and concave washer (c)
from the drain body (a).
Note to Installer: Make sure tailpipe washer (f)
is installed into the tailpiece.
CARE & MAINTENANCE INSTRUCTIONS
To keep your drain clean & functioning correctly,
please follow these steps below:
1. Rinse with clean water & dry with a soft cloth.
2. Do not clean with acid, polish, abrasives
or harsh cleaners on your drain.
3. Do not use abrasive scouring pads.
a
b
c
d
Drain Body
Thin Gasket
Concave Gasket
Plastic Washer
Mounting Nut
Gasket
Tailpiece
Nut
e
f
g
h
a
b
c
d
e
f
g
h
h
e
f
g
a
b
c
d
e
g
STEP FOUR
Connect the tailpiece (g) to the p-trap.
PUOF25
STEP THREE
Tighten the mounting nut (e) with an adjustable
wrench until snug. Thread connector (h) with
tailpipe (g) attached, onto the drain body (a) and
hand-tighten.
M41 x 1½”
3 ½"4"
8 ⅝"
2 ½"
1 ¼"
2 ⅝"
1 ⅝"
INSPIRED FOR LIVING
™
Installation Instructions