Rev 1.0
Page
1
of 3
IT-AC-SCREEN Smart Climate Controller (AC)
Installation and User Instruction
Overview
This document provides an overview of the Touch Screen IT-AC-SCREEN operations. The IT-AC-SCREEN can communicate with
various devices to establish an automated control system for QuietCool whole-house fans.
Key Specifications
IT-AC-SCREEN (Screen):
Electrical Ratings: DC12V
Power supply mode: Powered by the network cable from IT-AC-HUB
Purpose of Control: Operating Control
Pollution Degree 2,
Rated Impulse Voltage: 330 V,
Construction of control: Independently Mounted Control
Type 1 Action
Operating ambient temperature:0℃~+40℃
Warning:
- Disconnect power at the circuit breaker
before installing or servicing
- Use wires rated at least 105*C – copper
only
- Installation/wiring must be in accordance
with national and local code regulations
- Keep the enclosure cover closed at all
times when not servicing.
- Cover all unused wires with a wire
connector
FCC Regulations
FCC Supplier’s Declaration of Conformity
Unique Identifier: IT-AC-SCREEN
Responsible Party: QC Manufacturing Inc. 26040 Ynez Rd. Temecula
CA 92591
Tel:951-325-6340
FCC RF Radiation Exposure Statement:
This equipment complies with FCC radiation exposure limits set forth
for an uncontrolled environment. This equipment should be installed
and operated with a minimum distance of 20cm between the radiator
and any part of your body.
FCC Compliance Statement
This device complies with Part 15 of the FCC Rules. Operation is
subject to the following two conditions:(1) this device may not cause
harmful interference, and (2) this device must accept any interference
received, including interference that may cause undesired operation.
Caution: changes or modifications not expressly approved by the party
responsible for compliance could void the user’s authority to operate
the equipment.
Note: This equipment has been tested and found to comply with the
limits for a Class B digital device, pursuant to part 15 of the FCC Rules.
These limits are designed to provide reasonable protection against
harmful interference in a residential installation. This equipment
generates, uses and can radiate radio frequency energy and, if not
installed and used in accordance with the instructions, may cause
harmful interference to radio communications. However, there is no
guarantee that interference will not occur in a particular installation. If
this equipment does cause harmful interference to radio or television
reception, which can be determined by turning the equipment off and on,
the user is encouraged to try to correct the interference by one or more
of the following measures:
Rev 1.0
Page
2
of 3
—Reorient or relocate the receiving antenna.
—Increase the separation between the equipment and receiver.
—Connect the equipment into an outlet on a circuit different from that to
which the receiver is connected.
—Consult the dealer or an experienced radio/TV technician for help.
IC Statement:
This device contains licence-exempt transmitter(s)/receiver(s) that
comply with Innovation, Science and Economic Development Canada’
s licence-exempt RSS(s). Operation is subject to the following two
conditions:
(1) This device may not cause interference.
(2) This device must accept any interference, including interference that
may cause undesired operation of the device.
L'émetteur/récepteur exempt de licence contenu dans le présent
appareil est conforme aux
CNR d'Innovation, Sciences et Développement économique Canada
applicables aux appareils radio exempts de licence. L'exploitation est
autorisée aux deux conditions suivantes :
1) L'appareil ne doit pas produire de brouillage;
2) L'appareil doit accepter tout brouillage radioélectrique subi, même si
le brouillage est susceptible d'en compromettre le fonctionnement.
This equipment complies with IC RSS-102 radiation exposure limits set
forth for an uncontrolled environment. This equipment should be
installed and operated with a minimum distance of 20cm between the
radiator and any part of your body.
Pour se conformer aux exigences de conformité CNR 102 RF
exposition, une distance de séparation d'au moins 20 cm doit être
maintenue entre l'antenne de cet appareil ettoutes les personnes.
Installation
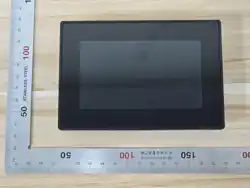
IT-AC-SCREEN (Touch Screen):
(Please switch off main power before wiring. The installation should be
done by qualified personnel only)
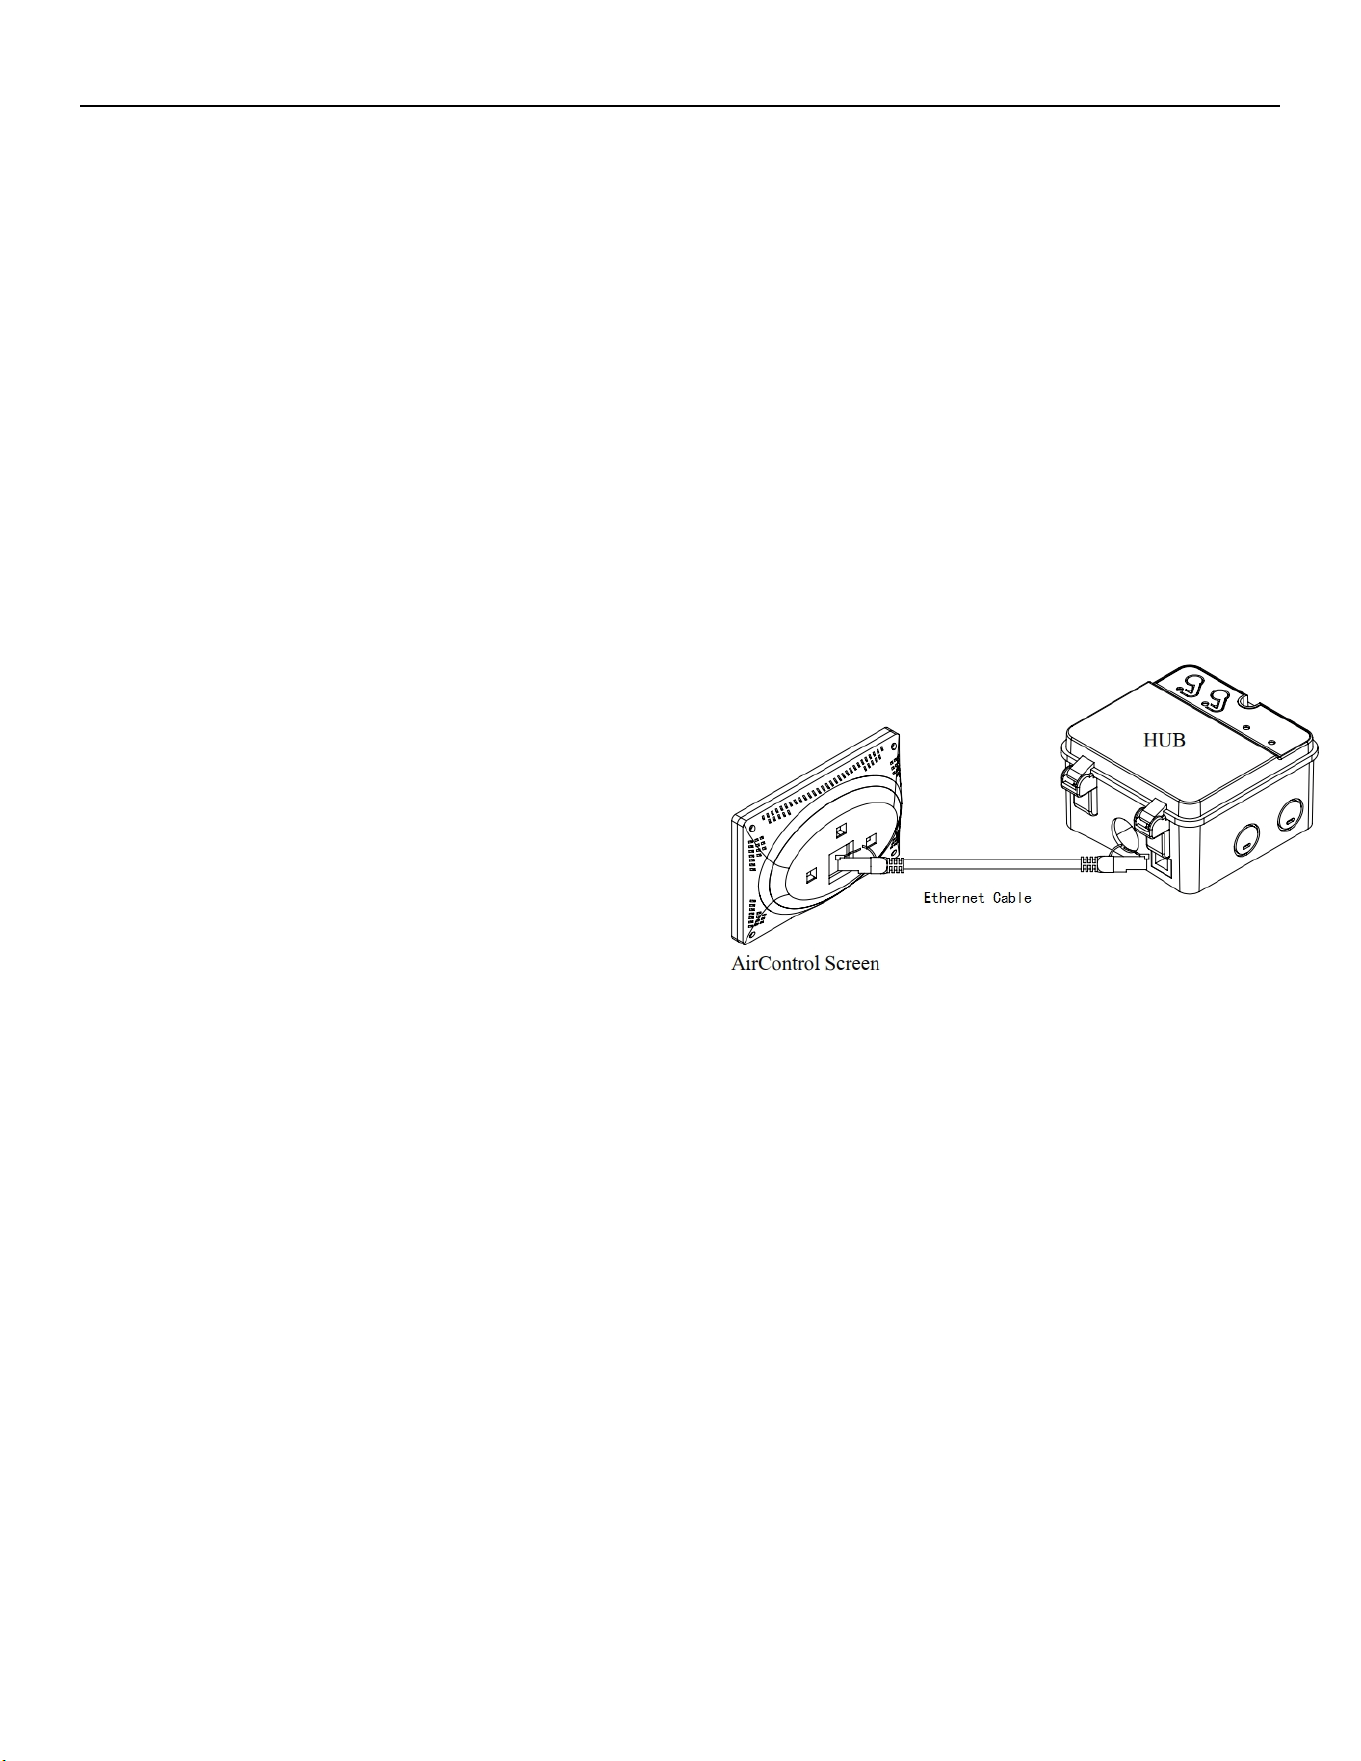
Choose a suitable installation position and securely mount the back
mounting plate. Insert the Ethernet cable connector into the
corresponding port on the rear of the IT-AC-SCREEN device. Hang the
IT-AC-SCREEN onto the installed mounting plate, ensuring it is firmly
seated.
Operation
First-Time Setup (After Power-On)
Upon initial use after connecting to power, the user can choose between two setup methods:
1. Continue without Mobile Device:
Available Modes: RUN mode and TIMER mode. These offer simple, easy-to-use functionality.
Display: Shows real-time indoor and attic temperatures.
2. Setup with Mobile Device:
Access to the Google Store or Apple Store to download the latest QuietCool AirControl App.
Available Modes: RUN, TIMER, AUTO, and ECO modes.
Operating Modes:
RUN Mode: The fan operates continuously at the user-set speed. It can be manually turned off by switching to OFF mode.
Note for 1-Speed Fans: The speed setting has no effect; the fan will always run at High (H) speed.
TIMER Mode: The user can set the fan to run for a duration of 1 to 12 hours. The fan will automatically turn off once the timer ends.
AUTO / ECO Mode: Controls the fan based on user-preset temperature and humidity thresholds.

Rev 1.0
Page
3
of 3
Settings Configuration (via Mobile App):
Temperature Settings: Set preset values for indoor/outdoor temperature and indoor humidity: Cooling/Heating Start Point, Cooling/Heating Turn Off,
and Humidity Turn Off.
Adjust Speed Temperatures: Define the corresponding temperature thresholds for each fan speed.
Temperature Offset: Calibrate the indoor temperature sensor reading for greater accuracy.
Operation:
In AUTO mode, the fan status is evaluated and updated every 5 minutes based on the preset values.
In ECO mode, the fan status is evaluated and updated every 30 minutes.
When the fan turns off in AUTO mode, the system enters a 1-hour delayed shut-off cycle for the fan.
In ECO mode, if the system determines current environmental conditions are unsuitable for fan operation, it will automatically switch back to OFF mode.
Add-on Devices (Mobile Setup Only)
These features are available only when using the "Setup with Mobile Device" option.
Adding an Attic Fan: If ventilation is insufficient, click Venting Assist and follow Option 1 to add an attic fan for assisted ventilation.
Adding a Window Opener: Users can add a window opener via the mobile app.
The window opener will close whenever the main fan is turned off.
If the Auto Open option for the window opener is enabled, the system will open the window opener before each time it turns the main fan on.
Notifications (Mobile Setup Only)
The system can send push notifications for:
Ventilation activation reminders
Window opener fault alerts
Air quality alerts
Indicator Lights & Display
Status Indicator: A flashing backlight ring indicates an abnormal Wi-Fi network connection.
Screen Background Color:
Blue: Indicates conditions are suitable for fan operation in Cooling mode.
Red: Indicates conditions are suitable for fan operation in Heating mode.
Reset
To reconfigure the device or user account, navigate to General Settings -> Factory Reset to restore the device to its factory default settings.
Notes:
If the corresponding DIP switch of the fan is configured incorrectly, all the indicators on the hub will keep blinking when the hub is powered on. Please
switch off power and re-configure the DIP switch correctly. Then try again.