Quick Start Guide
Pico Pro
SCANTECH (Hangzhou) Co., Ltd.
Address: No. 12, Chujiatang Road, Cangqian Subdistrict, Yuhang District, Hangzhou, Zhejiang, China
Email: [email protected]
Tel: 0571-85370380
Scan the QR code to view more tutorial videos.
Scan the QR code to view the user manual.
Visit our official website for more details:
www.3devok.com
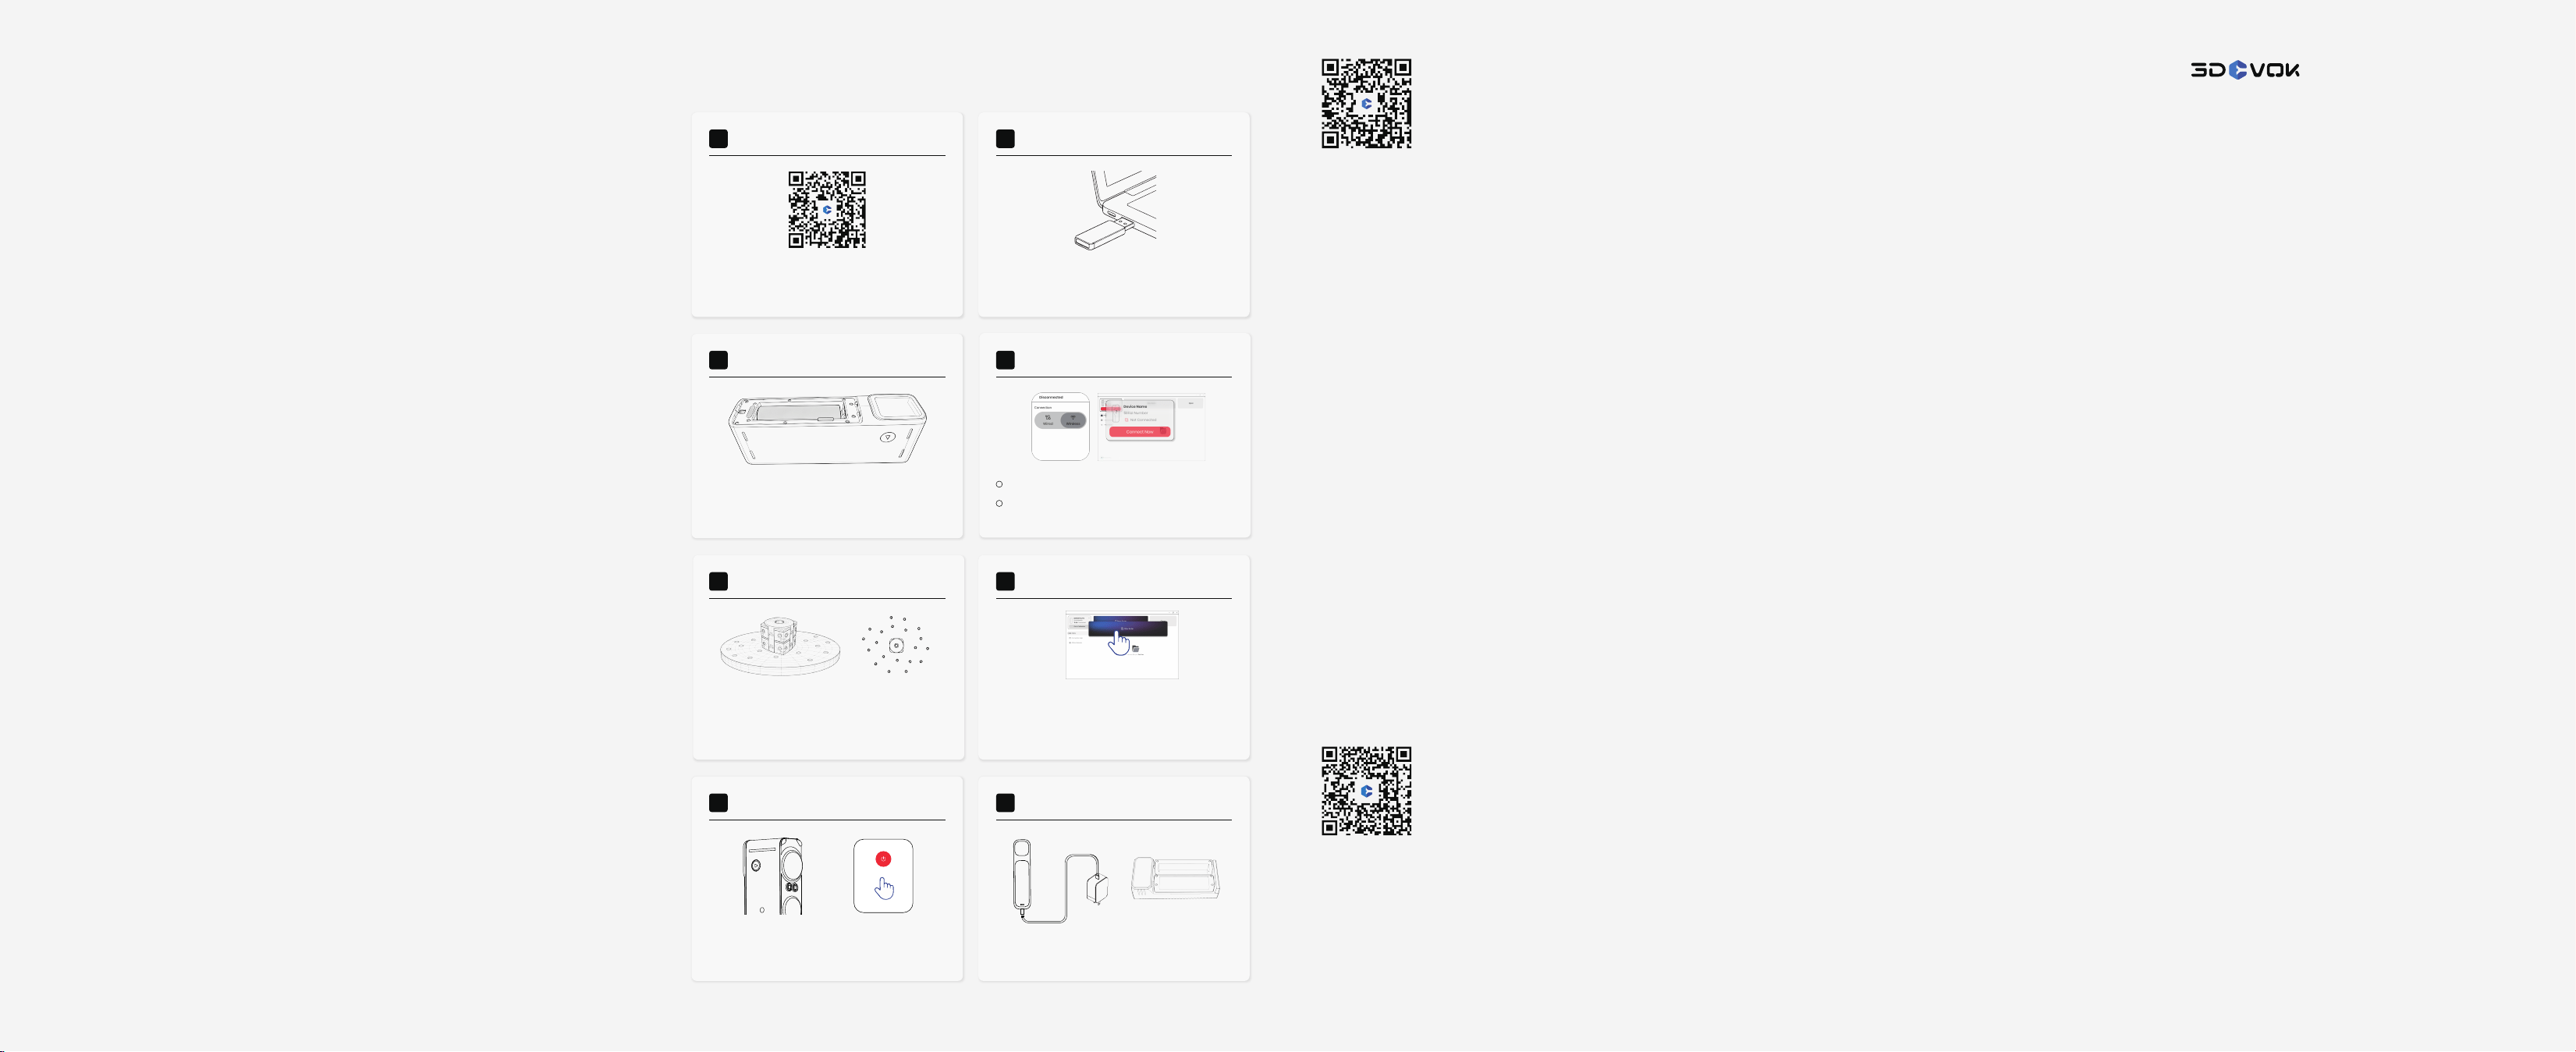
How to Perform Your First Scan
Software Download Software Installation
01
02
Device Power-On Wireless Connection
03 04
Preparations Before Scanning
First Scan Workflow
05 06
Device Power-Off
After scanning, press and hold the side trigger button for 5 seconds,
then tap the “Power Off” button on the screen to power off the device.
Wired Charging
07 08
Device Screen PC Software
PC SoftwareTop View
Device Screen
Power Off
Copyright © 2016–2025 SCANTECH (Hangzhou) Co., Ltd. All rights reserved.
Install batteries as shown on the label inside the battery compartment.
Press and hold the side trigger button for 2 seconds to power on.
Follow the on-screen prompts to complete language settings and
enter the connection interface.
Plug the wireless network adapter into a USB 3.0 port on your
computer, then select “Wireless” on the device screen.
Open the 3DeVOK Studio software on your computer, click
“Connect Now”, and pair with the device.
Place the object on a turntable or desktop, and attach several 6 mm
markers randomly around it with a spacing of 6–8 cm. Ensure the
scanned object and markers remain stationary relative to each other
during scanning.
Download the 3DeVOK Studio scanning software.
You may scan the QR code to get the download link, or directly visit
the PC official download page:
www.3devok.com/download-center
Install 3DeVOK Studio following the recommended PC hardware
specifications.
Note: The installer will automatically install the wireless network
adapter driver during the installation process.
Complete device calibration(Standard & White Balance Calibration)
before scanning.
Tap “New Scan”, follow the Beginner’s Guide to get familiar with basic
operations and finish the entire process of data acquisition and
post-processing. Refer to the user manual and tutorial videos for
detailed instructions.
You can charge the battery installed in the battery compartment
using a data cable paired with a power adapter. Alternatively, remove
the battery and charge it separately with a dedicated charger.
1
2
FCC Statement
1. This device complies with Part 15 of the FCC Rules. Operation is subject to the
following two conditions:
(1) This device may not cause harmful interference.
(2) This device must accept any interference received, including interference that
may cause undesired operation.
2. Changes or modifications not expressly approved by the party responsible for
compliance could void the user’s authority to operate the equipment.
Note: This equipment has been tested and found to comply with the limits for a class
B digital device, pursuant to Part 15 of the FCC Rules. These limits are designed to
provide reasonable protection against harmful interference in a residential
installation.
This equipment generates uses and can radiate radio frequency energy and, if not
installed and used in accordance with the instructions, may cause harmful
interference to radio communications. However, there is no guarantee that
interference will not occur in a particular installation. If this equipment does cause
harmful interference to radio or television reception, which can be determined by
turning the equipment off and on, the user is encouraged to try to correct the
interference by one or more of the following measures:
• Reorient or relocate the receiving antenna.
• Increase the separation between the equipment and receiver.
• Connect the equipment into an outlet on a circuit different from that to which the
receiver is connected.
• Consult the dealer or an experienced radio/TV technician for help.
The device has been evaluated to meet general RF exposure requirement. This
equipment should be installed and operated with a minimum distance of 20 cm
between the radiator and your body.
Operations in the 5.15-5.25GHz band are restricted to indoors usage only.
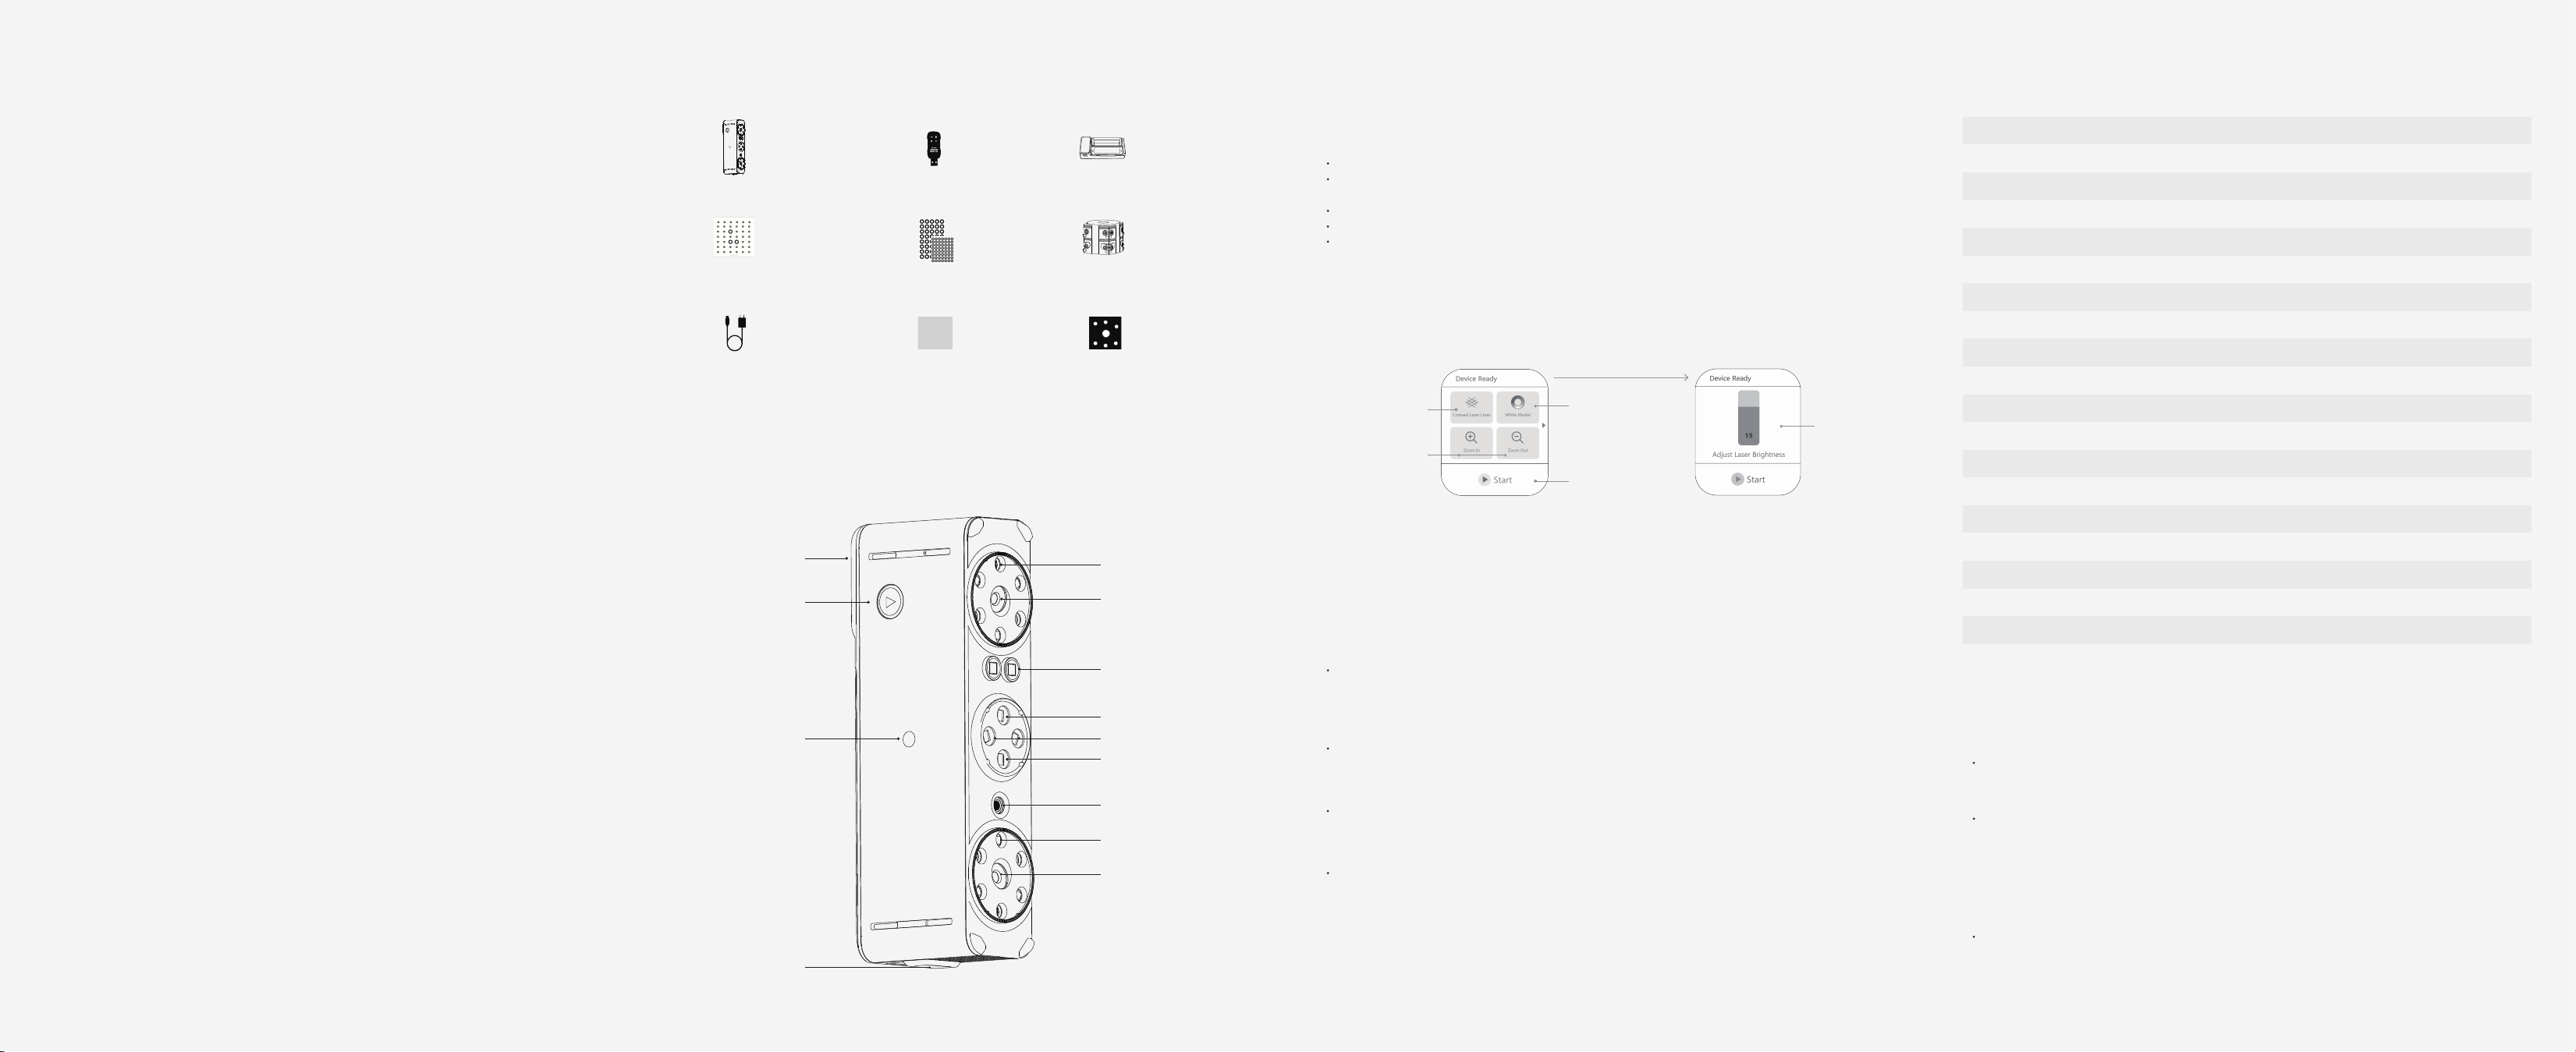
Touch Screen
Black and White Camera
Trigger Button
Infrared VCSEL×2
Blue Parallel Laser Emitter
Blue Crossed Laser Emitter×2
Color Camera
Blue Single-Line Laser Emitter
1/4-inch Standard
Screw Thread
(Compatible with tripod adapter)
Fill Light×6
Black and White Camera
Type-C Port
Fill Light ×6
Switch Laser Line
Switch Color Model
/ White Model
/ Color Map
Swipe Left to Switch
Zoom In /Out
of Scan View
Start / Pause Scan
After pausing, press and
hold for 2 seconds to
complete the scan.
Light Source
Laser Class
Resolution
Accuracy
Alignment Mode
Ability to Capture Texture
Recommended
Scanning Distance
Scan Distance (Max.)
Wired Frame Rate (Max.)
Wireless Frame Rate (Max.)
Scanning FOV (Max.)
Output Formats
Operating Conditions
Working Humidity Range
Connection
Scanner Weight
Scanner Dimensions
Power Source
Certifications
Recommended
Configurations for PC
Wi-Fi 6
Network Card
4750mAh Battery ×2
Battery Charger
Pico Pro
Adjust Laser
Brightness
6mm Markers
3mm Markers
Jade Cong Model
(Scanning Sample)
Calibration Board
Dust-free Cloth Background Board
Type-C Data Cable
Type-C Power Adapter
34 Crossed Blue Laser Lines 7 Parallel Blue Laser Lines Single Blue Laser Line Infrared VCSEL
Class Ⅱ (Eye-safe) Class Ⅰ (Eye-safe)
0.1 mm 0.05 mm 0.1 mm 0.2 mm
150-420 mm 150-300 mm
Marker Alignment: 60 fps / Hybrid Alignment: 20 fps 20 fps
Marker Alignment: 60 fps / Hybrid Alignment: 16 fps
420*320 mm
16 fps
650*520 mm
150-420 mm 150-600 mm
600 mm 300 mm 600 mm 1000 mm
Hybrid Alignment, Marker Alignment,
Texture Feature Alignment and Geometric Feature Alignment
Hybrid Alignment, Texture Feature
Alignment and Geometric Feature Alignment
Support
0.02+0.06 mm/m
*.obj, *.stl, *ply, *.asc, *.mk2, *.txt, *.epj, *.apj, *.spj, *.map, *.sk
0 - 40 ℃, 10% - 90% RH (Non-condensing)
-10 - 40 °C
Wi-Fi 6, Type-C
170 mm × 37.5 mm × 64.1 mm
381g (Net Weight); 453g (With Batteries)
Equipped with two 4,750 mAh batteries; supports USB-C charging.
CE-EMC, FCC, RoHS, IEC 60825, IEC 62471, IEC 60529-IP50, WEEE, MIC, SRRC
OS: Win10/Win11, 64-bit; CPU: i7-13650HX and above;RAM: 32GB and above;
Graphic Card: NVIDIA discrete graphics card, NVIDIA RTX3060 and above; Graphics memory: 6GB and above
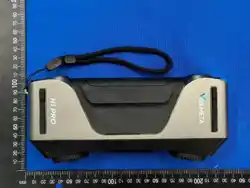
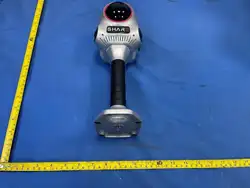
Device Introduction
Device Charging, Discharging,
and Temperature Control Instructions
Light Source Introduction
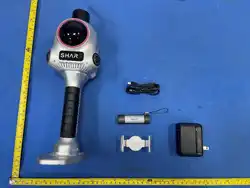
Product List SpecificationsDevice Interaction Instructions
Trigger Button
Screen Functions
Power On: With the device off, press and hold the button for 2 seconds to power on.
Normal Power Off: With the device on, press and hold for 5 seconds,
then tap "Power Off" on the screen prompt to shut down.
Forced Power Off: Press and hold for 12 seconds under any status to force the device off.
Scan Control: Short-press the button to start or pause scanning.
Scan Mode Switch: With blue laser scanning enabled, double-press the button
to switch between cross-line, parallel-line, and single-line modes.
The device supports three charging methods:
a. Fast Charging: Use the data cable together with a power adapter for rapid charging.
b. Slow Charging: Connect the data cable to a computer Type-C port for low-power charging.
c. Standard Charging: Use a dedicated battery charger to charge the battery at the rated charging speed.
Scanning Power Consumption:
The computer USB port cannot fully meet scanning power requirements. The battery will still discharge
during scanning, but USB connection can extend battery runtime compared with battery-only operation.
Battery Usage Limit:
If battery charge is lower than 30%, unstable voltage may appear. The device can only power on with
scanning locked automatically. Recharge battery to ≥30% or swap a new battery to unlock scanning.
When the ambient temperature exceeds 40°C, the built-in overheat protection mechanism of the battery
will activate automatically with two levels of response:
a. Level 1 Protection (55°C): Once the battery temperature rises 55°C, the device will display a
high-temperature warning and cut off the charging circuit to stop charging automatically.
b. Level 2 Protection (60°C): When the battery temperature rises to 60°C, the device will force a full
shutdown to prevent damage to the battery and circuits caused by excessive heat.
Infrared VCSEL Mode:
Supports geometric feature alignment, texture feature alignment and hybrid alignment without the
markers. It is suitable for scanning medium-sized objects such as human bodies and artistic carvings.
3 Blue Laser Modes:
a. 34 Crossed Blue Laser: Features the highest number of laser lines and the fastest scanning speed, ideal
for rapid scanning of medium-sized parts over 50 cm.
b. 7 Parallel Blue Laser Lines: Provides finer laser lines and higher resolution, suitable for high-precision
scanning of small parts and artistic carvings with intricate details.
c. Single Blue Laser Lines: Designed for deep holes, blind spots, complex cavities, and other areas that are
difficult to cover with cross or parallel laser modes, enabling supplementary data scanning.
Scan Mode Configuration:
Preset modes for workpieces, art carvings and human bodies can auto-match light source and alignment
algorithm for beginner-friendly operation.
Custom mode supports manual parameter adjustment according to actual demands.