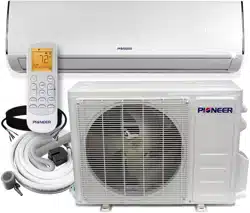

Assembly Instructions for Pioneer® EliteGuard™ Metal Shelter for HVAC Outdoor Condenser Units
01
02
04
03
05
06
07
08
Components:
01 - Expansion Anchor Ø10mm*60mm (4x)
02 - Fastening Spacer Ø18mm*25mm (8x)
03 - Wood Screws M8*120mm (4x)
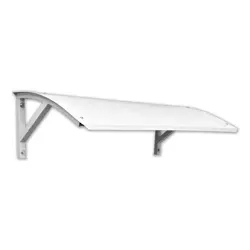
04 - Galvanized Steel Flexible Shelter (1x)
05 - Dovetail Screw M4-2*12mm (6x)
06 - Plastic Fastening Washer (6x)
07 - Angled Mounting Arms (2x)
08 - Metal Wood Screw Washer (4x)
Instructions:
1. Assemble the EliteGuard shelter by fastening the mounting arms (07) to the shelter surface (04), one
arm at a time. The shelter will bend and conform to the mounting arm, but may require pushing in the
middle to pop it out smooth. Each arm uses 3x dovetail screws (05) and 3x fastening washers (06).
2. Determine the ideal mounting location for the EliteGuard shelter. Locate it as close to the top of the
condenser unit as possible, without the bottom lip overlapping with the front airow. Mark the position
on the wall. If the condenser unit is narrow enough, it can go between the mounting arms of the shelter.
3. With the shelter assembled, measure the distance between the 4 mounting holes, and drill the 4
necessary mounting holes into the wall. Make sure they are even and level, horizontally and vertically.
Insert anchors (01) into each hole, and plan to use the spacers (02) to compensate for siding, if needed.
4. With the leveled mounting holes created, and anchors inserted into the holes, mount the shelter to the
wall using the provided wood screws (03) and washers (08). Fasten into place until secure and level.