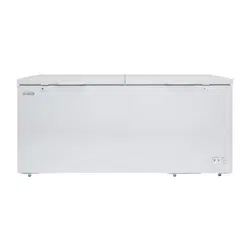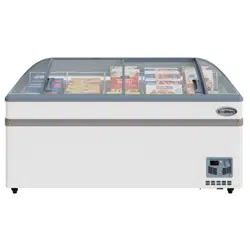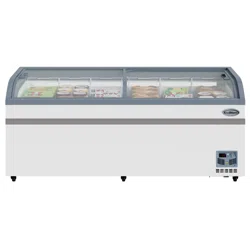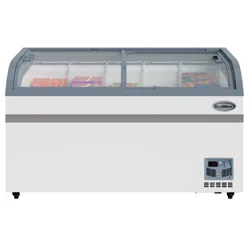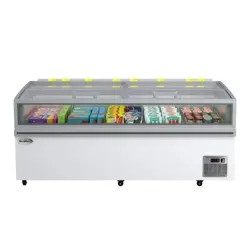
ISLAND CHEST FREEZER
Commercial Island Chest Freezer with Auto
Defrost
User Manual
Before use, please read these instructions carefully to ensure proper
operation and optimal performance.
For any service related issues, please contact us:
718-576-6342
suppor[email protected]
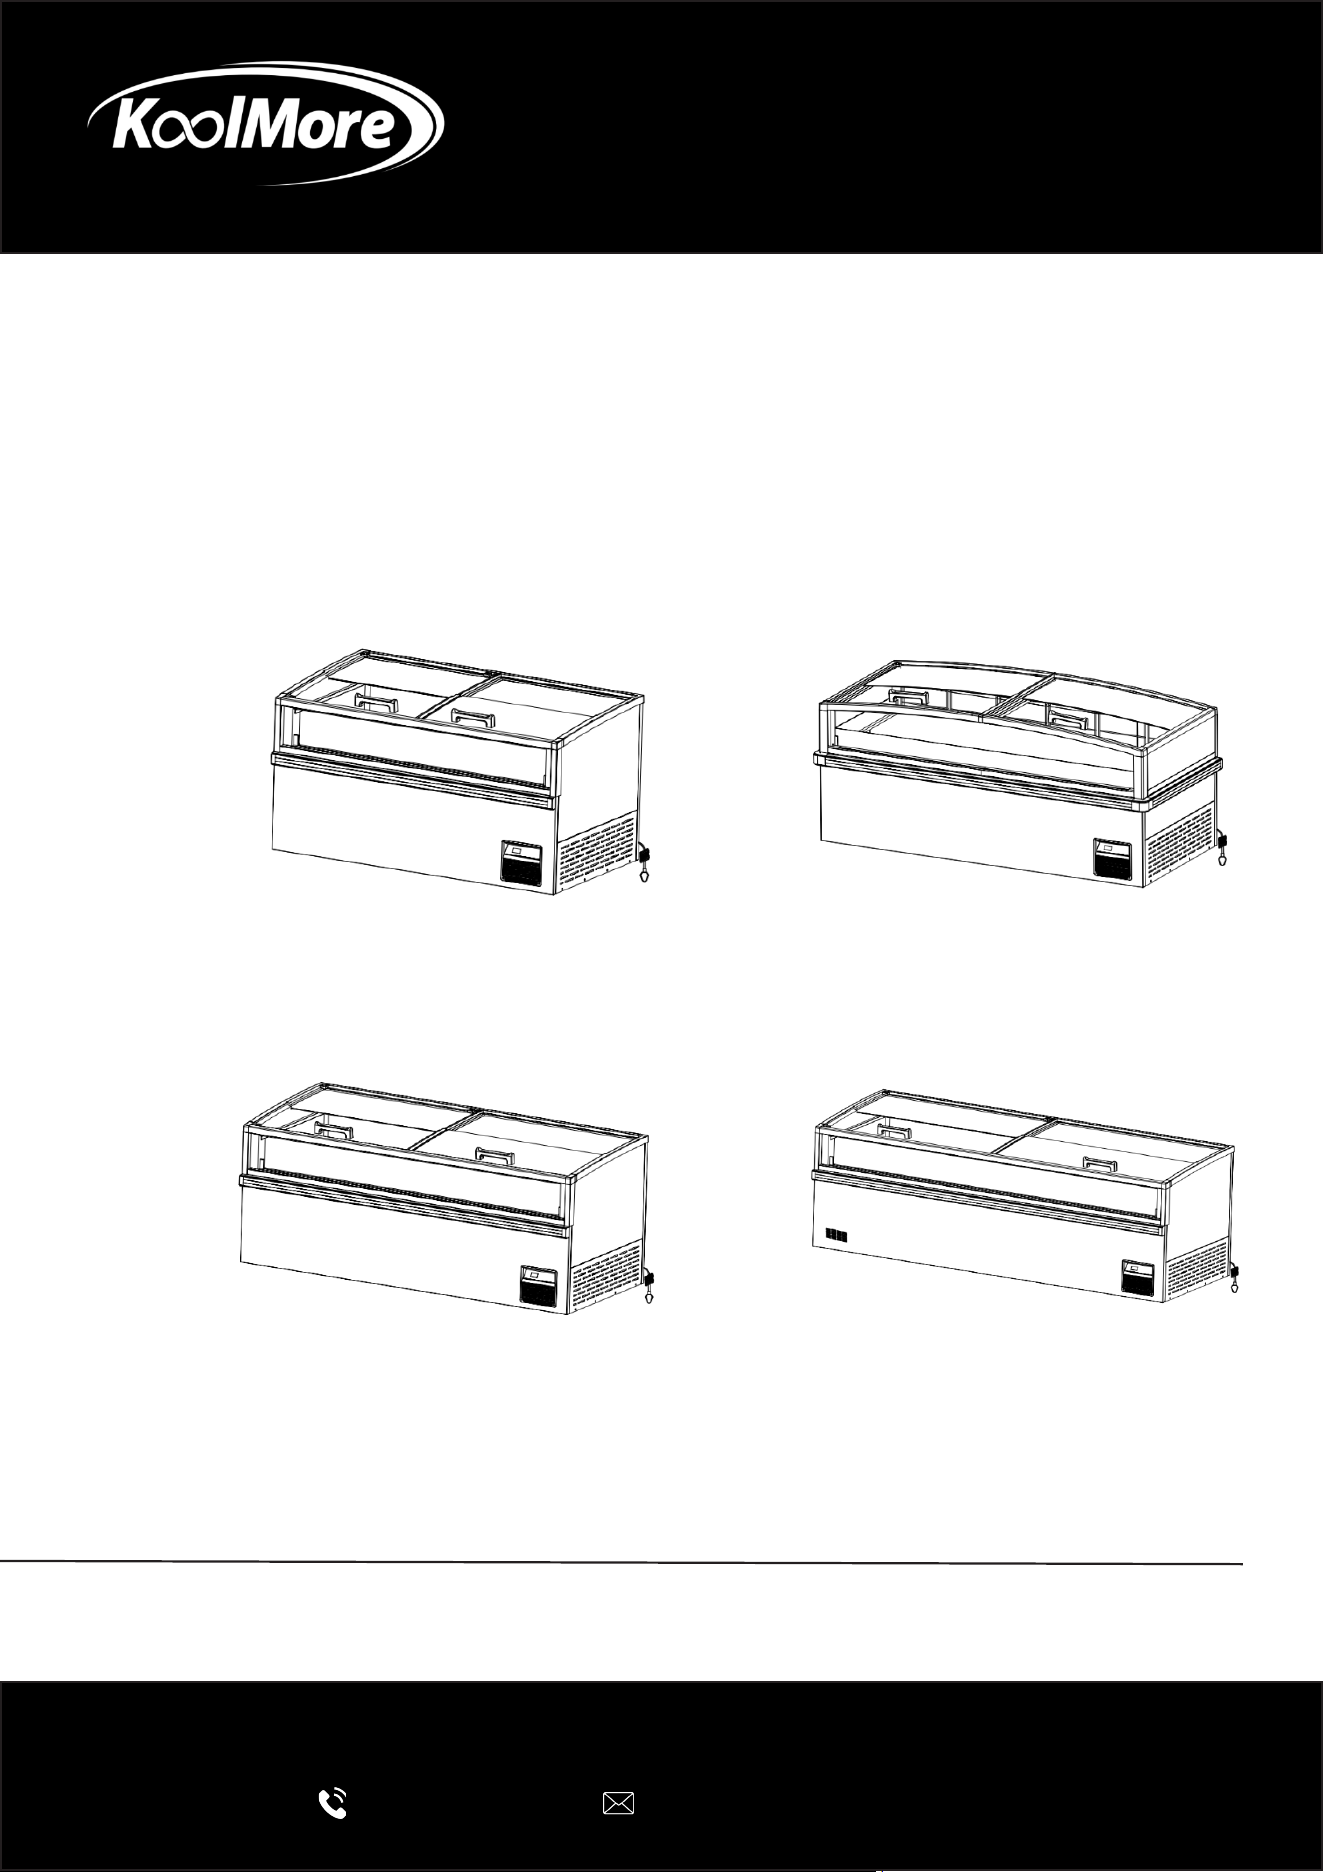
Models: KM-ISCF-59AF_KM-ISCF-75AF_KM-ISCF-79AF_KM-
ISCF-98AF
KM-ISCF-75AF
KM-ISCF-79AF
KM-ISCF-59AF
KM-ISCF-98AF
Stay informed with the latest information for your
KoolMore appliance.
Scan the QR code below to access the most up-to-date user manual.
If you need any assistance or have questions, our customer support
team is here to help.
Phone: 718-576-6342 Email: support@koolmore.com
Please write down the model number and serial number below for future reference. Both numbers are located on the
rating label on the back of your unit or inside the unit and are needed to obtain warranty service. You may also want
to staple your receipt to this manual as it is your proof of purchase and may also be needed for service
under warranty.
Model Number:
Serial Number:
Date of Purchase:
To better serve you, please do the following before contacting customer service:
If you received a damaged product, immediately contact the retailer or dealer that sold you the product.
Read and follow this User Manual carefully to help you install, use, and maintain your unit.
Refer to the Troubleshooting section of this manual as it will help you diagnose and solve many common issues.

3
Contents
Safety ............................................................................................ 4
Installation .................................................................................... 6
Operation ....................................................................................... 7
Maintenance .................................................................................. 10
Troubleshooting ............................................................................ 11
Warranty ........................................................................................ 12
4
Safety
Important Safety Instructions
Read this manual carefully before installing or operating the appliance. Keep these instructions for
future reference.
WARNING – Flammable Refrigerant (R290)
This appliance uses R290 (propane) refrigerant. Although environmentally friendly, R290 is am-
mable. Failure to follow these instructions may result in re, explosion, serious injury, or property
damage.
• Do not damage the refrigerant circuit.
• Keep the appliance away from open ames, sparks, and other ignition sources.
• Do not use mechanical devices or other means to accelerate the defrosting process unless
recommended by the manufacturer.
• Do not use electrical appliances inside the storage compartment unless recommended by the
manufacturer.
• If the refrigerant circuit is damaged:
• Disconnect the appliance from the power supply.
• Ventilate the area thoroughly.
• Eliminate all sources of ignition.
• Contact qualied service personnel.
• Repairs to the refrigeration system must only be performed by qualied technicians trained to
service ammable refrigerants.
• Be aware that R290 refrigerant may not have a noticeable odor.
General Safety
• This appliance is intended for commercial indoor use only.
• Use the appliance only for storing and displaying frozen food products.
• Do not store gasoline, aerosol cans with ammable propellants, or other ammable or explo-
sive substances inside or near the appliance.
• Keep all ventilation openings clear of obstructions.
• Do not modify, drill into, or damage the cabinet or refrigeration system.
• Do not overload the baskets or exceed the maximum load specied in this manual.
• Never climb, stand, or sit on the appliance.
• Do not use the appliance if it has been damaged during transportation.
Electrical Safety
• Connect the appliance only to a properly grounded 115 V, 60 Hz dedicated electrical outlet.
• Do not use extension cords, power strips, or adapters.
• Do not damage, pinch, or place heavy objects on the power cord.
• If the power cord is damaged, it must be replaced by the manufacturer, an authorized service
agent, or similarly qualied personnel.
• Disconnect the appliance from the power supply before cleaning, servicing, or moving it.
• After unplugging the appliance or after a power interruption, wait at least 5 minutes before
reconnecting power.

5
Installation Safety
• Install the appliance indoors in a clean, dry, and well-ventilated location.
• Place the appliance on a level surface capable of supporting its weight when fully loaded.
• Keep the appliance away from direct sunlight, ovens, heaters, and other heat sources.
• Never tilt the appliance more than 45° during transportation or installation.
• After transporting the appliance, allow it to remain upright for at least 2 hours before connect-
ing power.
Child Safety
• This appliance is not intended for use by persons (including children) with reduced physical,
sensory, or mental capabilities, or by those lacking experience and knowledge, unless super-
vised by a responsible person.
• Children must be supervised to ensure they do not play with the appliance.
• Before disposing of the appliance, remove or secure the lid to reduce the risk of child entrap-
ment.
Maintenance and Service
• Only qualied service personnel may repair or service this appliance.
• Replacement components must be identical to the original manufacturer-approved parts.
• Do not attempt to repair or modify the refrigeration system yourself.
• Before performing any maintenance, disconnect the appliance from the electrical supply.
Disposal Information
This appliance contains ammable refrigerant and insulation materials that require special han-
dling.
• Dispose of the appliance in accordance with all local, state, and federal regulations.
• Do not puncture or damage the refrigeration system during disposal.
• Dispose of the appliance through an authorized recycling facility for electrical and electronic
equipment.

6
Installation
Before Installation
• Remove all packaging materials, tape, and protective lm from the appliance.
• Inspect the appliance for shipping damage. Do not install or operate a damaged unit.
• After transportation, keep the freezer upright for at least 4 hours before connecting power to
allow the refrigerant to stabilize.
Installation Location
• Install the appliance indoors in a clean, dry, and well-ventilated location.
• Place the freezer on a level, stable surface capable of supporting the unit when fully loaded.
• Keep the appliance away from direct sunlight, heaters, ovens, and other heat sources.
• Maintain at least 4 in. (100 mm) of clearance around all ventilation openings. Do not block or
cover the air inlets or outlets.
• Do not install the appliance outdoors or in areas exposed to excessive moisture.
Electrical Requirements
• Connect the freezer only to a dedicated, properly grounded 115 V, 60 Hz electrical outlet.
• Do not use extension cords, power strips, or adapters.
• Position the power cord where it cannot be pinched, damaged, or create a tripping hazard.
Before First Use
1. Clean the interior with a soft cloth and mild detergent, then dry thoroughly.
2. Connect the freezer to the power supply.
3. Allow the freezer to reach the set operating temperature before loading products.
4. Load products evenly without blocking the interior air circulation.
7
Operation
Before First Use
1. Connect the freezer to a dedicated, properly grounded electrical outlet.
2. Allow the freezer to reach the desired operating temperature before loading products.
3. Load products evenly, leaving space for proper air circulation.
4. Do not block the interior air circulation openings.
Electronic Temperature Controller
The electronic temperature controller monitors the cabinet temperature and allows you to adjust
the temperature settings.
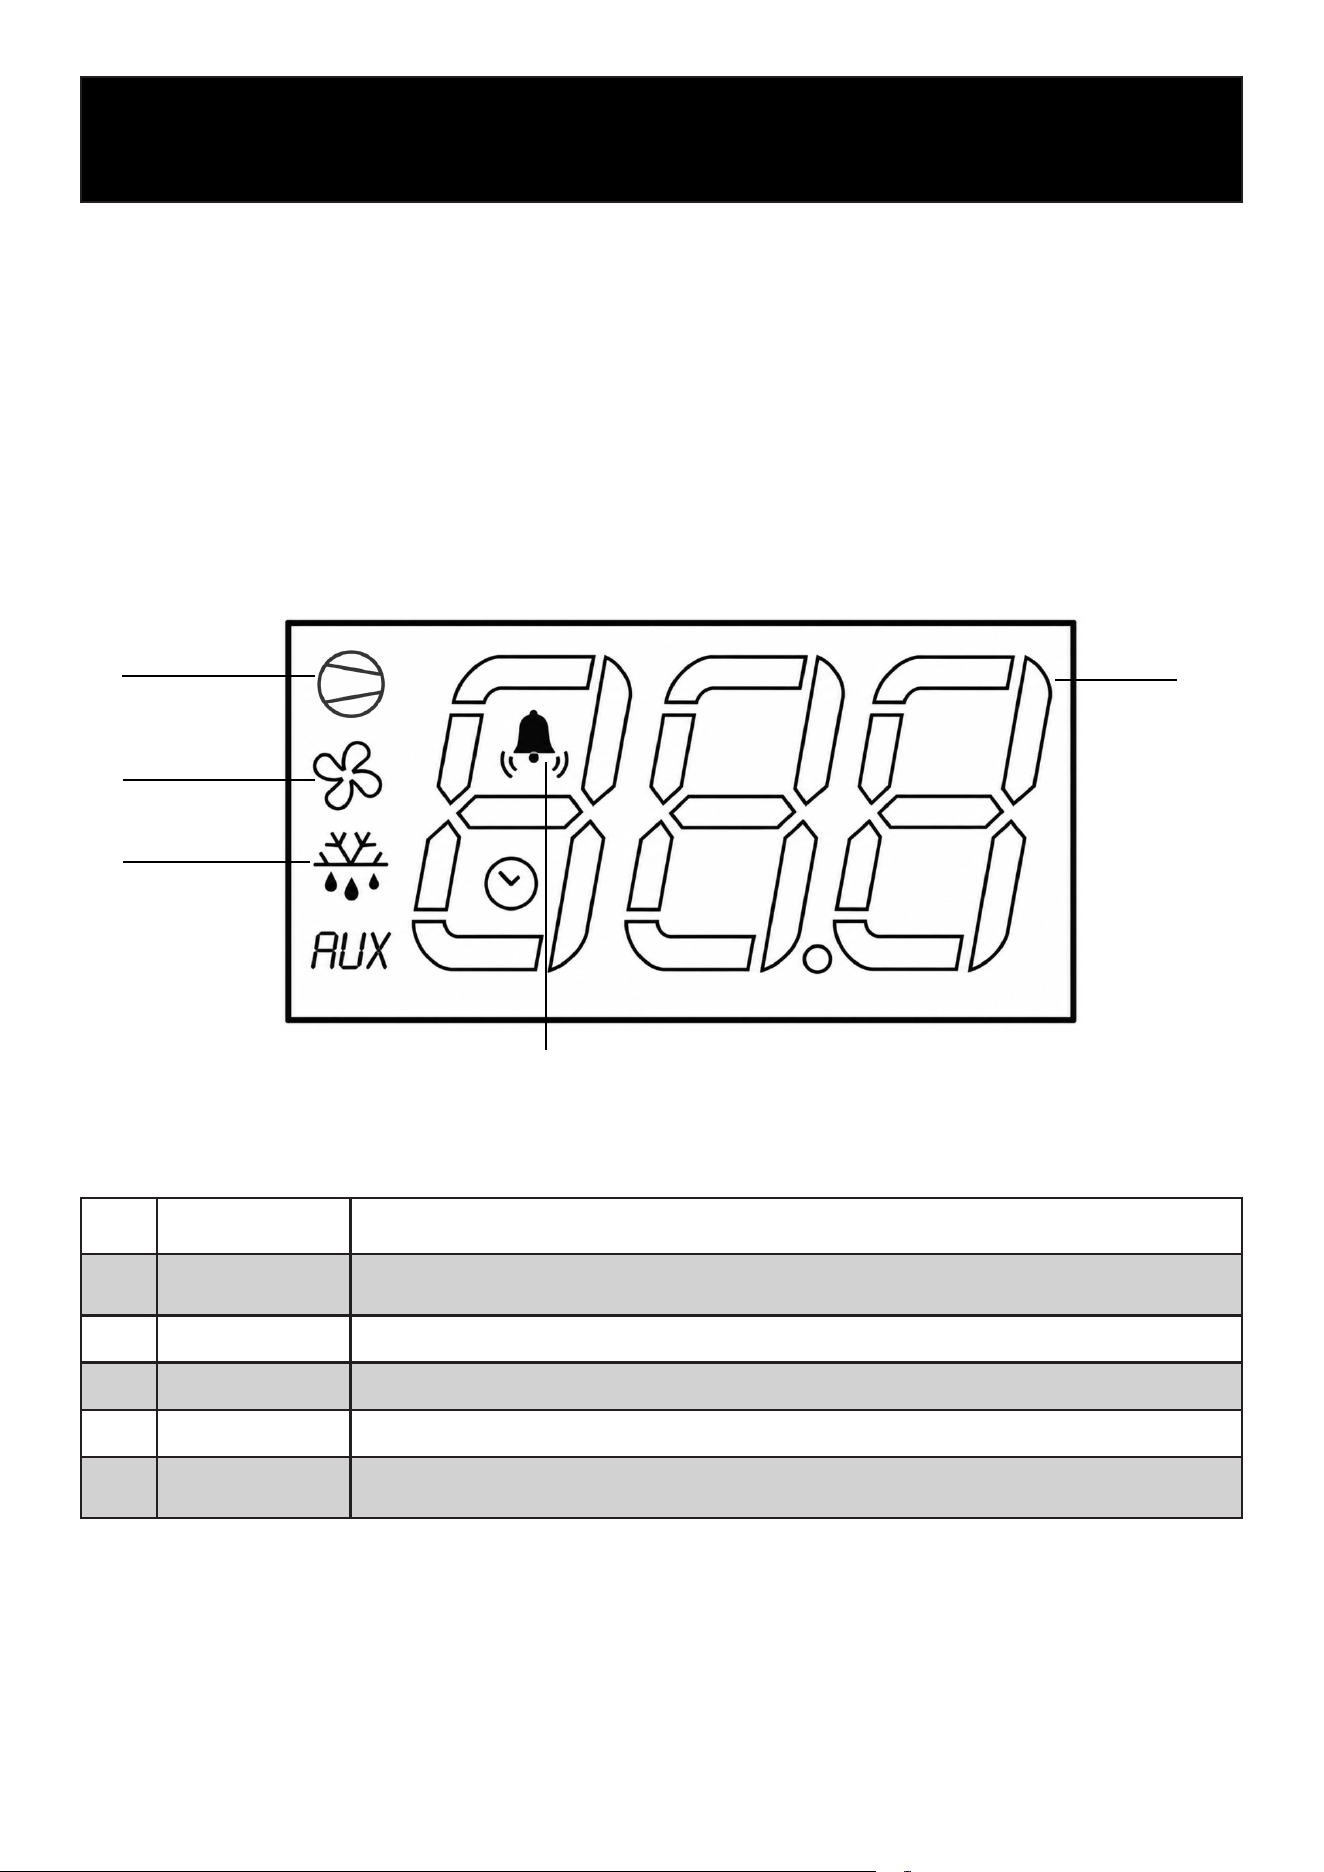
Display Indicators
No. Indicator Description
1
Compressor
Illuminates when the compressor is operating. Flashes when cooling is requested but
the compressor is in a protection delay.
2
Fan Illuminates when the evaporator fan is operating.
3
Defrost Illuminates during an automatic or manual defrost cycle.
4
Alarm Illuminates when the controller detects an alarm condition.
5
Temperature
Display
Displays the cabinet temperature and controller messages.
1
2
3
4
5
8
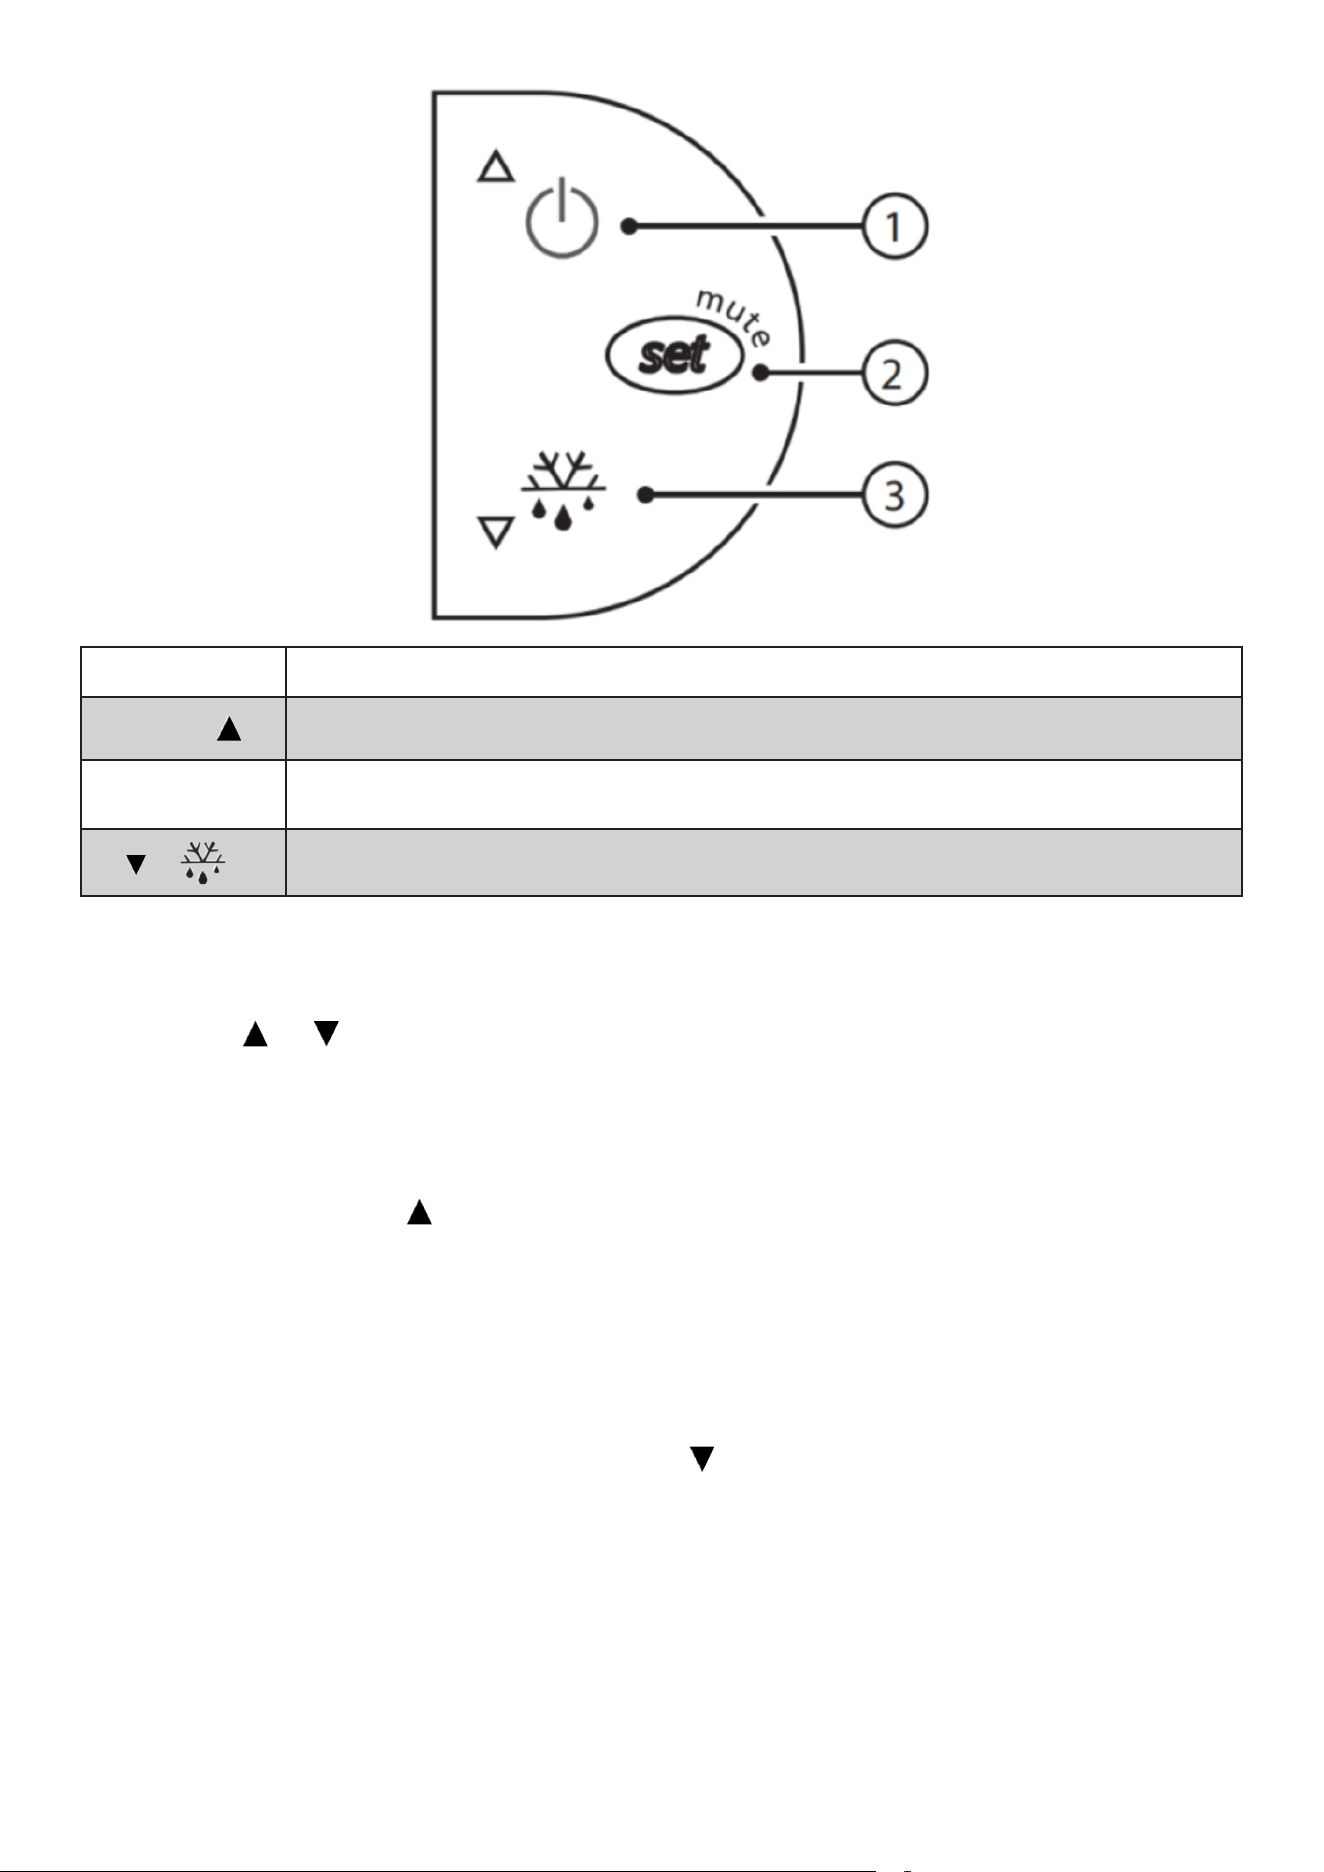
Button Functions Function
1 – Power / Increases the temperature setting. Press and hold for 3 seconds to turn cooling ON or OFF.
2 – SET
Displays or conrms the temperature setting. Press and hold for approximately 1 second to
enter temperature adjustment mode.
3 – /
Decreases the temperature setting. Press and hold for 3 seconds to start a manual defrost
cycle (when available).
Adjusting the Temperature
1. Press and hold the SET button for approximately 1 second until the set temperature begins
ashing.
2. Press the or button to adjust the desired temperature.
3. Press SET again to save the new setting.
4. After a few seconds of inactivity, the display will return to the current cabinet temperature.
Turning Cooling ON or OFF
Press and hold the Power / button for approximately 3 seconds to turn the cooling system ON
or OFF.
When cooling is OFF, the display alternates between OFF and the cabinet temperature. Repeat the
procedure to resume normal operation.
Manual Defrost
To start a manual defrost cycle, press and hold the button for approximately 3 seconds.
The defrost cycle will begin only if operating conditions allow it. During defrost, the Defrost indica-
tor will illuminate.
Note: This appliance features an automatic defrost system. Manual defrost should only be used
when necessary.

9
Alarm Indicator
If the Alarm indicator illuminates or ashes, the controller has detected an operating condition
that requires attention.
• Verify that the lid is fully closed.
• Ensure the ventilation openings are not blocked.
• Allow the cabinet time to return to the set temperature after loading products or after frequent
lid openings.
• If the alarm remains active, refer to the Troubleshooting section or contact KoolMore Customer
Support.
Interior Light
The Light Switch located next to the temperature controller controls the interior LED lighting.
• Press the switch to turn the interior light ON or OFF.
• The lighting operates independently of the cooling system.
NOTICE
• The factory temperature settings have been optimized for normal operation. Adjust the tem-
perature only when necessary for the stored products.
• Do not modify the controller’s advanced programming parameters.
• The appearance of the controller and available functions may vary slightly depending on the
model.

10
Maintenance
Proper cleaning and routine maintenance will help ensure reliable performance and extend the
service life of the appliance.
General Maintenance
• Disconnect the appliance from the power supply before cleaning or performing maintenance.
• Remove all stored products before cleaning the interior.
• Clean the interior and exterior regularly using a soft cloth, warm water, and a mild detergent.
• Do not use abrasive cleaners, steel wool, gasoline, acetone, strong solvents, or other harsh
chemicals, as they may damage the nish or plastic components.
• Keep the power cord, plug, and electrical components away from water during cleaning.
• Wipe all surfaces dry before reconnecting the power.
• Clean the lid gasket regularly using mild soapy water and inspect it for damage to maintain an
effective seal.
• Keep the ventilation openings and condenser air intake free of dust and debris to maintain
ecient operation.
• This appliance features an automatic defrost system. Under normal operating conditions, man-
ual defrosting is not required.
• Do not attempt to repair or disassemble the appliance. Repairs must be performed only by
qualied service personnel.
Extended Shutdown
If the freezer will not be used for an extended period:
1. Disconnect the appliance from the power supply.
2. Remove all stored products.
3. Clean and dry the interior and exterior thoroughly.
4. Leave the lid slightly open to help prevent odors and mold growth.
5. Store the appliance in a clean, dry, well-ventilated location.
11
Troubleshooting
Normal Operating Conditions
The following conditions are normal and do not indicate a malfunction:
• A humming, bubbling, or gurgling sound may be heard during operation as refrigerant circulates
through the cooling system.
• The compressor and condenser may become warm during normal operation.
• Condensation may form on the exterior of the cabinet in warm or humid environments. Wipe
the moisture away with a soft cloth as needed.
• The compressor may stop and restart periodically as the automatic defrost system operates
and the controller maintains the set temperature.
Problem Possible Cause Solution
Freezer does not operate
• Power cord is unplugged.
• No power to the outlet or a tripped
circuit breaker.
• Plug the power cord securely into a
grounded outlet.
• Check the electrical supply and reset
the circuit breaker or replace the fuse
if necessary.
Compressor does not start
• Low or unstable supply voltage.
• The compressor protection delay is
active after power has been restored.
• Verify the appliance is connected to
the correct power supply.
• Wait several minutes for the com-
pressor to restart automatically.
Poor cooling performance
• Lid is opened too frequently or left
open.
• Air circulation is blocked by stored
products.
• Condenser or ventilation openings are
dirty.
• Lid gasket is dirty or not sealing prop-
erly.
• Temperature setting is too warm.
• Minimize lid openings.
• Arrange products to allow proper air
circulation.
• Keep the ventilation openings clean
and unobstructed.
• Clean and inspect the lid gasket.
• Adjust the temperature to a colder
setting and allow time for the cabinet
to stabilize.
Excessive noise
• Freezer is not level.
• The appliance is in contact with anoth-
er object.
• Loose components or stored products
are vibrating.
• Place the freezer on a level surface.
• Ensure adequate clearance around
the appliance.
• Secure loose components and reposi-
tion stored products.
If the appliance is not operating properly, review the troubleshooting information below before con-
tacting KoolMore Customer Support. Many common issues can be resolved quickly by following
these recommendations.
12
LIMITED WARRANTY
KoolMore Supply Inc. extends a limited warranty to the original purchaser, guaranteeing that this KoolMore product is
free from manufacturing defects in material or workmanship for one year from the date of purchase.
Should you discover any such defect within the warranty period, KoolMore Supply Inc. reserves the right to repair or re-
place the product without charge, or to cover the cost of replacement parts and repair labor needed to correct defects
present at the time of purchase or resulting from regular usage, when the appliance has been installed, operated, and
maintained as per the instructions provided.
At its sole discretion, KoolMore Supply Inc. may decide to replace the product. In such an event, your replacement
appliance will carry the warranty for the remaining term of the original unit’s warranty period.
This warranty is valid exclusively to the original purchaser of the product and only applicable within the United States.
The warranty commences from the date of original consumer purchase. Proof of the original purchase date will be
required to obtain service under this warranty.
Under this limited warranty, your sole and exclusive remedy will be product repair, as outlined above. All services must
be provided by a KoolMore designated service company.
KoolMore shall not be responsible or liable for any loss, spoilage, or damage to food, beverages, pharmaceuticals,
medical supplies, or any other contents stored in the unit resulting from failure, malfunction, defects, improper instal-
lation, improper use, power interruption, or any other cause. Any such losses are expressly excluded from coverage
under this warranty.
To claim warranty or request repair service:
Email [email protected]. Please include your name, address, phone number, warranty repair request, and a copy
of your proof of purchase receipt. Alternatively, visit koolmore.com and use the Contact Us page. A KoolMore custom-
er service representative will promptly arrange service for your appliance.
We thank you for choosing KoolMore.
WARRANTY EXCLUSIONS
This limited warranty will not cover:
1. Failure of the product to perform during power failures or interruptions, or due to inadequate electrical service.
2. Damage incurred during transportation or handling.
3. Damage caused by accidents, vermin, lightning, winds, re, oods, or acts of God.
4. Damage resulting from accidents, alterations, misuse, abuse, improper installation, repair, or maintenance. This
includes using any external device that alters or converts the voltage or frequency of electricity.
5. Unauthorized product modications, repairs by unauthorized centers, or use of non-approved replacement parts.
6. Abnormal cleaning and maintenance not aligned with the user’s manual.
7. Use of incompatible accessories or components.
8. Any costs associated with repairs or replacements under these excluded circumstances shall be the responsibility
of the consumer.
WARRANTY