SAVE THIS MANUAL: KEEP THIS MANUAL FOR SAFETY WARNINGS, PRECAUTIONS, ASSEMBLY,
OPERATING, INSPECTION, MAINTENANCE AND CLEANING PROCEDURES. WRITE THE
PRODUCT’S SERIAL NUMBER ON THE BACK OF THE MANUAL NEAR THE ASSEMBLY DIAGRAM
(OR MONTH AND YEAR OF PURCHASE IF PRODUCT HAS NO NUMBER).
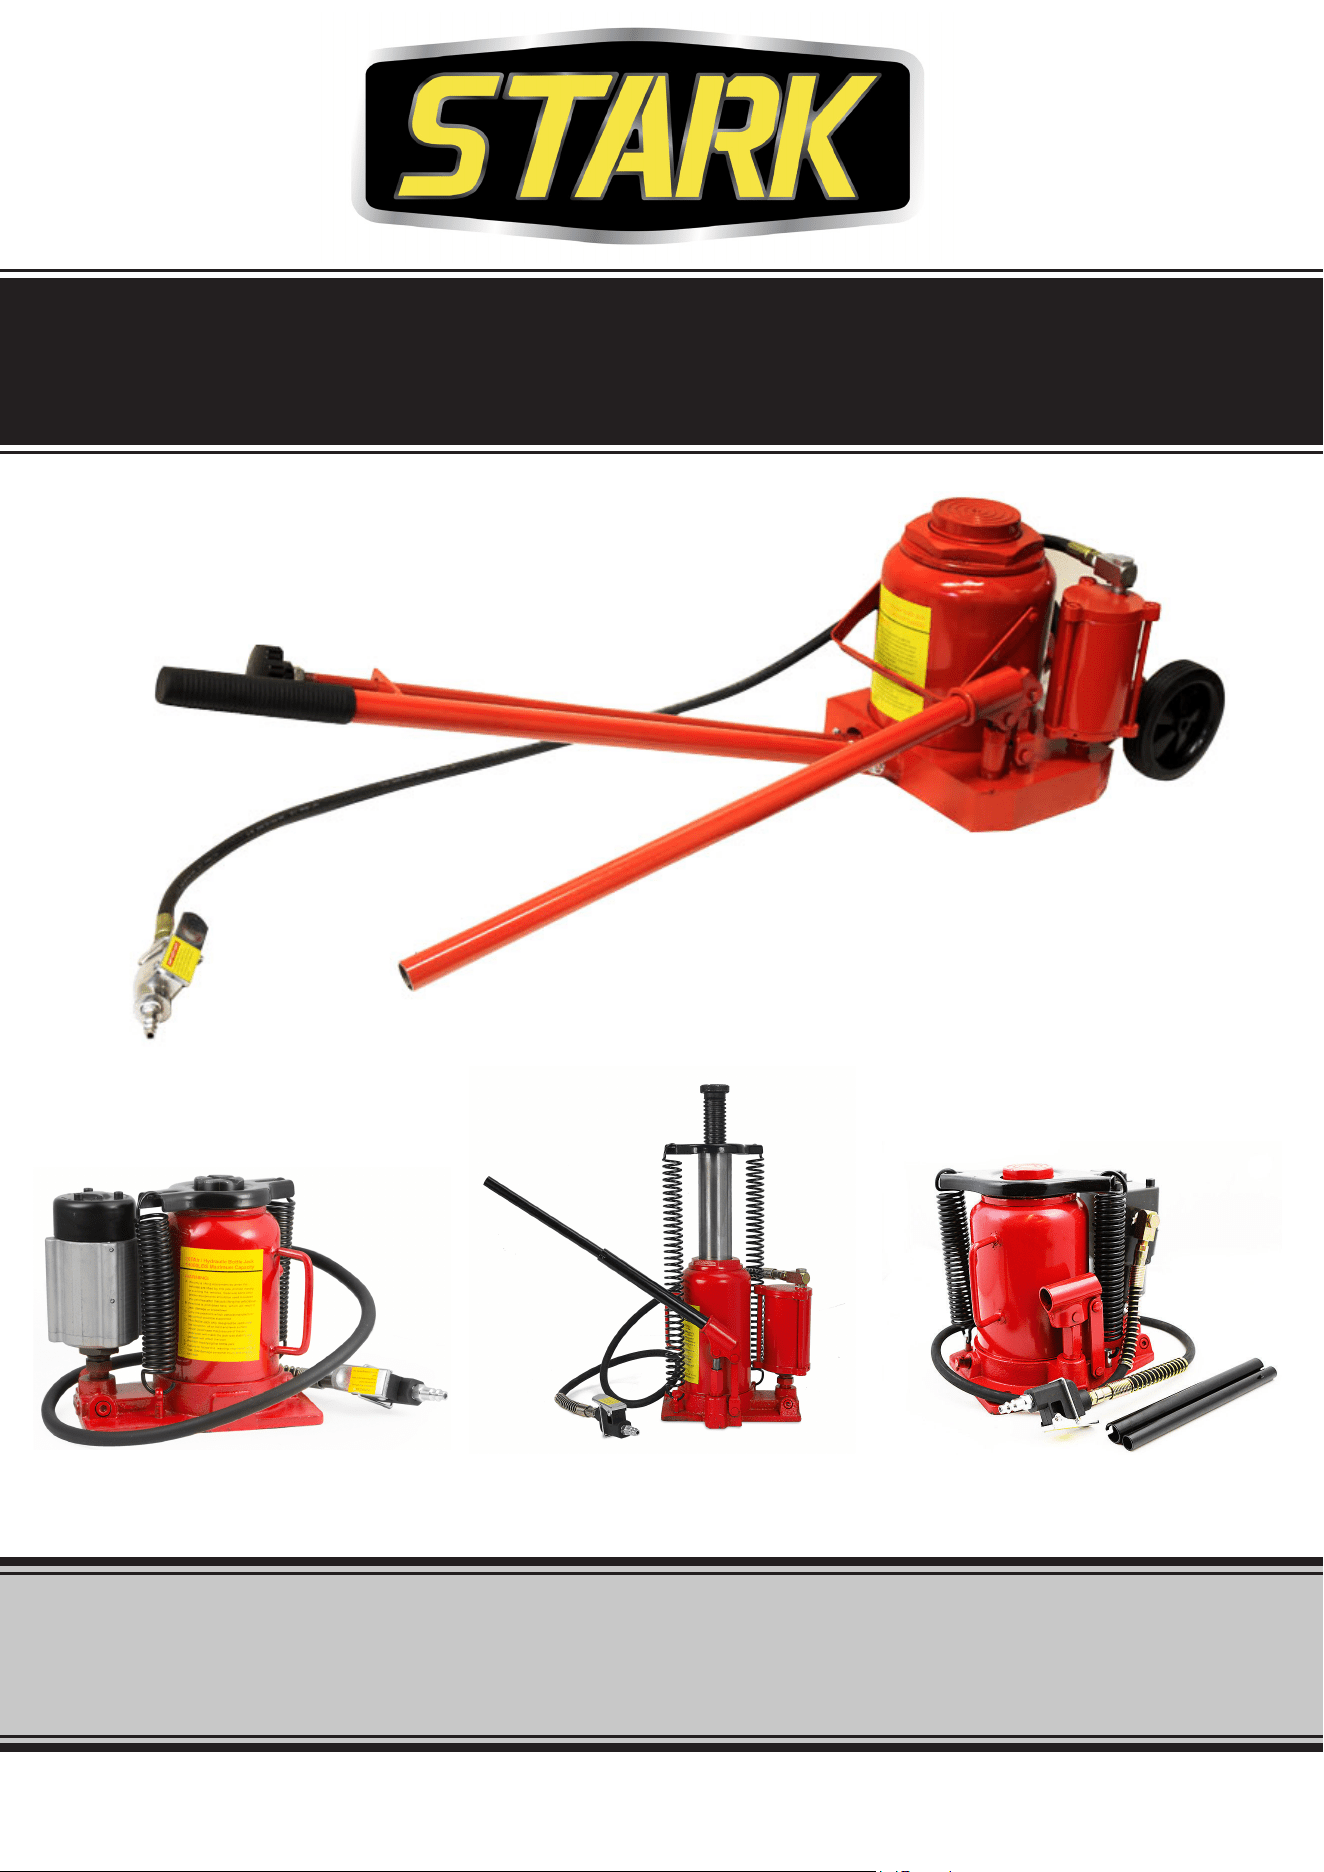
OWNER’S MANUAL AND SAFETY INSTRUCTIONS
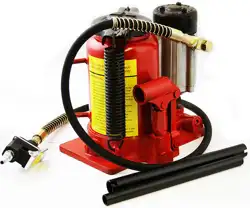
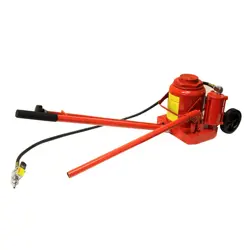
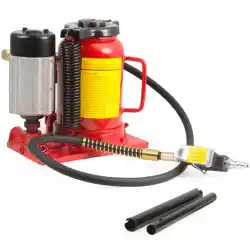
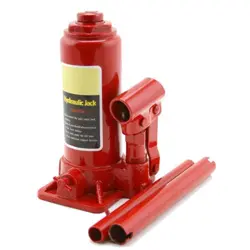
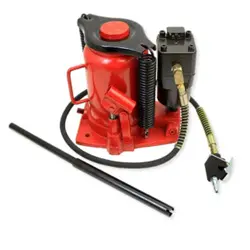
HYDRAULIC BOTTLE JACK
ITEM: 50502 12T, 50503 20T, 50504 20T, 50510 32T, 50511 50T
FOR QUESTIONS PLEASE CALL OUR CUSTOMER SUPPORT: (909) 628 4900 MON-FRI 9AM TO 3PM PST

SAFETY
The warnings, precautions, and instructions discussed in this instruction manual cannot cover all possible
conditions and situations that may occur. It must be understood by the operator that common sense and
caution are factors which cannot be built into this product, but must be supplied by the operator. Read
carefully and understand all ASSEMBLY AND OPERATION INSTRUCTIONS before operating. Failure to
follow the safety rules and other basic safety precautions may result in serious personal injury.
1
IMPORTANT SAFETY INFORMATION
The owner and operator of this equipment shall have an understanding of this jack and safe operating
procedures before attempting to use. The owner and operator shall be aware that use and repair of this
product may require special skills and knowledge.
Inspect before each use. DO NOT use if broken, bent, cracked, or damaged parts (including labels) are
noted. Any jack that appears damaged in any way, operates abnormally or is missing parts, shall be
removed from service immediately. If the jack has been or suspected to have been subjected to a shock
load (a load dropped suddenly, unexpectedly upon it), immediately discontinue use until jack has been
checked by a qualified technician.
DO NOT exceed rated capacity.
This is a lifting device only. After lifting, immediately transfer the load to appropriately rated vehicle
stands.
Use only on hard, level surface.
Lift only on areas of the vehicle as specied by the vehicle manufacturer.
No alterations shall be made to this device.
Only attachments and/or adapters supplied by the manufacturer shall be used.
To Avoid Crushing and Related Injuries:
NEVER work on, under, or around a load supported only by a hydraulic jack.
Read, understand and follow all printed materials provided with and on this jack.
Immediately support the lifted load with appropriately rated jack stands.
Use ONLY on vehicles whose lift points are compatible with the saddle of this jack. Incompatibility may
result in structural damage to the vehicle and/or jack.
Chock each unlifted tire in both directions.
Be alert and sober when servicing a vehicle! NEVER operate this equipment when under the influence
of drugs or alcohol.
DO NOT use this device to lift, level, lower, support, adjust or otherwise move a house, mobile home,
travel trailer, camper, or building structure of any type, size, or configuration.
WARNING: This is a lifting device only. It is designed to lift part of the total vehicle, one wheel or axle.
ALWAYS wear safety glasses when using this equipment.
Center load on the saddle before lifting. NEVER work under or around the load until it is properly supported.
Transfer the load immediately to an appropriate gyrated jack stands.
SAVE THESE WARNINGS
2
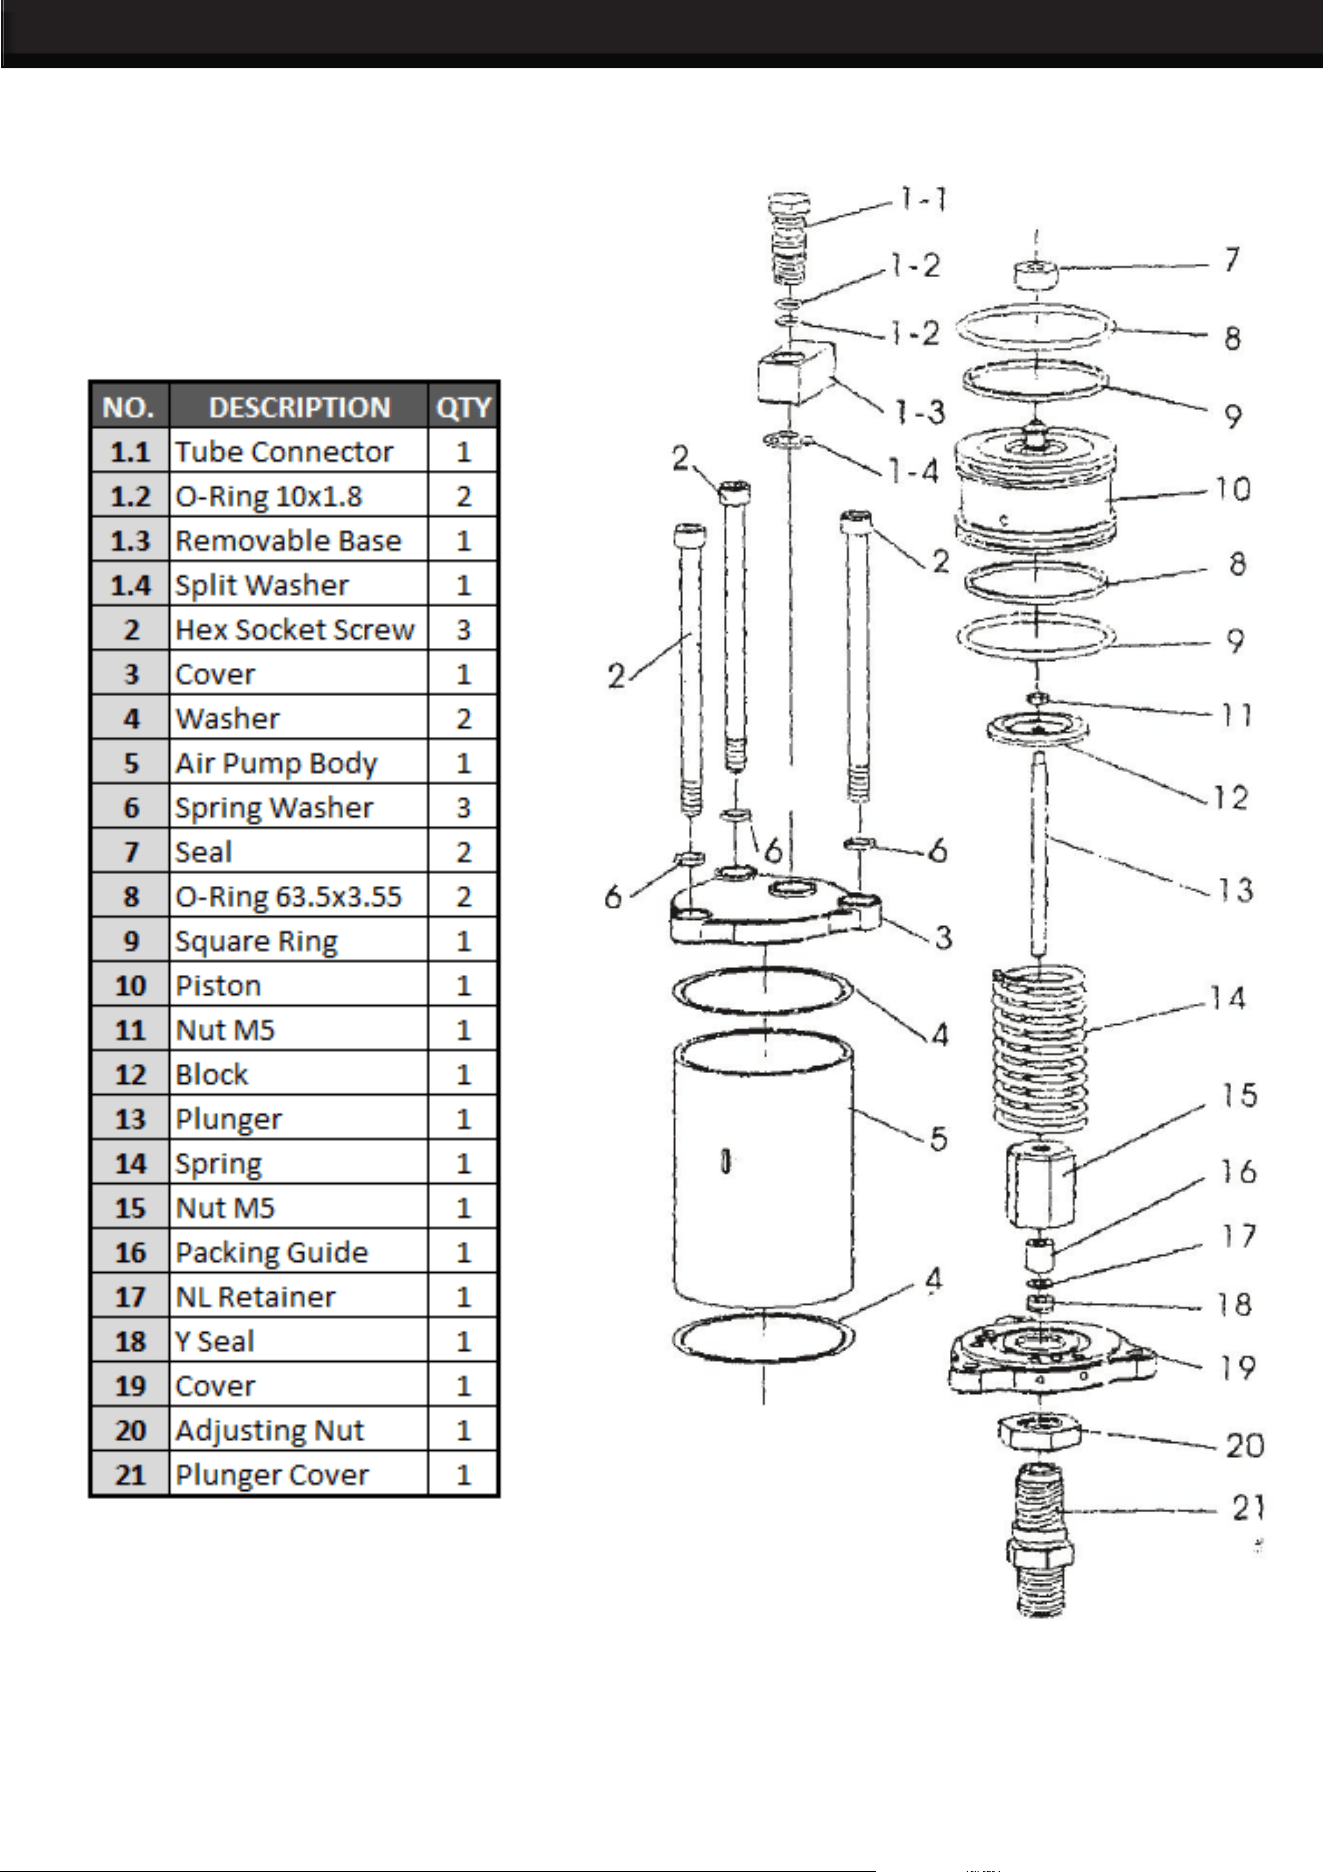
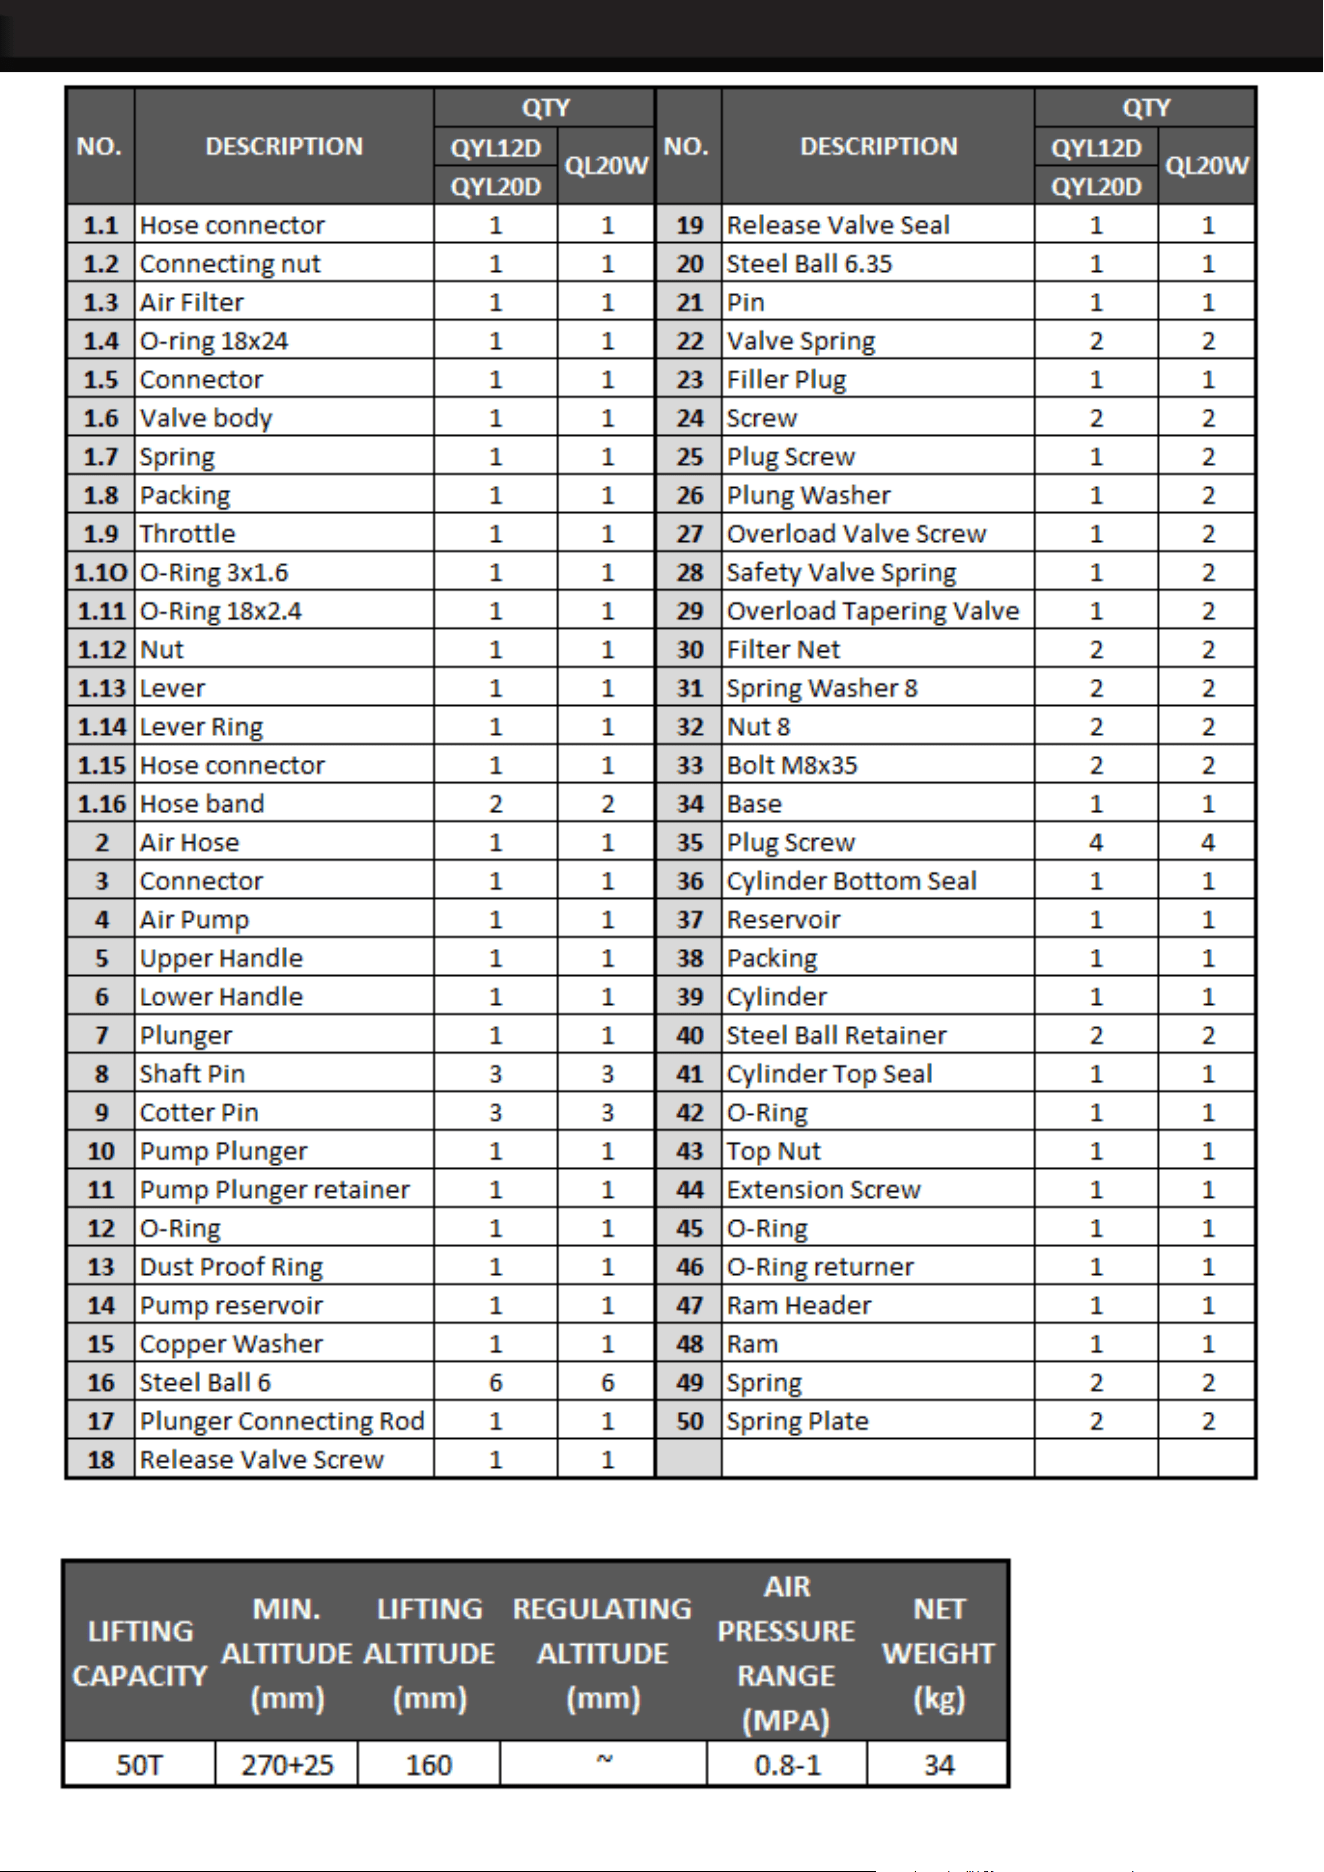
PARTS DIAGRAM and LIST
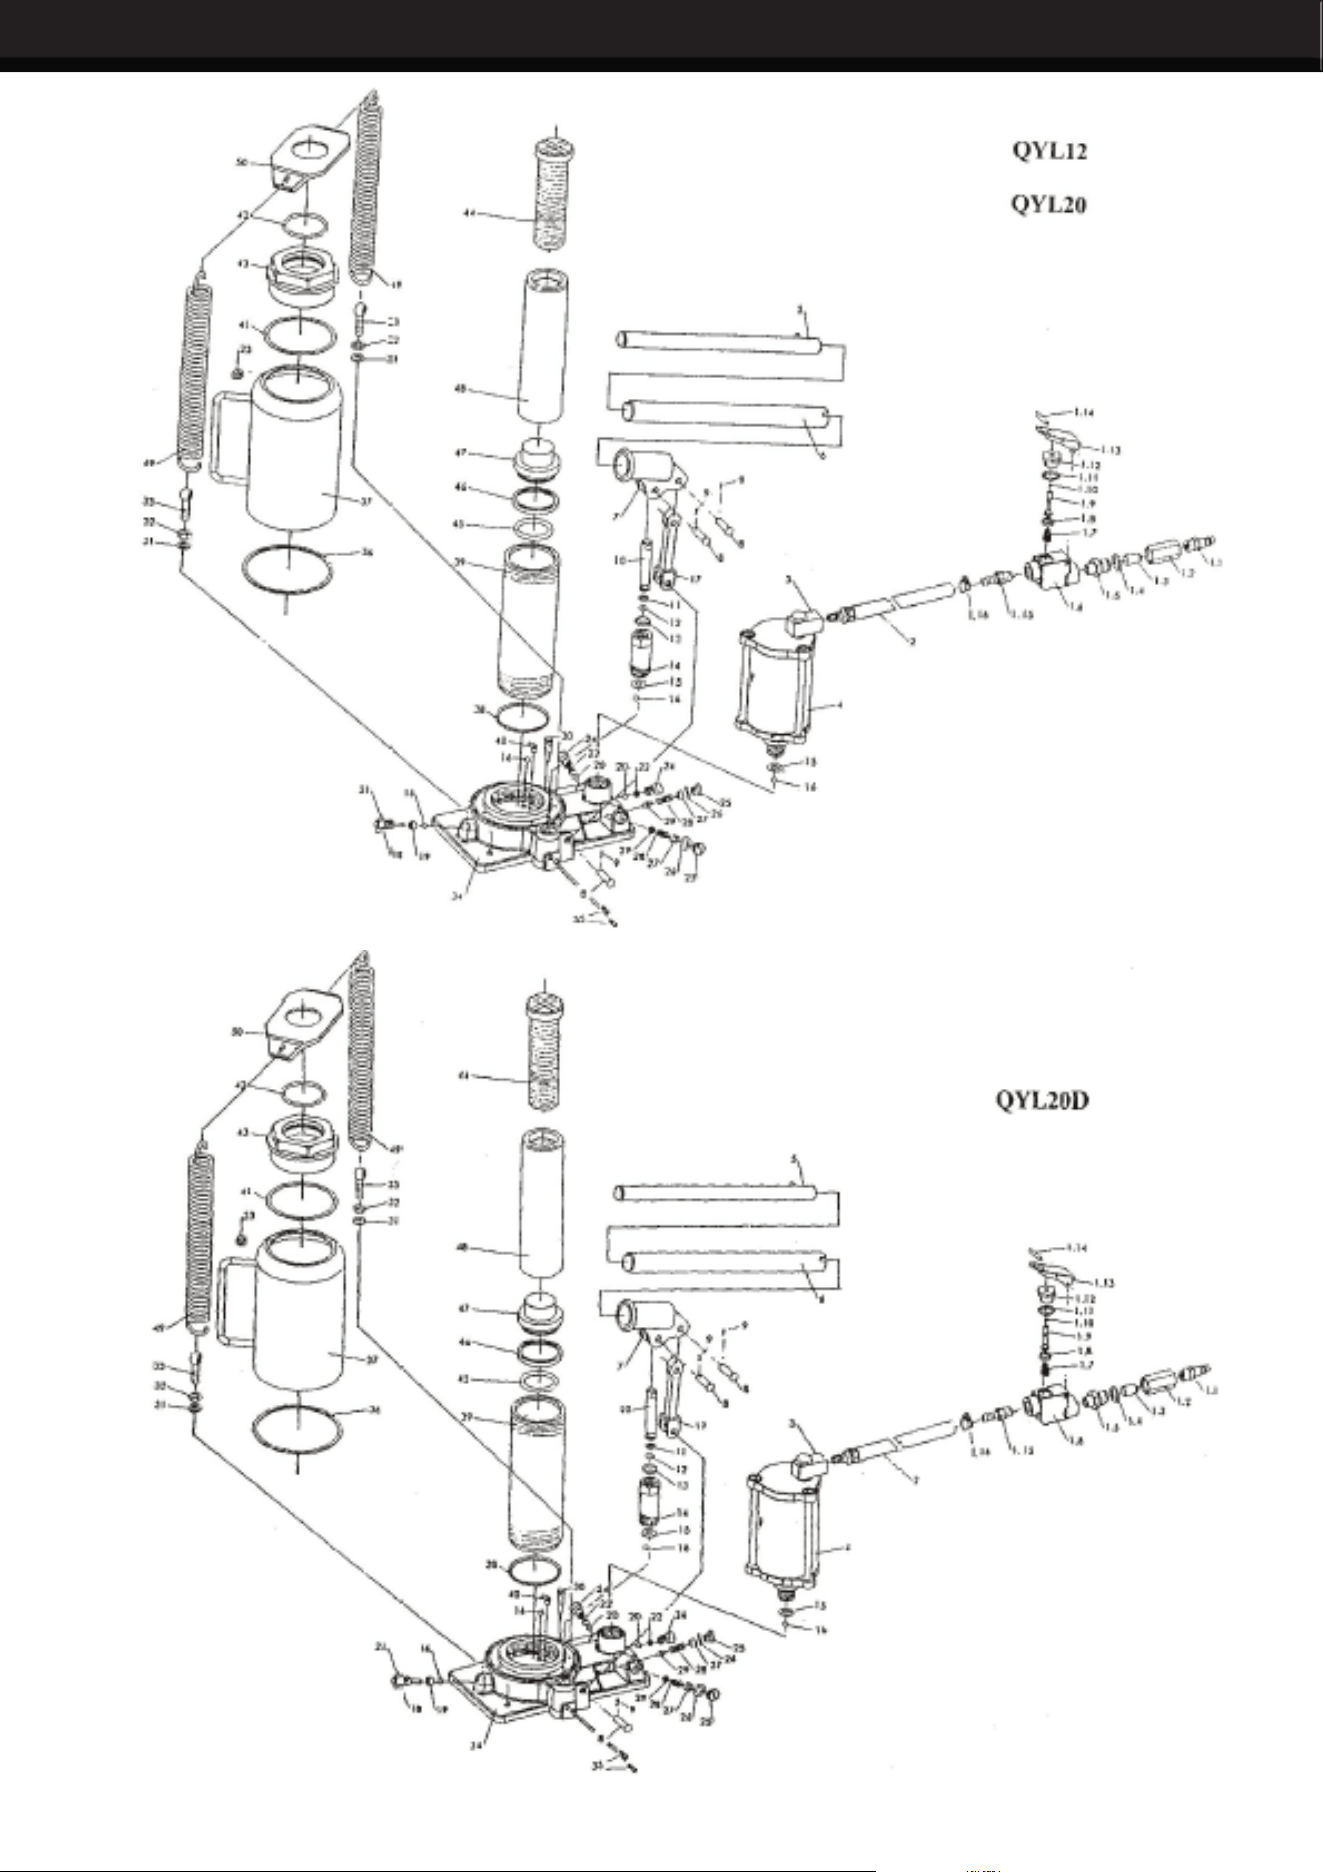
3
PARTS DIAGRAM
4
PARTS LIST
Specications:

5
OPERATION
Lifting:
1. Assemble the handle, ensure that spring clips align with the slots.
2. Secure the load to prevent inadvertant shifting and movement.
3. Position the jack near the desired lift point.
4. Close the release valve by turning it clockwise until it is rmly closed.
CAUTION: Use the handle provided with this product to ensure proper release valve operation. DO NOT use
an extender on the air hose nor the operating handle. When using to lift a vehicle, lift only on the manufacturers
recommended lift point and in accordance with the published guidelines on your vehicle owners manual.
ALWAYS use jack stands to support the load immediately after lifting.
5. Insert and secure the handle into the handle sleeve. Pump handle or squeeze the lift the control valve until
the saddle contacts load. To end air operation, simply release the grip on the lift control valve.
NEVER WIRE, CLAMP OR OTHERWISE DISABLE THE LIFT CONTROL VALVE TO FUNCTION BY ANY
MEANS OTHER THAN BY USING THE OPERATOR’S HAND.
6. Raise the load to the desired height, then immediately transfer the load to appropriately rated suppport
devices such as jack stands.
Lowering:
1. Raise the load enough to carefully remove the jack stands.
2. Insert the handle onto the release valve and slowly turn the handle counter-clockwise, but no more than
1/2 a turn. If the load fails tou lower, carefully transfer the load to another lifting device and jack stands.
Carefully remove affected jack and then the jack stands. Lower the load, again by slowly turning the release
valve no more than a 1/2 turn.
BE SURE ALL TOOLS AND PERSONNEL ARE CLEAR BEFORE LOWERING THE LOAD.
DANGEROUS DYNAMIC SHOCK LOADS ARE CREATED BY QUICKY OPENING AND CLOSING. THE
RELEASE VALVE AS THE LOAD US BEING LOWERED. THE RESULTING OVERLOAD MAY CAUSE
HYDRAULIC SYSTEM FAILURE WHICH COULD CAUSE SEVERE PERSONAL INJURY AND/OR
PROPERTY DAMAGE.
3. After removing
the lack from under the load, push the ram and handle sleeve down to reduce exposure to
rust and contamination.
Lubrication:
1. A coating of light lubricating oil to pivot points, axles and hinges. This will help to prevent rust and assure
and that the wheels, casters and pump assemblies move freely.
2. Peridically check the pump piston for signs of rust or corrosion. Clean as needed and wipe with an oily
cloth.
NEVER USE SANDPAPER OR ABRASIVE MATERIAL ON THESE SURFACES.
3. When not in use, store the jack with pump piston and the ram fully retracted.
6
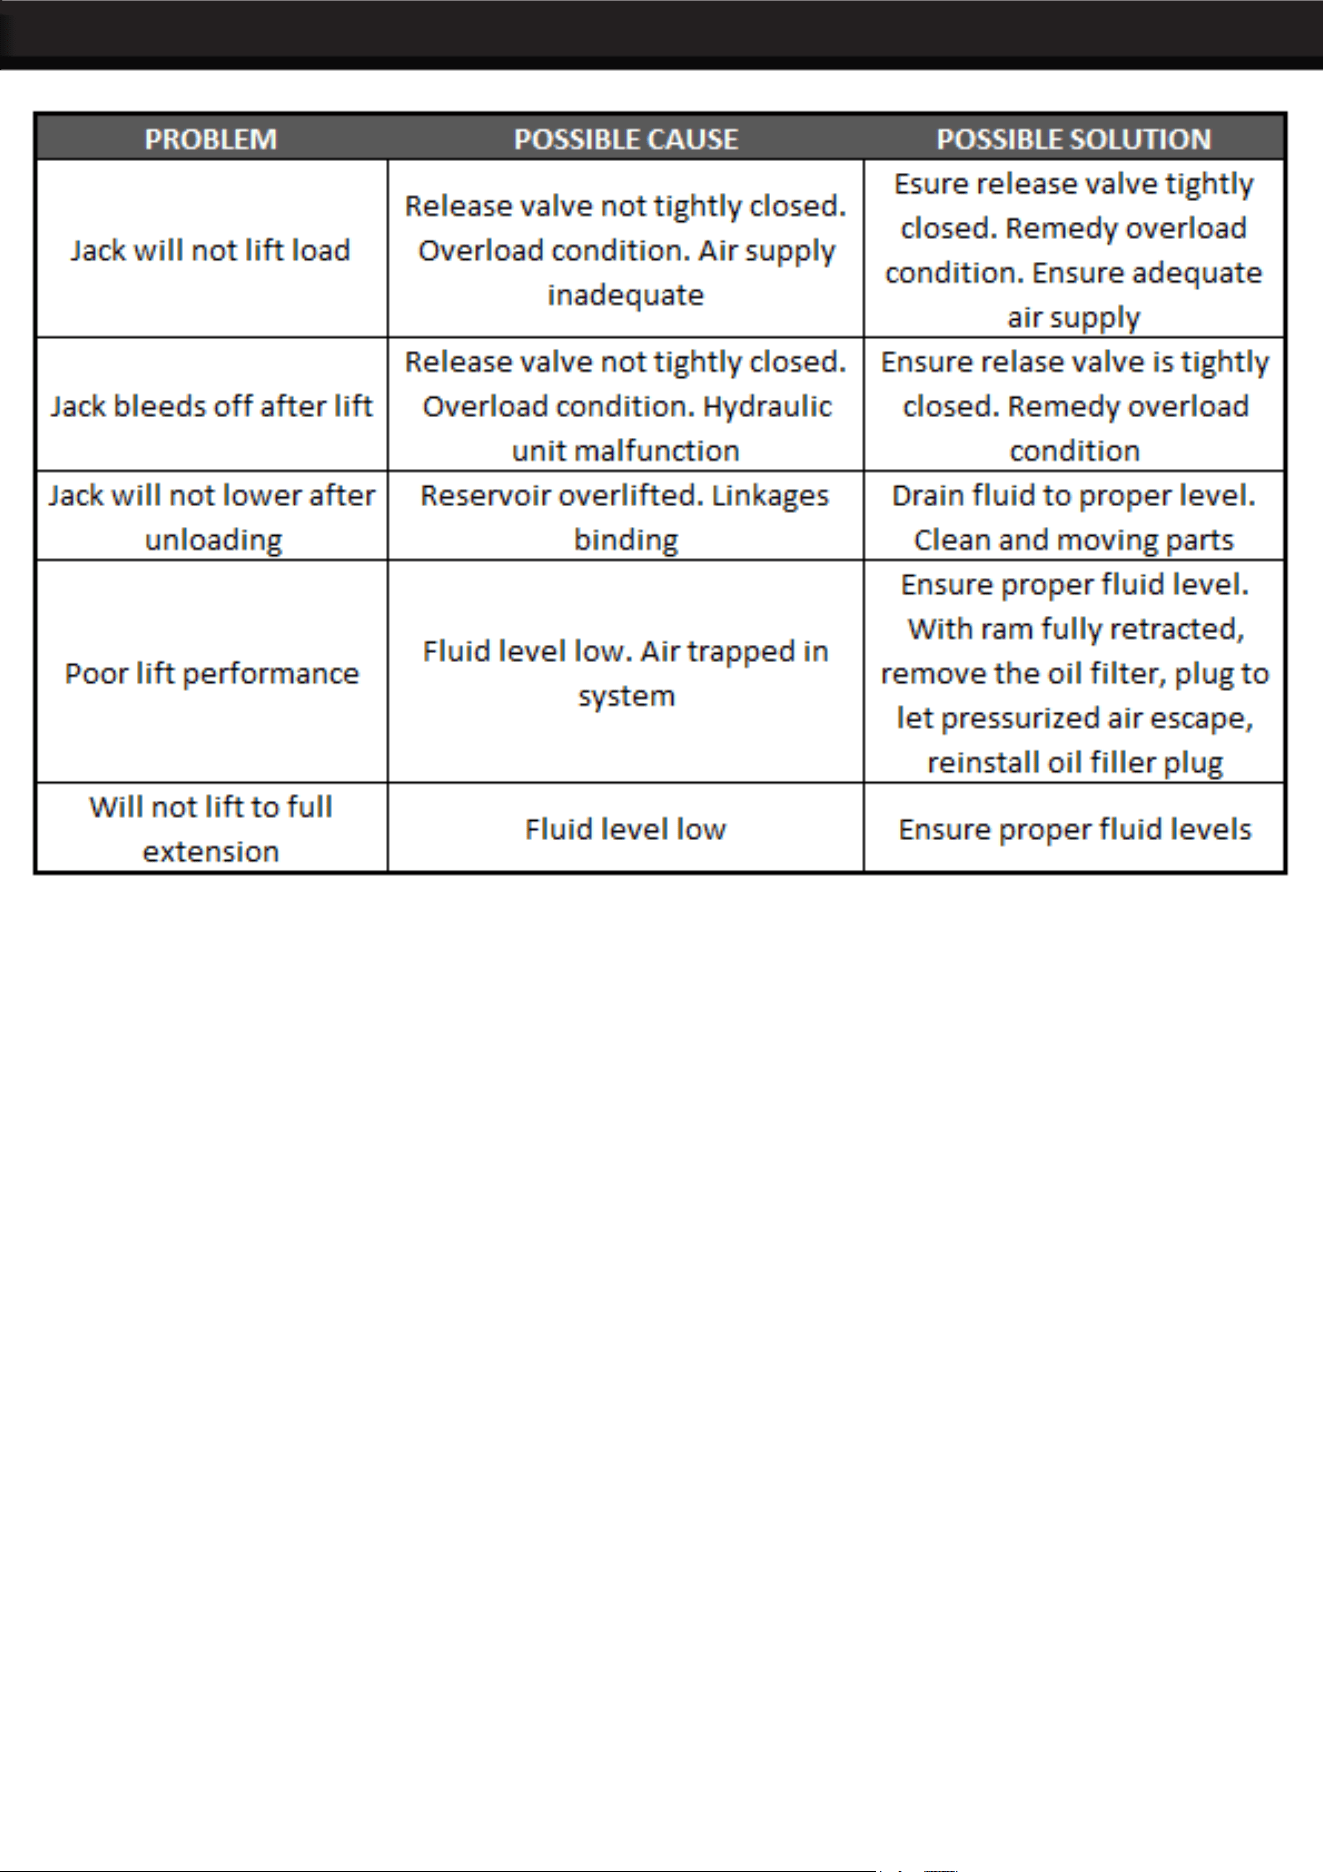
TROUBLESHOOTING and MAINTENANCE
IMPORTANT: Use only good hydraulic jack oil. Avoid mixing different types of uid and NEVER use brake
uid, turbine oil, transmission uid, motor oil or glycerin. Improper uid can cause premature failure of the
jack and the potential for sudden and immediate loss of the load.
MAINTENANCE
Adding Oil:
1. With the saddle fully lowered and the pump piston fully depressed, set the jack in its upright, level position
and remove the oil lter plug.
2. Fill until the oil level with the lter plug hole, reinstall the oil ller plug.
Changing the Oil:
For best performance and a longer life, replace the complete uid supply at least once per year.
1. With the saddle fully lowered and the pump piston fully depressed, remove the oil ller plug.
2.
Lay the jack on its side and drain the uid into a suitable container. Dispose of hydraulic uid in accordance
with local regulations.
3. Fill with good quality jack oil. Reinstall the oil lter plug. We recommend Mobil DTE13 or an equivalent.
7
Record Product’s Serial Number Here:
Note: If product has no serial number, record month and year of purchase instead.
Note: Some parts are listed and shown for illustration purposes only and are not available
individually as replacement parts.
THE MANUFACTURER AND/OR DISTRIBUTOR HAS PROVIDED THE PARTS LIST AND ASSEMBLY
DIAGRAM IN THIS MANUAL AS A REFERENCE TOOL ONLY. NEITHER THE MANUFACTURER OR
DISTRIBUTOR MAKES ANY REPRESENTATION OR WARRANTY OF ANY KIND TO THE BUYER THAT
HE OR SHE IS QUALIFIED TO MAKE ANY REPAIRS TO THE PRODUCT, OR THAT HE OR SHE IS
QUALIFIED TO REPLACE ANY PARTS OF THE PRODUCT. IN FACT, THE MANUFACTURER AND/OR
DISTRIBUTOR EXPRESSLY STATES THAT ALL REPAIRS AND PARTS REPLACEMENTS SHOULD BE
UNDERTAKEN BY CERTIFIED AND LICENSED TECHNICIANS, AND NOT BY THE BUYER. THE BUYER
ASSUMES ALL RISK AND LIABILITY ARISING OUT OF HIS OR HER REPAIRS TO THE ORIGINAL
PRODUCT OR REPLACEMENT PARTS THERETO, OR ARISING OUT OF HIS OR HER INSTALLATION
OF REPLACEMENT PARTS THERETO.
PLEASE READ THE FOLLOWING CAREFULLY
DISCLAIMER
PRODUCT MADE IN CHINA