Switch vehicle OFF
when not in use.
Do not use chemicals
or water to clean.
Brush areas where
dirt gets trapped.
Wipe body with a
soft rag or cloth.
1. Take the fork Align the slot
position Install it in.
2. Adjust the left and right
positions.
3. Take the other fork repeat the
above operation.
1. Take the lift hook Align the
slot position Install it in.
2. Adjust the left and right
positions.
* If vehicle pulls to the left or right during forward driving the Wheel Alignment
may need to be adjusted. The Wheel Alignment Dial is located on bottom of
chassis between the rear wheels.
* If there is no operation for 3 minutes, the vehicle will enter sleep mode. You
need to toggle the power switch again to restart it.
* After the vehicle enters sleep mode, turn off its power switch if it will not be
used, otherwise it will keep consuming power and damage the built-in
battery.
ON/OFF Switch
Features & Functions
VEHICLE
Component Checklist
WHAT’S INCLUDED
1. When the battery is low, all lights flash rapidly and the vehicle slows down. After 50
seconds, the power will turn off (please charge the battery in a timely manner).
2. Locate the ON/OFF switch on the underside of the vehicle.
3. Turn the ON/OFF switch to the “OFF” position, the working lights will turn off
automatically.
4. Insert the USB cable into the charging port on the underside of the vehicle.
5. The cord can be plugged into any 5V DC computer USB port or 5V DC USB outlet
adapter (adapter not included).
6. While charging, the red charge status light stays on; the red light will turn off once
charging is complete. Charging takes approximately 1 hour.
7. Please store the USB cable before operating the vehicle.
This vehicle is equipped with an internal Lithium-Ion battery that is recharged via USB.
ON/OFF Switch must be in the OFF position prior to charging.
Charging the Battery
VEHICLE
Functions
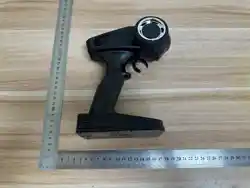
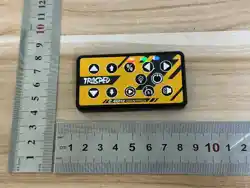
TRANSMITTER
• (1) R/C Vehicle
• (1) Transmitter
(with 1 CR2032 Battery inside)
• (1) USB Charging Cord
• (1) Screwdriver
• (1) lifting hook
Type-C Charging Port
Wheel Alignment
OWNER’S MANUAL
Battery Installation
Syncing
TRANSMITTER
This transmitter uses 2.4GHz technology, allowing up to 6 vehicles to race at the same time.
The transmitter must be paired with the vehicle before first use and after battery replacement.
To sync the transmitter and vehicle, follow the steps below:
1. Install the battery correctly into the transmitter.
2. Place the vehicle upside down and turn on the power switch. The underbody light flashes to enter
pairing mode. The vehicle is in pairing mode for 30 seconds only.
3. Immediately press and hold any key on the transmitter(up to 30 seconds). The lights stop flashing
and pairing is complete. Then press the power key to activate other vehicle functions.
This product contains a Button or Coin Cell Battery. A swallowed
Button or Coin Cell Battery can cause internal chemical burns in as
little as two hours and lead to death. Dispose of used batteries
immediately. Keep new and used batteries away from children. If
you think batteries might have been swallowed or placed inside any
part of the body, seek immediate medical attention.
书纸正反印
两次中间对折
正面
反面
File Name: R5-64B66U Eng(055-26)INS.ai
Software: Illustrator CS5
Color: K+1788C
By: Tracy
Date: 2026 02 24
Charge
Status Light
USB Charging Cable
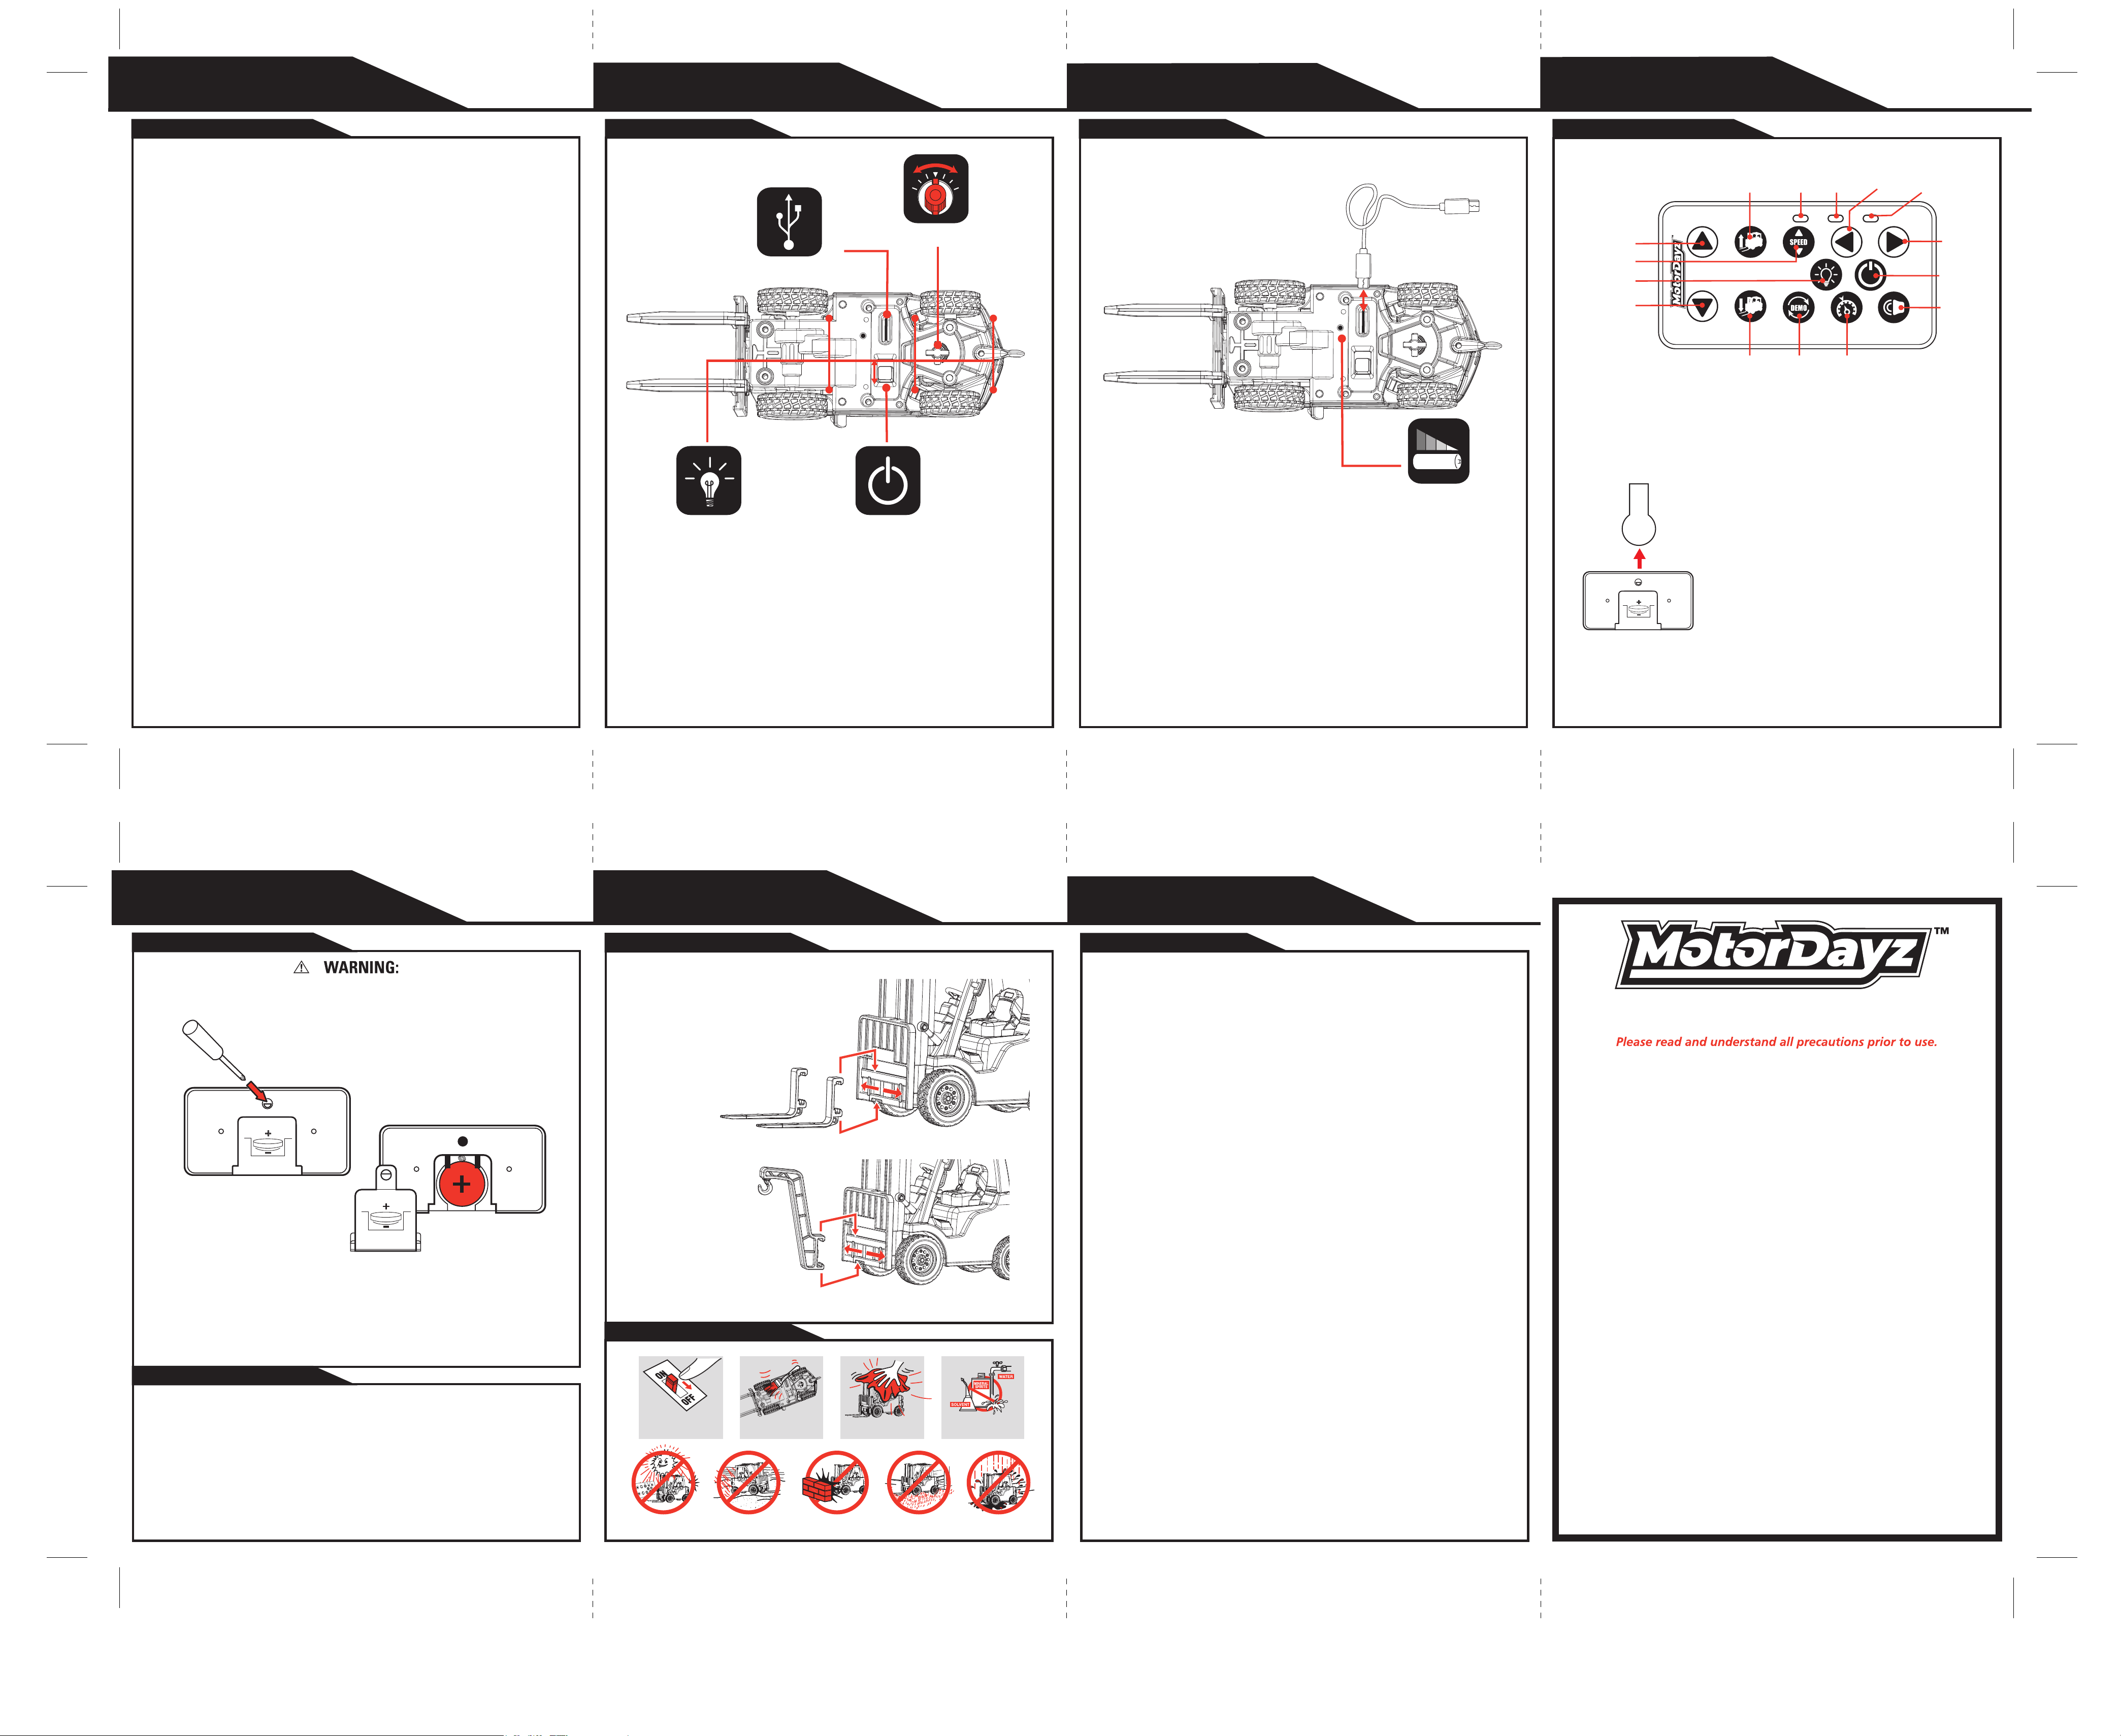
1. Pull the isolator upwards to activate the remote control. All control
indicators will flash and then turn off.
2. Locate the power switch on the underside of the vehicle and slide
it to the ON position. With a beep sound, the working lights will
turn on automatically.
3. Press the power key on the remote control, the vehicle idle sound
will be triggered, indicating the controller is in normal mode.
4. Use the forward and reverse keys to drive, and the left/right keys
to steer. Press the light or sound key to turn on; press again to
turn off. A continuous beep sounds and the red rear light flashes
when reversing.
5. Press lift and lower keys to control the front fork.
6. Short press the speed key to switch between three speed levels:
green light for normal mode, red light for high-speed mode, and
both lights on together for maximum speed mode.
7. Short press the Cruise key; the blue indicator will light up and the
vehicle will enter cruise mode. Press the Forward key to
accelerate forward or the Reverse key to accelerate backward.
When the highest gear is reached after several presses, the blue
indicator will flash three times. Short press the Cruise key again
to reset the gear to 0.
8. Short press the Demo key to enter automatic demonstration,
press any key to exit.
9. Press the power key again, and all working lights and sound will
turn off while the vehicle enters sleep mode. Hold the power key
to turn off the remote control.
REF R5-64B66U
JN055-26
Motor Dayz Customer Service
3000 N. Pontiac Trail
Commerce Township, MI 48390
http://www.motordayz.com/
USA & Canada
90-Day Limited Warranty
Motor Dayz warrants to the original purchaser that this product will be free of defects in materials and
workmanship for ninety (90) days from the date of purchase. If a defect arises within the warranty
period, Motor Dayz will, at its sole discretion, provide replacement parts, replace the product, or offer
a coupon for our website for a new product of at least equal value. This Warranty does not cover
damage resulting from unauthorized modifications, accidents, misuse, or abuse. A dated sales
receipt is required for coverage under this Warranty. Purchases from unauthorized retailers,
resellers, or distributors are not covered under this Warranty.
Should your item have a defect covered under this Warranty, either call the Consumer Service team
by phone or email using the contact details listed below. Most issues can be resolved through
troubleshooting in this manner. If necessary, you will be issued a Case Number and be provided
instructions on how to obtain replacement parts, a replacement product, or a coupon.
Please allow 2 to 4 weeks for processing and delivery, depending on your location. Motor Dayz
covers the cost of shipping for valid claims within the USA and Canada. DO NOT send any product
to Motor Dayz. Any unsolicited product returns will be refused delivery and returned at the sender’s
expense.
Motor Dayz’s liability for defects in materials and workmanship under this warranty is limited to
providing replacement parts, a replacement product, or a coupon at Motor Dayz’s sole discretion. In
no event shall Motor Dayz be responsible for any incidental, consequential or contingent damages.
Valid only in the USA & Canada.
For full Warranty details, visit,
USA: https://www.motordayz.com/customer-support/warranty/
Canada: https://www.motordayz.ca/customer-support/warranty/
For more information regarding our product line, please visit,
USA: www.motordayz.com. For Canada, please visit: www.motordayz.ca
For Service in the USA
Email: [email protected]
Call: 248-863-3110
Monday- Friday,
8:30am- 7:00pm Eastern Time
For Service in Canada
Email: [email protected]
Call: 888-225-7378
Monday- Friday,
8:30am- 5:00pm Eastern Time
Problem - Vehicle does not move or moves slowly.
- Make certain there is a fresh battery in the transmitter and that it has been installed in the
correct position. You may need to re-sync the transmitter and vehicle. Refer to the sync
instructions.
- Are the (+) and (–) markings on the battery in the same position as the (+) and (–) markings in
the transmitter battery compartment?
- Are the metal contact tabs in the transmitter making proper contact, or are they rusty or dirty?
- Has the vehicle been fully charged?
- Ensure the vehicle’s power switch is set to ON.
- When the indicator light on the remote control dims and the control distance shortens, replace
the remote control’s battery with a new CR2032.
- The vehicle’s lights will flash slowly if it is not linked to the transmitter’s frequency. They will
also flash slowly if the frequency connection is lost when driving beyond the remote control’s
range.
- Some models are prone to rollover at high speeds due to the vehicle’s center of gravity. To
prevent rollover, do not press the steering button for an extended period; press it briefly only
when turning is needed.
Always remove the battery from the transmitter when not in use.
Do not dispose of batteries in fire. Leakage, explosion, and personal injury may occur.
Do not attempt jumps or tricks with this vehicle.
Do not attempt to remove the internal battery.
Do not use the included USB cord for anything other than its intended purpose.
Always keep the USB cord stored when not in use.
Only an adult should charge and replace batteries. Choking hazard. Keep small batteries away
from children.
Problem - Vehicle moves by itself or exhibits reduced range from the transmitter.
Make certain there is no outside radio interference in your area. The best way to test this is to
take the vehicle as far away from radio towers, electrical lines or tall buildings as possible to
ensure no further radio interference will occur.
Troubleshooting & Support
SUPPORT
F.C.C. CAUTION:
Changes or modifications not expressly approved by the party responsible for compliance
could void the user’s authority to operate the equipment.
This device complies with part 15 of the FCC Rules. Operation is subject to the following two
conditions: (1) This device may not cause harmful interference, and (2) this device must
accept any interference received, including interference that may cause undesired operation.
NOTE:
This equipment has been tested and found to comply with the limits for a Class B digital device, pursuant to Part 15 of the FCC Rules.
These limits are designed to provide reasonable protection against harmful interference in a residential installation. This equipment
generates, uses and can radiate radio frequency energy and, if not installed and used in accordance with the instructions, may cause
harmful interference to radio communications. However, there is no guarantee that interference will not occur in a particular installation. If
this equipment does cause harmful interference to radio or television reception, which can be determined by turning the equipment off and
on, the user is encouraged to try to correct the interference by one or more of the following measures:
- Reorient or relocate the receiving antenna.
- Increase the separation between the equipment and receiver.
- Connect the equipment into an outlet on a circuit different from that to which the receiver is connected.
- Consult the dealer or an experienced radio/TV technician for help.
REF R5-64C26U
Precautions & Care
PROPER USE
Cruise
1. Locate and remove the Battery Compartment Cover on the bottom of the transmitter. Align the
screwdriver with the opening and firmly pry open the cover.
2. Insert one 3V Lithium CR2032 battery. Ensure the positive (+) and negative (–) markings on the
battery match those inside the Battery Compartment.
3. Replace the Battery Compartment Cover.
Working
Lights
Reverse
Driving
Light
Speed Control
Lift
lower
Red
light
Green
light
Blue
light
Power
Sound
Demo
Left
Steering
Right
Steering
Forward
Driving
Accessories assembly diagram