Not Connecting to the Internet?
QSG-BTN-2217REV 241010
iPhone, iPad, Mac and Mac OS X are registered trademarks of Apple Inc. Windows, Windows XP, Windows Vista, Windows 7,
Windows 8 and Windows 10 are registered trademarks of Microsoft Corporation in the United States and/or other countries.
Night Owl strongly recommends connecting the NVR to the Internet. If
you have decided not to connect, follow the onscreen prompts within the
Startup Wizard. Please note that not connecting your NVR means:
support page on the Night Owl Support Site.
You cannot view your system remotely.
Resetting your password is a much longer process to ensure security.
For system manuals, troubleshooting guides, FAQs, video tutorials and more:
Please visit Support.NightOwlSP.com
Enter the Series listed on the Product Support Sticker
(on top of the NVR) into the Search bar.
Access the support material needed.
Need More Help?
Night Owl Technical Support
If you require Technical Support, you should always go to Support.NightOwlSP.com
first. With 24/7 access to system manuals, troubleshooting guides, FAQs, video
tutorials, and more, you'll have all the support you could need.
NVR Hardware Setup Video
Your device is running the latest firmware version.
Your device is registered. To register your device:
Download Night Owl Protect from your Smart Device's App Store.
Click "Sign Up" to create an account.
or
Go to www.no-protect.com and manually register your device.
You are in front of the device with it powered on.
Follow along as we guide you through the NVR's hardware
setup. Step-by-step instructions make it even easier to
connect your system!
Still need more support? Before calling Night Owl Technical Support, keep in
mind we can only provide phone support if:
For more Support Videos, go to Night Owl’s YouTube page by
typing www.youtube.com/nightowlsp into your web browser.
Use the QR Code for easy access to the NVR Hardware
Setup Video on Night Owl’s YouTube Channel.
Thank you for being a Night Owl Customer! Secure, Protect, Connect your world!
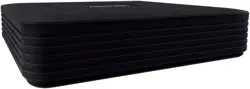
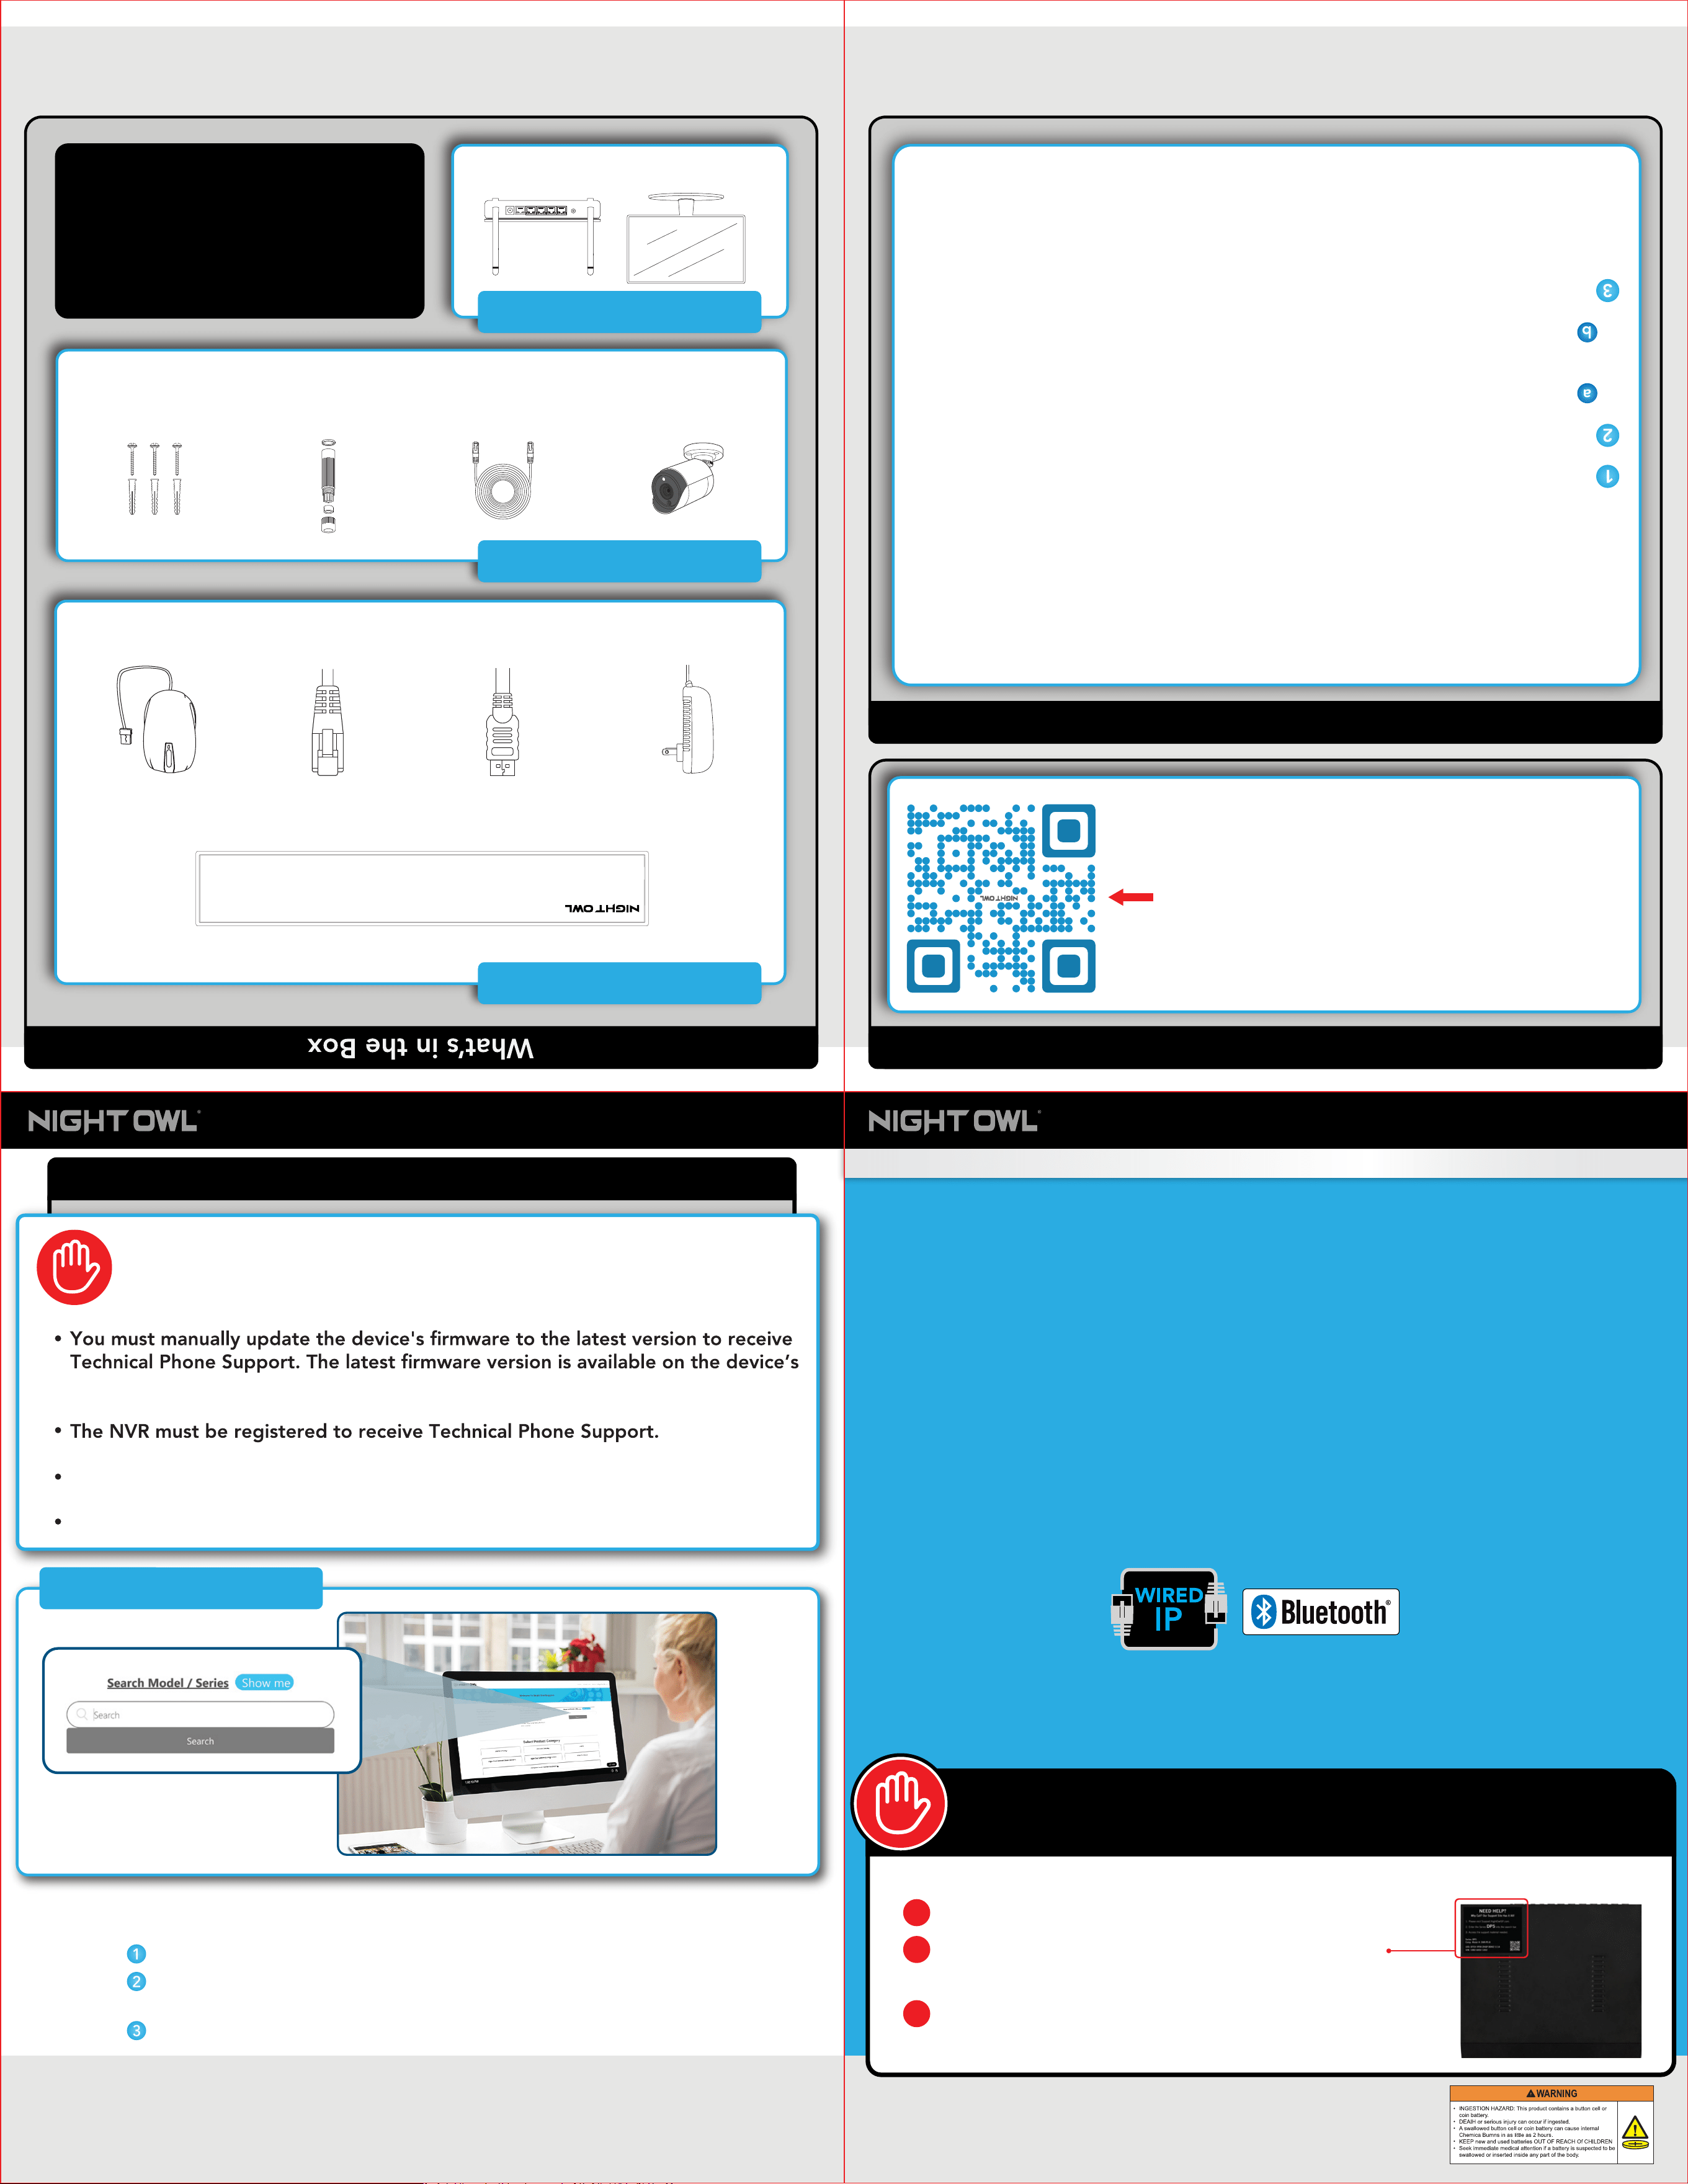
NVR
6 ft. HDMI
(x1)
USB Mouse
(x1)
6 ft. Ethernet
(x1)
Mounting
Hardware
(Varies by Model)
DISCLAIMER: The exact components of your system, images, and quantities may vary depending on your model numbe r.
While these may vary, this QSG addresses the setup of your NVR and cameras. While we make every effort to provide accurate
information, inaccuracies or errors may occur. We reserve the right to make changes, corrections, and/or improvements to the
information and to the products, at any time without notice.
NVR / Accessories
Camera / Accessories
Items Not Included
Wired IP
Camera(s)
NVR Power Adapter
(x1)
NOTE: If connecting to a TV or
Monitor (Not Required), it must have
a minimum resolution of 1080p HD.
Use all of the included Night Owl
accessories. Third-party accessories
may not work correctly.
Monitor
Router / Network
Access Point
RESET
LAN1 LAN2 LAN3 LAN4 W AN
(Not required for Bluetooth® Setup)
60 ft.
Ethernet Cables
(1 per Camera)
Waterproof
Cable Cover(s)
(1 per Camera)
Quick Setup Guide
Network Video Recorder (NVR) Product Setup
Quick Setup Guide
Wired NVR
Security System
1 Visit
Support.NightOwlSP.com
2 Enter the Series listed on the product support
sticker into the search bar
3 Access the support material needed
For system manuals, troubleshooting guides, FAQs, video tutorials and more:
Need Help?
Why call? Our 24/7 online support site has it all!
Product support
information can be
found on the top
of your Recorder
FCC Statement
This equipment has been tested and found to comply with the limits for a Class B digital device, pursuant to part 15 of the FCC Rules. These limits are designed to provide reasonable protection against harmful interference in a residential installation. This equipment generates,
uses and can radiate radio frequency energy and, if not installed and used in accordance with the instructions, may cause harmful interference to radio communications. However, there is no guarantee that interference will not occur in a particular installation. If this
equipment does cause harmful interference to radio or television reception, which can be determined by turning the equipment off and on, the user is encouraged to try to correct the interference by one or more of the following measures:
•Reorient or relocate the receiving antenna.
•Increase the separation between the equipment and receiver.
•Connect the equipment into an outlet on a circuit different from that to which the receiver is connected.
•Consult the dealer or an experienced radio/TV technician for help.
Caution: Any changes or modi :cations to this device not explicitly approved by manufacturer could void your authority to operate this equipment.
This device complies with part 15 of the FCC Rules. Operation is subject to the following two conditions: (1) This device may not cause harmful interference, and (2) this device must accept any interference received, including interference that may cause undesired operation.
RF Exposure Information
This equipment complies with FCC radiation exposure limits set forth for an uncontrolled environment. This equipment should be installed and operated with minimum distance 20cm between the radiator and your body.
a
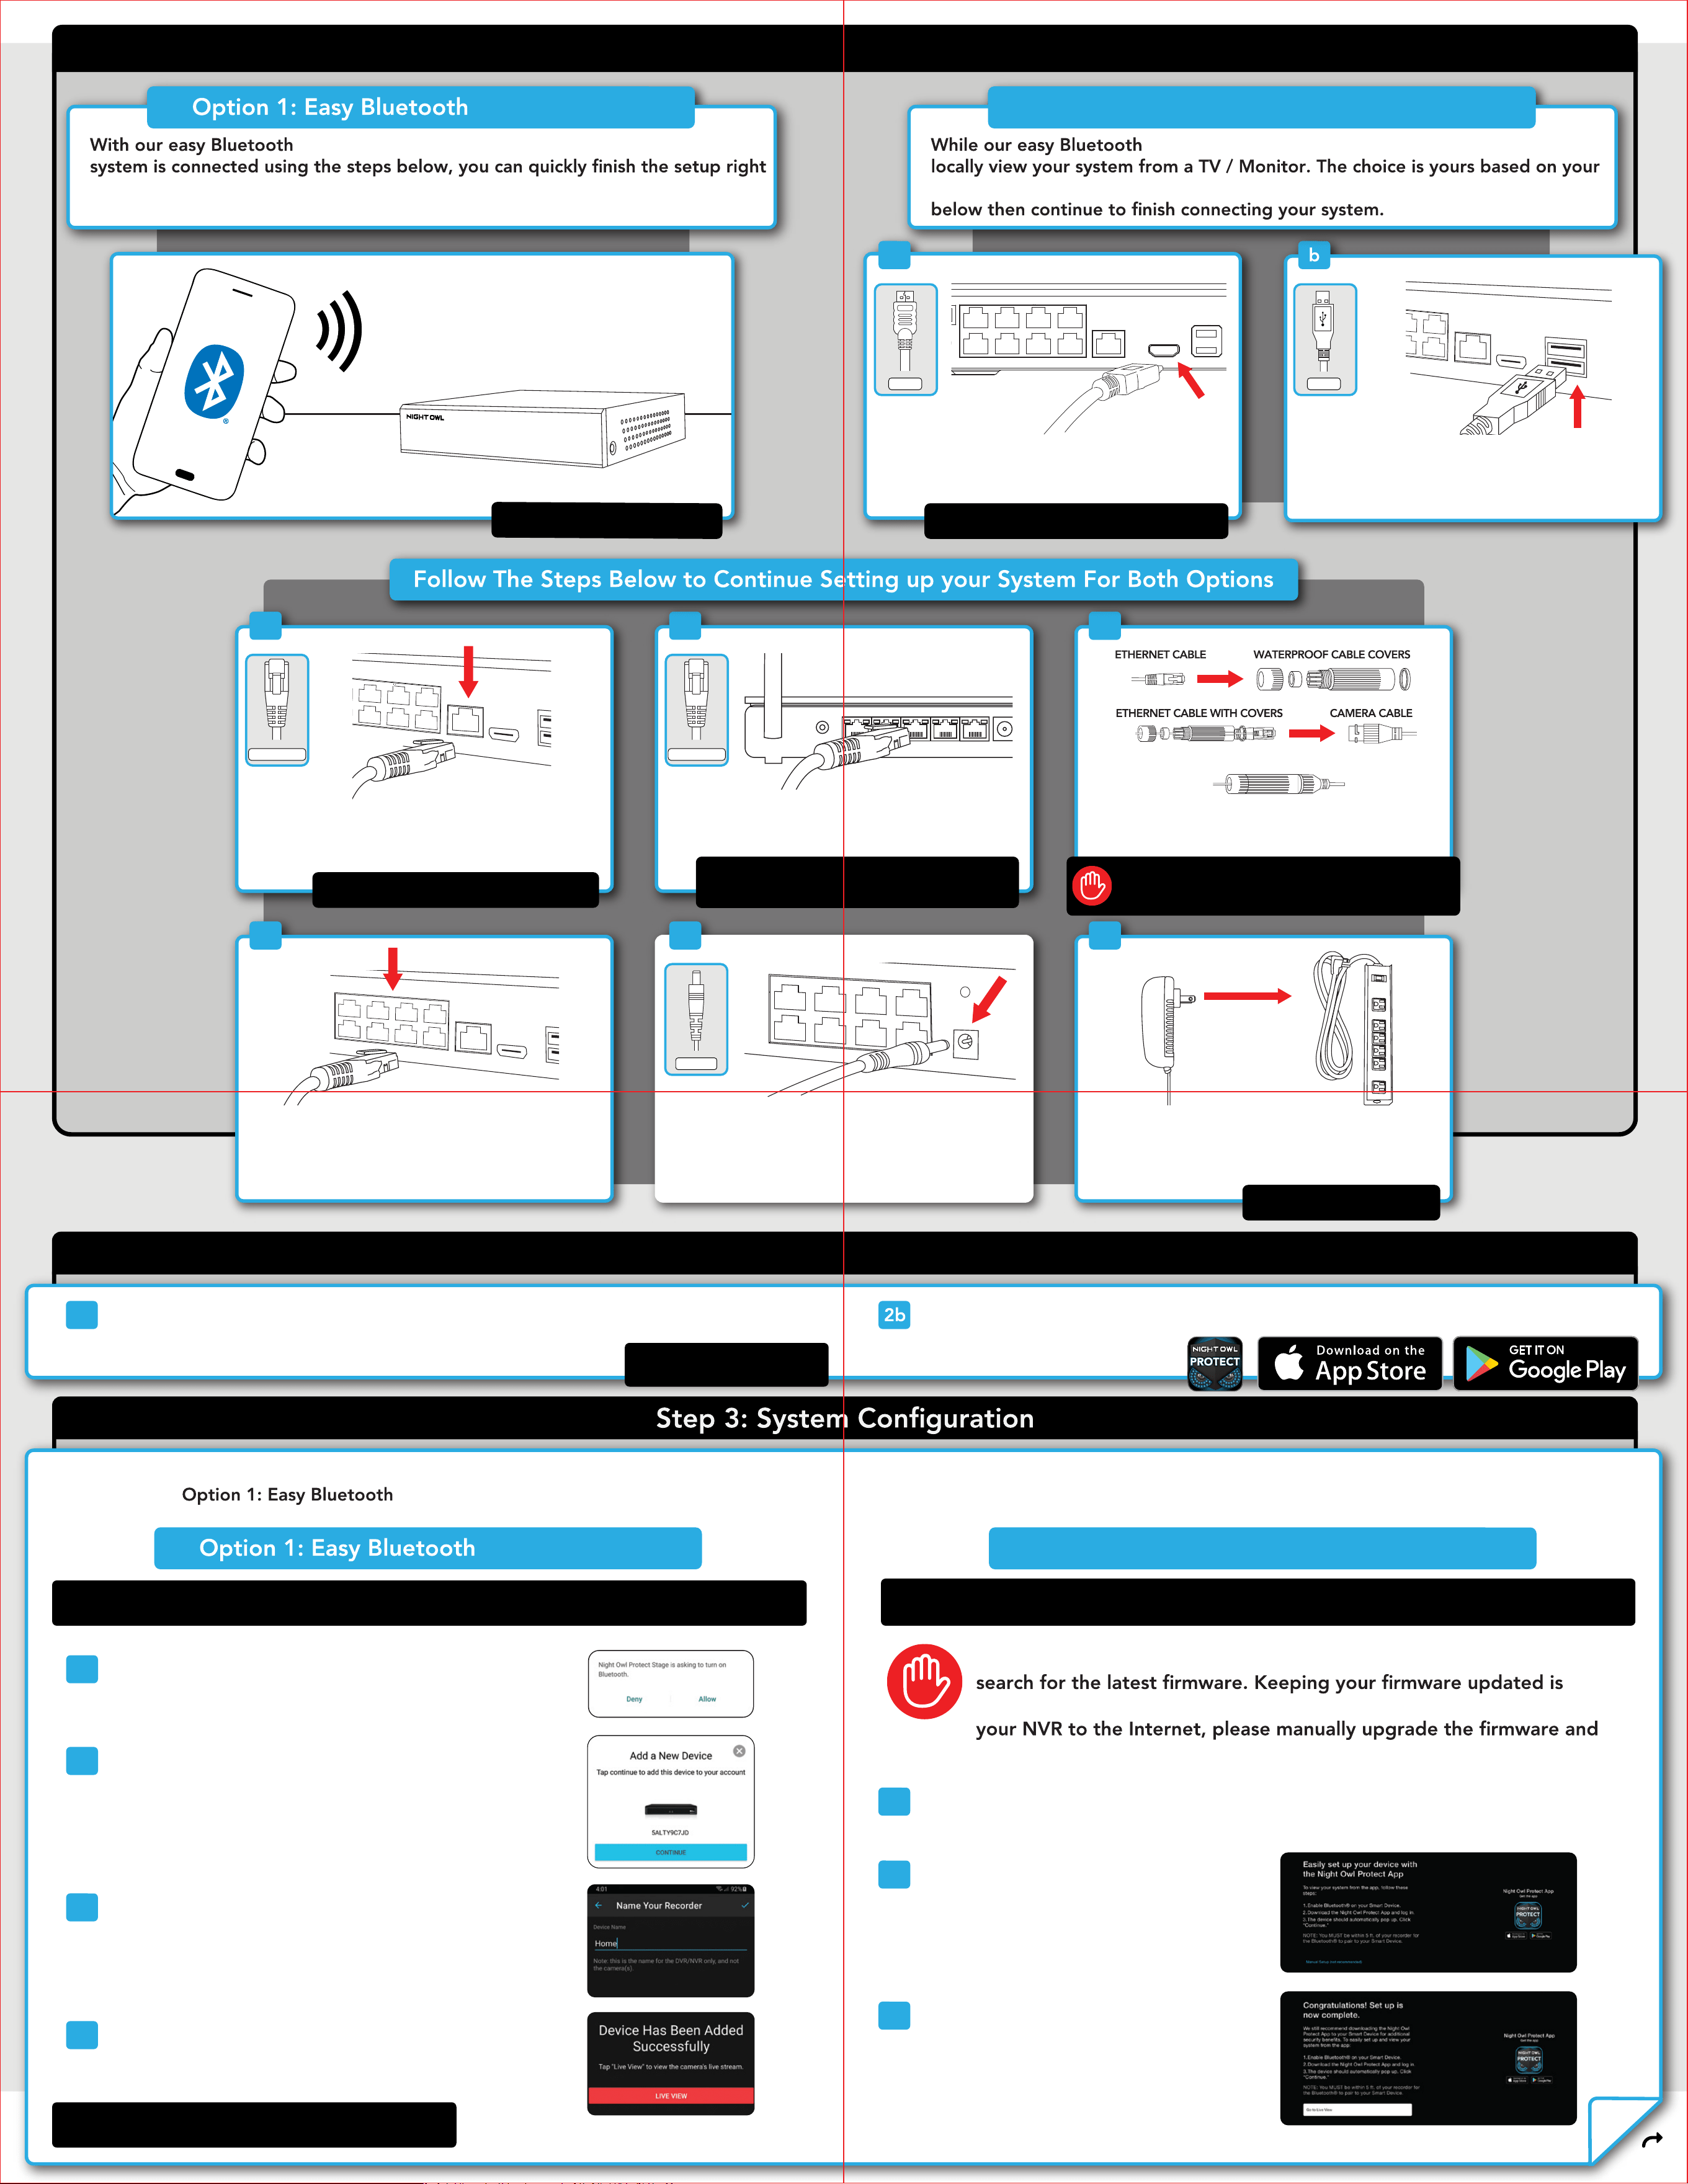
Plug one end of the included HDMI cable into the
HDMI port on the back of the NVR. Plug the other end
of the cable into your TV or Monitor.
Plug the USB mouse into the USB port on the back of
the NVR.
HDMI
ETHERNET
1
6
Insert one end of the wired IP camera's 60 ft. Ethernet
cable into the cable covers. Connect the covered end of
the Ethernet cable to the camera’s power cable.
5
Connect the NVR power adapter to the Power Input on
the rear of the NVR.
POWER
6
SURGE PROTECTOR
(NOT INCLUDED)
Plug the NVR power adapter into a surge protector or
Uninterruptible Power Supply (UPS). Some systems
beep upon booting up.
Step 1: Connecting Your System
USB
NOTE: Make sure the UPS or
surge protector is switched ON.
Plug the other end of the 6 ft. Ethernet cable into a port
on the back of your router / network access point.
ETHERNET
Router / Network Access Point
(NOT INCLUDED)
2
RESE T
LAN1 LAN2 LAN3 LAN4 W A N
NOTE: To view cameras, TV or Monitor must be
tuned to the same input the HDMI is plugged into.
NOTE: Watch our Recorder Setup Video on YouTube.
3
Plug one end of the included 6 ft. Ethernet cable into
the LAN port on the back of the NVR.
NOTE: Night Owl recommends connecting to the
Internet for the best user experience.
NOTE: As long as your NVR is hardwired using Ethernet
cabling, you can connect to any working network access
point. See your product manual for more details.
BEFORE installing, connect and test each camera
locally to confirm they function properly.
®
wireless setup, no TV / Monitor is required. Once your
from the app on your Smart Device. This is the preferred setup method for your
system. Please proceed to step 1.
®
Wireless Setup
®
wireless setup is preferred, you may still want to
setup needs. If you want to connect a TV / Monitor, complete the two steps
Option 2: Manual Setup (TV / Monitor)
NOTE: You may still use a TV / Monitor,
it is just not required for initial setup.
4
COMPLETION
Input the other end of the wired IP camera's 60 ft.
Ethernet cable into an open camera port on the back
of the NVR. Repeat this step for all wired IP cameras.
Step 2: Download Night Owl Protect
If you're a First Time User, download Night Owl Protect
from the App Store or Google Play Store onto your Smart
Device. If you already have an account skip to Step 3.
Create and verify your Night Owl Protect account. Proceed to Step 3.
2a
Log in to the app. If your device’s Bluetooth
®
is not
enabled, you will be asked to allow access.
1
The app will now use Bluetooth
®
to find the NVR.
Tap “Continue” to add the NVR to your Night Owl
Protect account.
2
Now that your system’s hardware is connected and you have the app setup on your Smart Device, it is time to configure your system. Based on whether you chose
®
Wireless Setup or Option 2: Manual Setup (TV / Monitor), follow the steps below.
NOTE: Setup is the same
for Smartphone and Tablet.
NOTE: If you have a TV / Monitor connected, you will see setup information appear on the screen as you
complete the Bluetooth
®
setup. A TV / Monitor is not required for this setup, but can be used for viewing.
NOTE: If the NVR is not connected to the Internet, you
will not be able to live view the cameras from the app.
NOTE: Connecting your system and using the Night Owl Protect App is preferred and offers added
security benefits and convenience to your mobile lifestyle.
3
Take a moment to name your recorder.
1
If you have not already done so, connect your NVR to a TV / Monitor using the
provided HDMI cable. Follow the steps in Connecting Your System.
4
The app will now pair to the NVR. Once finished,
complete the remainder of the Startup Wizard right
from the app and begin viewing your cameras.
®
Wireless Setup
Option 2: Manual Setup (TV / Monitor)
We strongly recommend you connect your NVR to the Internet to
vital for the overall health of your system. If you are NOT connecting
register your device.
2
You will now begin the Startup Wizard.
When you get to the following screen,
click “Manual Setup (not recommended).”
3
Proceed through the rest of the Startup
Wizard to finish setup. Once complete,
click on “Go to Live View” to begin
viewing your cameras.
Continued on
Other Side