CHECK FOR CONCEALED DAMAGE
FILE CLAIM WITH DELIVERING FREIGHT CARRIER
Installation Instructions for
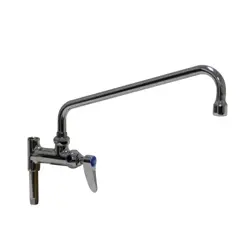
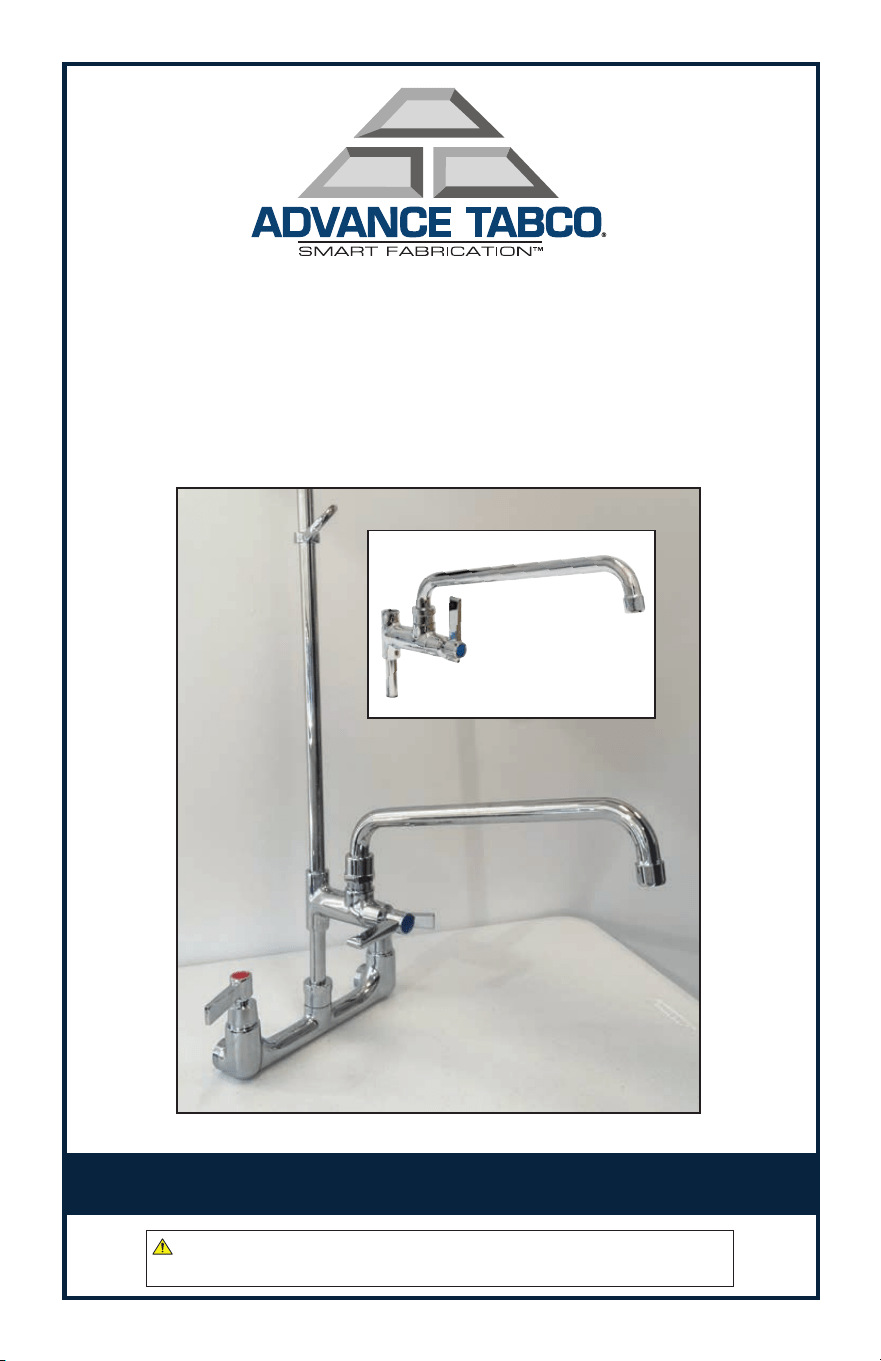
K-117 Add-A-Faucet
(Connecting to a DTA-53, K-115 & K-116
Prerinse Faucet)
WARNING: Equipment that includes a faucet may expose you to chemicals, including lead, that are known to the State of California to cause cancer or birth defects or other reproductive harm. For more Info.,visit www.p65warnings.ca.gov.
WARNING: Equipment that includes a faucet may expose you to chemicals, including lead, that are known to the
State of California to cause cancer or birth defects or other reproductive harm. For more Info.,visit www.p65warnings.ca.gov.
WARNING: Faucets on this page may expose you to chemicals, including lead, that are known to the State of California to cause cancer or birth defects or other reproductive harm. For more Info.,visit www.p65warnings.ca.gov.
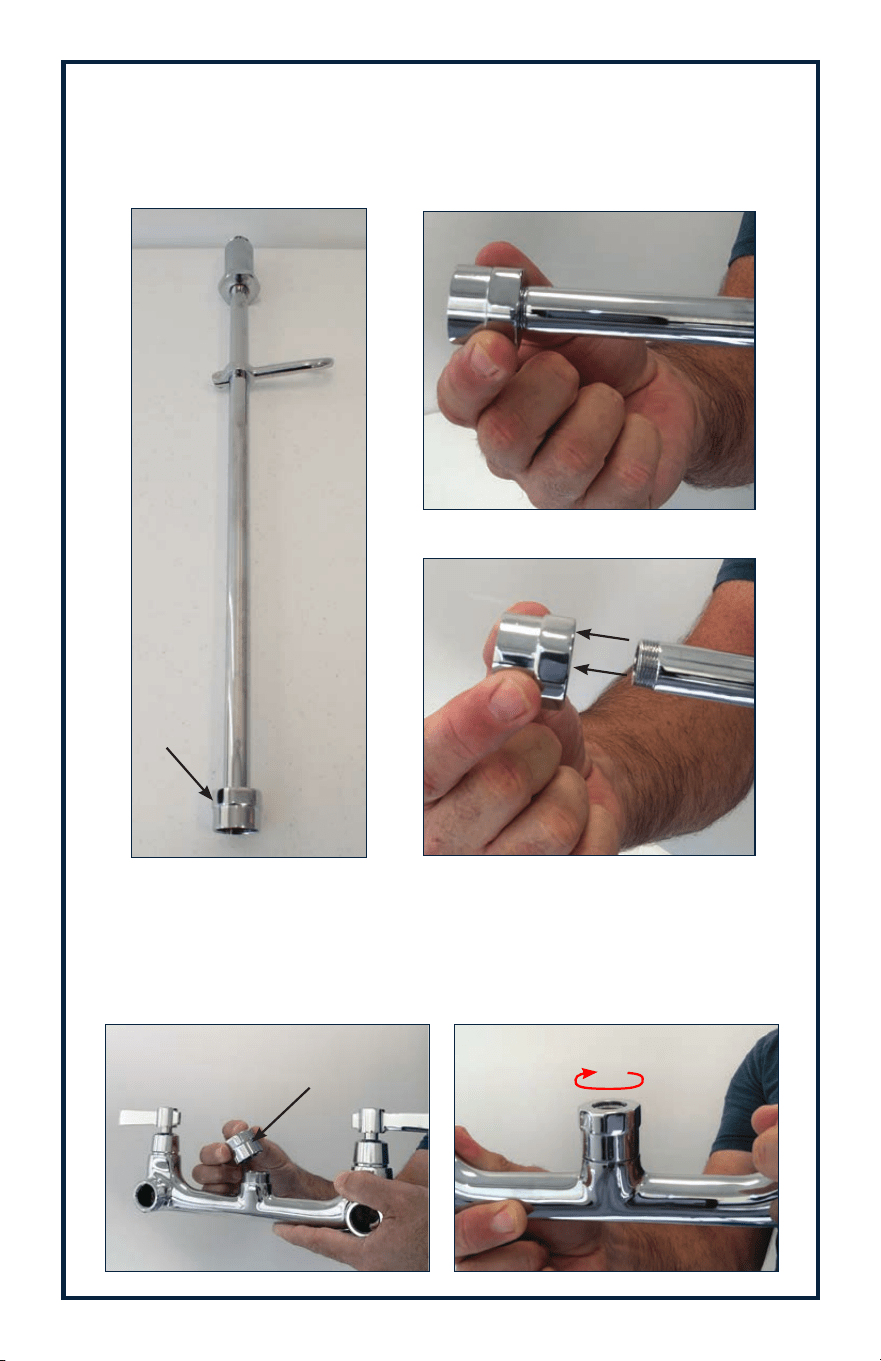
Step 1:
Locate the longest Chrome Riser from Prerinse Faucet model DTA-53,
K-115 or K-116 (Figure A). Remove the bottom nut from this Riser
(Figure B & C).
Step 2:
Using the Riser Nut you just removed in Step 1, insert the Nut onto the
Prerinse Faucet Body and tighten (Figure D & E).
(Figure A)
(Figure D) (Figure E)
(Figure B)
(Figure C)
Bottom
Riser
Nut
Riser Nut
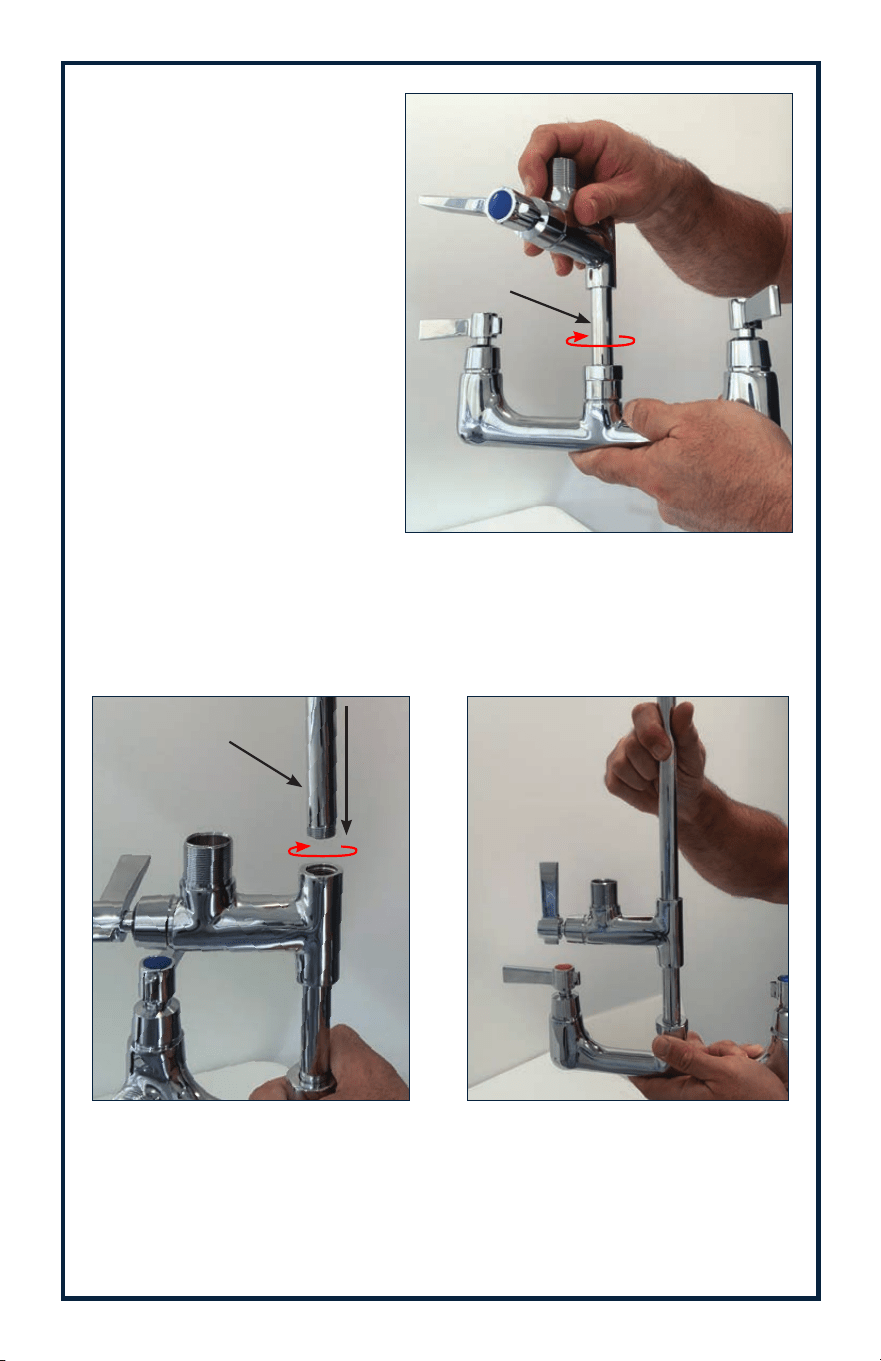
Step 4:
Locate the long Prerinse Riser and insert into the smaller existing thread
on the K-117 Body and tighten (Figure G & H).
Step 3:
Insert the K-117 Faucet Body
tightly into the Riser Nut on
the Prerinse Body and tighten.
(Figure F).
Continued >>
(Figure F)
(Figure G) (Figure H)
Long
Riser
K-117 Body
Hauppauge, New York 11788
OCTOBER 2020
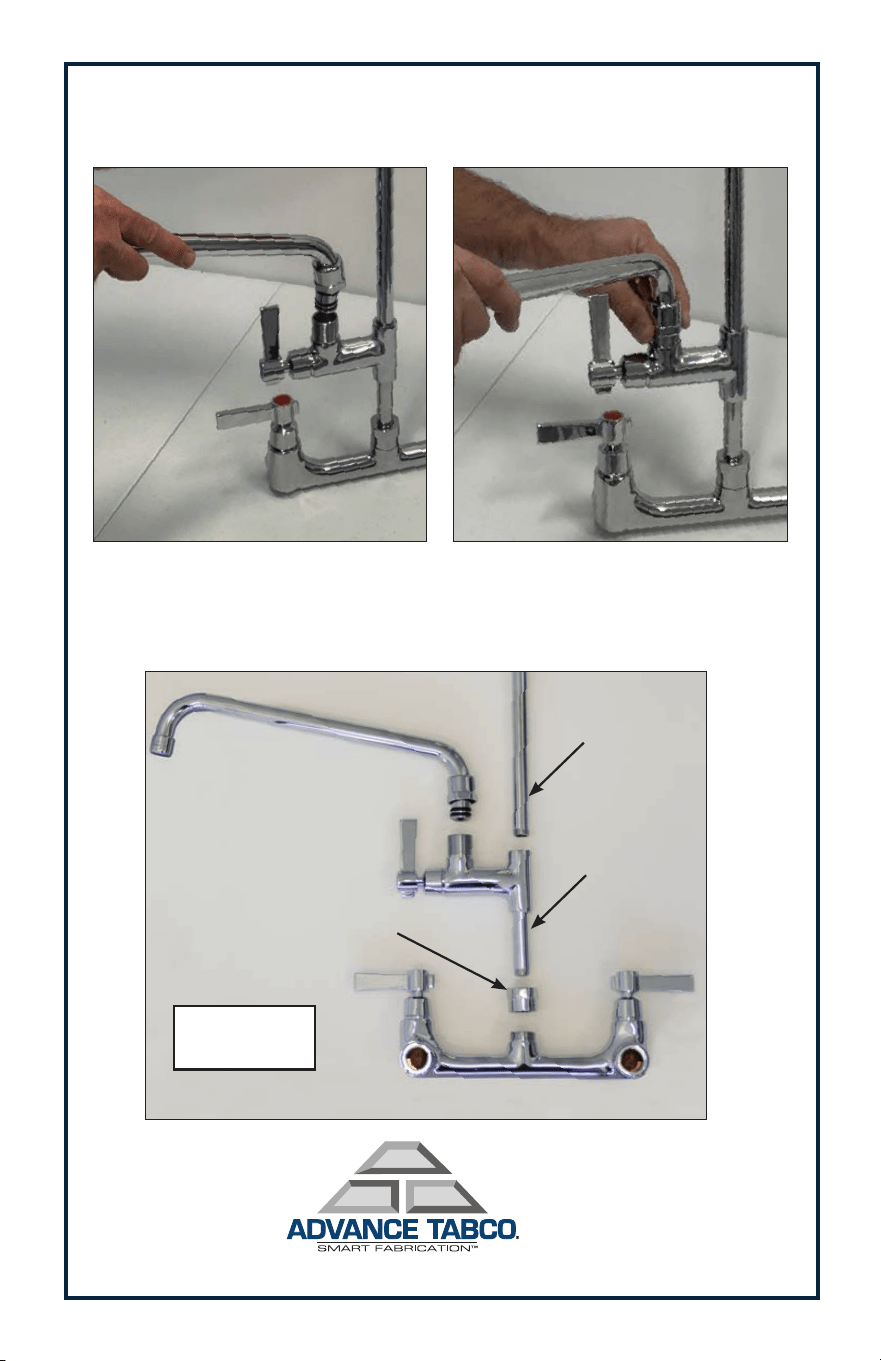
Step 5:
Insert K-117 Swing Spout into the existing thread on the K-117 Body, and
tighten nut (Figure I & J).
Step 6:
Check all connections and make sure they are tight.
(Figure I) (Figure J)
Long Riser
From Prerinse
Riser Nut
From Prerinse
Faucet
ASSEMBLY
OVERVIEW
K-117 Swing Spout
K-117 Body
Prerinse Body