middle castings
Please note:
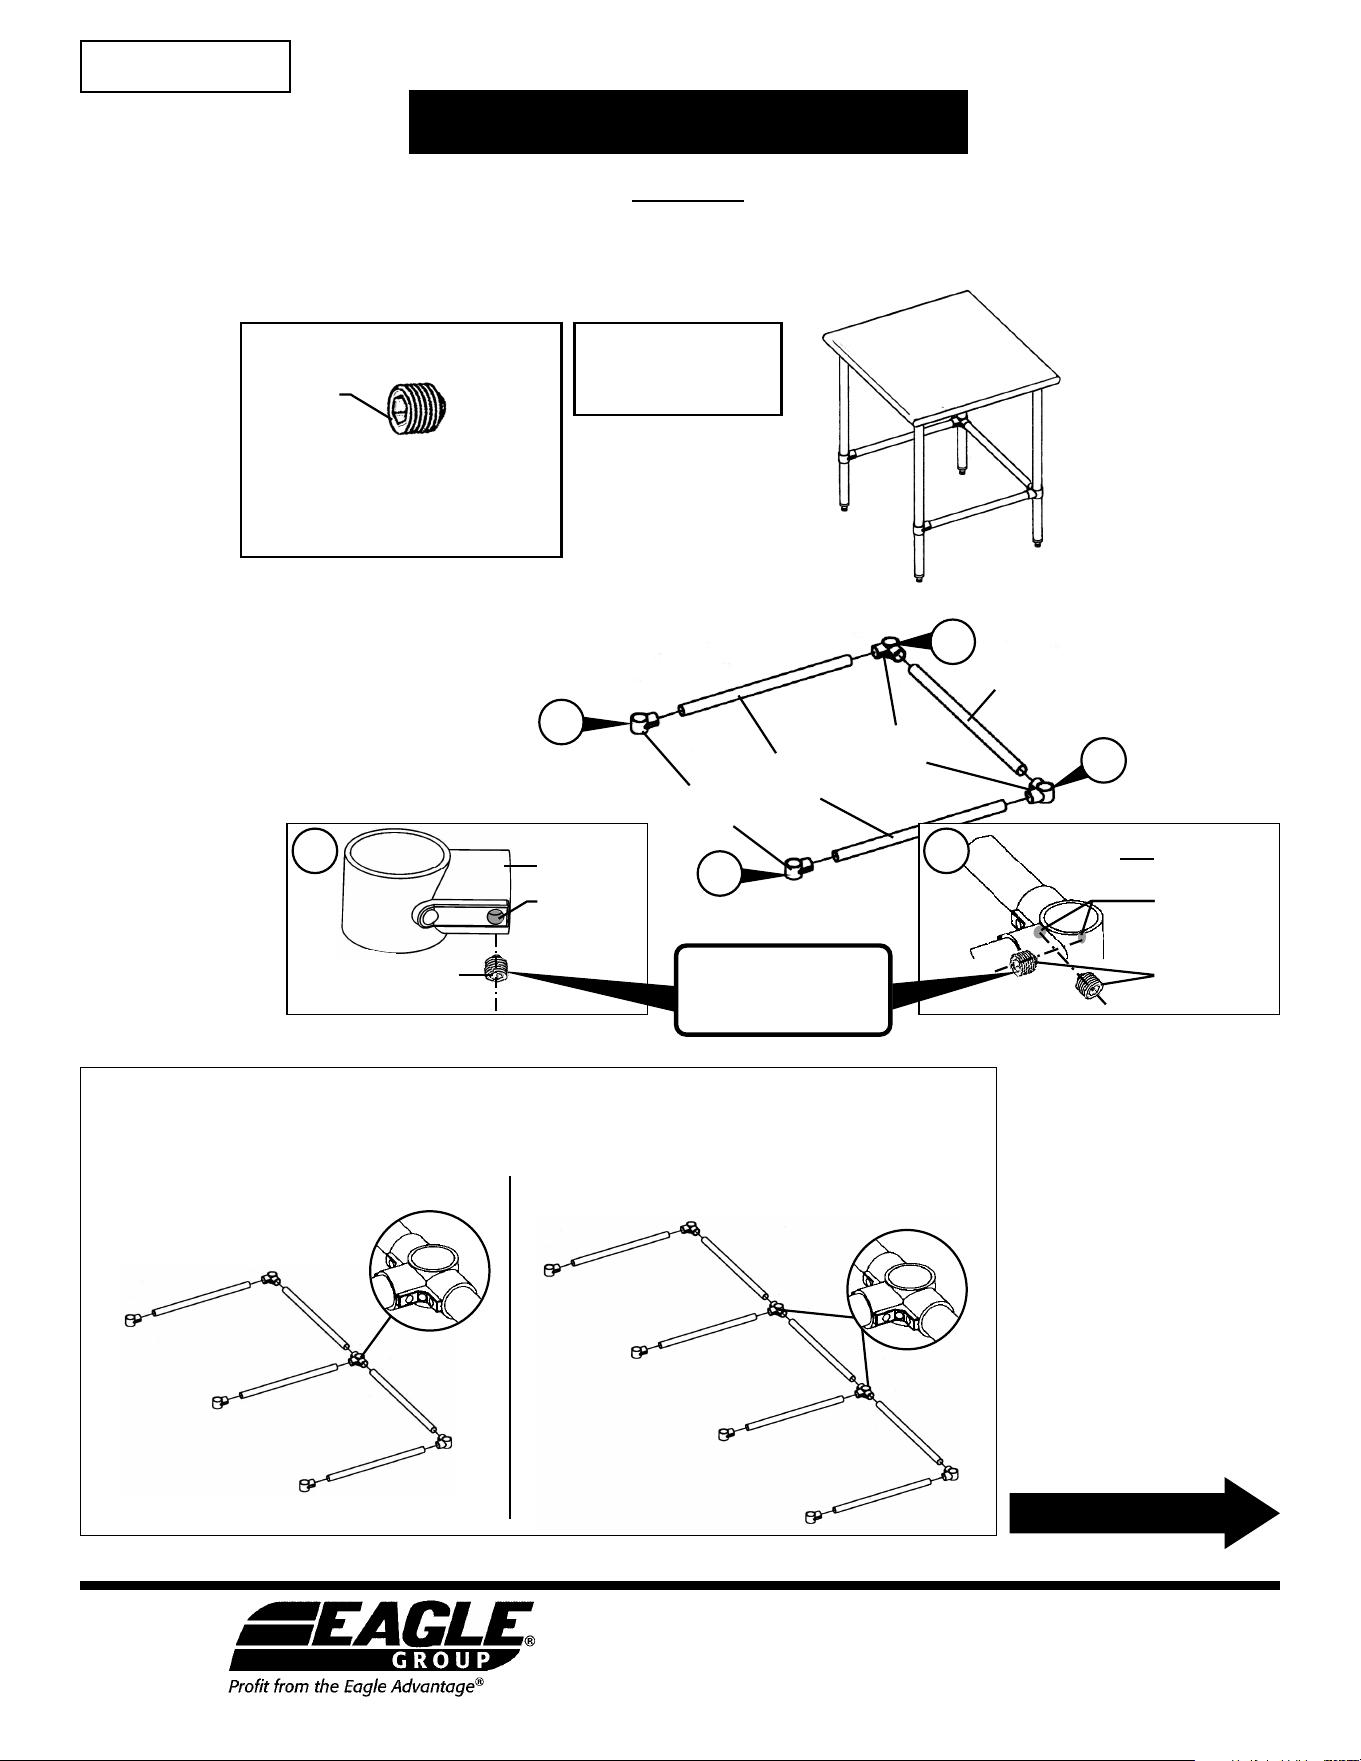
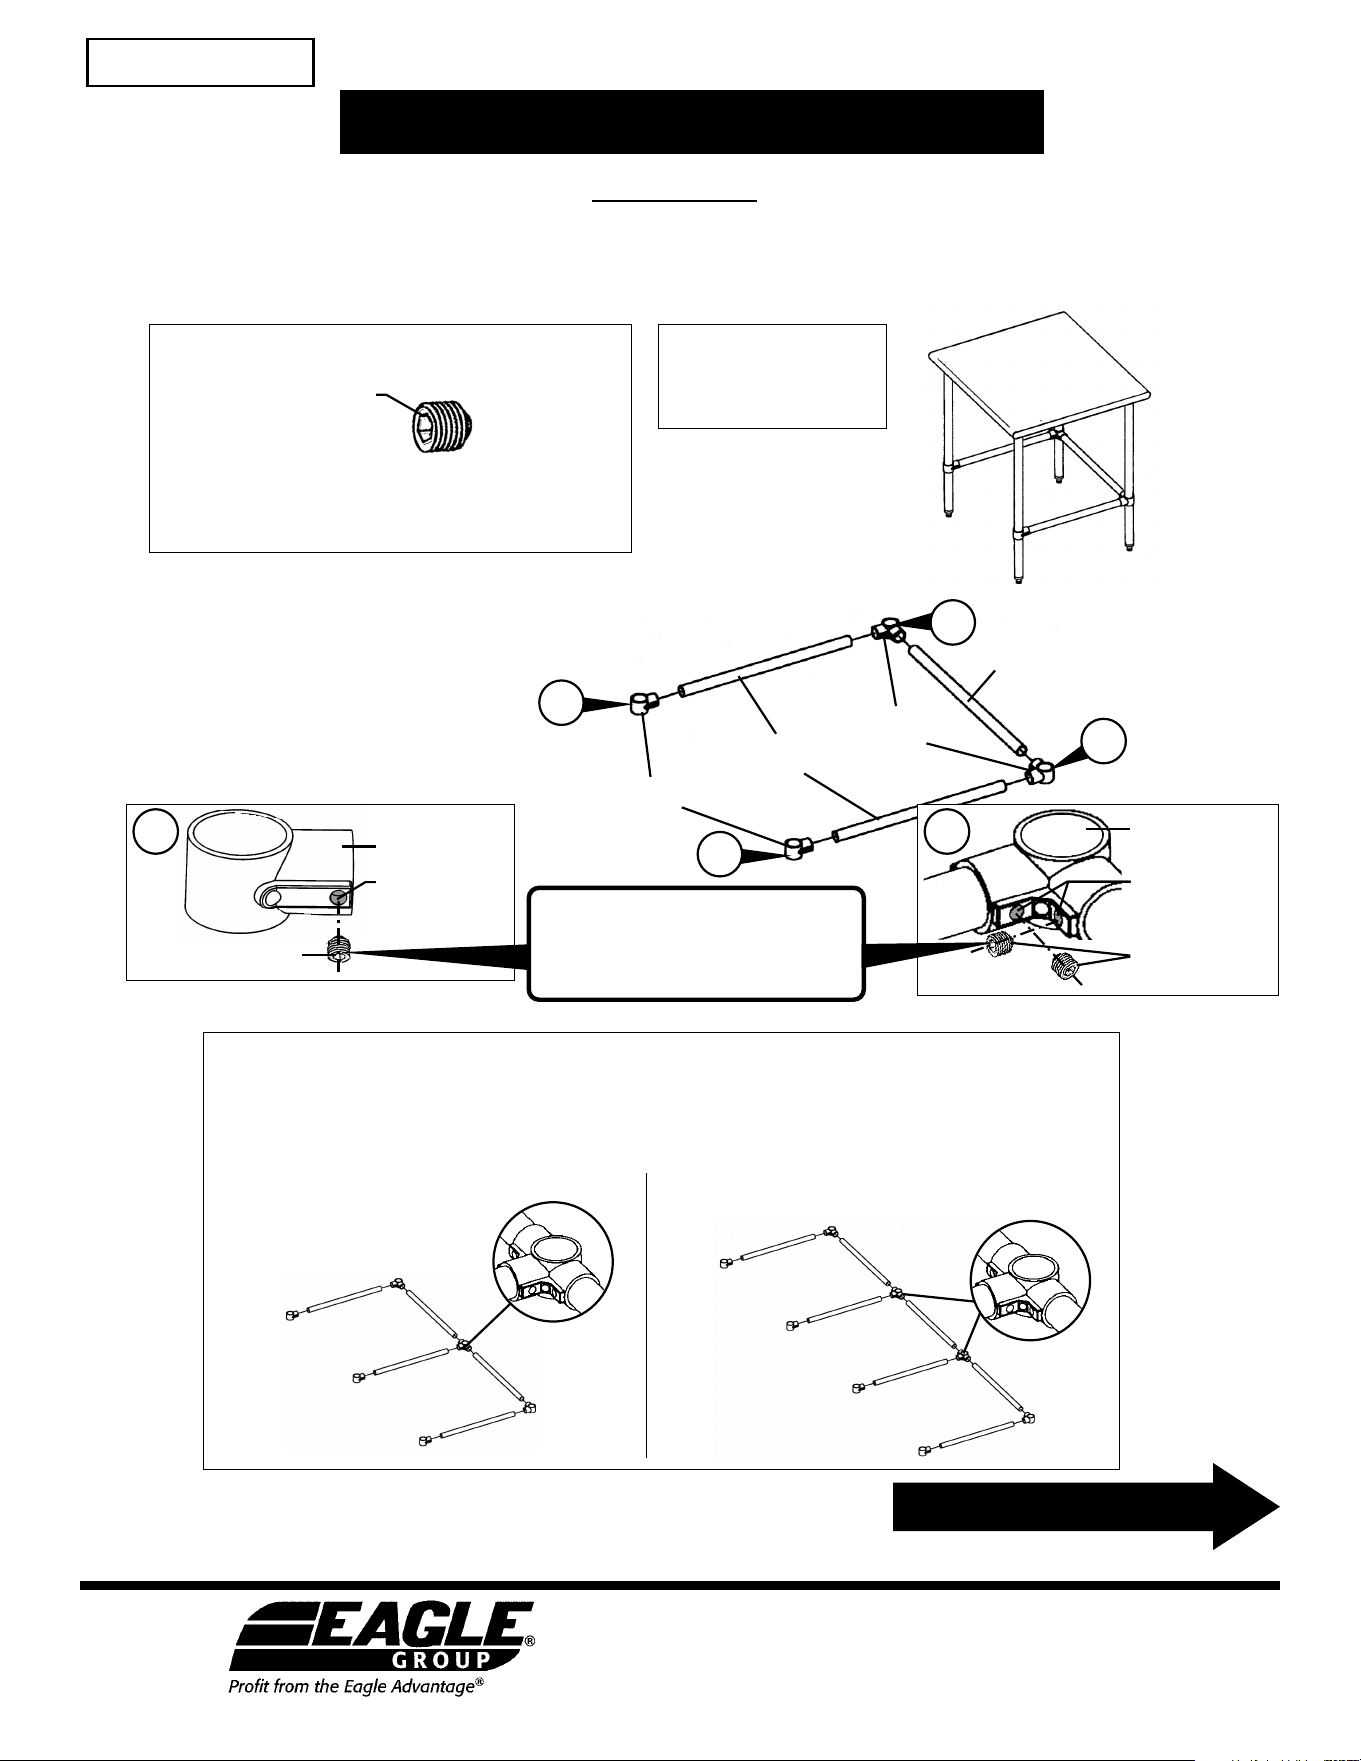
Tables with six or more legs feature middle castings, additional crossbracing and additional
end castings. For clarity, these instructions show assembly for a table with FOUR legs.
middle casting
SUBASSEMBLY FOR TABLE WITH SIX LEGS SUBASSEMBLY FOR TABLE WITH EIGHT LEGS
Eagle Foodservice Equipment, Eagle MHC, and SpecFAB
®
are divisions of Eagle Group. ©2022 by the Eagle Group
• 100 Industrial Boulevard, Clayton, Delaware 19938-8903 U.S.A.
• Phone: 302/653-3000 • 800/441-8440 • Fax: 302/653-2065
• www.eaglegrp.com • www.eaglegrpnews.com • www.eaglemhc.com
end
castings
front-to-back
crossbracing
corner
castings
end-to-end
crossbracing
(rear)
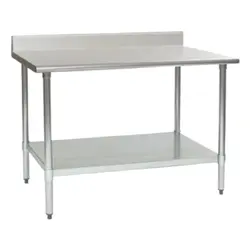
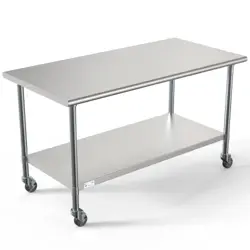
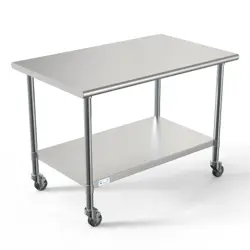
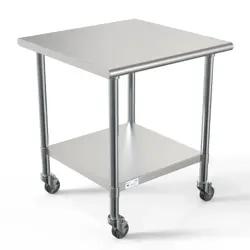
ASSEMBLY INSTRUCTIONS
Worktable with Tubular Base
EG9805 Revised 10/22
(continued on back page)
CAUTION
INSPECT CONTENTS IMMEDIATELY AND FILE CLAIM WITH DELIVERING CARRIER FOR ANY DAMAGE.
SAVE YOUR BOX AND ALL PACKING MATERIALS.
YOU ARE RESPONSIBLE FOR DAMAGE TO YOUR UNIT IF RETURNED IMPROPERLY PACKED.
Hardware:
Tool required:
• 5/32˝ allen wrench
set
screw
Hardware is located in
plastic bag with brightly colored
“HARDWARE ATTACHED” tape.
INSTRUCTION SHEET
#317754
Step 1 - Assemble crossbrace subassembly.
• Assemble castings to end-to-end and front-to-back
crossbracing, as shown.
• Tighten set screws* in the appropriate threaded
hole in castings (see below).
set *
screw
casting
threaded hole
in casting for
crossbracing
set screws*
corner casting
threaded holes
in casting for
crossbracing
1a 1b
1a
1a
1b
1b
* To meet NSF standards:
Set screws must be filled
with NSF-approved sealant.
leg
6˝
crossbrace
subassembly
Eagle Foodservice Equipment, Eagle MHC, and SpecFAB
®
are divisions of Eagle Group. ©2022 by the Eagle Group
• 100 Industrial Boulevard, Clayton, Delaware 19938-8903 U.S.A.
• Phone: 302/653-3000 • 800/441-8440 • Fax: 302/653-2065
• www.eaglegrp.com • www.eaglegrpnews.com • www.eaglemhc.com
ASSEMBLY INSTRUCTIONS
Worktable with Tubular Base
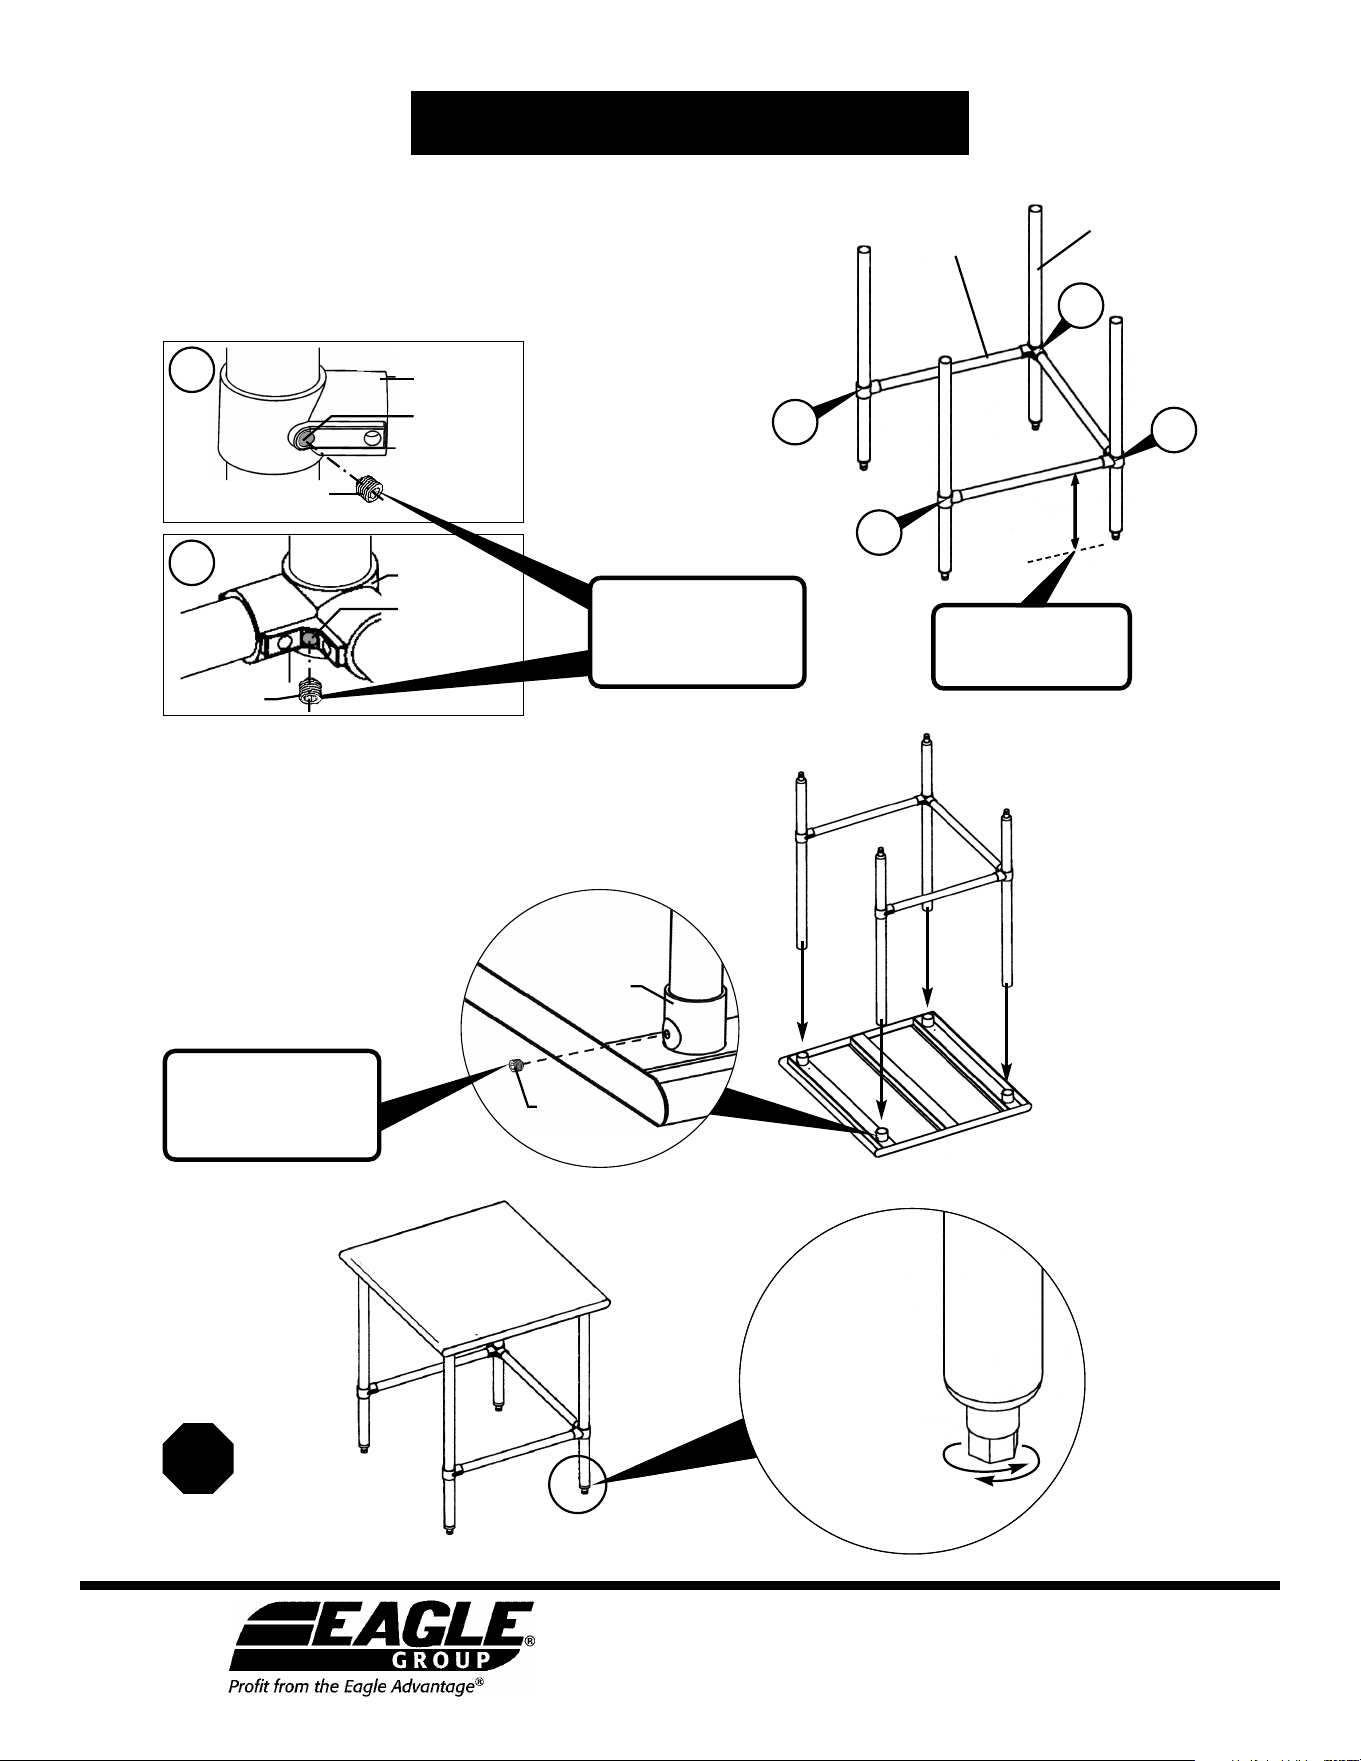
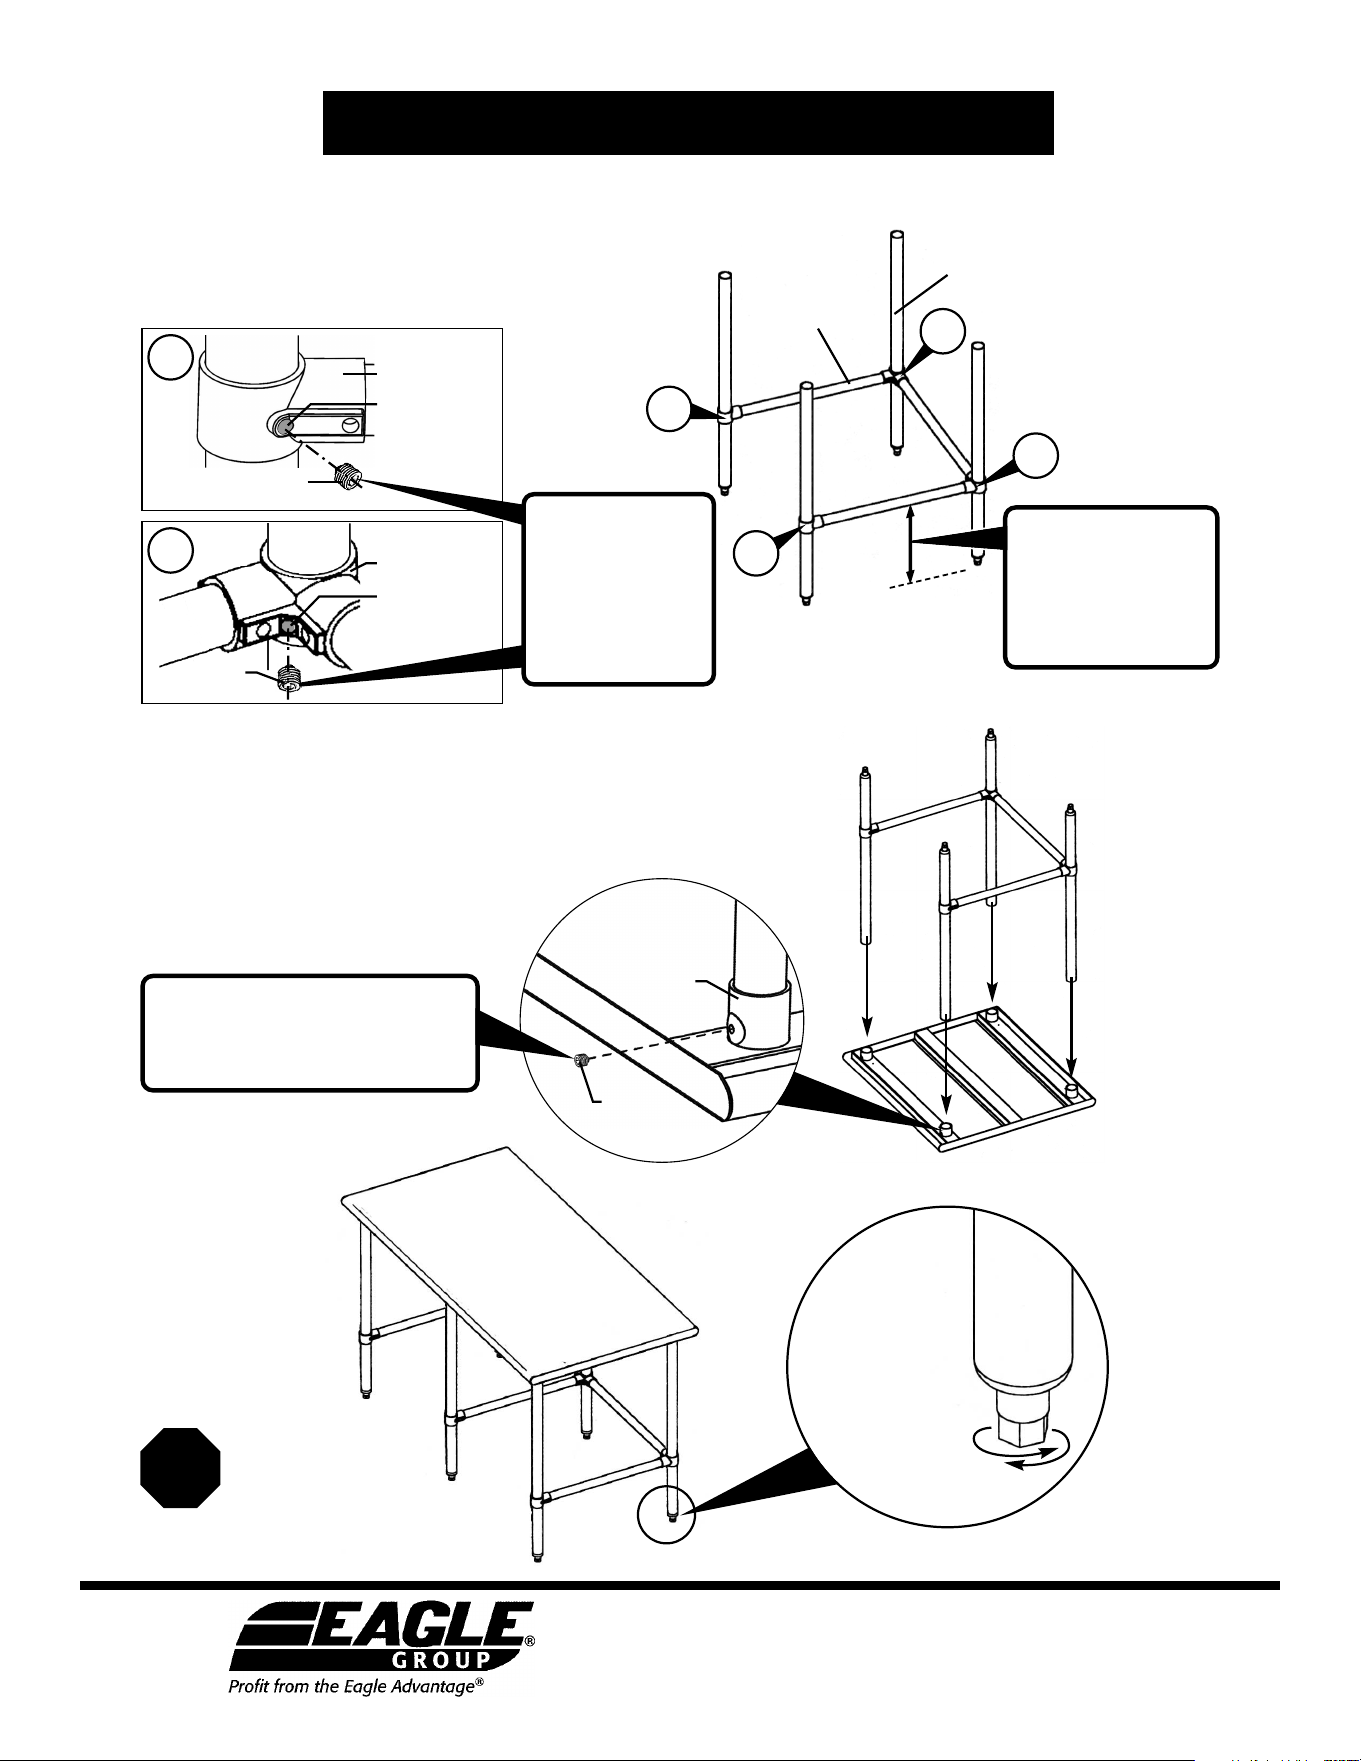
Step 3 - Attach tabletop.
• Turn tabletop upside-down (take care not to scratch the finish).
• Turn crossbrace subassembly upside-down and insert top of each
leg into each tabletop gusset.
• Tighten all screws*.
Assembly
is complete.
Level table with
adjustable feet.
Level table with
adjustable feet.
(End)
Step 2 - Attach crossbrace subassembly to legs.
• On legs, measure and mark desired height* of crossbrace subassembly.
• Insert legs.
• Snug the set screws* in the appropriate threaded hole in castings (see below).
*
To meet NSF standards:
Attach crossbrace
subassembly 6˝ from floor.
set screw*
tabletop
gusset
set screw*
casting
threaded hole
in casting for
legs
threaded hole
in casting for
legs
* To meet NSF standards:
Set screws must be filled
with NSF-approved sealant.
* To meet NSF standards:
Set screws must be filled
with NSF-approved sealant.
set screw*
2b
2a
corner casting
2b
2b
2a
2a
Paso 1: Ensamble el subensamblaje de conexión en cruz.
• Ensamble las piezas fundidas del centro, las
esquinas y los extremos a los tubos contra
tumbos y tubos de conexión en cruz de
adelante hacia atrás.
• Ajuste los tornillos de fijación*.
INSTRUCCIONES PARA EL ENSAMBLAJE
Mesa de trabajo con base tubular
PIEZA Nº 317754
EG9805 Revisado 10/22
(continúa al dorso de la página)
Articulas de ferretería:
Herramientas
necesarias:
• llave Allen de 5/32”
tornillo de fijación
Están localizada en una bolsa plástica con cinta
coloreado brillantemente marcado
“HARDWARE ATTACHED”.
PRECAUCIÓN
INSPECCIONE EL CONTENIDO INMEDIATAMENTE Y PRESENTE UN RECLAMO
AL TRANSPORTISTA ENCARGADO DE LA ENTREGA EN CASO DE HABER DAÑOS.
CONSERVE LA CAJA Y TODOS LOS MATERIALES DE EMBALAJE.
USTED ES RESPONSABLE DEL DAÑO DE SU UNIDAD SI ÉSTA SE DEVUELVE EMBALADA INCORRECTAMENTE.
pieza fundida
del centro
Observe por favor
Vectores con seis o más piernas ofrezca las piezas fundidas del centro, tubos adicional y piezas
fundidas adicionales del extremo. Para mayor clareza, estas instrucciones muestran al ensamblaje
para un vector con CUATRO piernas.
pieza fundida
del centro
SUB-ENSAMBLE PARCIAL PARA EL VECTOR CON SEIS
PIERNAS
SUB-ENSAMBLE PARCIAL PARA EL VECTOR CON
OCHO PIERNAS
Eagle Foodservice Equipment, Eagle MHC, y SpecFAB
®
son departamentos de Eagle Group. ©2022 por Eagle Group
• 100 Industrial Boulevard, Clayton, Delaware 19938-8903 U.S.A.
• Teléfono: 302/653-3000 • 800/441-8440 • Fax: 302/653-2065
• www.eaglegrp.com • www.eaglegrpnews.com • www.eaglemhc.com
pieza fundida
del extremo
conexión en cruz de
adelante hacia atrás
piezas fundidas
de la esquina
travesaño
trasero
tornillo de fijación *
pieza fundida
agujero con rosca
en fundición para
cruceta
tornillos
de fijación *
pieza fundida
de la esquina
agujeros enroscados
en fundición para
cruceta
1a 1b
1a
1a
1b
1b
* Para cumplir con los requisitos de la
organización NSF:
Los tornillos de fijación expuestos deben
rellenarse con sellador aprobado por NSF.
Paso 3: Fije la parte superior de la mesa.
• Gire la mesa boca abajo (tenga cuidado de no rayar
la terminación).
• Gire hacia abajo el subensamblaje de la conexión
en cruz e inserte la parte superior de cada pata
en la unión de la parte superior de la mesa.
• Ajuste todos los tornillos*.
Eagle Foodservice Equipment, Eagle MHC, y SpecFAB
®
son departamentos de Eagle Group. ©2022 por Eagle Group
• 100 Industrial Boulevard, Clayton, Delaware 19938-8903 U.S.A.
• Teléfono: 302/653-3000 • 800/441-8440 • Fax: 302/653-2065
• www.eaglegrp.com • www.eaglegrpnews.com • www.eaglemhc.com
INSTRUCCIONES PARA EL ENSAMBLAJE
Mesa de trabajo con base tubular
El ensamblaje
está completo.
Nivele la mesa
con bases
ajustables.
(Fin)
tornillo de
fijación
unión de la
parte superior
de la mesa
pata
6˝
subensamblaje de
conexión en cruz
Paso 2: Fije el subensamblaje de los tubos de conexión en cruz a las patas.
• Mida y marque la altura* deseada del subensamblaje
de la conexión en cruz de las patas.
• Inserte las patas.
• Ajuste los tornillos de fijación*.
*
Para cumplir con los
requisitos de la
organización NSF:
Fije el subensamblaje
de conexión en cruz a
6” del piso.
tornillo de fijación *
pieza fundida
agujero con rosca
en fundición para
cruceta
agujero
roscado
para pata
tornillo de
fijación *
2b
2a
pieza fundida
de la esquina
2b
2b
2a
2a
pata
pata
* Para cumplir con los
requisitos de la
organización NSF:
Los tornillos de fijación
expuestos deben
rellenarse con sellador
aprobado por NSF.
* Para cumplir con los requisitos de la
organización NSF:
Los tornillos de fijación expuestos deben
rellenarse con sellador aprobado por NSF.