5900 Par
retta Drive, Kansas City, MO 64120
Features and specifications subject to change without notice.
Visit midlandusa.com for more information on genuine Midland
accessories for all Midland MicroMobile
®
produc
ts.
©2
026 Midland Radio Corporation. All Rights Reserved.
QUICK
START
GUIDE
MXMC95
Follow us:
PAIRING BL
UETOOTH
®
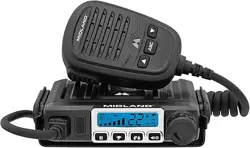
MIC
The pair
ing button on the base unit blinks red when it has
power, but the mic is not on or connected.
Once the BT mic connects, the pairing button on the base
will blink green. If the wired mic is connected and turned
on, the pairing button on the base turns off.
When the BT mic is turned on, it will display the POWER
ON screen with a blinking BT indicator and red blinking
RX/TX indicator.
After it connects with the base, there is a “Base Unit
Connected” voice prompt, the BT indicator on the display
lights steady, and the red blinking RX/TX indicator turns off.
Additionally, all channel information is displayed.
Th
is device complies with part 15 of the FCC Rules. Operation is subject
to the following two conditions:
(1) This device may not cause harmful interference, and (2) this device
must accept any interference including received interference that may
cause undesired operation.
The grantee is not responsible for any changes or modifications not
expressly approved by the party responsible for compliance. Such
modifications could void the user’s authority to operate the equipment.
Replacement of any transmitter component (crystal, semiconductor, etc.)
not authorized by the FCC equipment authorization for this radio could
violate FCC rules.
Wireless
Bluetooth
Microphone
(Cont’d)
RADIO OPERATION
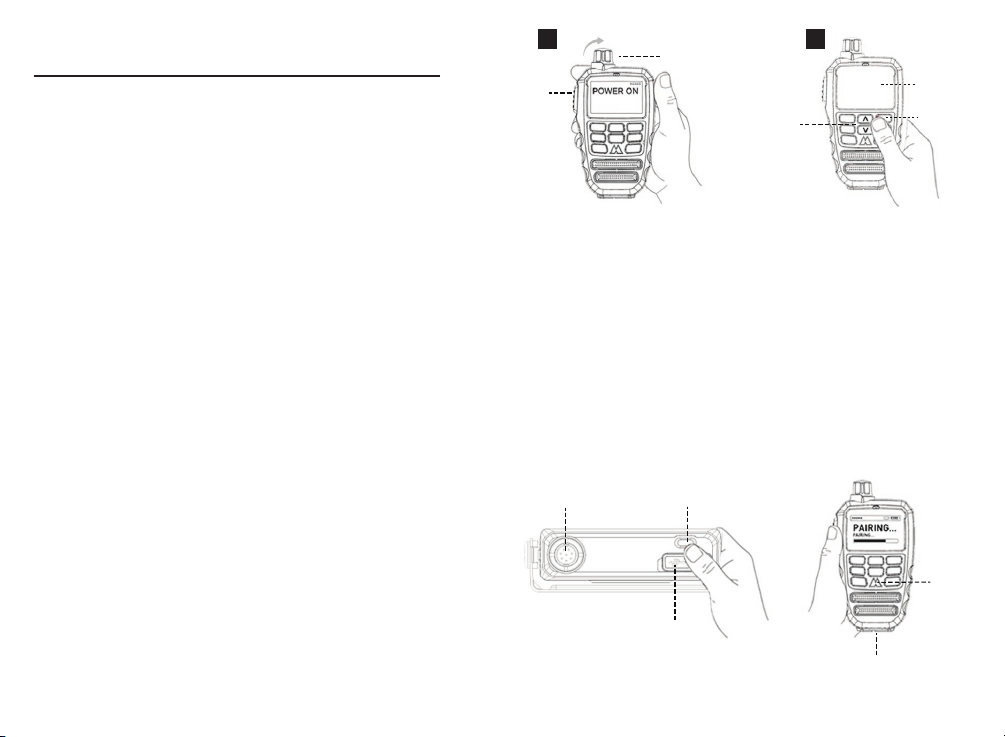
1. Rotate the Power/Volume Knob clockwise to turn the
radio on. A “Base Unit Connected” voice prompt will be
heard when the Bluetooth
®
microphone connects to
the radio base.
2. Rotate the Power/Volume Knob further clockwise to
increase the radio volume or counterclockwise to
decrease the radio volume. The monitor function may
be engaged to generate audible noise to aid in setting
the volume. Press and hold the WX/MON button to
toggle the monitor function on and off.
(Figure A)
3. Use the UP and DOWN buttons on the radio
microphone to select the radio channel.
(Figure B)
4. Press and hold the PTT button and speak into the
microphone to initiate communication. Release the PTT
button to hear the reply.
5. Press and release the WX/MON button to enter or
exit weather mode.
6. Rotate the Power/Volume Knob fully counterclock
wise to turn the radio off.
Note: If using the wired microphone, insert the
microphone’s plug into the radio’s microphone jack. Line
up the connector key with the slot, push in, and twist the
locking ring clockwise.
Pairing Button
Mic Jack
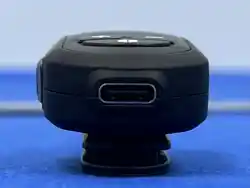
USB-C Port
Quick Start Guide
Power/Volume
Knob
PTT
Up/Down
Button
Display
A
B
WX/MON
PAIRING BL
UETOOTH
®
MIC
The radio and inc
luded Bluetooth microphone are paired from
the factory. If a different microphone needs to be paired to the
radio, use the following procedure.
1. Turn the microphone on. Since the microphone is not yet
paired with the radio, it will pause at the POWER ON screen.
2. From the Power On screen, press and hold both the UP
and DOWN buttons on the microphone until the RX/TX
LED begins to blink red, green, and blue.
3. Press and hold the pairing button on the base unit for
five seconds.
4. After the pairing button is released, the pairing button
will blink red and green until the pairing process completes.
RX/TX
LED
Charge Jack

This device complies with Part 15 of the FCC Rules. Operation is subject to the following two conditions:
(1) this device may not cause harmful interference, and (2) this device must accept any interference
received, including interference that may cause undesired operation.
Changes or modifications to this unit not expressly approved by the party responsible for compliance
could void the user’s authority to operate the equipment.
NOTE: This equipment has been tested and found to comply with the limits for a Class B digital device,
pursuant to Part 15 of the FCC Rules. These limits are designed to provide reasonable protection against
harmful interference in a residential installation. This equipment generates, uses and can radiate radio
frequency energy and, if not installed and used in accordance with the instructions, may cause harmful
interference to radio communications. However, there is no guarantee that interference will not occur in a
particular installation. If this equipment does cause harmful interference to radio or television reception,
which can be determined by turning the equipment off and on, the user is encouraged to try to correct the
interference by one or more of the following measures:
-- Reorient or relocate the receiving antenna.
-- Increase the separation between the equipment and receiver.
-- Connect the equipment into an outlet on a circuit different from that to which the receiver is connected.
-- Consult the dealer or an experienced radio/TV technician for help.
This device and its antenna(s) must not be co-located or operation in conjunction with any other antenna
or transmitter.
Radiation Exposure Statement
To maintain compliance with FCC’s RF Exposure guidelines, This equipment should be installed and
operated with minimum distance of 0cm from your body.