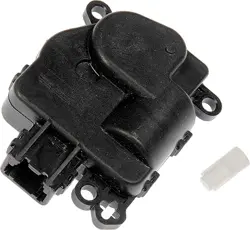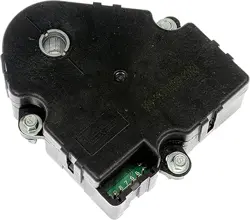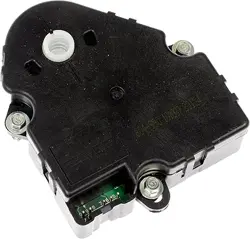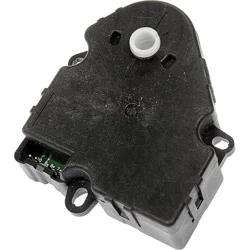
599-212
1
ATTENTION: Refer to the appropriate shop manual for your vehicle to obtain specic service procedures for this part. If you do not have
a service manual or lack the skill to install this part, it is recommended that you seek the services of a qualied technician. Pay special
attention to all cautions and warnings included in the shop manual. Read and follow all instructions carefully.
TECH NOTES: INSTALLATION
©2018 Dorman Products, Inc.
No reproductions in whole or in part without prior written approval.
Disclaimer:
Even though every attempt is made to ensure this information is complete and accurate, it is impossible to account for all possible circumstances or situations. Please consult with a qualied auto technician
before attempting to perform any work you are not qualied to do. Automobiles can be hazardous to work on; be sure to take all necessary safety precautions. Failure to do so may result in property damage
or personal injury. Certain motor vehicle standards and performance requirements may apply to your motor vehicle (such as Federal Motor Vehicle Safety Standards by the National Highway Trac Safety
Administration). Be sure that your work is performed in accordance with such standards and that you do not disable any motor vehicle safety feature.
Dodge Dakota 2004–01, Dodge Ram 1500 2005–02,
Dodge Ram 2500 2005–02, Dodge Ram 3500 2005–02
If you are installing on the vehicle for the rst time:
1. With the vehicle turned o:
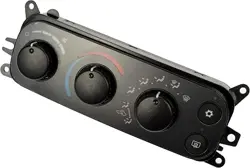
• Set fan speed to the “o” position (turn knob counter clockwise until it stops)
• Set temperature to the full cold position (turn knob counter clockwise
until it stops)
• Set mode to “oor and panel with recirculation” position (turn knob counter
clockwise until it stops)
2. Install module and start the vehicle
3. The heated mirror/defrost button LED will begin ashing
4. When the heated mirror/defrost button LED stops ashing, this indicates the
recalibration procedure has been completed successfully
• Note: allow up to 1 minute for recalibration
If it is necessary to recalibrate the unit (ex. an actuator has been replaced):
1. With the vehicle turned o:
• Set fan speed to the “o” position (turn knob counter clockwise until it stops)
• Set temperature to the full cold position (turn knob counter clockwise
until it stops)
• Set mode to “oor and panel with recirculation” position (turn knob counter
clockwise until it stops)
2. Turn ignition to the “on” position
• NOTE: DO NOT START VEHICLE!!!
3. Press and hold the “AC” and “heated mirror/defrost” buttons until both
LEDs illuminate
• Note: hold both buttons for at least 15 seconds
4. Once both LEDs have illuminated, release both buttons and the heated mirror/
defrost button will begin ashing
5. When the heated mirror/defrost button LED stops ashing, this indicates the
recalibration procedure has been completed successfully
• Note: allow up to 1 minute for recalibration
6. The vehicle can now be started and the module is ready to be used