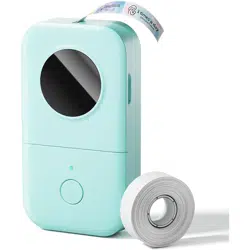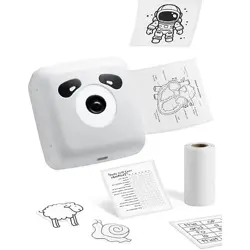
THERMAL STICKER PRINTER
——MAX WIDTH 2”
User Manual
• Please read carefully before use
TP6
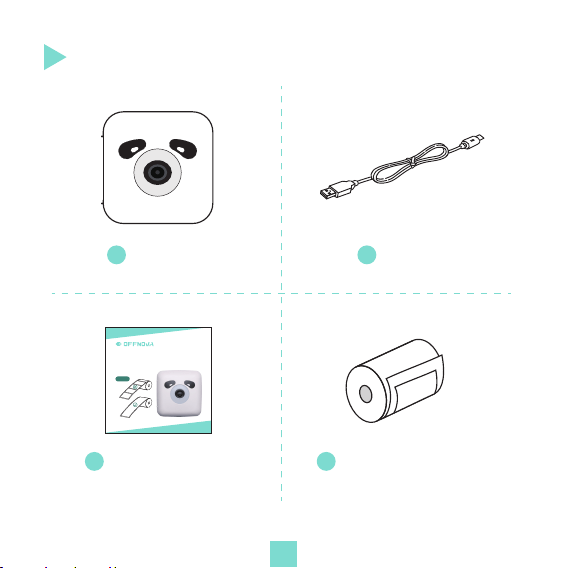
What’s in the box
1
Printer x1
2
Cable x1
3
User manual x1
4
Thermal sticker roll
(57 x φ30mm)
1
THERMAL STICKER PRINTER
——MAX WIDTH 2”
User Manual
• Please read carefully before use
TP6
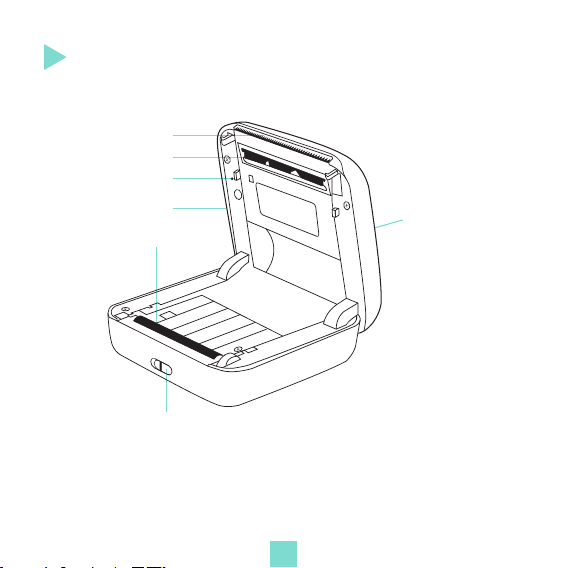
Getting to know the sticker printer
Charging port
Power button
Rubber roller
Printhead
Cover opening button
Tear-off blade
Reset button
2
Press
Preparations before printing
3
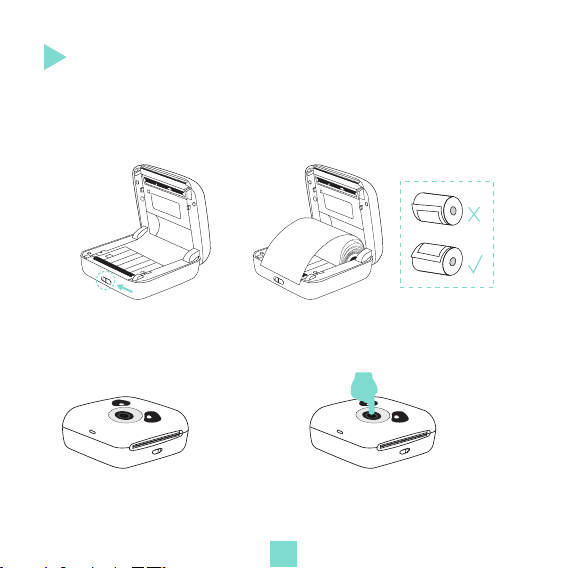
1. Toggle the cover opening button to open the top cover and
insert the thermal sticker/paper roll into the printer.
2. Close the top cover 3. Press the power button to get started
4
Download the APP
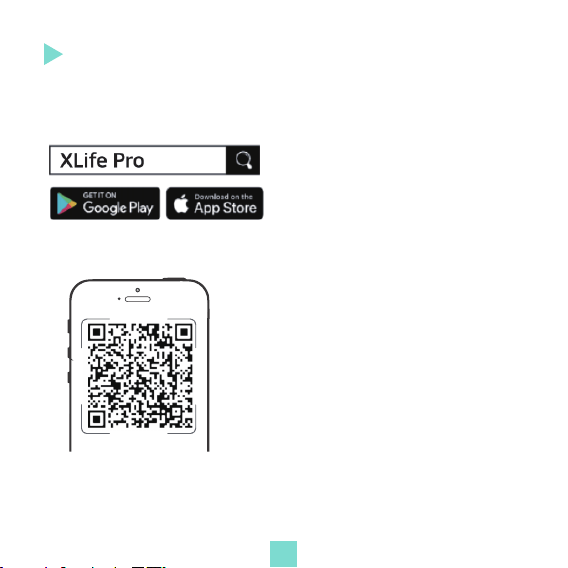
Download app “XLife Pro” from Google Play Store /
Apple APP Store
or scan the below QR code
Note: Please make sure your phone's Bluetooth and GPS is on,
otherwise the APP won't search for your printer.
5
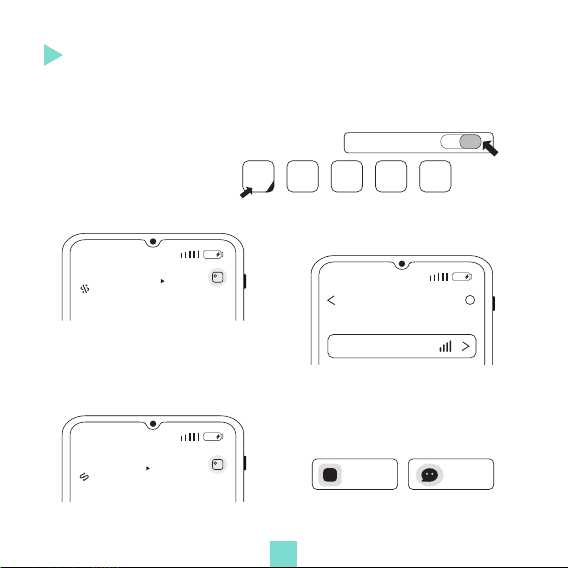
Connect printer with phone/tablet via APP
1. Press and hold the power on button for 3 seconds to turn on the
printer device.
2. Turn on Bluetooth from phone settings
3. Open the "XLifePro" APP
7. For more instructions on how
to use this application, please
click on "Me" - "Help center"
5. Enter the connection interface
and select "TP6"
6. "Connected" will turn green,
indicating a successful
connection
Bluetooth
95%
Pocketprinter
16:30
Unconnected
95%16:30
Connectable devices
Connect the device
?
TP6
95%
16:30
TP6
Connected
XLIFE
PRO
Help center
?
Feedback
record
4. Click on "Unconnected"

6
Specification
Model No.:
Resolution:
Max internal paper roll size:
Printing method:
Applicable paper types:
Built-in battery:
Charging Input:
Charging Interface:
TP6
300DPI
2-4/16" x φ1-3/16"
Thermal printing
Continuous thermal paper/
Continuous thermal sticker
1000mah 7.4V
5V 1A
USB to Type-c
WARNING
Do not include power adapter
Recommended power adapter: 5V 1A

7
Maintenance Guide
Following these simple maintenance guidelines will ensure the
printer longer life with quality printing performance.
General Cleaning
Maintain the exterior of your printer by periodically wiping it with
a soft cloth dampened with water. Avoid using abrasive cleaners,
as they may harm the surfaces.
Cleaning the Print Head
When handled during installation, and over time, the print head
may become contaminated resulting in poor print quality. After
installing a new print head or after using a roll of media, rub the
cleaning pen across the dark area of the print head. Allow the
print head to dry for one minute before loading labels.

8
FCC statement
Changes or modifications not expressly approved by the party
responsible for compliance could void the user's authority
tooperate the equipment.
NOTE: This equipment has been tested and found to comply with
the limits for a Class B digital device, pursuant to Part 15 of the
FCC Rules. These limits are designed to provide reasonable
protection against harmful interference in a residential installation.
This equipment generates uses and can radiate radio frequency
energy and, if not installed and used in accordance with the
instructions, may cause harmful interference to radio communications.
However, there is no guarantee that interference will not occur
in a particular installation.
If this equipment doescause harmful interference to radio or
television reception, which can be determined by turning the
equipment off and on, the user isencouraged to try to correct the
interference by one or more of the following measures:

9
-- Reorient or relocate the receiving antenna.
-- Increase the separation between the equipment and receiver.
-- Connect the equipment into an outlet on a circuit different. from
that to which the receiver is connected.
-- Consult the dealer or an experienced radio/TV technician for help.
NOTE: This device and its antenna(s) must not be co-located
oroperation in conjunction with any other antenna or transmitter.
RF Exposure Statement
-- To maintain compliance with FCC's RF Exposure guidelines.
This equipment should be installed and operated with minimum
distance of 20cm the radiator your body.
-- This device and its antenna(s) must not be co-located or
operation in conjunction with any other antenna or transmitter.

Thank you so much for the purchase!
Register and get extended warranty
www.offnova.com