93884
Visit our website at: http://www.harborfreight.com
Email our technical support at: [email protected]
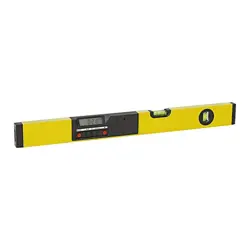
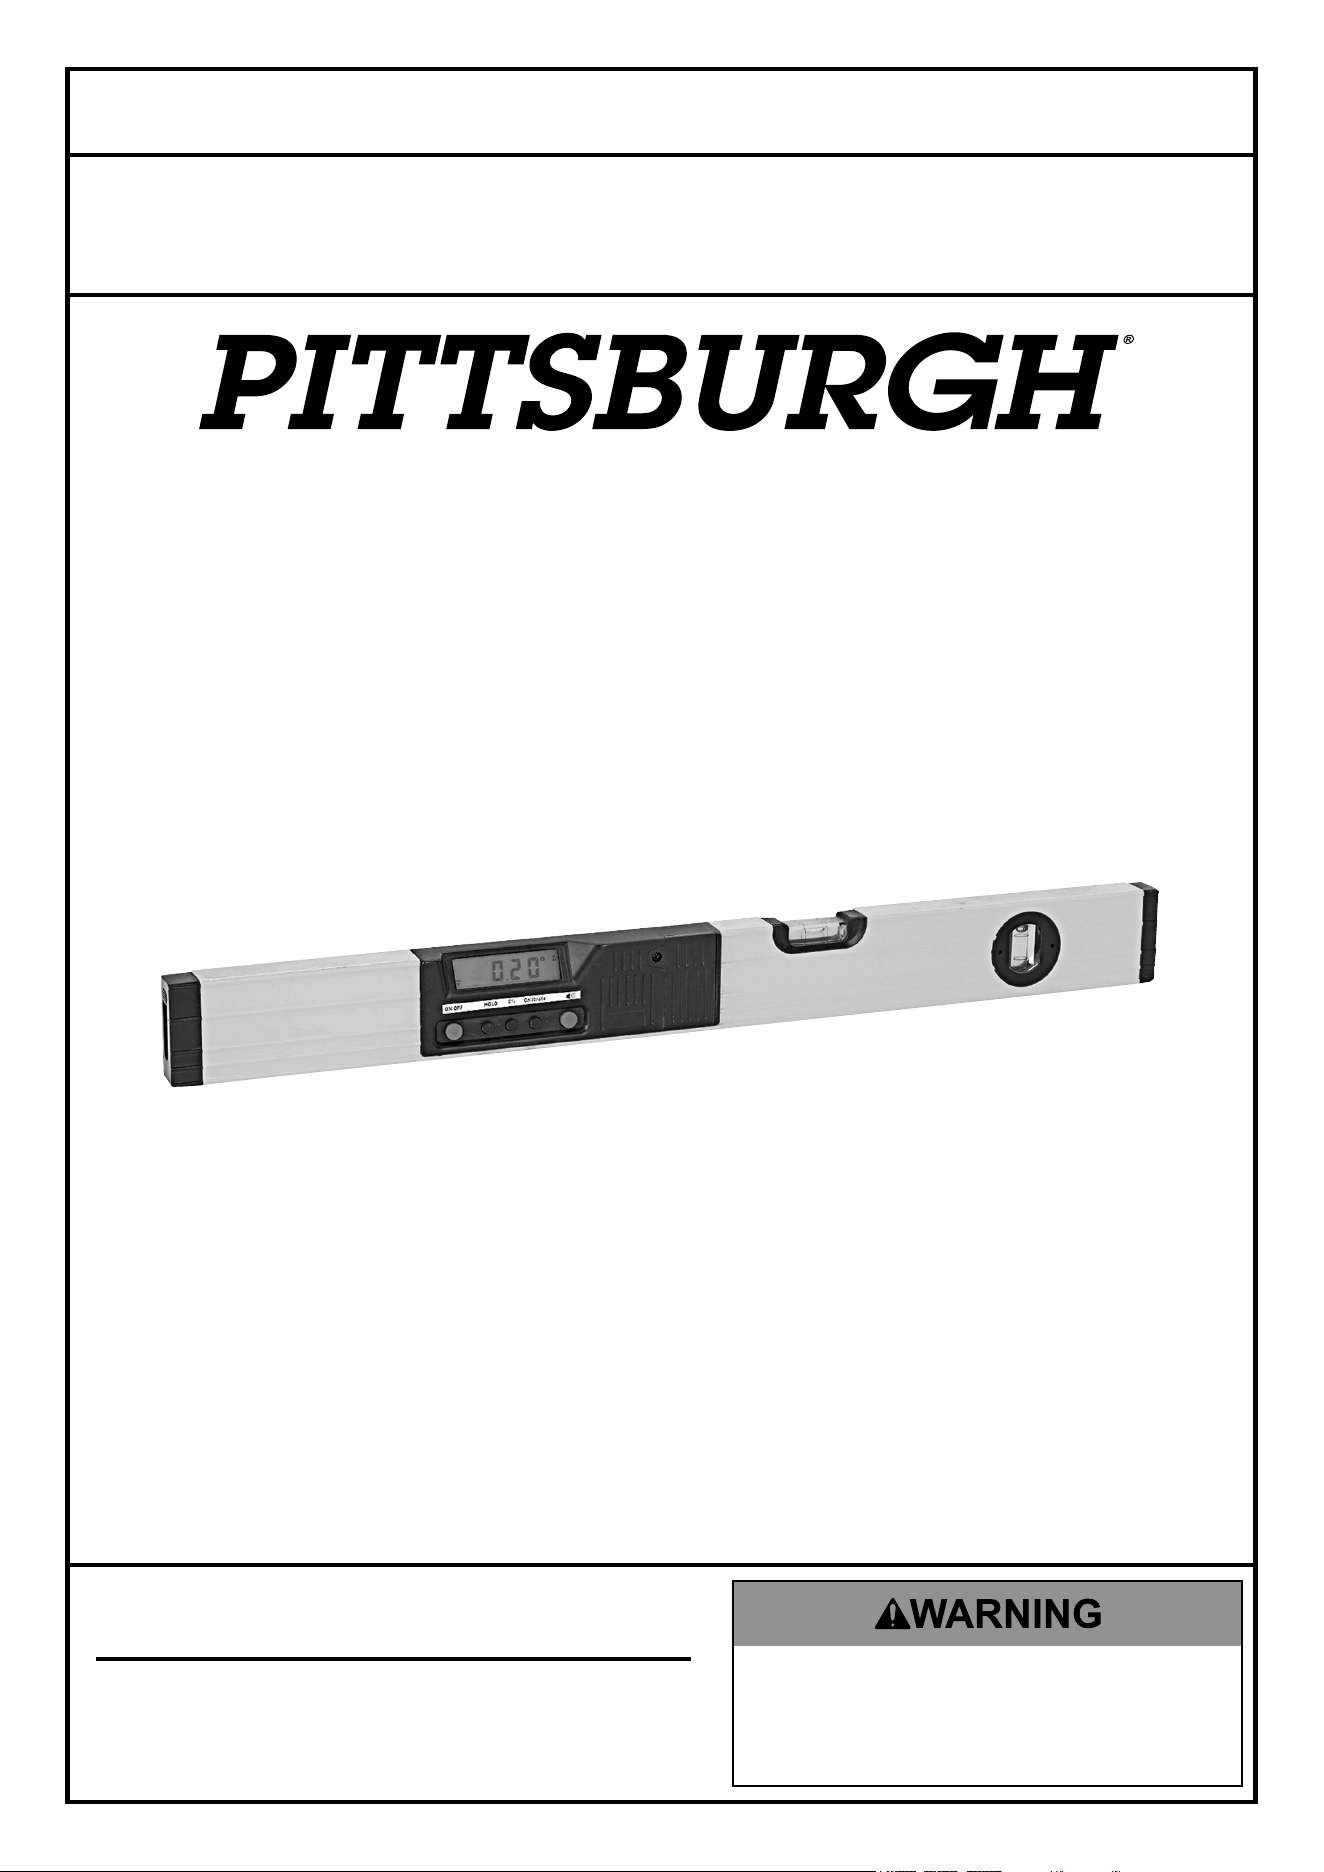
24" Digital Laser Level With Angle Finder
Owner’s Manual & Safety Instructions
Save This Manual Keep this manual for the safety warnings and precautions, assembly,
operating, inspection, maintenance and cleaning procedures. Write the product’s serial number in the
back of the manual near the assembly diagram (or month and year of purchase if product has no number).
Keep this manual and the receipt in a safe and dry place for future reference. 23k
When unpacking, make sure that the product is intact
and undamaged. If any parts are missing or broken,
please call 1-888-866-5797 as soon as possible.
Copyright
©
2023 by Harbor Freight Tools
®
. All rights reserved.
No portion of this manual or any artwork contained herein may be reproduced in
any shape or form without the express written consent of Harbor Freight Tools.
Diagrams within this manual may not be drawn proportionally. Due to continuing
improvements, actual product may differ slightly from the product described herein.
Tools required for assembly and service may not be included.
Read this material before using this product.
Failure to do so can result in serious injury.
SAVE THIS MANUAL.

Page 2 For technical questions, please call 1-888-866-5797. Item 93884
Specifications
Laser Dot Accuracy Up to 98 Feet
Laser Line Accuracy Up to 33 Feet
Vial Accuracy +/- .3 Degrees
Power Source AAA Batteries (Qty. 2),
9V Battery (Qty. 1)
Caution: Use of controls or adjustments or performance of procedures other than
those specified herein may result in hazardous radiation exposure.
Caution: The use of optical instruments with this product will increase eye hazard.
This product complies with
21 CFR 1040.10
and 1040.11 23k
Distributed by
Harbor Freight Tools
Calabasas, CA 91302
93884
Manufacture Date:
___________,______
LASER LIGHT
DO NOT STARE INTO BEAM
Max. Output: 3 - 5 mW,
Wavelength: 635 - 670 nm
CLASS II LASER PRODUCT
AVOID EXPOSURE
Laser light is emitted from
this opening.
23j
IMPORTANT SAFETY INFORMATION
Use Precautions
WARNING: When using tool, basic safety precautions
should always be followed to reduce the risk of personal
injury and damage to equipment.
Read all instructions before using this tool!
1. Keep work area clean. Cluttered
areas invite injuries.
2. Observe work area conditions. Don’t
expose to rain. Keep work area well lit.
3. Keep children away. Children must
never be allowed in the work area. Do
not let them handle the Laser Level.
4. Store idle equipment. When not in use, tools must
be stored in a dry location to inhibit rust. Always
lock up tools and keep out of reach of children.
5. Use the right tool for the job. There are
certain applications for which this tool was
designed. Do not modify and do not use this tool
for a purpose for which it was not intended.
6. Never direct the laser beam into the eyes of any
person or animal. THIS MAY CAUSE SEVERE
INJURY TO THE EYE. Do not look into the beam
during operation. Make certain to switch the
Laser Level to “OFF” when making adjustments or
changing the batteries. Laser light, when reflected off
a mirror like surface can cause serious eye damage.
7. Only use the type of battery recommended
in this manual. Use only “AAA” batteries
for the Laser, and a 9V battery for the digital
display. Do not mix old and new batteries.
8. Maintain tools with care. Keep tools
clean for better and safer performance.
9. Stay alert. Watch what you are doing, use common
sense. Do not operate any tool when you are tired.
10. Check for damaged parts. Before using any tool,
any part that appears damaged should be carefully
checked to determine that it will operate properly
and perform its intended function. Any part that is
damaged should be properly repaired or replaced
by a qualified technician. Do not use the tool if
any switch does not turn On and Off properly.
11. Replacement parts and accessories. When
servicing, use only identical replacement parts.
Use of any other parts will void the warranty.
12. Do not operate tool if under the influence of
alcohol or drugs. Read warning labels if taking
prescription medicine to determine if your judgment
or reflexes are impaired while taking drugs. If
there is any doubt, do not operate the tool.
13. Maintenance. For your safety, service
and maintenance should be performed
regularly by a qualified technician.
14. Use fresh batteries. Weak batteries
could affect the visibility of this tool.
WARNING: The warnings, cautions, and instructions
discussed in this instruction manual cannot cover all
possible conditions and situations that may occur. It
must be understood by the operator that common sense
and caution are factors which cannot be built into this
product, but must be supplied by the operator.
Page 3For technical questions, please call 1-888-866-5797.Item 93884
Operating Instructions
Read the ENTIRE IMPORTANT SAFETY INFORMATION section at the beginning of this document
including all text under subheadings therein before set up or use of this product.
General Instructions for Use
WARNING! TO PREVENT SERIOUS INJURY: Only turn
Laser on when tool is on workpiece. Do not stare
directly at the laser beam.
Do not aim the beam at any person or
object other than the workpiece.
WARNING! TO PREVENT SERIOUS INJURY: Do not
aim Laser at a workpiece with a reflective surface,
such as sheet metal.
Reflective sheet metal could direct
the beam back at the operator.
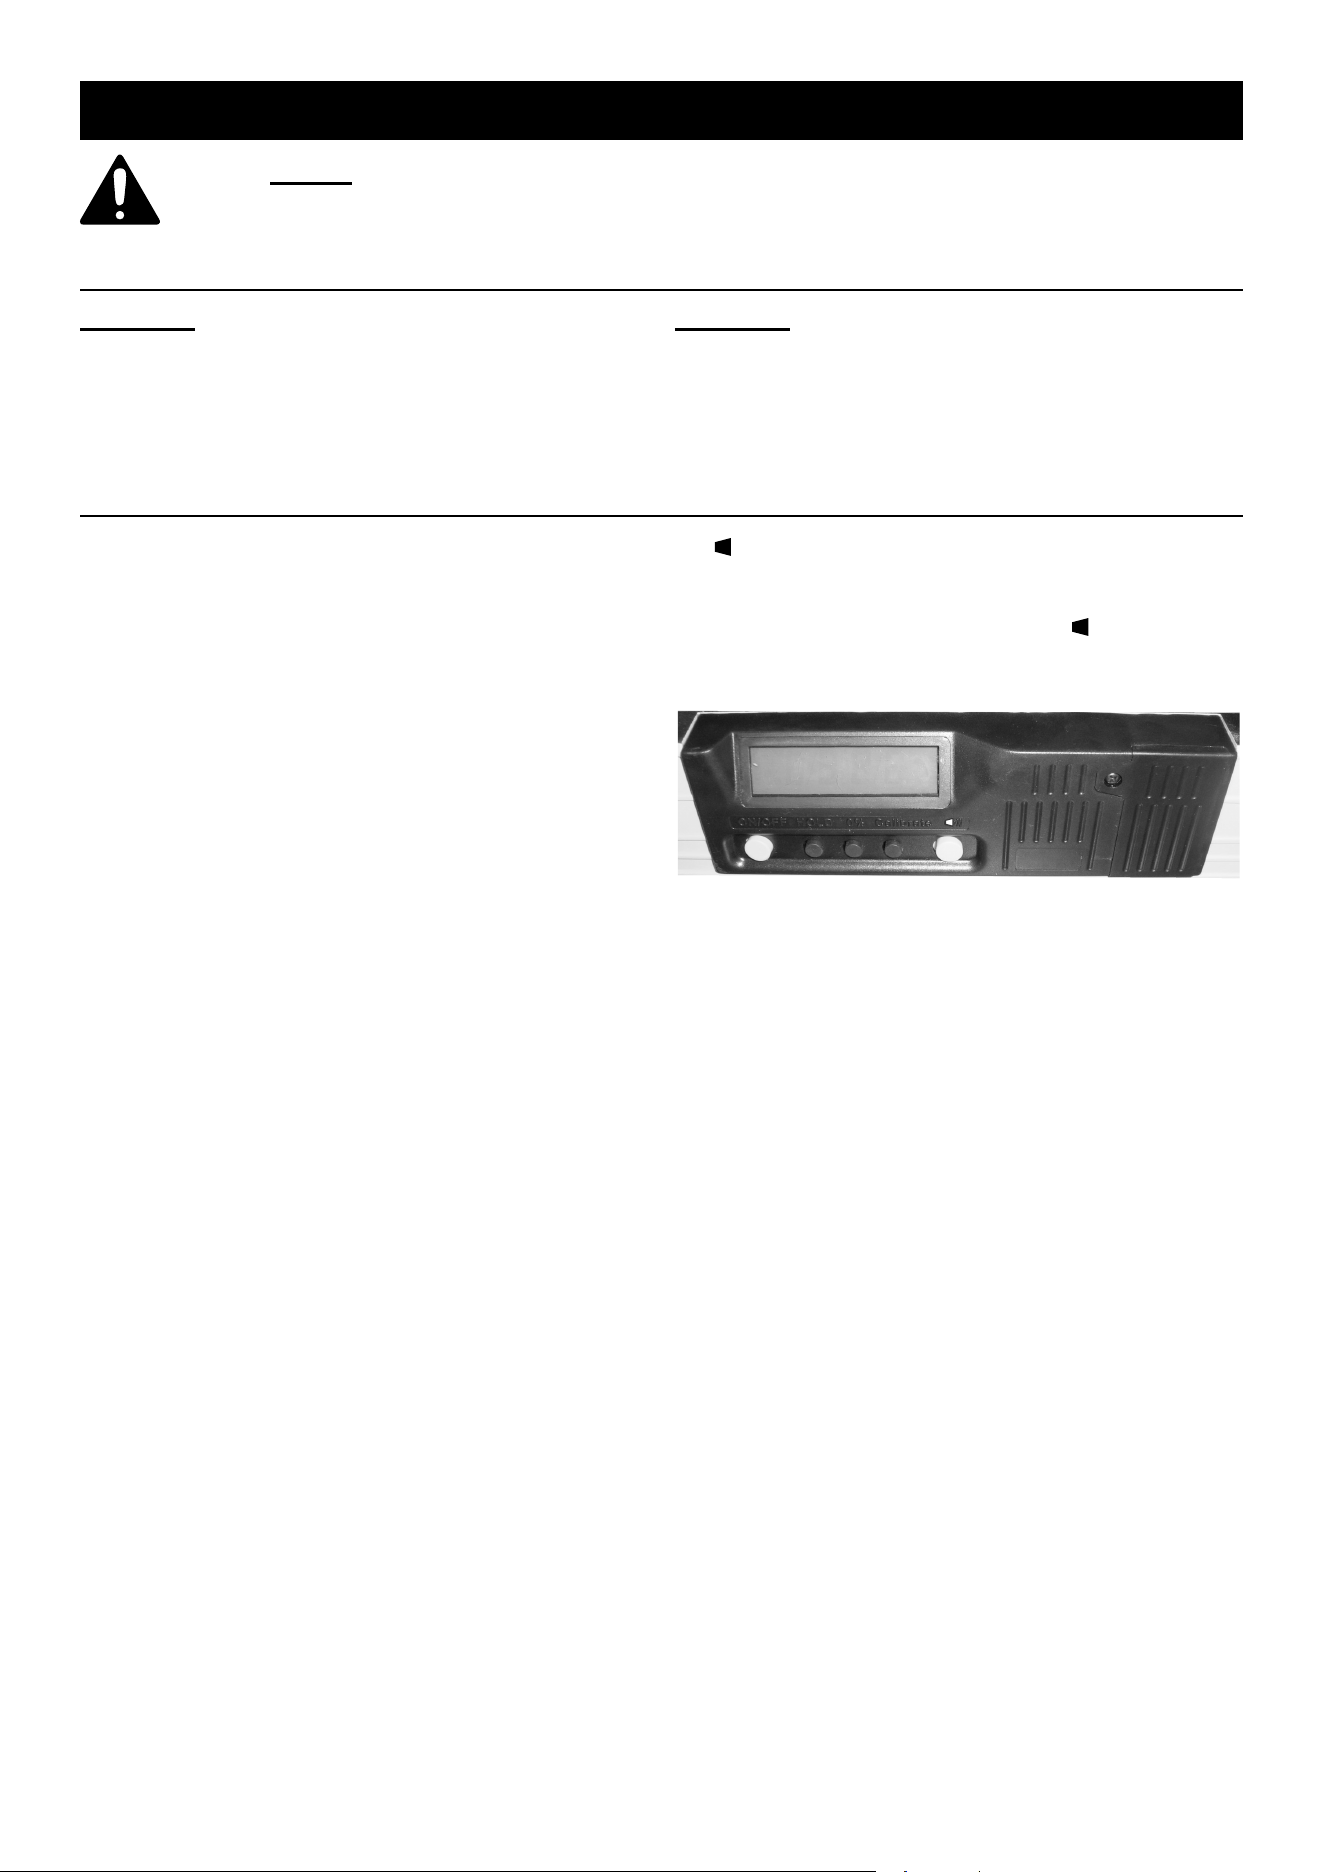
LCD Display Controls
1. On/Off: Holding this button down for several
seconds turns the LCD display on or off.
The display will automatically shut off after
a period to conserve battery power.
2. Hold: This button keeps the same reading on
the display, even if the level’s angle changes.
Everything on the display will flash except the
number while the reading is being held. Press
the button again to stop holding the reading.
3. 0% (percent): This button switches the
LCD display between displaying the angle
in degrees and displaying the angle as a
percent difference from 0° or 90°.
4. Calibrate (Zero Setting): This button toggles
between reading 0 at the current angle and reading
the actual angle. Press the “Calibrate” button once
to change the current reading to 0° or 0%. Press
the “Calibrate” button again and hold it to restore the
level to reading the actual angle. The level will reset
to reading the actual angle if it is switched off.
Note: Actual calibration of the level (changing the
actual angle setting) is not done by this button and
needs to be performed by a qualified technician.
5. ))) Sound: This button toggles the sound. When
the sound is on, the level will beep once when it
measures any 10° increment and more than once
when it reads 0° or 90°. A symbol – ))) – will
appear above the decimal point on the display and
the unit will beep to indicate that the sound is on.
ON/OFFON/OFF HOLDHOLD 0%0% CALIBRATECALIBRATE
))
))
))
Page 4 For technical questions, please call 1-888-866-5797. Item 93884
Horizontal and Vertical Vial Use
The Vials on the level can be read by observing
the bubble within. If the bubble is centered in
between the lines, then the Vial is level.
Laser Controls
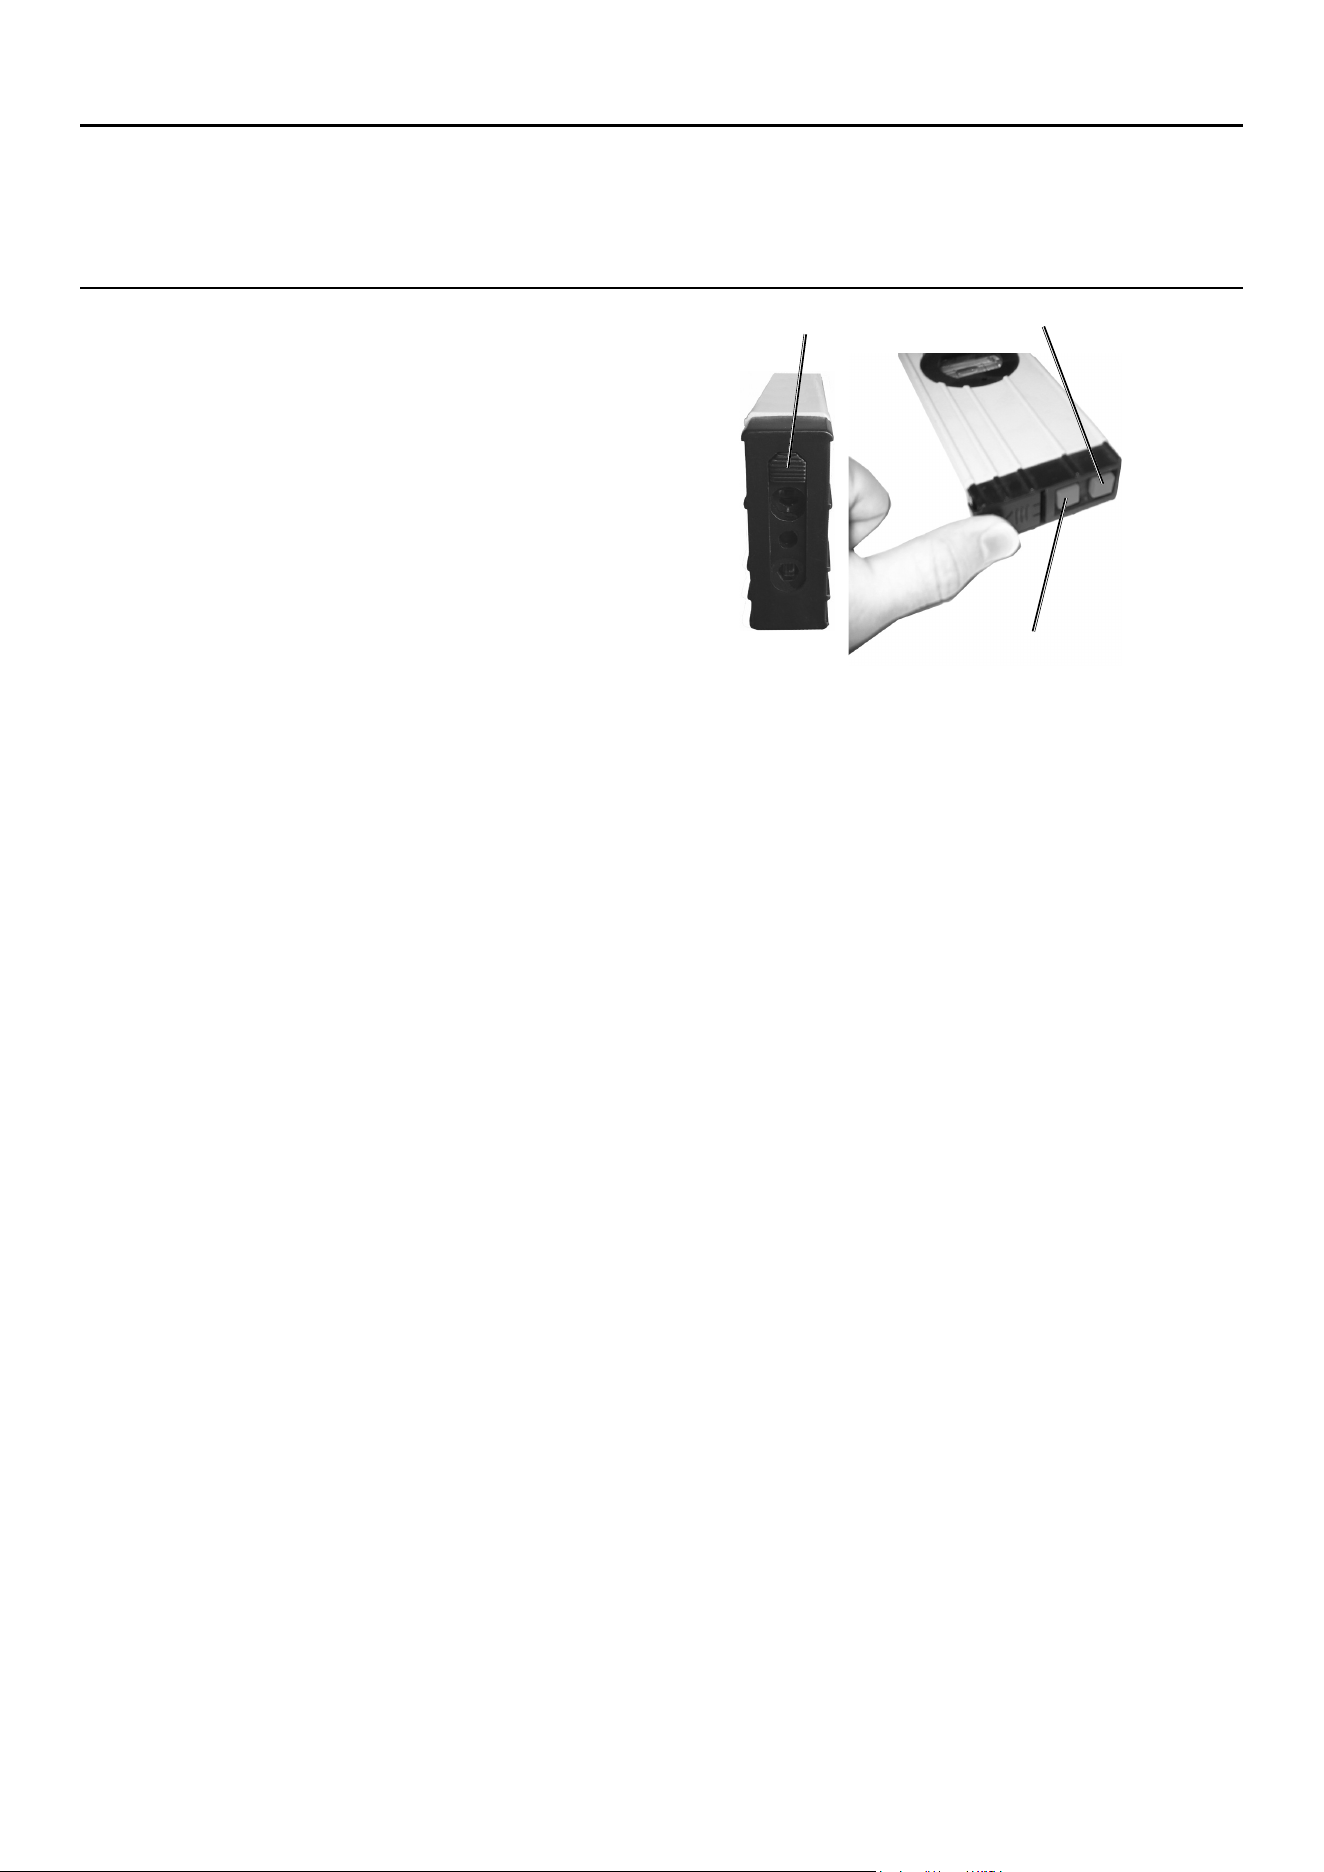
1. Vertical Laser Button - This button turns on
the vertical laser line if the Slide Switch is in the
upper position. The vertical laser is blocked
while the Slide Switch is in the lower position.
2. Horizontal/Dot Laser Button - This button turns
on the horizontal laser line if the Slide Switch is
in the upper position. It can be used along with
the vertical laser line to make a cross. When the
Slide Switch is in the lower position, the laser is a
dot instead.
3. Slide Switch - The Slide Switch determines laser
operation.
WARNING! TO PREVENT INJURY: Point
the end of the level away from people’s eyes
when adjusting the Slide Switch. If the Slide
Switch is in the lower position, it can conceal
an illuminated laser beam.
If the Slide Switch is in the upper position, the
Vertical Laser Button will project a vertical line
and the Horizontal/Dot Laser Button will project
a horizontal line. When the Slide Switch is in the
lower position, the Vertical Laser Button will be
covered and the Horizontal/Dot Laser Button will
project a simple dot beam.
CAUTION! To conserve battery power and
prevent accidents, move the Slide Switch to
the upper position and verify that both lasers
are off after use.
Horizontal / Dot Laser Button
Vertical Laser Button
Slide Switch
Page 5For technical questions, please call 1-888-866-5797.Item 93884
Maintenance and Servicing Instructions
1. BEFORE EACH USE, inspect the general
condition of the tool. Check for:
• loose hardware,
• misalignment or binding of moving parts,
• cracked or broken parts, and
• any other condition that may
affect its safe operation.
2. AFTER USE, wipe external surfaces
of the tool with clean cloth.
3. Store the Level in a dry location where
it will not freeze or overheat.
Changing or Installing Batteries
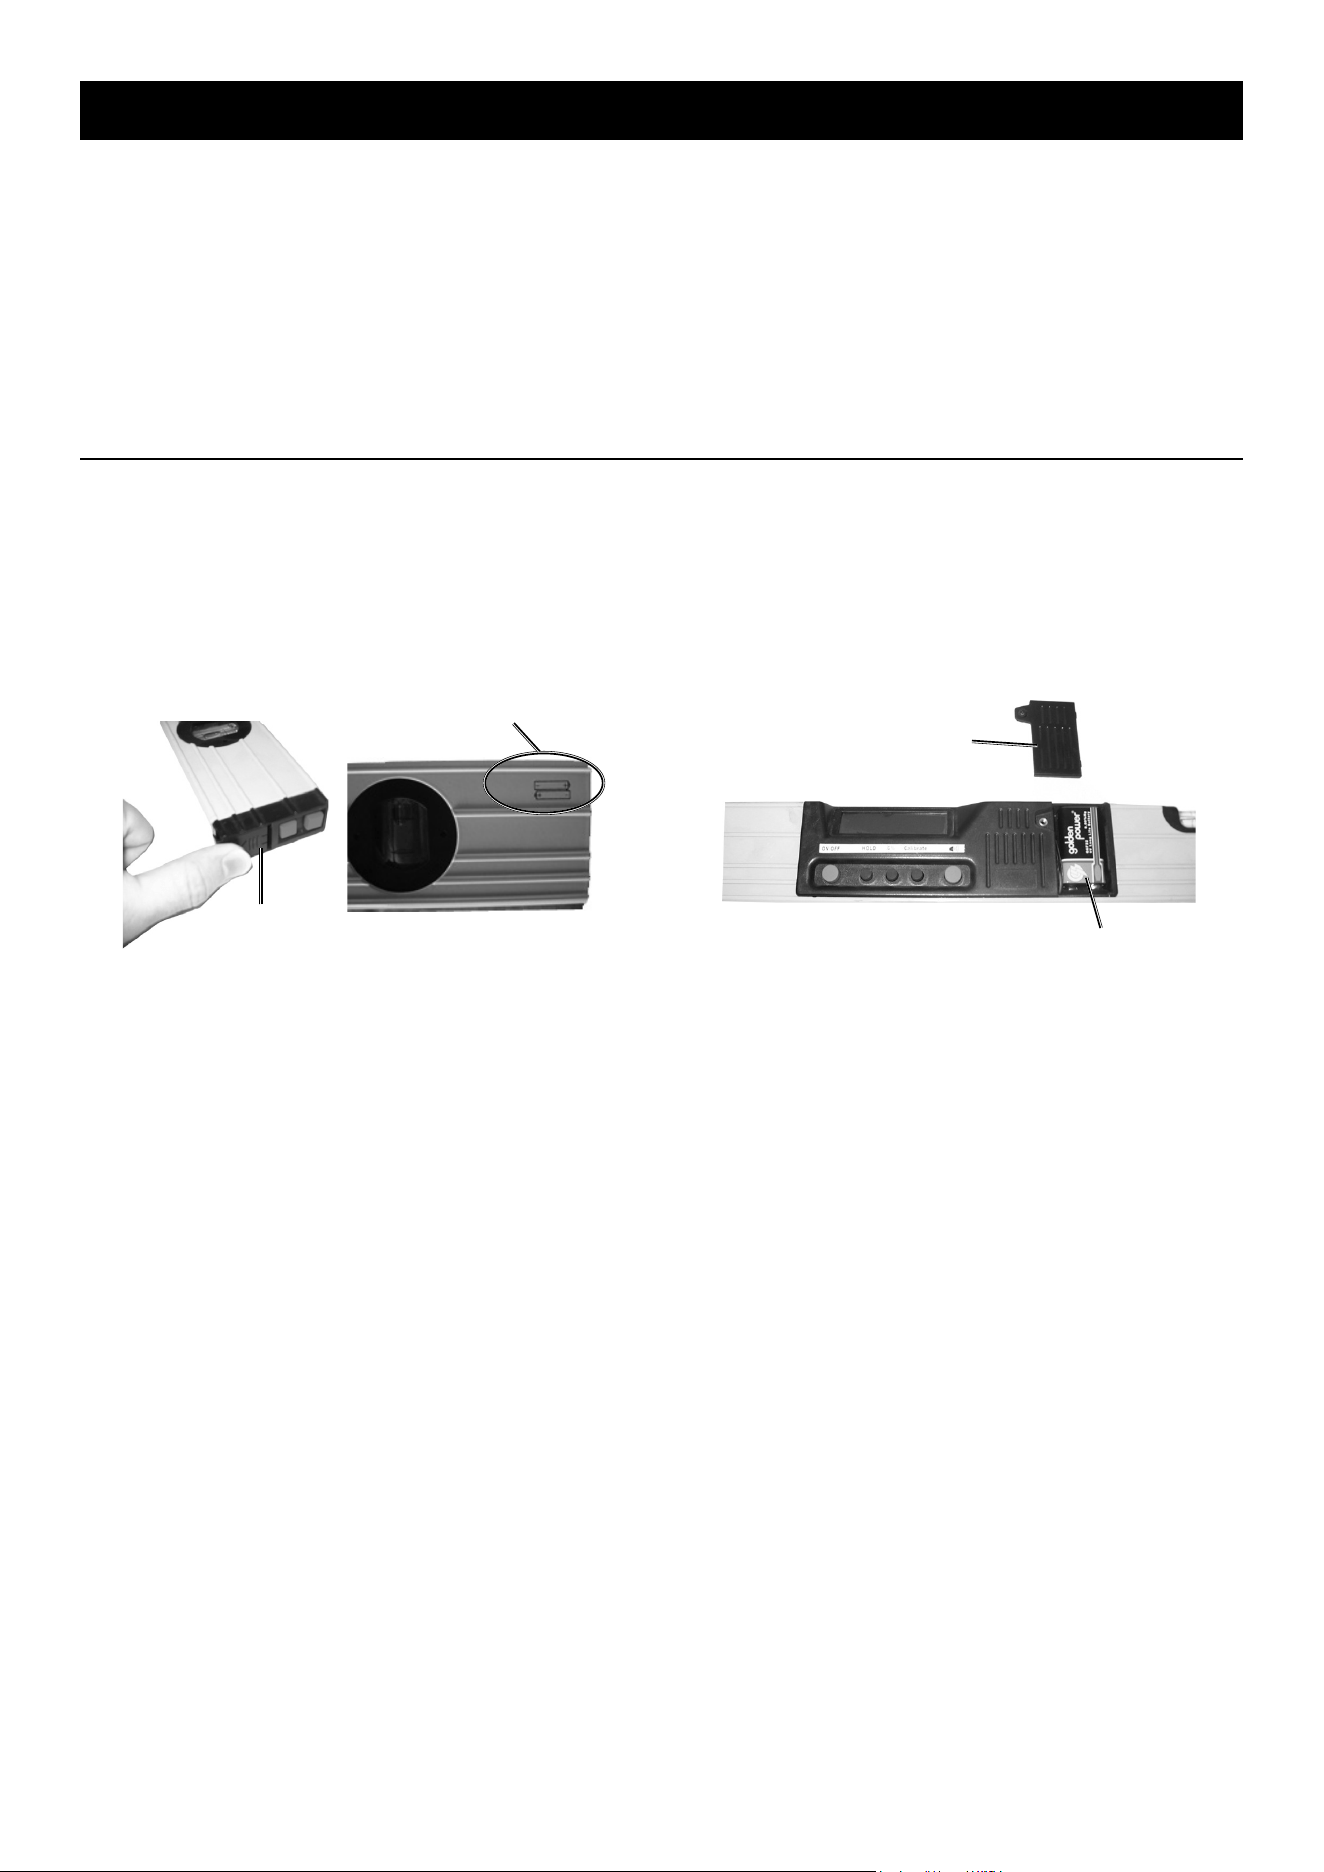
1. To change the “AAA” batteries that power the
Laser, remove the End Cap and set it aside.
2. Remove the old batteries and replace them with two
fresh batteries. Make sure that you match up the
positive (+) and negative (-) ends to the diagram
on the side of the level. Replace the End Cap.
Battery Polarity
Direction
End Cap
3. To change the 9 Volt battery that powers
the LCD, remove the Battery Cover
by first removing the Screw.
4. Install a fresh battery making sure you match
up the positive (+) and negative (-) terminals
as shown inside the battery compartment.
Replace the Battery Cover and the Screw.
Battery Cover
9 Volt Battery

Page 6 For technical questions, please call 1-888-866-5797. Item 93884
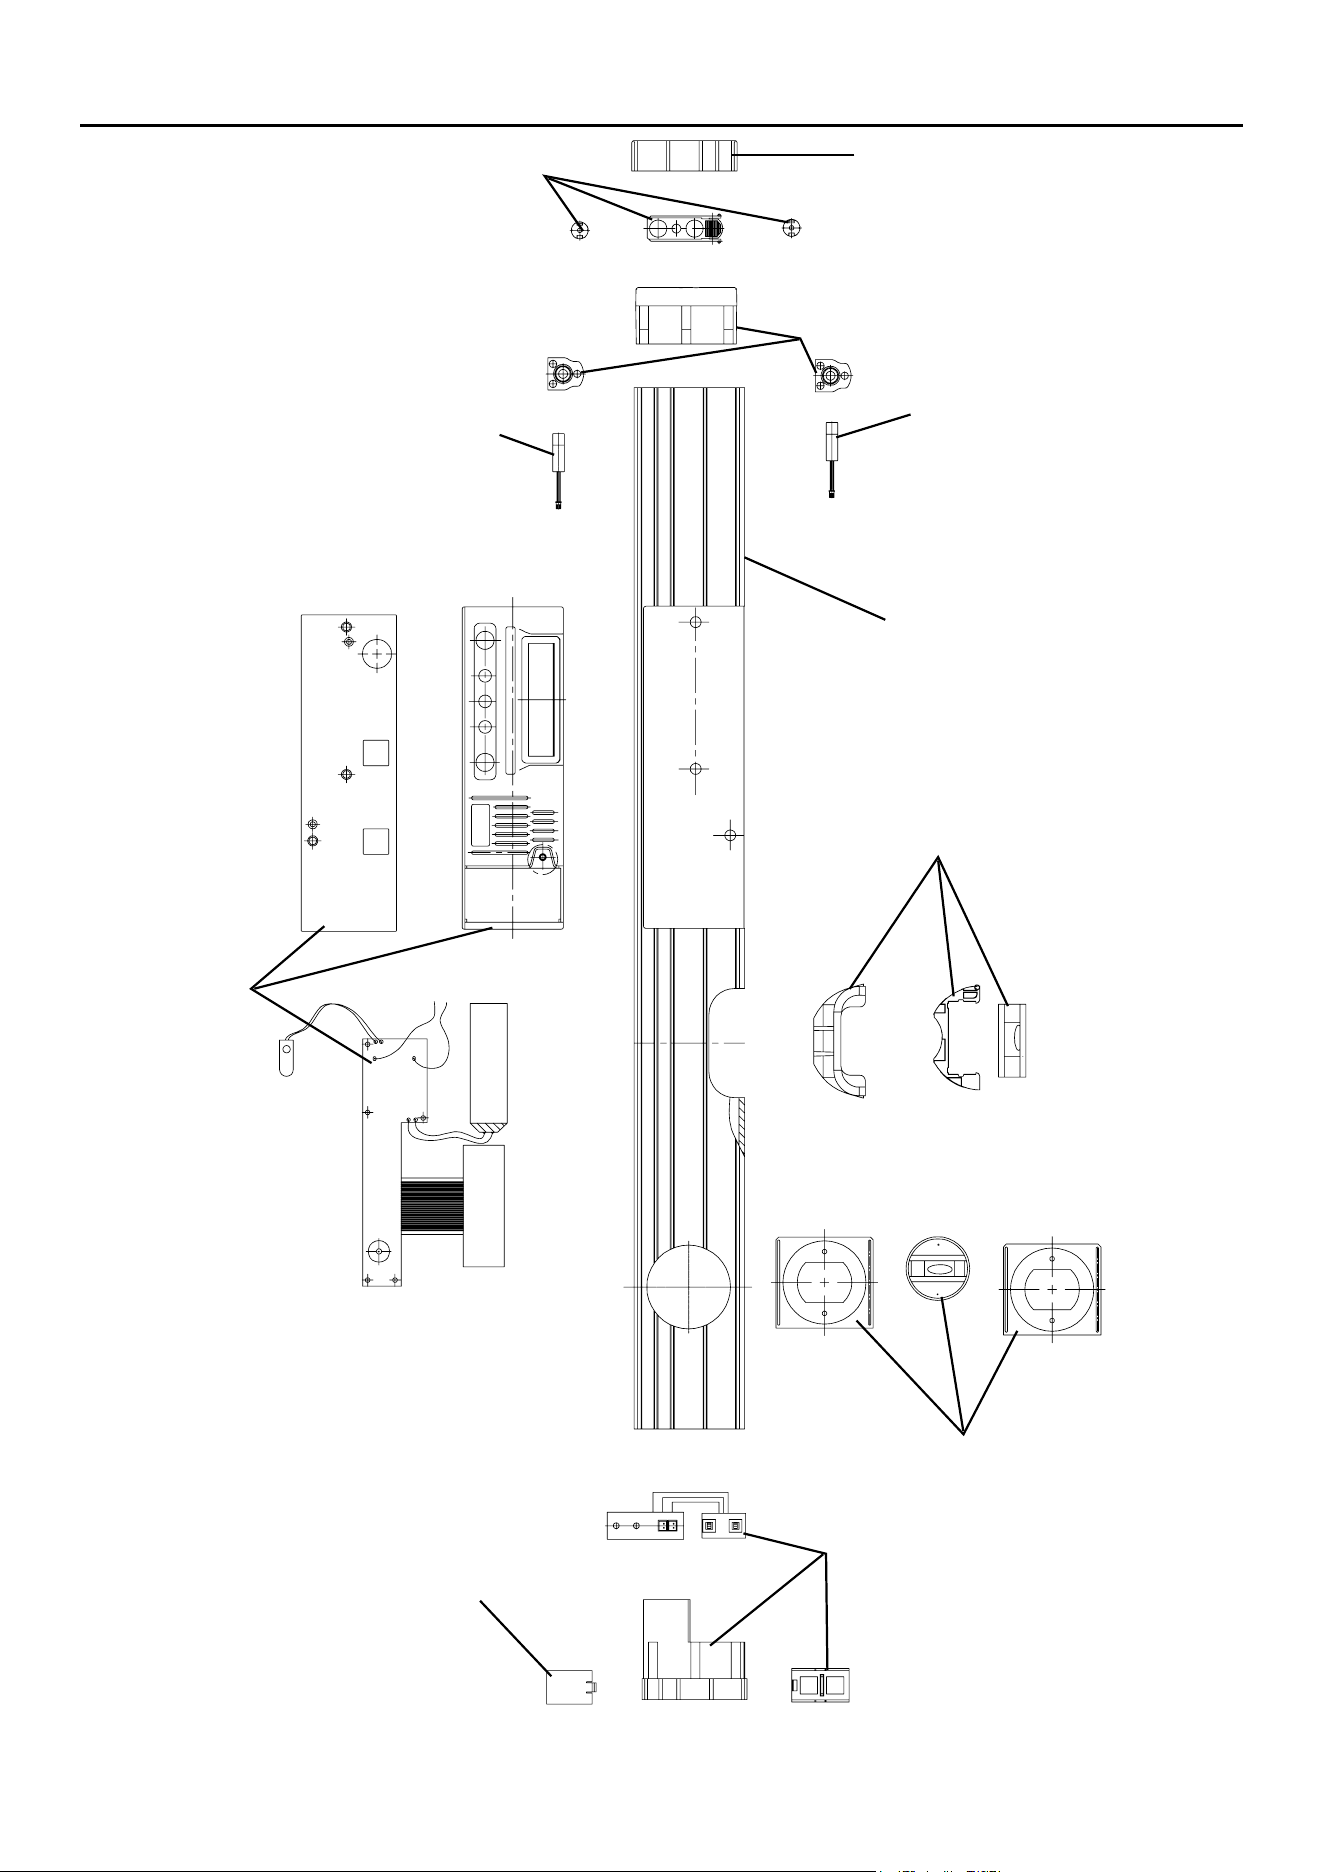
Parts List and Diagram
PLEASE READ THE FOLLOWING CAREFULLY
THE MANUFACTURER AND/OR DISTRIBUTOR HAS PROVIDED THE PARTS LIST AND ASSEMBLY DIAGRAM
IN THIS MANUAL AS A REFERENCE TOOL ONLY. NEITHER THE MANUFACTURER OR DISTRIBUTOR
MAKES ANY REPRESENTATION OR WARRANTY OF ANY KIND TO THE BUYER THAT HE OR SHE IS
QUALIFIED TO MAKE ANY REPAIRS TO THE PRODUCT, OR THAT HE OR SHE IS QUALIFIED TO REPLACE
ANY PARTS OF THE PRODUCT. IN FACT, THE MANUFACTURER AND/OR DISTRIBUTOR EXPRESSLY
STATES THAT ALL REPAIRS AND PARTS REPLACEMENTS SHOULD BE UNDERTAKEN BY CERTIFIED AND
LICENSED TECHNICIANS, AND NOT BY THE BUYER. THE BUYER ASSUMES ALL RISK AND LIABILITY
ARISING OUT OF HIS OR HER REPAIRS TO THE ORIGINAL PRODUCT OR REPLACEMENT PARTS
THERETO, OR ARISING OUT OF HIS OR HER INSTALLATION OF REPLACEMENT PARTS THERETO.
Parts List
Part Description Qty
1 Ruler Body 1
2 End Cover 1
3 Mirror Set 1
4 Light Tube Set 1
5 Laser Tube 2
Part Description Qty
6 Digital Display Assembly 1
7 Power Switch Assembly 1
8 Battery Cover 1
9 90
o
Bubble Level Group 1
10 180
o
Bubble Level Group 1
Record Product’s Serial Number Here:
Note: If product has no serial number, record month and year of purchase instead.
Note: Some parts are listed and shown for illustration purposes only, and are not
available individually as replacement parts. Reference UPC 193175475428.
Page 7For technical questions, please call 1-888-866-5797.Item 93884
Assembly Diagram
1
2
3
4
5
6
7
8
9
10
5

26677 Agoura Road • Calabasas, CA 91302 • 1-888-866-5797
Limited 90 Day Warranty
Harbor Freight Tools Co. makes every effort to assure that its products meet high quality and durability standards,
and warrants to the original purchaser that this product is free from defects in materials and workmanship for the
period of 90 days from the date of purchase. This warranty does not apply to damage due directly or indirectly,
to misuse, abuse, negligence or accidents, repairs or alterations outside our facilities, criminal activity, improper
installation, normal wear and tear, or to lack of maintenance. We shall in no event be liable for death, injuries
to persons or property, or for incidental, contingent, special or consequential damages arising from the use of
our product. Some states do not allow the exclusion or limitation of incidental or consequential damages, so the
above limitation of exclusion may not apply to you. THIS WARRANTY IS EXPRESSLY IN LIEU OF ALL OTHER
WARRANTIES, EXPRESS OR IMPLIED, INCLUDING THE WARRANTIES OF MERCHANTABILITY AND FITNESS.
To take advantage of this warranty, the product or part must be returned to us with transportation charges
prepaid. Proof of purchase date and an explanation of the complaint must accompany the merchandise.
If our inspection verifies the defect, we will either repair or replace the product at our election or we may
elect to refund the purchase price if we cannot readily and quickly provide you with a replacement. We will
return repaired products at our expense, but if we determine there is no defect, or that the defect resulted
from causes not within the scope of our warranty, then you must bear the cost of returning the product.
This warranty gives you specific legal rights and you may also have other rights which vary from state to state.