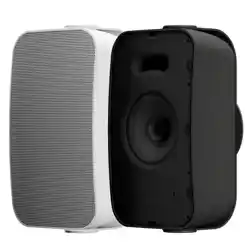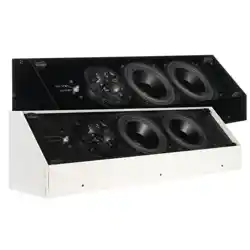

WEDGE X SERIES
WX48QT | WX58QT
INSTALLATION AND SUPPORT MANUAL
2
WEDGE X SERIES SPEAKERS
WX48QT | WX58QT
BOX CONTENTS
(1)Wedge X Series Speaker
(1)WX Speaker Grille
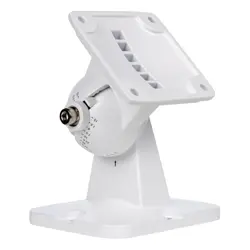
(1)WX Bracket
STEP 2
Remove the mounting bracket(s) from the speaker.
STEP 3
If a hardboard template was provided in the packaging:
•Position the template on the wall and ensure the
template is level.
•If the speaker is being installed at the corner of a
wall and ceiling, make sure the top of the template
is flush with the ceiling.
If a hardboard template was not provided in the
packaging:
•Position the bracket on the wall with the shorter
edge located at the top and ensure the bracket
is level.
•If the speaker is being installed at the corner of a
wall and ceiling, make sure the top of the bracket is
flush with the ceiling.
STEP 4
Mark the mounting fastener locations:
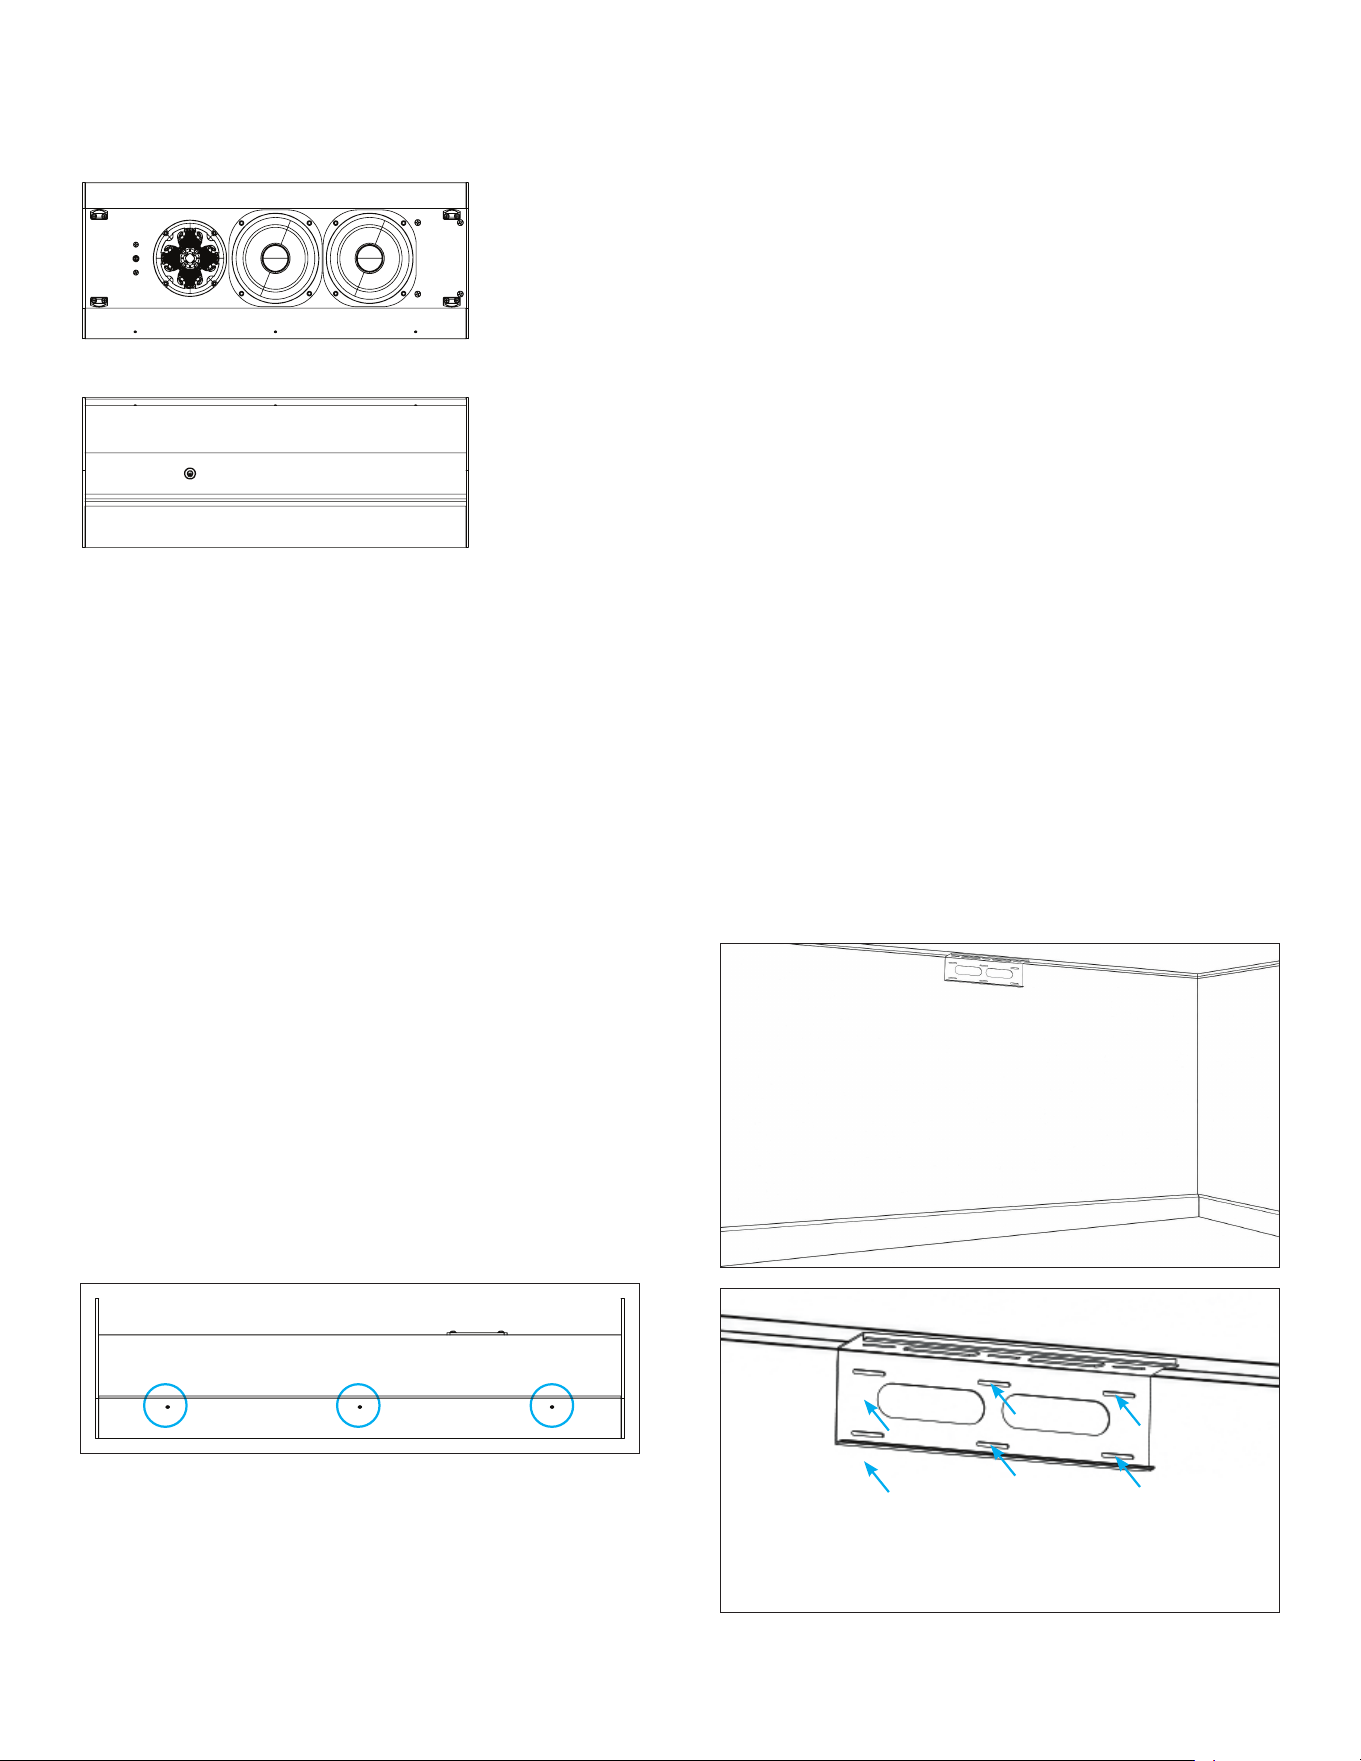
•Mark one fastener location through each narrow slot
on the rear of the template/bracket provided.
(See Figure 2 and Figure 3, on the next page).
WARNING: The installer is solely responsible for
selecting and using appropriate fasteners and
installation techniques to ensure the speaker bracket
is securely mounted to structural members (wood
studs, concrete, or brick), as improper hardware or
installation may result in product failure, property
damage, serious injury
, or death.
NOTE: Wedge X is a built-to-order product. As a
result, your product may include multiple installation
brackets and a hardboard installation template.
STEP 1
Using a 2mm hex key (not supplied), slightly loosen the
set screws that are located along the bottom-front
edge of the speaker (see Figure 1).
FRONT VIEW RECTANGLE
BACK VIEW RECTANGLE
Figure 1: Loosen the set screws
Figure 2: Bracket installed on the wall
3
STEP 5
Determine and mark the appropriate speaker wire pass-
through location:
•If the speaker wires are routed through the wall,
mark a location through one of the large oval slots
at the rear of the bracket.
•If the speaker wires are routed through the ceiling,
mark a location through one of the narrow oval slots
at the top of the bracket.
STEP 6
Remove the bracket, prepare the fastener installation
per the manufacturer’s specifications and prepare the
speaker wire pass-through opening, as needed.
STEP 7
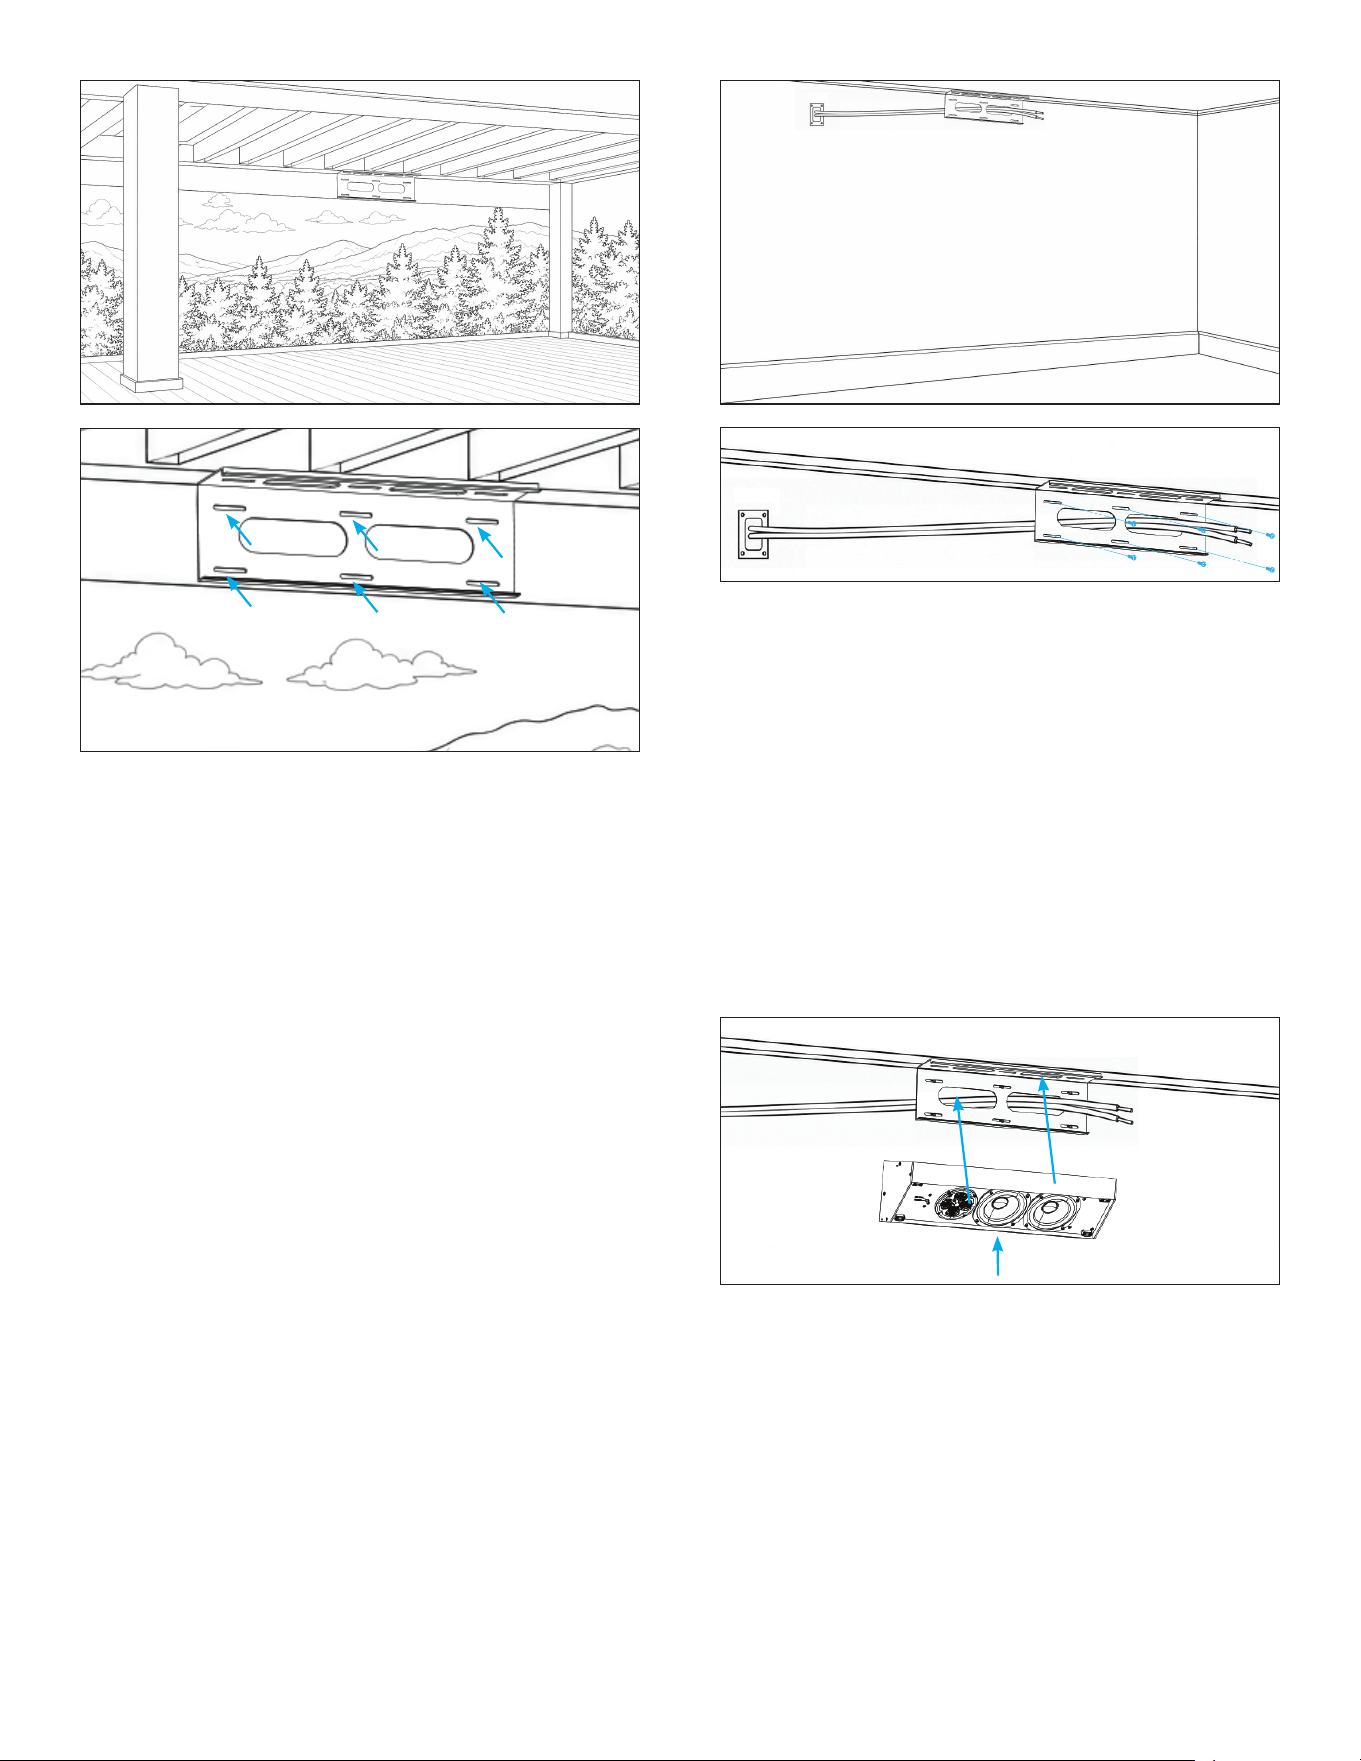
Route the speaker wires through the bracket. Position
the bracket on the wall, ensure the bracket is level, and
install the mounting fasteners per the manufacturer’s
specifications (see Figure 4).
STEP 8
Connect the speaker wires by joining the wires from
the speaker wire gland to the wire from the wall using
waterproof wire nuts. (red to red, and black to black)
STEP 9
Mount the speaker onto the bracket by first guiding
the upper channel of the speaker into the top portion
of the bracket then pushing the speaker toward the
wall to slide it and secure it in place. Ensure the speaker
is sitting flush with the wall and/or ceiling before
proceeding (see Figure 5).
Figure 4: Wiring
Figure 3: Bracket installed at the corner of a wall and ceiling
Figure 5: Speaker mounting on bracket
4
STEP 10
Tighten the set screws that are located along the
bottom-front edge of the speaker to lock the speaker
into place.
STEP 11
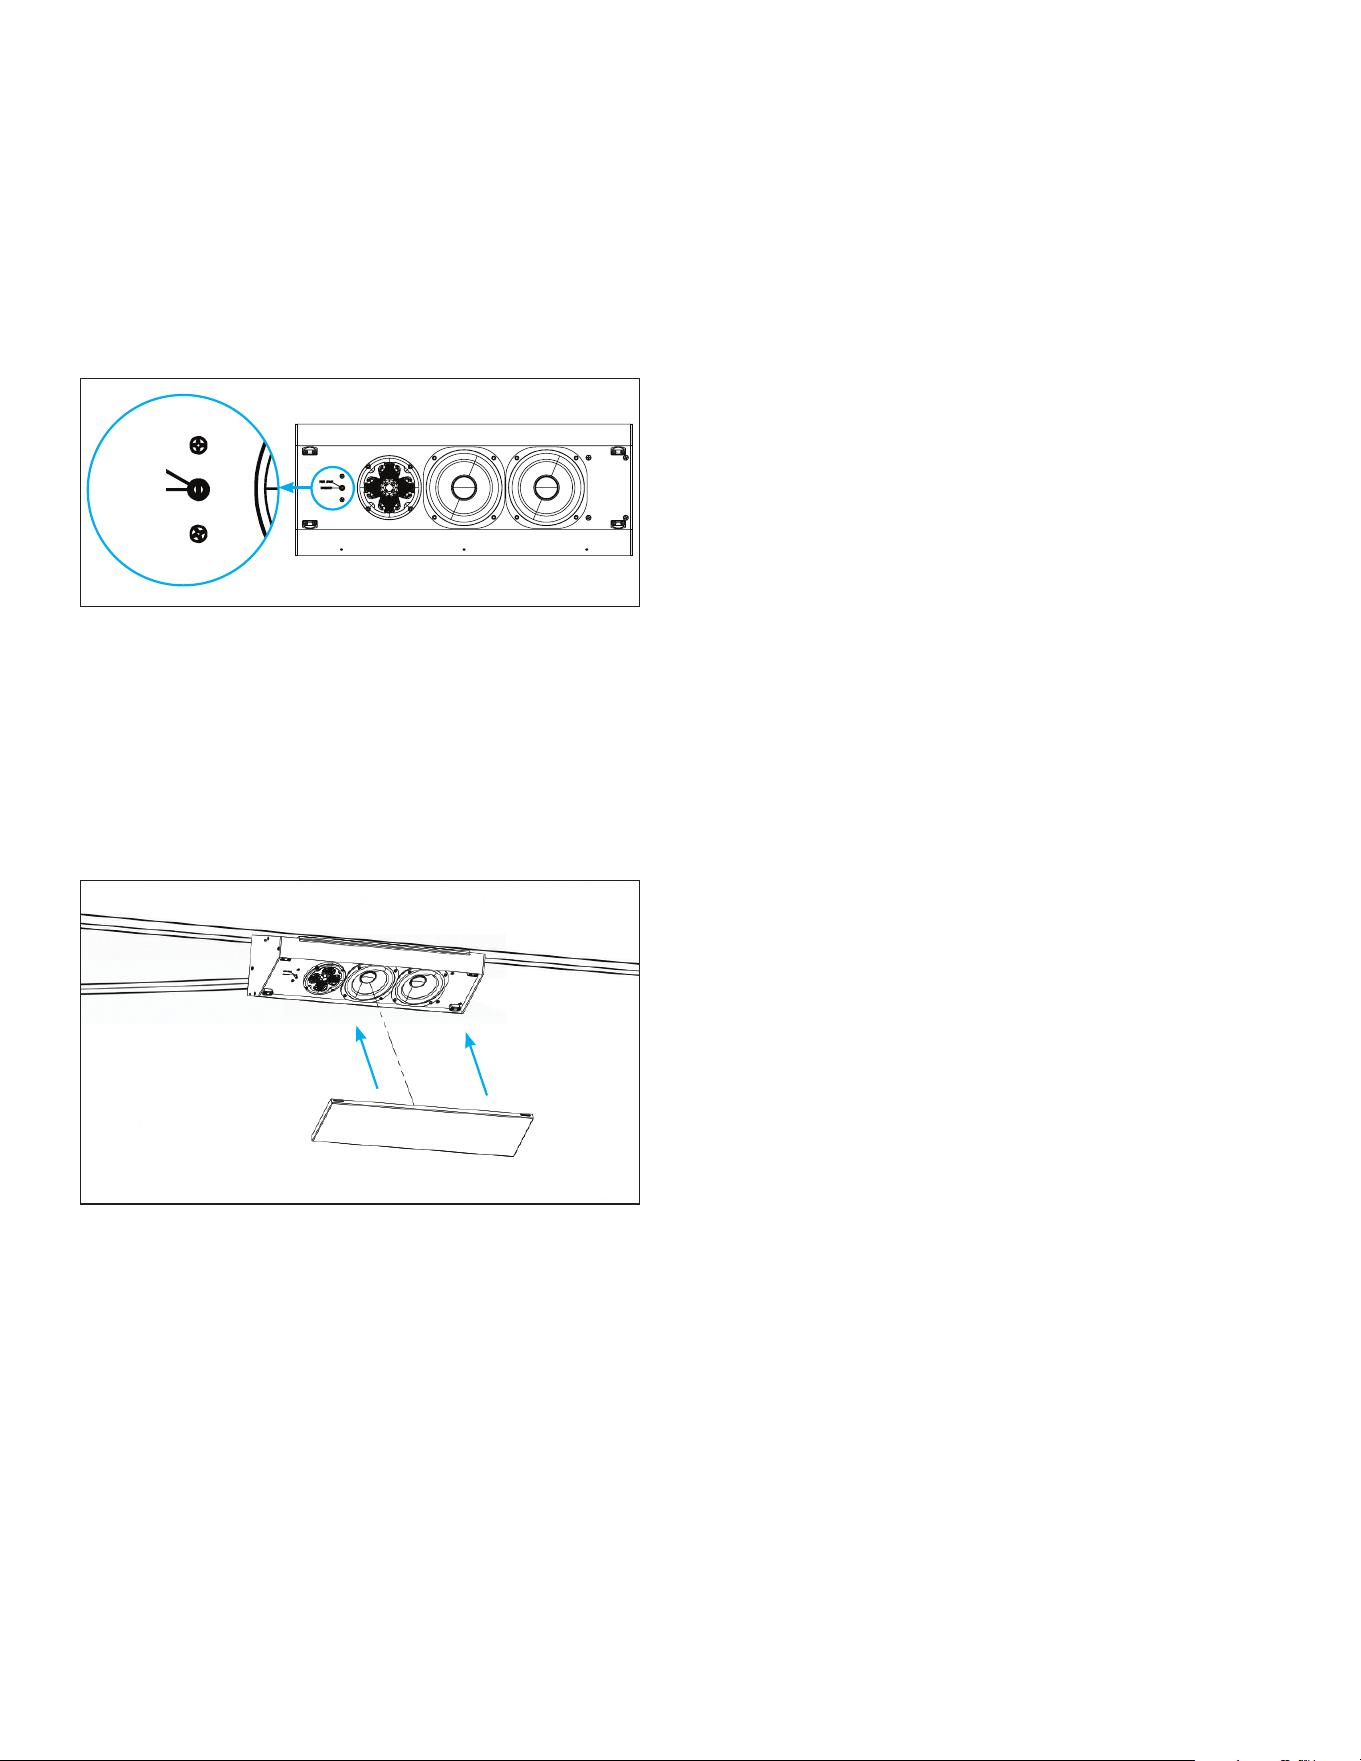
Adjust the front-panel switch to the appropriate setting
for the installation: “Boundary” for a wall-and-ceiling
corner or “Free Space” for a wall-only location (see
Figure 6).
STEP 12
Install the grille by aligning the edges and pressing firmly
into place.WX58 grilles will have notched out portions
along the long edge to accommodate the woofers.
Ensure that the grille is appropriately oriented to match
the notched sections to the woofers (see Figure 7).
Figure 6: Boundary switch on front of speaker
FREE SPACE
BOUNDARY
Figure 7: Installing the grille

5
(4) 0.75” (19mm) titanium domes, ferrofluid-cooled, acoustic back chamber
(2) 4” (102mm) aluminum cone, santoprene surround
Quadratech tweeter with cymatic diuser
2-way CDX crossover, adjustable boundary switch
70Hz - 20Hz +/-3dB
4 ohms nominal
86dB SPL
50 watts minimum; 100 watts maximum
Marine ready, weatherproof wire gland (default)
Perforated aluminum with grille clip retention
Bracket included
22” x 6.73” x 4.42” (558.8mm x 170.88mm x 112.38mm)
Standard or custom width (up to 96” with seamless grille)
8.4 lbs. (3.81kg)
1.2 lbs. (0.54kg)
16 lbs. (7.26kg)
(4) 0.75” (19mm) titanium domes, ferrofluid-cooled, acoustic back chamber
(2) 5.25” (133mm) aluminum cone, santoprene surround
Quadratech tweeter with cymatic diuser
2-way CDX crossover, adjustable boundary switch
60Hz - 20Hz +/-3dB
4 ohms nominal
88dB SPL
50 watts minimum; 100 watts maximum
Marine ready, weatherproof wire gland (default)
Perforated aluminum with grille clip retention
Bracket included
22” x 8.55” x 5.82” (558.8mm x 217.17mm x 147.78mm)
Standard or custom width (up to 96” with seamless grille)
10.94 lbs. (4.96kg)
1.48 lbs. (0.67kg)
22 lbs. (9.98kg)
WX48QT
Tweeter
Woofer
Dispersion Technology
Crossover Technology
Frequency Response
Impedance
Sensitivity (2.83V/1m)
Recommended Power
Environmental
Grille
Mounting
Product Dims (WxHxD)
Build to Order (W)
Product Weight
Bracket Weight
Shipping Weight
WX58QT
Tweeter
Woofer
Dispersion Technology
Crossover Technology
Frequency Response
Impedance
Sensitivity (2.83V/1m)
Recommended Power
Environmental
Grille
Mounting
Product Dims (WxHxD)
Build to Order (W)
Product Weight
Bracket Weight
Shipping Weight
TECHNICAL SPECIFICATIONS

6
©2026 Sonance. All rights reserved. Sonance is a registered trademarks of Dana Innovations. Due to continuous product improvement, all features and
specifications are subject to change without notice. For the latest Sonance product specification information visit our website: www.sonance.com
SONANCE • 991 Calle Amanecer • San Clemente, CA 92673 USA • PHONE: (949) 492-7777 • FAX: (949) 361-5151 • Technical Support: (949) 492-7777
06.24.2026
WARRANTY
James by Sonance warrants to the original end-user purchaser that this Sonance or James-brand product (“Product”), when purchased
from an authorized Sonance or James Dealer/Distributor, will be free from defects in materials and workmanship under normal use,
subject to the following terms:
LIMITED LIFETIME WARRANTY: If installed indoors, James Wedge X Series speakers are covered by a limited lifetime warranty for the
original purchaser, ensuring long-term performance and reliability.
LIMITED FIVE (5) YEAR WARRANTY: If installed outdoors or in moisture-dense environments such as spas, showers, or saunas, James
Wedge X Series speakers are covered by a limited five (5) year warranty from the date of purchase.
GRILLE WARRANTY: The speaker grille is warranted for five (5) years for both indoor and outdoor installations.
This warranty applies only to products purchased from authorized James by Sonance dealers and installed in accordance with
manufacturer guidelines. It does not cover damage resulting from misuse, accidents, unauthorized modifications, improper installation, or
normal wear and tear.
EXCLUSIONS: TO THE EXTENT PERMITTED BY LAW, THE WARRANTY SET FORTH ABOVE IS IN LIEU OF, AND EXCLUSIVE OF, ALL
OTHER WARRANTIES, EXPRESS OR IMPLIED, AND IS THE SOLE AND EXCLUSIVE WARRANTY PROVIDED BY SONANCE. ALL OTHER
EXPRESS AND IMPLIED WARRANTIES, INCLUDING THE IMPLIED WARRANTIES OF MERCHANTABILITY, IMPLIED WARRANTY OF
FITNESS FOR USE, AND IMPLIED WARRANTY OF FITNESS FOR A PARTICULAR PURPOSE ARE SPECIFICALLY EXCLUDED. No one is
authorized to make or modify any warranties on behalf of Sonance.
The warranty stated above is the sole and exclusive remedy and Sonance’s performance shall constitute full and final satisfaction of all
obligations, liabilities and claims with respect to the Product.
IN ANY EVENT, SONANCE SHALL NOT BE LIABLE FOR CONSEQUENTIAL, INCIDENTAL, ECONOMIC, PROPERTY, BODILY INJURY, OR
PERSONAL INJURY DAMAGES ARISING FROM THE PRODUCT, ANY BREACH OF THIS WARRANTY OR OTHERWISE.
This warranty statement gives you specific legal rights, and you may have other rights which vary from state to state. Some states do
not allow the exclusion of implied warranties or limitations of remedies, so the above exclusions and limitations may not apply. If your
state does not allow disclaimer of implied warranties, the duration of such implied warranties is limited to period of Sonance’s express
warranty.
Your Product Model and Description: Sonance Wedge X Series Speakers and Grilles.
Additional Limitations and Exclusions from Warranty Coverage: The warranty described above is non-transferable, applies only to the
initial installation of the Product, does not include installation of any repaired or replaced Product, does not include damage to allied
or associated equipment which may result for any reason from use with this Product, and does not include labor or parts caused by
accident, disaster, negligence, improper installation, misuse (e.g. overdriving the amplifier or speaker, excessive heat or cold or humidity,
outdoor installation), or from service or repair which has not been authorized by Sonance.
Obtaining Authorized Service: To qualify for the warranty, you must contact your authorized Sonance Dealer/Installer or call Sonance
Customer Service at (949) 492-7777, must obtain a return merchandise number (RMA), and must deliver the Product to Sonance
shipping prepaid during the warranty period, together with the original sales receipt, or invoice or other satisfactory proof of purchase.
In order to initiate a warranty claim:
1. Contact Sonance Technical Support with a description of the fault, the amplifier’s serial number and the date of purchase from an
authorized Sonance dealer at: [email protected]
2. Sonance Technical Support will follow-up and may request additional troubleshooting.
3. Once a determination has been made on the fault, Sonance Customer Service will follow-up by email. Please have a scanned copy of
your Sonance Visual Experience Speaker sales invoice ready to send upon request to document the speaker’s warranty status.
4. Sonance Customer Service will provide an RMA number to be included on the shipping label of the packaging. Please send the
speaker back in its original factory carton, which has been specifically designed to protect the speaker during transit.
Contact us at: www.sonance.com/company/contact