User Manual
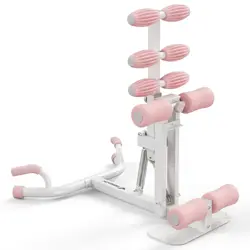
MR-2417 Deep Squat Machine
Please keep this manual in a safe place for future reference.
·Before using this product, please always read this manual carefully.
·Children, the elderly or people with physical disabilities shall use the goods
under the supervision of the guardian according to the doctor's advice.
·Use with caution old injuries to the waist, elbow, shoulder or other joints
and muscles.
·Do not expose the equipment to damp places, which will cause failure.
·Please confirm whether the parts are loose, detached, damaged or cracked
before each use. lf there is any damage, do not use it.
·Check the surrounding environment before use, and it is recommended that
the barrier-free space is 3x3m.
·Please avoid ground cracks, slippery ground and uneven areas when using.
·The Company shall not be responsible for the damage to the personal
damage caused by the use of the product in violation of the operating rules.
·This equipment is a non-competitive equipment, limited to fitness exercise,
beyond the scope of use will cause physical injury.
·Before the use, you should do a warm-up exercise, please take exercise with
your own condition, strengthen the exercise load step by step, if you have any
discomfort, please stop practicing.
·The equipment can only be used for the intended purpose described by the
manufacturer, do not change the equipment or use accessories not
recommended by the manufacturer.
· The user must weigh no more than 300lbs.
·CHOKING HAZARD-Small Parts, Not for children under 3yrs.
WARNINGS
·Warm up before exercising.
·The training intensity should be gradual.
·Excessive training can cause injury.
Warm Tips:
PRODUCT INFORMATION
148.00 mm
105.00 mm
PACKING LIST INSTALLATION GUIDE
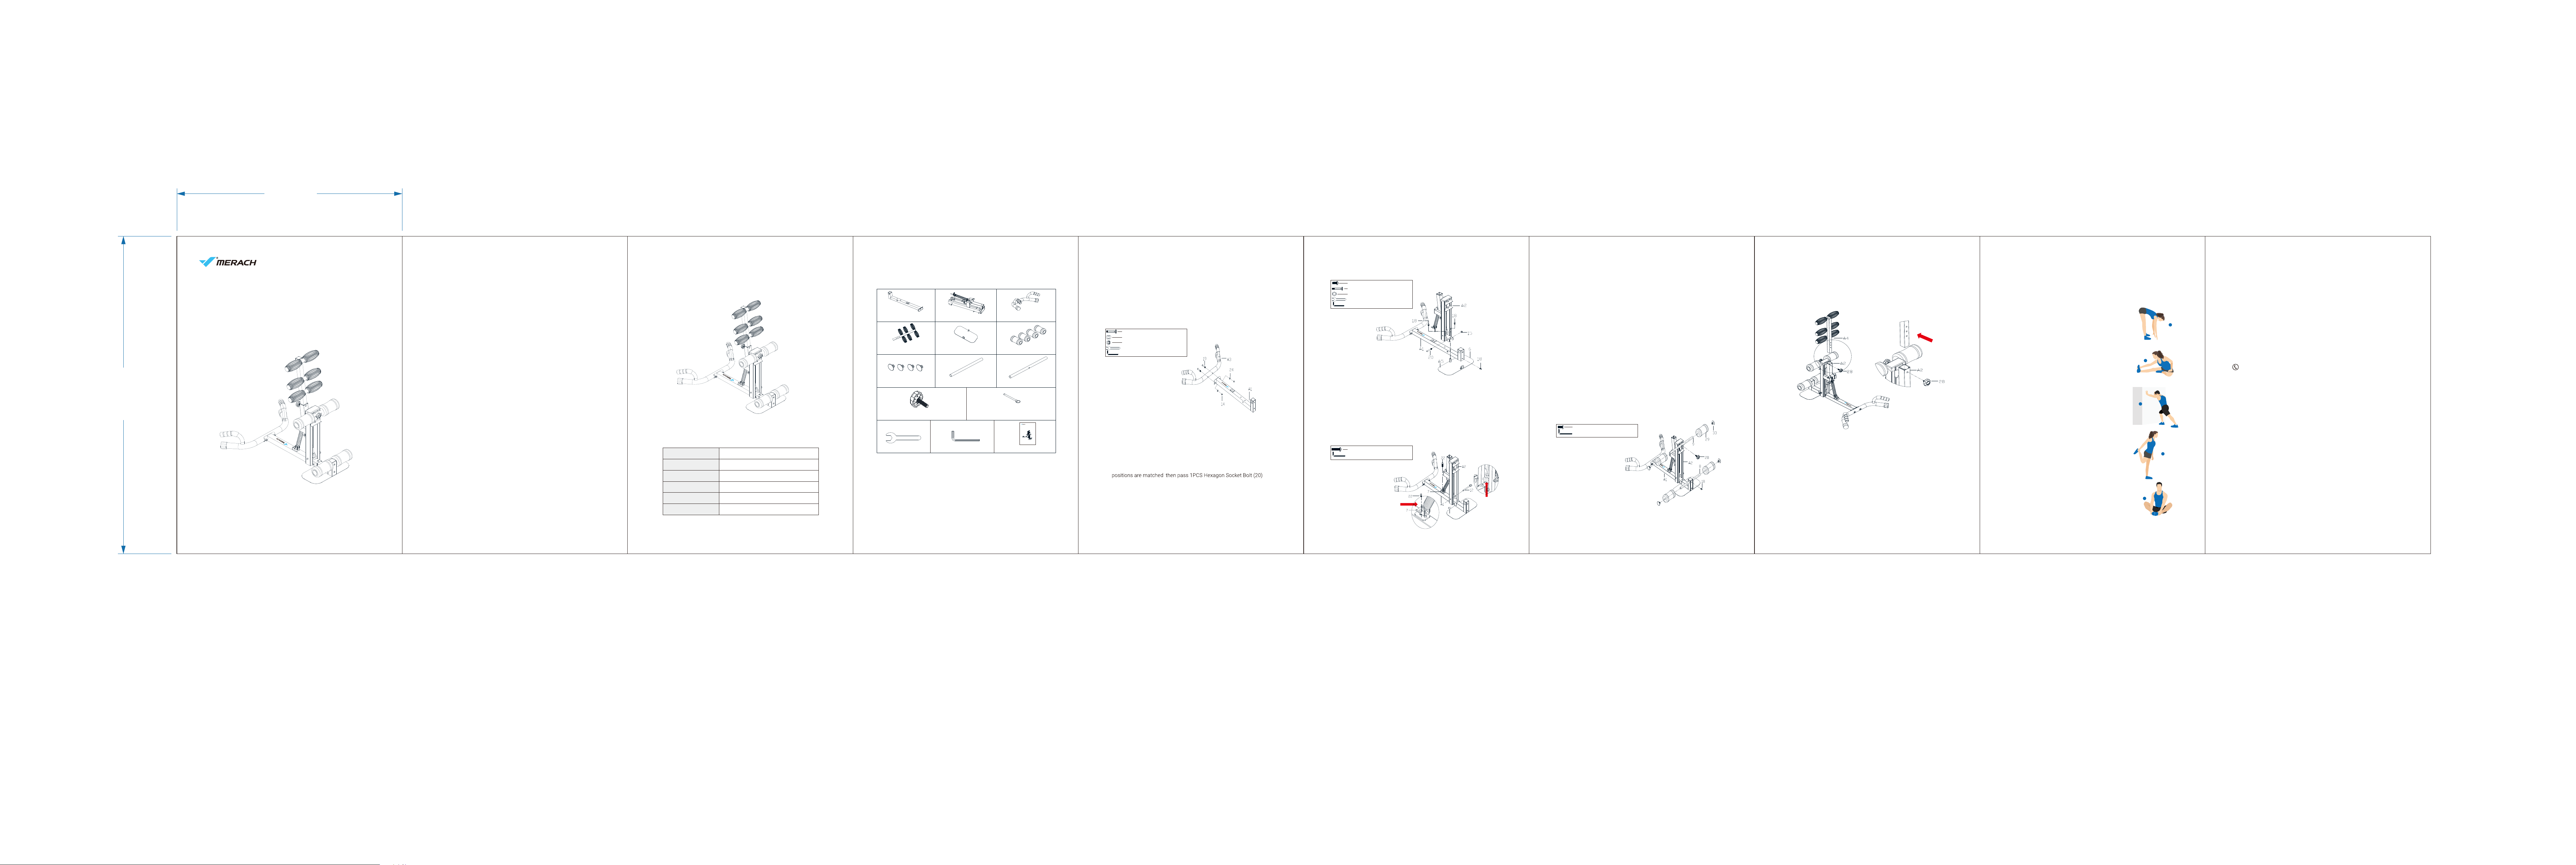
Step 1: Installing Rear Foot Tube
Use 2PCS Hexagon Socket Bolts (19) to pass through the Rear Foot Tube
(A3) and connect it to the Chassis (A1). Install the Rear Foot Tube (A3) on
the Chassis (A1) and screw it into place. Screw 2PCS Arc Washers (24)
and 2PCS Combined Cap Nuts (14) onto the Hexagon Socket Bolts(19) to
fix it. Use the L-shaped Wrench (T2) and the Open-end wrench (T1) to
tighten the bolts.
Step 3:Installing Spring Fixing Plate
A. First, use one hand to hold the Spring Fixing Plate (7) to the hole on
Chassis (A1), and use the other hand to pass 1PCS Hexagon Socket Bolt
(22) through Block Pipe (A2) and screw it onto Chassis (A1) and install
it in place using the L-shaped Wrench (T2).
B. Use the Marble Latch (12) to pass through Block Pipe (A2), and select a
few elastic ropes to pass through according to the force value y
Step 2: Installing Block Pipe and Foot Pedal
A. Use the L-shaped Wrench (T2) and the 1PCS Hexagon Socket Bolt (18)
to install the Foot Pedal (A5) on the Chassis (A1) and do not tighten
them yet.
B. Install the Block Pipe (A2) on the Chassis (A1), and after the hole
through Block Pipe (A2) and Chassis (A1), and pass 1PCS Flat Washer
(15) through the Hexagon Socket Bolt (20) to pre-lock it.
C. Then pass 1PCS Hexagon Socket Bolt (18) through Block Pipe (A2) and
Chassis (A1) and lock it on Foot Pedal (A5). Pass 1PCS Hexagon Socket
Bolt (18) through Block Pipe (A2) and lock it on Chassis (A1).
ou need
and install it in place.
Step 4: Installing Leg Tube and Hook Leg Tube
A. First, pass the Hook Leg Tube (8) through the two ends of the Chassis
(A1) symmetrically, with the same length on the left and right sides.
Continue to install the Curved Foam (29) on both ends of the Hook Leg
Tube (8), and then install the Round Tube Stopper (33) on both ends of
the Hook Leg Tube (8). Finally, use the L-shaped Wrench (T2) and the
1PCS Hexagon Socket Bolt (18) to hold the Hook Leg Tube (8) against the
Chassis (A1).
B. First install the Curved Foam (29) on the Leg Tube (9), and the outermost
two ends of the Curved Foam (29) are on the same plane as the two ends
of the Leg Tube (9). Continue to knock the Round Tube Stopper (33) on
both ends of the Leg Tube (9), and finally install the Leg Tube (9) on the
Block Pipe (A2) and fix it with the Lock Knob (28).
Name
Model
Material
Product Dimensions
N.W.
Weight Capacity
MERACH Deep Squat Machine
MR-2417
Iron, Plastic
31.1*23.6*30.3inch/790*600*770mm
18.5lbs/8.4kg
300lbs/136kg
First, install the Backrest (A4) on the Block Pipe (A2) and fix it with the Lock
Knob (28).
NOTE: There are 3 round holes at the arrow points. You can adjust the
height of the Backrest (A4) according to your height.
WARM-UP
1. Stretch down
2. Seated hamstring stretch
Sit with one leg straight. Bring the other leg in so that
it is snug on the inside of the straightened leg. Try to
touch your feet with your hand's toe. Hold for 10-15
seconds, then relax. Repeat 3 times for each leg
(see Figure 2).
3. Calf and Achilles tendon stretch
4. Quadriceps stretch
Reach back with your right hand, grab your right foot
and slowly pull it toward your hips until you feel the
muscles in the front of your thigh tense. Hold for 10-15
seconds, then relax. Repeat 3 times for each leg
(see Figure4).
5. Sartorius (inner thigh muscle) stretch
Sit with your feet facing each other and your knees
facing out. Grab your feet with both hands and pull
toward your groin. Hold for 10-15 seconds, then relax.
Repeat 3 times(see Figure5).
Bend your knees slightly, slowly bend your body
forward, relax your back and shoulders, and try to
touch your toes with your hands. Hold for 10-15
seconds, then relax. Repeat 3 times (see Figure 1).
1
2
3
4
5
Do stretches before exercising. Warm muscles are easier to stretch, so
start with a 5-10 minute warm-up, then do some stretches shown below
- 5 times, 10 seconds or more per leg. Do it again after the workout.
Stand with both hands against the wall or a tree, put
one foot behind another. Keep the back leg straight
and your heel on the ground, lean toward a wall or a
tree. Hold for 10-15 seconds, then relax. Repeat 3
times for each leg (see Figure 3).
WARRANTY INFORMATION
DO NOT dispose of your product before contacting us. Once our Customer
Support Team has approved your request, please return the product with a
copy of your invoice and order number.
·Please have your Order ID ready before contacting Customer Support.
Customer Support
Your satisfaction is our goal! Should you encounter any issues or have any
questions about your new product, feel free to contact our Customer
Support Team via [email protected]
Defective Products & Returns:
Should your product prove defective, please contact the Customer Support
via [email protected] with your invoice and order number.
1- (877) 3563730 Mon-Fri 8am-5pm(PST)
or Phone Support:
Check if all parts and accessories are in the package.
User Manual
MR-2417 Deep Squat Machine
#A1 Chassis
#A2 Block Pipe
#A3 Rear Foot Tube
#A4 Backrest #A5 Foot Pedal
#8 Hook Leg Tube
#9 Leg Tube
#29 Curved Foam x4
#33 Round Tube Stopper x4
#28 Lock Knob M8*33 x2
#12 Marble Latch Φ8
#T2 L-shaped Wrench
User Manual
#19 Hexagon Socket Bolts M8*45 x2
#24 Arc Washers x2
#14 Combined Cap Nuts M8 x2
#T1 Open-end Wrench x1
#T2 L-shaped Wrench x1
D. Finally, use the L-shaped Wrench (T2) and Open-end wrench (T1) to
tighten all the bolts into place without any signs of looseness.
#18 Hexagon Socket Bolts M8*12 x3
#20 Hexagon Socket Bolt M8*55 x1
#15 Flat Washer M8 x1
#T1 Open-end Wrench x1
#T2 L-shaped Wrench x1
#22 Hexagon Socket Bolt M10*40 x1
#T2 L-shaped Wrench x1
1. The force of the tension spring is adjustable. The force can be adjusted
by the tightness of the Hexagon Socket Bolt (22). The force increases
with clockwise rotation and decreases with counterclockwise rotation.
2. At the point indicated by the red arrow, you can choose how many elastic
ropes to pass through according to their own exercise needs. The more
elastic ropes passed through, the greater the force.
NOTE:
#18 Hexagon Socket Bolt M8*12 x1
#T2 L-shaped Wrench x1
NOTE: All Round Tube Stopper (33) must be assembled in place, and the end
faces of the stoppers must be close to the end faces of the tubes.
NOTE: After installation, carefully check whether each bolt is fully locked
In place. Make sure it is fully locked in place and not shaking before
starting training.
#T1 Open-end Wrench
Step 5: Installing the Backrest