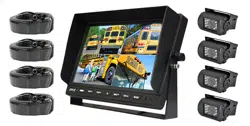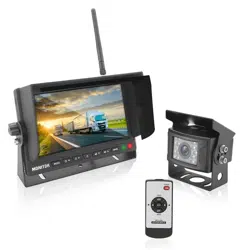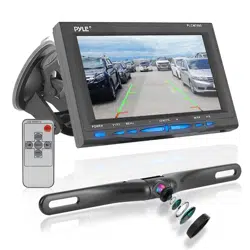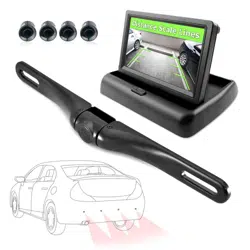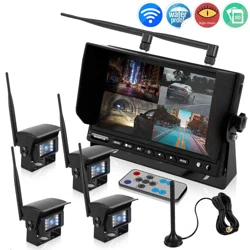

Wireless Vehicle Back-Up Camera
& Monitor DVR Kit
PLCMTR83QIR
7’’ Display, Video Recording, Quad-View Ability,
Night Vision, Waterproof Cams (For Truck, Van, Bus, Trailer)
www.PyleUSA.com
2
Please read instructions carefully before installation and use.
Please keep this manual in a safe place for your future reference.
Product introduction
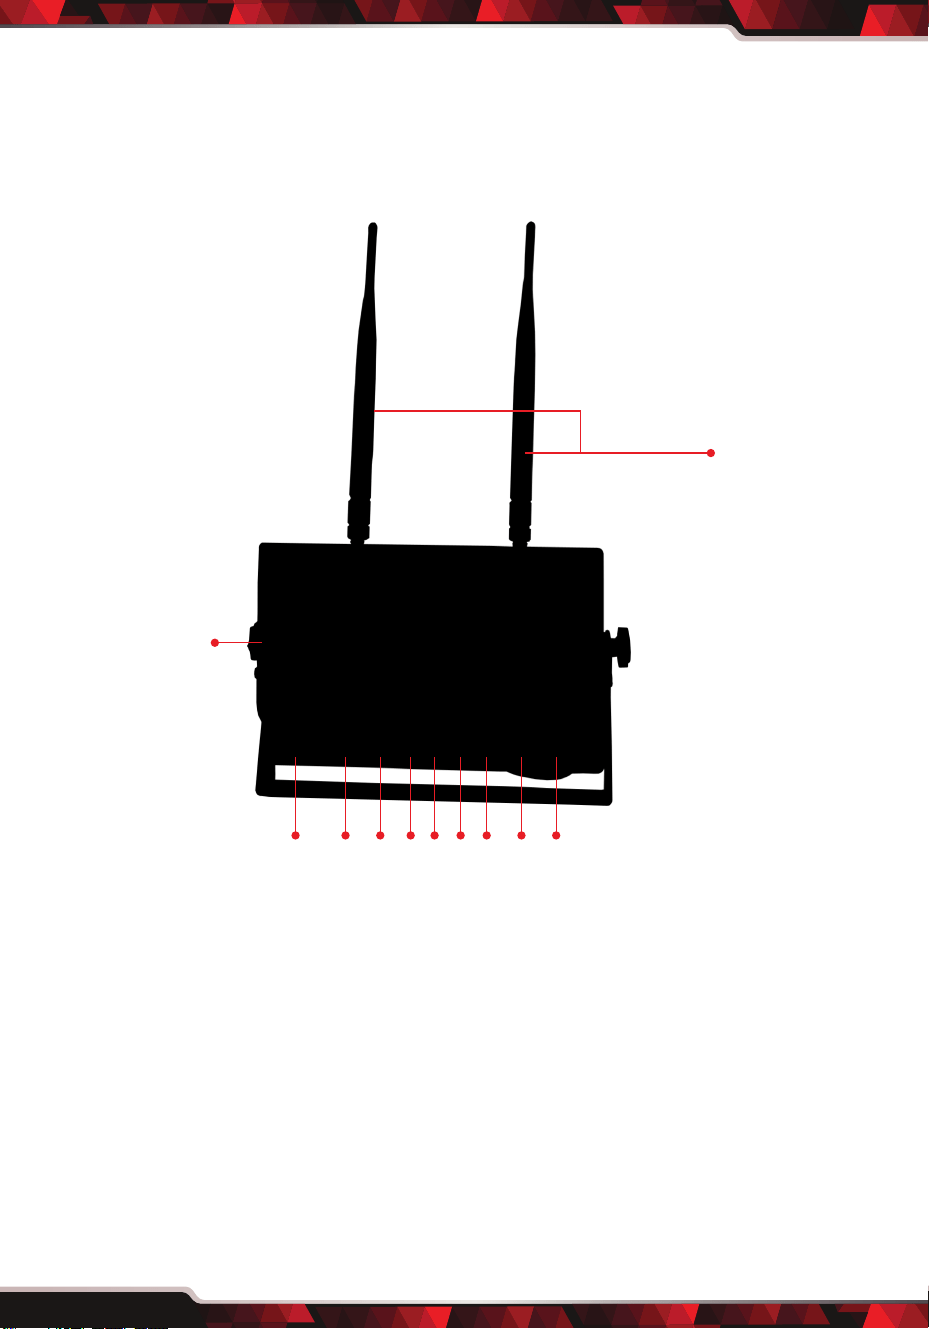
Monitor Introduction
1. 2.4G antenna
2. Sunshade
3. LOGO sticker
4. MENU: Open or Exit the menu
5. Conrm Button: Start and stop recording button
6. Play Back Button
7. Power key: Power ON/OFF
8. Increase/Up
9. Deduct/Down
10. MODE key
11. Remote control window
1
2
3 4 5 6 7 8 9 10 11
1
2
3 4 5
www.PyleUSA.com
3
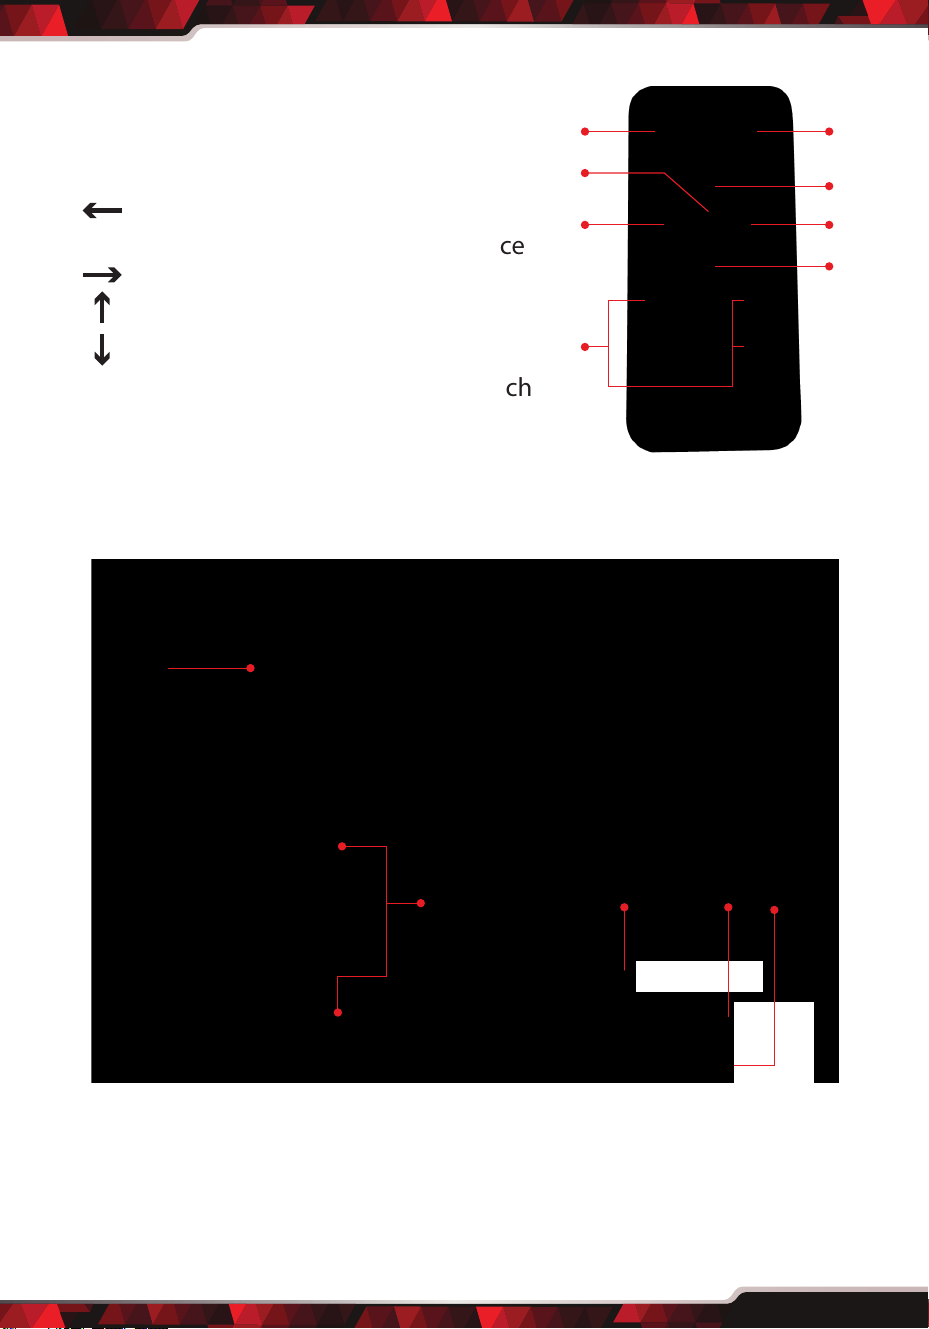
Remote control
1. “POWER”key: Turn-OFF monitor,
power ON not supported.
2. “MODE”key: Conrm mode switch
3. “ ”key: Brightness decrease key
4. “MENU”key: open or exit menu interface
5. “ ”key: the brightness increase key
6. “ ”key: the volume up function
7. “ ”key: the volume down function
8. CH 1, CH 2, CH 3 , CH 4 Key: quick switch
to CH1 or 2 or 3 or 4 for full screen
"quad view" camera viewing
CAMERA
1. 2.4G antenna
2. U-shaped bracket and sunshade
3. Mirror/original image switch: disconnect for the original view, connect for
the mirror view
4. Match the switch
5. Power interface: DC 12-24V input
1
6
5
7
2
4
3
8

www.PyleUSA.com
4
Function operation
Long press the power key for 2 seconds and enter the main interface, short
press to close the screen as standby
MAIN MENU:
Press “MENU”button on the panel or remote control lightly, enter the menu
interface, there are three small menu “System Setting” “Video Files” “SD Card”.
SYSTEM SETTING:
Select “System Setting”, press MODE key on the panel or remote control to
conrm, set the next option, after setting nished and press the MODE key
for save, then press the MENU key to exit.

www.PyleUSA.com
5
1. Camera Pairing: Press the MODE button to conrm. At the same time,
press and hold the camera red switch pairing for about 2 ~ 5 seconds.
The message "Pair OK" indicates that the pairing is successful. Otherwise,
the system displays "Timeout" or pairing failure.
2. Vision Control: Set the camera brightness, contrast, saturation.
3. Time Setting: You can adjust the current year, month, day, hour, minute,
in order to keep the DVR recording time.
4. Language: Can switch multiple languages.
5. Default Setting: Restore the current factory settings.
Video le:
Main Menu Select "Video File" Press the “MODE” button or the “MODE”
button on the remote control to conrm, play the recorded video le, press
MENU to exit.
Tips:
1. During the monitor video recording, pressing the menu button will cause
the video recording function to stop. After returning to the menu, the
video recording will continue automatically.
2. Monitor the state by pressing the MODE button to switch to the next
screen will have a delay of 1-2 seconds.
3. This video le does not support the computer network player to play, you
need to play in the computer please go to the company's ocial website
to download a dedicated player.
www.PyleUSA.com
6
Storage Card:
Select "Storage card", Press the MODE button or the MODE button on the
remote control to check the storage capacity or format. Press MENU to exit.
Note: Please select the brand high-speed card video, otherwise there will be
video crashes or do not recognize the phenomenon
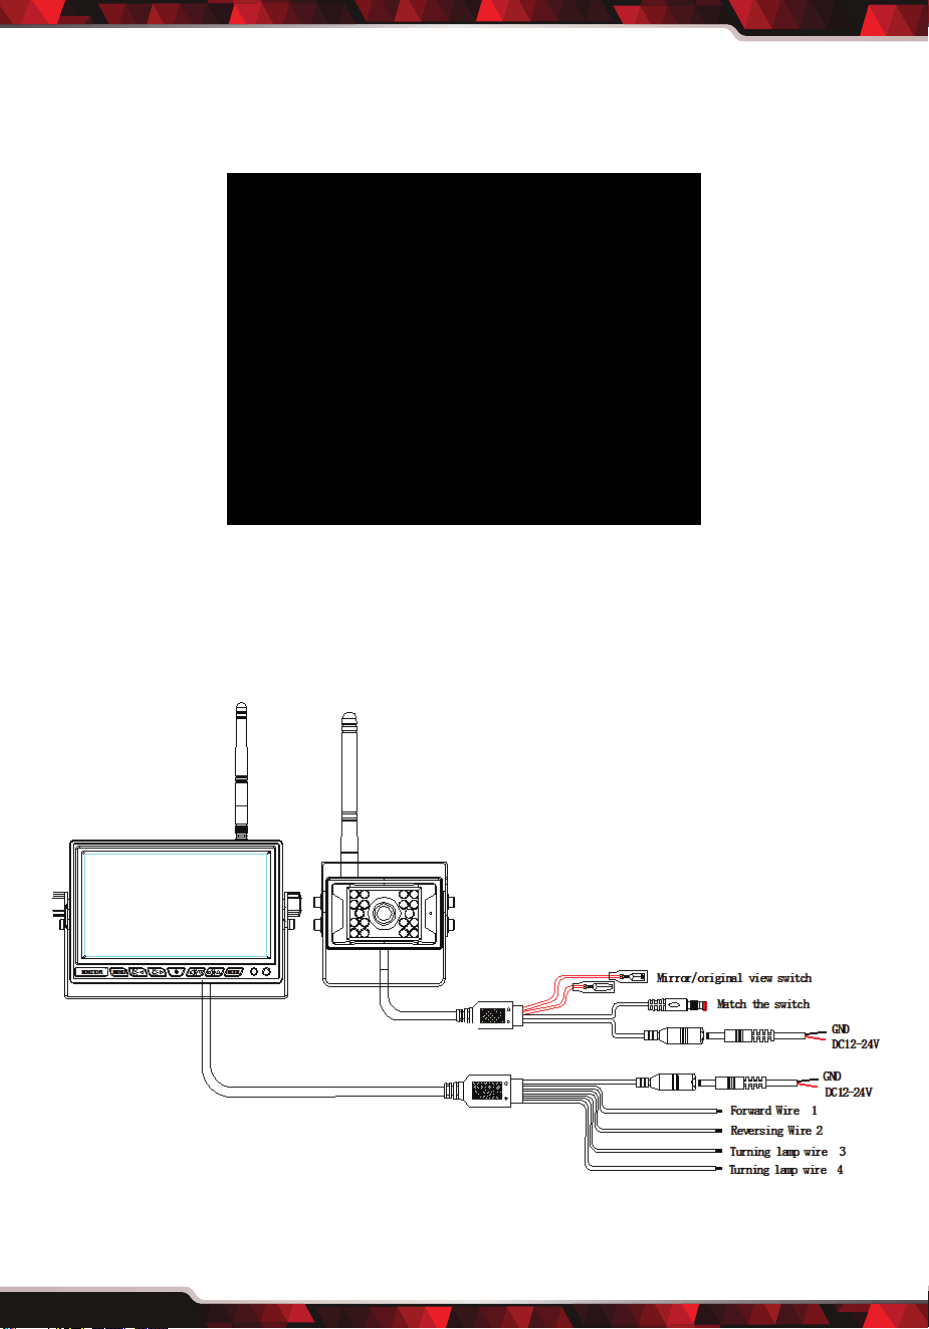
CONNECTION CABLE
Details: DVR function does not support reversing trigger function.

www.PyleUSA.com
7
INSTALLATION INSTRUCTIONS
Note:
1. Before installing the camera, make sure that the monitor and camera are
paired successfully and displays the image.
2. After installing the camera, please check if the display image is normal, if
there is a blue screen or stuck phenomenon, please check the antenna if in
good contact or long antenna mounted to the exterior of the car to
receive a good location.
3. Preferably, a display system is installed in such an in- vehicle position that
the driving operation and the visibility of forward eld will not be
obstructed.
4. Monitor and camera should be reinforced to prevent falling during
driving.
5. Preferably, a display system is so designed that its adverse eect on safe
driving will be kept to a minimum.

www.PyleUSA.com
8
PLCMTR83QIR
Wireless Vehicle Back-Up Camera & Monitor DVR Kit
7’’ Display, Video Recording, Quad-View Ability, Night Vision,
Waterproof Cams (For Truck, Van, Bus, Trailer)
Features:
• Wireless Camera & Monitor System
• 2.4G Video Transmission
• DVR Dash-Cam Bundle Kit
• 4-Ch. Video Recording Ability
• Includes Monitor Display + (4) Cameras
• Quad-View Display Ability: Choose to View 1, 2 or 4 Cameras On-Screen
• User-Friendly Control Interface
• Video Recording & File Saving via SD Memory Card Slot
• Easily Save & Share les via Computer
• Universal Mount: For All Vehicle Types
• Night Vision Illumination
• Auto White Balance & Image Adjustment
• Includes All Necessary Cables & Wiring for Installation
• Used for Car, Truck, Bus, Van, Trailer, Mobile Vehicle Applications
What’s in the Box:
• Display Monitor
• (4) Cameras
• (4) 2.4G Antennas
• Remote Control
• Camera DC Power Cables
• Power & Wiring Harness

www.PyleUSA.com
9
Cameras:
• Universal Exterior Mount Design
• Waterproof & Weather-Resistant
• Marine Grade Camera Construction
• Viewing Angle: 120 Degree
• Image Sensor: 1/4’’ Color CMD OV7725
• Marine Grade Rating: IP-68
• Power Consumption: 3W
• Power Supply: DC 12V
• Camera Dimensions (L x W x H): 3.38" x 3.03" x 2.93" –inches (each)
Technical Specs:
• Wireless Connectivity: 2.4G
• Wireless Distance: Up to 330’+ Feet
• Monitor Type: LCD-TFT, 7.0’’ -inches
• Monitor Screen Resolution: 800 x 480 Pixels
• On-Screen Viewing Modes: Single Camera, Dual Camera,
Quad 4-Way Camera
• Video Output: NTSC / PAL
• Wireless Video Output: 4-Channel Video
• Wireless Audio Input: 1-Channel Audio
• Viewing Angle: 170 Degree
• Power Supply: DC12-24V
• Monitor Dimension (L x W x H): 1.57'' x 1.18'' x 1.57'' -inches
• Sold as: 1