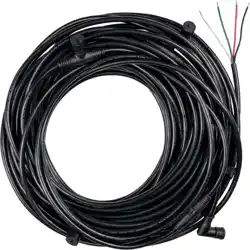
MAG6.1 OUTDOOR WIRING HARNESS QUICKSTART GUIDE
WIRING THE AMPLIFIER
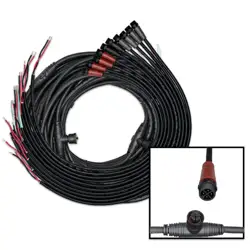
Connect the starting point of the harness (the end
with the tinned wire leads) to the amplifier.
White wire to the left channel (+)
Green wire to the left channel (-)
Red wire to the right channel (+)
Black wire to the right channel (-)
OVERVIEW
This wiring harness is compatible with the Sonance
MAG6.1 SYSTEM and is designed to save time when
installing the system and reduce the potential for
future troubleshooting.
NOTE: THIS DOCUMENT IS SUPPLEMENTAL TO THE
MAG6.1 INSTRUCTION MANUAL. PLEASE REVIEW THAT
DOCUMENT PRIOR TO INSTALLING YOUR SYSTEM.
PLANNING
Before you begin, plan the system for the space.
Locate the desired listening area and the best
placement for the satellite speakers and subwoofer.
Ensure that you have enough direct-burial speaker
wire on hand to run from the amplifier location to the
starting point of the wiring harness (speaker wire is
not included with the harness).
LAYOUT
Begin by laying out the harness in the area where the
MAG6.1 SYSTEM is to be installed. Ensure that the
harness connectors are placed within two to three feet
of the desired location for each speaker and subwoofer.
NOTE: LEAVE THE PROTECTIVE CAPS INSTALLED
ON THE HARNESS DURING THIS STEP TO PREVENT
DIRT & DEBRIS FROM ENTERING THE CONNECTOR.
NOTE: TO EXTEND THE HARNESS’S LENGTH, RUN DIRECT-
BURIAL FOUR-CONDUCTOR SPEAKER WIRE FROM THE
AMPLIFIER TO THE BEGINNING OF THE WIRING HARNESS
(THE END WITH TINNED WIRE LEADS). CONNECT THE
SPEAKER WIRE TO THE HARNESS USING OUTDOOR-
RATED WIRE NUTS (SOLD SEPARATELY). SONANCE
RECOMMENDS USING 16-GAUGE SPEAKER WIRE IF THE
DISTANCE FROM THE AMPLIFIER TO THE HARNESS IS
UNDER 40 FEET. FOR LENGTHS OVER 40 FEET, 14-GAUGE
OR LARGER WIRE IS RECOMMENDED.
CONNECTING THE SPEAKERS TO
THE HARNESS
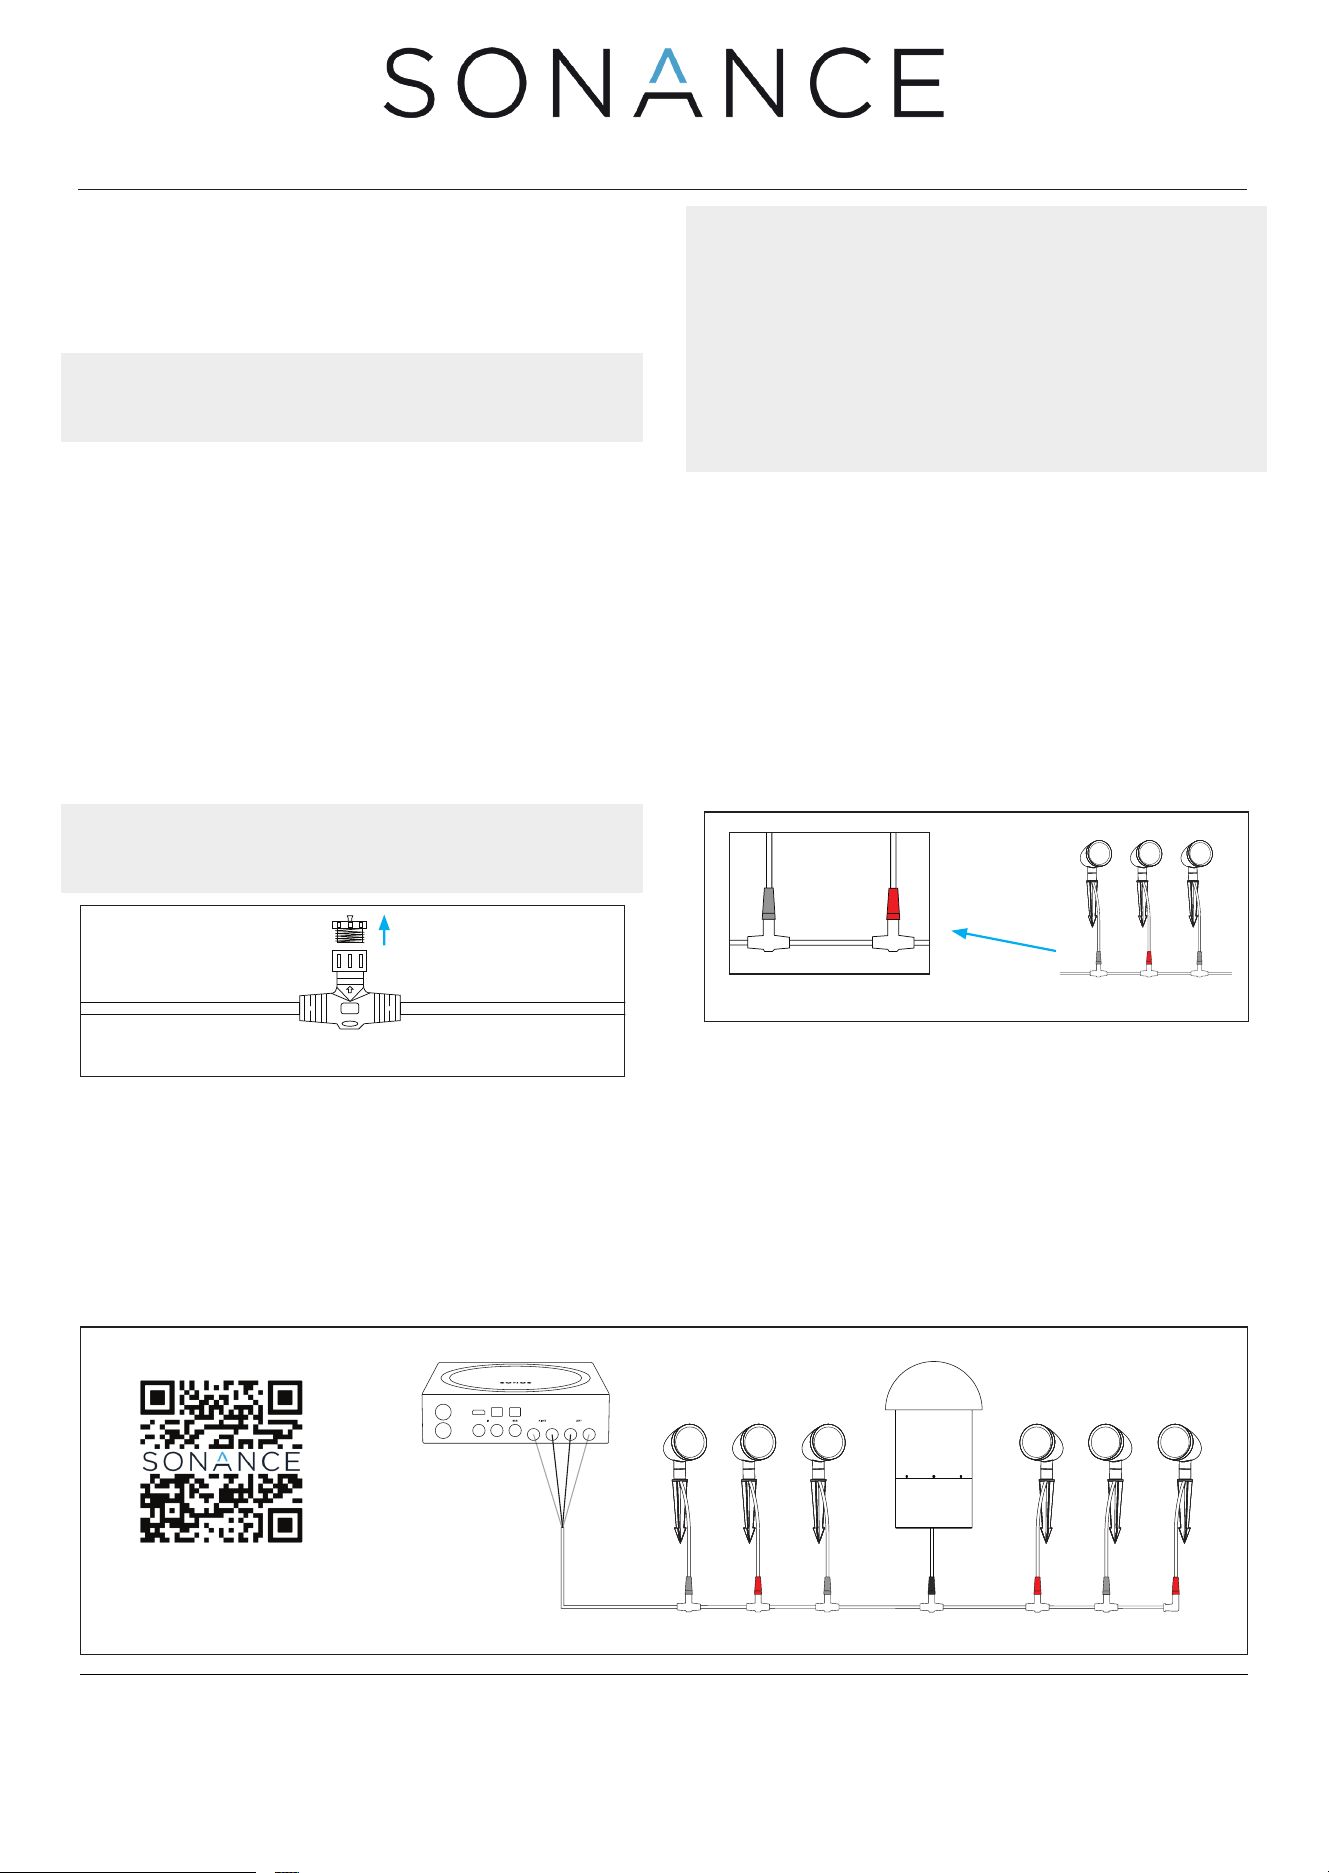
Place the satellite speakers and subwoofer in the
desired locations next to one of the seven connectors
on the wire harness. Then, using the steps outlined in
the MAG6.1 Instruction Manual, install each speaker
and subwoofer into the ground.
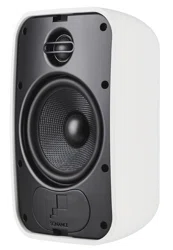
Any satellite speaker can be connected to any
connector on the harness. Sonance recommends
alternating between red (right channel) satellites and
gray (left channel) satellites along the wiring harness
to achieve balanced left and right channel dispersion.
The subwoofer can be connected to any connector on the
harness. However, it is recommended that it be placed as
close as possible to the center of the speaker array.
Once the satellite speakers and subwoofer are
installed, unscrew and remove the protective caps
from the connector on the harness. Next, connect
and tighten each speaker plug by screwing it into the
connectors on the harness.
Finally, turn on the SONOS AMP and test the system with
your favorite music.
Protective Cap
Alternating Speaker Connectors
Right
Right
RightLeft
Left Left
Left and Right
SONOS AMP
Right
Right
RightLeft
Left Left
Left and Right
SONOS AMP
Right
Right
RightLeft
Left Left
Left and Right
SONOS AMP
Wiring Harness Diagram
Scan to
learn more
LIMITED ONE (1) YEAR WARRANTY
Sonance warrants to the first end-user purchaser that this Sonance-brand product (“Product”), when purchased from an authorized Sonance Dealer/Distributor, will be free
from defective workmanship and materials for the period stated above. Sonance will, at its option and expense, either repair the defect or replace the Product with a new or
remanufactured Product or a reasonable equivalent. Please visit our website and owner’s e-Manual for complete warranty and exclusion information.
©2025 Sonance. All rights reserved. Sonance is a registered trademark of Dana Innovations. Due to continuous product improvement, all features and specifications are subject to
change without notice. For the latest Sonance product specification information visit our website: www.sonance.com
SONANCE • 991 Calle Amanecer • San Clemente, CA 92673 • (949) 492-7777 02.10.2025