
230V VARIABLE SPEED INGROUND PUMP POOL
ITEM #90166/90167/90168
14
6
6
7
5
8
9
10
9
10
12
12
13
4
4
5
PUMP INTRODUCTION
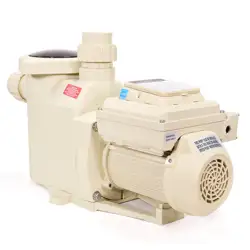
Congratulations on purchasing your new Variable Speed Pump. This manual provides proper installation,
operation and maintenance for the Variable Speed Pump, save these instructions. This pump use a quiet
TEFC motor for energy-efficient, you can select speeds from 450-3450 RPM. Operate at low speed costs,
lower noise levels and reduce greenhouse emissions.
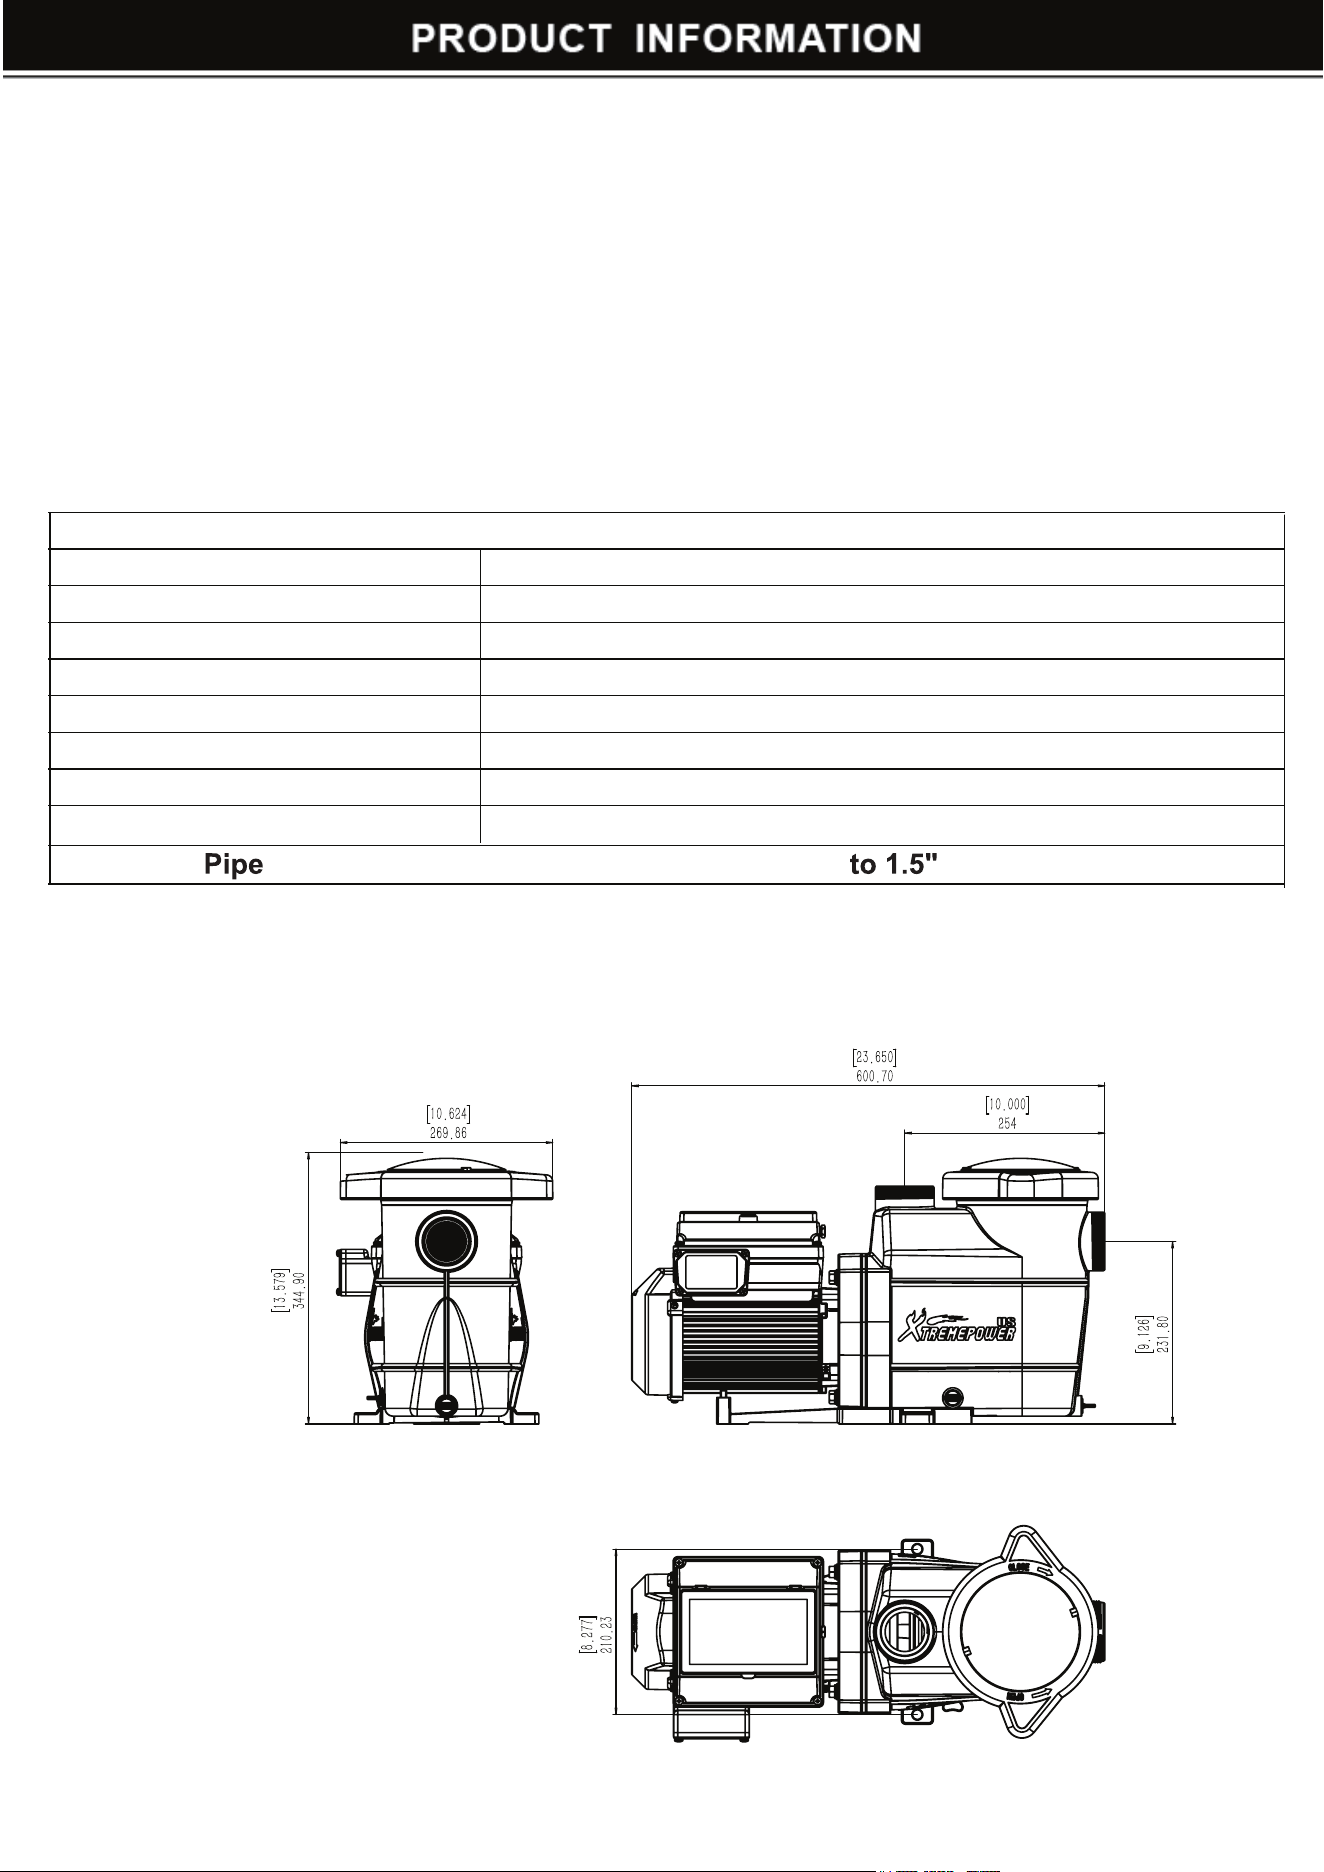
Technical Specifications
Model Specification
Overall Ratings
Model
Input Voltage 230 Vac
Input Frequency Single phase, 50 or 60 Hz
Input Current 7A
Maximum Continuous Load 1.5HP
Speed Range 450 - 3450 RPM
Environmental Rating NEMA Type 3
Port Size 2"x2"
Pump Dimensions
4
2.0HP
10A
3.0HP
8A
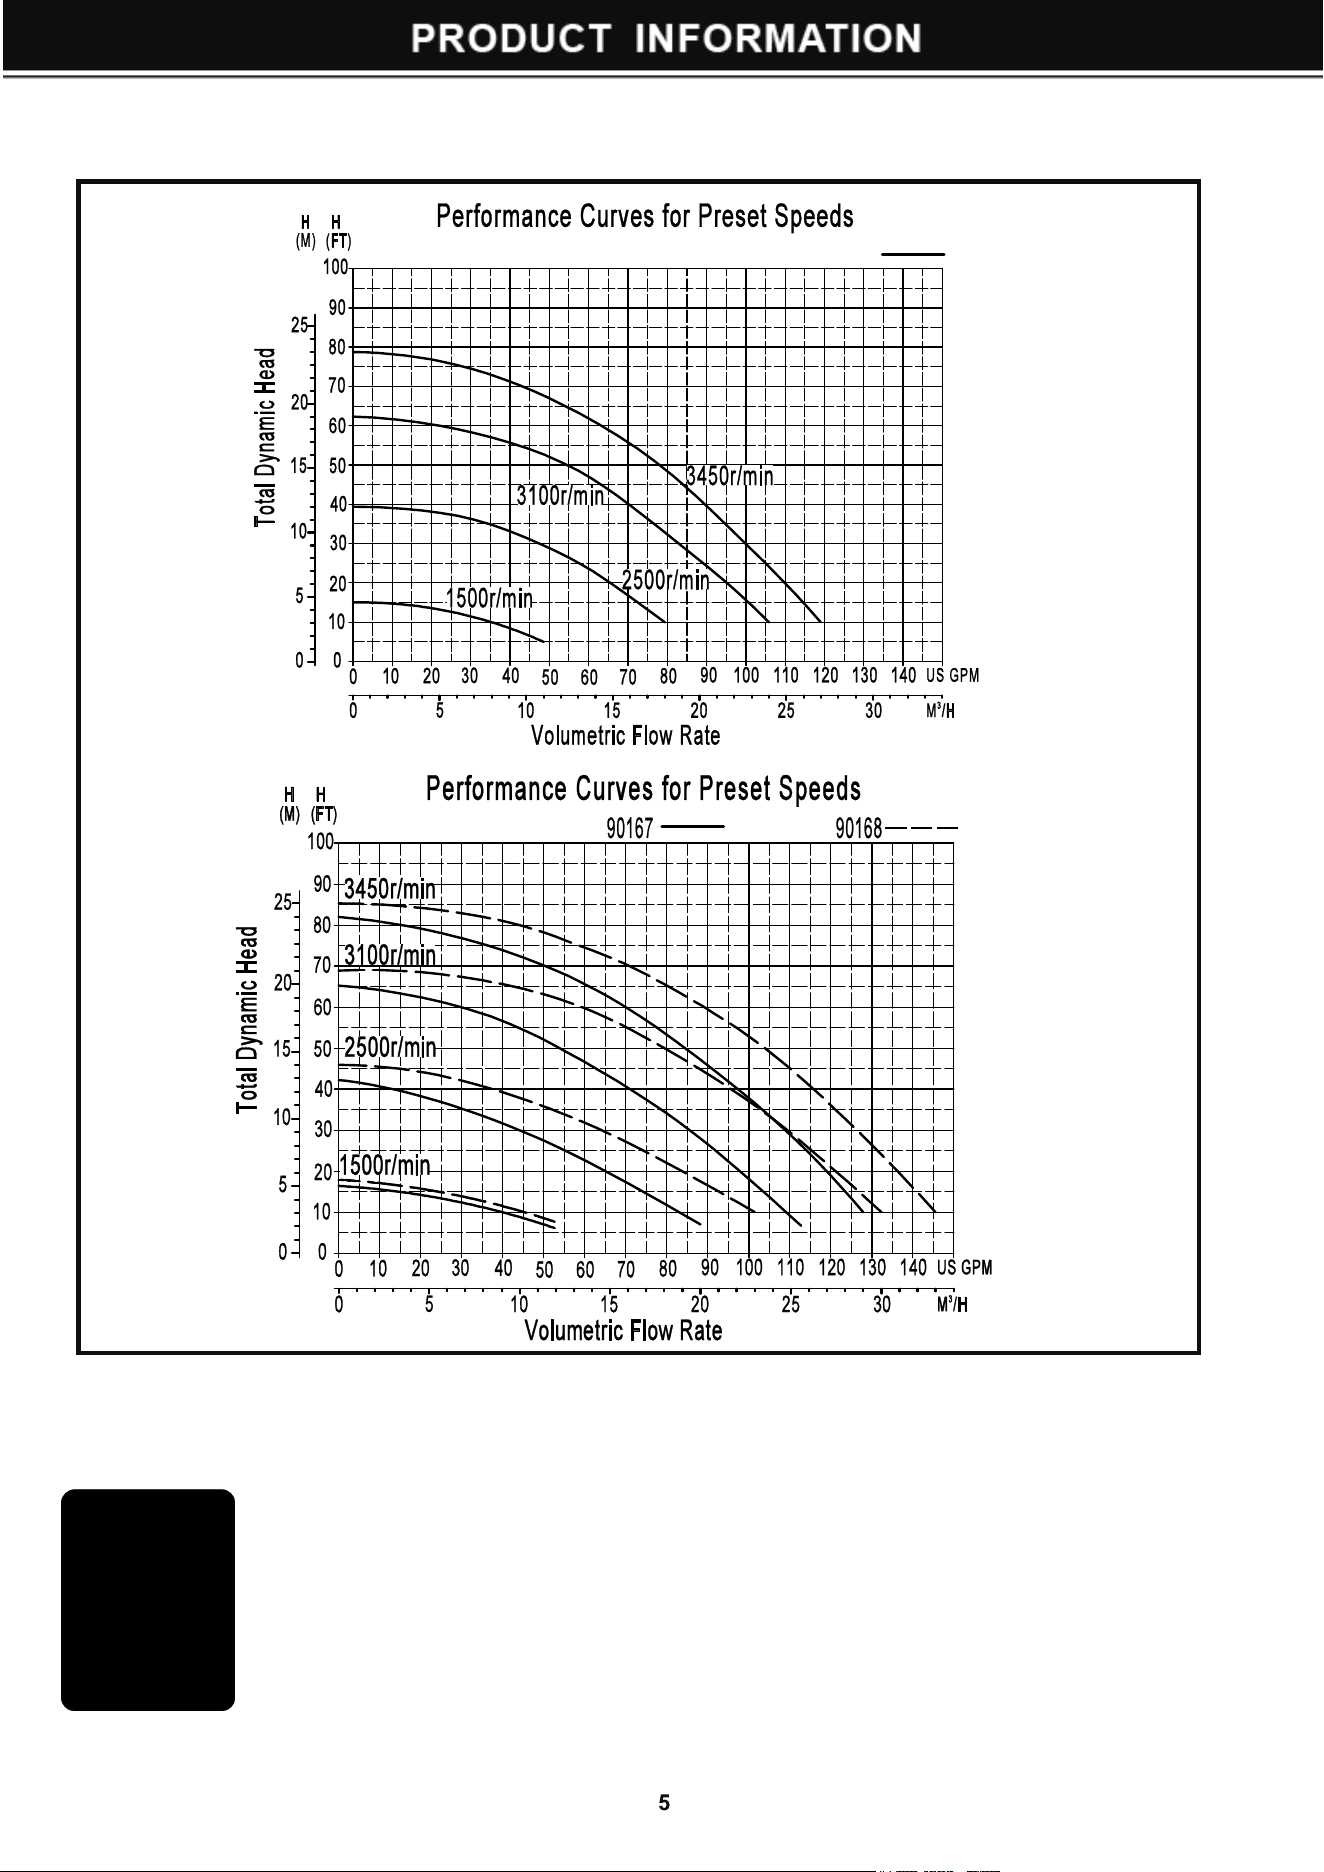
90166 90167 90168
2"
Electrical Requirements
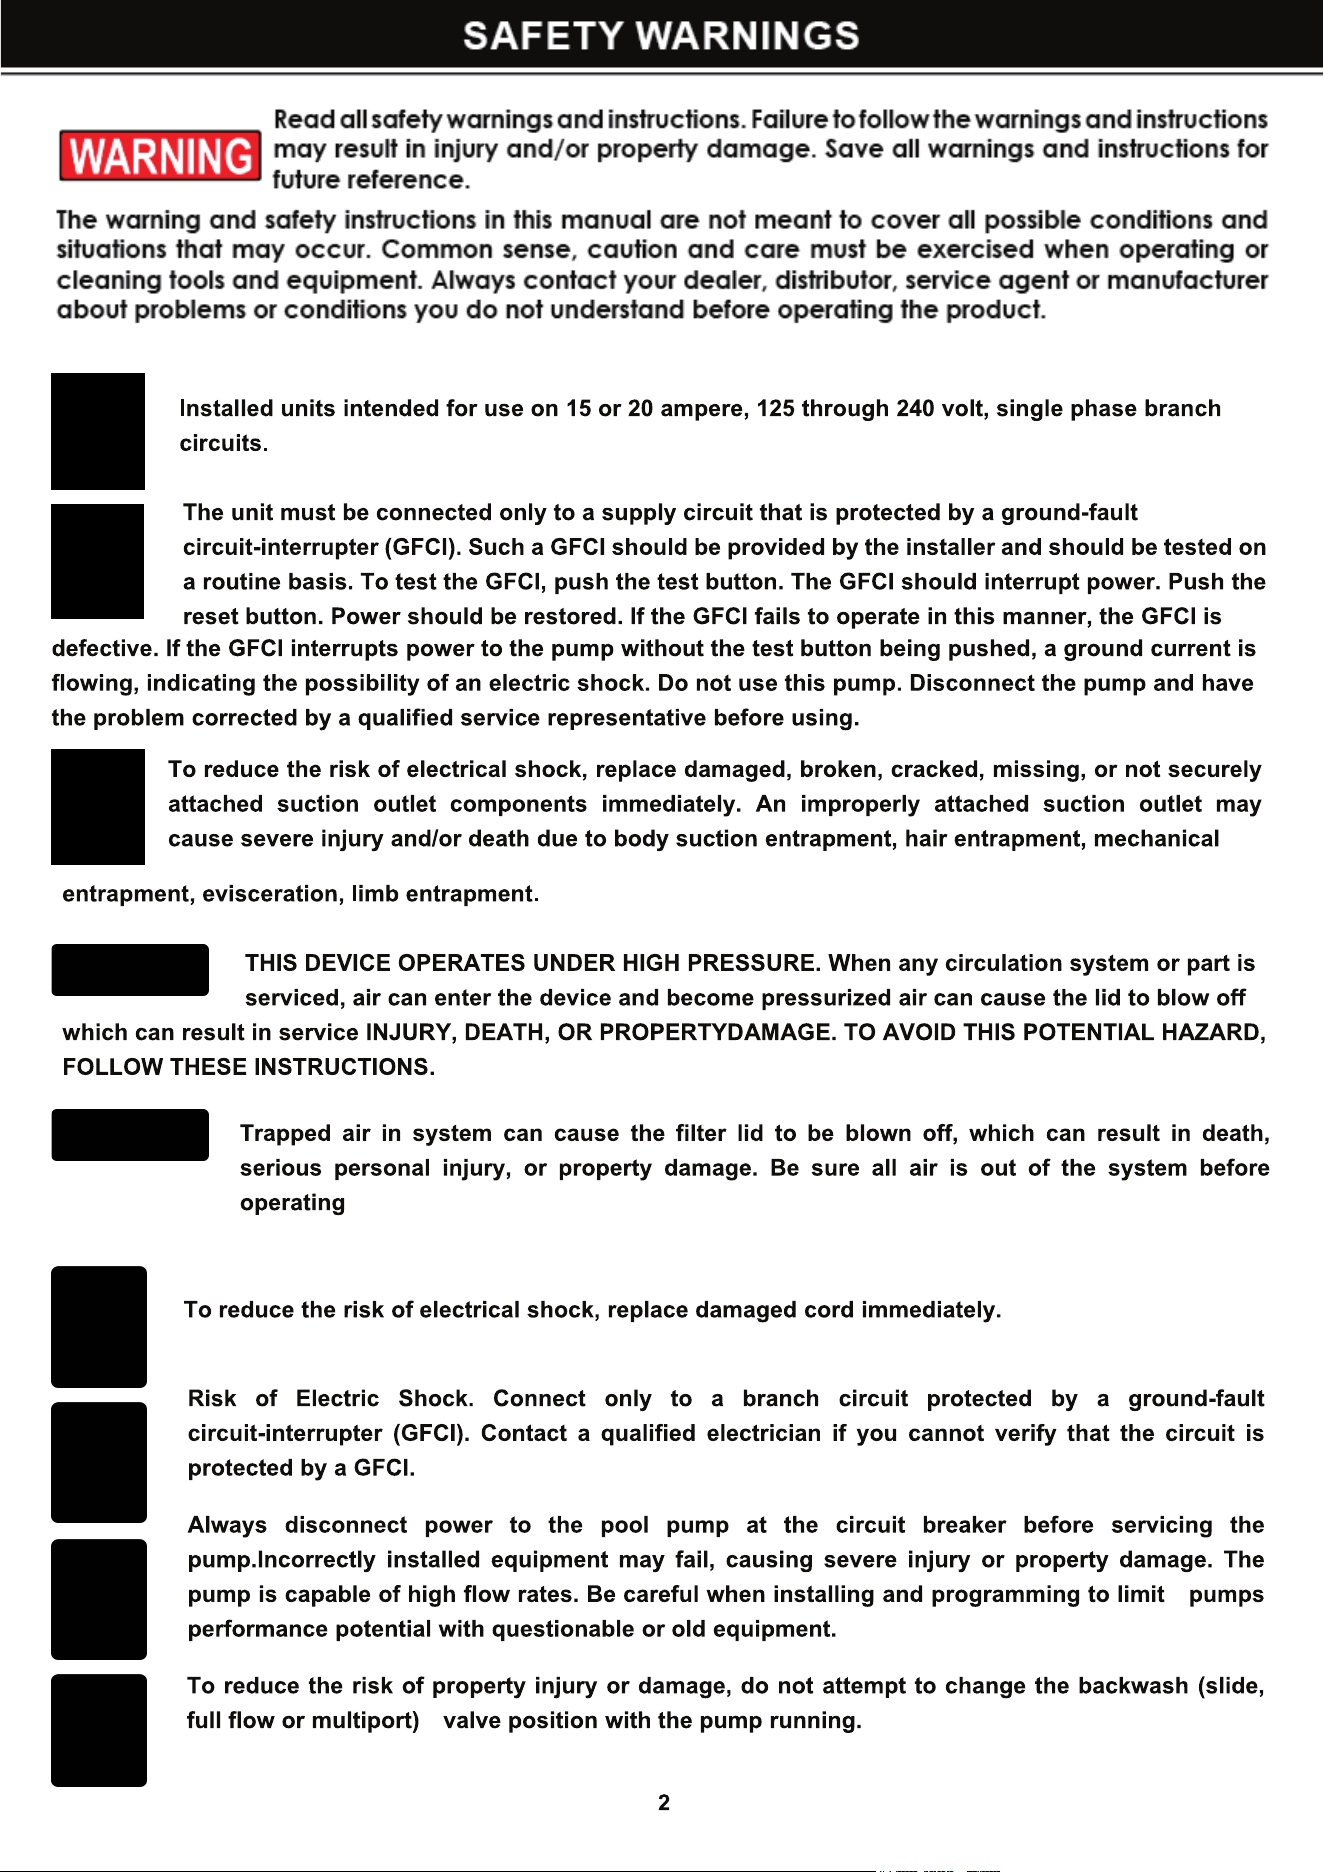
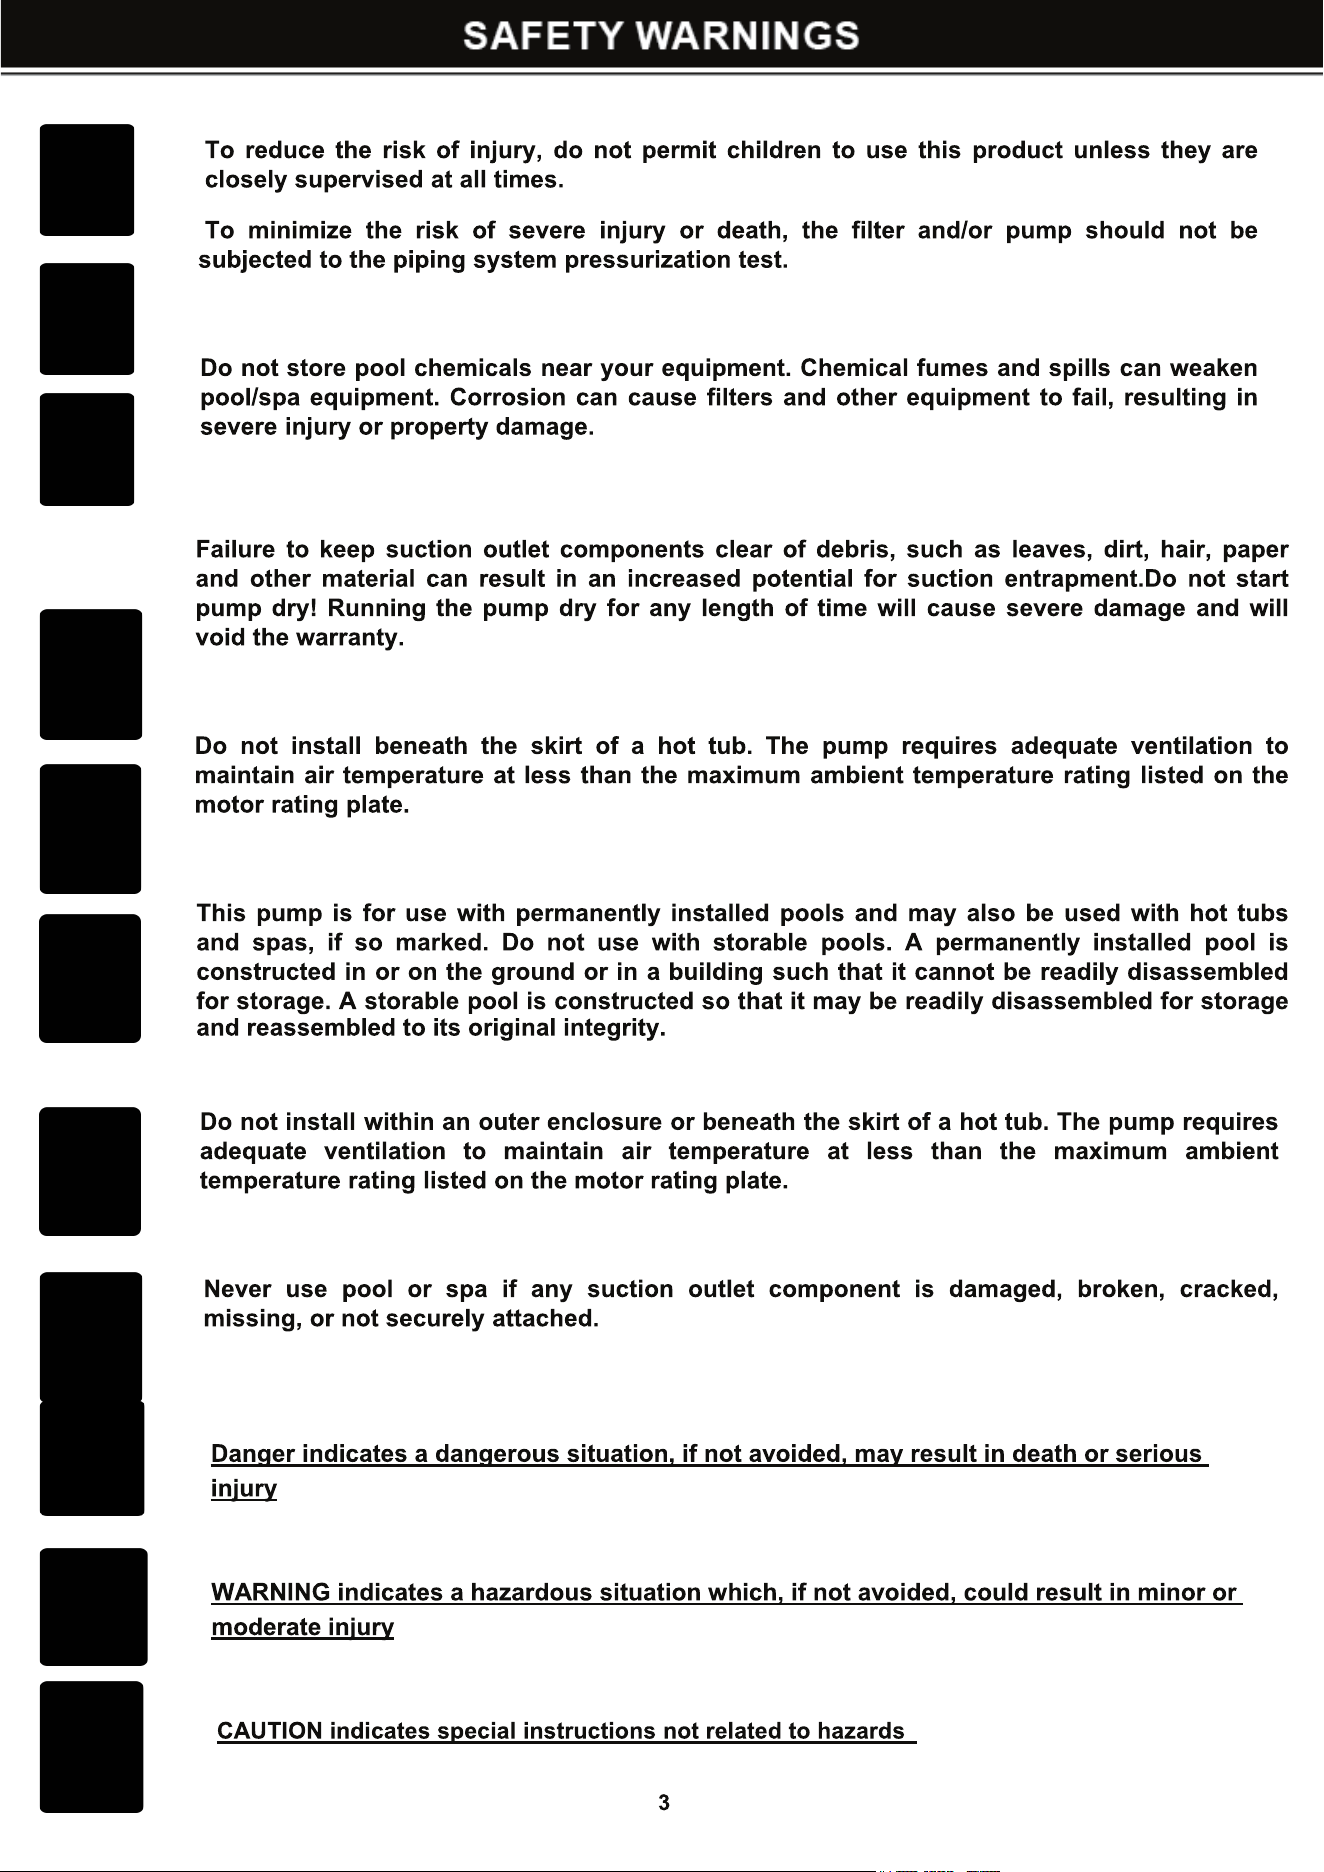
FOR YOUR SAFETY
This Pump must be installed by a qualified pool professional or
licensed or certified electrician and must conform to National
Electrical Code all national, state, and local codes. Before
installing this product, read and follow all warning notices and
instructions that accompany this product. Failure to follow
warning notices and instructions can result in property damage,
personal injury, or death.
Pump
Performance Curves
90166

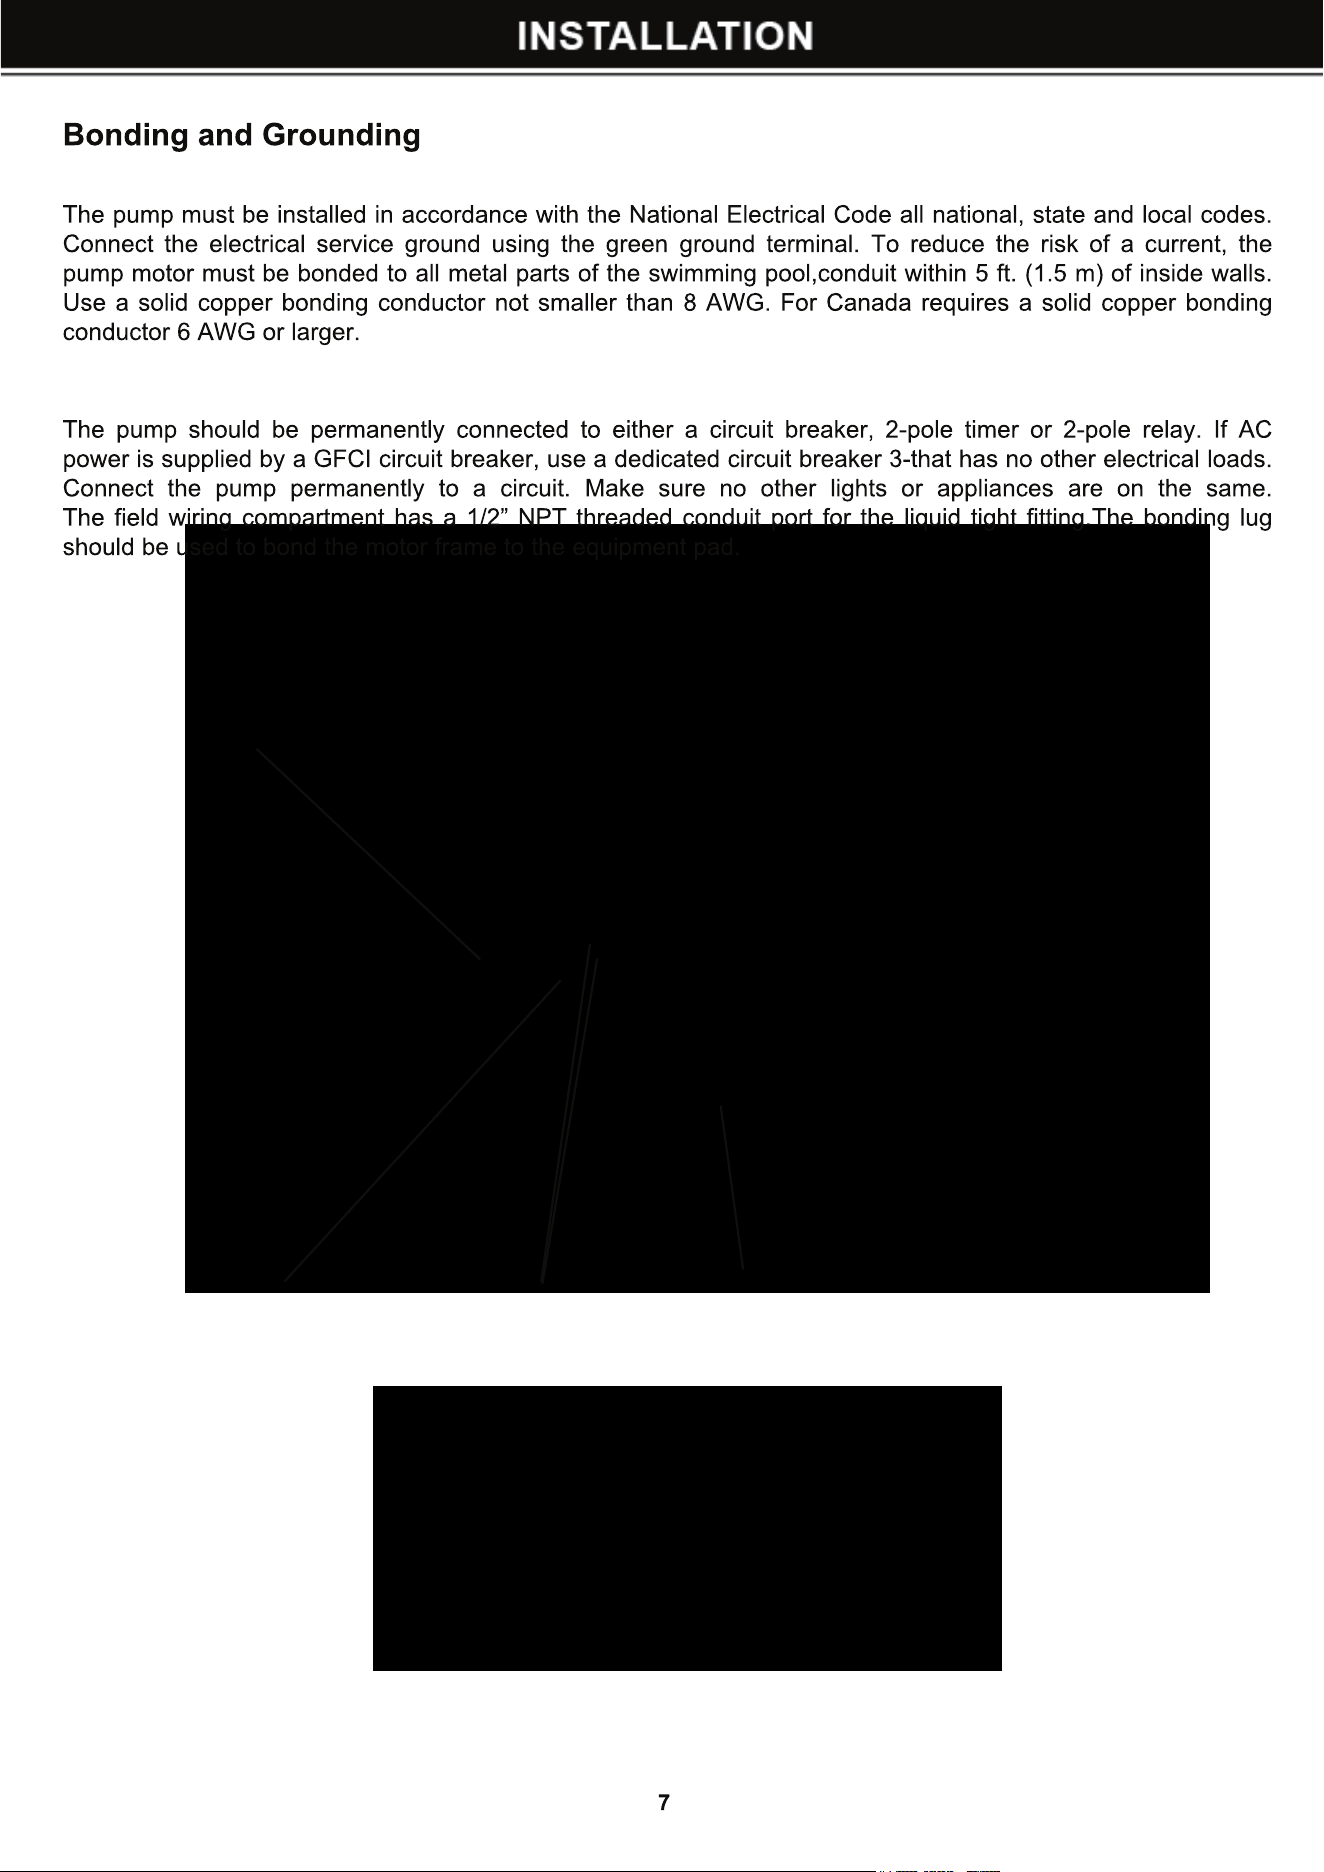
1/2" NPT Threaded
Grounding
Terminal
AC Power
Connectins
Bonding
Lug

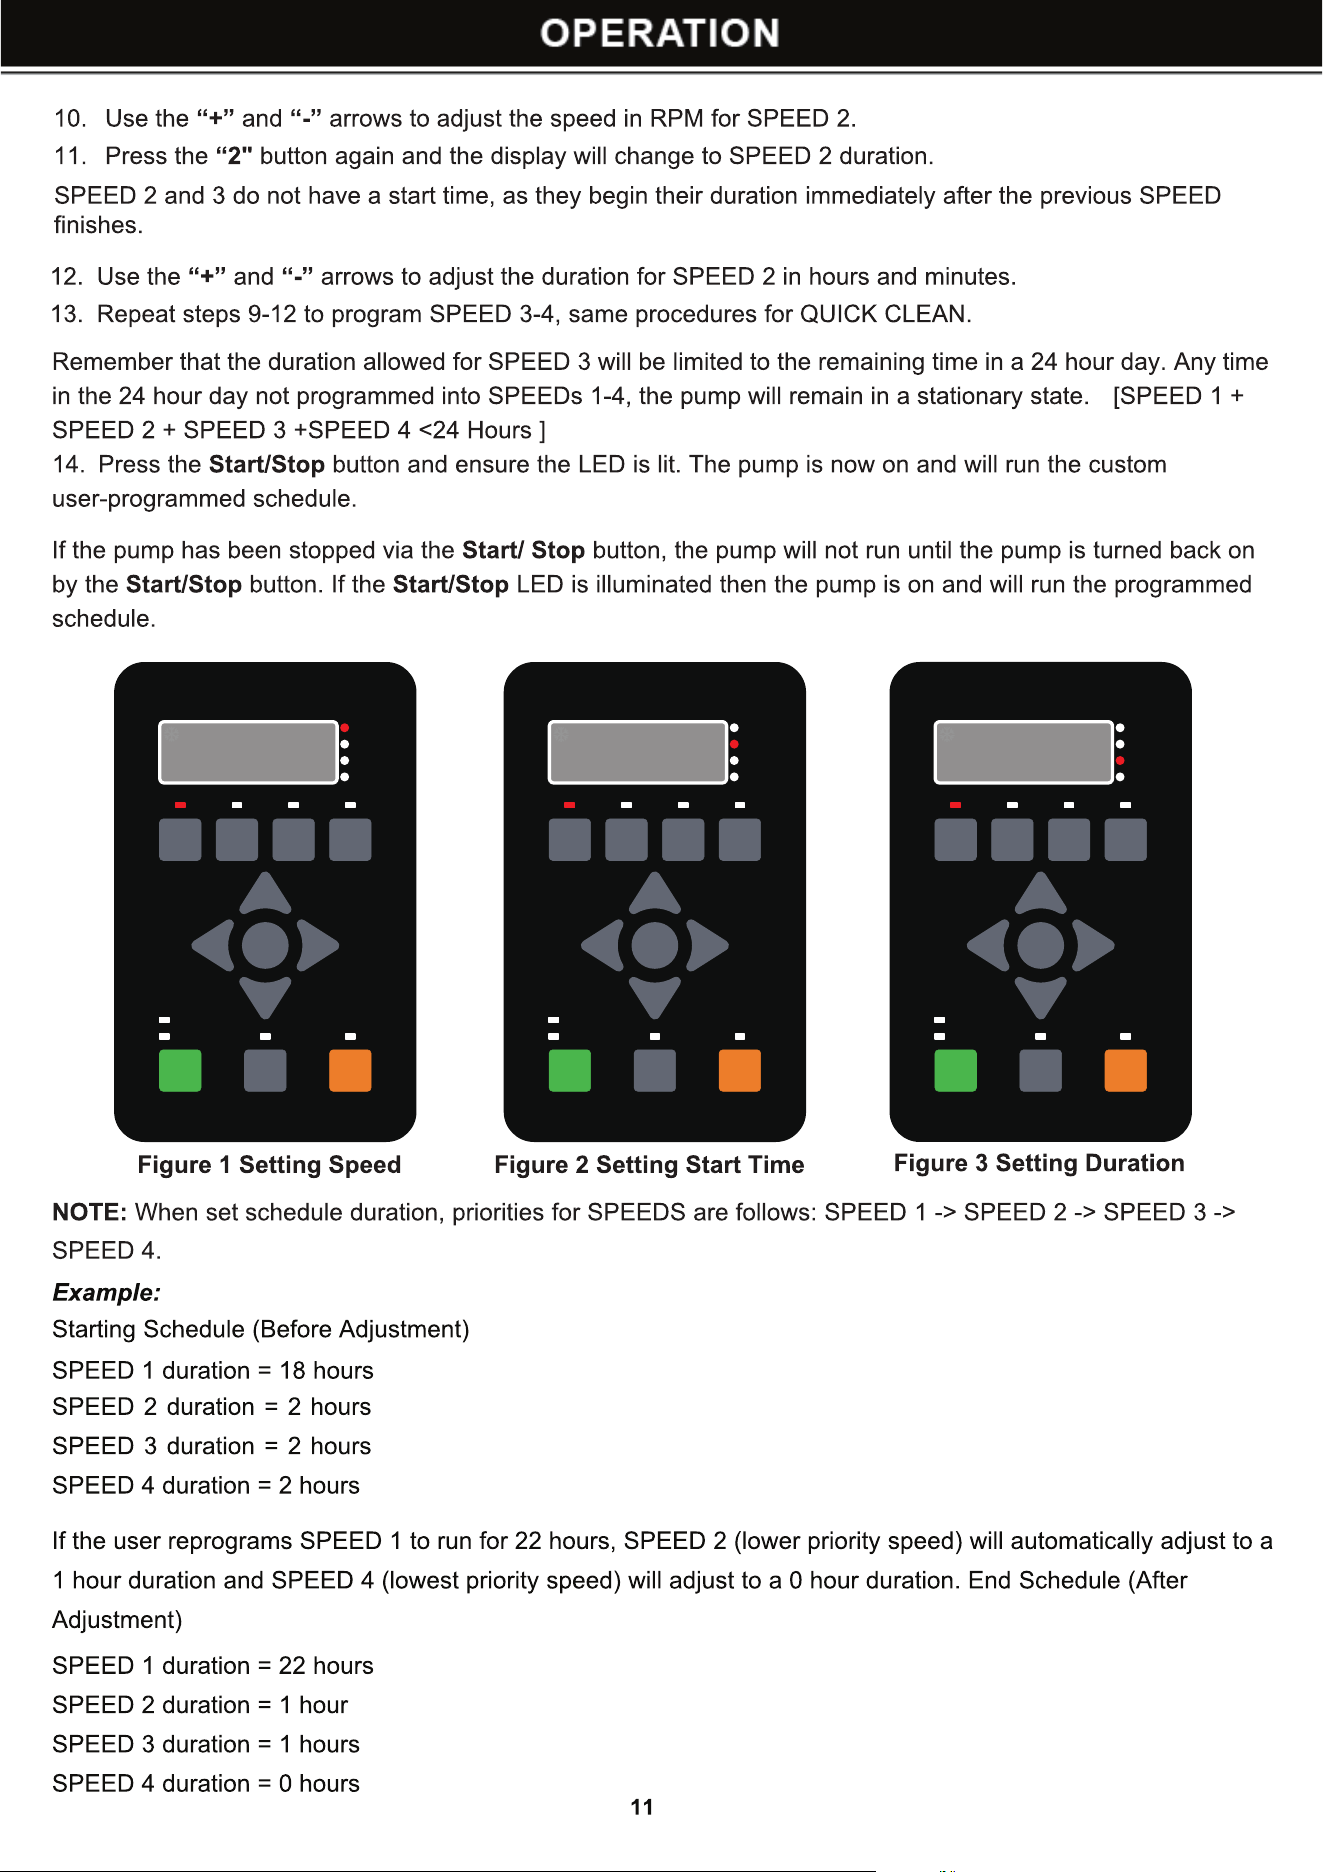
ENTER
+
< >
-
1
Speed
2
Speed
3
Speed
4
Speed
Manual
Schedule
Quick
Clean
Mode
Select
Start
Stop
Speed
Time
Duration
Watts
3000
AM
PM
ENTER
+
< >
-
1
Speed
2
Speed
3
Speed
4
Speed
Manual
Schedule
Quick
Clean
Mode
Select
Start
Stop
Speed
Time
Duration
Watts
8:00
AM
PM
ENTER
+
< >
-
1
Speed
2
Speed
3
Speed
4
Speed
Manual
Schedule
Quick
Clean
Mode
Select
Start
Stop
Speed
Time
Duration
Watts
2:00
AM
PM
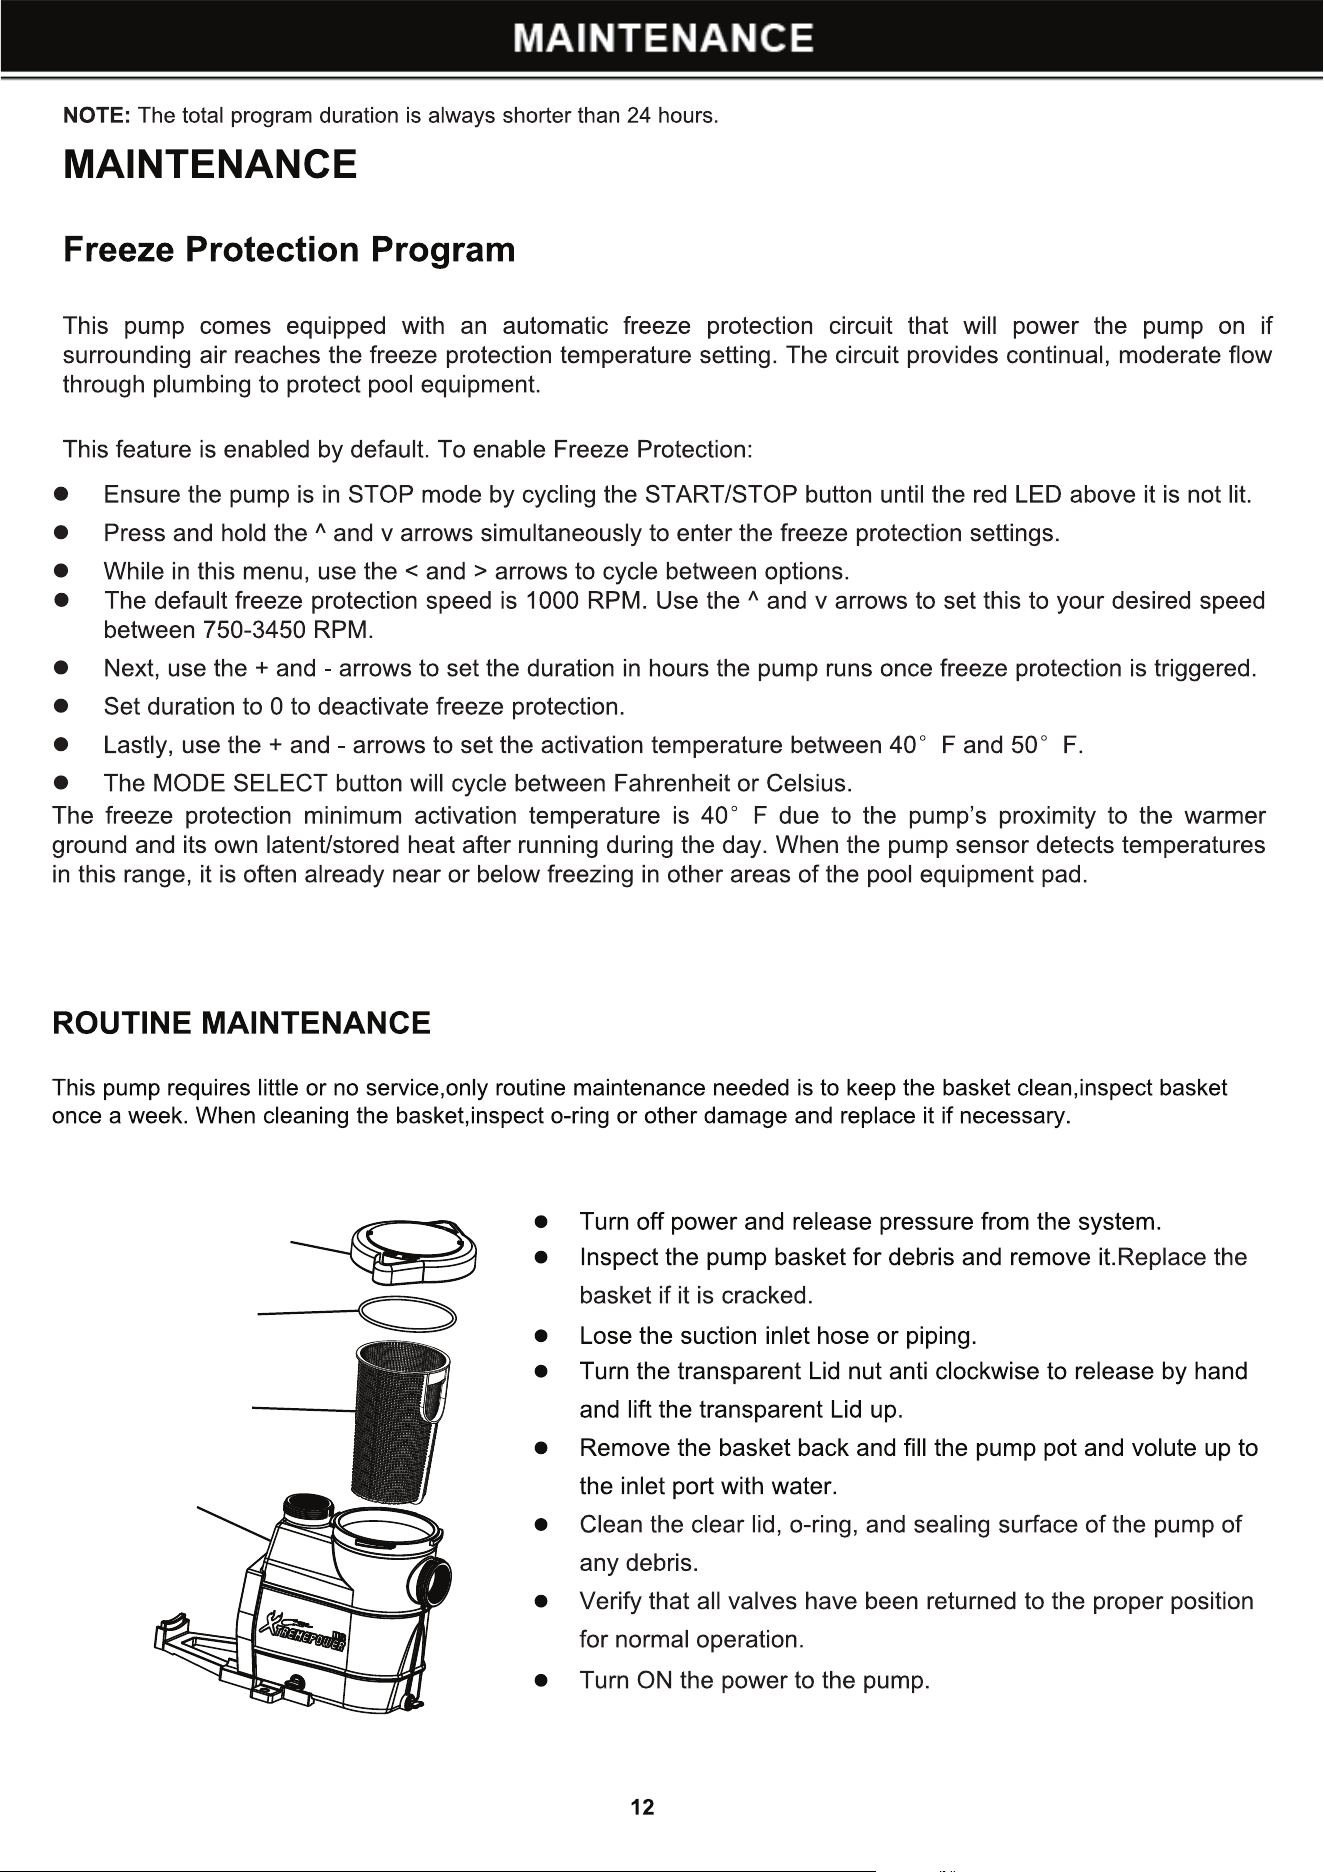
Strainer Cover Kit
O-Ring
Basket
Pump Housing
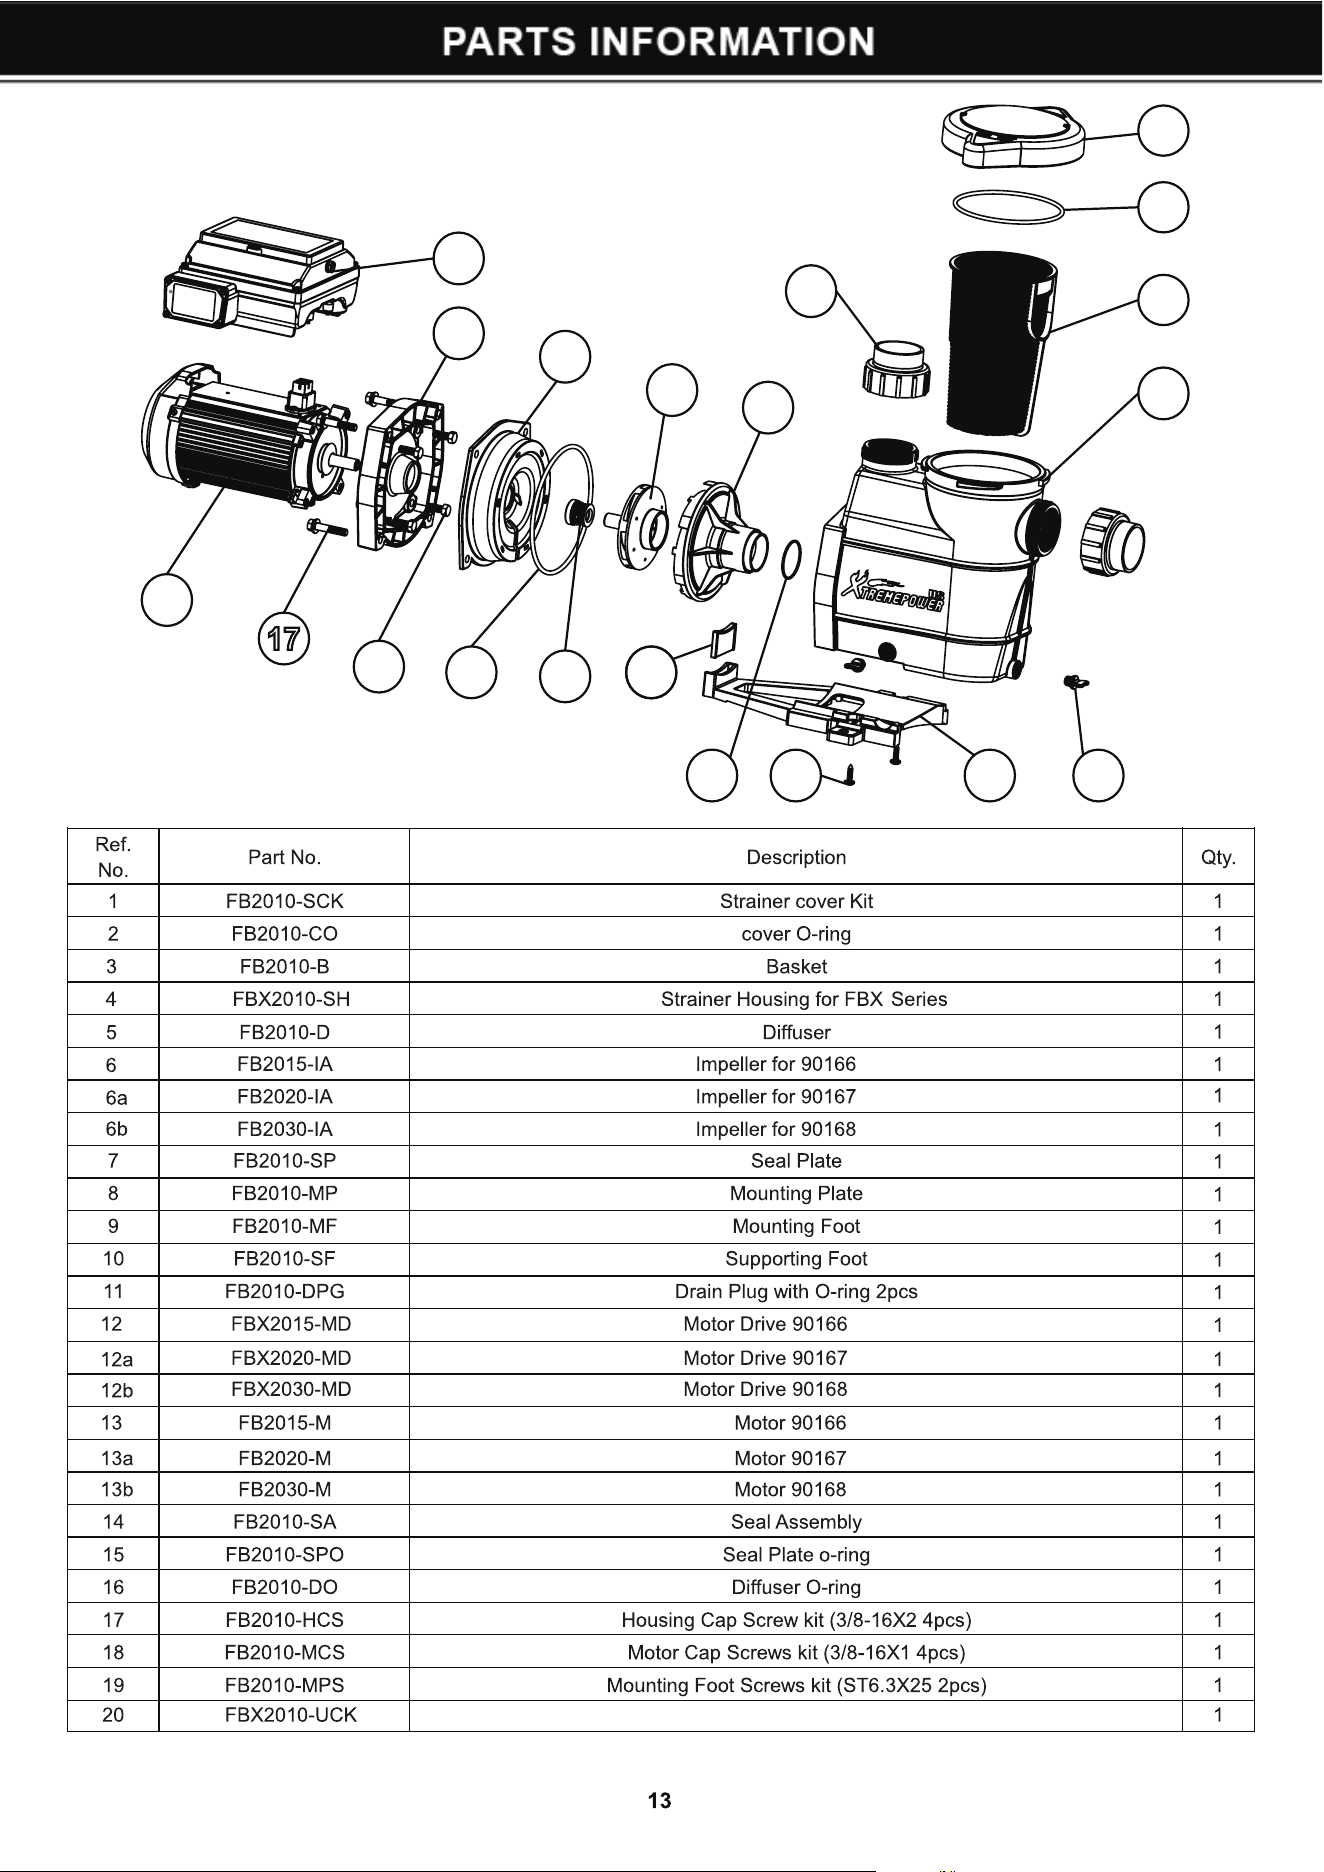
1
2
3
4
5
6
7
8
9
10
11
16
19
14
15
10
18
17
12
13
20
Union Connector Kit
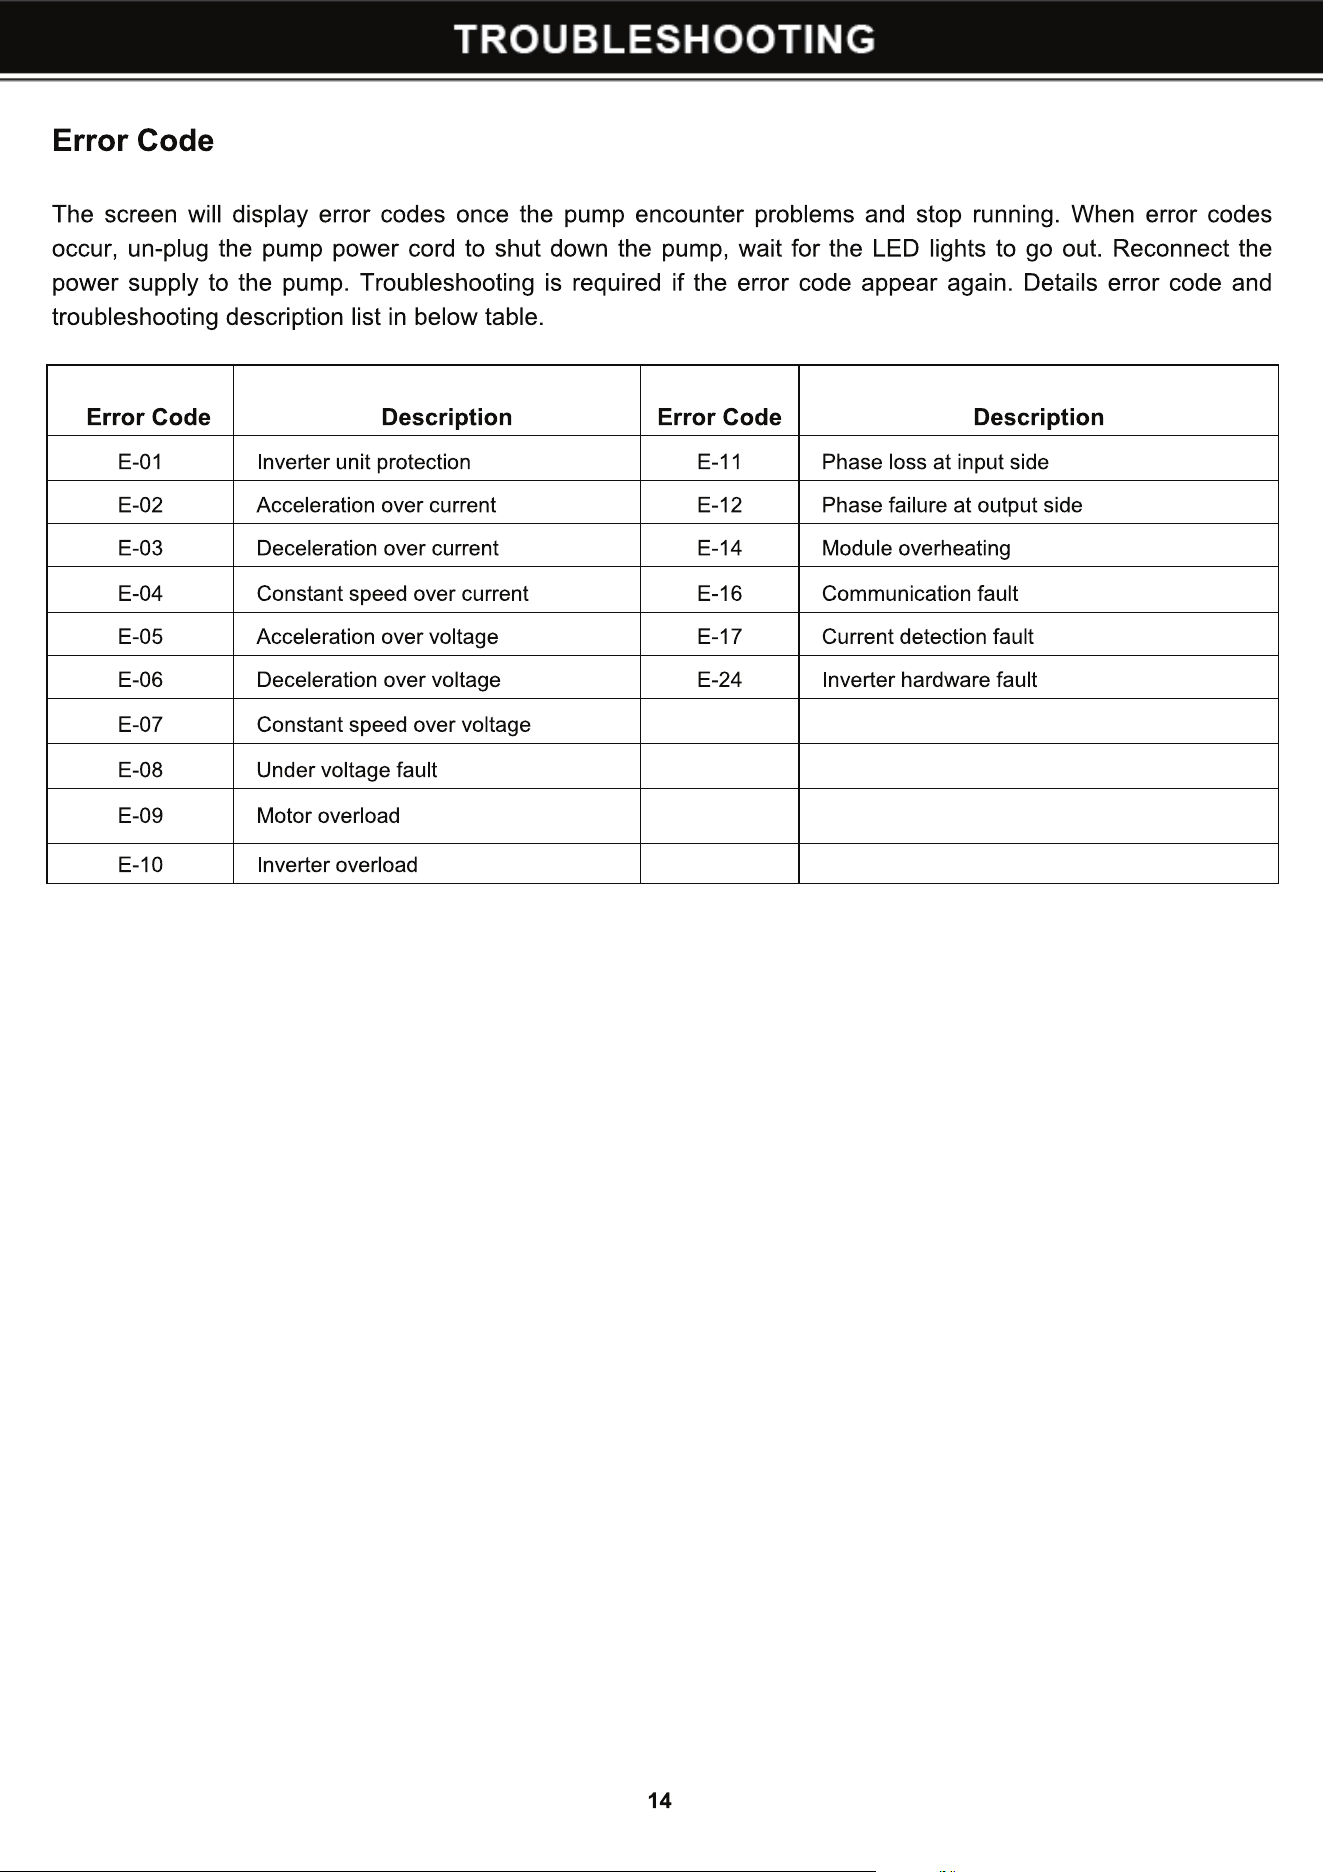
E-01, -09, E-10 (Motor Overload)
Causes: Stuck impeller, mechanical seals, or bearings.
Solution: Inspect and replace impeller, seals, or bearings as needed.
E-02, E-03, E-04 (Excessive Motor Current)
Causes: High current during operations, abnormal current detection, or main circuit issues.
Solution: Check motor cooling blades, impeller, seals, and bearings; replace parts or inverter if necessary.
E-05, E-06, E-07 (High Voltage)
Causes: Motor's input voltage exceeds specified limits.
Solution: Verify input voltage with a multimeter; test and replace inverter if required.
E-08 (AC Low Voltage/Under-Voltage)
Causes: Input voltage below 220V, loose connections, or internal circuit issues.
Solution: Check and confirm input voltage and connections; replace inverter for internal faults.
E-12 (Inverter Output Phase Loss)
Causes: Inverter module failure or motor winding phase loss.
Solution: Test inverter's three-phase voltage balance; inspect motor winding resistance; replace faulty compo-
nents.
E-14 (Overheated Module)
Causes: Overloading or high ambient temperature.
Solution: Check fan blade and cover; reduce motor speed; improve ventilation.

15
E-01, -09, E-10 (Motor Overload)
Causes: Stuck impeller, mechanical seals, or bearings.
Solution: Inspect and replace impeller, seals, or bearings as needed.
E-02, E-03, E-04 (Excessive Motor Current)
Causes: High current during operations, abnormal current detection, or main circuit issues.
Solution: Check motor cooling blades, impeller, seals, and bearings; replace parts or inverter if necessary.
E-05, E-06, E-07 (High Voltage)
Causes: Motor's input voltage exceeds specified limits.
Solution: Verify input voltage with a multimeter; test and replace inverter if required.
E-08 (AC Low Voltage/Under-Voltage)
Causes: Input voltage below 220V, loose connections, or internal circuit issues.
Solution: Check and confirm input voltage and connections; replace inverter for internal faults.
E-12 (Inverter Output Phase Loss)
Causes: Inverter module failure or motor winding phase loss.
Solution: Test inverter's three-phase voltage balance; inspect motor winding resistance; replace faulty compo-
nents.
E-14 (Overheated Module)
Causes: Overloading or high ambient temperature.
Solution: Check fan blade and cover; reduce motor speed; improve ventilation.
16
17
18