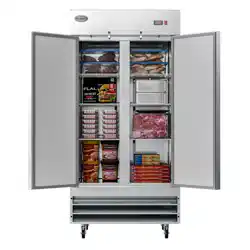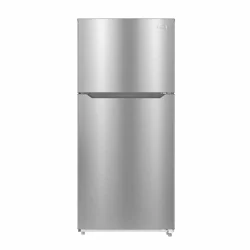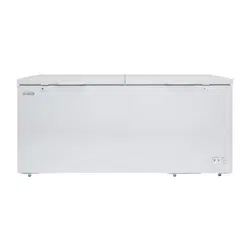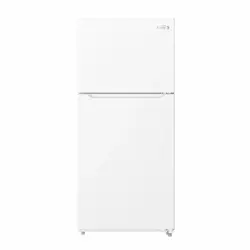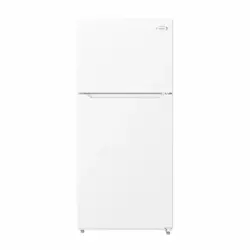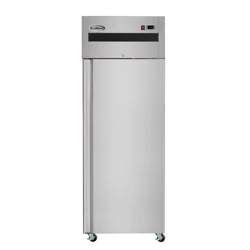
REFRIGERATOR / FREEZER
Reach-In Top Mount Refrigerator and
Freezer
USER MANUAL
Please read all instructions carefully before using this appliance to ensure
proper operation and optimal performance.
For any service related issues, please contact us:
718-576-6342
suppor[email protected]
Models: KM-RIR-1D-GD-TM, KM-RIR-1D-SS-TM, KM-RIR-2D-
GD-TM, KM-RIR-2D-SS-TM, KM-RIR17-SS-TM, KM-RIF-1D-SS-
TM, KM-RIF-2D-SS-TM, KM-RIF17-SS-TM
Stay informed with the latest information for your
KoolMore appliance.
Scan the QR code below to access the most up-to-date user manual.
If you need any assistance or have questions, our customer support
team is here to help.
Phone: 718-576-6342 Email: suppor[email protected]
Please write down the model number and serial number below for future reference. Both numbers are located on the
rating label on the back of your unit or inside of the unit and are needed to obtain warranty service. You may also
want to staple your receipt to this manual as it is your proof of purchase and may also be needed for service
under warranty.
Model Number:
Serial Number:
Date of Purchase:
To better serve you, please do the following before contacting customer service:
If you received a damaged product, immediately contact the retailer or dealer that sold you the product.
Read and follow this User Manual carefully to help you install, use, and maintain your unit.
Refer to the Troubleshooting section of this manual as it will help you diagnose and solve many common issues.

3
Contents
Safety ............................................................................................. 4
Installation ..................................................................................... 5
Operation ....................................................................................... 7
Maintenance .................................................................................. 10
Troubleshooting ............................................................................ 11
Warranty ......................................................................................... 12

4
Safety
Read and follow all safety instructions carefully before installing or operating this appliance to
reduce the risk of re, electric shock, injury, or property damage.
• Maintain adequate clearance around the appliance for proper ventilation. Leave at least 8 inch-
es between the cabinet and the wall. Do not fully enclose the back of the unit. Provide proper
ventilation or an air outlet to the outside if required.
• Remove all packaging materials before operating the appliance. Ensure the area around the
unit is clear to allow proper heat dissipation and reduce re risk.
• Do not store or use ammable or volatile substances near the appliance, as this may result in
re or explosion.
• Connect the appliance to a dedicated, single-phase grounded outlet. Ensure proper grounding.
Do not connect the grounding wire to water or gas pipes.
• Handle the appliance with care during transport. Avoid strong impacts or excessive vibration.
Do not tilt the unit more than 45°.
• If the appliance malfunctions, refer to the Troubleshooting section. Do not attempt to repair the
unit yourself. Contact a qualied service technician.
Refrigerant Safety Warnings
DANGER: Risk of re or explosion. Flammable refrigerant used.
• Do not use mechanical devices or other means to accelerate the defrosting process.
• Do not puncture or damage refrigerant tubing.
DANGER: Risk of re or explosion. Flammable refrigerant used.
• Repairs must be performed only by trained and qualied service personnel.
• Do not puncture or damage refrigerant tubing.
CAUTION: Risk of re or explosion. Flammable refrigerant used.
• Consult the service manual or owner’s guide before attempting any service.
• Follow all safety instructions carefully.
CAUTION: Risk of re or explosion.
• Dispose of the appliance in accordance with all federal, state, and local regulations.
CAUTION: Risk of re or explosion due to punctured refrigerant tubing.
• Handle the appliance carefully and follow all instructions.
Additional Safety Information
• Keep all ventilation openings in the appliance enclosure or built-in structure clear of obstruc-
tion.
• Servicing must be performed by factory-authorized personnel to reduce the risk of ignition due
to incorrect parts or improper service.
Safety

5
Installation
IMPORTANT: Please read before installation
• If the unit has recently been transported, let it stand upright for at least 24 hours before plug-
ging it in.
• Before loading the unit with products, ensure the unit has reached the desired operating tem-
perature.
• Ensure proper ventilation around the unit in the area where it will operate.
• Install all accessories (such as shelves, shelf clips, and casters) before plugging in the unit.
• Read the Owner’s Manual in its entirety.
Cabinet Location Guidelines:
• Install the unit on a strong and level surface. If the surface is uneven, the unit may make un-
pleasant noises or malfunction.
• Install the unit indoors in a well-ventilated area for optimal performance. For best performance,
maintain at least 4 inches of clearance at the back of the unit. Outdoor use may reduce e-
ciency and cause damage to the unit.
• Avoid installing the unit in a high humidity or dusty area. High humidity can cause the unit to
rust and decrease its eciency, dust buildup on the condenser coil can reduce performance
and cause malfunction. Clean the condenser at least once a month with a brush or clean cloth.
• Choose a location away from heat and moisture-generating equipment. High ambient tempera-
tures can cause the compressor to overwork, leading to higher energy bills and gradual break-
down of the unit.
Electrical Requirements:
• Ensure that the compressor is supplied with the required voltage at all times. Low or high volt-
age can harm the refrigeration unit.
• Plug the unit into a grounded electrical outlet of the proper size, with appropriate overcurrent
protection.
• Refer to the electrical requirements on the nameplate of the unit.
• Make sure that the unit has its own dedicated outlet and do not use an extension cord.
Fire Warning
Please pay close attention to the following safety notices. Ignoring these may lead to serious inju-
ry and/or damage to the unit.
Attention:
• To prevent shock and re hazards, do not overload the outlet. Dedicate one outlet for your unit
and avoid using extension cords.
• Do not place your hands under the unit when moving it.
• If the unit is not in use for a long period of time, unplug it from the outlet. Wait at least 10 min-
utes before plugging it back in to prevent damage to the compressor.
Power Cord Safety:
• To prevent shock and re hazards, do not plug or unplug the cord with wet hands.
• Unplug the unit during maintenance and cleaning.

6
Proper Grounding Required:
Ensure that the unit is properly grounded to prevent shock and re hazards.
Warning!
• Do not attempt to remove or repair any component unless instructed by the factory.
• Ensure that the unit is not resting on or against the electrical cord and plug.
• To prevent personal injury, do not hang on the doors.
• Do not store any ammable and explosive gases or liquids inside the unit.
• Do not attempt to alter or tamper with the electrical cord.
7
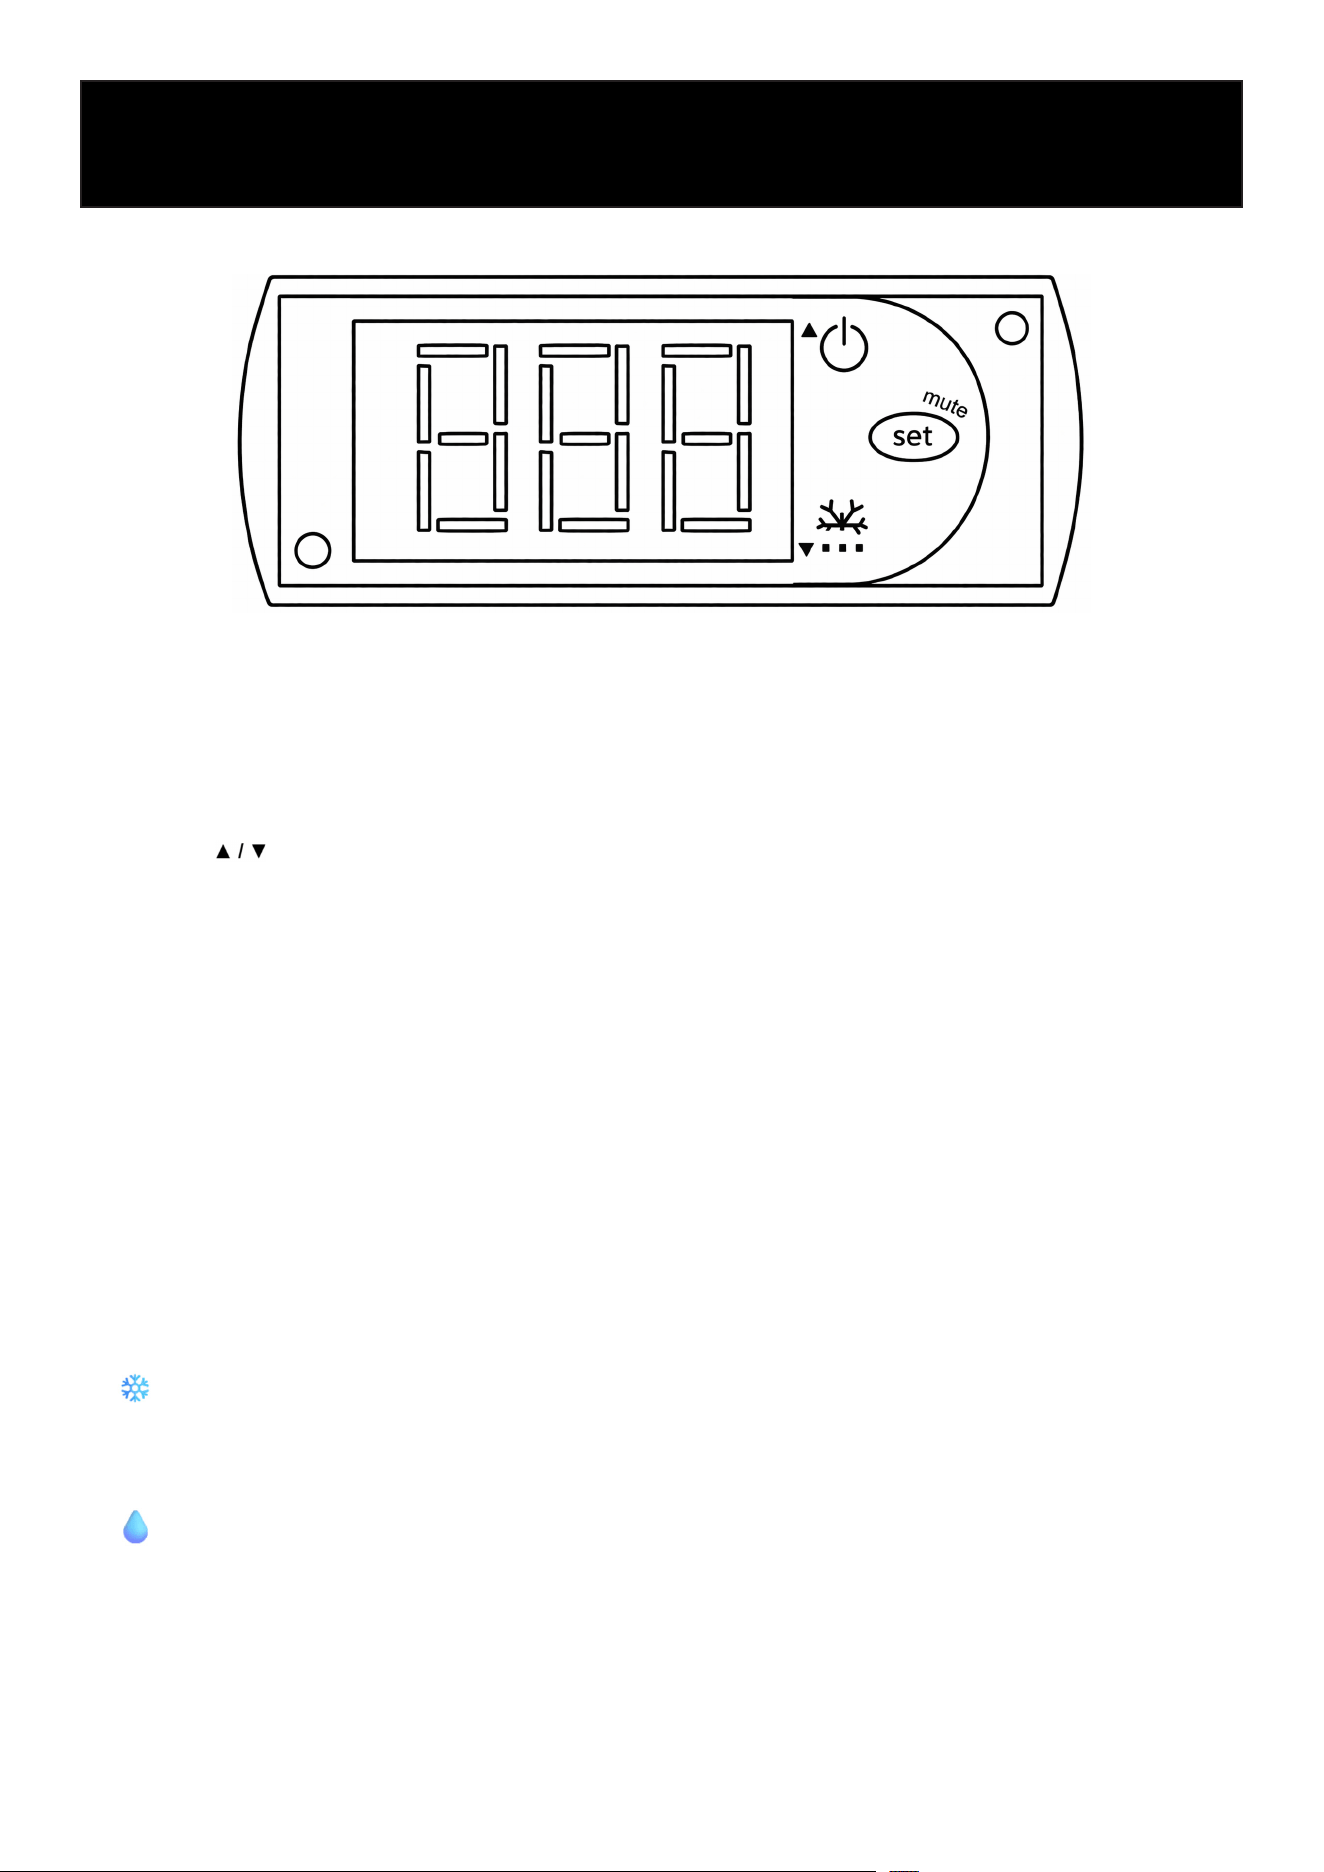
Controller Operation Guide
Adjusting the Temperature (Setpoint)
1. Press and hold the SET button for about 2 seconds.
2. The current set temperature will appear.
3. Use the buttons to adjust the temperature.
4. Press SET again to conrm, or wait a few seconds to save automatically.
Viewing Current Temperature
• The display shows the current internal temperature during normal operation.
• This updates automatically and requires no action.
Automatic Defrost
• This unit features automatic defrost.
• Defrost cycles run as needed during normal operation.
• No user action is required.
Display Indicators
The controller may show the following indicators:
• Snowake (Cooling)
• On: Compressor is running
• Flashing: Compressor is running
• Drip (Defrost)
• On: Unit is in defrost cycle
• Flashing: Dripping stage after defrost (normal)
• °C / °F Temperature Unit
• On: Displays the current temperature unit
• Flashing: Unit is in programming mode
Operation
Refrigerator
8
Changing Temperature Units (°F / °C)
1. Press and hold the SET button for about 3 seconds to enter settings.
2. Use the buttons to nd the temperature unit setting (°C / °F).
3. Press SET, then use to select your preferred unit.
4. Press SET again to conrm, or wait a few seconds to save and exit.
Basic Operation Notes
• The unit will automatically cycle on and off to maintain the set temperature.
• Keep the door closed as much as possible for best performance.
• Avoid placing hot items inside, as this can affect cooling eciency.
Important Tips
• Allow time for the unit to reach the new temperature after adjusting settings.
• Do not block internal air circulation.
• If the display shows unusual readings or the unit is not cooling properly, contact support.
Controller Operation Guide
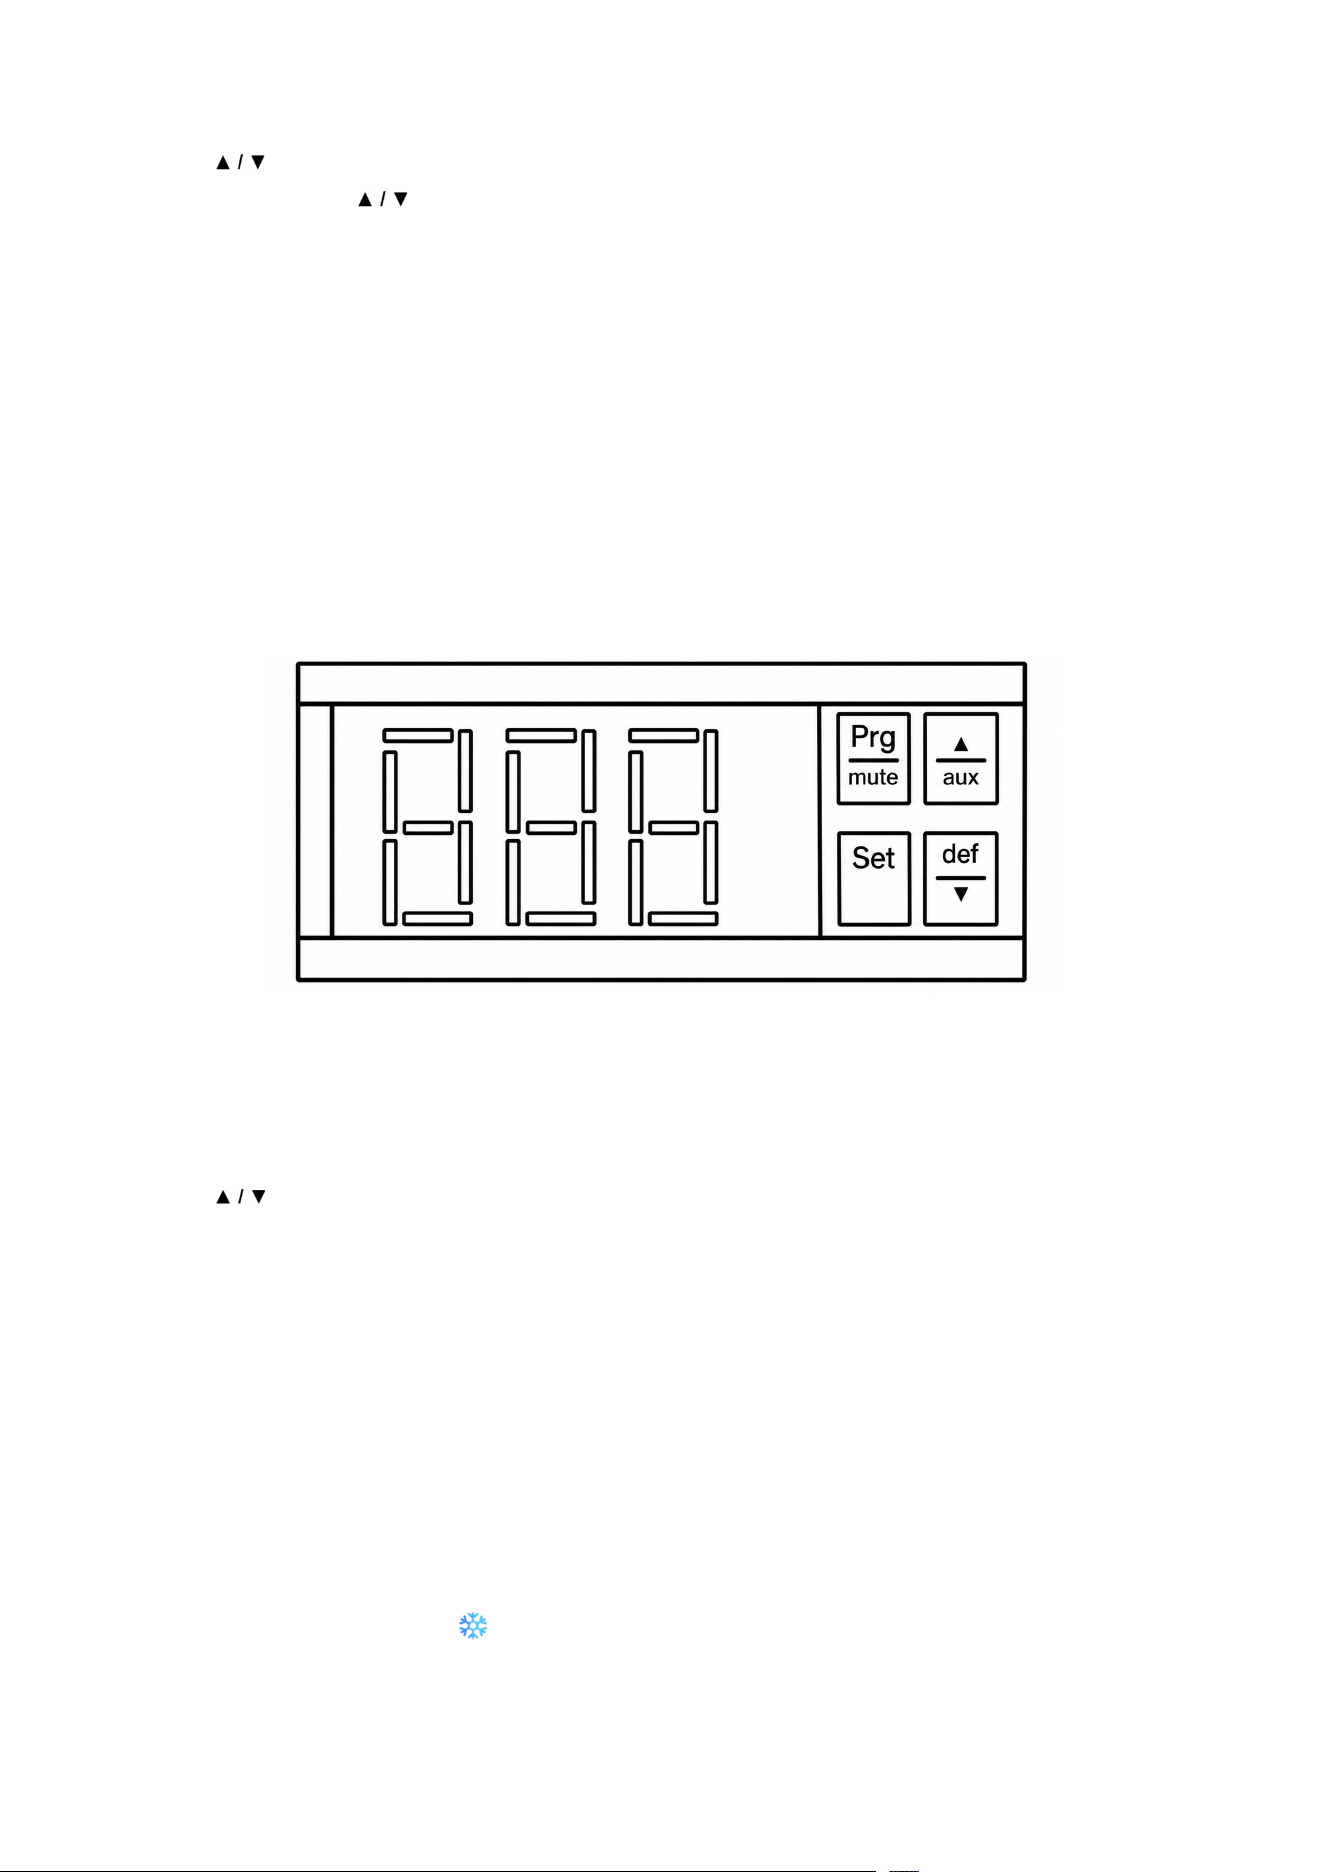
Adjusting the Temperature (Setpoint)
1. Press and hold the SET button for about 2 seconds.
2. The set temperature will appear and begin blinking.
3. Use the buttons to adjust the temperature.
4. Press SET again to conrm, or wait a few seconds to save automatically.
Viewing the Set Temperature
• Press and release the SET button once to view the current set temperature.
• The display will return to normal automatically after a few seconds.
Viewing Current Temperature
• The display shows the current internal temperature during normal operation.
• This updates automatically and requires no action.
Manual Defrost (If Needed)
• Press and hold the Defrost ( ) button for about 2 seconds.
• A manual defrost cycle will begin.
• The unit will return to normal operation automatically when nished.
Freezer

9
Display Indicators
The controller may show the following indicators:
• Snowake (Cooling / Compressor)
• On: Cooling is active
• Flashing: Anti-short cycle delay (normal)
• Drip (Defrost)
• On: Defrost in progress
• Flashing: Drip time after defrost (normal)
• Fan
• On: Fans are running
• Flashing: Fan delay after defrost
• °C / °F Temperature Unit
• On: Displays current unit
• Flashing: Unit is in programming mode
Changing Temperature Units (°F / °C)
1. Press and hold SET + together for about 3 seconds.
2. The display will enter settings mode (°C or °F will blink).
3. Use to select your preferred unit.
4. Press SET to conrm, or wait a few seconds to save and exit.
After changing units, temperature values may need adjustment.
Basic Operation Notes
• The unit automatically controls cooling, fans, and defrost cycles.
• Fans may stop during defrost and restart after a short delay—this is normal.
• Keep the door closed as much as possible for best performance.
• Avoid placing hot items inside the unit.
Important Tips
• Allow time for the unit to reach the set temperature after changes.
• Do not block air circulation inside the cabinet.
• If unusual messages (such as error codes) appear or cooling is not normal, contact support.

10
Cleaning the Condenser Coil:
• For ecient operation, keep the condenser surface free of dust, dirt, and lint.
• We recommend cleaning the condenser coil and ns at least once per month.
• Use a commercial condenser coil cleaner, available from any kitchen equipment retailer. Brush
the condenser ns from top to bottom, not side to side.
• After cleaning, straighten any bent condenser ns with a n comb.
Cleaning the Fan Blade and Motor:
• If necessary, clean the fan blades and motor with a soft cloth. If you need to wash the fan
blades, cover the fan motor to prevent moisture damage.
Cleaning the Interior of the Unit:
• To clean the cabinet interior, use a solution of warm water and mild soap.
• Do not use steel wool, caustic soap, abrasive cleaners, or bleach as these may damage the
stainless steel surface.
• Wash door gaskets on a regular basis, preferably weekly. Remove the door gasket from the
frame of the door and soak it in warm water and soap for 30 minutes. Dry with a soft cloth and
replace it.
• Check that door gaskets are properly sealed after replacing them.
• Periodically remove shelves and pilasters from the unit and clean them with mild soap and
warm water. To remove pilasters, rst remove shelves and shelf brackets. Then lift the pilaster
up and out.
WARNING
Disconnect power cord before cleaning any parts of the unit.
Maintenance
11
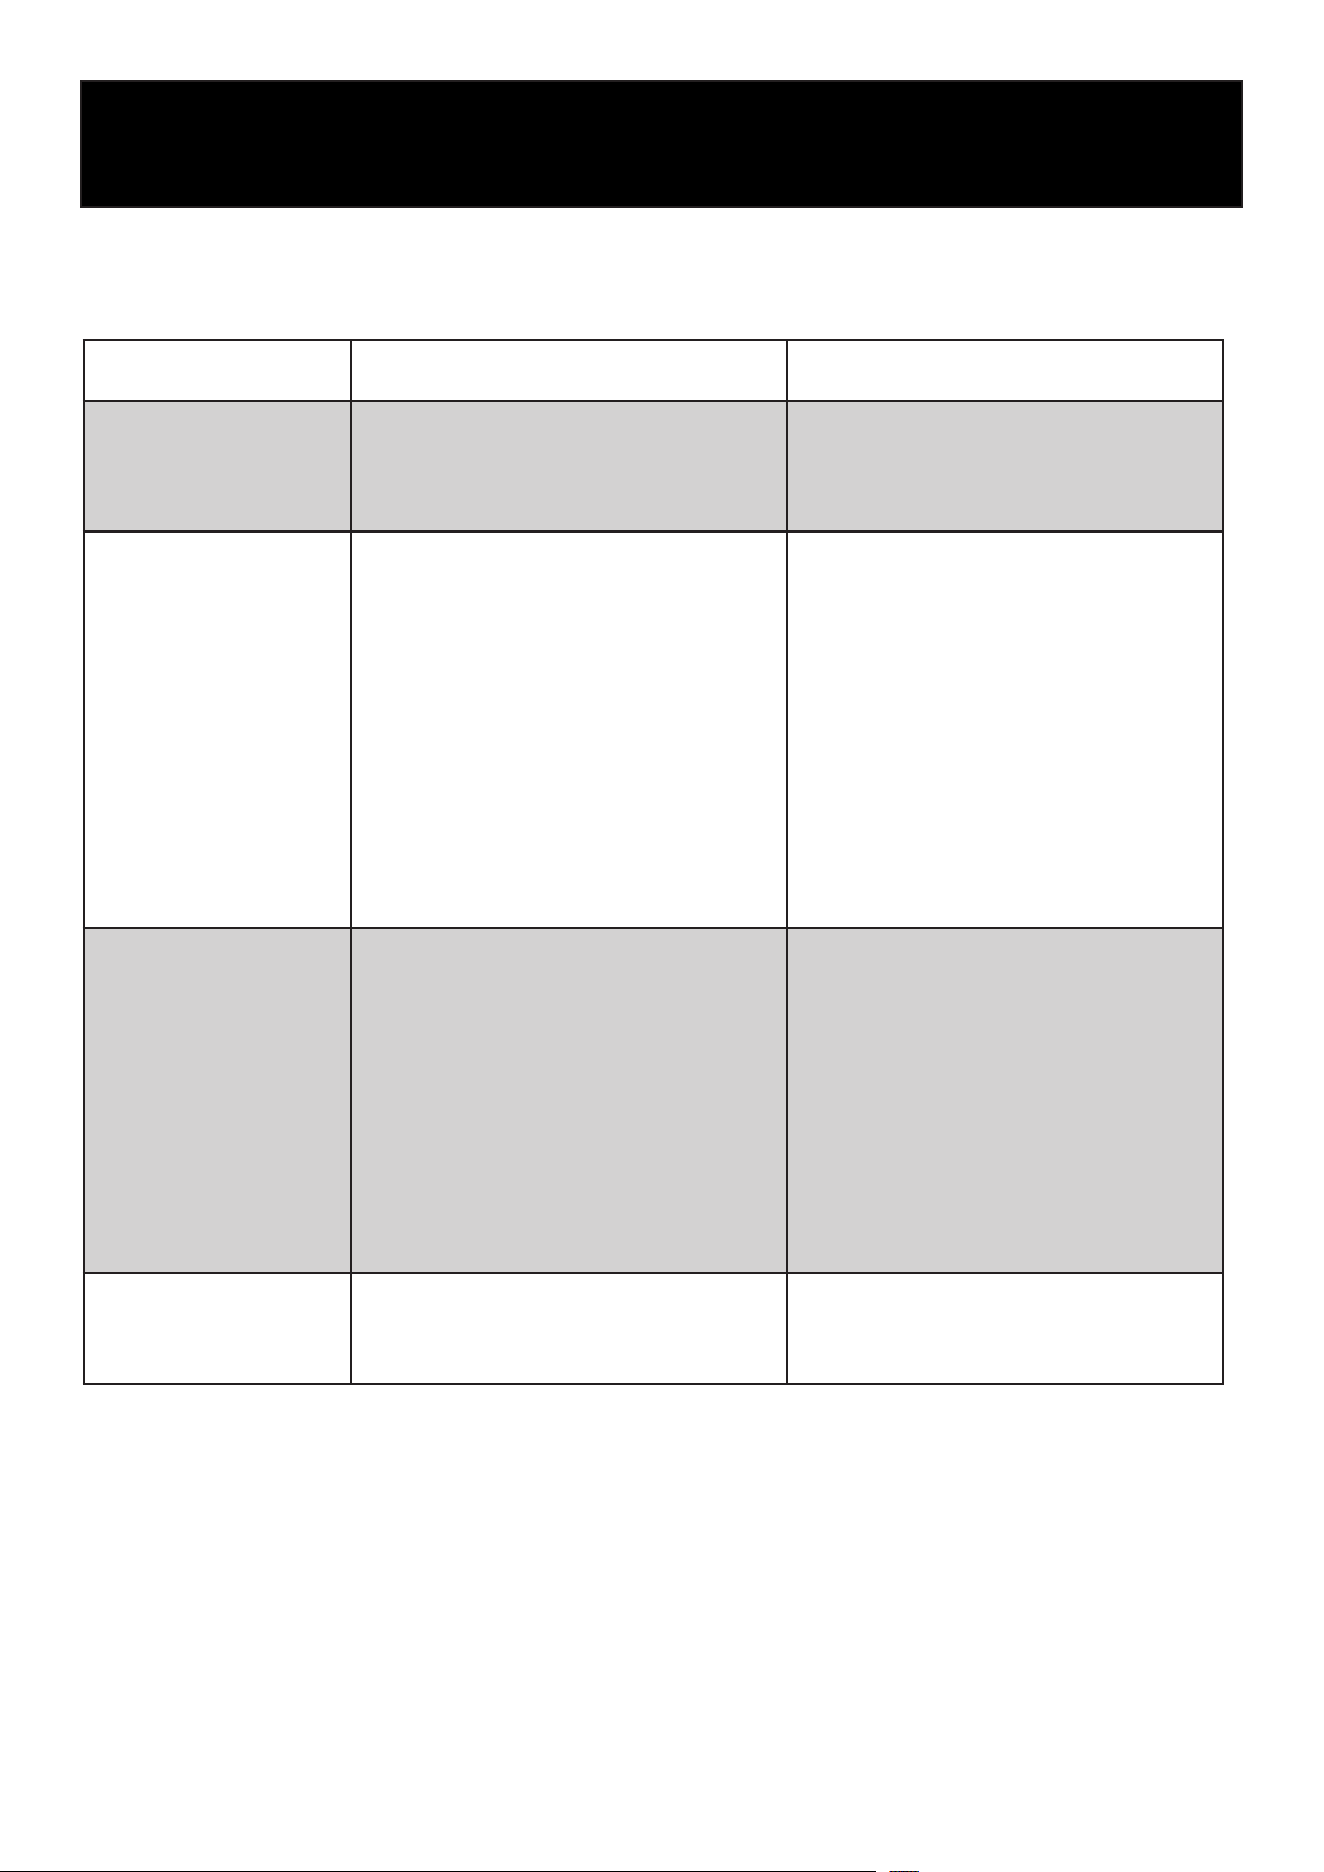
Problem Possible Cause Corrective Action
Compressor not running
• Fuse blown or circuit breaker tripped
• Power cord unplugged
• Thermostat set too high
• Cabinet in defrost cycle
• Replace fuse or reset circuit breaker
• Plug in power cord
• Set thermostat to lower temperature
• Wait for defrost cycle to nish
Condensing unit runs for
long periods of time
• Excessive amount of warm product
placed in cabinet
• Prolonged door opening or door ajar
• Door gasket(s) not sealing properly
• Dirty condenser coil
• Evaporator coil iced over
• Allow adequate time for product to
cool down
• Ensure doors are closed when not
in use; avoid opening doors for long
periods of time
• Ensure gaskets are snapped in com-
pletely; remove gasket and wash with
soap and water; check condition of
gasket and replace if necessary
• Clean the condenser coil
• Unplug unit and allow coil to defrost;
make sure thermostat is not set too
cold; ensure that door gasket(s) are
sealing properly
Cabinet temperature is
too warm
• Thermostat set too warm
• Blocking air ow
• Excessive amount of warm product
placed in cabinet
• Fuse blown or circuit breaker tripped
• Dirty condenser coil
• Prolonged door opening or door ajar
• Evaporator coil iced over (see above)
• Set thermostat to lower temperature
• Re-arrange product to allow for proper
air ow; make sure there is at least
four inches of clearance from evapo-
rator
• Allow adequate time for product to
cool down
• Replace fuse or reset circuit breaker
• Clean the condenser coil
• Ensure doors are closed when not
in use; avoid opening doors for long
periods of time
Cabinet is noisy
• Loose parts
• Tubing vibration
• Locate and tighten loose parts
• Ensure tubing is free from contact
with other tubing or components
Troubleshooting
Before requesting service, please review the following points. This guide serves as a reference for
troubleshooting common issues.
12
LIMITED WARRANTY
KoolMore Supply Inc. extends a limited warranty to the original purchaser, guaranteeing that this KoolMore product is
free from manufacturing defects in material or workmanship for one year from the date of purchase.
Should you discover any such defect within the warranty period, KoolMore Supply Inc. reserves the right to repair or re-
place the product without charge, or to cover the cost of replacement parts and repair labor needed to correct defects
present at the time of purchase or resulting from regular usage, when the appliance has been installed, operated, and
maintained as per the instructions provided.
At its sole discretion, KoolMore Supply Inc. may decide to replace the product. In such an event, your replacement
appliance will carry the warranty for the remaining term of the original unit’s warranty period.
This warranty is valid exclusively to the original purchaser of the product and only applicable within the United States.
The warranty commences from the date of original consumer purchase. Proof of the original purchase date will be
required to obtain service under this warranty.
Under this limited warranty, your sole and exclusive remedy will be product repair, as outlined above. All services must
be provided by a KoolMore designated service company.
KoolMore shall not be responsible or liable for any loss, spoilage, or damage to food, beverages, pharmaceuticals,
medical supplies, or any other contents stored in the unit resulting from failure, malfunction, defects, improper instal-
lation, improper use, power interruption, or any other cause. Any such losses are expressly excluded from coverage
under this warranty.
To claim warranty or request repair service:
Email [email protected]. Please include your name, address, phone number, warranty repair request, and a copy
of your proof of purchase receipt. Alternatively, visit koolmore.com and use the Contact Us page. A KoolMore custom-
er service representative will promptly arrange service for your appliance.
We thank you for choosing KoolMore.
WARRANTY EXCLUSIONS
This limited warranty will not cover:
1. Failure of the product to perform during power failures or interruptions, or due to inadequate electrical service.
2. Damage incurred during transportation or handling.
3. Damage caused by accidents, vermin, lightning, winds, re, oods, or acts of God.
4. Damage resulting from accidents, alterations, misuse, abuse, improper installation, repair, or maintenance. This
includes using any external device that alters or converts the voltage or frequency of electricity.
5. Unauthorized product modications, repairs by unauthorized centers, or use of non-approved replacement parts.
6. Abnormal cleaning and maintenance not aligned with the user’s manual.
7. Use of incompatible accessories or components.
8. Any costs associated with repairs or replacements under these excluded circumstances shall be the responsibility
of the consumer.
WARRANTY