
Model: 41006
This is the original instruction, please read all manual instructions
carefully before operating. VEVOR reserves a clear interpretation of our
user manual. The appearance of the product shall be subject to the
product you received. Please forgive us that we won't inform you again if
there are any technology or software updates on our product.
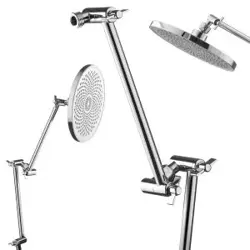
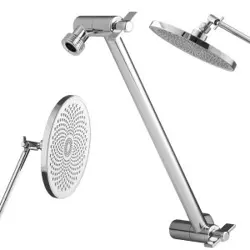
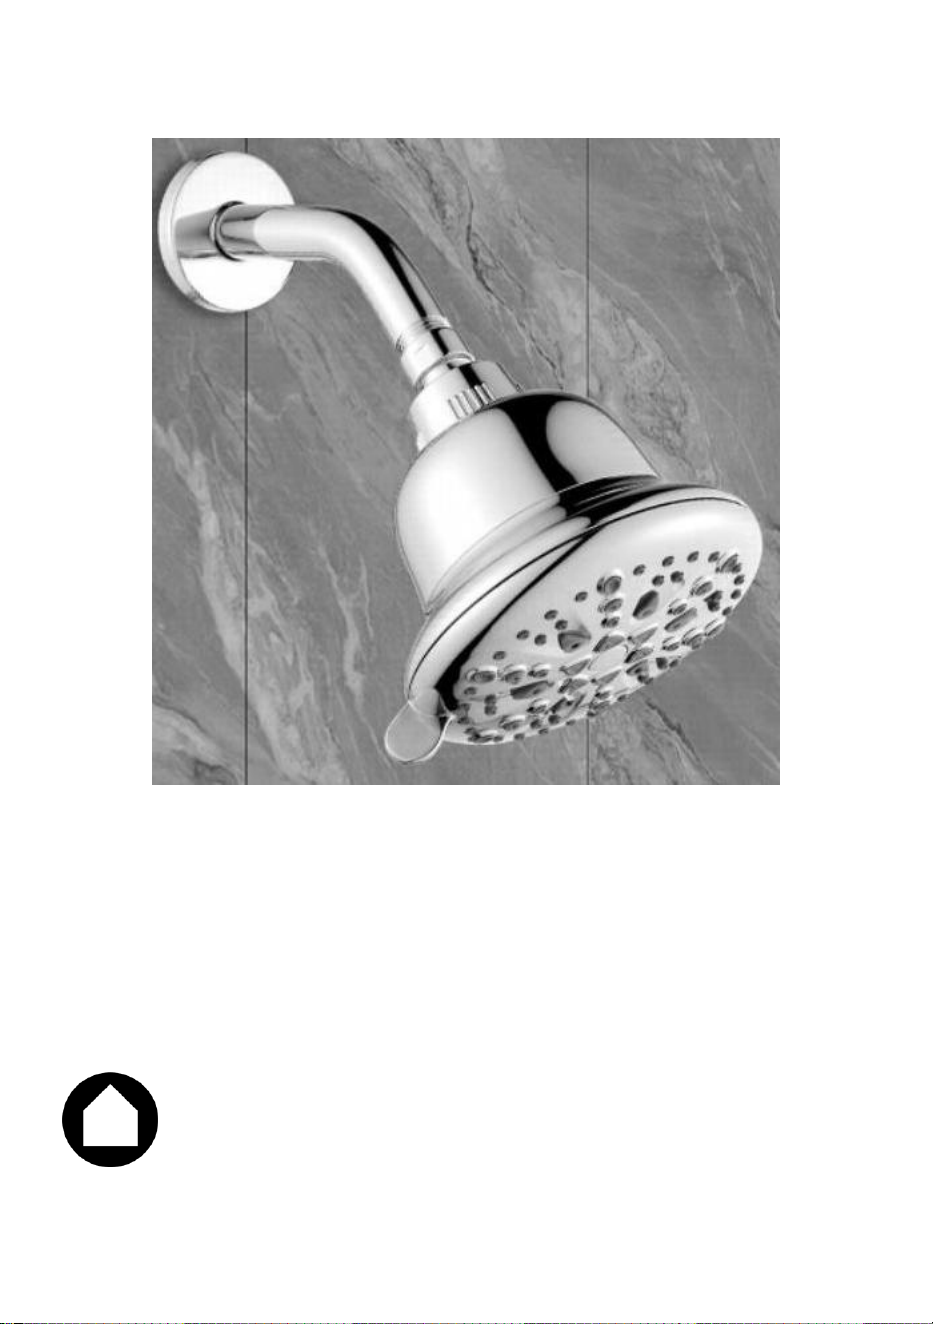
Shower Arm Extensions
Read this material before using this product.
Failure to do so can result in serious injury.
SAVE THIS MANUAL
SAVE THIS MANUAL
Keep this manual for the safety warnings and precautions, assembly, operating,
inspection, maintenance and cleaning procedures. Write the month and year of
purchase. Keep this manual and the receipt in a safe and dry place for future
reference.
Parameter
Model
41006
Size
6in
Bearing
10pounds
Thread
G1/2
Apply
12 inch and below shower head
Accessory
1 flange, 1 shower arm, 1 sealing tape
(Teflon), 2 replacement sealing rings,
instruction manual
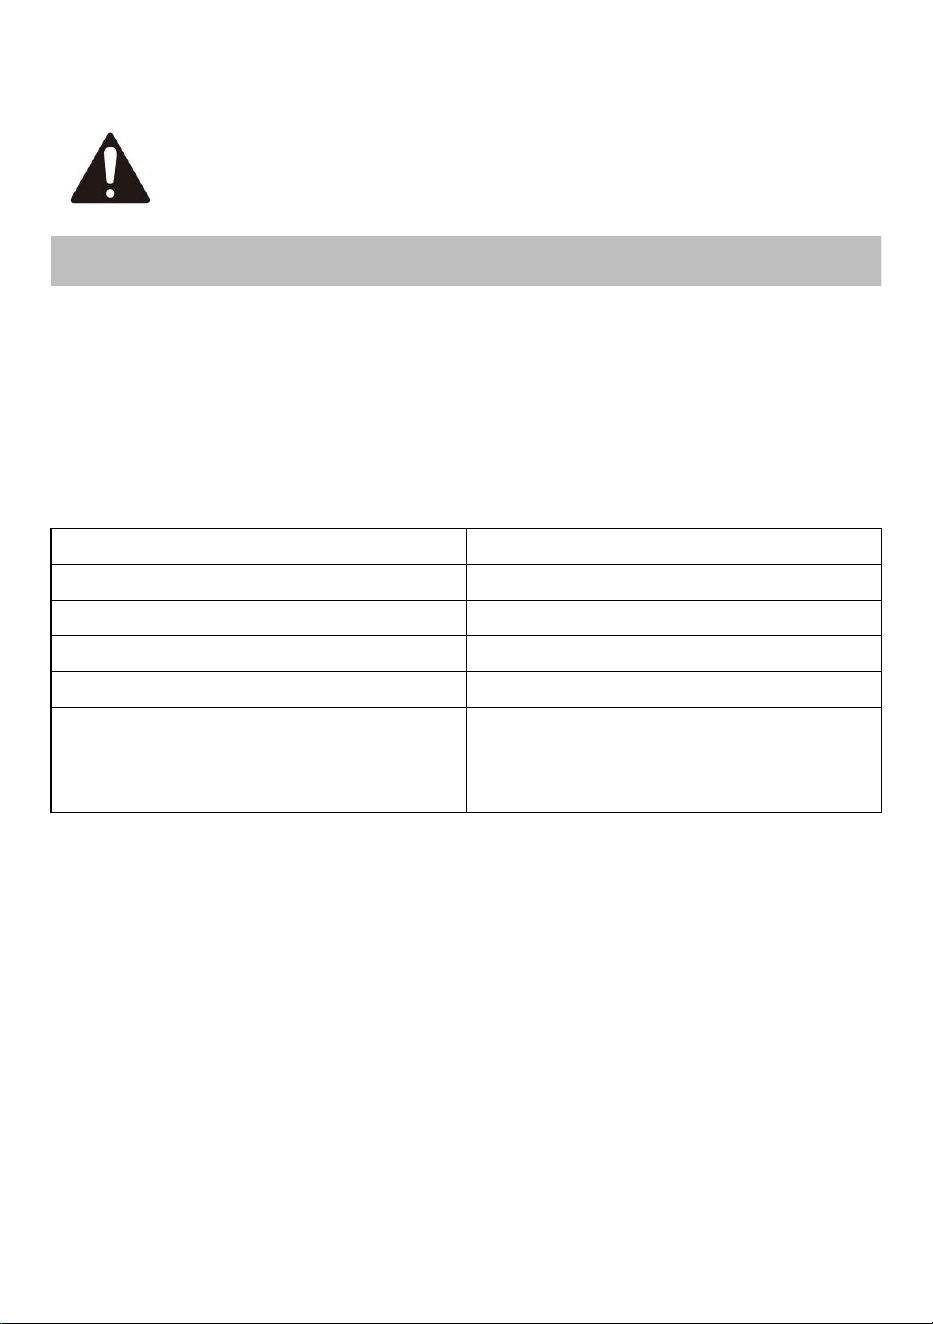
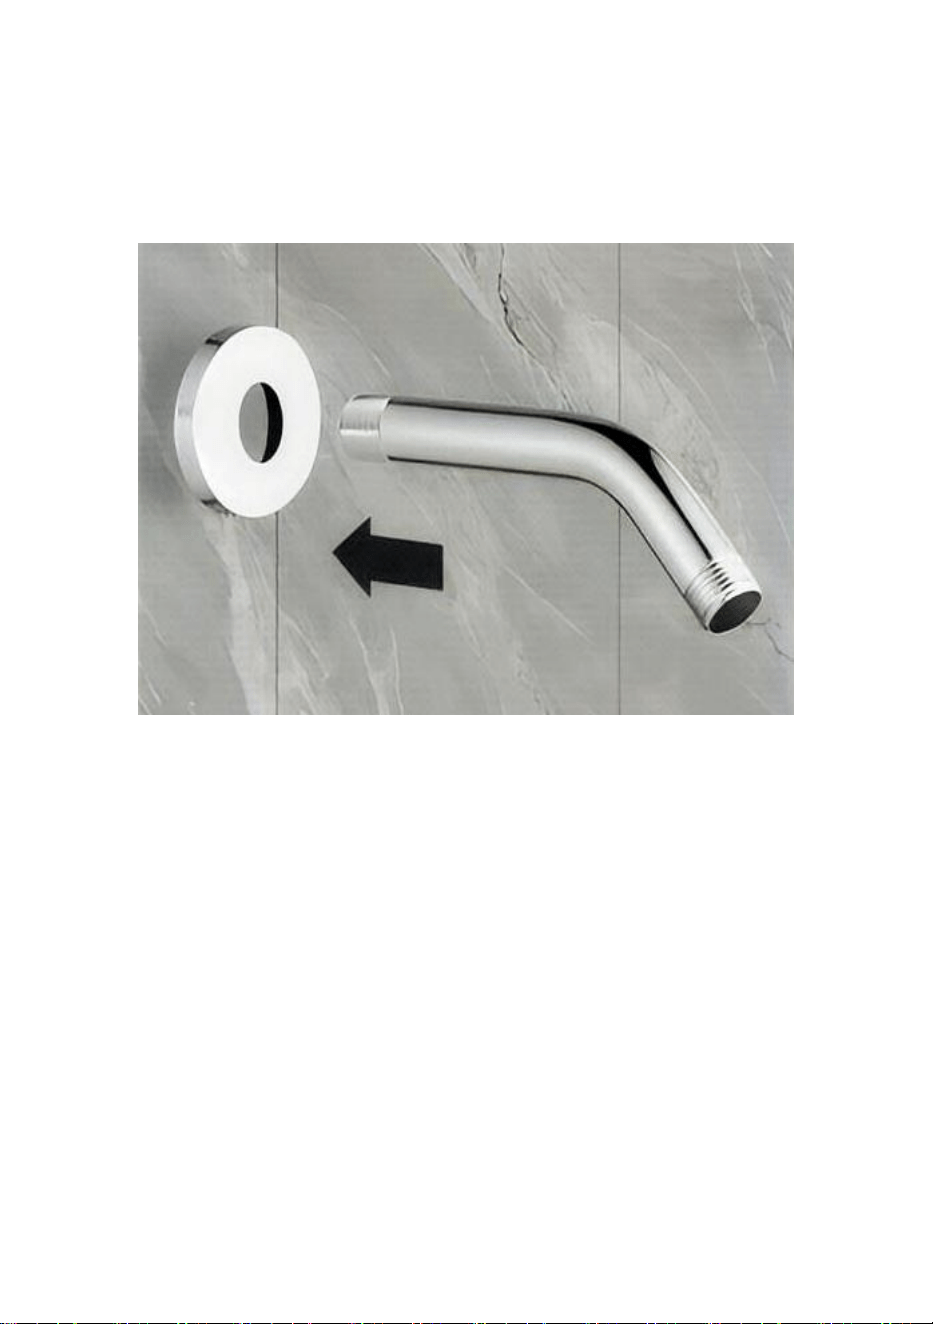
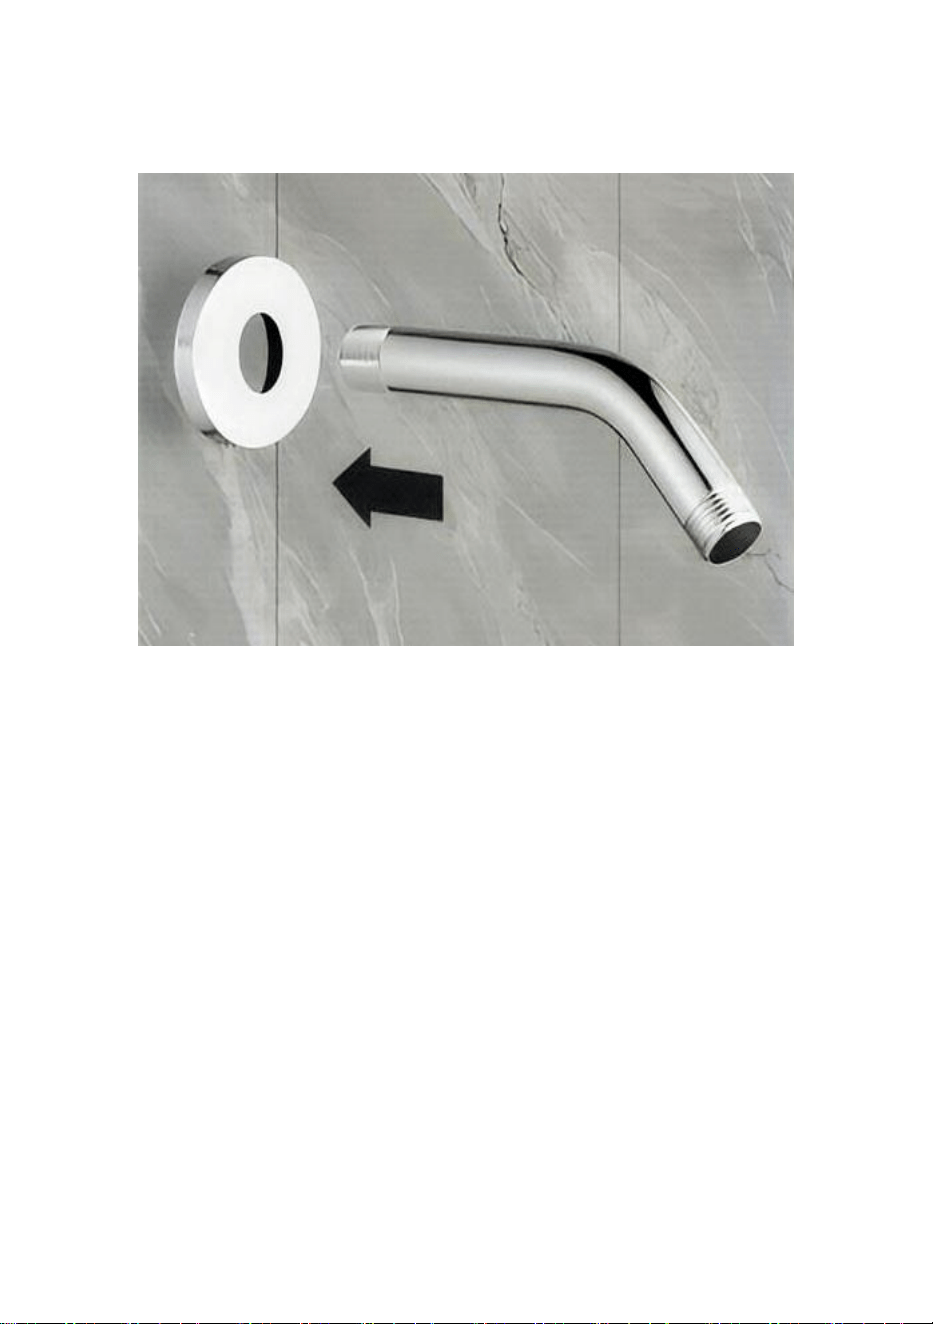
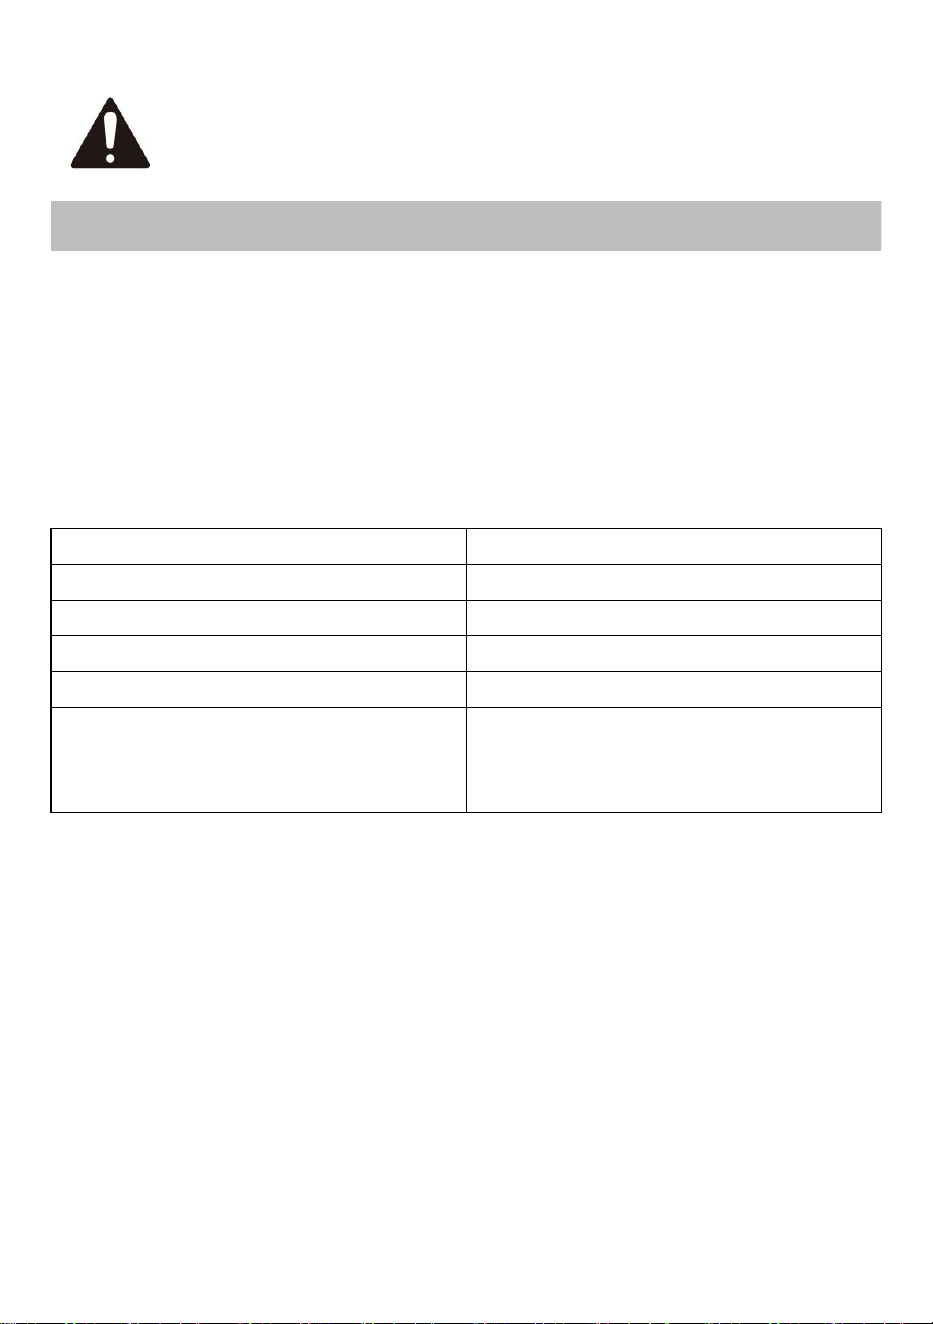
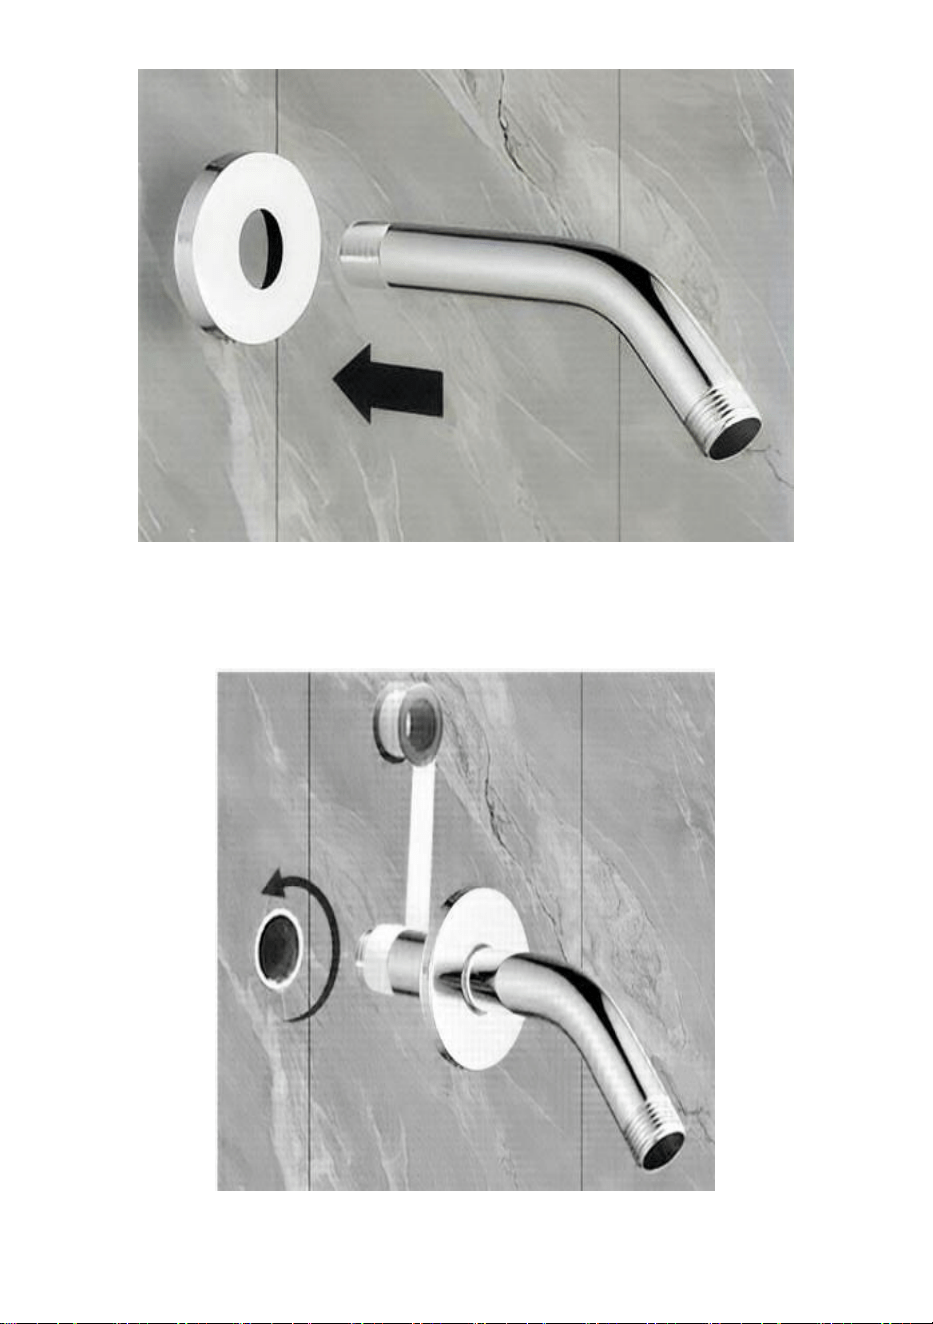
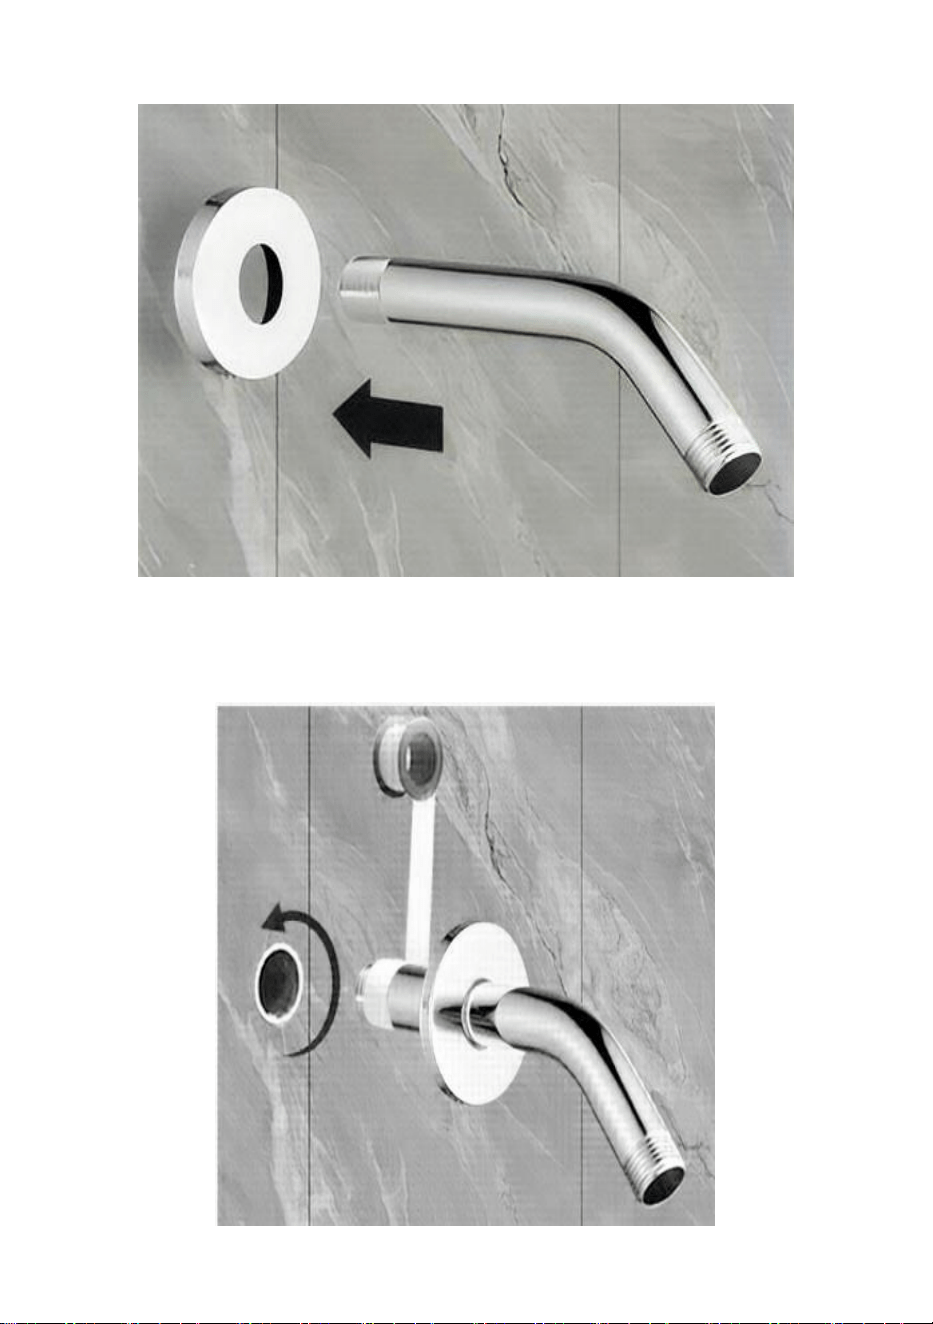
INSTALLATION METHOD
STEP 1. Put on the flange first.
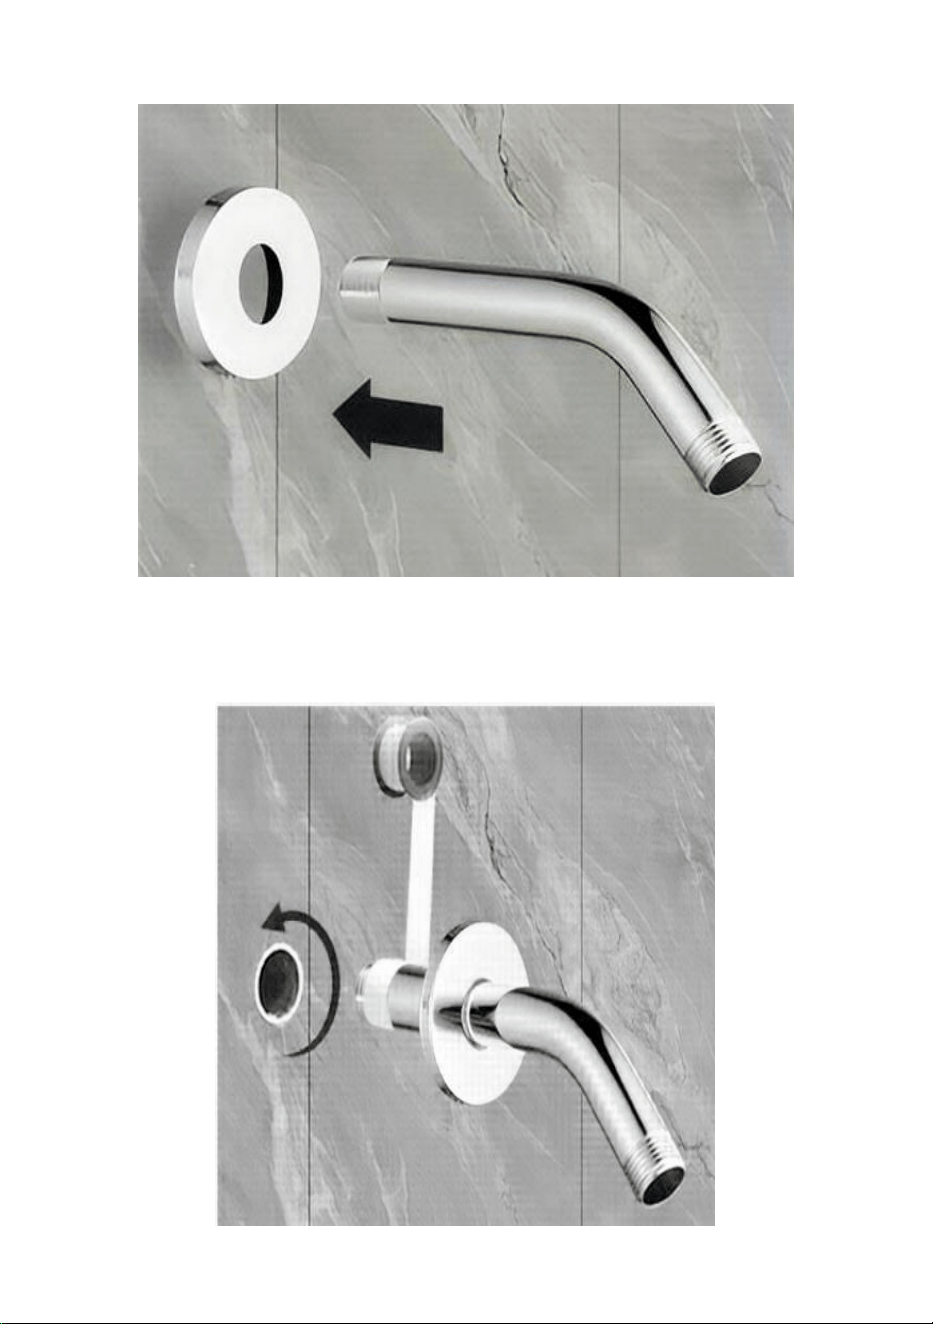
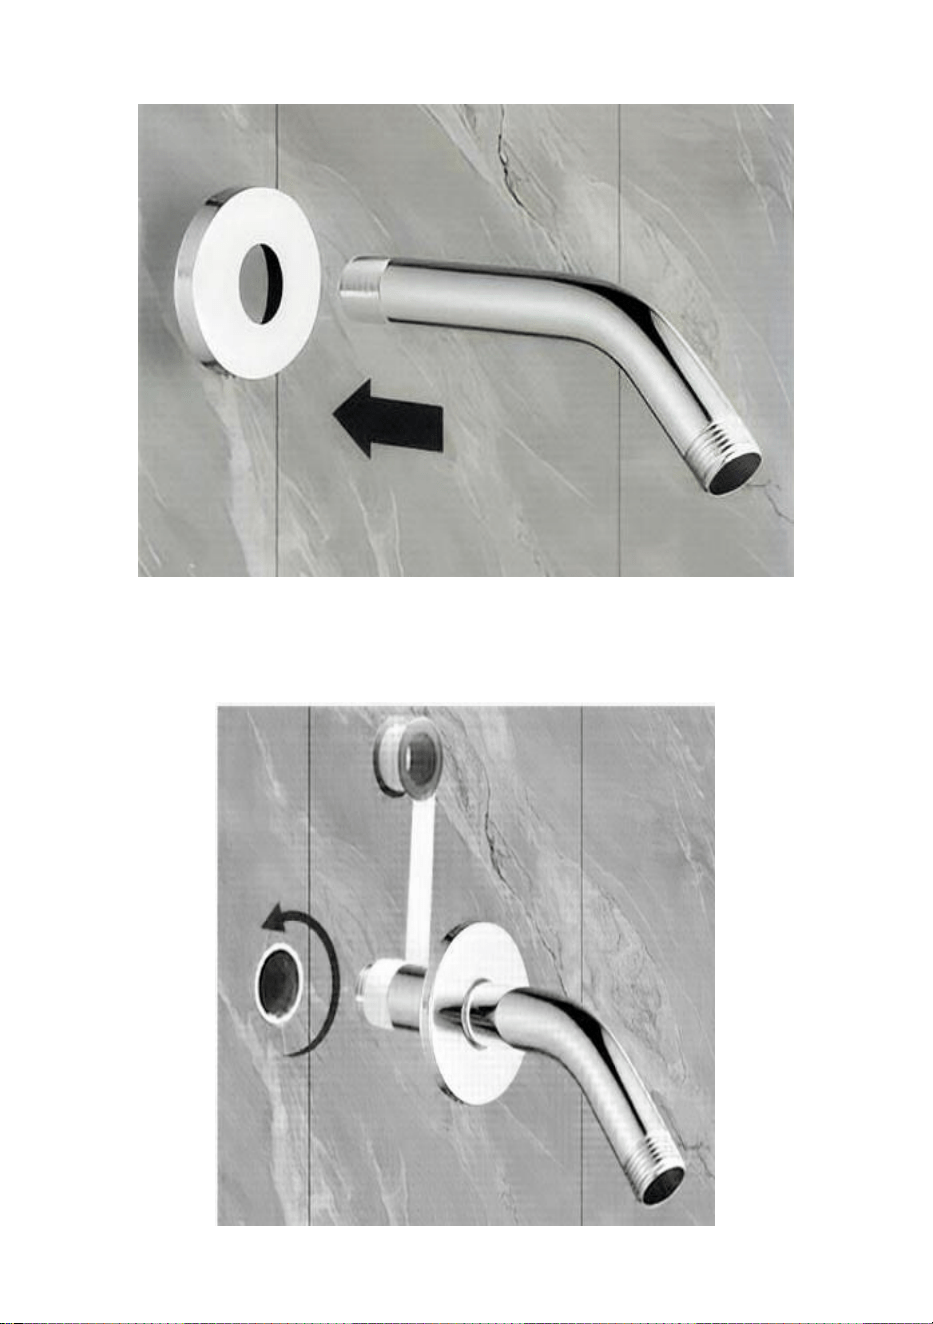
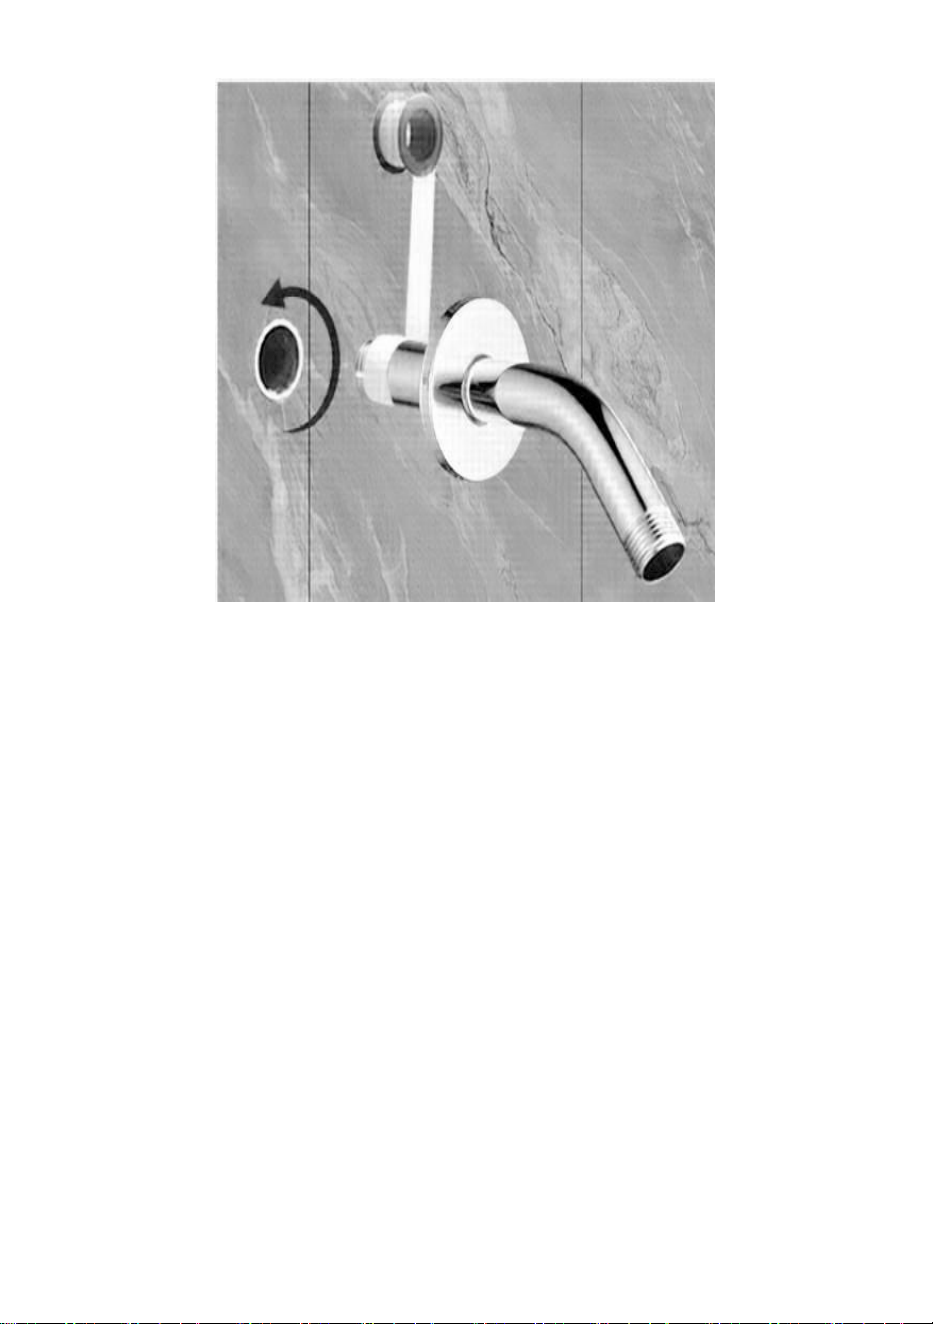
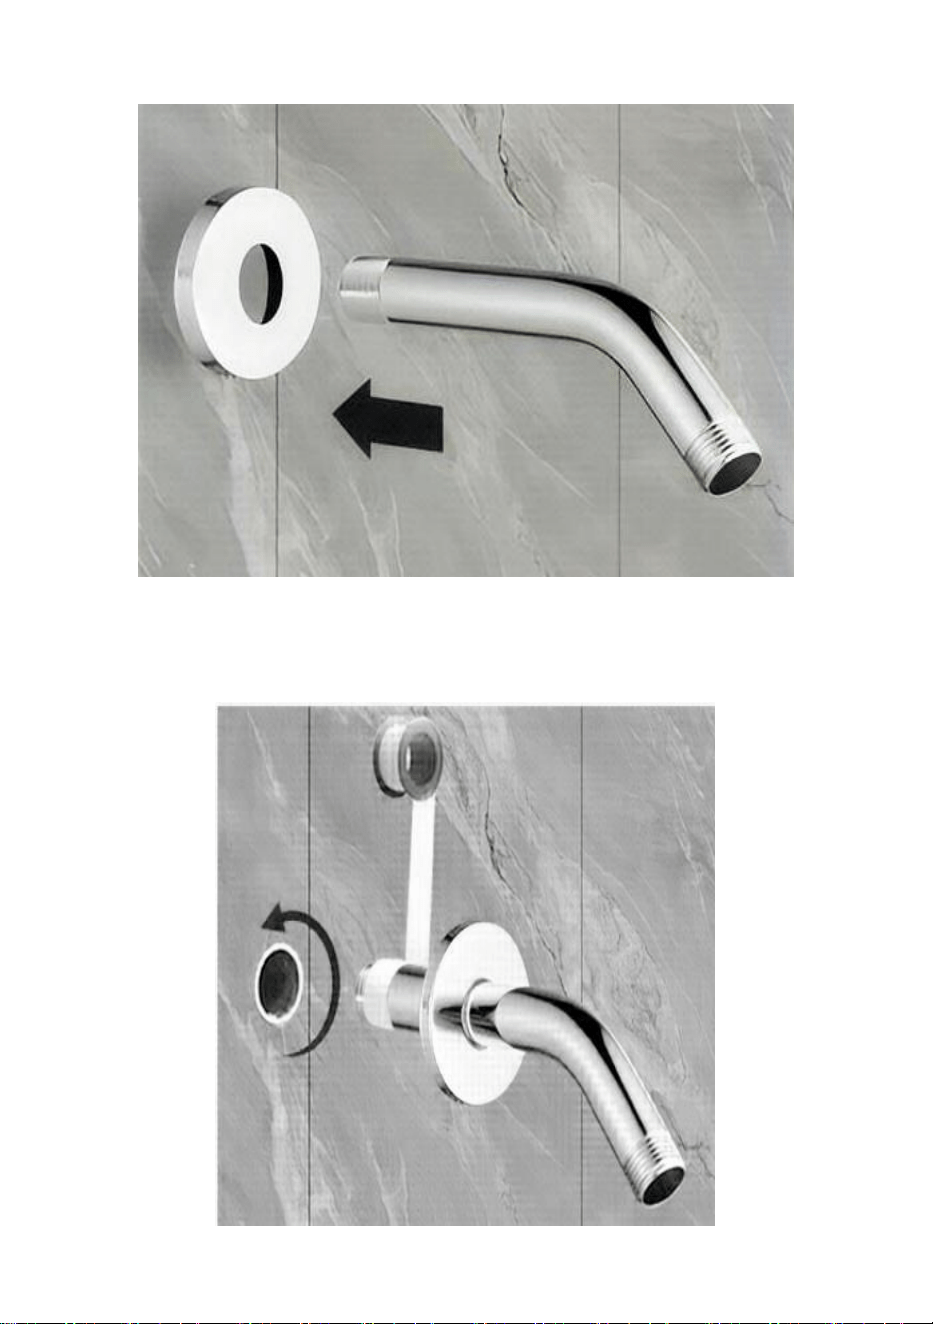
STEP 2. Wrap teflon around longer end,and screw the shower
arm into the wall.

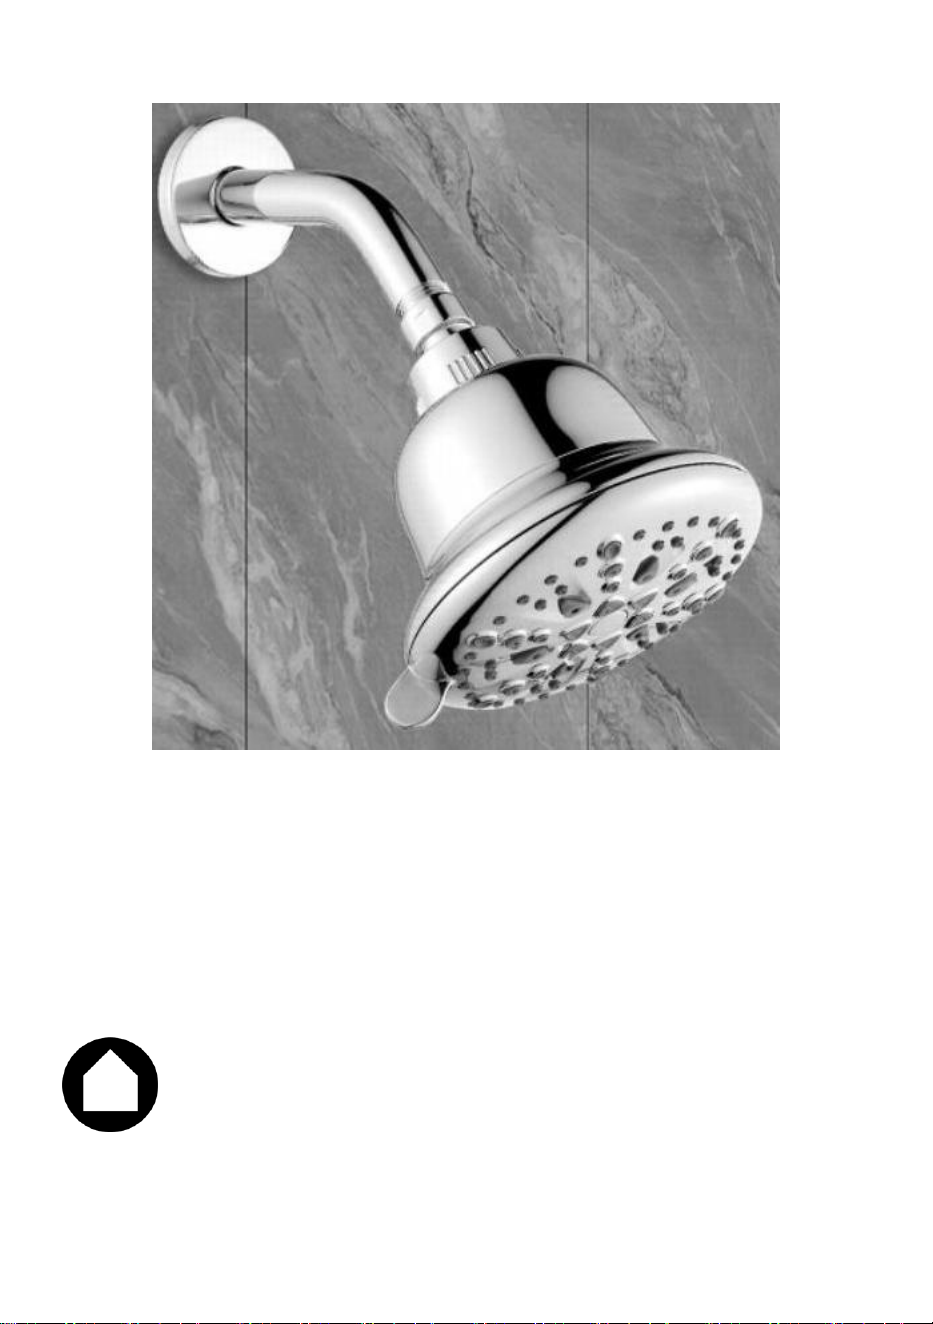
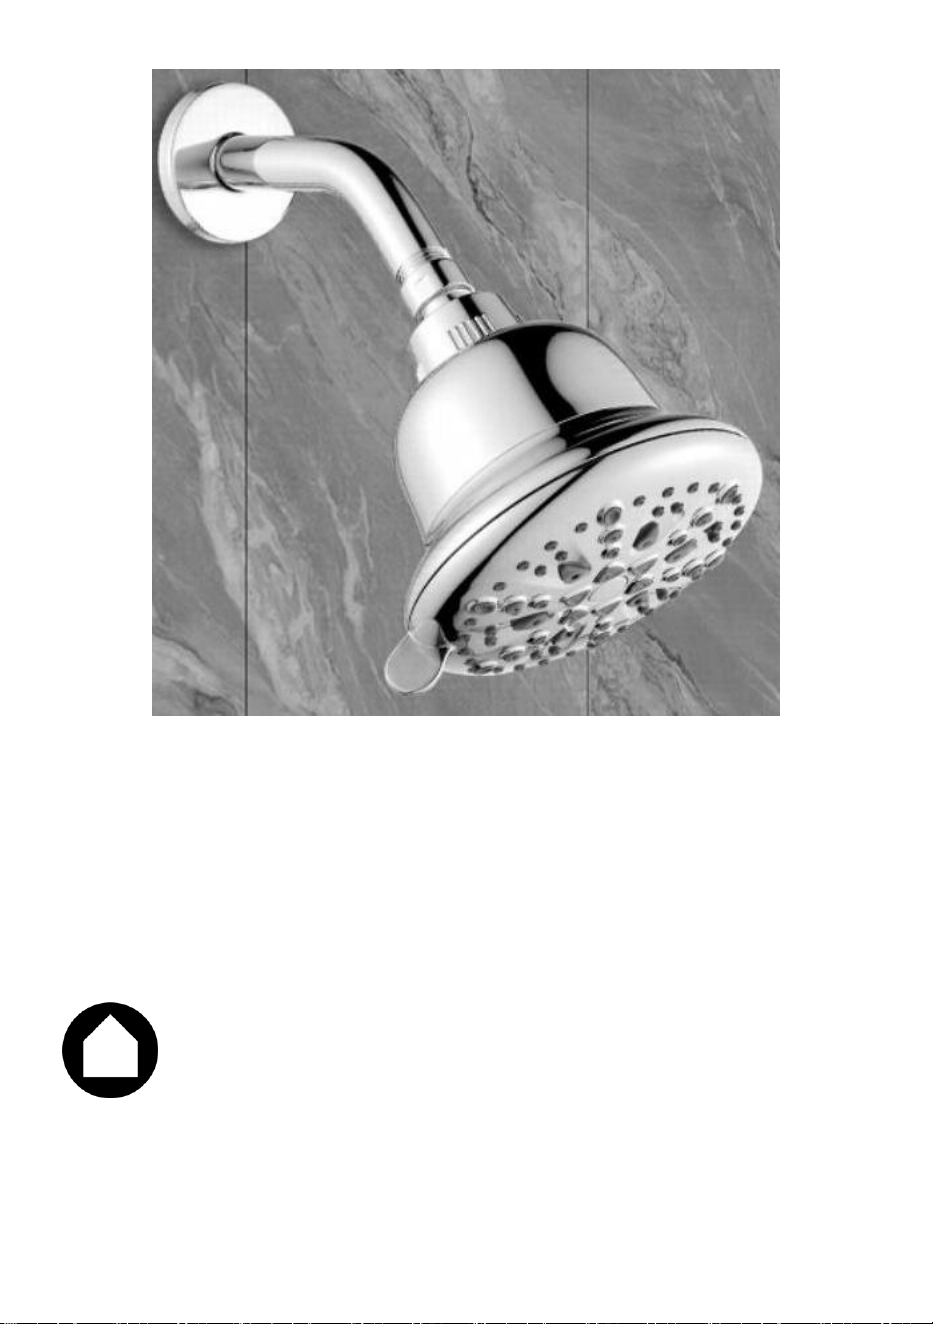
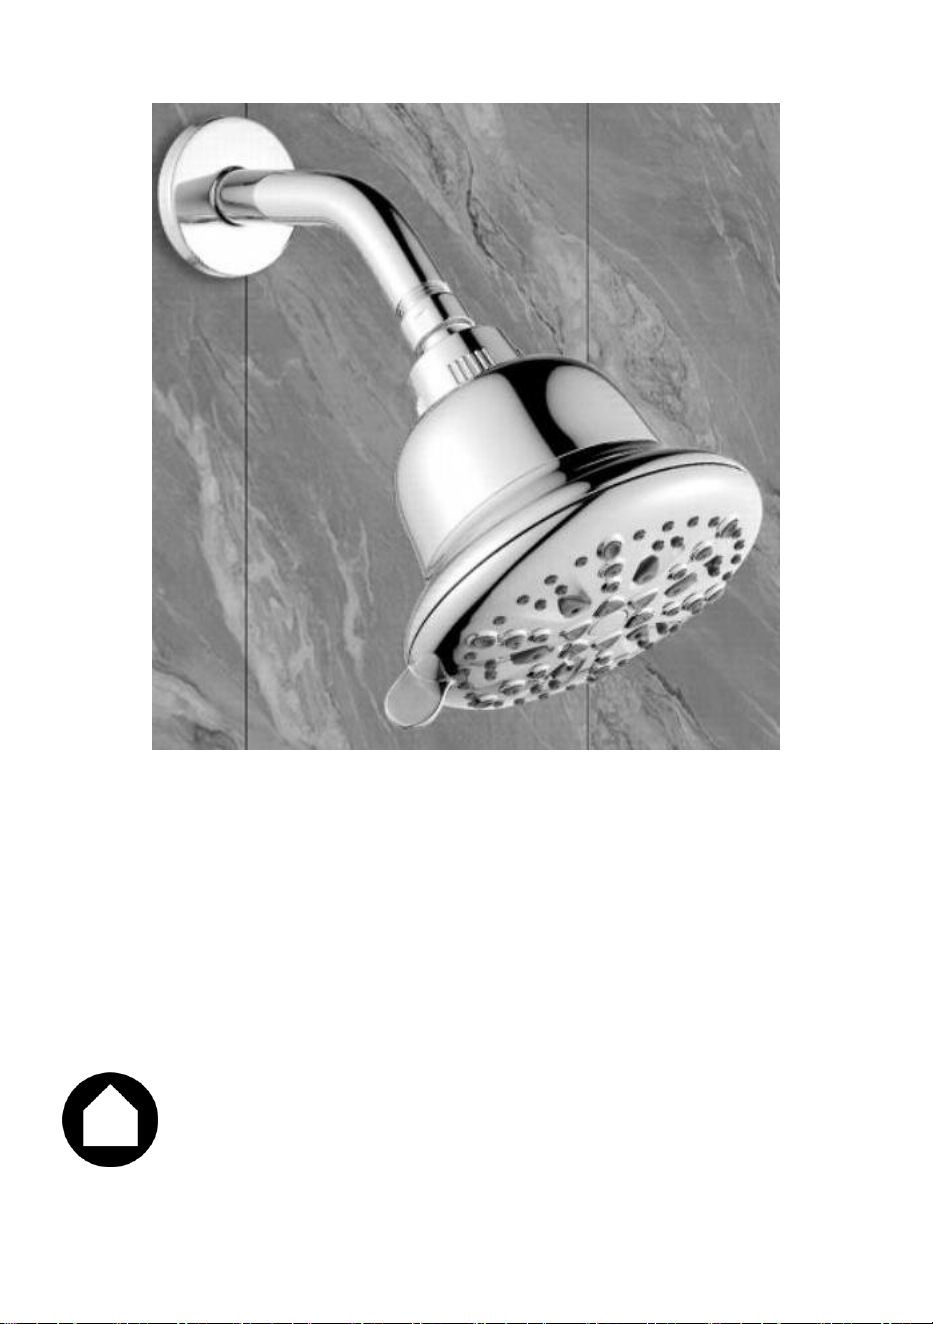
STEP 3.Install the shower head and check for leaks.
Sanven Technology Ltd.
Address: Suite 250, 9166 Anaheim Place, Rancho Cucamonga, CA 91730
Technical Support and E-Warranty Certificate
www.vevor.com/support

Model: 4 1 00 6
To jest oryginalna instrukcja, przed użyciem należy uważnie przeczytać
wszystkie instrukcje. VEVOR zastrzega sobie jasną interpretację naszej
instrukcji obsługi. Wygląd produktu będzie zależał od produktu, który
otrzymałeś. Prosimy o wybaczenie, że nie poinformujemy Cię ponownie,
jeśli w naszym produkcie pojawią się jakiekolwiek aktualizacje
technologiczne lub oprogramowania.
Shower Arm Extensions
Przed użyciem produktu należy zapoznać się z treścią
niniejszego dokumentu.
Niedopełnienie tego obowiązku może skutkować
poważnymi obrażeniami.
ZAPISZ TĘ INSTRUKCJĘ
ZAPISZ TĘ INSTRUKCJĘ
Zachowaj tę instrukcję, aby zapoznać się z ostrzeżeniami i środkami ostrożności
dotyczącymi bezpiecze
ń
stwa, procedurami montażu, obsługi, kontroli,
konserwacji i czyszczenia. Zapisz miesiąc i rok zakupu. Zachowaj tę instrukcję i
paragon w bezpiecznym i suchym miejscu, aby móc z nich skorzystać w
przyszłości.
Parametr
Model
4 1 00 6
Rozmiar
6 cali
Łożysko
10 funtów
Nitka
G1/2
Stosować
Głowica prysznicowa 12 cali i mniejsza
Akcesorium
1 kołnierz, 1 ramię prysznica, 1 taśma
uszczelniająca (teflonowa), 2 wymienne
pierścienie uszczelniające, instrukcja
obsługi
SPOSÓB INSTALACJI
KROK 1. Najpierw załóż kołnierz.
KROK 2. Owiń dłuższy koniec teflonem i przykręć ramię
prysznica do ściana .

KROK P 3. Zamontuj słuchawkę prysznica i sprawdź w celu
wykrycia przecieków.

Sanven Technology Ltd.
Adres: Suite 250, 9166 Anaheim Place, Rancho Cucamonga, CA 91730
Wsparcie techniczne i certyfikat e-gwarancji
www.vevor.com/support
Modell: 4 1 00 6
Dies ist die Originalanleitung. Bitte lesen Sie alle Anweisungen sorgfältig
durch, bevor Sie das Gerät in Betrieb nehmen. VEVOR behält sich eine
klare Auslegung unserer Bedienungsanleitung vor. Das Erscheinungsbild
des Produkts richtet sich nach dem Produkt, das Sie erhalten haben. Bitte
verzeihen Sie uns, dass wir Sie nicht erneut informieren, wenn es
Technologie- oder Software-Updates für unser Produkt gibt .
Shower Arm Extensions

Lesen Sie dieses Material, bevor Sie dieses Produkt
verwenden.
Andernfalls kann es zu schweren Verletzungen kommen.
BEWAHREN SIE DIESES HANDBUCH AUF
BEWAHREN SIE DIESES HANDBUCH AUF
Bewahren Sie dieses Handbuch auf, um die Sicherheitswarnungen und
Vorsichtsmaßnahmen sowie die Montage-, Betriebs-, Inspektions-, Wartungs- und
Reinigungsverfahren zu erfahren. Notieren Sie Monat und Jahr des Kaufs.
Bewahren Sie dieses Handbuch und den Kaufbeleg für zukünftige Verwendung an
einem sicheren und trockenen Ort auf.
P arameter
Modell
4 1 00 6
Größe
6 Zoll
Lager
10 Pfund
Faden
G1/2
Anwenden
Duschkopf bis 12 Zoll
Zubehör
1 Flansch, 1 Brausearm, 1 Dichtband
(Teflon), 2 Ersatzdichtringe,
Bedienungsanleitung
INSTALLATIONSMETHODE
SCHRITT 1. Setzen Sie zuerst den Flansch auf.
SCHRITT 2. Wickeln Sie Teflon um das längere Ende und
schrauben Sie den Duscharm in die Wand .
SCHRITT 3.Den Duschkopf montieren und prüfen auf
Undichtigkeiten.
Sanven Technology Ltd.
Adresse: Suite 250, 9166 Anaheim Place, Rancho Cucamonga, CA 91730
Technischer Support und E-Garantie-Zertifikat
www.vevor.com/support


Modèle: 4 1 00 6
Il s'agit de la notice d'utilisation d'origine. Veuillez lire attentivement toutes
les instructions du manuel avant de l'utiliser. VEVOR se réserve le droit
d'interpréter clairement notre manuel d'utilisation. L'apparence du produit
dépend du produit que vous avez reçu. Veuillez nous excuser, nous ne
vous informerons plus si des mises à jour technologiques ou logicielles
sont disponibles sur notre produit.
Shower Arm Extensions
Lisez ce document avant d’utiliser ce produit.
Le non-respect de cette consigne peut entraîner des
blessures graves.
CONSERVER CE MANUEL
CONSERVER CE MANUEL
Conservez ce manuel pour les avertissements et précautions de sécurité, les
procédures d'assemblage, d'utilisation, d'inspection, d'entretien et de nettoyage.
Écrivez le mois et l'année d'achat. Conservez ce manuel et le reçu dans un endroit
sûr et sec pour référence ultérieure.
P aramètre
Modèle
4 1 00 6
Taille
6 pouces
Palier
10 livres
Fil
G1/2
Appliquer
Pommeau de douche de 12 pouces et
moins
Accessoire
1 bride, 1 bras de douche, 1 ruban
d'étanchéité (Téflon), 2 joints
d'étanchéité de rechange, manuel
d'instructions
METHODE D'INSTALLATION
ÉTAPE 1. Placez d’abord la bride.
ÉTAPE 2. Enroulez le téflon autour de l'extrémité la plus longue
et vissez le bras de douche dans le mur .
ÉTAPE P 3.Installez la pomme de douche et vérifiez pour les
fuites.

Sanven Technologie Ltée.
Adresse : Suite 250, 9166 Anaheim Place, Rancho Cucamonga, CA 91730
Assistance technique et certificat de garantie électronique
www.vevor.com/support

Model: 4 1 00 6
Dit is de originele instructie, lees alle handleidingen zorgvuldig door
voordat u het product gebruikt. VEVOR behoudt zich een duidelijke
interpretatie van onze gebruikershandleiding voor. Het uiterlijk van het
product is afhankelijk van het product dat u hebt ontvangen. Vergeef ons
dat we u niet opnieuw zullen informeren als er technologie- of
software-updates voor ons product zijn .
Shower Arm Extensions
Lees dit materiaal voordat u dit product gebruikt.
Als u dit niet doet, kan dit ernstig letsel tot gevolg hebben.
BEWAAR DEZE HANDLEIDING
BEWAAR DEZE HANDLEIDING
Bewaar deze handleiding voor de veiligheidswaarschuwingen en
voorzorgsmaatregelen, montage, bediening, inspectie, onderhoud en
reinigingsprocedures. Schrijf de maand en het jaar van aankoop op. Bewaar deze
handleiding en de kassabon op een veilige en droge plaats voor toekomstig
gebruik.
Parameter
Model
4 1 00 6
Maat
6 inch
Handelswijze
10 pond
Draad
G1/2
Toepassen
Douchekop van 12 inch en kleiner
Accessoire
1 flens, 1 douchearm, 1 afdichtband
(teflon), 2 vervangende afdichtringen,
gebruiksaanwijzing
INSTALLATIEMETHODE
STAP 1. Plaats eerst de flens.
STAP 2. Wikkel teflon om het langere uiteinde en schroef de
douchearm erin. muur .
STAP 3. Installeer de douchekop en controleer op lekkages.
Sanven Technologie Ltd.
Adres: Suite 250, 9166 Anaheim Place, Rancho Cucamonga, CA 91730
Technische ondersteuning en e-garantiecertificaat
www.vevor.com/support

Modell: 4 1 00 6
Detta är den ursprungliga instruktionen, läs alla instruktioner noggrant
innan du använder den. VEVOR reserverar sig för en tydlig tolkning av vår
användarmanual. Utseendet på produkten är beroende av den produkt du
fått. Ursäkta oss att vi inte kommer att informera dig igen om det finns
någon teknik eller mjukvaruuppdateringar på vår produkt.
Shower Arm Extensions
Läs detta material innan du använder denna produkt.
Underlåtenhet att göra det kan resultera i allvarliga skador.
SPARA DENNA MANUAL
SPARA DENNA MANUAL
Spara denna handbok för säkerhetsvarningar och försiktighetsåtgärder, montering,
drift, inspektion, underhåll och rengöring. Skriv månad och år för köpet. Förvara
denna bruksanvisning och kvittot på en säker och torr plats för framtida referens.
P arameter
M odel
4 1 00 6
Storlek
6 tum
B öring
10 pund
Tråd
G1/2
Tillämpas
12 tum och under duschhuvud
Åtföljande
1 fläns, 1 duscharm, 1 tätningstejp
(Teflon), 2 utbytbara tätningsringar,
bruksanvisning
INSTALLATIONSMETOD
STEG 1. Sätt på flänsen först.
STEG 2. Linda teflon runt den längre änden och skruva in
duscharmen i duschen w alla.
STEG P 3. Montera duschhuvudet och kontrollera för läckor.
Sanven Technology Ltd.
Adress: Suite 250, 9166 Anaheim Place, Rancho Cucamonga, CA 91730
Teknisk support och e-garanticertifikat
www.vevor.com/support

Modelo: 4 1 00 6
Estas son las instrucciones originales, lea atentamente todas las
instrucciones del manual antes de utilizar el producto. VEVOR se reserva
una interpretación clara de nuestro manual de usuario. La apariencia del
producto estará sujeta al producto que recibió. Perdónenos por no
informarle nuevamente si hay actualizaciones de tecnología o software
en nuestro producto.
Shower Arm Extensions

Lea este material antes de usar este producto.
No hacerlo puede provocar lesiones graves.
GUARDE ESTE MANUAL
GUARDE ESTE MANUAL
Conserve este manual para conocer las advertencias y precauciones de
seguridad, el montaje, el funcionamiento, la inspección, el mantenimiento y los
procedimientos de limpieza. Escriba el mes y el año de compra. Conserve este
manual y el recibo en un lugar seguro y seco para futuras consultas.
Parámetro
Modelo
4 1 00 6
Tamaño
6 pulgadas
Cojinete
10 libras
Hilo
G1/2
Aplicar
Cabezal de ducha de 12 pulgadas o
menos
Accesorio
1 brida, 1 brazo de ducha, 1 cinta de
sellado (teflón), 2 anillos de sellado de
repuesto, manual de instrucciones
MÉTODO DE INSTALACIÓN

PASO 1. Coloque primero la brida.
PASO 2. Envuelva teflón alrededor del extremo más largo y
atornille el brazo de la ducha en el muro .
PASO 3. Instale el cabezal de la ducha y verifique para fugas.
Tecnología Sanven Ltd.
Dirección: Suite 250, 9166 Anaheim Place, Rancho Cucamonga, CA
91730
Soporte técnico y certificado de garantía electrónica
www.vevor.com/support


Modello: 4 1 00 6
Questa è l'istruzione originale, si prega di leggere attentamente tutte le
istruzioni del manuale prima di utilizzare. VEVOR si riserva una chiara
interpretazione del nostro manuale utente. L'aspetto del prodotto sarà
soggetto al prodotto ricevuto. Vi preghiamo di perdonarci se non vi
informeremo di nuovo se ci sono aggiornamenti tecnologici o software sul
nostro prodotto.
Shower Arm Extensions
Leggere attentamente il presente materiale prima di
utilizzare il prodotto.
La mancata osservanza di questa precauzione può causare
gravi lesioni.
SALVA QUESTO MANUALE
SALVA QUESTO MANUALE
Conservare questo manuale per le avvertenze e le precauzioni di sicurezza, le
procedure di montaggio, funzionamento, ispezione, manutenzione e pulizia.
Annotare il mese e l'anno di acquisto. Conservare questo manuale e la ricevuta in
un luogo sicuro e asciutto per riferimento futuro.
Parametro
Modello
4 1 00 6
Misurare
6 pollici
Cuscinetto
10 libbre
Filo
G1/2
Fare domanda a
Soffione doccia da 12 pollici e inferiore
Accessorio
1 flangia, 1 braccio doccia, 1 nastro di
tenuta (Teflon), 2 anelli di tenuta di
ricambio, manuale di istruzioni
METODO DI INSTALLAZIONE
FASE 1. Posizionare prima la flangia.
FASE 2. Avvolgere il teflon attorno all'estremità più lunga e
avvitare il braccio della doccia nel parete .

FASE 3. Installare il soffione della doccia e controllare per
perdite.
Azienda
Indirizzo: Suite 250, 9166 Anaheim Place, Rancho Cucamonga, CA 91730
Supporto tecnico e certificato di garanzia elettronica
www.vevor.com/support