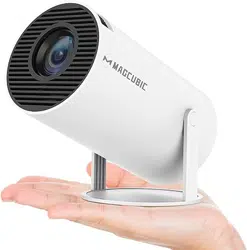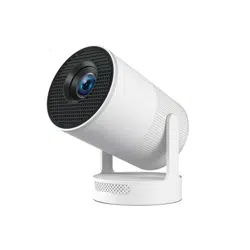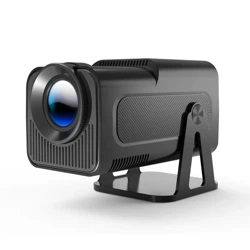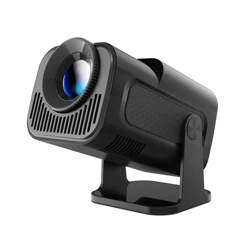
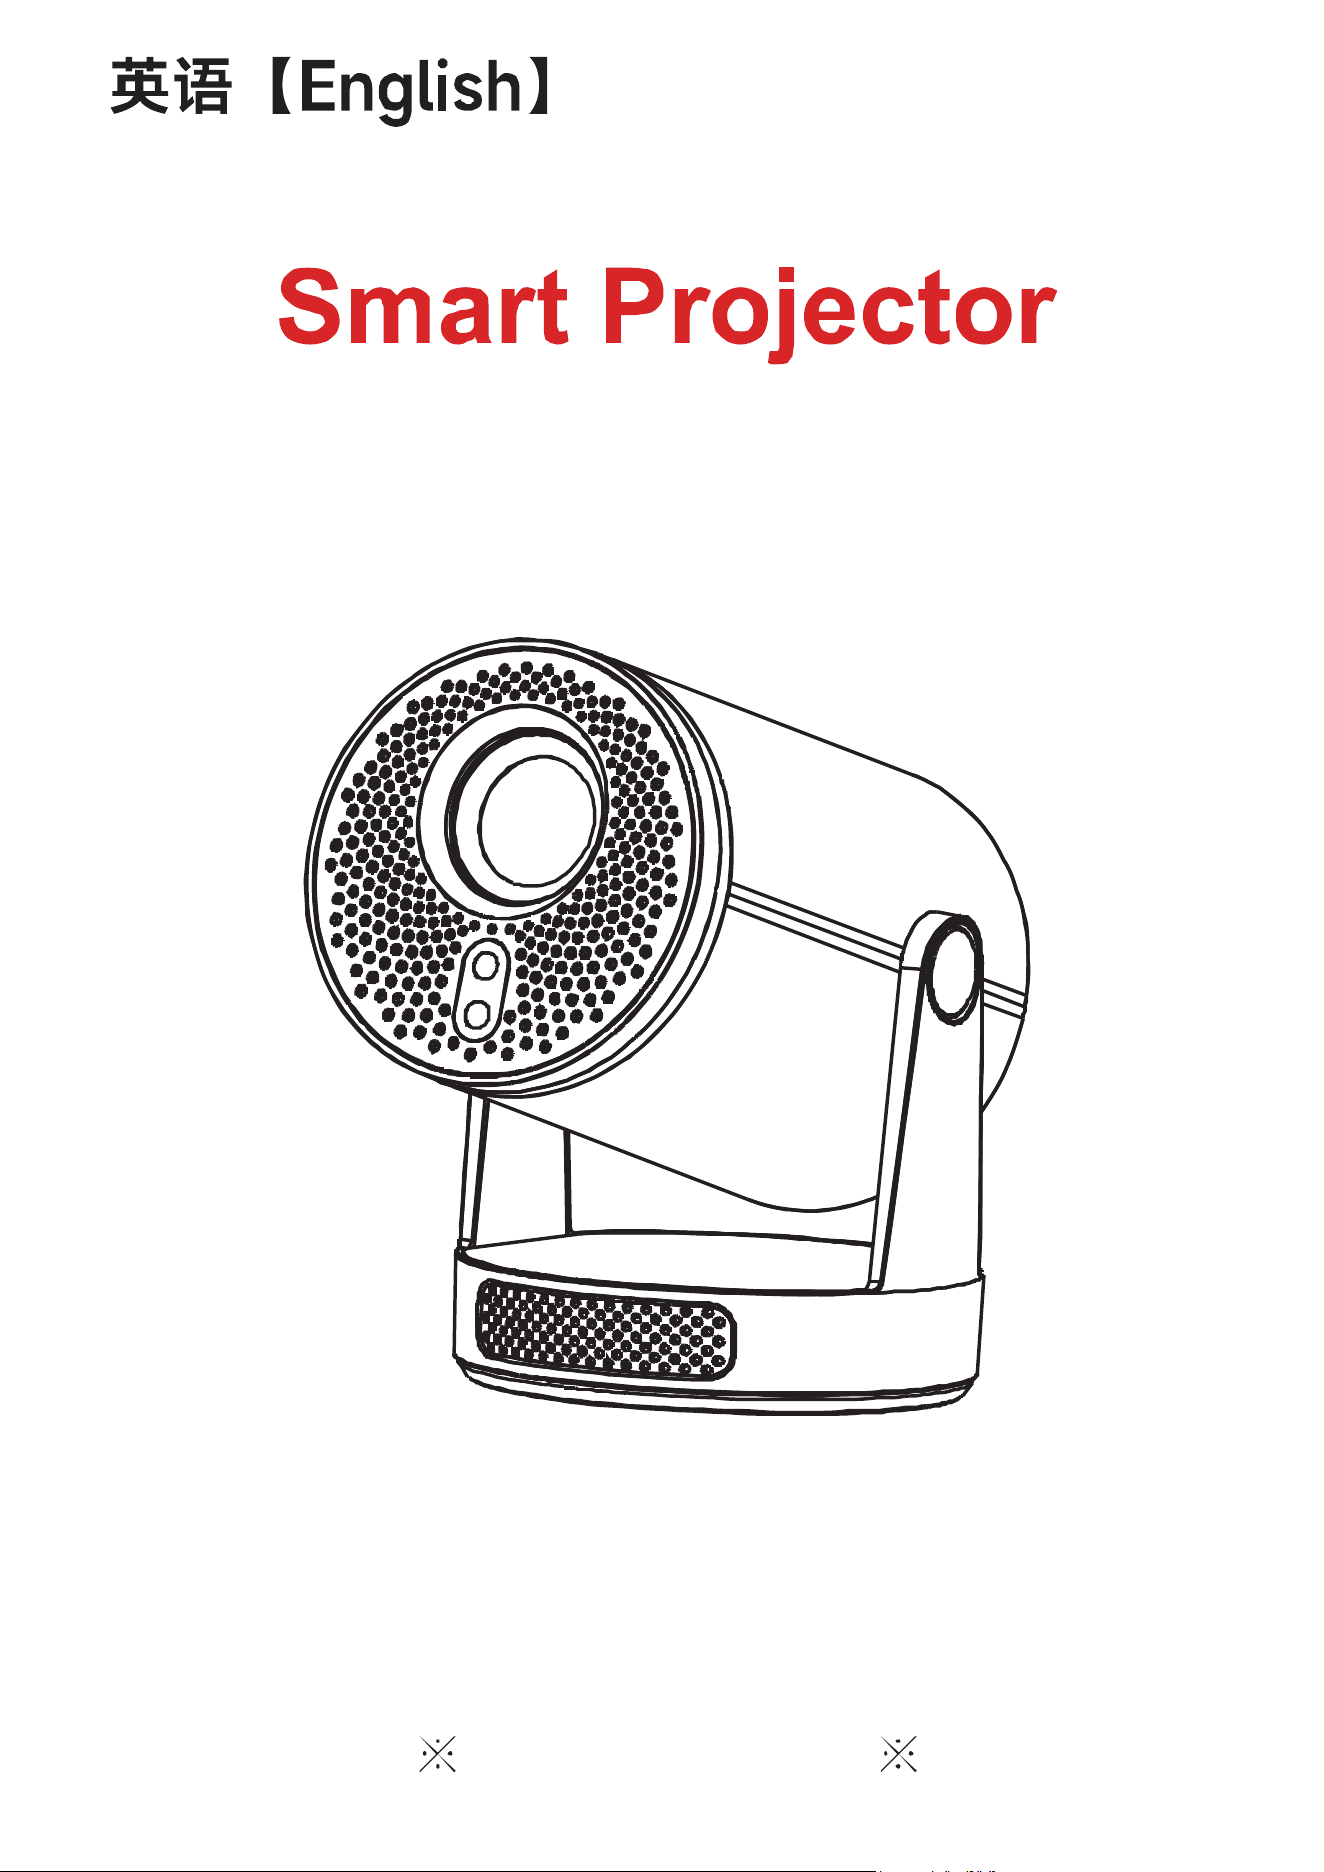
HY320Pro
Quick Start Guide

Safety Precautions
Please read this manual carefully before using the projector and
keep it in a safe place for future reference.
1. The projector is neither dustproof nor waterproof.
2. To reduce the risk of fire or electric shock, do not expose
the projector to rain, moisture, or liquids.
3. Use only the original power adapter supplied with the
projector. Operate the projector only with the specified
power supply.
4. The projector emits a strong beam of light from the lens.
Never look directly into the lens while the projector is
operating, as this may cause eye damage. Pay particular
attention to preventing children from looking directly into
the light beam.
5. Do not block the air inlet or outlet vents. Poor ventilation
may cause the projector to overheat, shorten its service life,
or create a safety hazard.
6. Regularly remove dust from the air inlet and outlet vents
on both sides of the projector using a vacuum cleaner.
Prolonged use in a dusty environment may cause dust to
accumulate inside the cooling system, resulting in
overheating, malfunction, or other safety hazards.
7. Do not use the projector in oily, humid, dusty, or smoky
environments. Exposure to oil, chemicals, excessive
moisture, or dust may damage the projector and create
safety hazards.
8. Handle the projector with care during installation, use,
and transportation. Protect it from impacts, vibration, and
accidental drops.
9. Disconnect the projector from the power supply if it will
not be used for an extended period.
10. Do not disassemble, inspect, modify, or repair the
projector yourself. Servicing must be performed by qualified
service personnel.
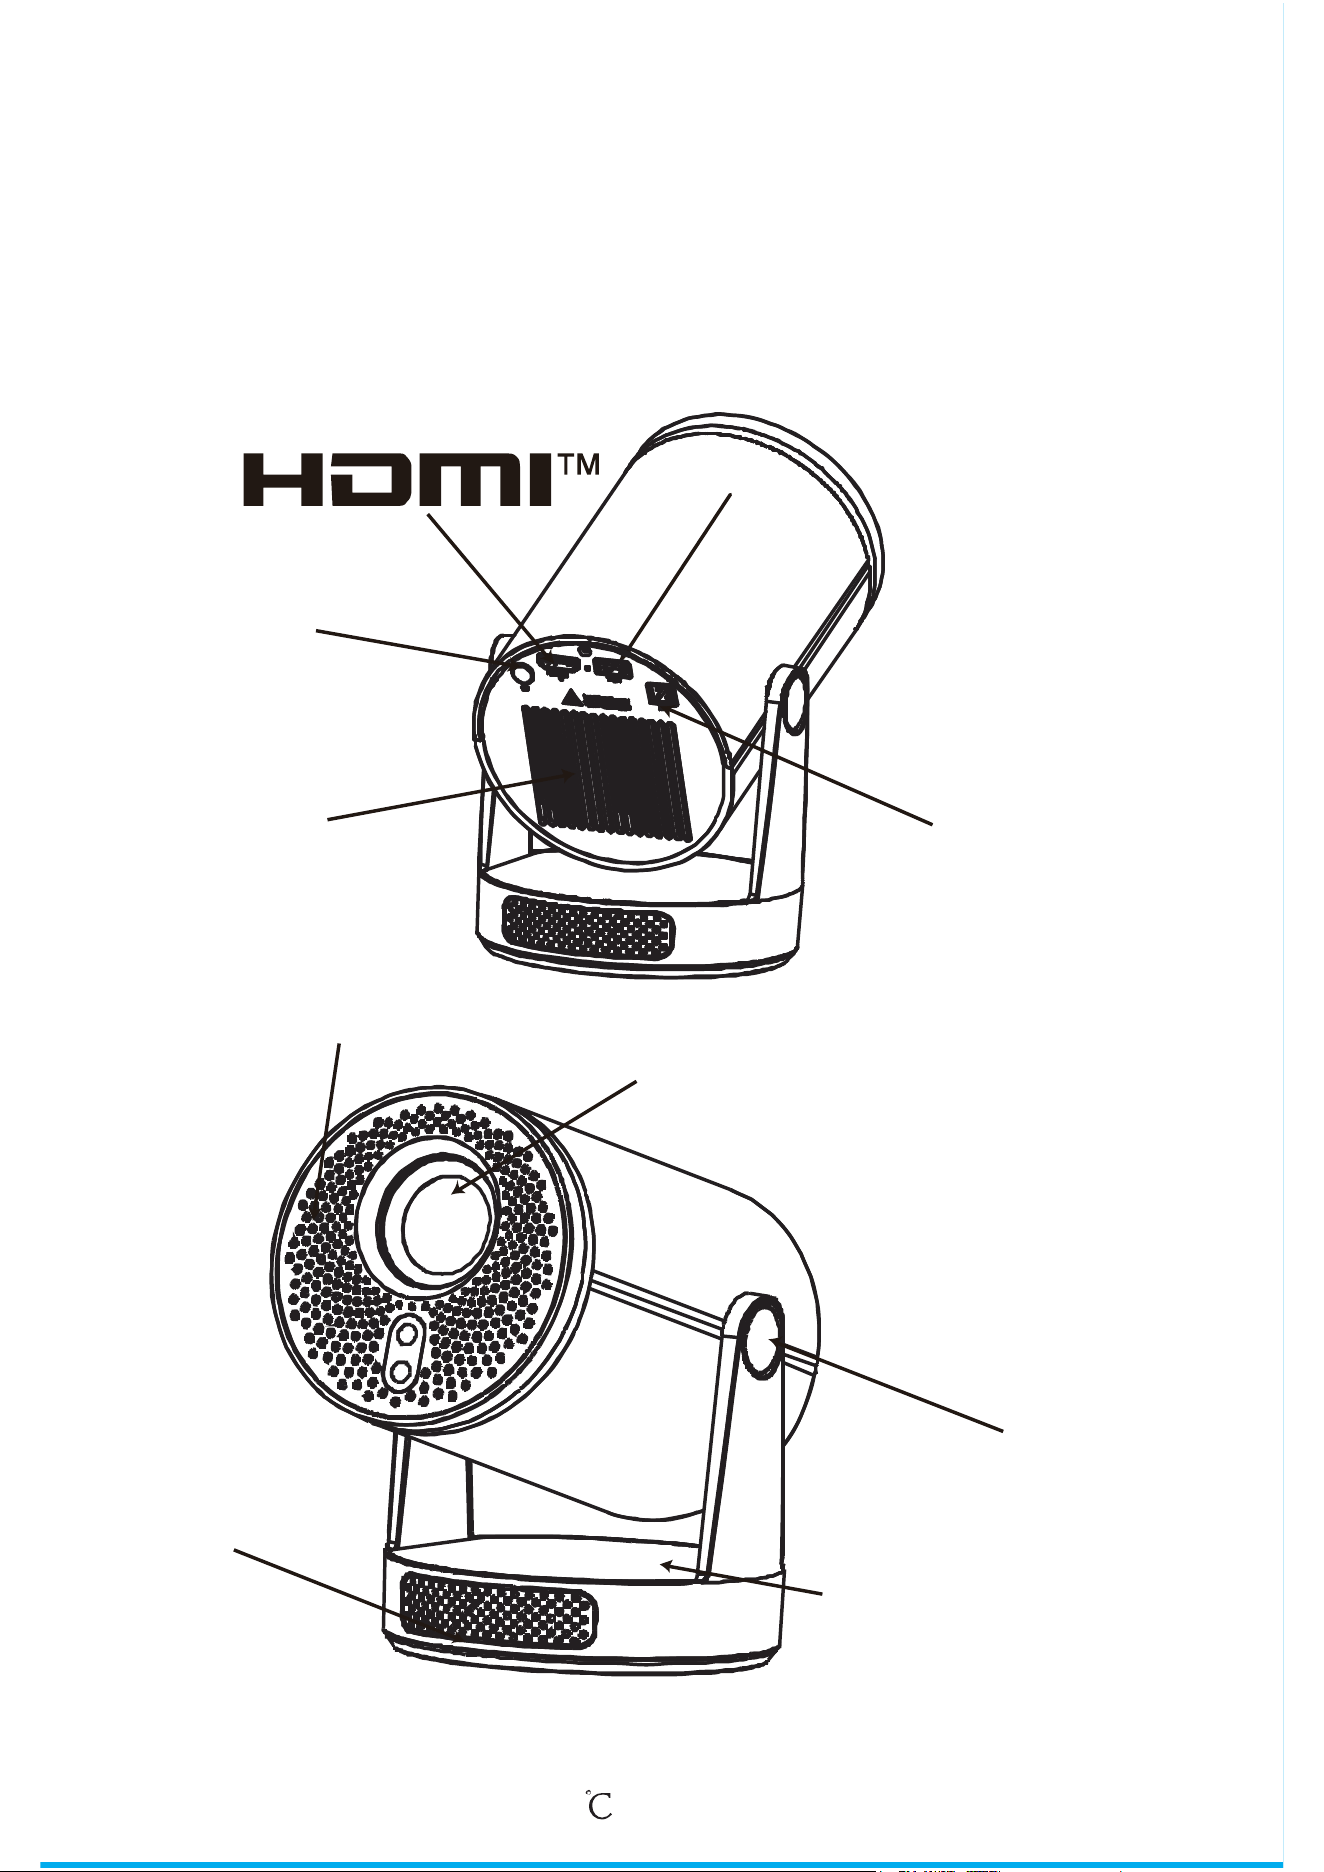
Product Overview
The product images and function descriptions shown below
are for reference only. Please refer to the actual product for
final specifications and appearance.
Product design and specifications are subject to change
without prior notice.
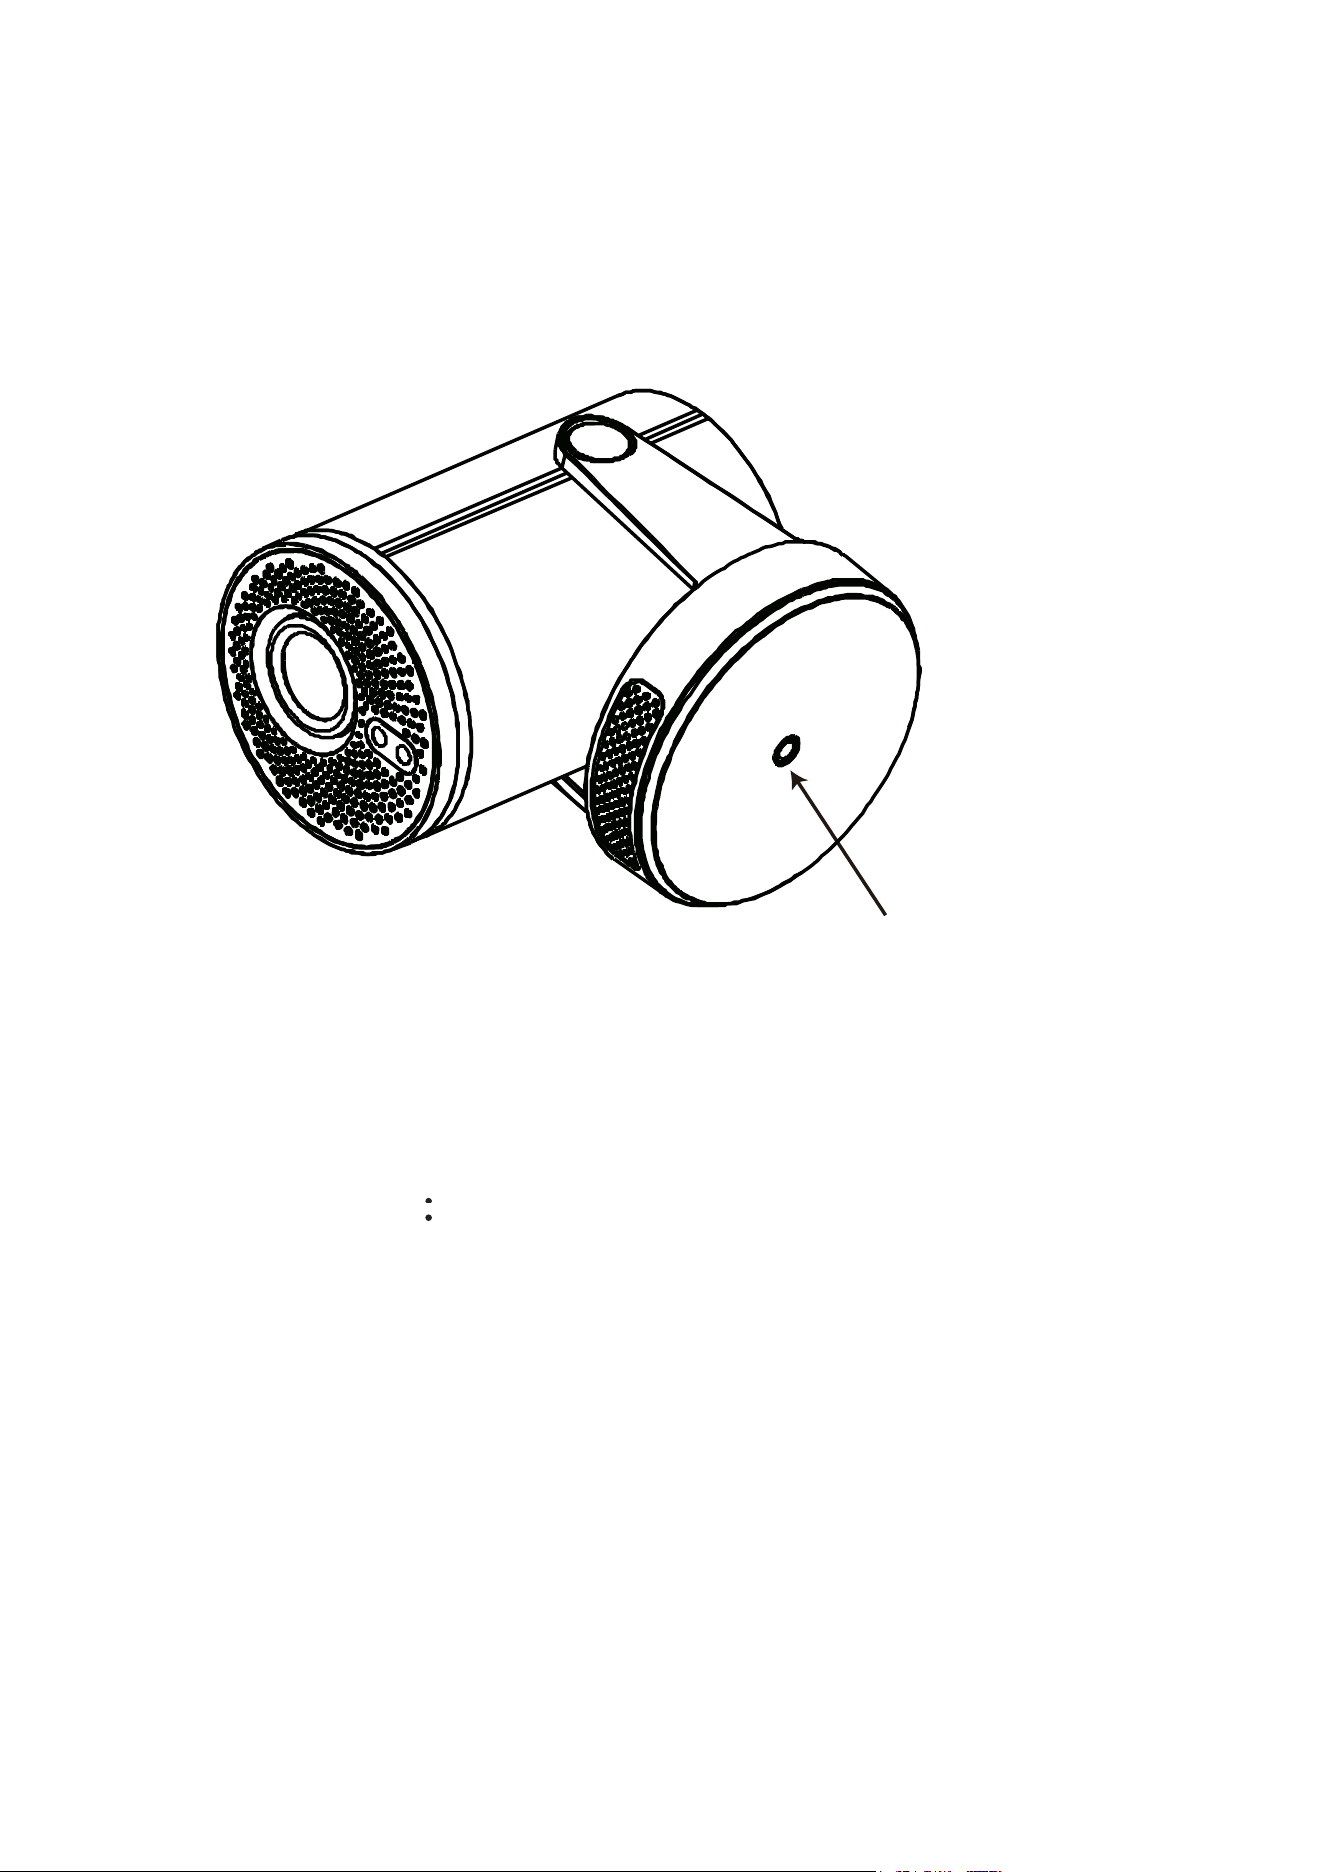
Vent
POWER
ON/OFF
USB
ROTATE
Speaker
Lens
Air inlet
The product’s
nameplate is located
Input1: 45V 0.95A Input2: 12V 1.1A
Operating temperature: 25 Altitude: 2000 m or less
on the bottom
Align the mounting screw with the threaded hole on the bottom of
the projector. Insert and securely tighten the screw to complete
the installation.
Mounting Bracket Installation
Safety Precautions
Thread Size: 1/4-inch
imperial thread
Thread Length: 5 mm
1. Ensure that the wall, ceiling, and mounting bracket can support
at least five times the combined weight of the projector and
bracket.
2. Do not apply glue, oil, or lubricants to the mounting screw, as
these substances may damage the projector housing and cause the
projector to fall.
3. Make sure the mounting screw is securely tightened before use.
4. Check the mounting screw regularly and retighten it if
necessary.
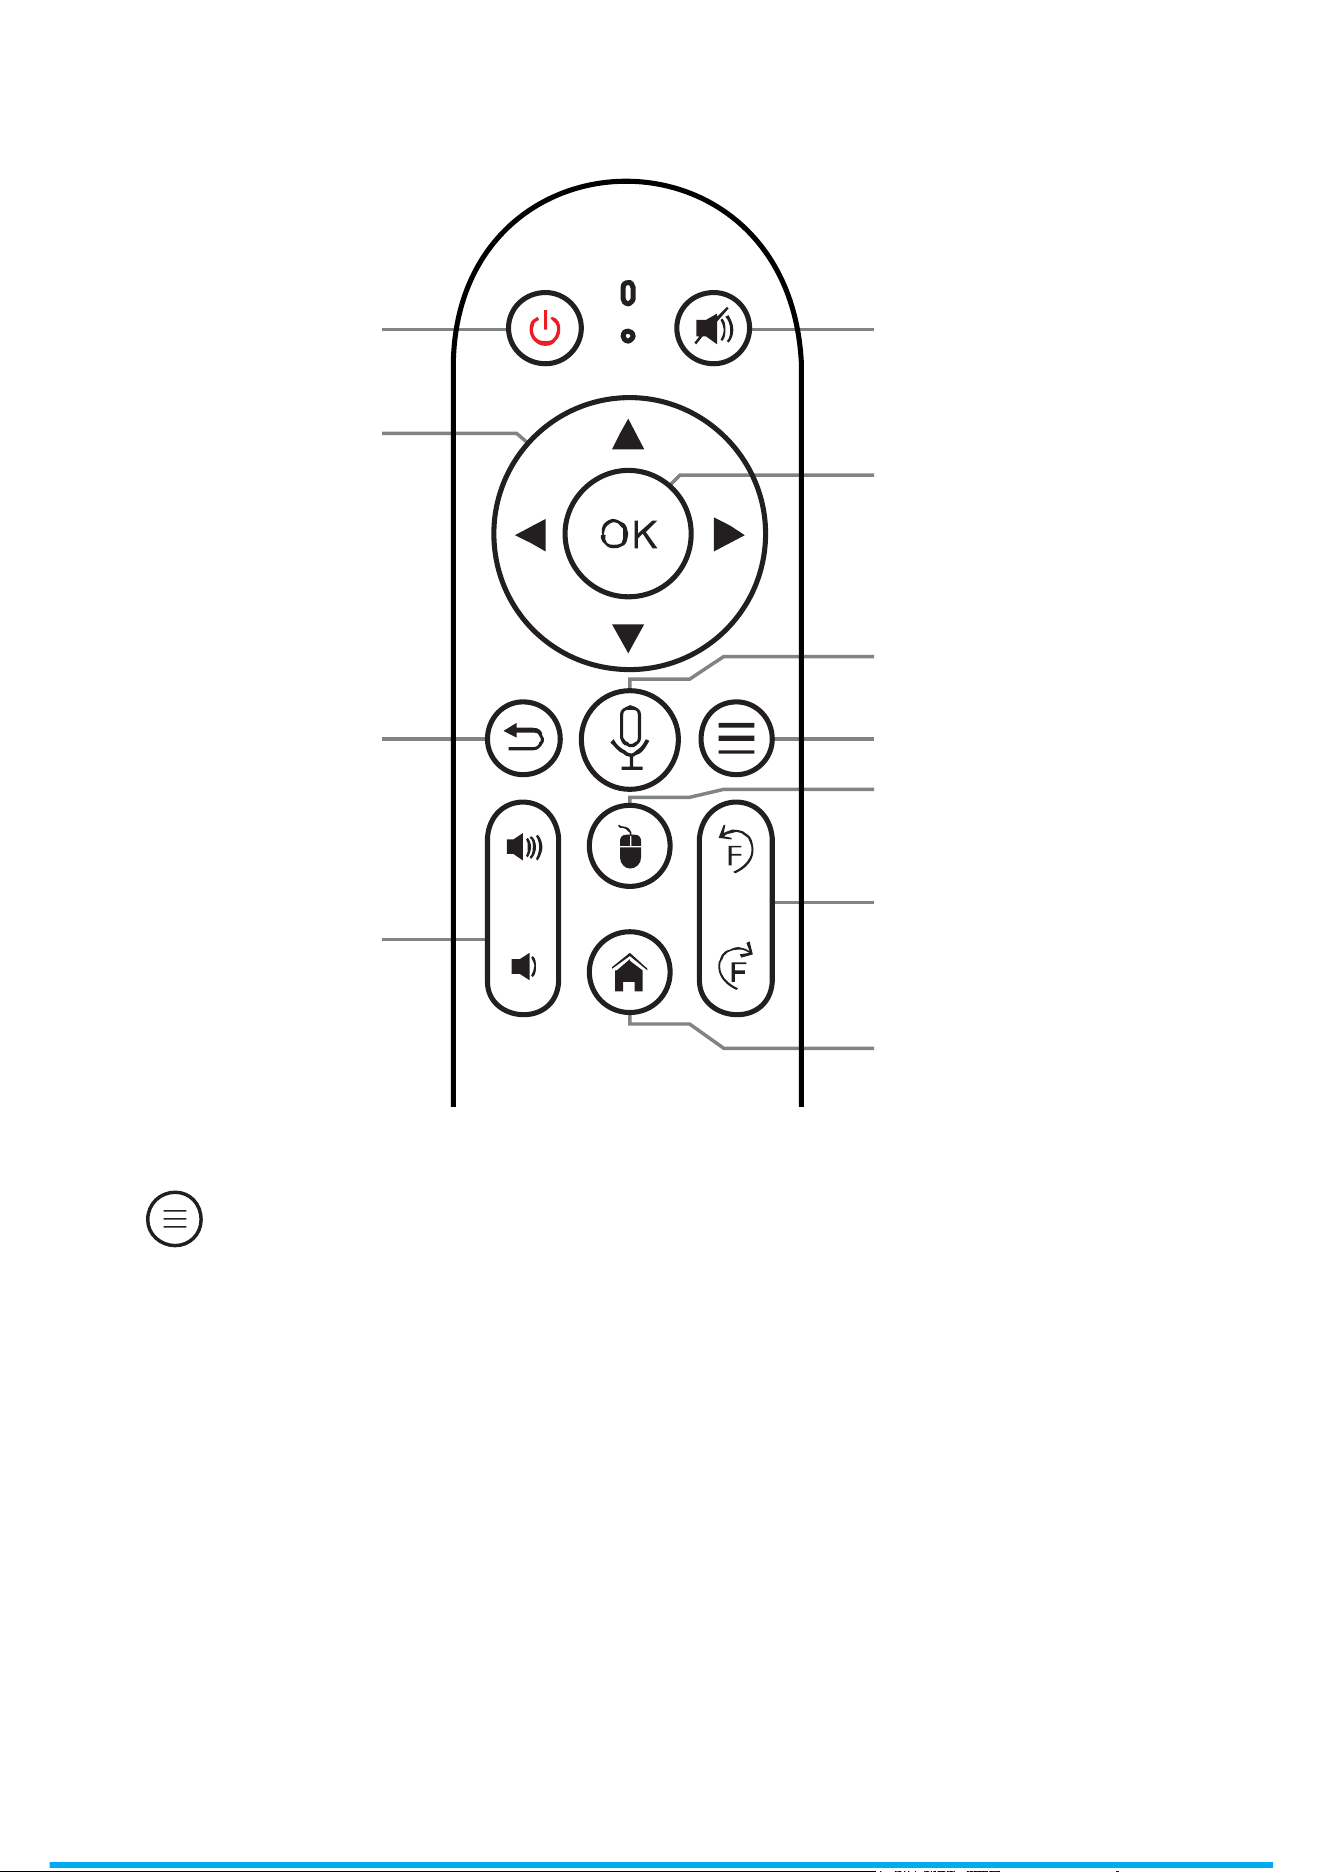
OK
Voice
Focus
Switch to Mouse
Control
Mute
Power On/Off
Up/Down/
Left/Right
Back
Menu
Home
Volume +/-
Air Mouse Drift Calibration:
If the air mouse exhibits drift, after the remote control is paired
with the Bluetooth device, press and hold the OK and Home
buttons on the remote control simultaneously for 2 seconds. The
indicator light will stay on during this process. Then place the
remote control flat on a level surface and keep it stationary for
5 seconds. The indicator light will turn off, indicating that the air
mouse calibration is complete.
Remote Control Functions
Note: When playing videos or viewing images, press the
“ ” key to bring up the Display Settings, where you
can adjust the picture mode, brightness, contrast ratio,
hue, saturation and sharpness of videos/images.
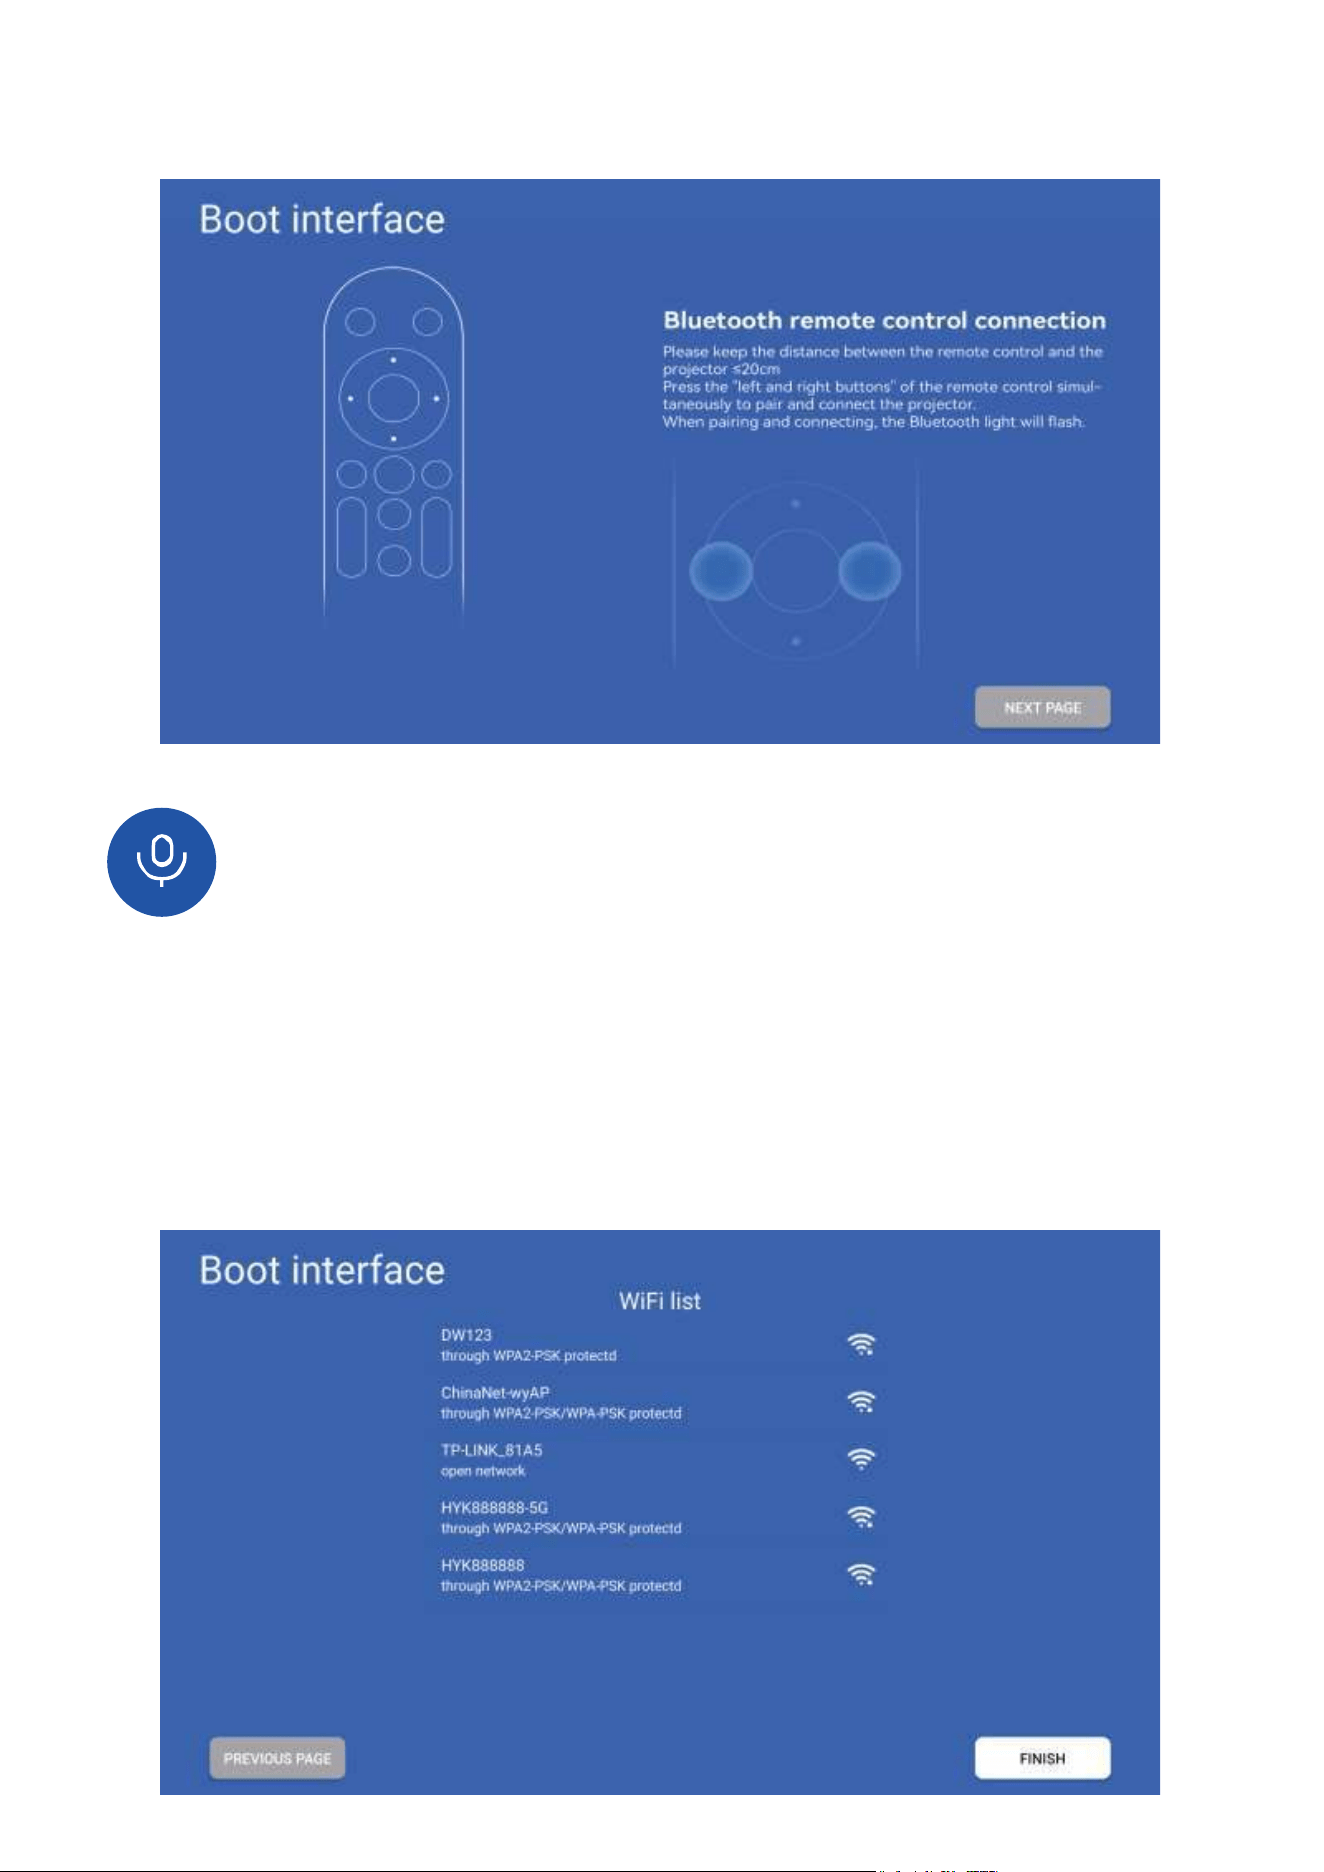
Note: On the Bluetooth remote control pairing interface,
press the "Voice" button to bring up the pairing guide.
Wi-Fi
Select a WiFi account and enter the password to connect to
the network.
Bluetooth Remote Control Pairing
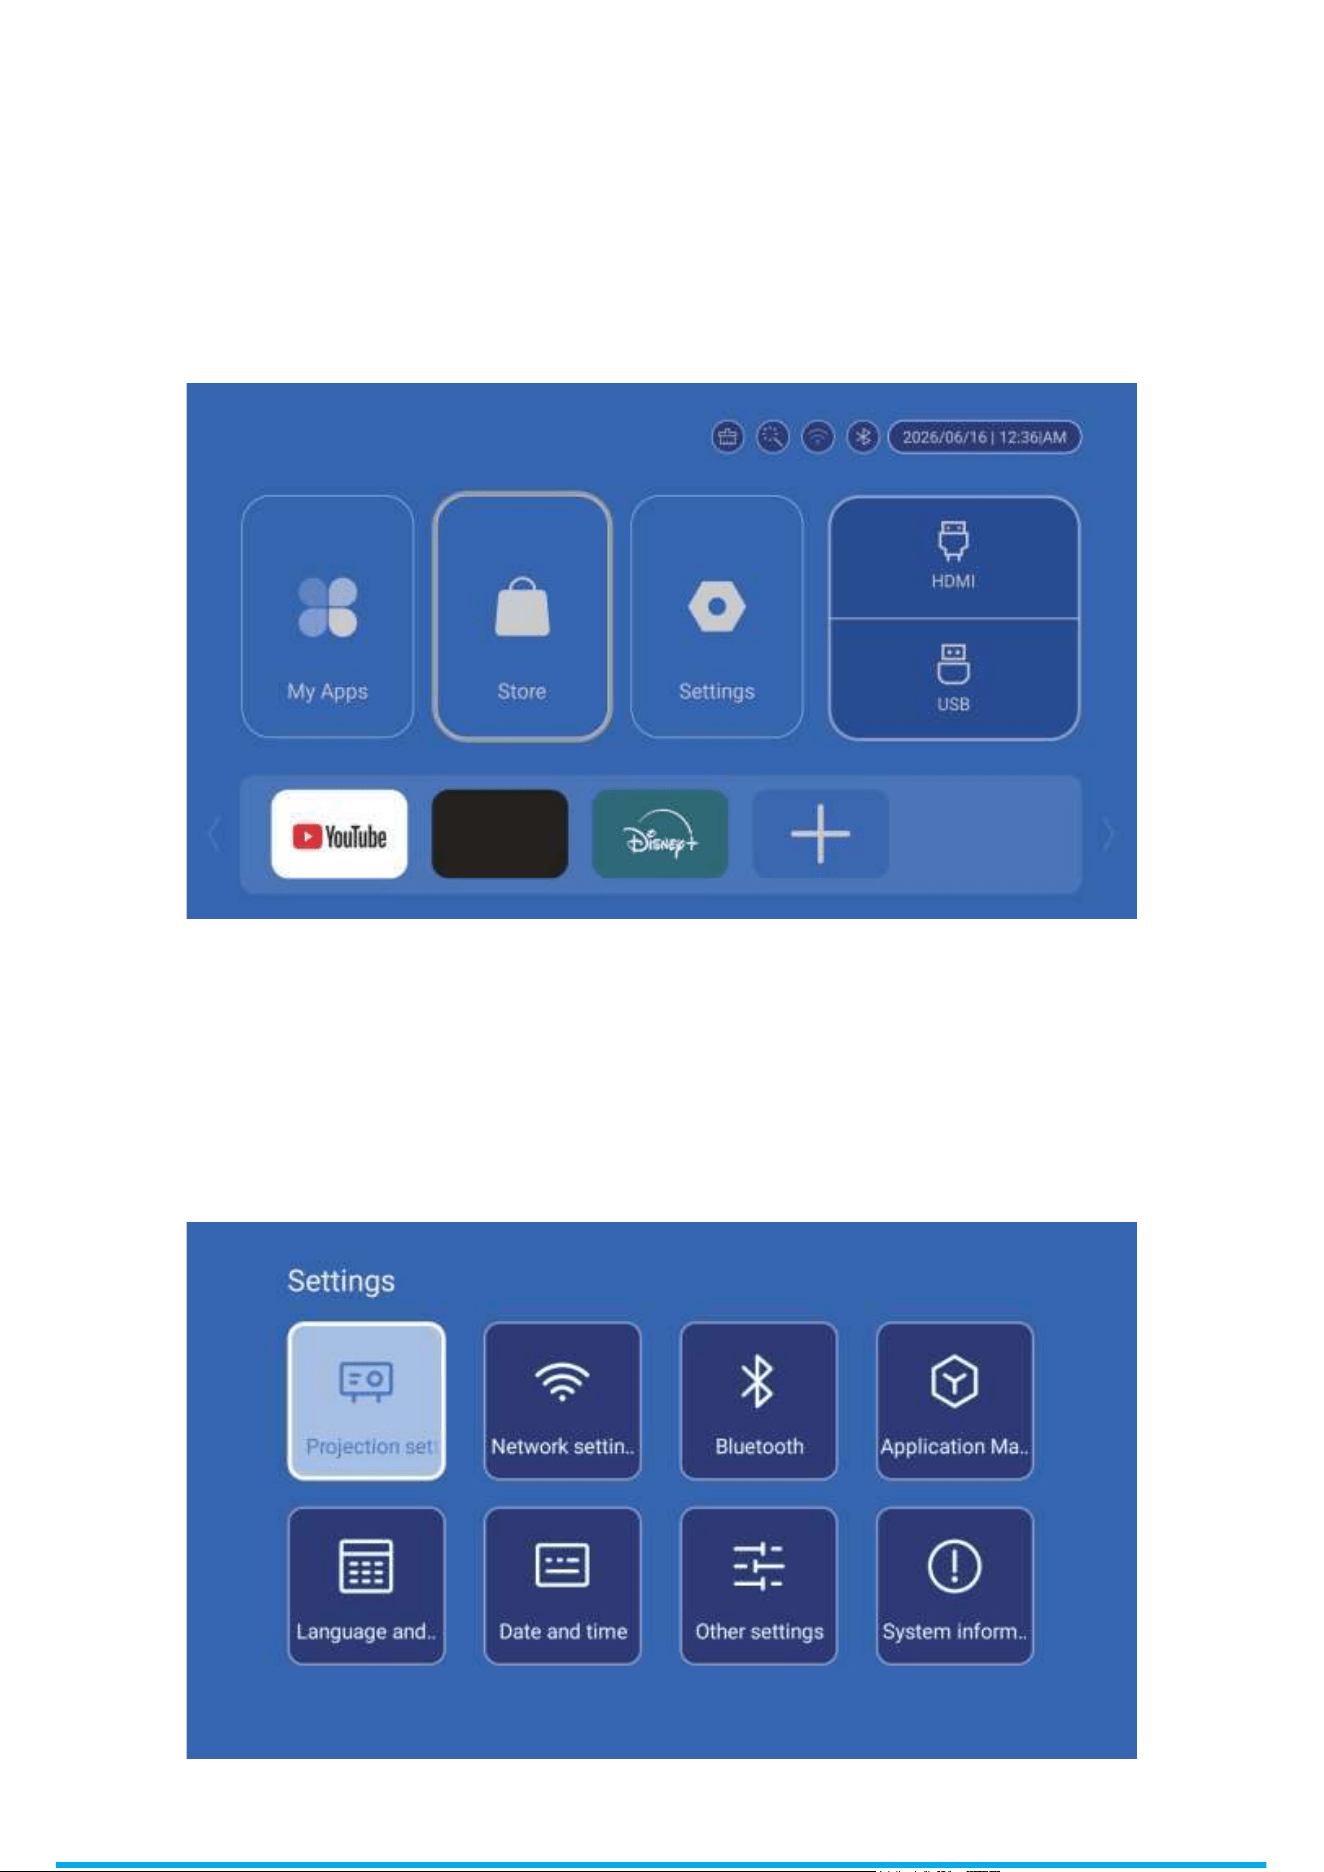
Settings
App Store
Apps can be downloaded and installed directly from the
Store with a single click. Once installed, they are ready to
use. Available apps are regularly maintained and updated to
provide users with a stable and convenient experience.
The Settings menu contains eight categories: Projection,
Network, Bluetooth, Apps, Language & Keyboard, Date &
Time, Other Settings, and System.
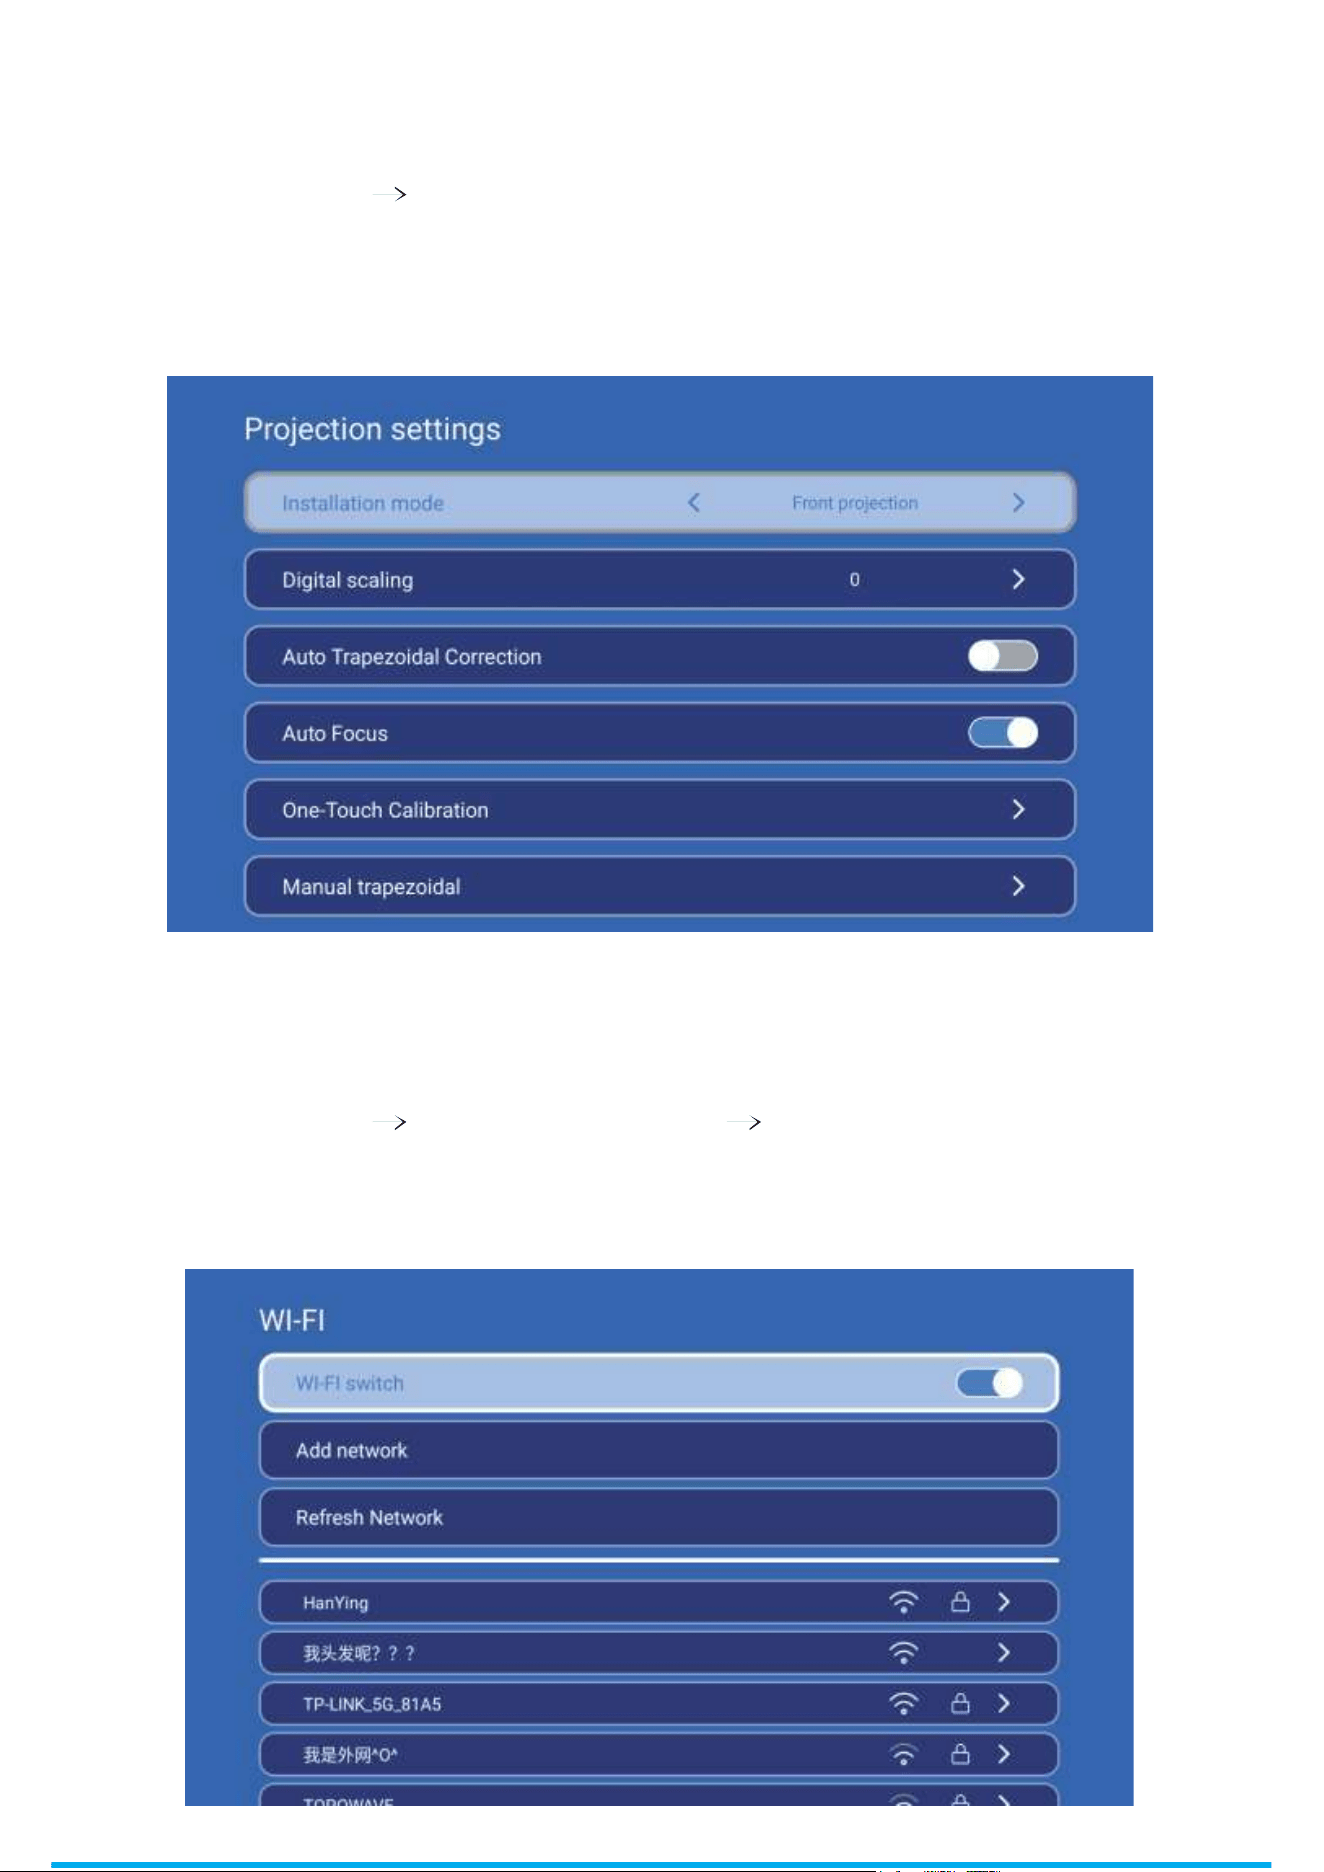
Projection Settings
Network Settings
Go to Settings Projection Settings to configure Installation
Mode, Digital Scaling, Automatic Keystone Correction, Auto
Focus, One-Touch Calibration, Manual Keystone Correction,
and Keystone Reset.
Go to Settings Network Settings Wireless Network. Turn
on Wi-Fi, select the network you want to connect to, and
enter the password.
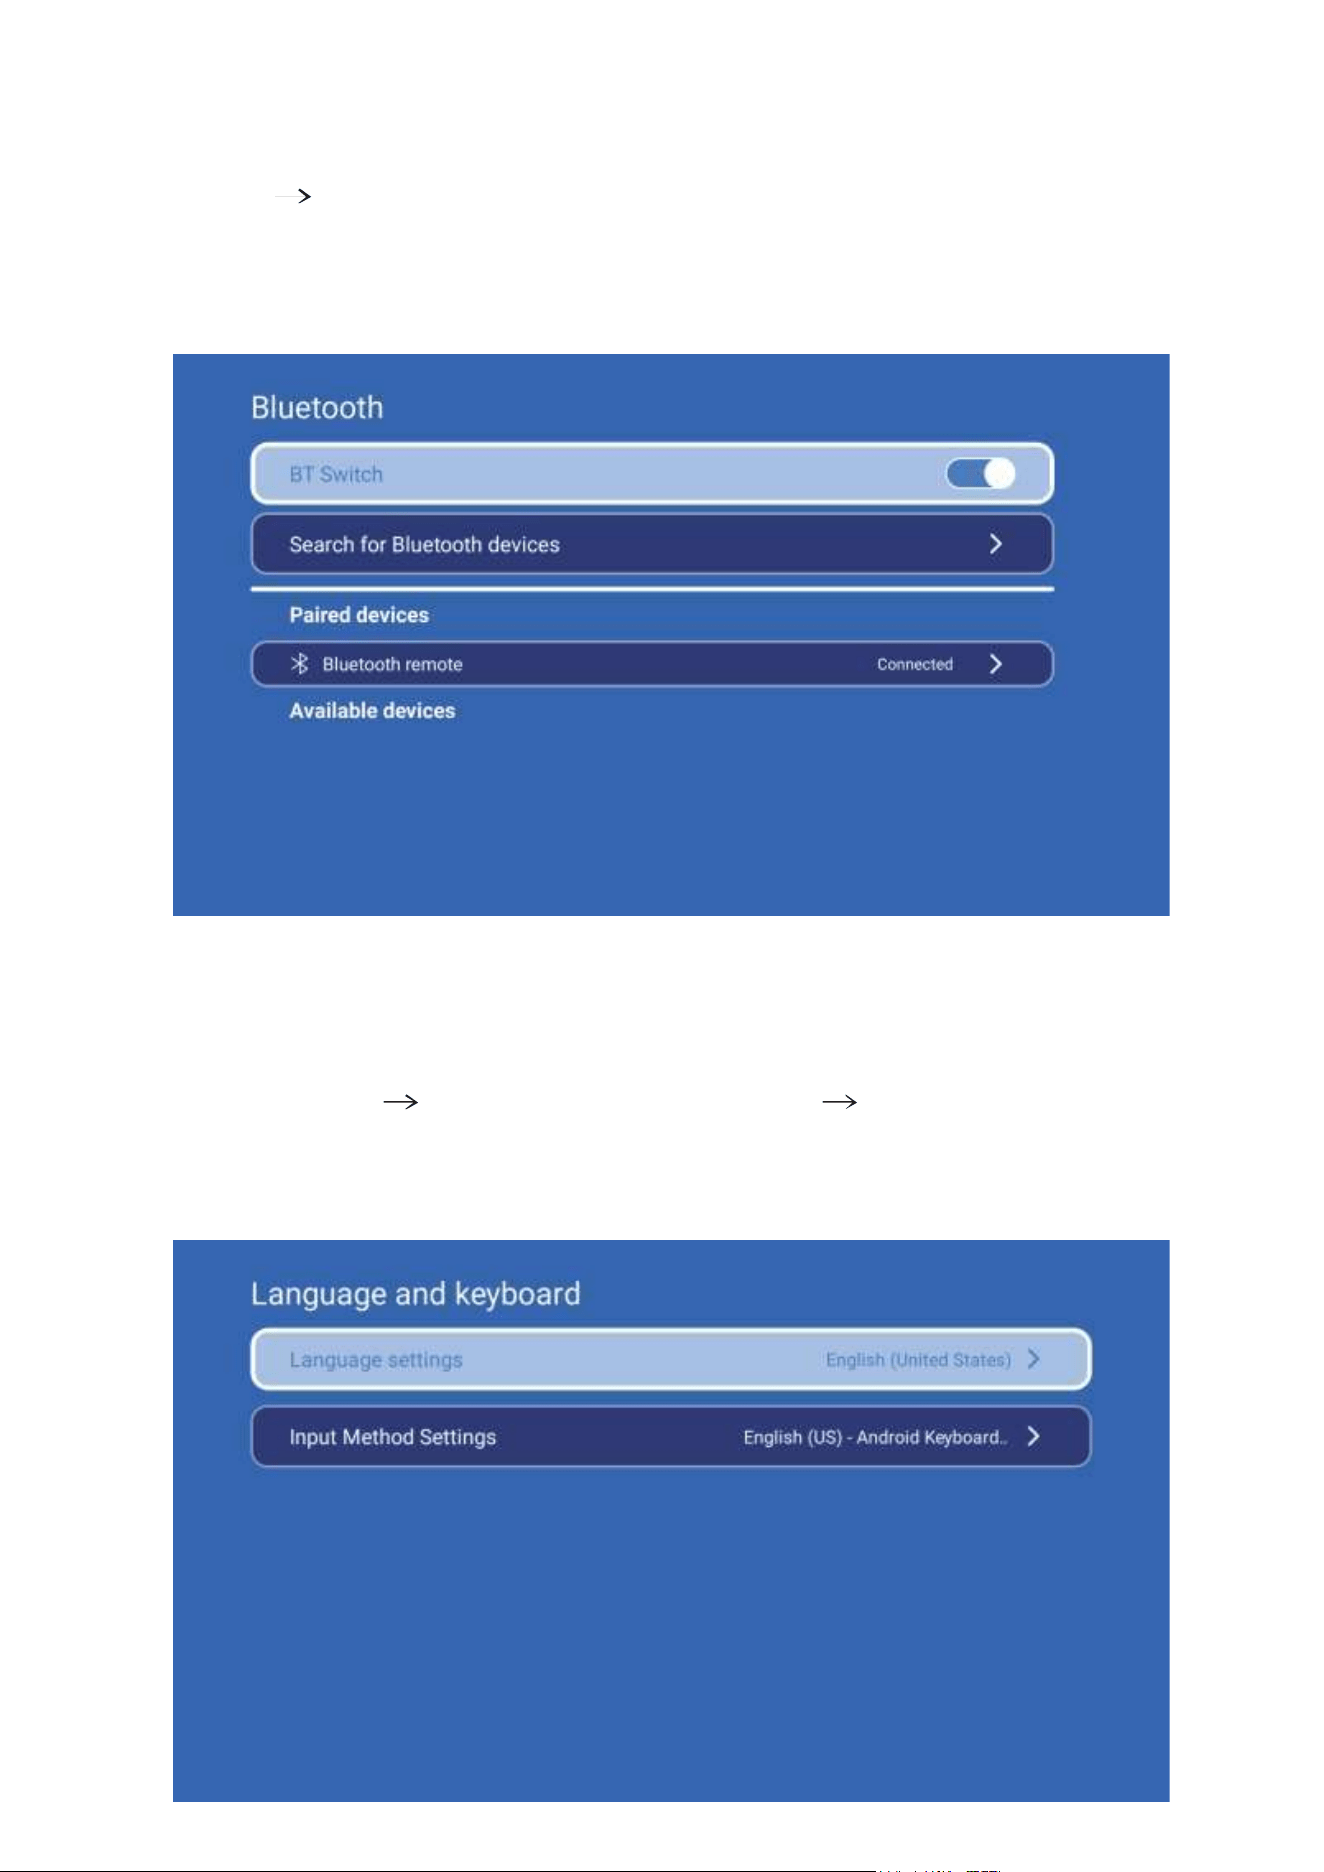
Language Settings
Bluetooth Settings
Settings Bluetooth Settings: Turn on the Bluetooth switch,
press Search for Bluetooth devices and select the target
device to pair.
Go to Settings Language & Keyboard Language
Settings. Select your preferred language, then press OK to
confirm.
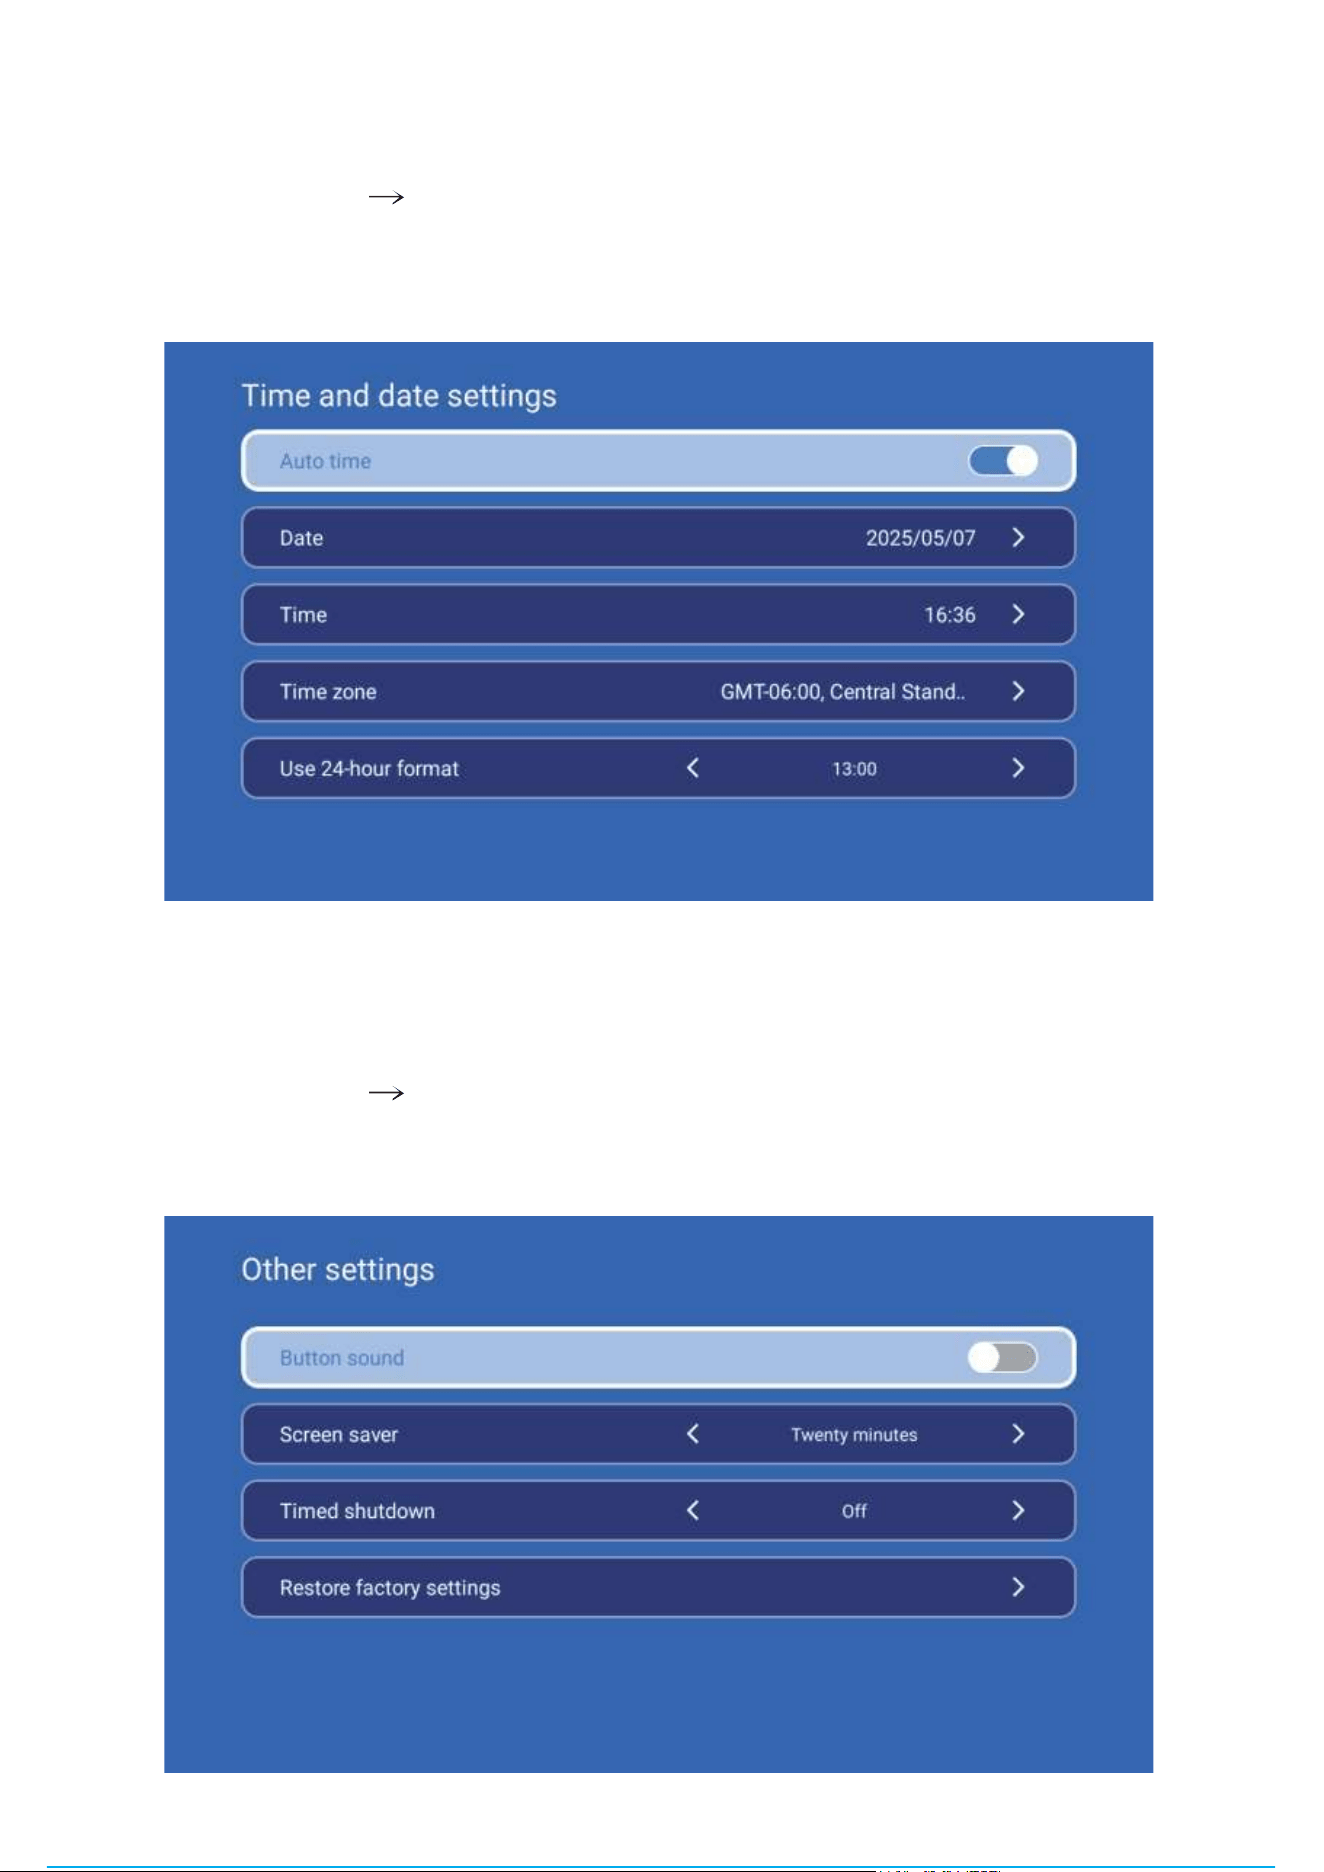
Date & Time Settings
Other Settings
Go to Settings Date & Time Settings to configure
Automatic Date & Time, Date, Time, Time Zone, and
24-Hour Format.
Go to Settings
Other Settings to configure Button Sound,
Screen Saver, Scheduled Power Off, and Factory Reset.
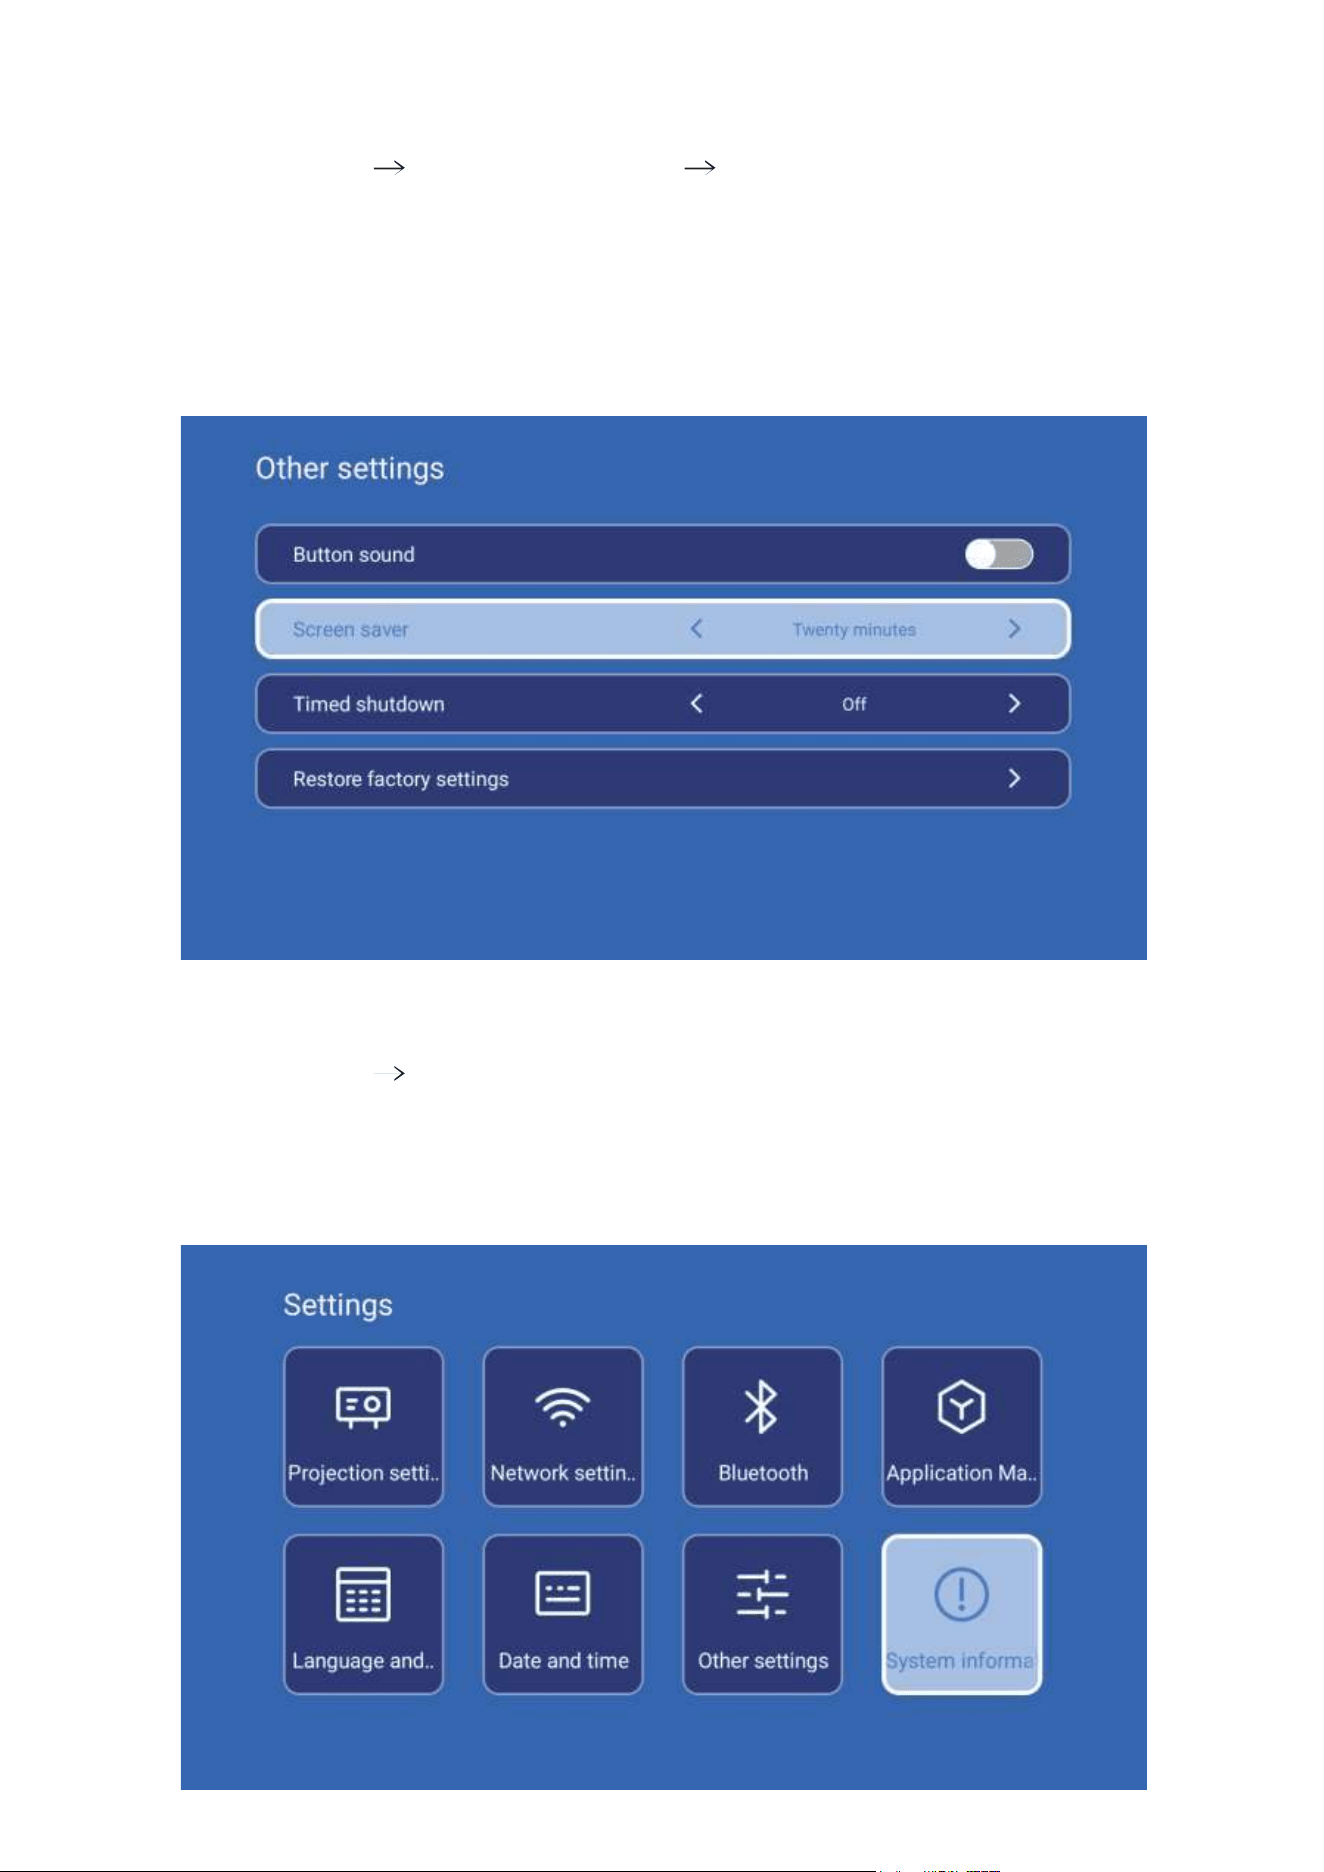
Screen Saver
About
Go to Settings Other Settings Screen Saver to set the
screen saver activation time.
If no operation is performed and no media is playing for the
selected period, the projector will automatically enter
screen saver mode. Press any button on the remote control
to exit screen saver mode.
Go to Settings About to view the Device Model, UI
Version, Android Version, Memory, Storage, and Serial
Number. You can also perform a Local Upgrade or Online
Upgrade from this menu.
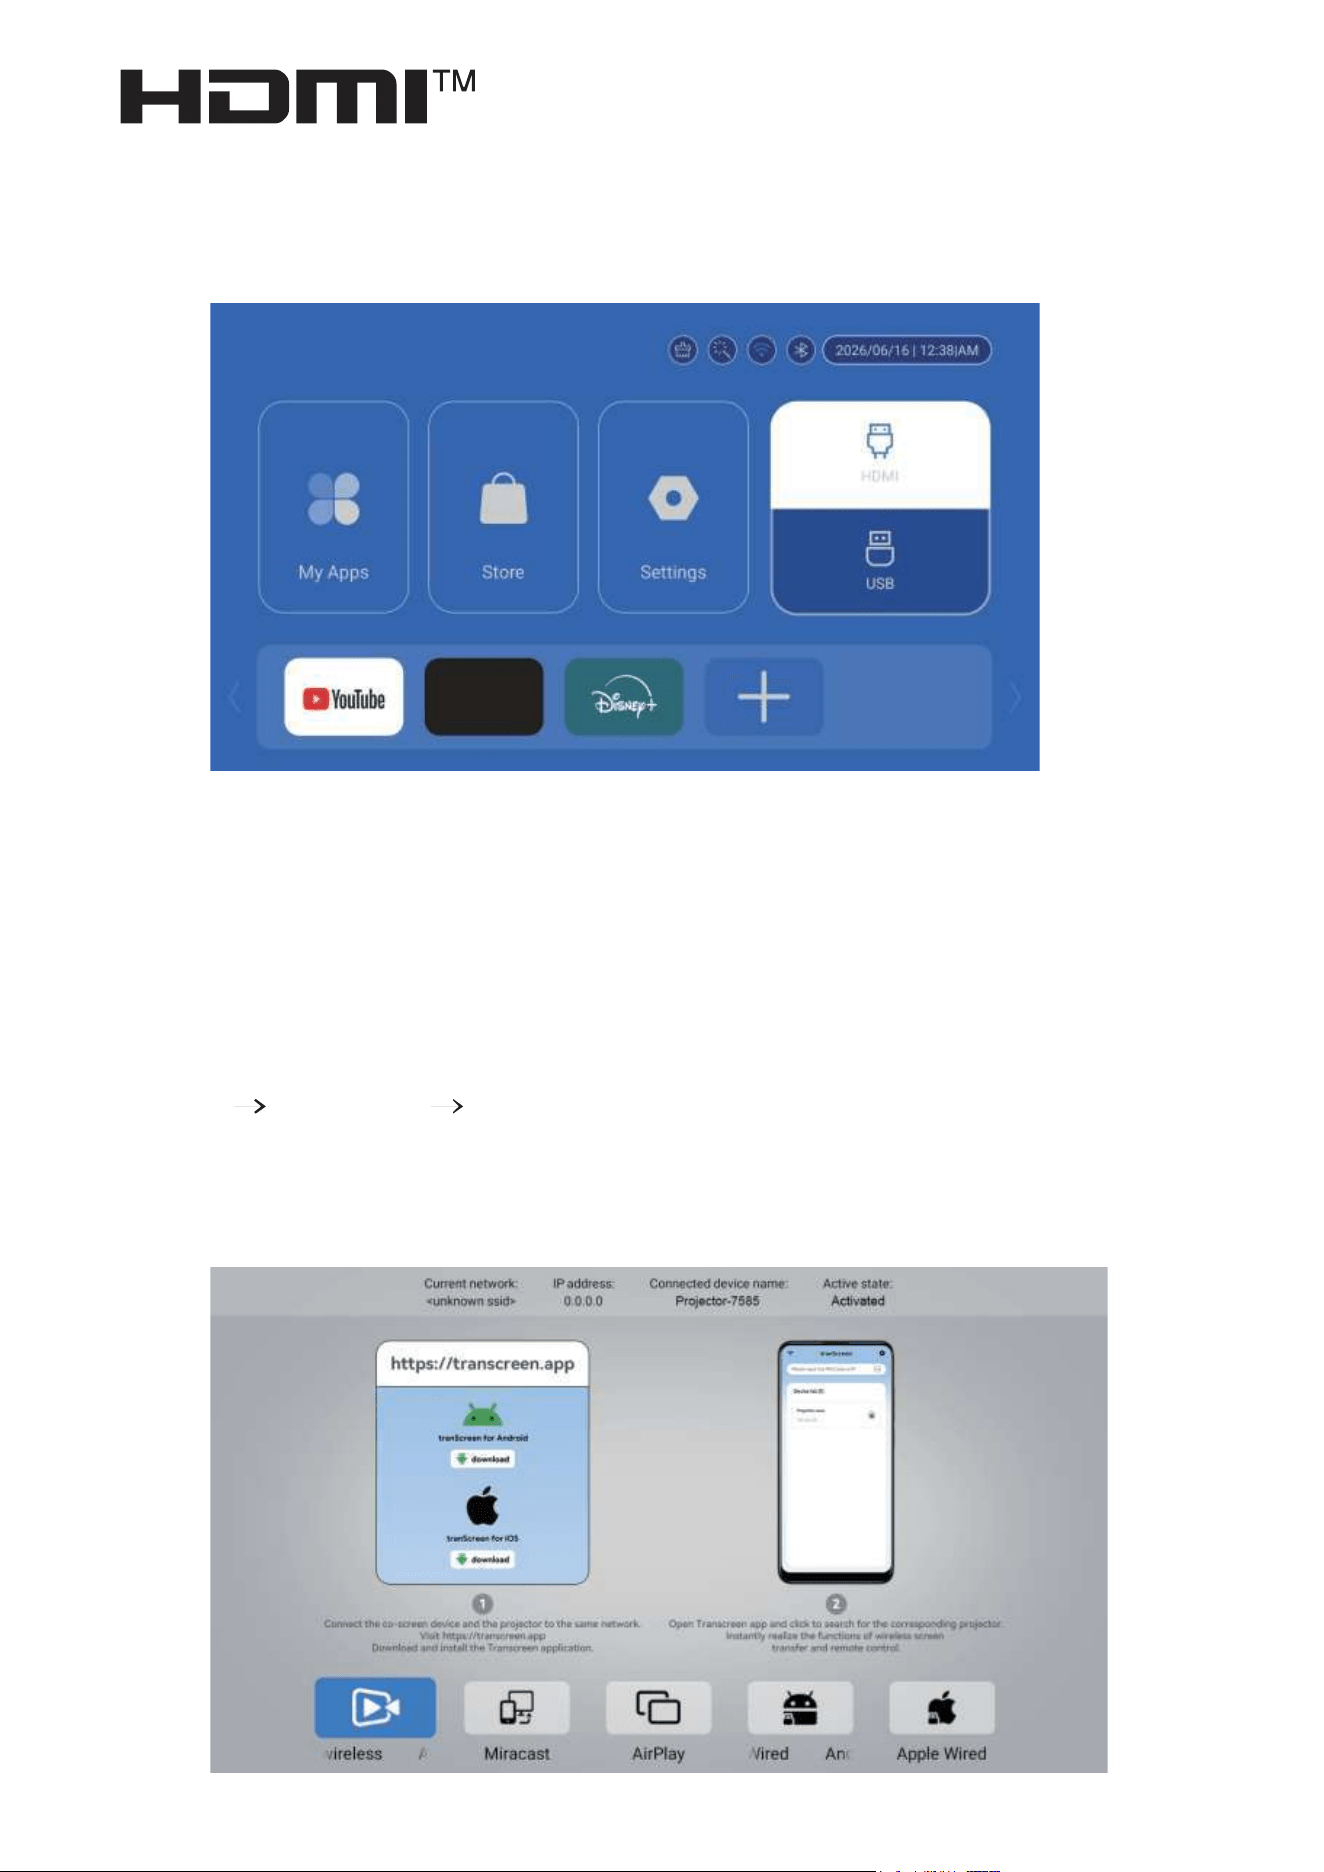
Signal
Wireless Screen Mirroring
After connecting an external device to the projector using
an HDMI cable, go to the input source menu and select HDMI
to display the connected device.
Connect your iOS or Android device and the projector to the
same Wi-Fi network.
On the projector, go to:
Home My Apps ScreenCast
Open ScreenCast, enable screen mirroring on your phone or
tablet, and select the projector to connect.

FCC Statement
This equipment has been tested and found to comply with the
limits for a Class B digital device, pursuant to Part 15 of the FCC
Rules. These limits are designed to provide reasonable
protection against harmful interference in a residential
installation. This equipment generates uses and can radiate
radio frequency energy and, if not installed and used in
accordance with the instructions, may cause harmful
interference to radio communications. However, there is no
guarantee that interference will not occur in a particular
installation. If this equipment does cause harmful interference
to radio or television reception, which can be determined by
turning the equipment off and on, the user is encouraged to try
to correct the interference by one or more of the following
measures:
• Reorient or relocate the receiving antenna.
• Increase the separation between the equipment and receiver.
• Connect the equipment into an outlet on a circuit different
from that to which the receiver is connected.
• Consult the dealer or an experienced radio/TV technician for
help.
• This device complies with Part 15 of the FCC Rules.
Operation is subject to the following two conditions:
• This device may not cause harmful interference
• This device must accept any interference received, including
interference that may cause undesired operation.
Warning: Changes or modifications not expressly approved by
the party responsible for compliance could void the user's
authority to operate the equipment.

IC Statement
This device complies with Innovation, Science and Economic
Development Canada's licence-exempt RSS standard(s).
Operation is subject to the following two conditions:
(1) this device may not cause interference, and.
(2) this device must accept any interference, including
interference that may cause undesired operation of the
device.
- French:"Le présent appareil est conforme aux CNR d’innova-
tion, sciences et développement économique Canada
applicables aux appareils radio exempts de licence.
L'exploitation est autorisée aux deux conditions suivantes :
(1) l'appareil nedoit pas produire de brouillage, et.
(2) l'utilisateur de l'appareil doit accepter tout brouillage
radioélectrique subi, même si le brouillage est susceptible
d'en compromettre le fonctionnement."
IC Radiation Exposure Statement:
This equipment complies with IC radiation exposure limits set
forth for an uncontrolled environment. This equipment should
be installed and operated with minimum distance 20cm
between the radiator & your body.
FCC Radiation Exposure Statement:
This equipment complies with FCC radiation exposure limits
set forth for an uncontrolled environment. This equipment
should be installed and operated with minimum distance
20cm between the radiator & your body.

Disclaimer
Déclarationd'expositionauxradiationsIC:
Cet équipement est conforme aux limites d'exposition aux
radiations IC établies pour un environnement non contrôlé. Cet
équipement doit être installé et utilisé avec une distance
minimalede20cmentreleradiateuretvotrecorps.
Operation of this device in the band 5150-5250 MHz is
restricted to indoor use only.
Le fonctionnement de cet appareil dans la bande 5150-5250
MHz est limité à une utilisation en intérieur uniquement.
The product images, interfaces, and function descriptions in
this manual are for reference only. Due to ongoing product
improvements and software updates, the actual appearance,
functions, or interface may differ from those shown in this
manual. Product specifications and content are subject to
change without prior notice. Please refer to the actual
product.
Use and store the product properly and follow the
instructions provided in this manual. The manufacturer is
not responsible for damage or loss resulting from improper
operation, unauthorized modification or repair, incompati-
ble third-party software or hardware, or other circumstanc-
es beyond its reasonable control.
This manual has been carefully reviewed for accuracy.
However, errors or omissions may still occur. The
manufacturer reserves the right to revise and update this
manual without prior notice.

Device Safety
•
Please read the following safety instructions carefully
before using the projector. Proper use and maintenance will
help prevent damage and extend the service life of the
device.
•
Installation, inspection, and repair must be performed by
qualified service personnel, except where otherwise
specified in this manual. Do not use damaged power
adapters, cables, accessories, or peripheral devices.
Keep the projector away from flammable or explosive
materials, strong electromagnetic interference, and direct
sunlight.
•
Do not cover the projector or block the air inlet and outlet
vents. Allow sufficient space around the device for proper
ventilation and heat dissipation.
•
Use only the original power adapter supplied with the
projector.
•
Never look directly into the lens while the projector is
operating, as the strong light may cause serious eye injury.
•
Do not excessively bend, twist, or pull the power adapter
cable.
•
Do not place the power adapter under the projector or
beneath heavy objects.
•
Do not cover the power adapter with fabric or other soft
materials, and keep it away from heat sources.
•
Do not touch the power plug or adapter with wet hands.
Disposal of Waste Electrical & Electronic Equipment (WEEE)
This symbol on the product or its packaging indicates that this
productmust not be treated as household waste. Instead, it shall
be handedover to the applicable collection point for the recycling
of electrical andelectronic equipment. For more detailed
information about recyclingthis product, please contact your
local city office or your household wastedisposal service.
The terms HDMI, HDMI High-Definition Multimedia Interface,
HDMI trade dress and the HDMI Logos are trademarks or
registered trademarks of HDMI Licensing Administrator, Inc.
Warning
Do not look directly into the lens while the projector is
operating, as the strong light may cause eye injury. Children
should use the projector only under adult supervision.
Need Help?
If you encounter any issues, please contact our customer
support team at
support@magcubic.com
.
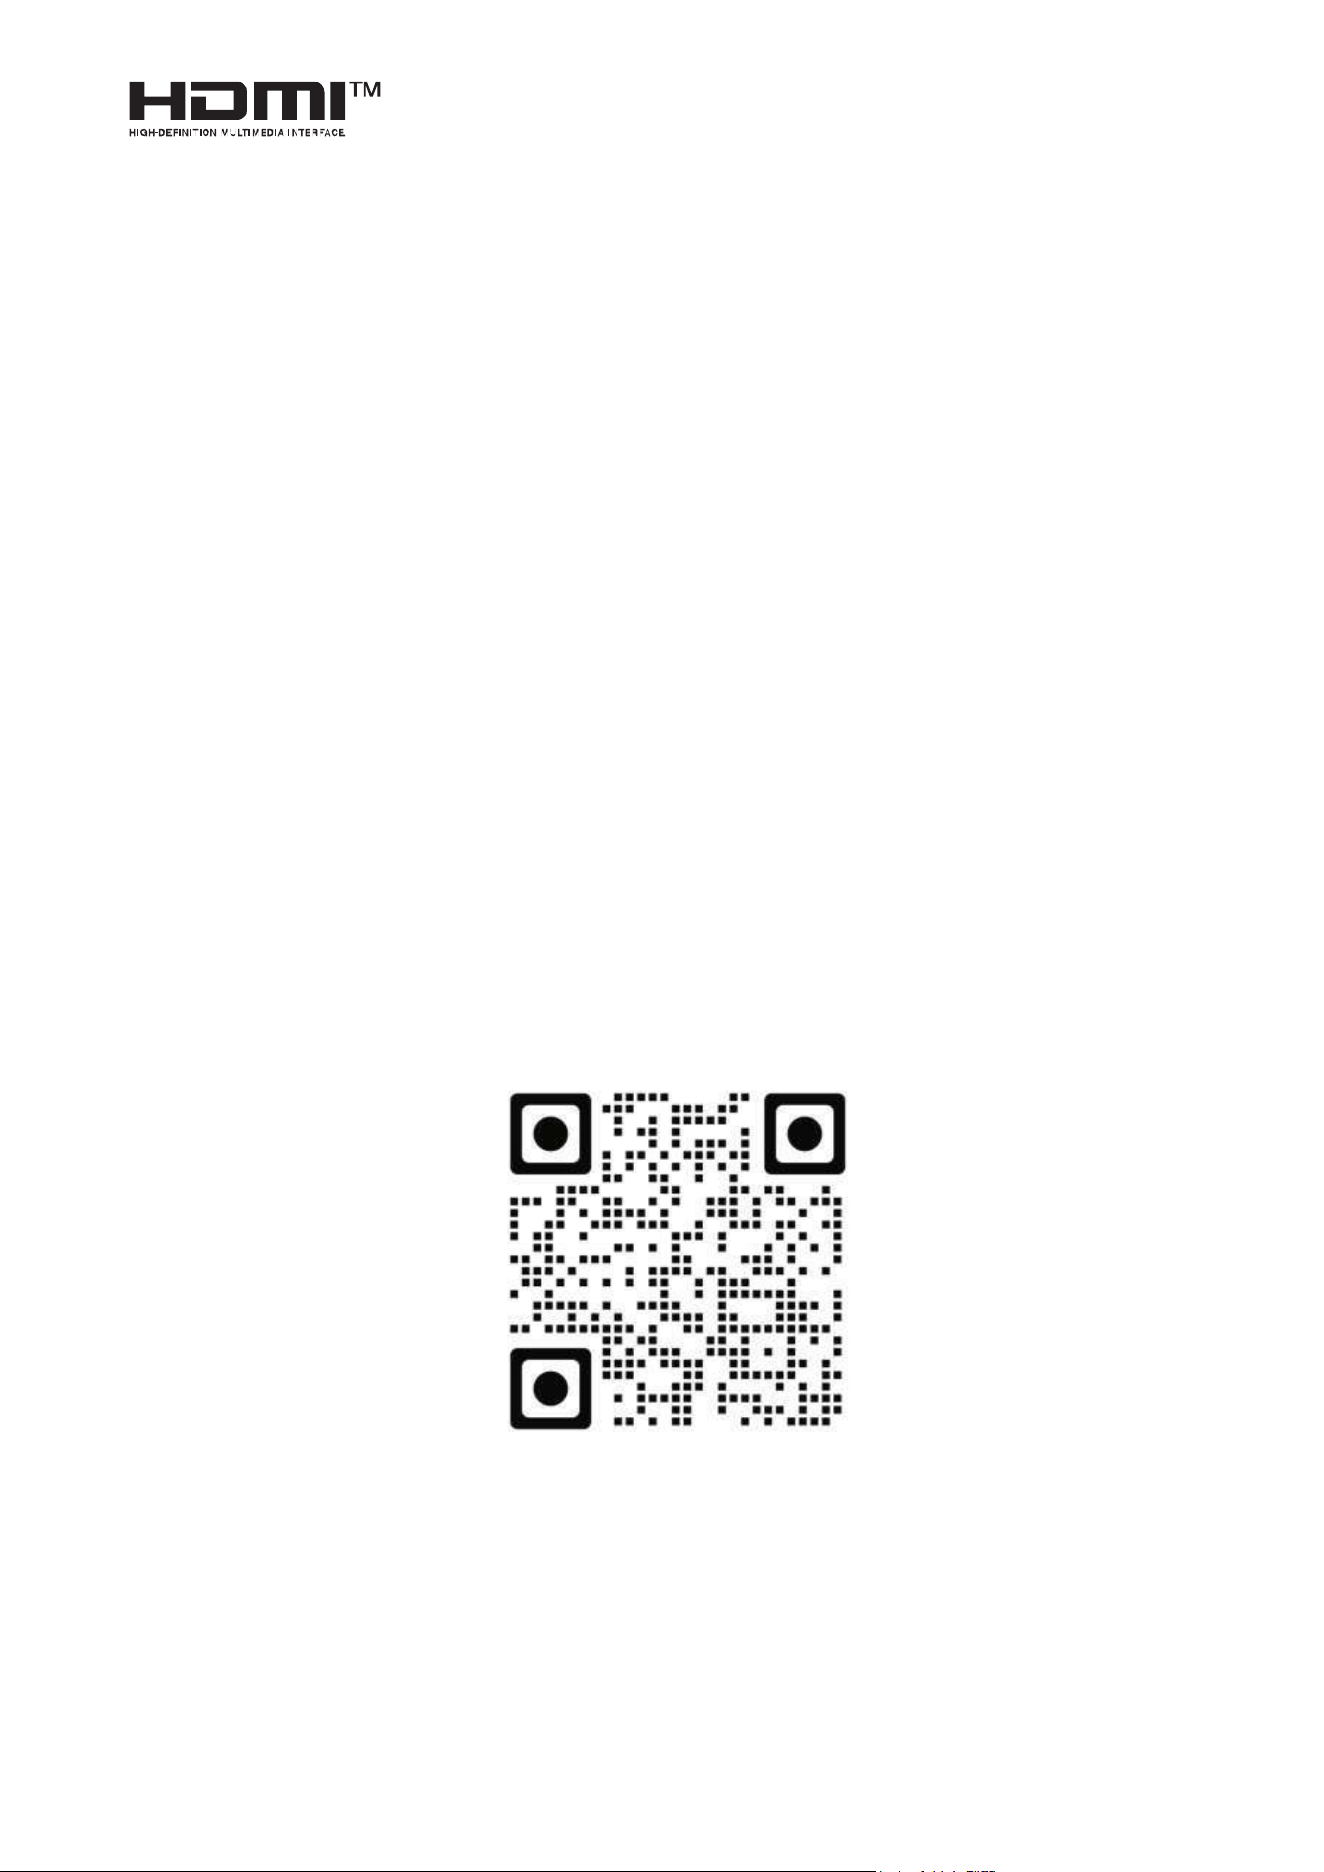
You can also scan the QR code below to access product
operation guides, how-to videos, FAQs, and other helpful
support resources.