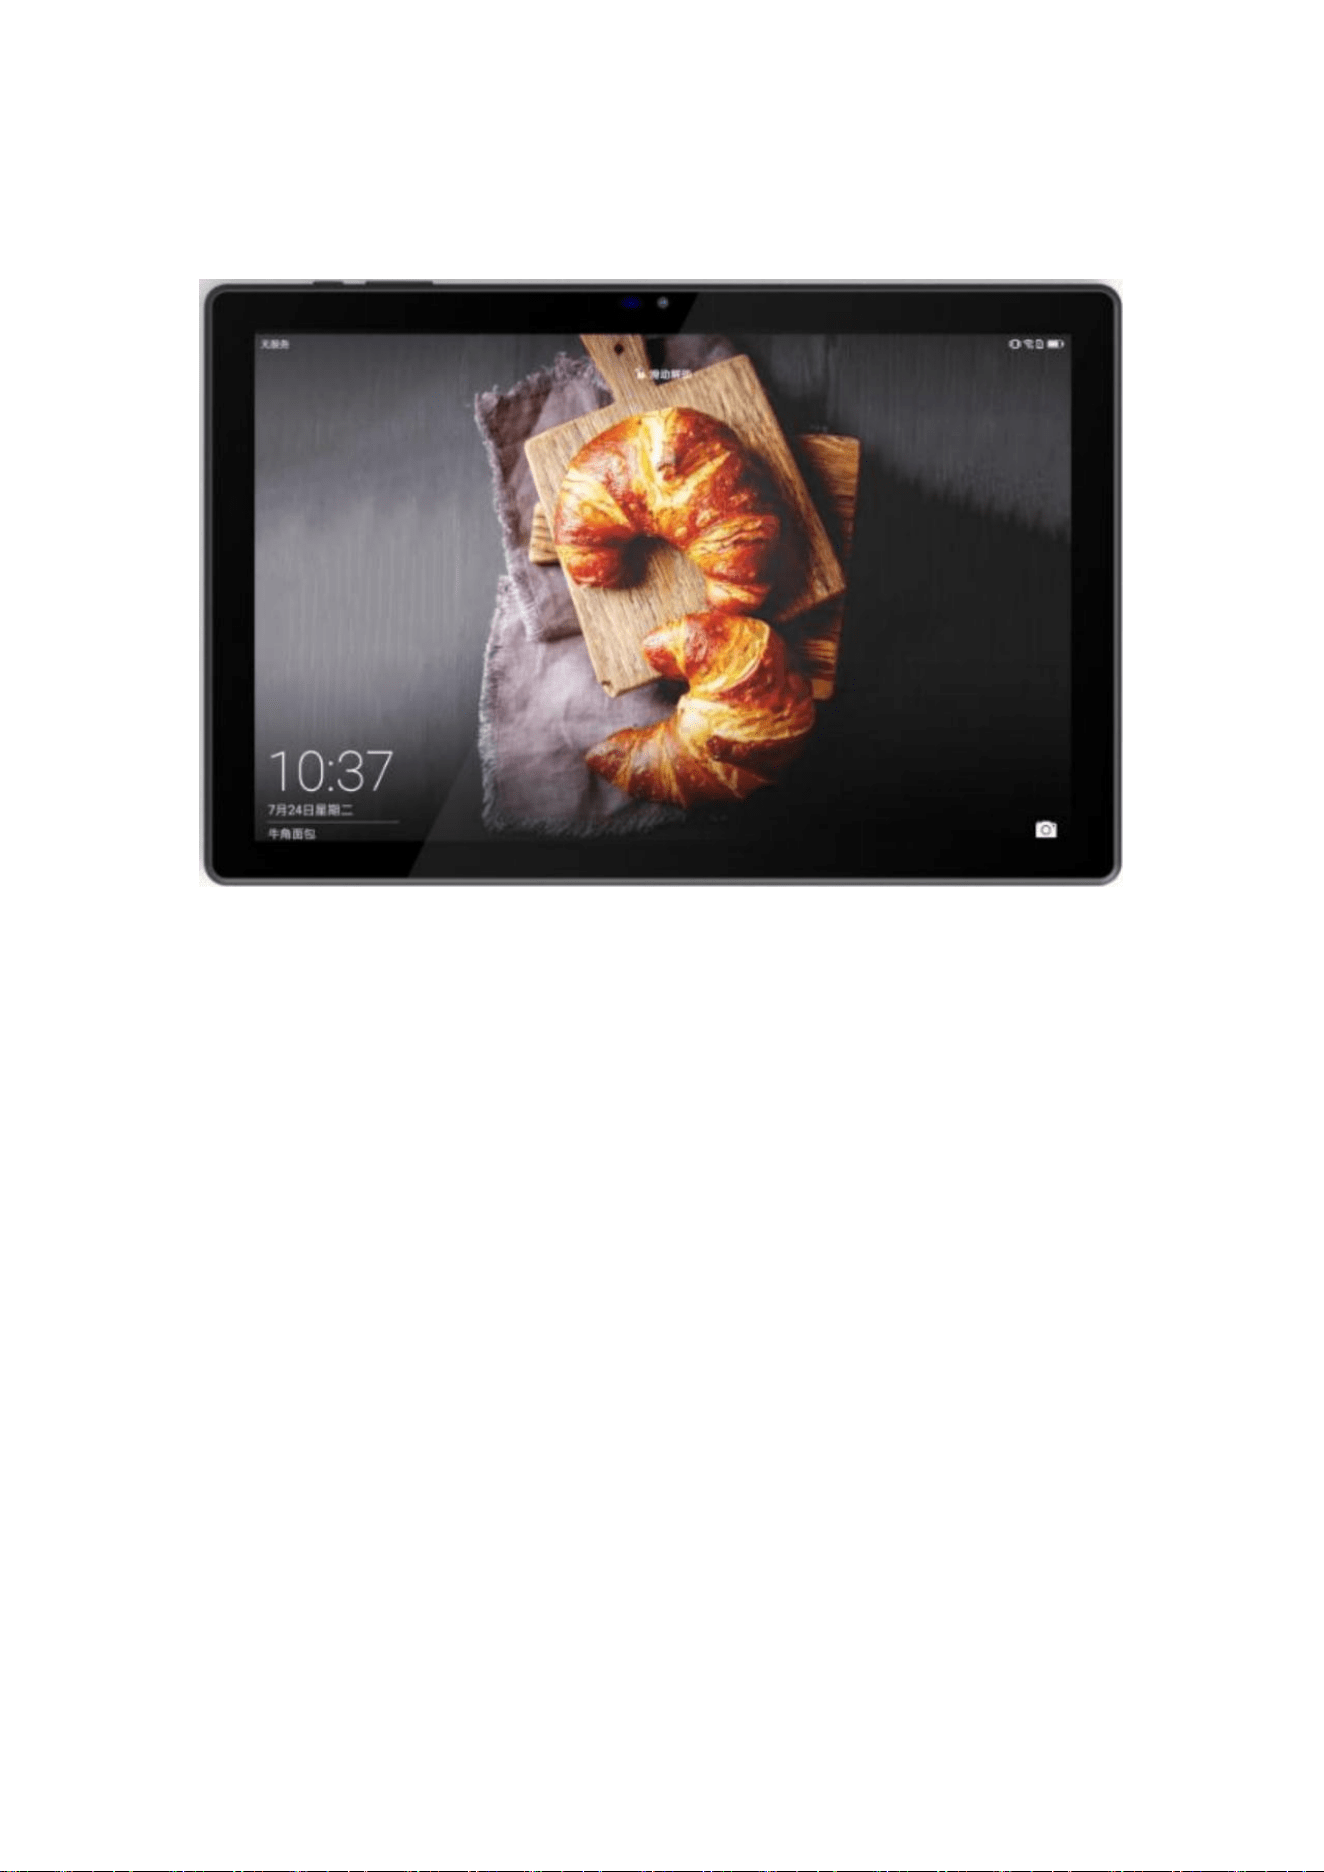
G17
USER MANUAL
The manual is for reference only. Actual product operations should
be based on practical product usage
Thank you for buying this MID. Please read and retain all the operating
instructions before operating the unit.
I. Note
1. Avoid the unit being dropped. Avoid the display been shake seriously, or the
display will be damaged or unusual.
2. Do not use metal object to touch the device to prevent it from short circuit.
3. Please backup your data in case your important data is lost, especially before
you upgrade the firmware.
4. Do not disassemble. Do not wipe the surface of the unit by alcohol, thinner or
benzene.
5. Do not disconnect the unit while it is formatting or uploading/downloading, or
the procedures may lead to errors.
6. Avoid water or foreign objects enter the unit.
7. Do not use the unit in places that are extremely hot, cold, dusty, or humid.
8. Specifications are subject to change and improvement without notice.
II. Introduction of cover
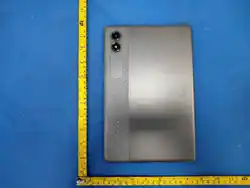
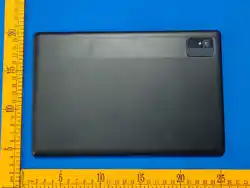
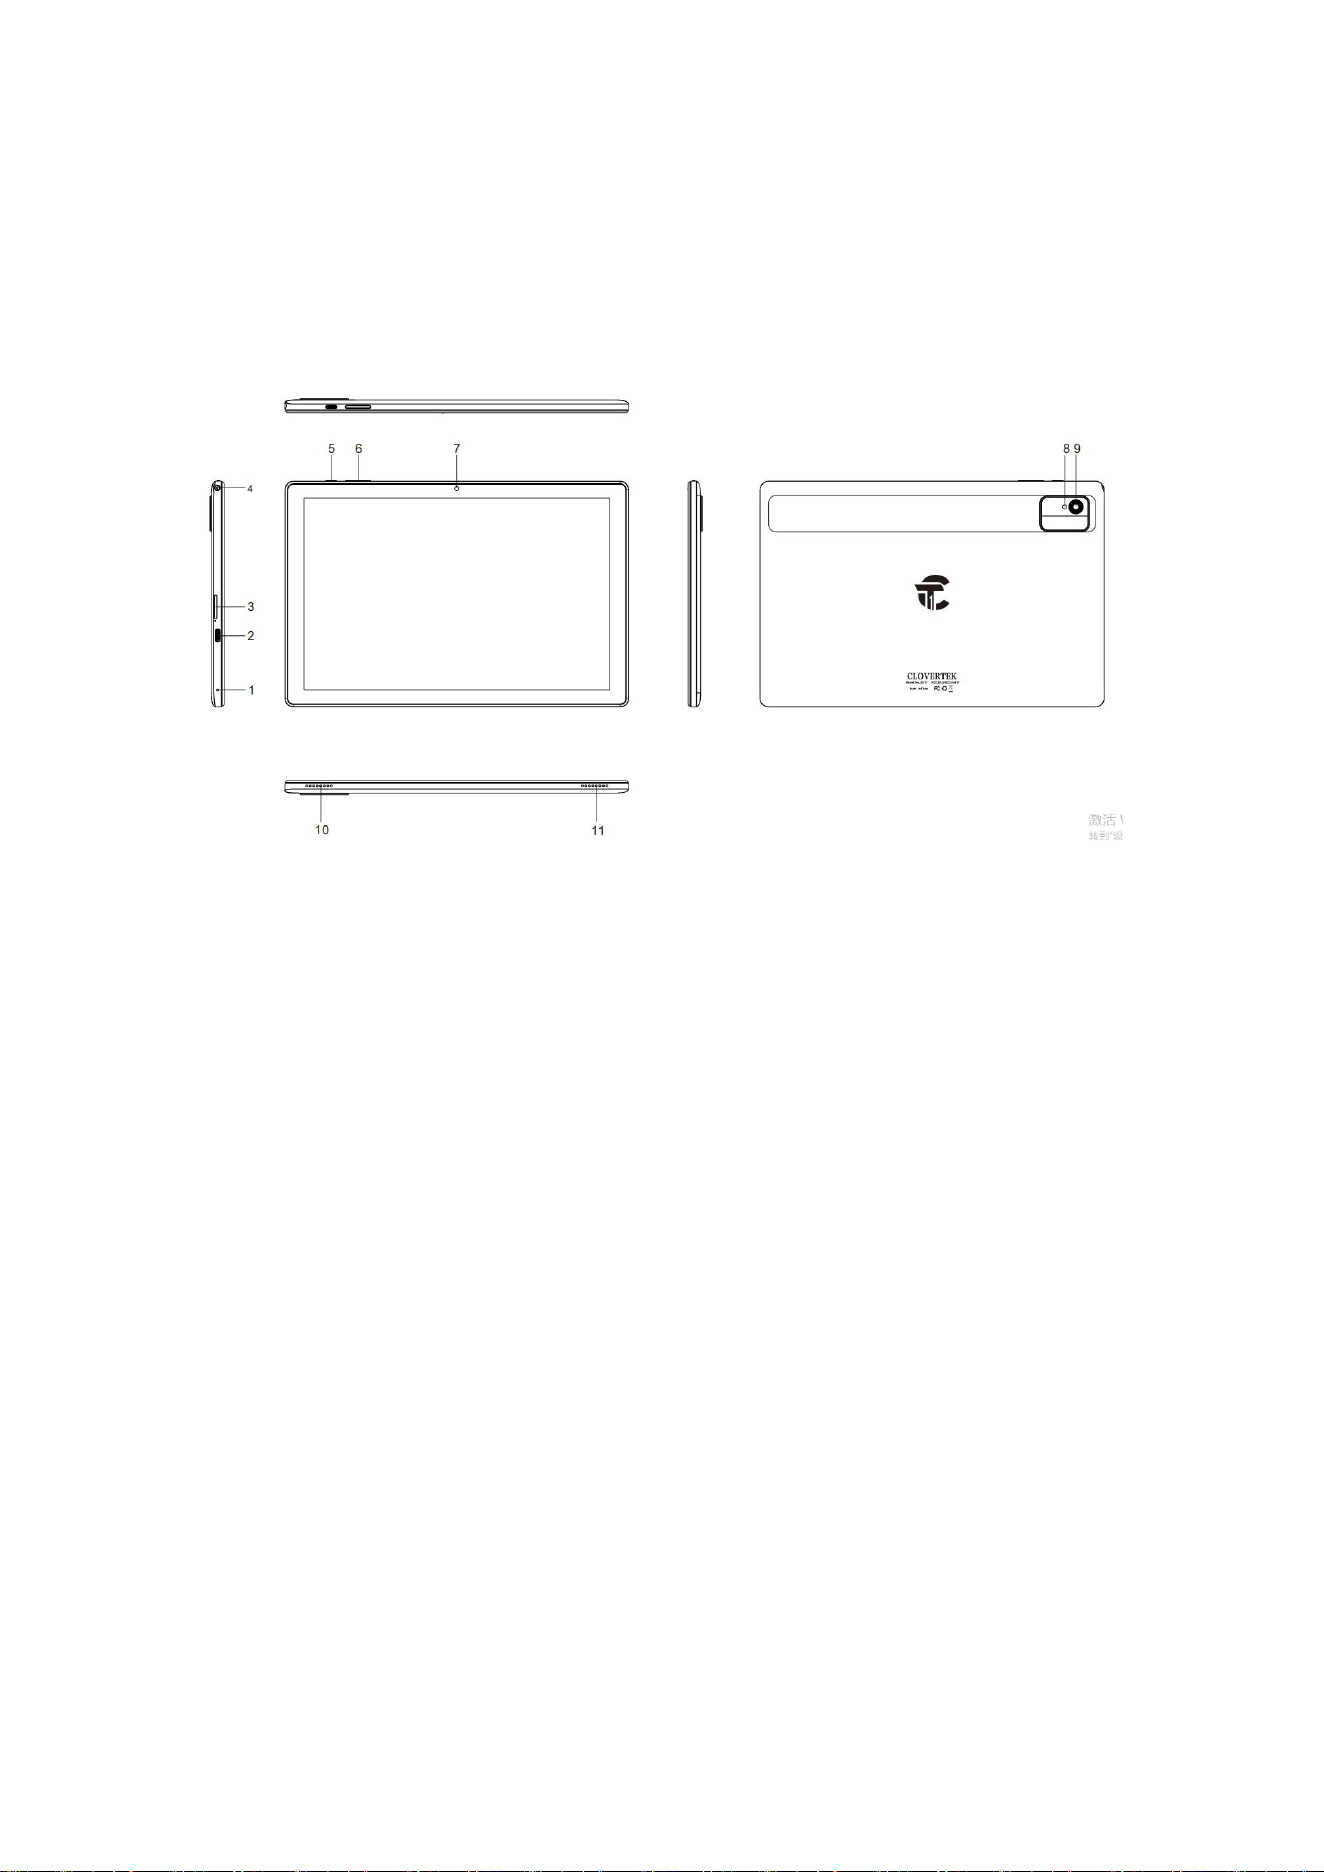
1. MIC 2. TYPE-C
3. TF/SIM card interface 4. Earphone Jack
5. Power on/off 6. Volume keys
7. Front Camera 8.Flashlight
9. Back Camera 10. Left speaker
11. Right horn
VII. Operation Instruction
1. Basic Operation
1.1. Power on/Power off
Power on Press and hold the power switch for 5 seconds; the unit displays the
start-up logo
and enters the working mode.
Power off Press and hold the power switch for 5 seconds to turn the unit off.
Sleep
While the device is at working status, press the power switch, it enters the
sleeping mode, and the screen will be off then. Press the power switch again, it
shift to the normal mode. You may use this function when you don’t’ use the
device temporary to save power.
1.2. Charging
When the device prompts low battery, please charge it by provided charger.
Note: To improve the longevity of the battery, you may charge for another 30
minutes after it prompts the battery is full.
1.3. Main menu

Swipe up from bottom to top on the main interface, the main menu is appeared. It
including the system setting, Gallery, Chrome and other applications you
installed in the main menu.
2. Settings
Click “Settings” in the main interface to enter the setting interface. Click the
corresponding setting items to operate.
2.1 Date and Time Setting
Click “System/Date & time” in the setting interface to set the date and time. You
may set the date, time zone, time, time format and date format etc. in the menu.
2.2. Brightness
Select “Display” in the setting interface. Click “Brightness level” to enter, and
slide the bar to adjust the brightness.
2.3. Screen Timeout
Adjust the delay before the screen automatically turns off.
Select “Display” in the setting interface. Click “Sleep” to enter, and click the
time you want.
Note: The setting of screen timeout is unavailable while playing video.
2.4. Enable anti blue light
Select“Display”in the setting interface. Click on the“Night Light”switch to turn
on the eye protection mode automatically.
3. Wi-Fi connection
Click “Settings” in the main interface. Click Network and internet to Wi-Fi,turn
on the WIFI, it lists the open network it searched. Click the name of the network;
it pops up the setting window. You may connect it to WIFI according to the
prompts. You need to input the user name and password if networks are
encrypted.
3.1 Bluetooth (optional)
Turn on the Connected devices, Click “Pair new device”,it lists the open devices.
Click the name of the devices; it pops up the setting window. choose the
device ,pairing it, then you can transfer pictures, music etc with it.
4. Install, Uninstall and Run applications
4.1 Install
There are many ways to install applications under Android™. We introduce
installation by Market here.
Select the APK file you want and enter the application installation interface. Click
“Install” to install the application automatically. After installation, it prompts
“Open” and “Finish”. Click “Open” to open the application. Click “Finish”
to exit.
4.2 Uninstall
You may use the corresponding third party software management tool or the
installed application management software of the device to install applications.
Select “Setting/App and notifications/SEE ALL APPS/” to select the installed
applications and check the attribute of it or uninstall it.
5. Connect to internet
5.1. After connecting with WIFI, open the browser and input the web address, you
can browse the web then.
5.2. Click the icon to enter the bookmark to view the browse history.
Click the web page you want to open it.
6. Audio and video playback
6.1. Audio playback
Click the “YT Music” in the main menu to enter the audio playback interface. It
lists the audio files in the device, and you may click the file name to play it. in the
audio playing interface, click the icons to play/pause/ increase volume/ decrease
volume/ FF/ REW….
6.2. Video Playback
Click the “Files” in the main menu to enter the videos interface. It lists the video
files in the device, and you may click the file name to play it. in the video playing
interface, touch the screen to pop-up the operation icons and click the icons to
play/pause/ increase volume/ decrease volume/ skip to next file/skip toprevious
file….
7. Picture viewing
Click “Gallery” in the main menu to enter the picture folder list. Select and click
the folder you want to enter, it displays the . click the thumbnail of the picture to
view it.
Touch the screen to pop-up the operation icons while viewing the picture, you may
zoom in/zoom out/ skip to next picture/skip to previous picture/ rotate/ delete
the picture…
8.1 Camera
Click to take picture.
Click to set the scene mode, Picture size, Picture quality etc
Click to select back or front camera.
Click to take video
8.2 DV
If the cursor is at position, the device is at DV mode.
Click to take picture.
9. Connect with external device
9.1. Connect with PC
You can connect your tablet to a Windows computer through a USB cable. When connected,
you can transfer music, pictures, and other files between the computer and your tablet.
When you connect your tablet to the USB port on your computer, its USB storage is
mounted as a drive and appears on your computer screen. You can copy files back and forth
as you would use any other external device.
9.2. Use of OTG
It supports the movable device with FAT32 format, such as U disk and MP3.
Connect the movable device to the MID.
IV. Troubleshooting
1. What if the device is abnormal during operation?
Answer: 1) Reboot the device to see if it works OK.
2) Charge the device by the charger to activate the battery. Make sure it has power before
you operate it.
3) It is suggested to upgrade the OS of the device by professional.
2. Why the standby time is so short sometimes?
Answer: the use time of the battery is all depend on the temperature and use instance. If the
temperature is too high or too low, the use time of the battery might be effected. It is
suggest using the device in normal temperature. The using time is also affected by increased
volume and frequently operation.
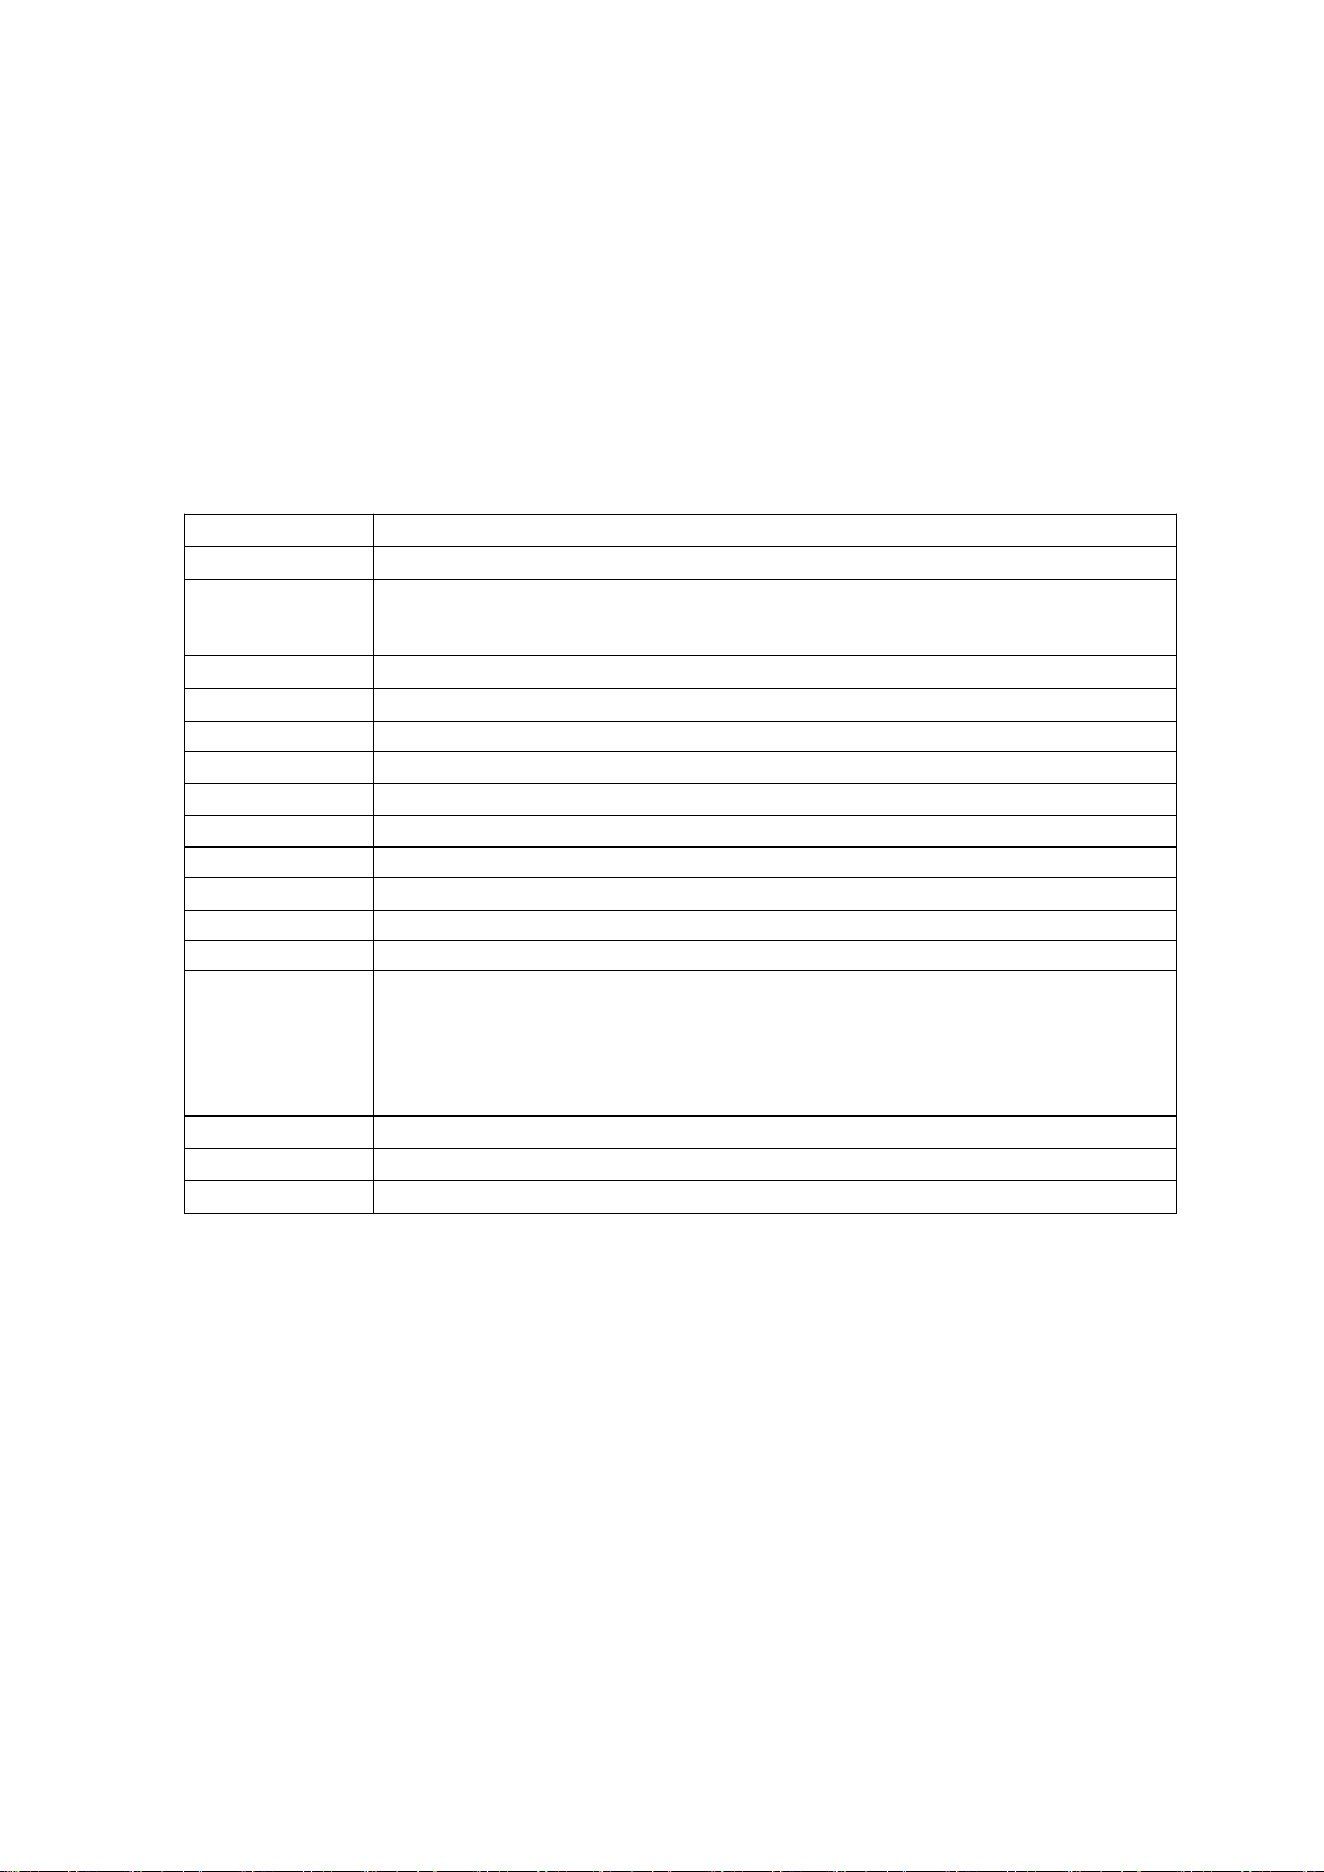
VI. Specifications
Display
10.1’ inch
OS
Android 16
Capacity
32GB ROM
3GB RAM
Audio
MP3
LCD resolution
800*1280 IPS
Processor
MT8786
Wireless network
802.11 a/b/g/n/ac,2.4G&5GHz
BT
5.0
TYPE-C
2.0
Temperature
0℃ to 45℃
Adaptor
5V 2A
Battery
5000mAh poly-lithium battery
Speaker
8Ω/1W*2
Ports/Slots
1*USBType-C
2*SIM Slot
1 *3.5 mm Headphone Combo Jack
1*microSD Card Slot(up to 1TB)
2G Network
GMS 850/900/1800/1900
3G Network
WCDMA(B2/4/5)
4G Network
LTE(B2/4/5/12/25/26/41(HPUE)/66/71/7/13/17/28)
*Please note: Capacity might be lower than mentioned
on box as device uses storage for preloaded software.
Google, Android, Google Play and other marks are trademarks of Google LLC.
Important safety instructions
• Do not alter, disassemble, open, crush, place pressure or crush the product.
• The product includes lithium - ion battery. Keep away from fire.
• Keep the product dry. Do not make use with wet hands. Moisture can cause
electric shock.
• The product may heat up during use - This is normal.
• Do not use or leave the battery near - Fire, Oven, direct exposure to sunlight, car
parking in the sun or any other heat source. Doing so may cause the battery to
overheat and lead to torching.

• If the product begins to swell or expand, distributor a smell or heats up to the
stage you cannot touch it, stop using the product immediately and contact a
service laboratory.
• Do not make any changes / corrections independently use help by only by a
qualified technician laboratory
importer / manufacturer.
• If the battery starts to spread liquid, stop using the product immediately and
contact a service laboratory.
• Ensure that the use is in accordance with the manufacturer's instructions.
• Do not leave the unit in charge mode for a long time.
• Do not store the product in a hot or humid environment.
• Use only the specified charger product. Using incorrect charger may result in
overheating, fire and explosion of the battery.
• Beware of exposing the battery to water or any other liquid, not for cleaning the
contacts and no other purpose.
• Do not insert or place the device in to or next to a microwave, oven or any
appliance that generates heat, due to the risk of overheating of the battery.
• If the battery is not charging effectively, please avoid repetition of long,
continuous charging excessively. Reload extended without discharging the battery
may cause overheating.
• Battery should not spread a strange smell or fluid material if so please call
service center.
• The battery contains combustible material and may catch fire.
• Never leave the product in areas with direct exposure to sunlight, a car parked
in the sun or in any environment with high temperature.
Lithium Battery Safety Instructions:
• Caution Danger! Experience replacement battery may cause explosion, replace
the battery only VIA service laboratory.
• Do not expose the battery or battery pack to high heat such as sunshine, fire
and the like.
• Do not dispose of the battery in the trash, but recycling facilities designated.

FCC Statement
This device meets the government's requirements for exposure to radio waves. The
guidelines are based on standards that were developed by independent scientific
organizations through periodic and thorough evaluation of scientific studies. The standards
include a substantial safety margin designed to assure the safety of all persons regardless of
age or health. The SAR limit of USA (FCC) is 1.6 W/kg averaged. Device types:Tablet PC (FCC
ID: 2BCQA-G17) has also been tested against this SAR limit. SAR information can be viewed
on-line at http://www.fcc.gov/oet/ea/fccid/. Please use the device FCC ID number for
search. This device was tested simulation typical 0mm to body. To maintain compliance with
FCC RF exposure requirements, use accessories should maintain a separation distance
between the user's bodies mentioned above, use accessories should not contain metallic
components in its assembly, the use of accessories that do not satisfy these requirements
may not comply with FCC RF exposure requirements, and should be avoided.