
Technical Support and E-Warranty Certificate
www.vevor.com/support
ELECTRIC TRAILER BRAKE
Model:BF10-Z01A*2,BF10-Z01A*4,BF10-Z01AB*2,
BF12-Z02A*2,BF12-Z02A*4,BF12-Z02AB*2
We continue to be committed to provide you tools with competitive price.
"Save Half", "Half Price" or any other similar expressions used by us only represents an
estimate of savings you might benefit from buying certain tools with us compared to the major
top brands and does not necessarily mean to cover all categories of tools offered by us. You
are kindly reminded to verify carefully when you are placing an order with us if you are
actually saving half in comparison with the top major brands.
- 1 -
Have product questions? Need technical support? Please feel free to
contact us:
Technical Support and E-Warranty Certificate
www.vevor.com/support
NEED HELP? CONTACT US!
This is the original instruction, please read all manual instructions
carefully before operating. VEVOR reserves a clear interpretation of our
user manual. The appearance of the product shall be subject to the
product you received. Please forgive us that we won't inform you again if
there are any technology or software updates on our product.
Electric Trailer Brake

- 2 -
1. Read carefully and understand all ASSEMBLY AND OPERATION
INSTRUCTIONS before operating.
2. Failure to follow the safety rules and other basic safety precautions may
result in serious personal injury.
GENERAL SAFETY RULES
1. Please select a brake type suitable for the axle.
2. Avoid water or oil on the brake shoes so as not to affect the braking
effect.
3. Avoid water or oil inside the brake drum so as not to affect the braking
effect.
4. Do not frequently use the brake to slow down, lest the brake
temperature is too high, affecting the service life of the brake.
5. Never try to repair or disassemble the product when there is a
problem.Ask a machinist or specialist for help.
6. Do not install the product when you are tired while under the influence of
alcohol, prescription medicines or drugs.
7. The safety precautions and instructions given in this manual are unable
to cover in detail all the conditions and situations that may arise.
8. The operator and/or user must use common sense and caution when
operating the product especially for any matters that are not referred to the
above.
9. The use of any accessories other than those recommended by the
manufacturer or stated in the instructions manual may result in injury or
may cause damages.
SAVE THESE INSTRUCTIONS
- 3 -
MODEL AND PARAMETERS
Model
BF10-Z01
A×2
BF10-Z01
A×4
BF10-Z01
AB×2
BF12-Z02
A×2
BF12-Z02
A×4
BF12-Z02
AB×2
Suitable for
Trailer y
3500lbs
3500lbs
3500lbs
7000lbs
7000lbs
7000lbs
Product Spec.
10"×2-1/4 "
10"×2-1/4 "
10"×2-1/4 "
12"×2 "
12"×2 "
12"×2 "
Electromagnet
Spec.
10",DC12V
/2.5-3.6A
10",DC12V
/2.5-3.6A
10",DC12V
/2.5-3.6A
12",DC12V
,2.8~4.2A
12",DC12V
/2.8-4.2A
12",DC12V
/2.8-4.2A
Brake Flange
Four studs,
7/16-20UN
F,PCD=
101.8mm
Four
Studs,
7/16-20UN
F,PCD=
101.8mm
Four
Studs,
7/16-20UN
F,PCD=
101.8mm
Five Holes,
PCD=
99mm
Five Holes,
PCD=
99mm
Five Holes,
PCD=
99mm
Adjust Method
Self-
adjusting
Self-
adjusting
Self-
adjusting
Self-
adjusting
Self-
adjusting
Self-
adjusting
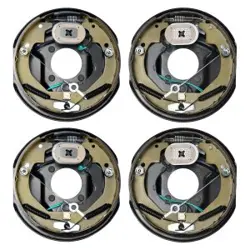
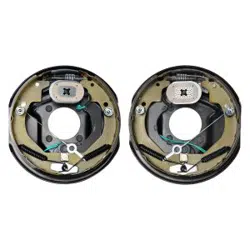
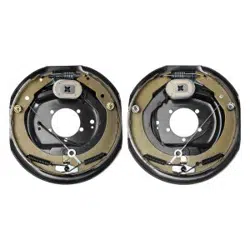
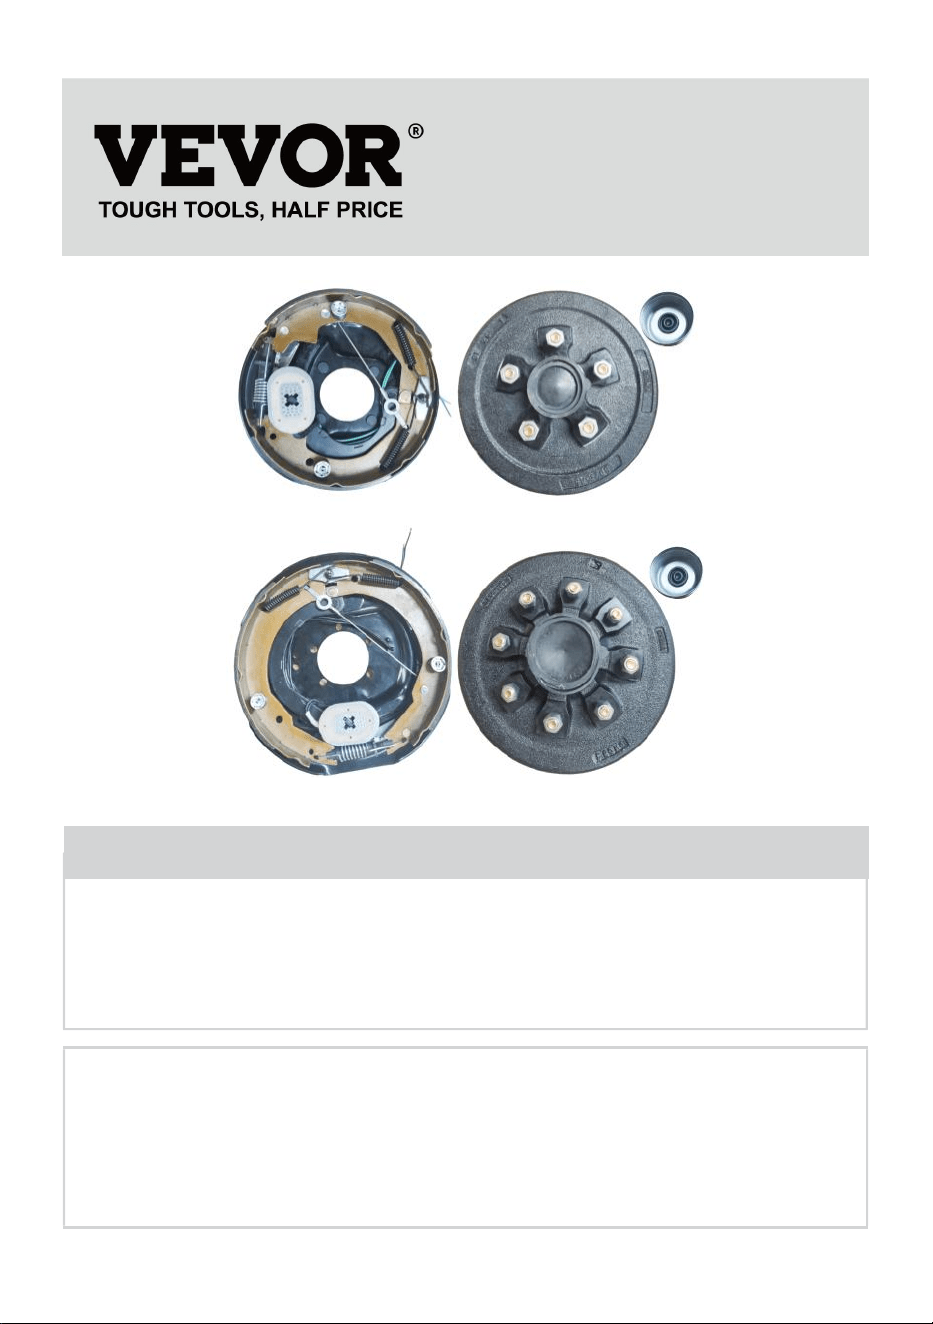
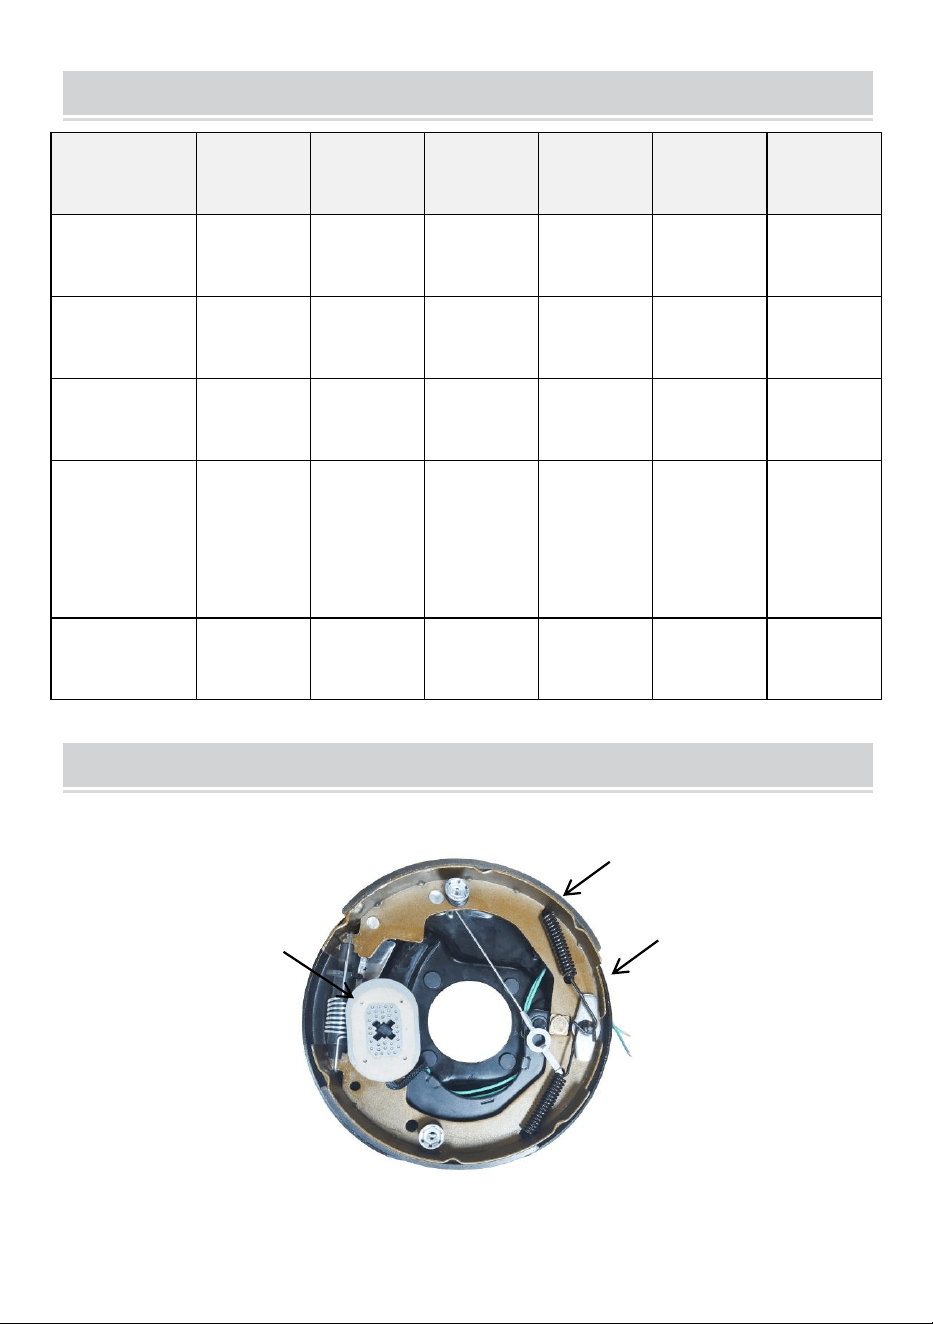
STRUCTURE DIAGRAM
Take BF10-Z01A×2 as an example
1.Brake Shoe 2. Electric Brake 3. Electromagnet
2
1
3
- 4 -
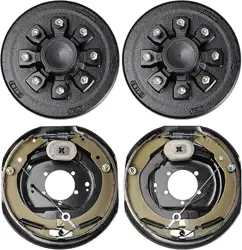
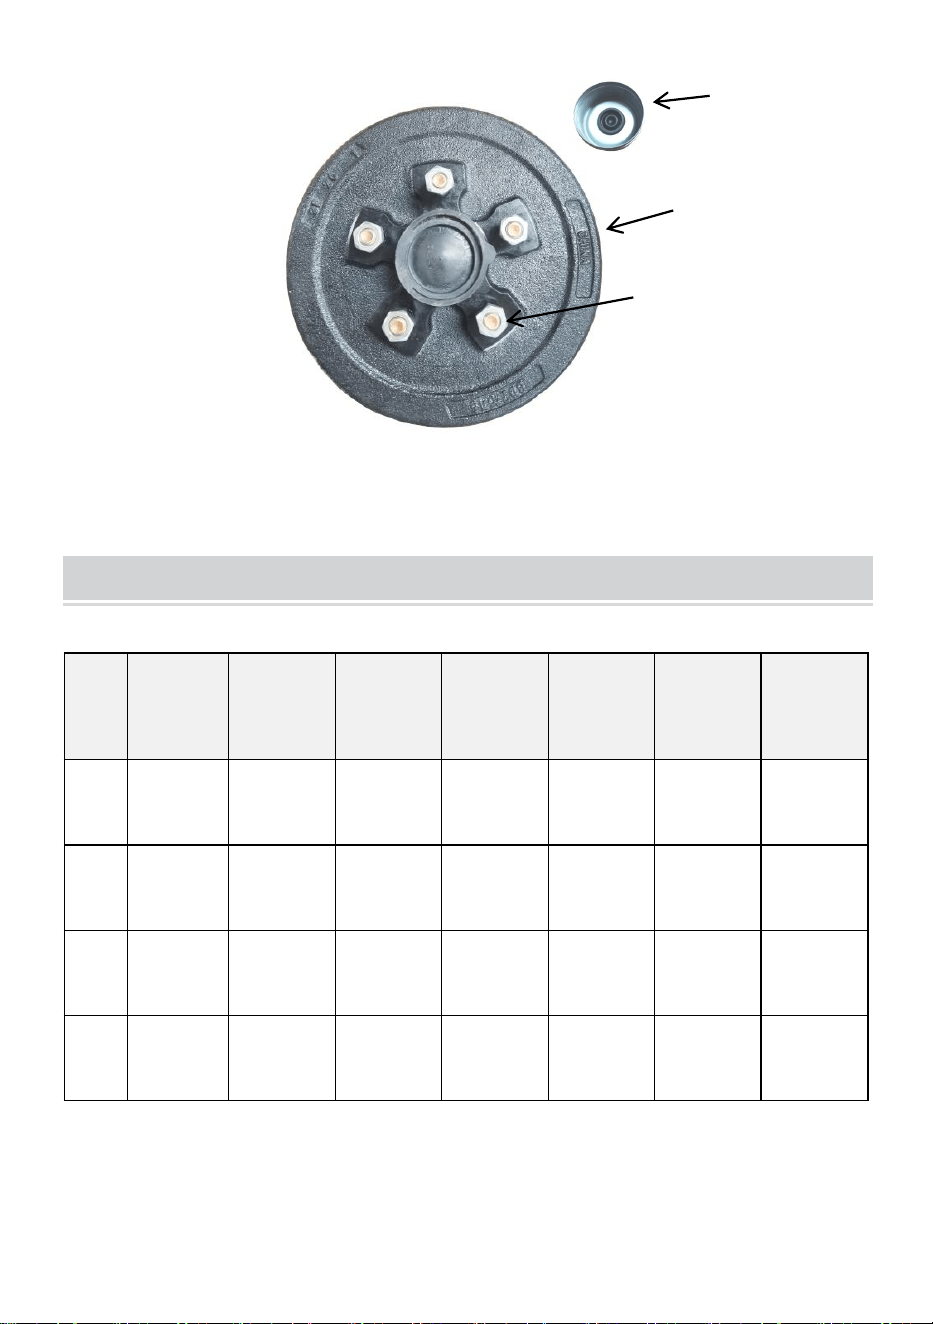
1.Brake Drum 2. Studs and Nuts 3. Dust Cap
COMPONENTS
NO.
Name
BF10-Z0
1A×2
BF10-Z0
1A×4
BF10-Z0
1AB×2
BF12-Z0
2A×2
BF12-Z0
2A×4
BF12-Z0
2AB×2
1
Brake
2
4
2
2
4
2
2
Brake
Drum
/
/
2
/
/
2
3
Dust
Cap
/
/
2
/
/
2
4
Nut(for
Drum)
/
/
10
/
/
16
1
2
3
- 5 -
ASSEMBLY
Installation Preparation:
1. Two or more people to move and assemble the product.
2. Please prepare a mat and you need to spread out all the accessories.
3. Please prepare gloves to avoid being scratched by sharp parts that may
occur during installation.
4. Please open all the boxes to check that the accessories are complete
and in good condition.
5. If you need to use power tools to install this product, please set the
speed to low speed in advance.
The following describes only the installation procedure. The model
depends on the user's choice.
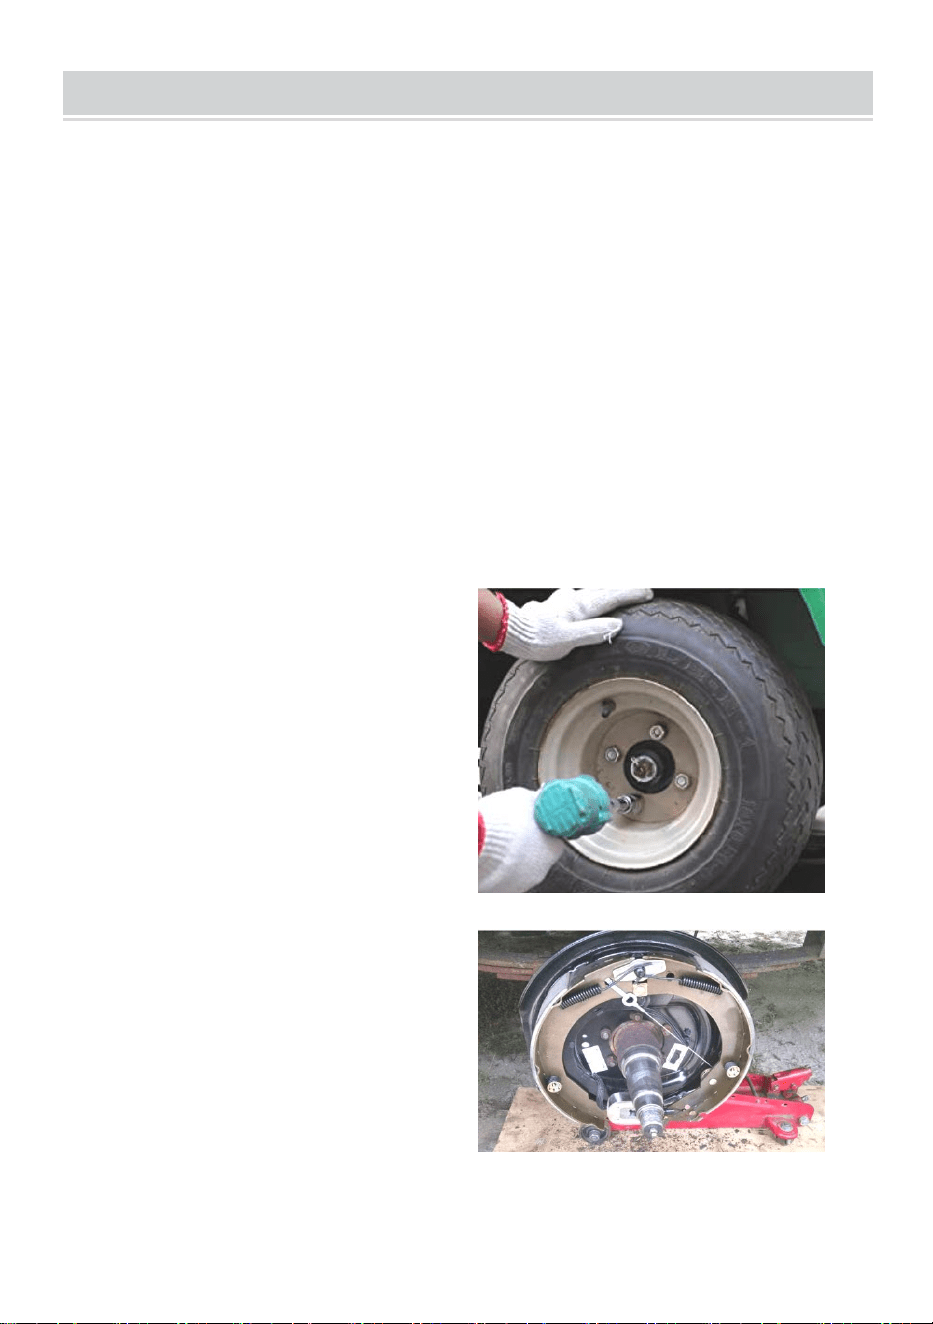
Step1:Jack the axle up with the
help of a jack.Remove the wheels
and tires.
Step2
:
Install the brakes.

- 6 -
Step3
:
Install brake drum.Slowly
insert the brake drum onto the axle
and Lock nut and cotter pin.Finally,
install the dust cover
Note
:
The brake drum is loaded with
bearings.
Step4
:
Install back tires.Connect the
electromagnet leads and complete
the installation.
MAINTENANCE
1. Inspect periodically all parts and accessories and replace them if
damaged or used.
2. Have damaged parts replaced by an authorized service center.
3. Check the nuts periodically and tighten them if they are loose.
4. Keep the product properly maintained and clean for better and safer
performance.
5. Check brake pads regularly and replace them in time if they are
seriously worn.
6. Check the bearing regularly and add lubricating grease if necessary
Sanven Technology Ltd.
Address: Suite 250, 9166 Anaheim Place, Rancho Cucamonga, CA 91730
Made In China