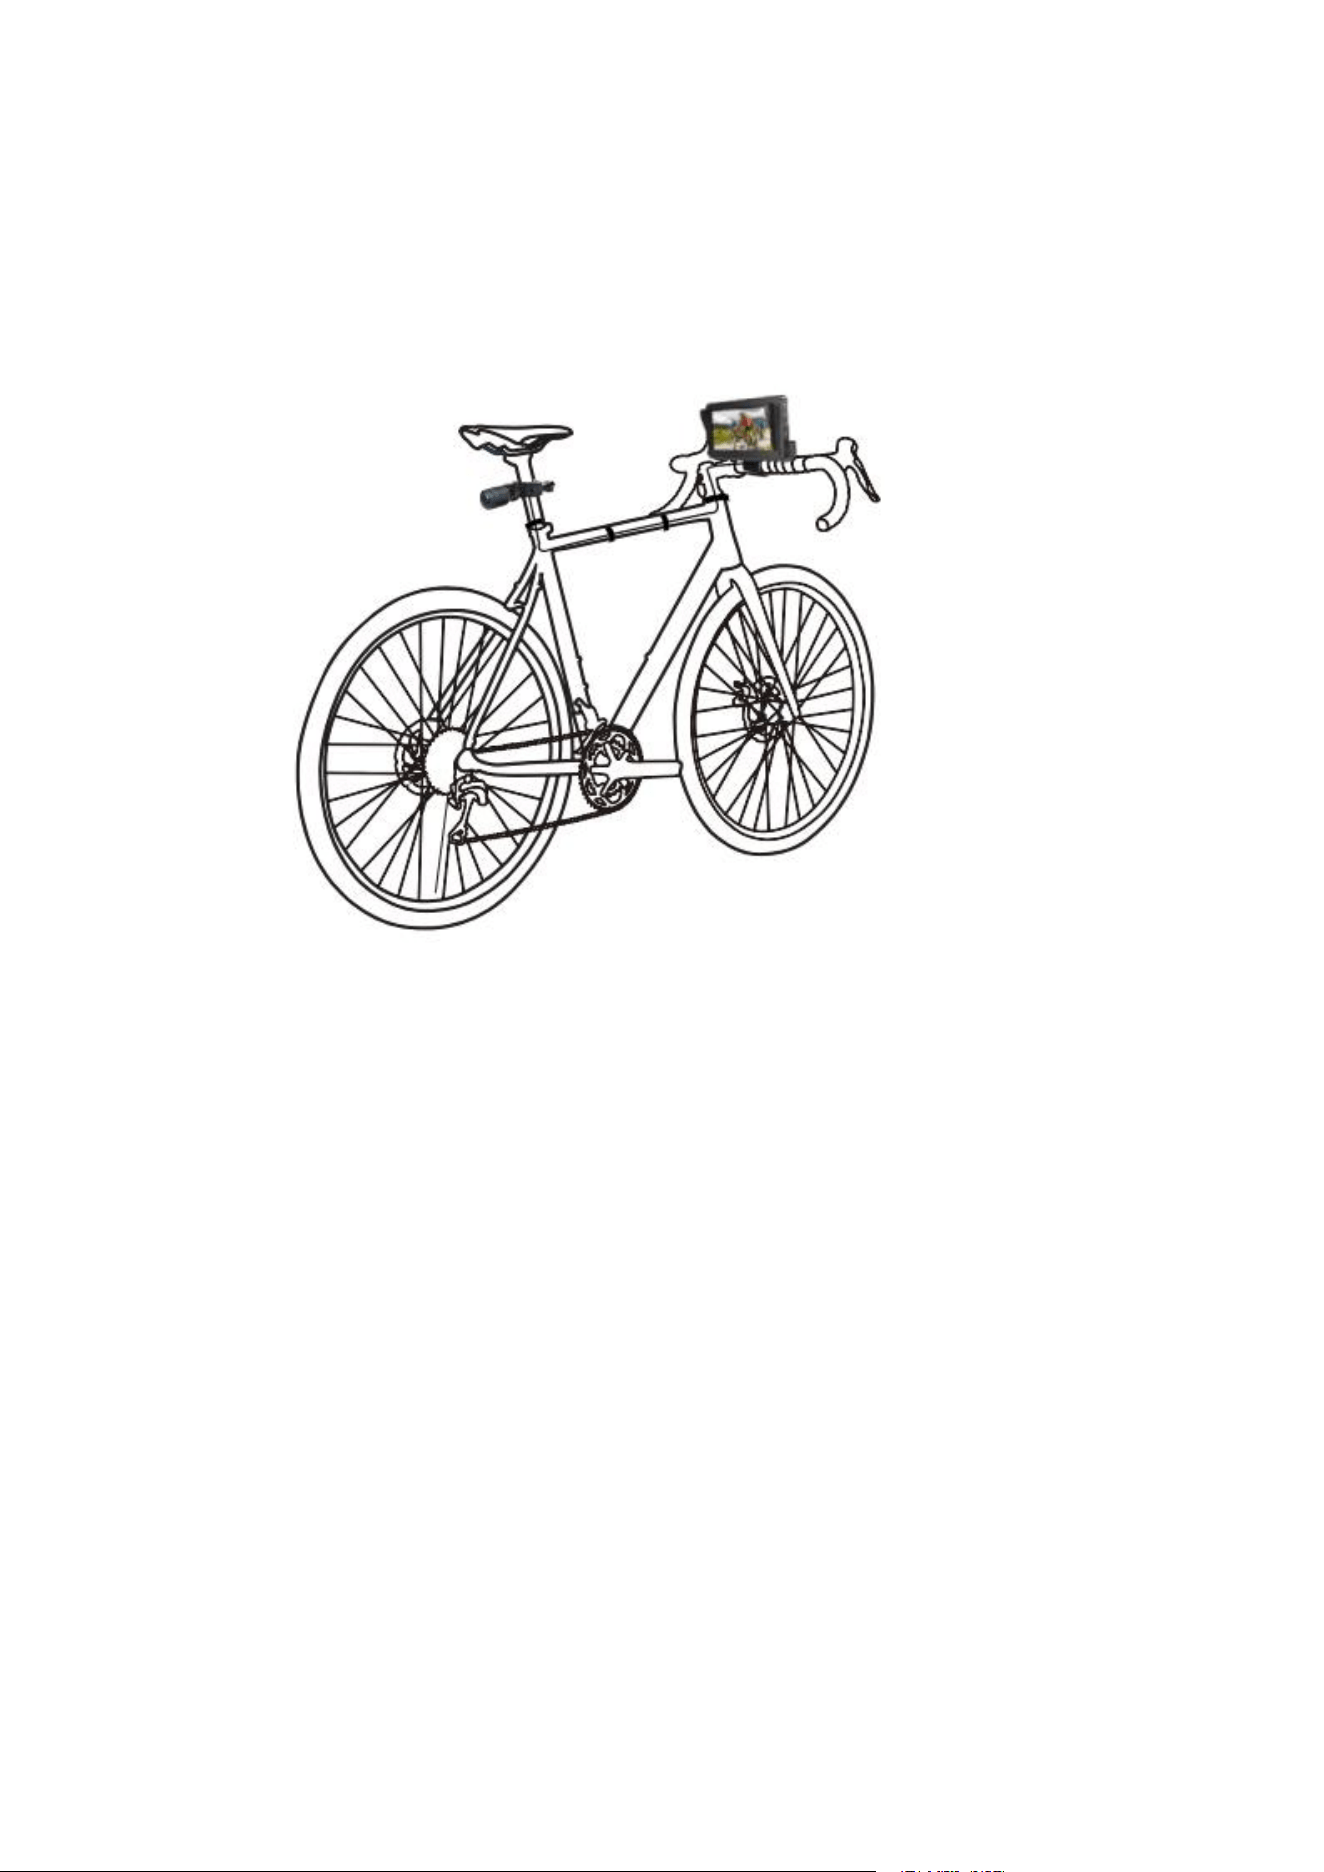
PARKVISION
Bicycle Wireless Rearview System User Manual
Model: BK-450
In accordance with the latest air transport regulations, the battery level of all
products containing batteries must not exceed 25% when shipped. Therefore,
the device you receive may have a very low charge. Please be sure to charge it
before use.
Note: The monitor, camera, and remote control are wirelessly paired at the
factory and can be used directly. If you replace the camera, remote control,
or if the image does not display, please refer to [Section 8: Wireless
Camera and Monitor Pairing].
一、
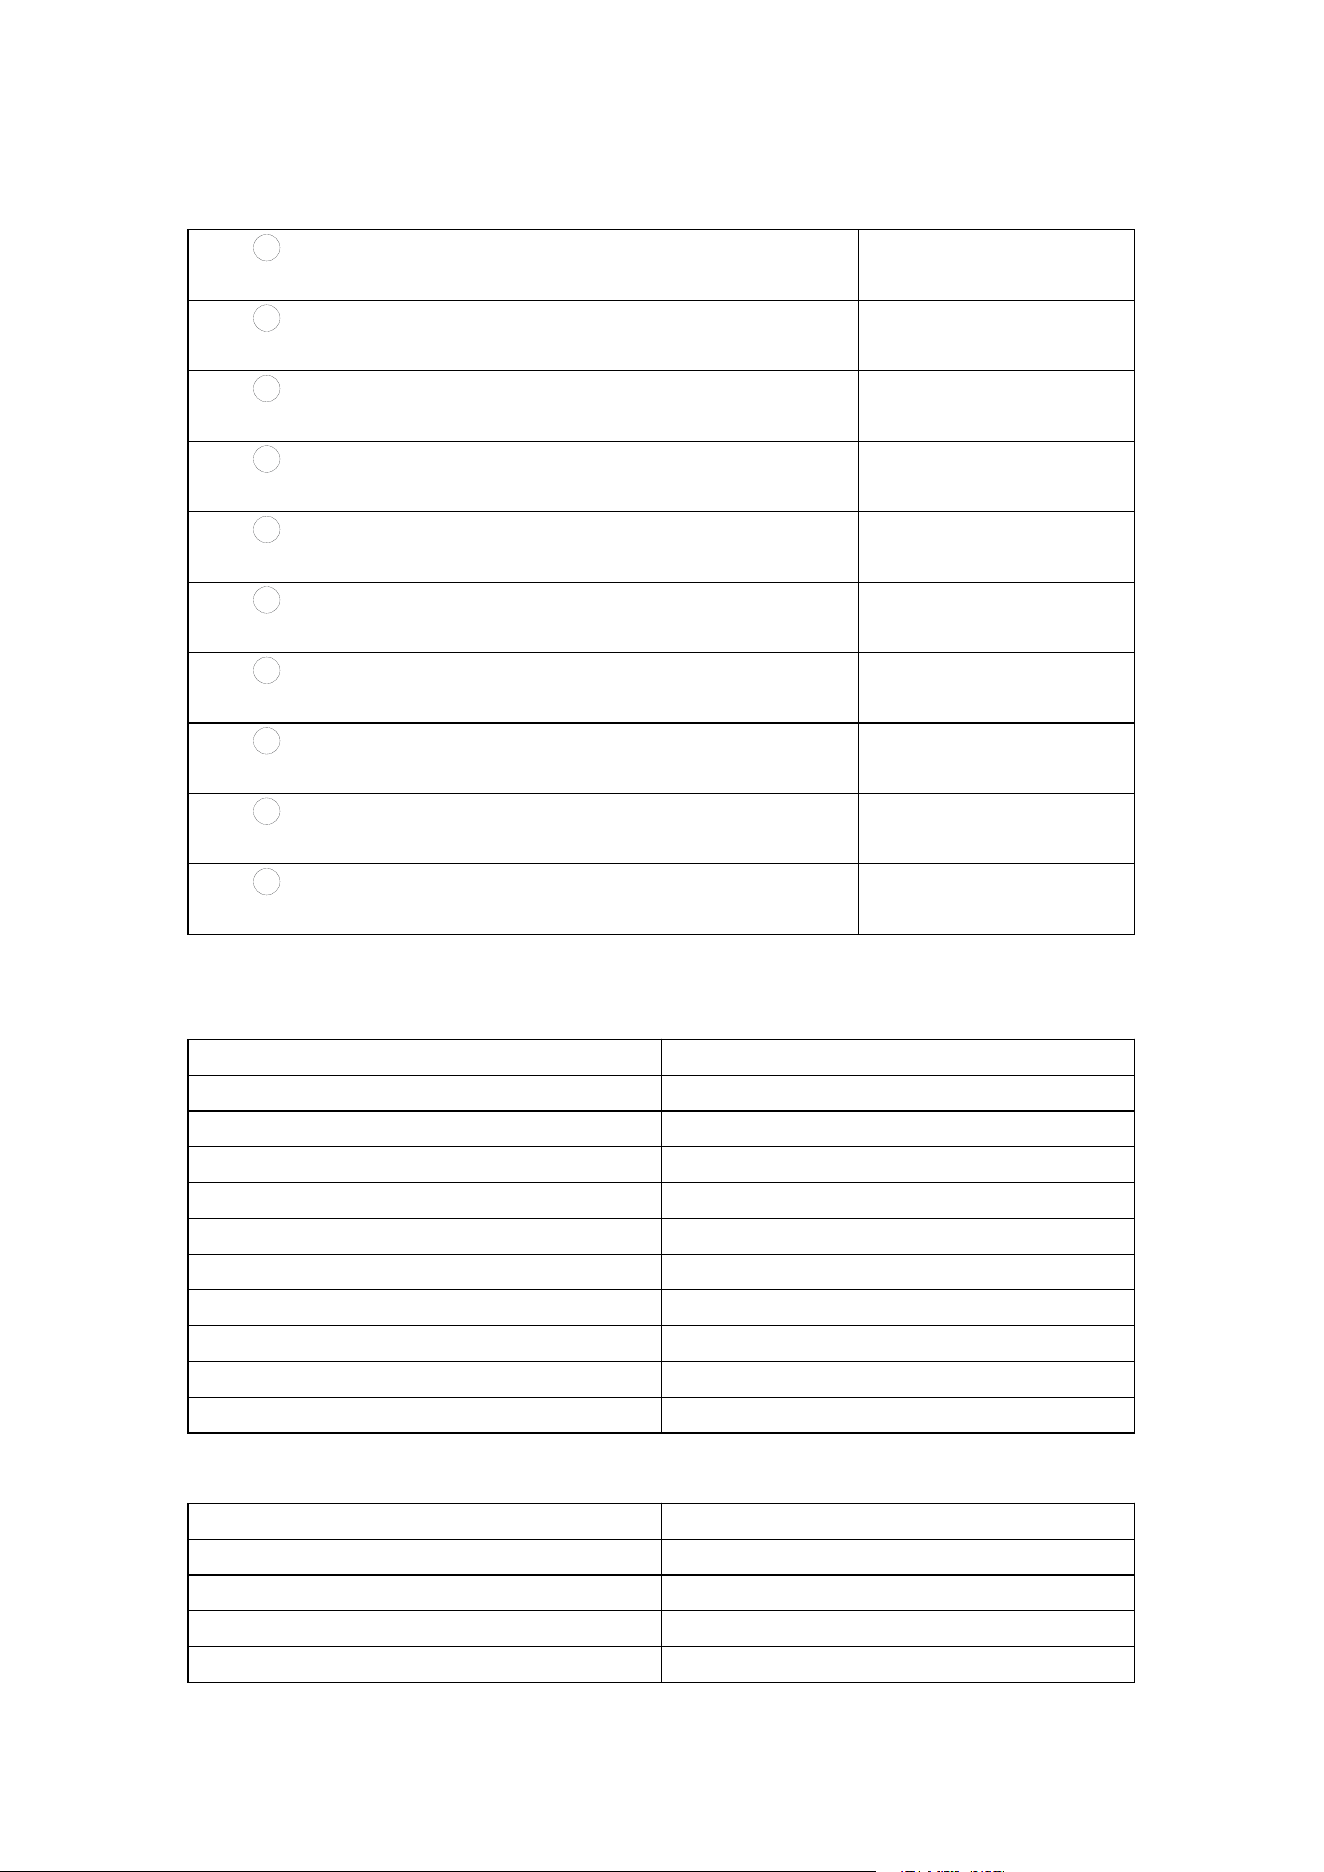
Package Contents
1 4.3" Wireless Monitor x1
2 Rear View Camera x1
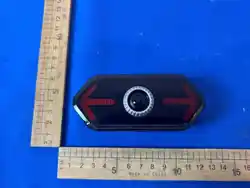
3 Turn Signal Remote Control x1
4 Monitor Mount Bracket x2
5 Monitor Mount Bracket x1
6 Camera Symmetrical Snap Bracket x1
7 Thin Rubber Pad for Camera Bracket (for rod
diameter ∅ 30mm-∅ 35mm) x2
8 Turn Signal Remote Control Strap x2
9 Screws for Camera Symmetrical Snap
Bracket x2
10 Cross Wrench x1
二、Monitor Specifications
Item
Parameter
Screen Size
4.3" IPS
Resolution
800×480
Battery Capacity
5000 mAh
Battery Life
6 hours
Waterproof Rating
IP65
Charging Parameters
DC 5V / 2.5A
Image Flip
Supported (Normal/Mirror)
Image Zoom
3x zoom supported
Auto Dimming
Supported
Charging Time
5 hours
三、Camera Specifications
Item
Parameter
Image Format
AHD
Effective Pixels
1920×1080 (1080P)
Viewing Angle
95° (max)
Battery Capacity
3000mAh
Waterproof Rating
IP65
Operating Voltage
3.7V
Charging Parameters
DC 5V / 2.5A
Night Vision
Supported
Battery Life
4 hours
Charging Time
3 hours
四、
Monitor Appearance & Button Description
Operation: Use the buttons on the monitor.
【 】
Power button (long press 2 sec) / Menu confirm
【▲】 Up / Right
【☰】 Menu button / Back
【▼】 Down / Left
Image Settings
System
Pairing
Flip(Vert.Normal)
Auto Brightness: Off/On
Camera Pairing
Zoom ( x0.8 ,
standard,x1.2,x1.5)
Turn Signal
Setting:Off/5s/10s/15s
Remote Pairing
Brightness(1-10)
UI Guide
Contrast (1-10)
Language
Hue (1-10)
Restore Default
五、
Indicator Light Guide
- Monitor charging: Red LED steady on
- Monitor fully charged: Green LED steady on
- Camera charging: Blue LED flashing
- Camera fully charged: 4 blue LEDs steady on
- Monitor red light: Battery critically low, will shut down soon – please
charge
Monitor
Charging Time
Usage Time
Camera
Charging Time
Usage Time
1H
2H
1H
2H
2H
4H
2H
3H
4H
6H
3H
4H
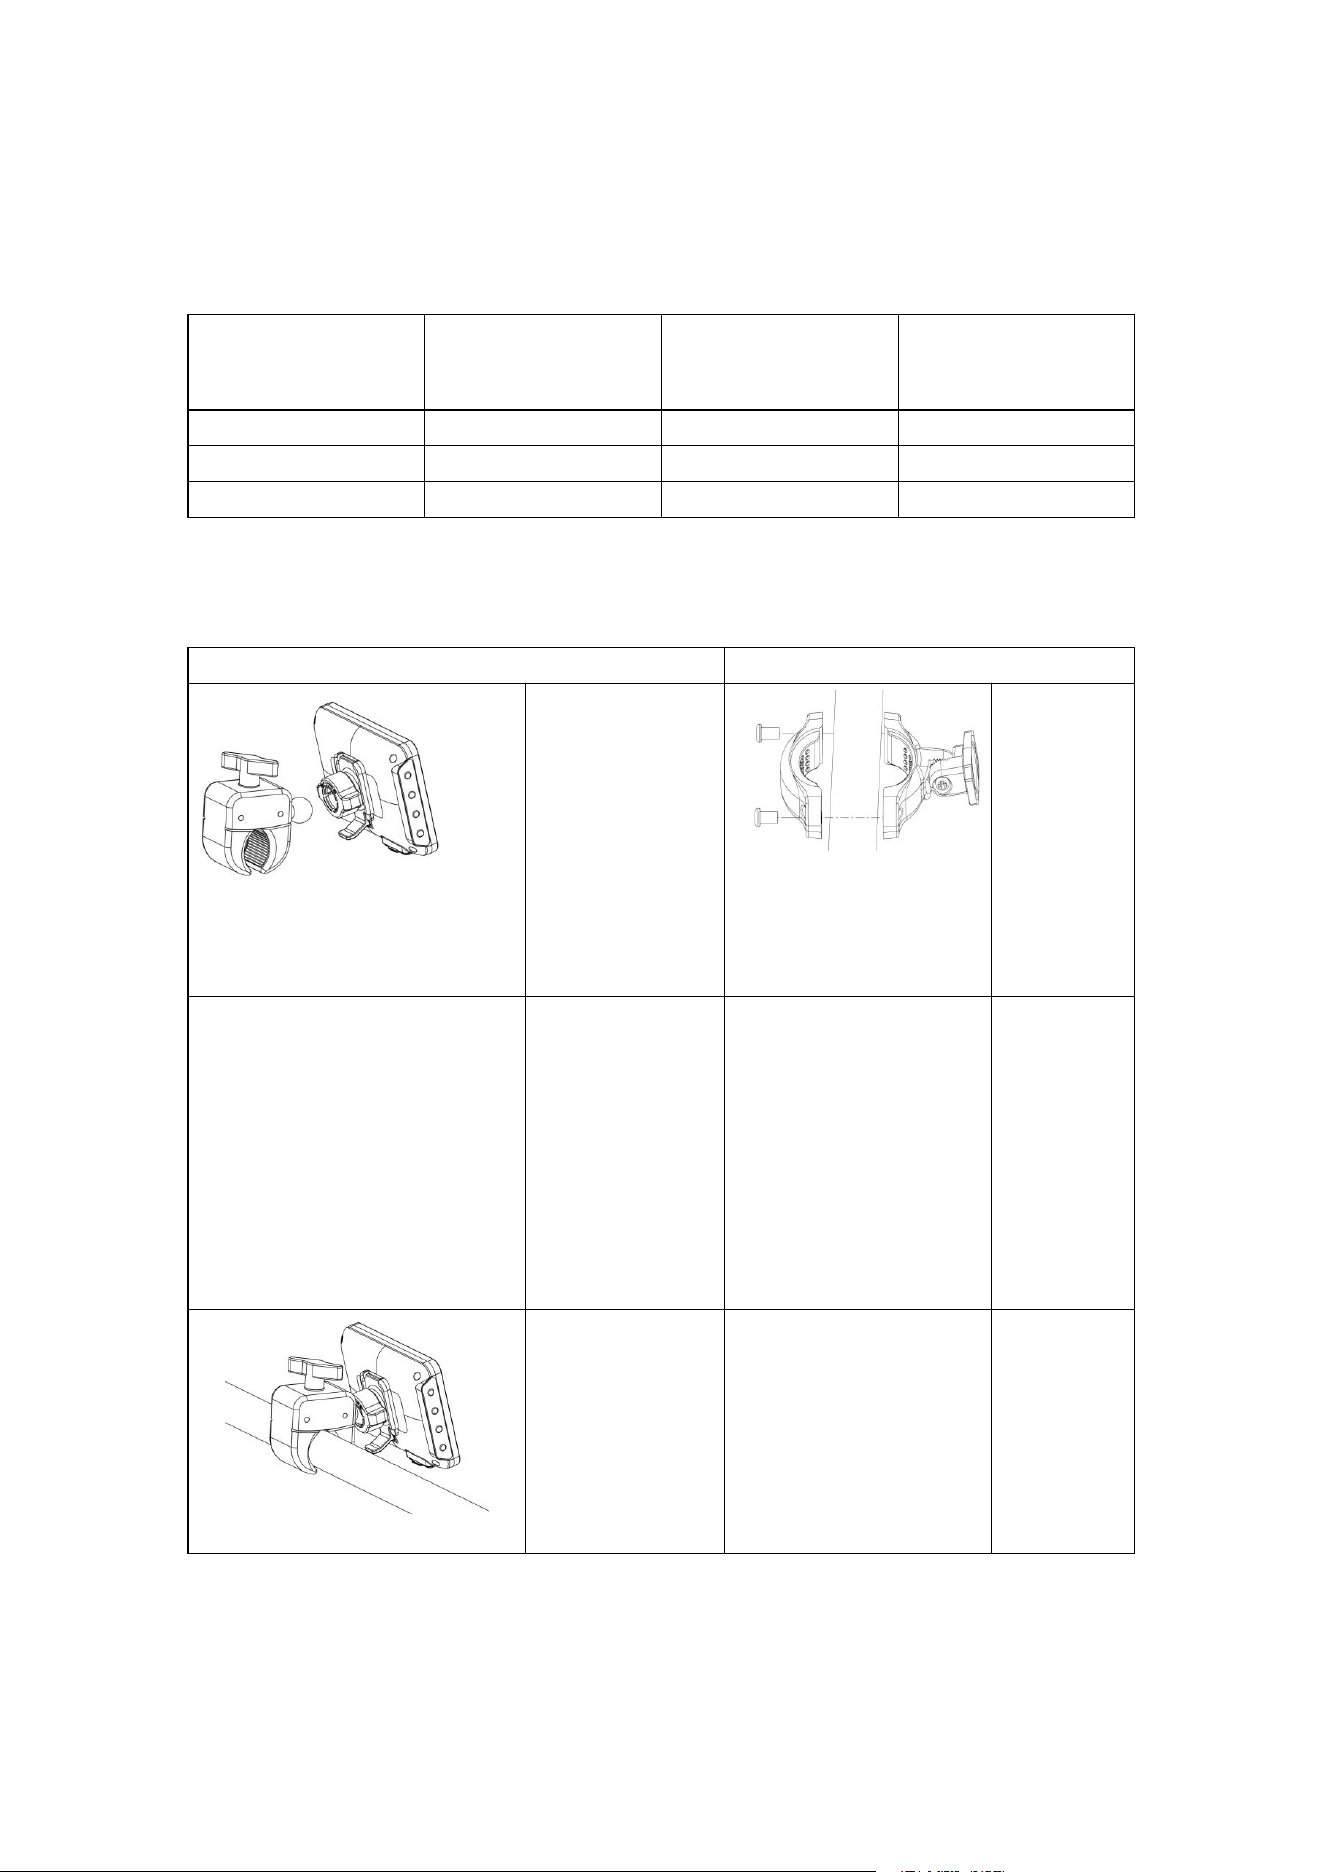
六、Installation Steps
Monitor Installation
Camera Installation
Attach the
monitor mount
bracket to the
monitor
Choose
the
appropria
te rubber
pad and
fix the
bracket
with the
M5 screw
Loosen the
bracket screw,
install the
bracket (with
monitor) onto
the handlebar,
then tighten
the screw
Slide the
camera
into the
bracket
magnetic
ally via
the guide
groove on
the back
Adjust the
monitor angle
and tighten
the screw
Adjust the
camera
angle and
tighten
the screw
using the
wrench
七、Basic Functions & Operation
A. Image Zoom Steps
Enter Menu (☰) → Image Settings → Confirm ( ) → Dropdown (▼) → Image
Zoom In → Confirm ( )
B.
Image Flip Steps
Enter Menu [☰]
→
Image Settings
→
Confirm [ ]
→
Scroll Down [▼]
→
Image
Flip
→
Confirm [ ]
C. Turn Signal Setting Steps
Enter Menu [☰]
→
Scroll Down [▼]
→
System Settings
→
Confirm [ ]
→
Scroll
Down [▼]
→
Auto Turn-off Light
→
Confirm [ ]
Standard Factory Setting:
The turn signal light defaults to a 15-second timer. During this period, the remote
control buttons are disabled and cannot interrupt the cycle; the system must wait
for the timer to expire.
Custom Setting:
If the timer function is disabled (i.e., no duration is set), the turn signal can be turned
off at any time using the remote control buttons.
D. Auto Brightness Setting Steps
Enter Menu [ ☰ ] → System Settings → Confirm [ ] → Auto Brightness →
Confirm [ ]
八、Wireless Camera & Monitor Pairing
The product is pre-paired at the factory. Under normal conditions, the
rear view image will appear when powered on. If you replace the camera
or no image is shown, follow the steps below to re-pair.
Wireless Pairing Procedure
:
Ensure both monitor and camera are off.
Long press the monitor power button for 2 seconds to turn it on. Enter the
menu, select “Pairing Settings”, press the power button to confirm, and a
30-second countdown will begin.
While the camera pairing countdown is active, long press the camera
power button for 2 seconds to power it on – pairing will happen
automatically. Upon successful pairing, the image will appear.
If pairing fails once, restart the camera and retry.
Enter Menu [☰] → Code Settings → Confirm [ ] → Camera Pairing →
Confirm [ ]
九、Turn Signal Remote Control & Camera Pairing
Note: The installation distance between the turn signal remote control
and the display should not exceed 1 meter.
Long press the monitor power button for 2 seconds to turn it on. Enter the
menu, select “Remote Pairing”, press the power button to confirm, and a
30-second countdown will begin.
During the remote pairing countdown, simultaneously long press both the
left and right direction keys on the remote control to pair.
Enter Menu [☰] → Pairing Settings → Confirm [ ] → Remote Control Pairing
→ Confirm [ ]
Steps
:
1. Enter Menu → Pairing Settings → Select “Remote Pairing”.
2. Execute pairing: On the turn signal remote, simultaneously long press the
left and right direction keys.
Result:
1. Success: The 30-second countdown on the screen disappears.
2. Failure: The countdown reaches zero. Restart the devices and repeat the
steps above.
十、Troubleshooting
No
Issue
Possible Cause & Solution
1
Black screen, power light on
Camera not turned on or battery
depleted – charge the camera
Wireless connection lost – re-pair.
2
Screen completely dead
Battery fully drained – charge for 1–2
hours before turning on
3
Blue screen or garbled
image
Wireless signal interference –
ensure distance between camera
and monitor is less than 10m with
no metal obstacles
Pairing error – re-pair
4
Short camera battery life Battery not fully charged – charge
for 4 hours
Low temperature reduces battery
life – normal for lithium batteries.
十一、After-sales Contact: service-jp@parkvision.com.cn
FCC Statement
1. This device complies with Part 15 of the FCC Rules. Operation is subject to the
following
two conditions:
(1)This device may not cause harmful interference.
(2)This device must accept any interference received, including interference that may
cause undesired operation.
2. Changes or modifications not expressly approved by the party responsible for
compliance could void the user’s authority to operate the equipment.
Note: This equipment has been tested and found to comply with the limits for a class B
digital device, pursuant to Part 15 of the FCC Rules. These limits are designed to provide
reasonable protection against harmful interference in a residential installation.
This equipment generates uses and can radiate radio frequency energy and, if not
installed and used in accordance with the instructions, may cause harmful interference to
radio communications. However, there is no guarantee that interference will not occur in a
particular installation. If this equipment does cause harmful interference to radio or
television reception, which can be determined by turning the equipment off and on, the
user is encouraged to try to correct the interference by one or more of the following
measures:
• Reorient or relocate the receiving antenna.
• Increase the separation between the equipment and receiver.
• Connect the equipment into an outlet on a circuit different from that to which the
receiver is connected.
• Consult the dealer or an experienced radio/TV technician for help.
The device has been evaluated to meet general RF exposure requirement. This
equipment
should be installed and operated with a minimum distance of 4 cm between the radiator
and your body