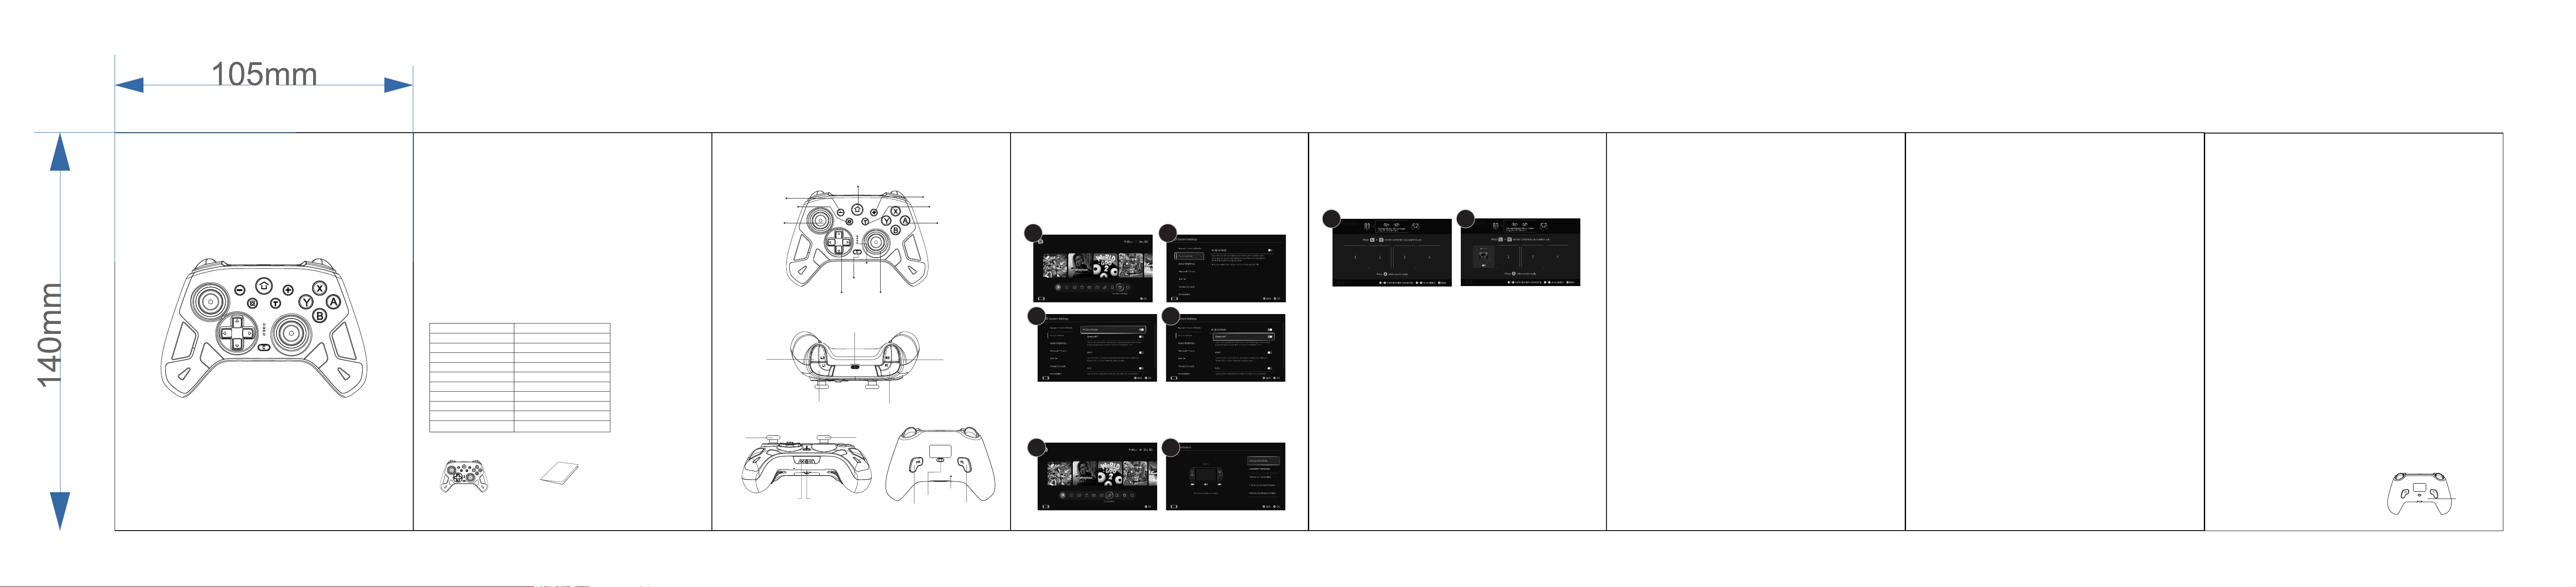
User Manual
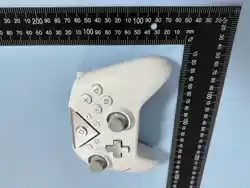
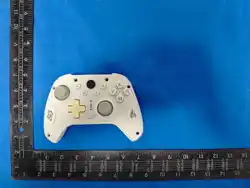
Wireless Game Controller
Type-C USB interface
left stick
Right stick
3.5mm headphone jack
PR Key
PL Key
PC- NS- Android
1 2
3 4
5 6
7
8
Reset button
Base charging port
I. Product Introduction & Application Scope
This device is a second-generation Bluetooth controller for Switch,
compatible with Switch second-generation and first-generation
(Bluetooth/wired), as well as PC (Bluetooth/wired).
Switch Functions:
When connected to Switch second-generation console: controls
compatible Switch games, supports 6-axis gyro, 9-axis motion sensor,
vibration motor,voice function, C-button function, and supports
wireless wake-up from sleep mode.
When connected to Switch first-generation console: controls compatible Switch
games, supports 6-axis gyro, vibration motor, and wired voice function.
Windows (PC360) Functions:
Connects to PC as an X-input device; defaults to X-input mode. When
connected via USB, can switch to D-input mode via button combination,
with cycling between modes.
Android Functions:
Connects to Android phones as an X-input device. (Display name can
be customized.)
II. Product Specifications
Parameter
Operating Voltage
Operating Current
Static Current
Continuous Run Time
Input Voltage/Current
Charging Time
Parameter
Transmission Distance
Battery Capacity
Standby Time
Specification
DC 3.7V
< 140mA
< 20μA
> 8 hours
DC 5V / 550mA
Approx. 2 hours
Specification
≥ 10 meters/ 32.8 feet
1000mAh
90 days after full charge
III. Package Contents
Game ControllerX1
User ManualX1
IV. Controller Button Layout
X/B/Y/A Key
Cross key
L3 Key
(Press down the joystick)
Home Key
C Key
TUBRO Key
+Key
- Key
Screenshot Button
Indicator
light
(Press down the joystick)
R3 Key
R2 Key
R1 KeyL1 Key
L2 Key
V. Controller Operation
Switch 2 Mode – Bluetooth Connection:
(1) Turn on the Switch console. On the home screen, select the System Settings
menu. In the next menu, select Airplane Mode, then select Controller Connection
(Bluetooth) to ensure the Bluetooth function is turned ON.
(2) Enter the Switch console's controller Bluetooth pairing mode. On the home
screen, select the Controllers menu. In the next menu, select Change Grip/Order.
The console will automatically search for and pair with the controller.
(3) With the controller powered off, slide the toggle switch to the NS position.
Press and hold the HOME button for 1–2 seconds to enter Bluetooth search/pairing
mode. The channel indicators LED1–LED4 will flash in a running-light pattern.
Upon successful connection, the Switch 2 console will automatically assign a
corresponding channel indicator, which will remain solidly lit. If pairing fails, the
controller will power off after 15 seconds.
VI. Function Descriptions
Switch 1 Mode – Bluetooth Connection:
With the controller powered off, slide the toggle switch to the NS position.
Press and hold Y + HOME for 3 seconds to power on and enter Switch 1
Bluetooth pairing mode. The channel indicators LED1–LED4 will flash in a
running-light pattern. On the Switch 1 console, enter the pairing interface.
Upon successful pairing, the console will automatically assign a channel, and
the corresponding channel indicator will remain solidly lit. (Bluetooth connection)
Bluetooth Connection – Pc360:
With the controller powered off, slide the toggle switch to the PC position.
Press and hold the HOME button for 3 seconds to enter pairing mode. On
your PC, open the Bluetooth search interface, find the Bluetooth device
named "Xbox Wireless Controller," and click to pair. Upon successful pairing,
LED1 and LED2 will remain solidly lit.
Android Mode – Bluetooth Connection:
With the controller powered off, slide the toggle switch to the Android position.
Press and hold the HOME button for 3 seconds to enter pairing mode. On
your Android phone, open the Bluetooth search interface, find the Bluetooth
device named "Gamepad," and click to pair. Upon successful pairing, LED2
and LED3 will remain solidly lit.
Wake-up & Reconnection:Switch2
Briefly press the HOME button to wake up the controller and enter reconnection
mode. It will automatically reconnect to the last paired device (ensure the controller
is in the correct toggle position). If the last connection was to a Switch 2 console
and the current toggle position is NS, the controller can wirelessly wake up the
Switch 2 console from sleep mode and complete reconnection upon power-on. If
reconnection fails within 15 seconds, the controller will automatically power off.
(The same logic applies to other platforms.)
VII. Button Layout
This controller features the following digital buttons: UP, DOWN, LEFT, RIGHT,
A, B, X, Y, L1, R1, L2, R2, L3, R3, – (Minus), + (Plus), Screenshot, C, HOME,
Pairing Button, Turbo Button, PL, PR. It also features two analog 3D joysticks.
VIII. Vibration Function
The controller supports vibration feedback. Vibration intensity varies dynamically
with in-game content. On the Switch console, the vibration function can be manually
turned ON or OFF.
IX. Macro Programming Function
Macro Button Configuration:
PR and PL are macro-assignable buttons. With the controller powered on, press
and hold the Turbo button + PL or PR (one of the two) for 3 seconds to enter
programming mode. The current indicator will flash slowly and the motor will
vibrate as a prompt. At this point, press the desired function buttons in sequence,
then finally press the same macro button (PL or PR) again to complete programming.
Upon successful programming, the current indicator will remain solidly lit and the
motor will vibrate as confirmation.A maximum of 24 button presses can be recorded
as a single macro (when the record limit is reached, the indicator will flash quickly).
Both button presses and interval timing between presses are recorded.
If no programming operation is performed within 10 seconds in programming
mode, the controller will exit programming mode, restore the previous macro
settings, and the indicator will remain solidly lit.
Macro Function Clear:
Follow the same steps to enter programming mode, but do not press any
function buttons. Instead, press the macro button (PL or PR) directly again. This
will clear the macro function assigned to that button.
Programming Memory:
Once a macro is programmed, it will be retained even after the controller is
powered off and restarted.
Programmable Buttons:
X, Y, A, B, ↑ (UP), ↓ (DOWN), ← (LEFT), → (RIGHT), R1, R2, L1, L2, R3, L3, R3D
(R3-Down), L3D (L3-Down)
X. Turbo(T) Function
Turbo Function Setup:
1.Press and hold the Turbo button, then briefly press the desired button to
assign it as a manual turbo (rapid-fire) button.
2.In manual turbo mode, press and hold the Turbo button, then briefly press the
button that has already been set to manual turbo. This will switch it to auto
turbo (continuous rapid-fire).
3.In auto turbo mode, press and hold the Turbo button, then briefly press the
button that has already been set to auto turbo. This will cancel the turbo function
for that button.
4.The turbo function cycles as follows:
Manual Turbo → Auto Turbo → Cancel Turbo
Turbo-Compatible Buttons:
A, B, X, Y, L1, R1, L2, R2, UP, DOWN, LEFT, RIGHT
Turbo Speed Settings:
(Speed settings are saved even after power-off. Default speed is Level 2.)
Turbo + Right 3D (Up) → Increase speed by one level
Turbo + Right 3D (Down) → Decrease speed by one level
Operation: Press and hold Turbo, then push the right joystick up to increase
speed, or push it down to decrease speed. Each successful speed adjustment is
confirmed by a single motor vibration.
5.Turbo Speed Levels:
Level 1: 8 presses/second
Level 2: 15 presses/second (Default)
Level 3: 25 presses/second
6.Clear All Turbo Functions:
Press the key combination Turbo + SELECT (–) for approximately 1 second to
clear the turbo function from all assigned buttons.
7.Turbo Function Memory:
Turbo function settings are not saved after the controller is powered off.
XI. Charging
When the controller is plugged into the adapter, the current channel indicator will
flash blue slowly. When fully charged, the blue light will remain solid.
XII. Low Battery Alert
When the controller battery voltage drops below 3.6V (based on battery
characteristics), the current channel indicator will flash rapidly to indicate low
battery and the need for charging. The controller will automatically shut down at 3.45V.
XIII. Power Off
When the controller is powered on, short press the pairing button to turn it off, or
long press the HOME button for 5 seconds to turn it off.
XIV. Ambient Light
When the controller is powered on, the joystick ambient light defaults to rainbow
mode. When connected to the host, the decorative light will display the color that
was set when the controller was last turned off, and the setting is saved upon shutdown.
Joystick ambient light color switching:
Press "+" + "←/→" to switch colors. The switching order is:
Rainbow Mode → Rainbow Breathing → Red → Orange → Yellow → Green → Cyan
→ Blue → Purple → White → Off.
The cycle can be repeated, and the current color is saved upon normal shutdown.
Joystick ambient light brightness adjustment:
Press "+" + "↑" to increase brightness; Press "+" + "↓" to decrease brightness.
The brightness levels are 0%, 25%, 50%, 75% (default), and 100%.
The current brightness is saved upon normal shutdown.
There are two methods for calibration:
1.Calibrate the gyro sensor via the host's settings interface. Follow the on-screen
instructions step by step to complete the process.
2.While the controller is powered off (in NS mode), press and hold "A" + "-" + "HOME"
for 3 seconds to power on. The front and rear indicator lights will flash alternately.
Then press the "+" button once, and the LED lights will turn off, indicating calibration
is complete.
XV. Sensor Calibration
XVI. Joystick and Trigger Calibration
With the controller powered off, press and hold "+" + "HOME" for 3 seconds to enter
joystick and trigger calibration mode. The 4 channel indicators will flash slowly.
Rotate each joystick fully for at least 3 complete cycles, and press each trigger
all the way down at least 3 times. Finally, press "+" + "HOME" once (just a short
press), and the 4 channel indicators will flash rapidly for 2 seconds, indicating
calibration is complete. The controller will then shut down.
XVII. Reset Function
If the controller encounters any issues, you can
use a paperclip to press the reset button on the
back of the controller to perform a reset.
Wired Connection:
Wired connection is not affected by the toggle switch position and will
automatically detect the platform. When connected via USB cable to a Switch 1
or Switch 2 console, the controller will automatically connect. Slide the toggle
switch to the NS position. After unplugging the USB cable, the controller will
automatically reconnect to the console via Bluetooth.
When the controller is in reconnection mode, it will automatically power off if it fails
to connect within 15 seconds.
When the controller is in pairing mode, it will automatically power off if pairing fails
within 15 seconds.
When the controller is in connected mode, it will automatically power off if there is
no button operation within 5 minutes.
Reset button
813