Rotate
1
5
6
A
2
3
AAA
A
B
4
A
B
C
C
D
INSTALLATION:
A
B
C
D
PART DESCRIPTION QUANTITY
A 48 Ft String Light 1
1
Bulb
24(or32)
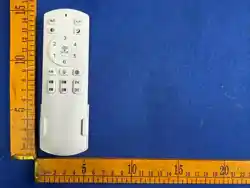
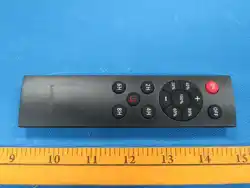
Remote Controller 1
7
B
D
PACKAGE CONTENTS
Dimmer Controller
1. Remove all components from
packaging and lay them flat on a
smooth, clean work surface. Remove
all packing materials and uncoil the 48
ft string light (A). Take care not to nick
or cut the cord or damage pre-installed
bulbs.
2. Confirm all 24 (or 32) pre-attached
bulbs are fully tightened into each
socket of string light (A). Twist each
bulb (C) clockwise gently to secure; do
not over-tighten.
3. Connect the male plug of the string
light (A) to the female plug of the
dimmer controller kit (B). Push firmly to
lock the connection.
4. Thread mounting hardware through
the eyelet holes on each suspended
socket to securely fasten the string
light (A) to your support structure.
Cable ties are included for
mounting(E).
5. Plug the dimmer controller kit
(B) into a rated 120 V AC power
outlet.
6. Install AAA batteries into the
remote controller (D). Match the
positive (+) and negative (-)
markings inside the battery
compartment.
7. Use the control buttons on the
dimmer kit (B) for basic ON/OFF
operation. Use the handheld
remote (D) to control power,
brightness and timer functions.
REMOTE CONTROLLER FUNCTIONS
1. Pairing & Control Range:
Connect string light (A) and dimmer controller (B), then plug the dimmer kit into power to turn on
the light string. The remote is factory-paired to only one matching light string set and cannot
control separate light strings.
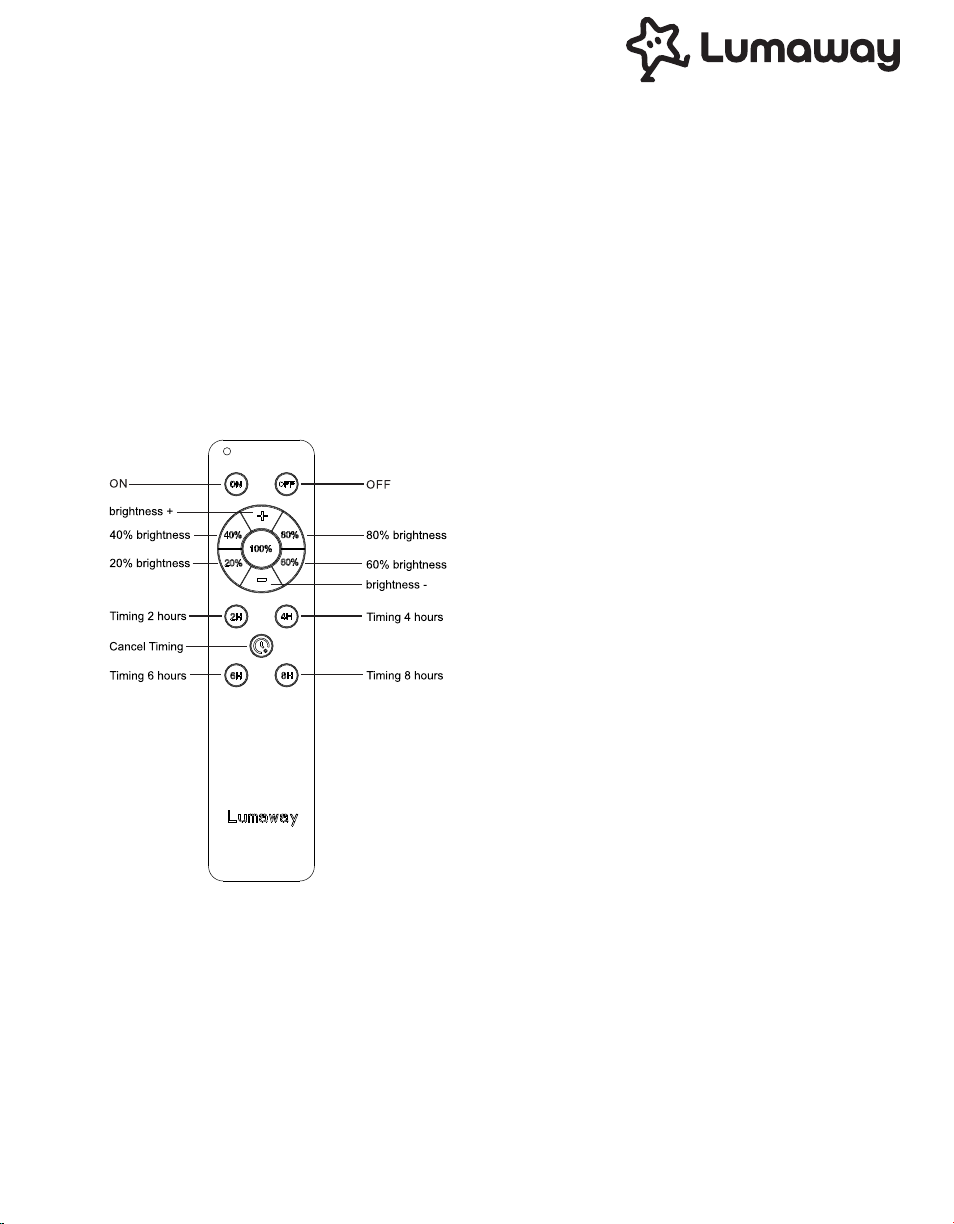
2. Brightness Control:
The light features 5 preset brightness levels: 20%, 40%, 60%, 80%, and 100%. Press the +/-
brightness buttons to adjust the brightness level. The light will flash once when the maximum
brightness (100%) or minimum brightness is reached. Press and hold the +/- buttons for stepless
dimming.
3. Timer Function:
The light flashes twice when a timer duration (2H/4H/6H/8H) is set successfully.
Timer cancellation: Press the Cancel Timing button; the light flashes once to confirm the timer
function is turned off.
FCC Statement
This device complies with Part 15 of the FCC Rules. Operation is
subject to the following two conditions:
(1) This device shall not cause harmful interference;
(2) This device must accept all interference received, including
interference that may cause undesired operation.
Changes or modifications not expressly approved by the compliance
responsible party will void the user’s legal authority to operate this
equipment.
Note: This equipment has been tested and complies with the limits for
a Class B digital device under Part 15 of the FCC Rules. These limits
provide reasonable protection against harmful radio interference in
residential installations.
This equipment generates, uses, and radiates radio frequency energy.
If not installed and operated per the written instructions, it may cause
harmful interference to radio communications. There is no guarantee
interference will not occur in a specific installation environment.
If this equipment creates harmful interference to radio or television
reception (verifiable by power cycling the unit ON/OFF), users may
resolve interference using one or more of the following solutions:
1. Reorient or relocate the receiving antenna of your radio/TV device.
2. Increase the physical separation distance between this light set and
the radio/TV receiver.
3. Connect this equipment to a power outlet on a separate electrical
circuit from the receiver’s outlet.
4. Contact your product dealer or a professional radio/TV service
technician for support.
This device has been evaluated to satisfy general RF exposure
requirements. The unit may be used under portable exposure
conditions without usage restrictions.
ADDITIONAL CAUTIONS & WARNINGS
1. The dimmer controller only supports 120 V AC power supply. Do not connect to any other
voltage power source.
2. When using the remote controller for the first time, confirm AAA batteries are correctly installed
with matching polarity (AAA batteries not included).
3. Disconnect power supply before connecting extension cords or installing bulbs into empty
sockets.
4. Never operate the light string with empty, uncovered lamp sockets.
5. Do not connect or disconnect cord connectors during rainy, damp or inclement weather to
prevent electric shock.
PAGE3/4 PAGE4/4
E
Cable Tie
50
PART DESCRIPION QUANTITY
Model Number String Light Type
Maximum
Connectable Quantity
A 48 Ft String Light 1
APD00890 48ft-24 Bulbs-S14 (4 Filaments) 3
B Dim m er Controller 1
APD00910 48ft-32 Bulbs-Apple (4 Filaments) 2
C Bulb
24 (or 32) plus
2 spares
APD00940 48ft-32 Bulbs-S14 (4 Filaments) 2
D Remote Controller 1
APD00950 48ft-24 Bulbs-Apple (4 Filaments) 3
E Cable Tie 50
APD00970 48ft-24 Bulbs-S14 (1 Filament) 9