110V
Installation & Operating Instructions for the
Parrotuncle Owner's Installation ,Manual
WARNING:SHUT
POWER
OFF
AT FUSE OR CIRCUIT
BREAKER
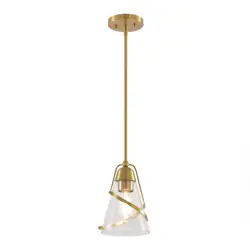
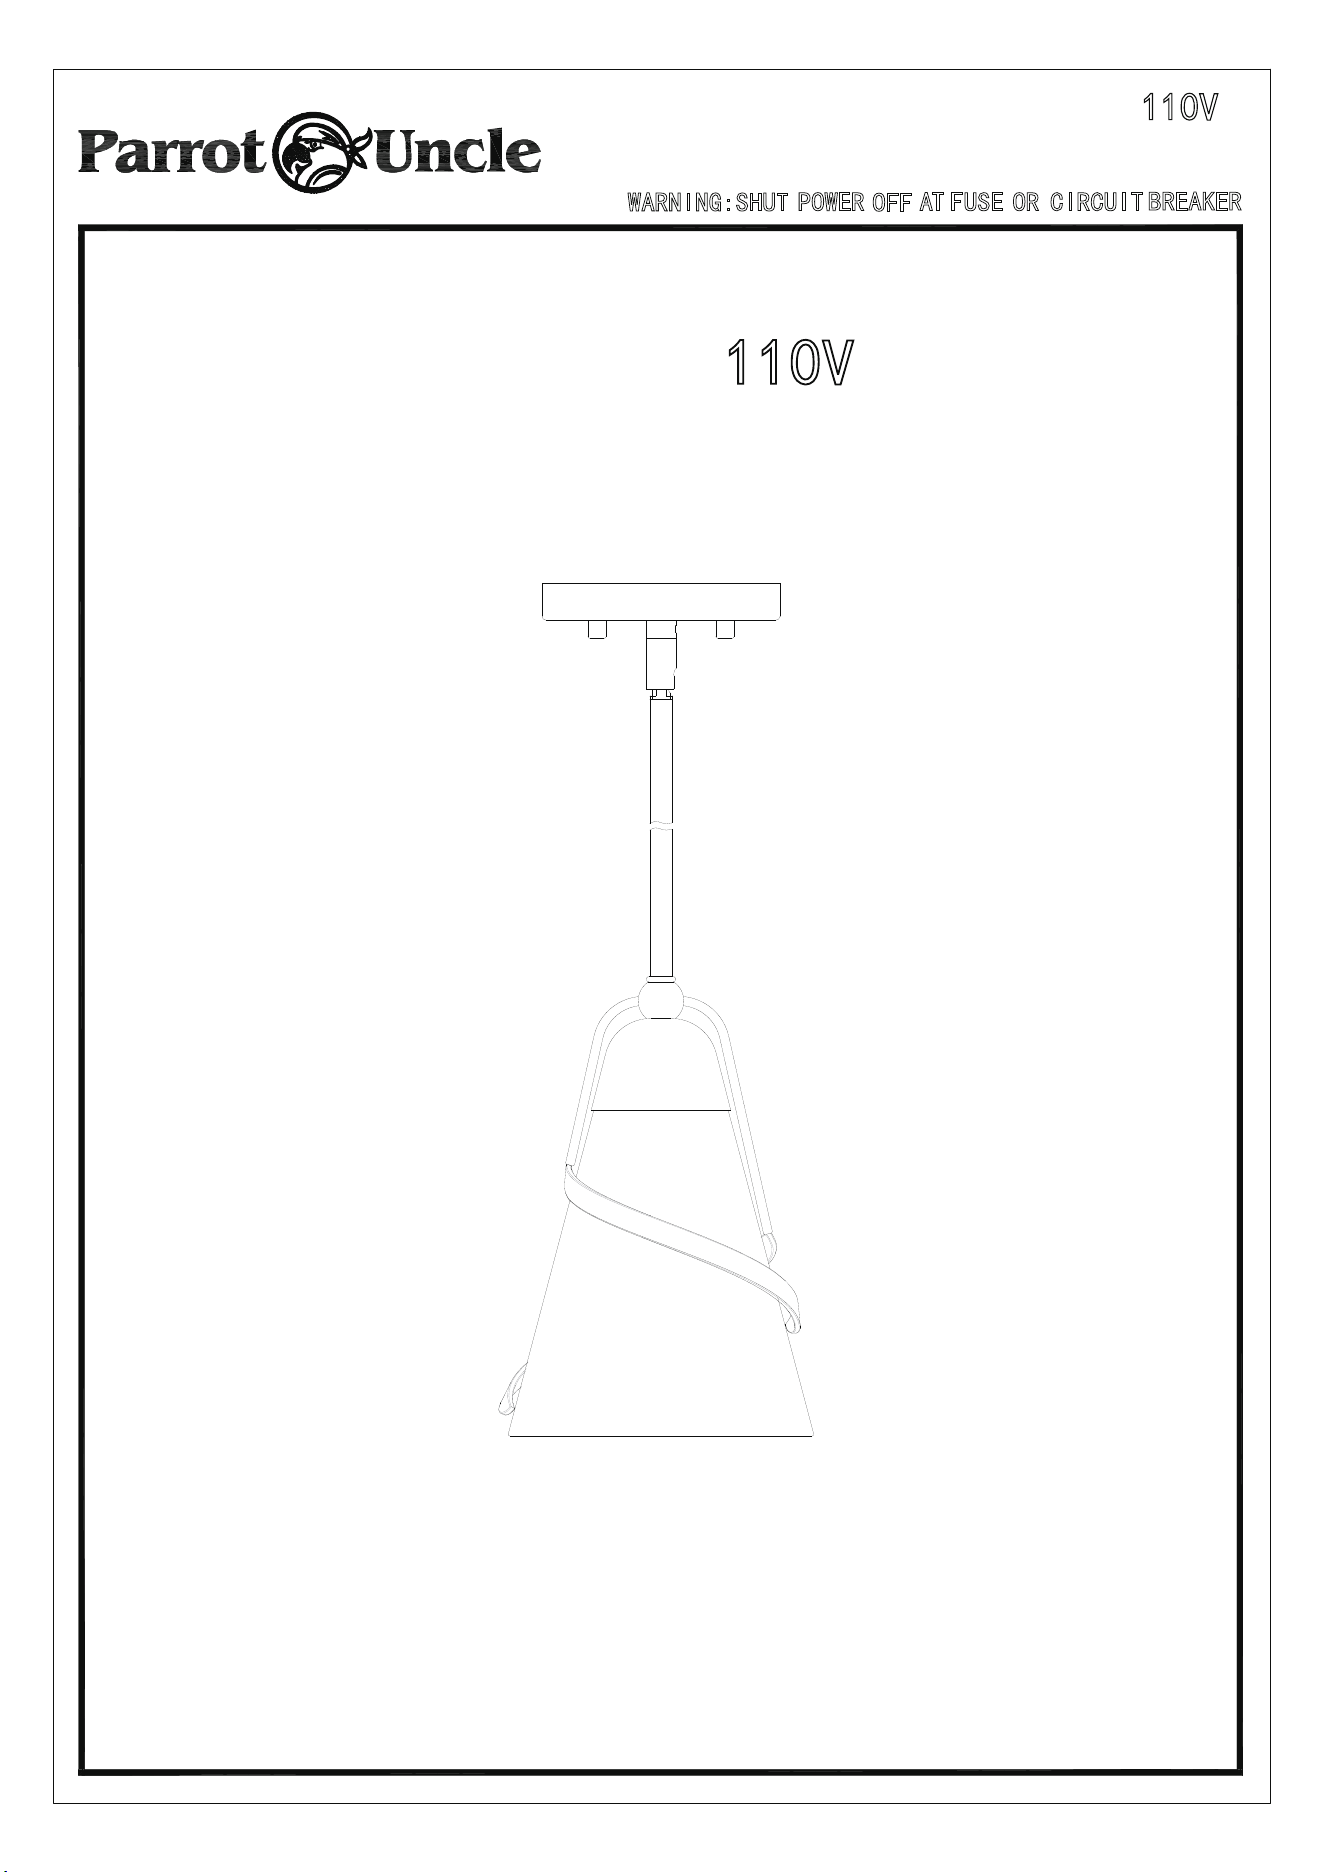
Pendant Lighting
D3013
110V
D3013
Installation & Operating Instructions for the
Parrotuncle Owner's Installation ,Manual
WARNING:SHUT
POWER
OFF
AT FUSE OR CIRCUIT
BREAKER
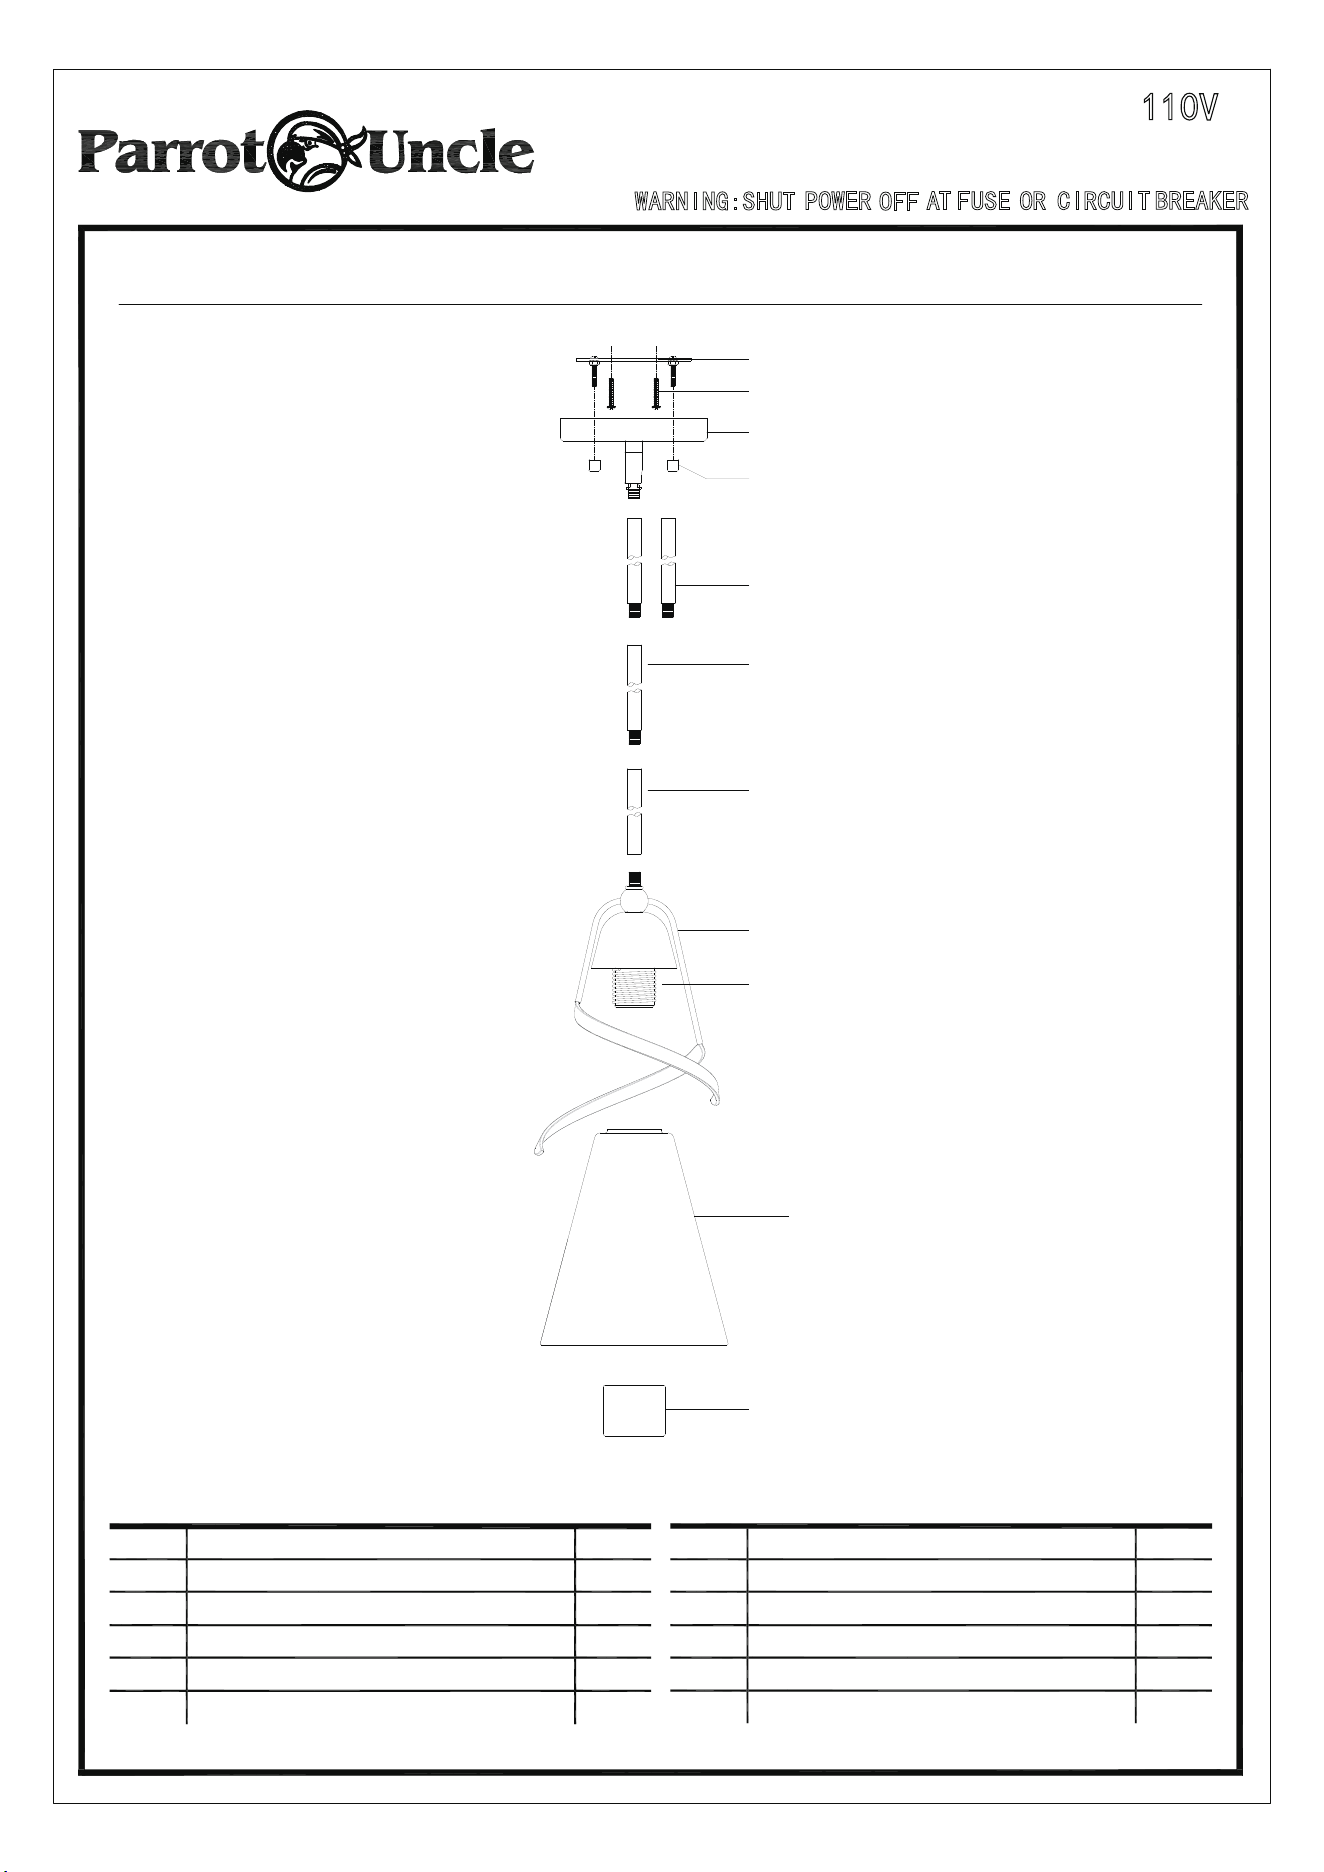
PACKAGE CONTENTS
P AR T
DES CR
IP
TION Q
TY.
A
1
B 1
C
2
D 2
E 2
F1
1
P ART
DES CR
IP
TION Q
TY.
G
1
H
Canopy
Mounting bracket
Outlet box screw
Mounting ball
6 In. rod
12 In. rod
Lamp body
Socket
1
I
Shade
1
J
Socket collar
1
110V
D3013
E
F1
C
A
D
G
I
J
H
B
F2
F2
1
12 In. rod
110V
D3013
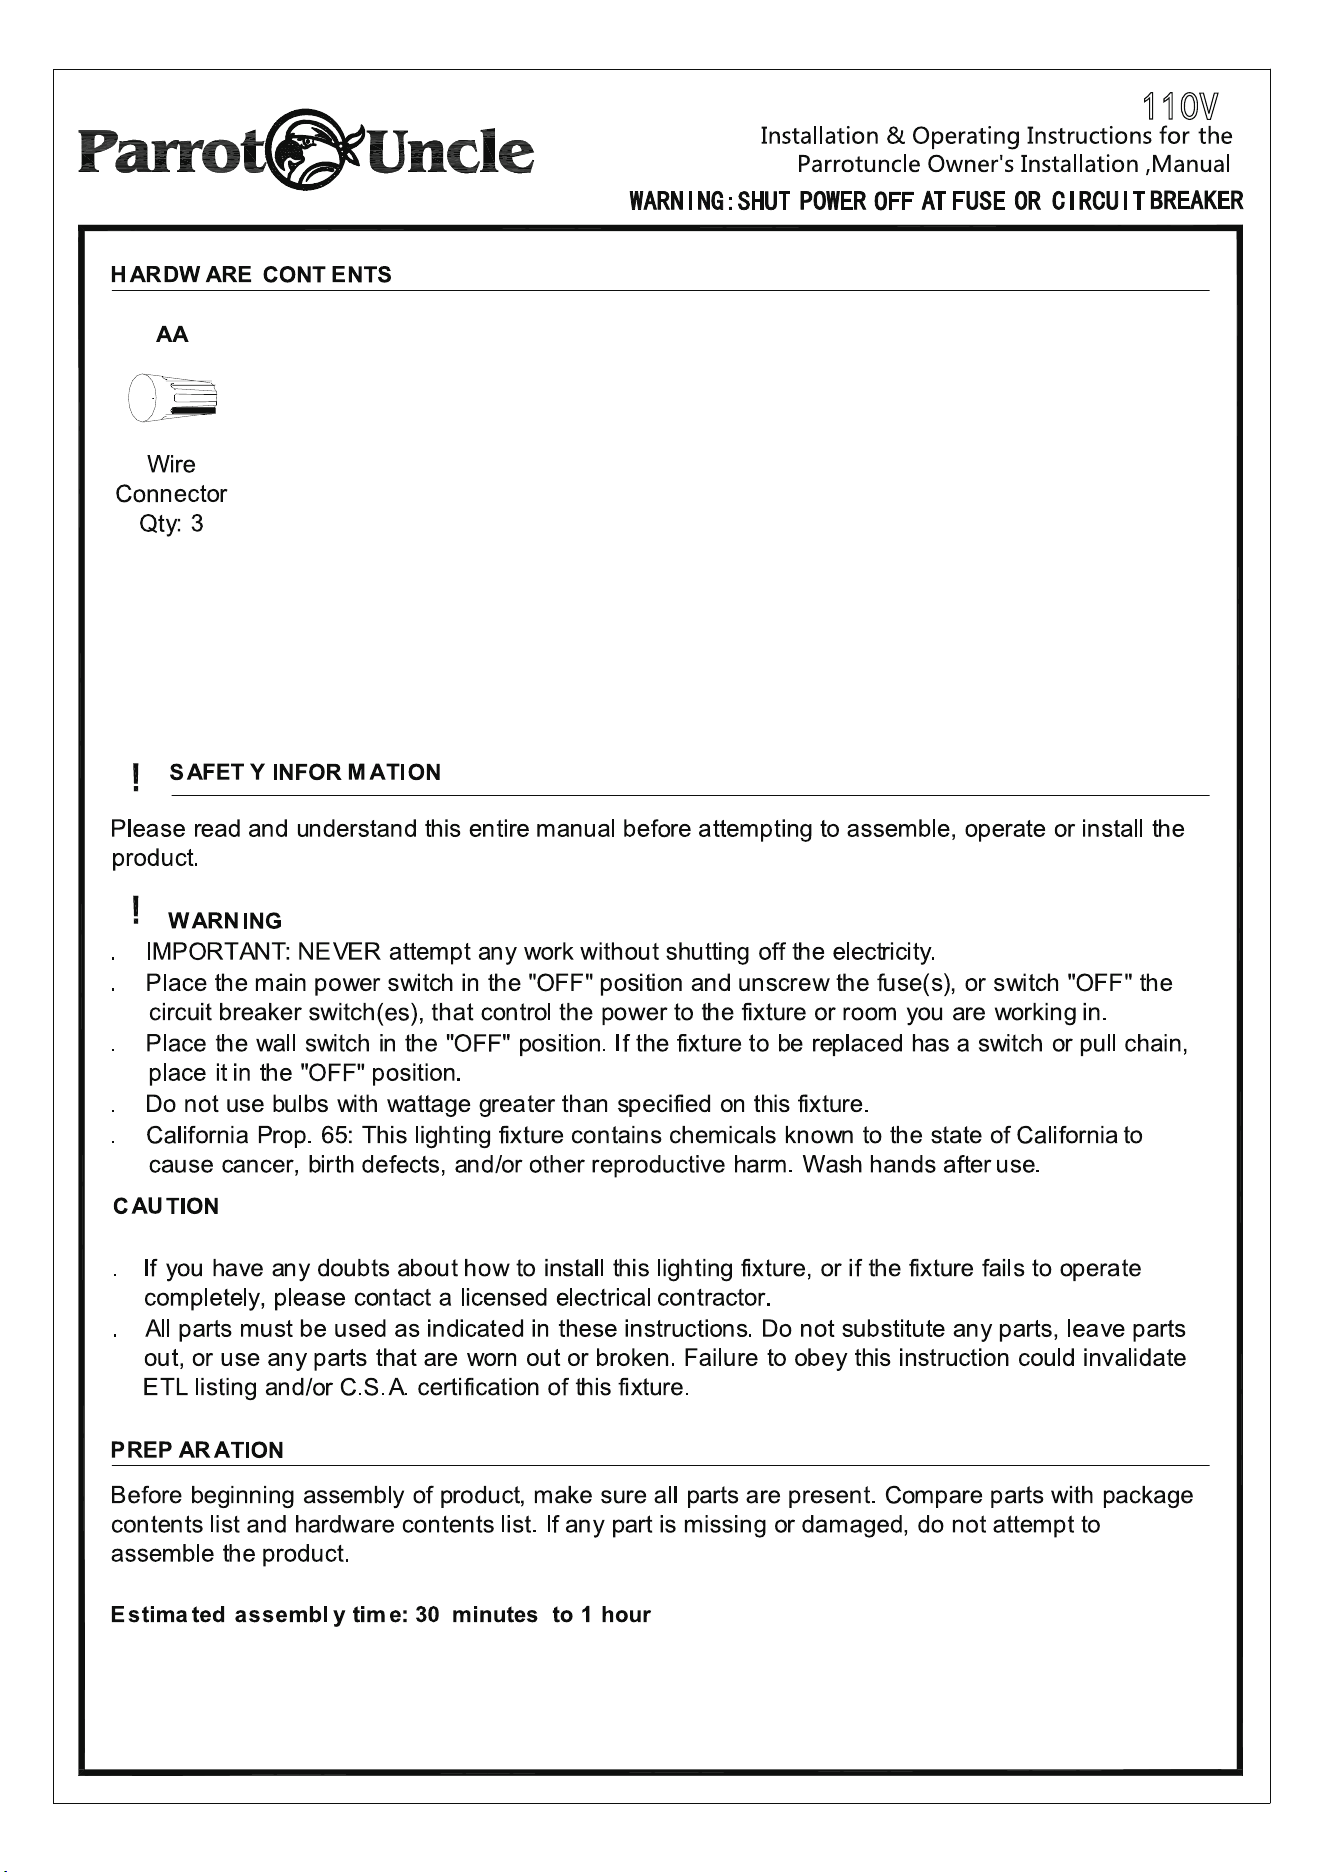
Tools Required
fo
r Assembly
(no
t included
): P
hillips screwdrive
r,
wire strippers,
electrical tape, ladder.
A
SS
EMBL Y
INSTR UC TIONS
1.
Not e:
2.
Installation & Operating Instructions for the
Parrotuncle Owner's Installation ,Manual
WARNING:SHUT
POWER
OFF
AT FUSE OR CIRCUIT
BREAKER
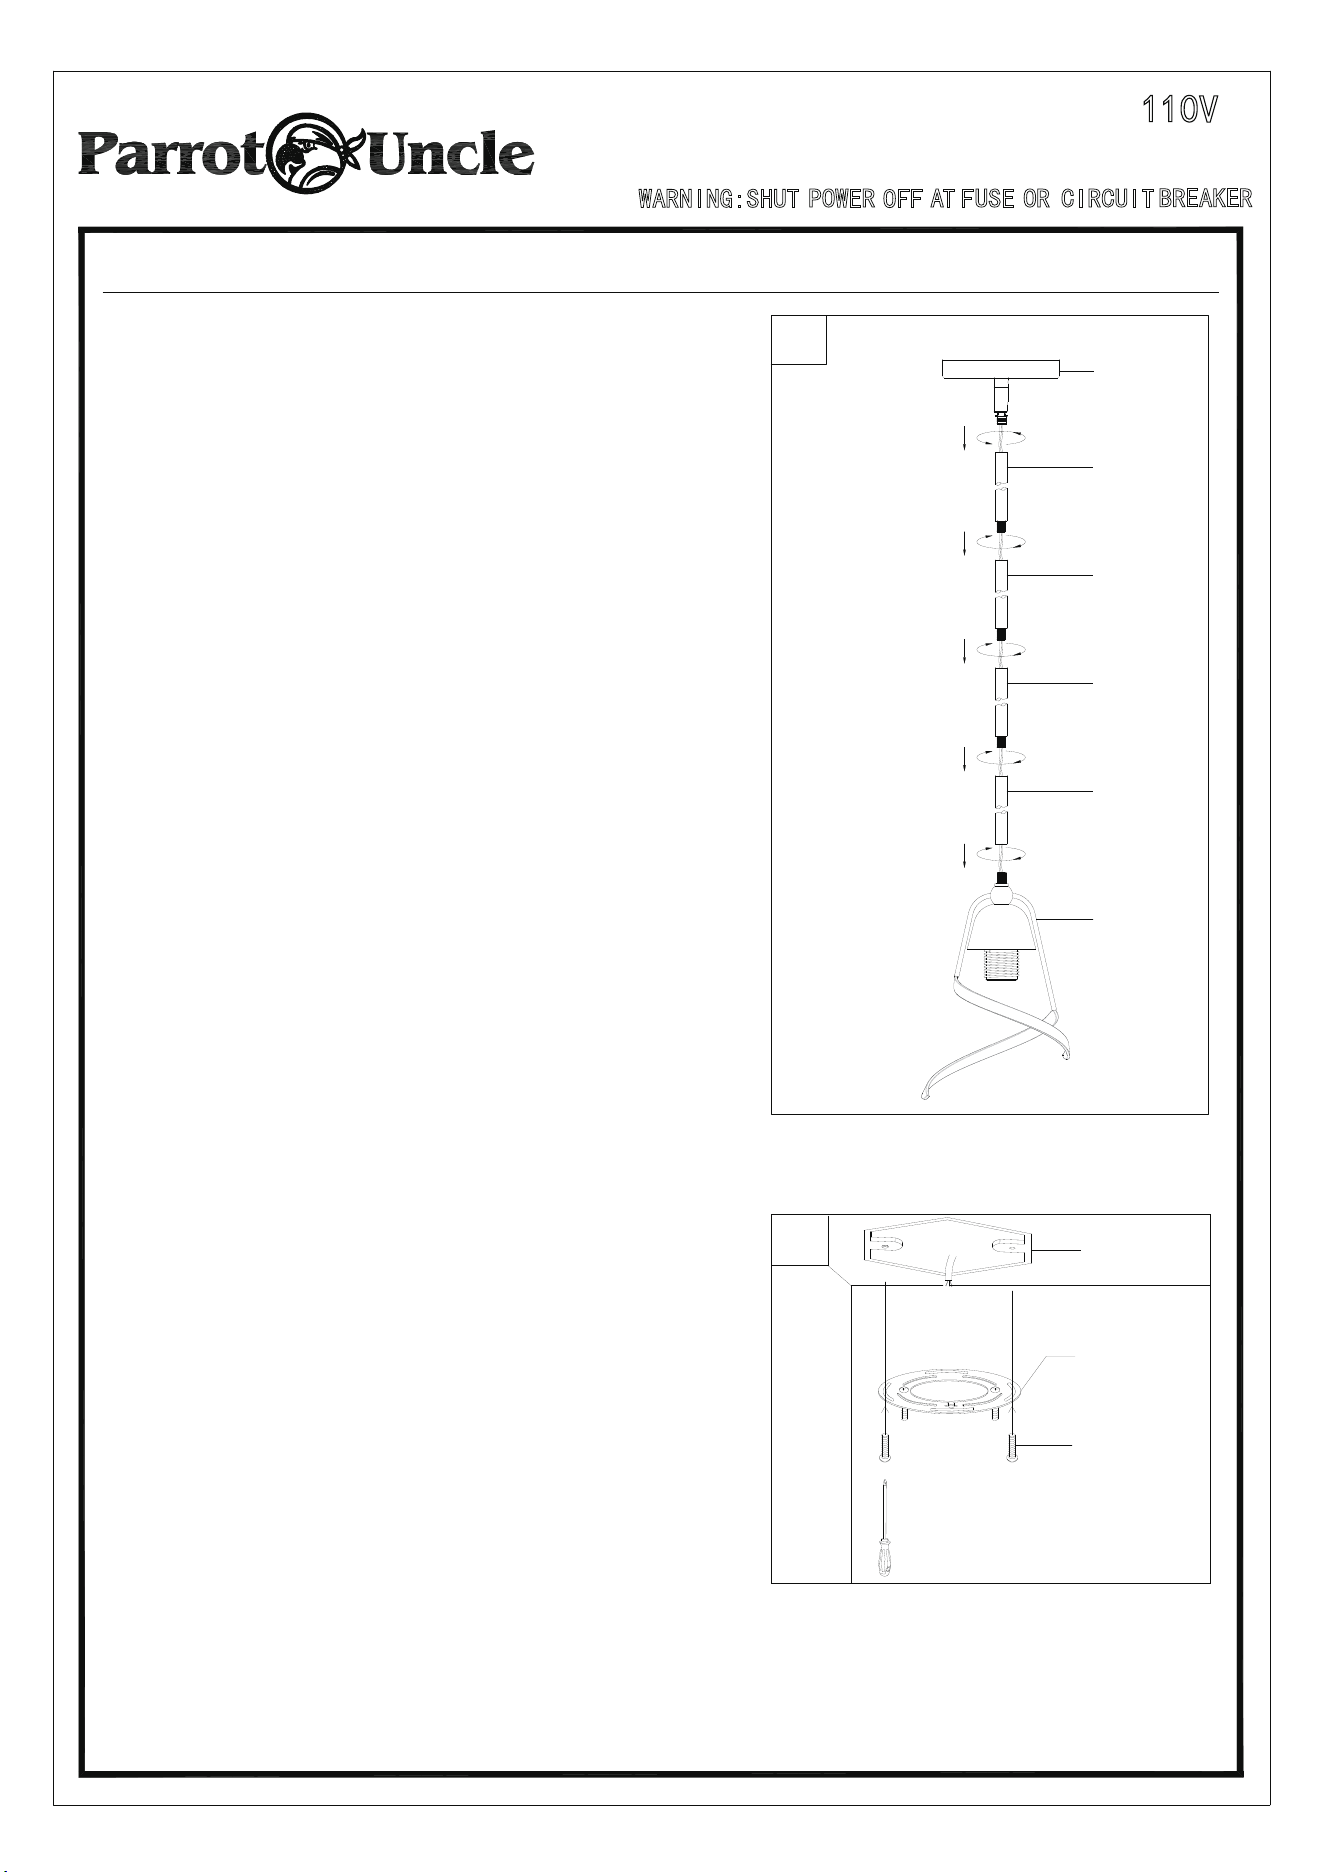
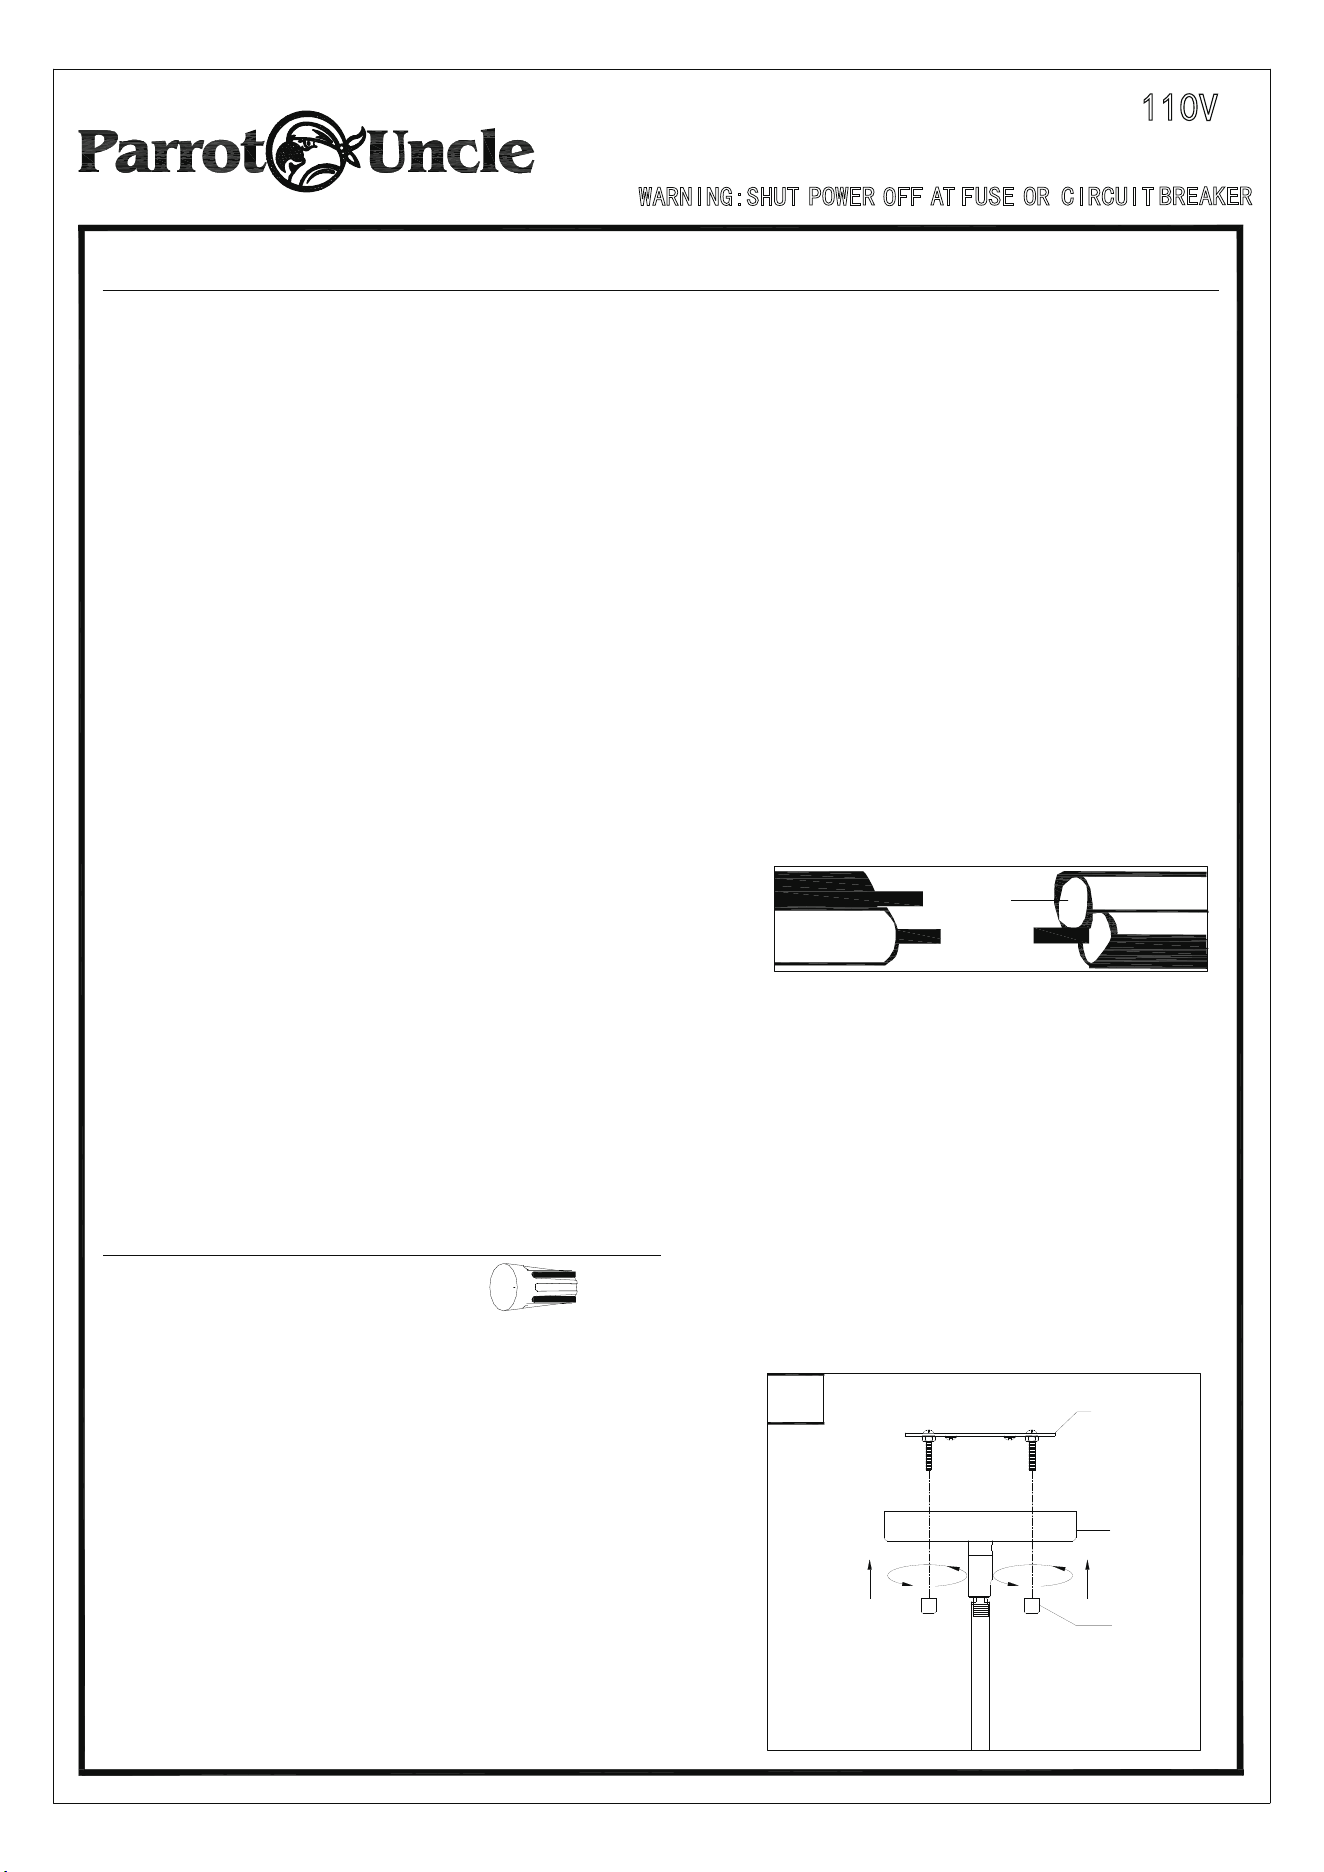
Canopy (A) 6 In. rod (E) 12 In. rod (F)
Lamp body (G)
Not e:
Mounting bracket (B) Outlet box screw (C)
Secure the mounting bracket to the outlet
box (not included) with outlet box screws.
Tighten until snug.
1
Choose desired hanging length for the lamp
body. Assemble the rods to the desired length.
Pass the fixture wire through the rod assembly.
Attach the rod assembly to the lamp body.
Hand-tighten until snug. Thread the canopy to
the uppermost rod. Hand-tighten until snug.
2
110V
D3013
G
F2
F1
E
E
A
B
C
Outlet box
A
SS
EMBL Y
INSTR UC TIONS
Installation & Operating Instructions for the
Parrotuncle Owner's Installation ,Manual
WARNING:SHUT
POWER
OFF
AT FUSE OR CIRCUIT
BREAKER
3. Wire connection guide:
Grou
nd wire:
.
For i nsta llation in the
United S
tates : Wrap
ground wire
f
rom outlet box around ground
screw preassembled on mounting bracket
(B)
no less than 2 in.
f
rom wire end. Tighten
ground screw. I
f f
ixture is supplied with a
ground wire, connect to outlet ground wire
with a wire connecto
r (
AA
).
.
For i nsta lla
tion in Ca
nada : I
f f
ixture is
supplied with ground wire, wrap ground wire
around ground s
crew on mounting bracket
(B). T
ighten ground screw.
Con
nect
f
ixture
ground wire to outlet ground wire with the
wire connector
(AA).
S
upply wires:
.
Con
nect the Neu
tral (W
hite
) s
upply wire
f
rom
the outlet box to the Neutral
f
ixture wire
(
White or Parallel
C
ord "D" shaped and
ribbed
).
.
Con
nect the Hot
(
Blac
k)
supply wi
re f
rom the
outlet box to the Hot
f
ixture wire
(Bla
ck or
Paralle
l Cord
round and smooth
).
NOTE:
Fixture wires will either be:
. Black and White.
. Paralle
l Cord SPT
-1 lamp wire with one
round smooth wire and one "D" shaped
ribbed wire.
BARE
CO
PPER,
O
R
G
REEN
G
R
O
UND
S
UPPLY WIRE
AA
BARE
CO
PPER,
O
R
G
REEN
G
R
O
UND
FIXTURE
WIRE
BLA
C
K
S
UPPLY
WIRE
BLA
C
KFIXTURE
WIRE
WHITE
S
UPPLY
WIRE
WHITEFIXTURE
WIRE
OR
BLA
C
K
S
UPPLY
WIRE
PARALLEL
FIXTURE
CO
RD
(ROUND AND
SMOOTH)
WHITE
S
UPPLY
WIRE
PARALLEL FIXTURE
CO
RD
(
"D"
SHAPED
AND RIB
B
ED
)
110V
D3013
Wire
Co
nnector x 3
Hard ware Used
AA
4
4.
Not e:
Attach the canopy to the mounting bracket.
Secure with mounting balls.
A
B
D
Mounting bracket (B) Canopy (A)
Mounting ball (D)
A
SS
EMBL Y
INSTR UC TIONS
Installation & Operating Instructions for the
Parrotuncle Owner's Installation ,Manual
WARNING:
SHUT
POWER
OFF
AT FUSE OR CIRCUIT
BREAKER
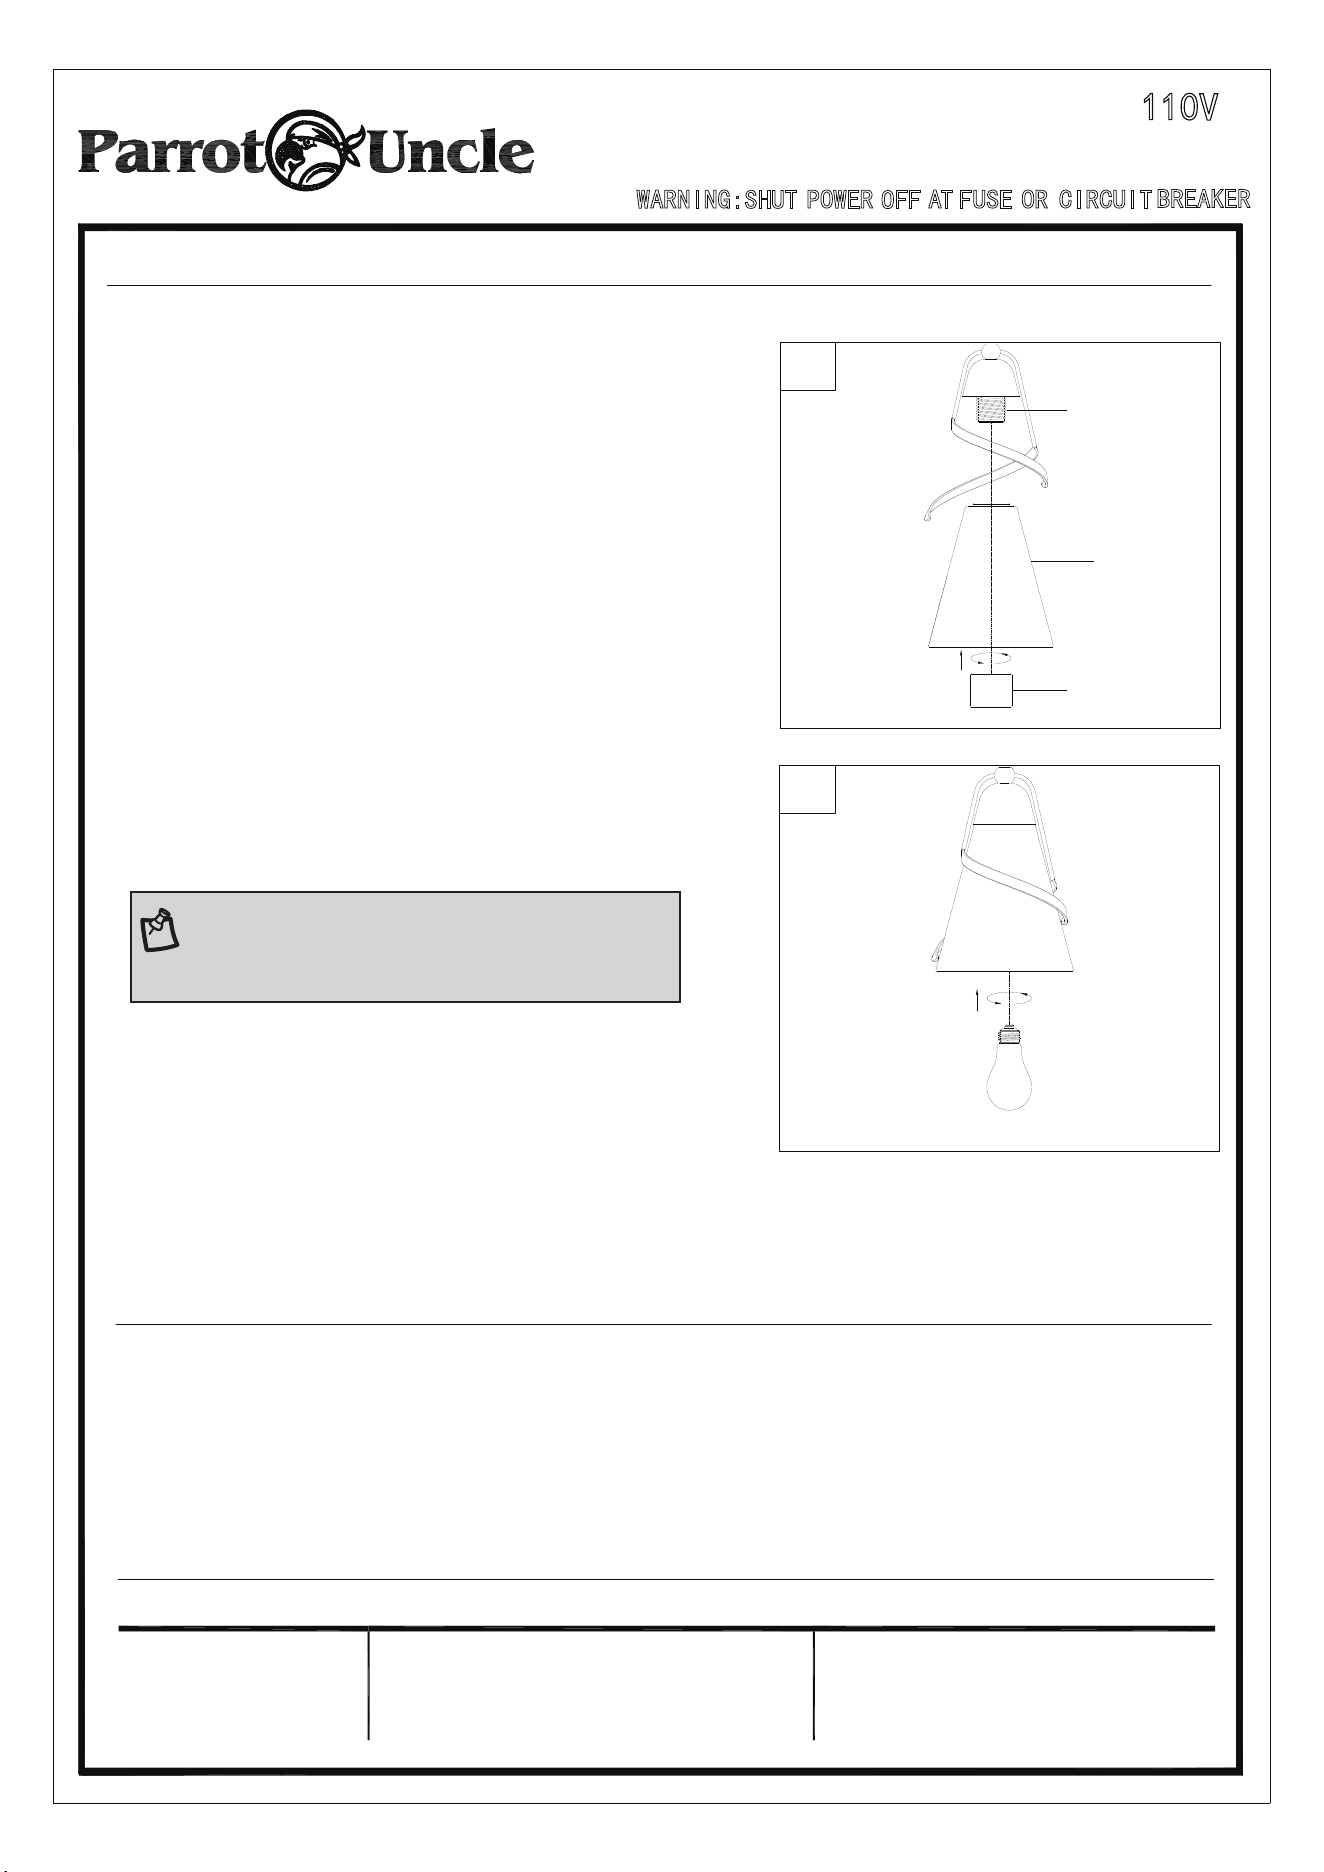
Socket (H) Shade (I) Socket collar (J)
5.
Not e:
Remove the socket collar from the socket.
Place the shade over the socket as shown.
Secure by threading the socket collar
onto the socket. Hand-tighten until snug.
.
6
Install the correct bulb (not included) referring to
fixture markings and/or labels for maximum wattage.
6.
110V
D3013
5
H
I
J
ORR
E
CTIVE
C
ARE AND M AINTEN AN
CE
. Always be certain that electric current is turned o
ff
be
fo
re cleaning this item.
. Use a so
ft
, moist cloth with mild non-abrasive soap to clean
f
ixture. Never use glass cleaner on
f
ixture, as it will damage the metal
f
inish.
. All glass shades may be washed in a towel-lined sink with warm water and mild soap. Do not
wash shades in an automatic dishwasher.
TROU BLES HOOTI NG
P
ROBL
EM P
OS S
IBLE
C
A
USE
C
A
CTIO
N
Fixture does not light. 1. Fixture may be wired incorrectly.
2.
Worn or broken bulb.
1.
Che
ck wiring.
2.
Replace bulb.
NOTE: Use one 100W maximum medium base (E26)
type "A" or 16W maximum medium base (E26)
self-ballasted LED bulb (sold separately).

110V
D3013