WHEEL HUB SEAL
INSTALLER KIT
USER MANUAL
Read Carefully Before Use
Keep for Future Reference
V20241008

Disclaimer
Read this disclaimer completely and carefully before proceeding with the rest of the manual content.
1. As-Is
This Orion Motor Tech product is sold 'as is' and without any express or implied warranties,
including but not limited to the implied warranties of merchantability and fitness for a
particular purpose.
2. ProductModications
Any modications or alterations to Orion Motor Tech products void any warranties and may
result in damage or injury. Orion Motor Tech shall not be liable for any damages resulting
from such modications or alterations.
3. CompliancewithLaws
Customers shall be liable for ensuring that the use of Orion Motor Tech products complies
with all applicable laws and regulations in their respective jurisdictions Orion Motor Tech
assumes no responsibility for any violations of laws or regulations resulting from the use of
Orion Motor Tech products.
4. Correct Use
Always use Orion Motor Tech products only as directed in the accompanying manuals.
Failure to follow instructions may result in injury or damage.
Always ensure the assembly, installation, operation, maintenance, or repair of Orion Motor
Tech products is carried out by a competent person.
Always make maintenance regularly throughout Orion Motor Tech products’ lifecycles; you
have the liability to keep the products operating as intended.
Always wear appropriate protective gear.
5. Third-PartyProducts
Orion Motor Tech shall not be liable for any damages or losses resulting from the use of
third-party products in conjunction with Orion Motor Tech products. Customers shall refer to
the third-party's guidelines or/and warranties (if any) for any third-party products used.
6. LimitationofLiability
Orion Motor Tech shall not be liable for any direct, indirect, punitive, incidental, special, or
consequential damages to property or life, whatsoever arising out of or connected with the
use or misuse of Orion Motor Tech products. In no event shall Orion Motor Tech’s liability
exceed the value of the products sold.
This disclaimer states the entire obligation of Orion Motor Tech with respect to Orion Motor Tech
products. If any part of this disclaimer is determined to be void, invalid, unenforceable, or illegal,
including but not limited to the warranty disclaimers, liability disclaimers, and liability limitations
set forth above, the invalid or unenforceable provision will be deemed superseded by a valid
and enforceable provision that most closely matches the intent of the original provision and the
remainder of the agreement shall remain in full force and eect.

1
SafetyInformation
• The instructions provided herein are only for general information. ALWAYS perform all repairs
in full compliance with your vehicle’s service manual. After any repair, test your engine and
vehicle in your workshop and at low speed before returning to normal use. Failure to do so
may result in serious property damage and severe personal injury.
• ONLY use this tool for intended purpose, removing and reinstalling the sealing ring on
bearings.
• DO NOT allow use by children, by persons whose mental or physical condition precludes
safe use, or by persons unfamiliar with this product and its compatible vehicle systems.
• DO NOT use while under the inuence of alcohol, drugs, or any medication that negatively
aects your judgment or reexes. Keep children and bystanders away during use.
• Keep your work site clean and well lit. Cluttered and dark work areas invite accidents.
• For best results, keep the kit clean and dry. Remove any uid, oil, or grease before and after
work.
• ALWAYS use personal protective equipment (PPE) suitable to your task. ALWAYS wear
ANSI and OSHA-approved eye, breathing, and hand protection while using this product.
Normal use of this product typically produces microscopic particles known to the state of
California to cause cancer, birth defects, or other reproductive harm. Nonslip footwear is also
highly recommended. Other equipment such as ear, head, and body protection may also be
necessary depending on your work, work environment, and other equipment.
• Dress properly for automotive servicing. DO NOT wear loose clothing or jewelry and keep
hair, clothing, gloves, hoses, and tools away from any moving parts during use.
• ALWAYS know and understand the specic safety warnings and instructions for your vehicle
before using this kit. Use the correct uids, pressures, adapters, etc. for your vehicle. Make
sure the vehicle is fully supported and parked before beginning any work. Take care to
NEVER touch any heated surface with exposed skin.
• ALWAYS ensure that your vehicle has been jacked up and is adequately supported with axle
stands.
• DO NOT overreach. Keep proper footing and balance at all times.
• In case of an accident or injury, have a first aid kit and a communication device (e.g., a
phone) readily available. Know the location of emergency medical facilities.
• Maintain this product. Check for misalignment, binding, wear, or other damage before use. If
any damage is detected, repair or replace the problematic components before further use. In
a large shop, mark such tools “DO NOT USE” until they have been repaired. ONLY replace
components with identical parts.
• Automotive repair is an inherently dangerous activity. This manual and the separate vehicle
service manual cannot cover all possible situations that may arise. ALWAYS exercise
discretion and good judgement. Seek training if needed.
2
Specications
CompatibleVehicles Class 7 & 8 Trucks
ForcingBar
Diameter 0.6 in. 1.4 cm
Length 9.9 in. 25 cm
TotalNetWeight 9.5 lb. 4.3 kg
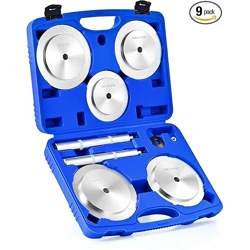
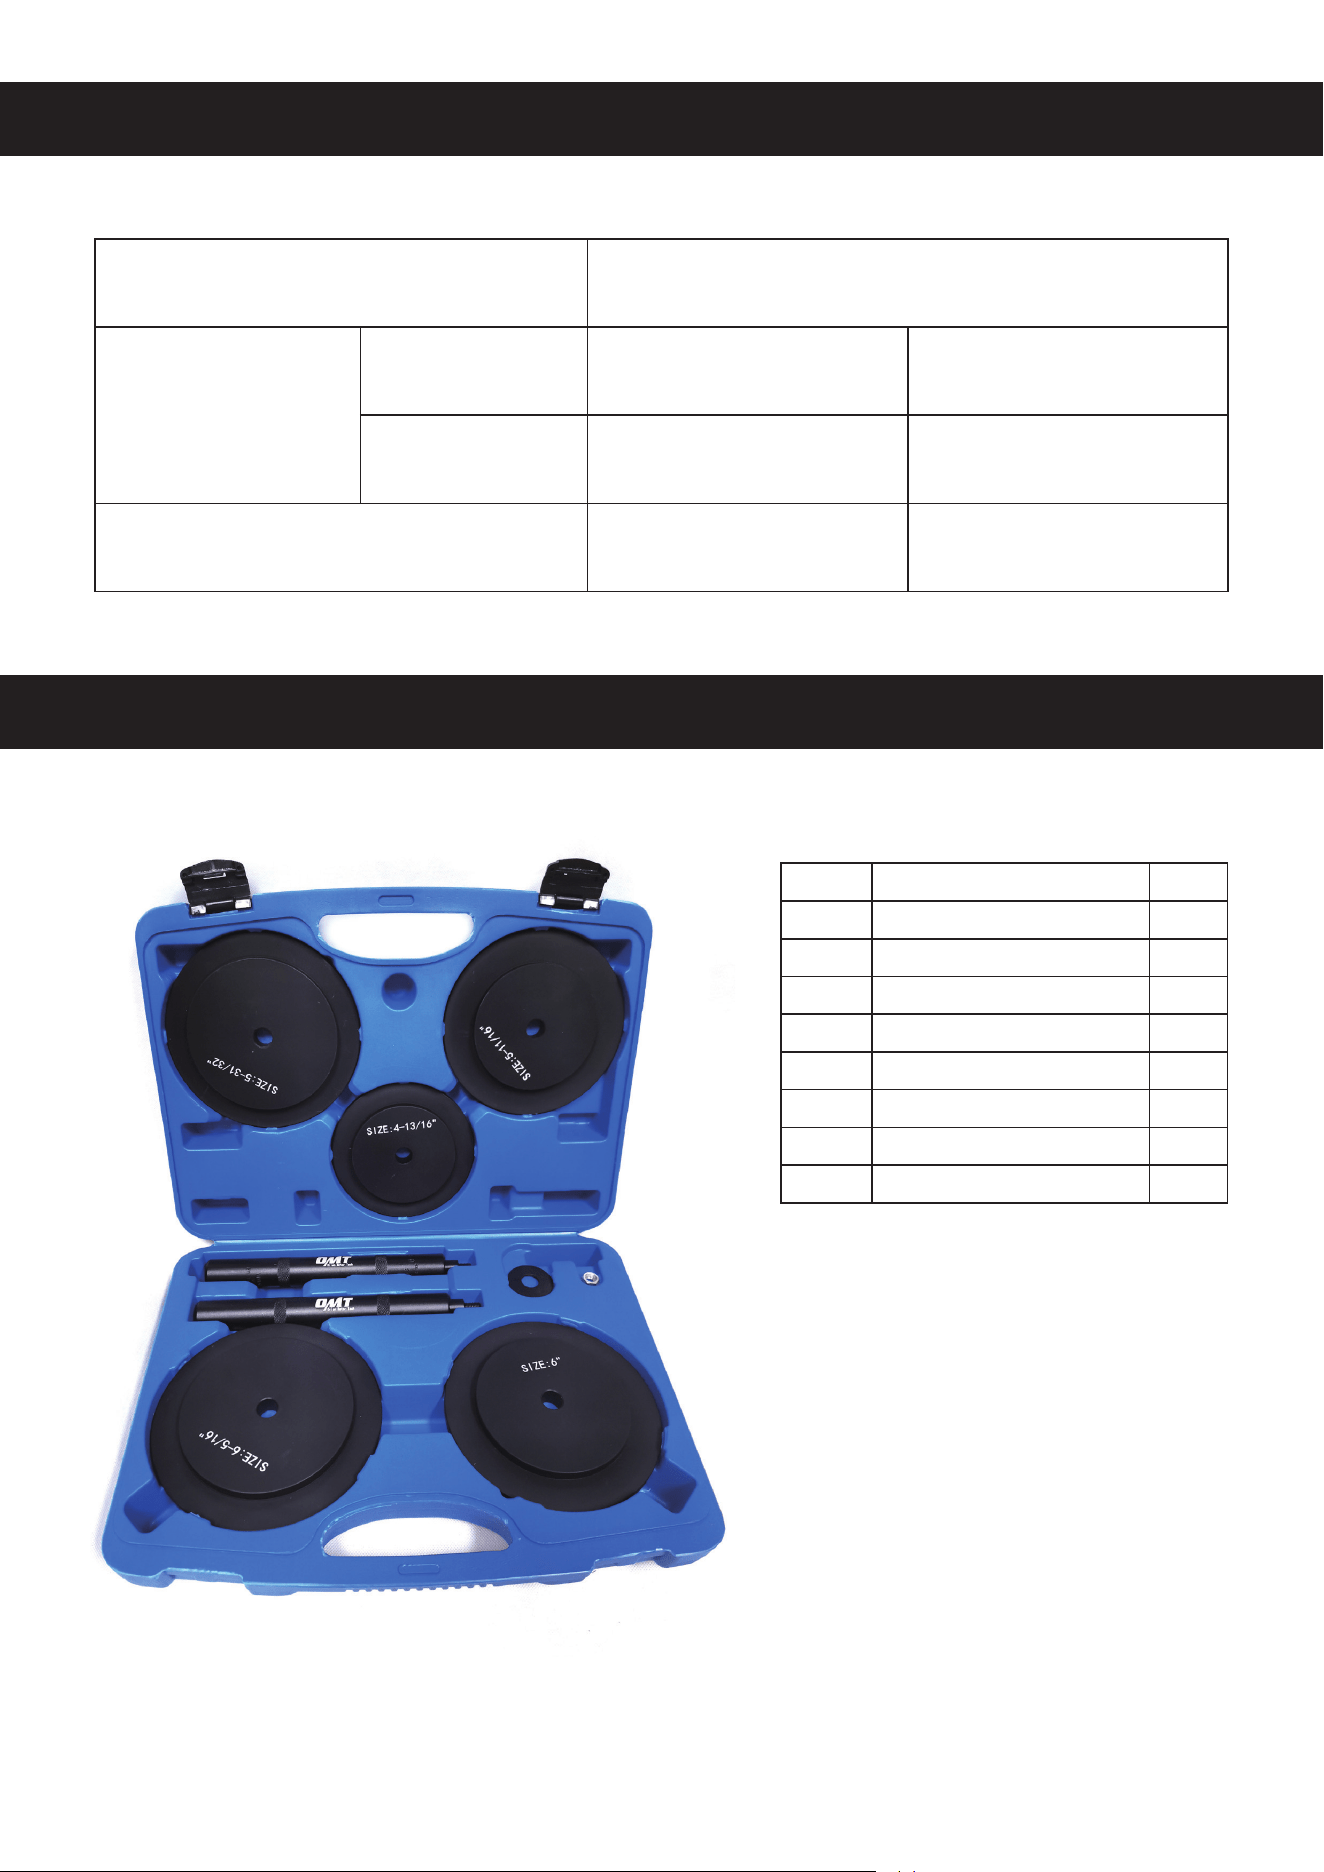
PackageList
A B
C
D E
F
G H
NotIncludedbutNecessary:
• Hammer
• M8/Adjustable Wrench
• Mineral Oil or Other Appropriate
Lubricants
• Jack or Other Lifting Equipment
• Jack Stand or Other Supporting
Equipment
• Impact/Socket/Torque Wrench,
Puller, or Other Disassembly Tool
Item Name Qty.
A 5-31/32″ Drive Key 1
B 5-11/16″ Drive Key 1
C 4-13/16″ Drive Key 1
D 6-5/16″ Drive Key 1
E 6″ Drive Key 1
F Forcing Bars 2
G Washer 1
H M8 Nut 1
3
Operation
• Shut the engine before servicing, make sure the vehicle is in a stationary state for easy
maintenance, and that the engine has cooled to room temperature before performing
maintenance or adjustments.
• Use correct tools and personal protective equipment (PPE) before performing any
operation. Be extremely careful with possible pinching points, moving parts, or parts that
may suddenly spring out.
• Make sure your surroundings are safe for using the tool. Avoid operating in crowded or
unstable areas.
• Makesuretheworkareaiscleanandclearofanyclutterordirtthatmayaectoperations.
• Do not force the tool. Excessive force may cause serious personal injuries and severe
property damage.
• For an abundance of safety, we recommend you take training before using these tools.
Serious injury could happen due to a lack of training.
1. Park your vehicle on level ground, activate its parking brake, and turn o the engine. Allow
your vehicle to cool if it has become hot through recent use.
2. Chock your wheels or jack up the vehicle. For best results, secure a raised vehicle with one
or more jack stands or other appropriate supporting equipment.
3. Detach the wheel and then the wheel hub assembly from the vehicle using the appropriate
wrenches and pullers.
4. Place the back of the wheel hub assembly face up on a stable level surface.
5. Disconnect the worn seal from the inner bearing inside the wheel hub using the appropriate
puller.
6. Select the appropriate drive key (A, B, C, D, or E), which should be as similar in inner
diameter to the new seal as possible.
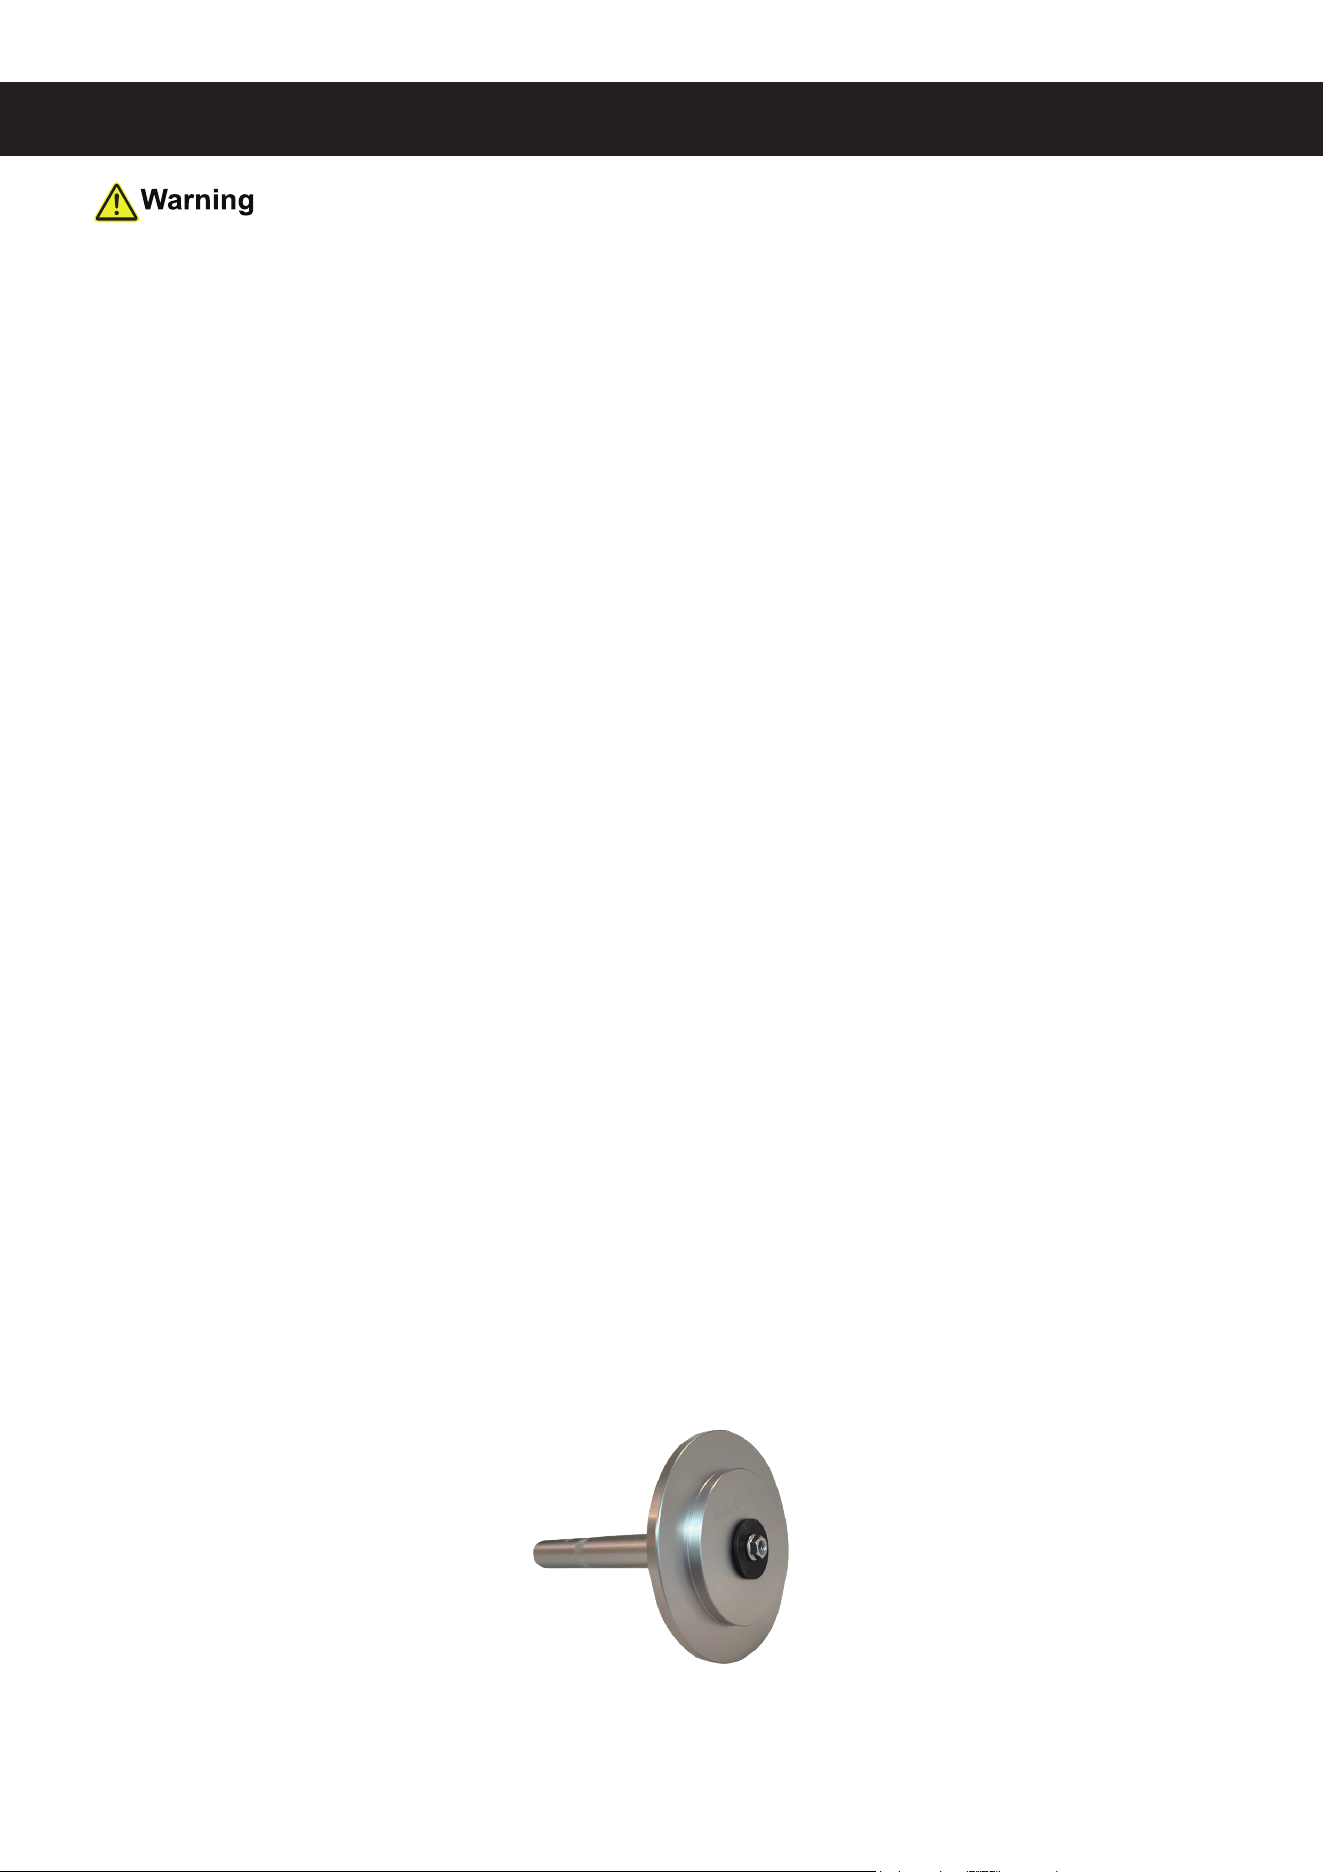
7. Fit the bolt of either forcing bar (F) into the central hole of the drive key, locking it in place
by attaching the provided washer (G) and nut (H) to this bolt and tightening the nut with
your M8 or adjustable wrench.
4
Operation
8. Mount your new seal onto the drive key. For best results, lubricate it with mineral oil or any
other appropriate lubricant (not included).
9. Clean o any debris and dirt on the inner bearing.
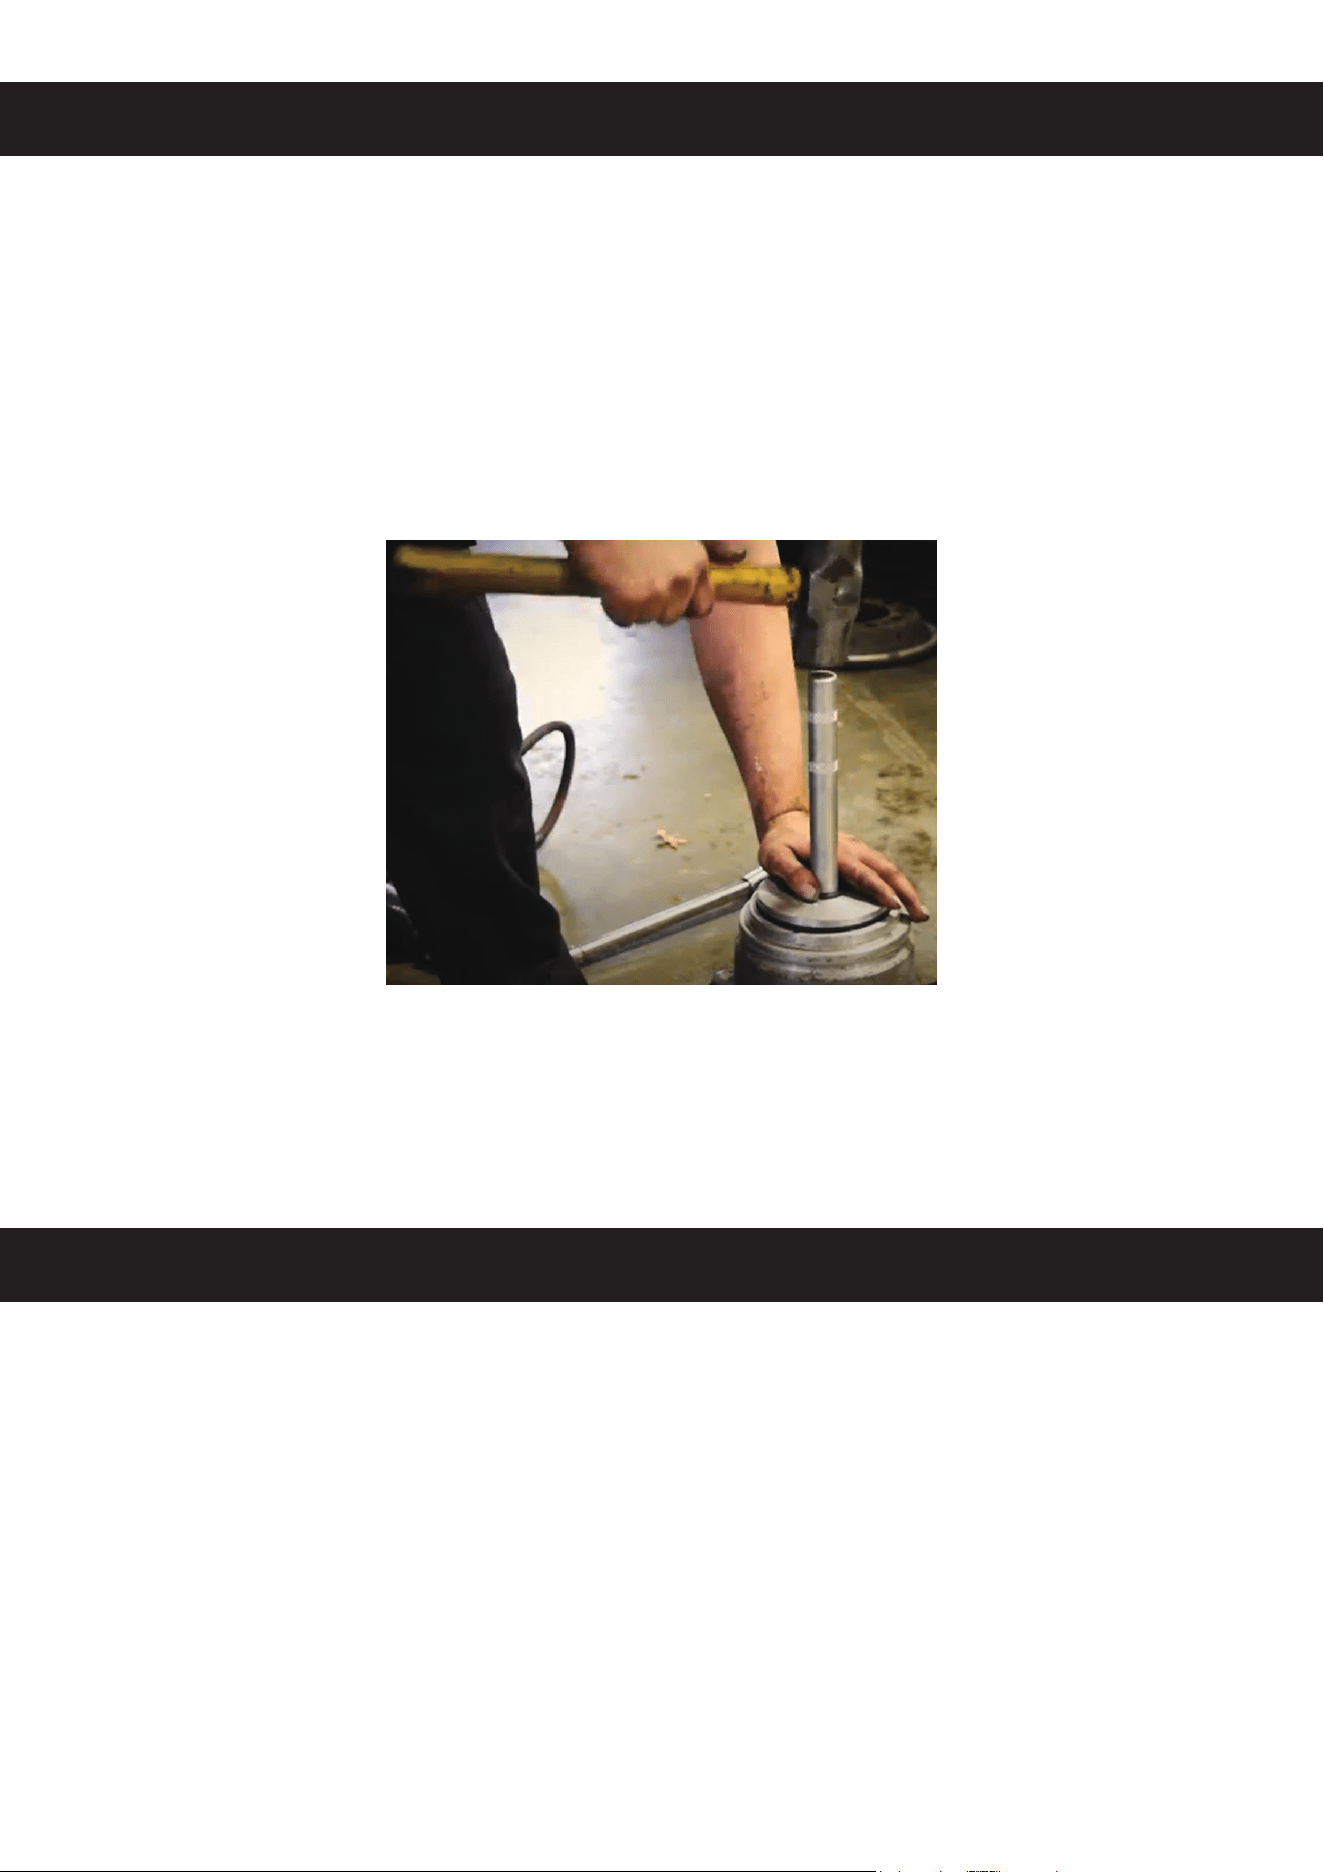
10. Place the drive key onto the wheel hub assembly, being sure that the new seal is correctly
positioned on its inner bearing.
11. While pushing the drive key with one hand, tap the forcing bar with your hammer until the
new seal is locked into place.
12. Remove this tool from the wheel hub assembly.
Maintenance
• Remove any detritus from the surface of this tool with a dry brush or cloth after use. Do not
rinse it or use abrasive cleaners or caustic chemicals.
• For best results, lubricate this tool with high-quality anti-corrosive oil (not included) between
uses.
• Check the parts of this tool periodically for any wear or damage. Repair or replace any
problematic parts before further use.
• If this tool will not be used for an extended period of time, lubricate it and store in a cool dry
place inaccessible to children.

ContactUs
Thank you for choosing our products! If you have any questions or
comments, contact us at [email protected] and we'll resolve
your issue ASAP!
For a .pdf copy of the latest version of these instructions, use the
appropriate app on your smartphone to scan the QR code to the right.
BJS-OS02-N0
BJS-OS02-NS
BJS-OS02-K2
Rev. 08 Oct. 2024