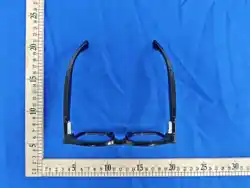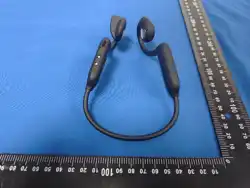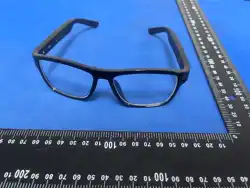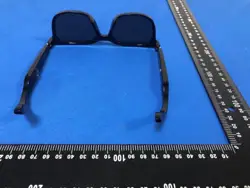
User Manual of AI Smart Glasses
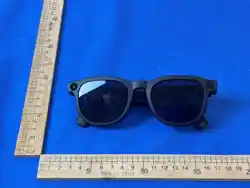
Name: AI Smart Glasses
Model: TXDSGS02-001V01
Manufacturer: SHENZHEN TXD TECHNOLOGY CO., LTD.
Address: Rongchao New Era Plaza Building B, 1801-2118, No. 3 Lancqingyi Road, Lugu Community, Guanhu
Street, Longhua District, Shenzhen.

1. APP download
If you need to save photos, videos and recording data
and use the AI function, please download the APP. The
operation guide is as follows:
1) You can download it by searching for “HeyCyan” on
Google Play or App Store.
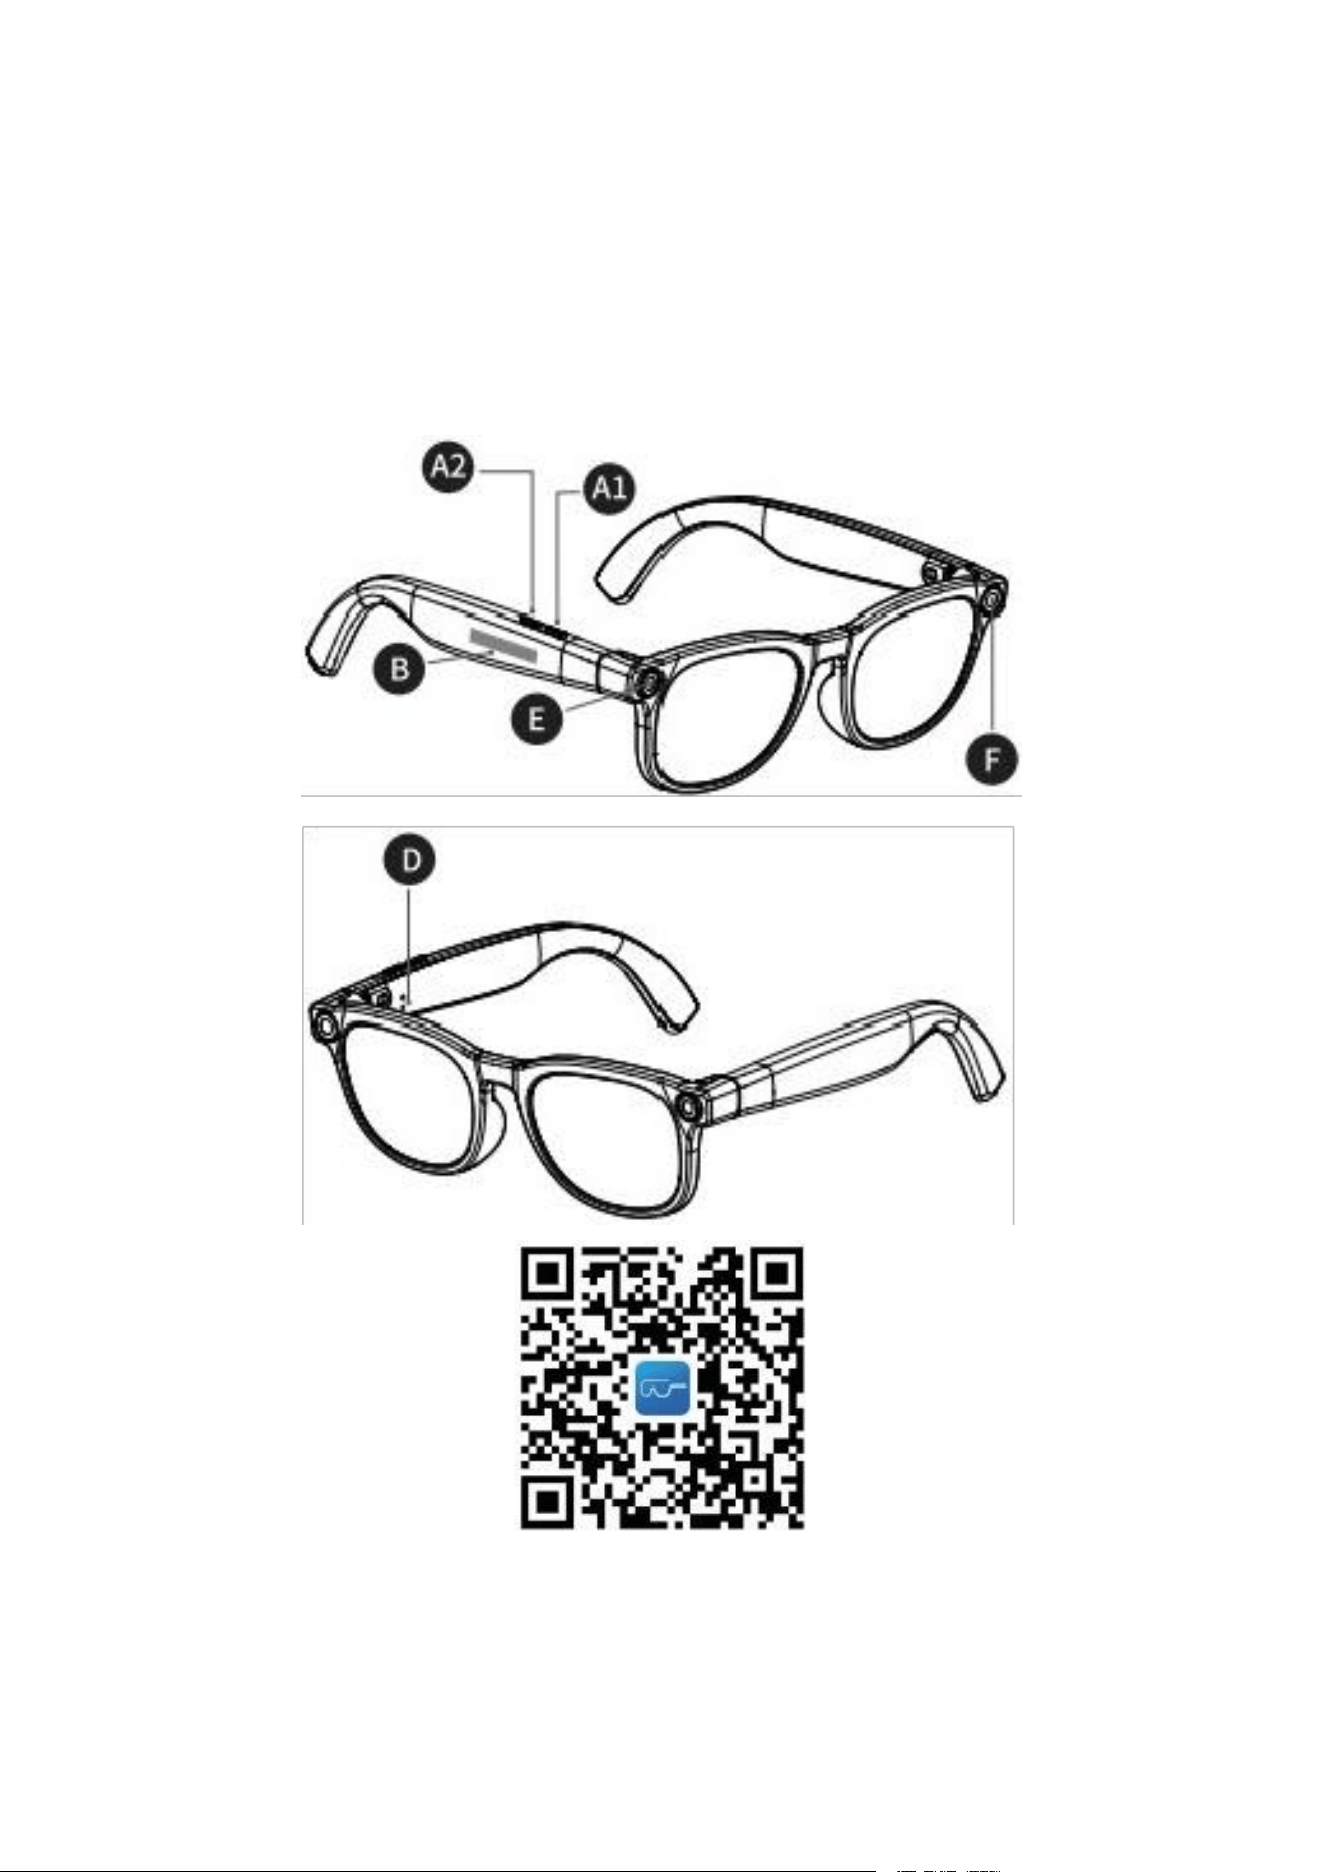
2) You can scan the QR code above to download
“HeyCyan”.
Enter the APP homepage, click the link device, and select
the device named G2 Pro for pairing.
2. Basic operation
2.1 Power on and shut down
Power on: Long press the A1 button 3S to turn on the
power; it can also be turned on by charging.
Shut down: Long press the A1 button 6-8S to shut
down.
2.2 Bluetooth connection
1) Make sure that your glasses are turned on and the
indicator light will flash.
2) Find the Bluetooth switch on the mobile phone and
turn it on. Click to search for nearby devices.
3) When you see the nearby list (G2 Pro), click Penguin
to pair.
2.3 Trackpad operation
Pause/play music: Double-click B to play/pause music
Volume+: Swipe forward at B.
Volume-: Slide back at B.
Next song: long press to switch to the next song.
The previous song: three clicks to switch to the previous
song.
2.4 Take photos
Take a photo: Press the A1 button to prompt the sound
to turn on when taking a photo. At the same time, the
indicator light F is on once, and position E is the camera.
Pictures can be viewed in the APP-album-click
import and click to save to the mobile phone.
2.5 Video
Press the A1 key twice, and the video prompts the
sound to start. During the video, the indicator F is always
on. Press A1 again to exit the video and save it.
The video can be viewed in the APP-album-click
import to view, and then click to save to the mobile phone.
The duration of the video can be set according to your
needs (click “Home” in the APP-G2 Pro-Recording
Settings-Duration-Select Duration).
2.6 Recording
Recording: Long press the A2 button, the recording
prompts the sound, and the indicator light F will flash
during the recording; press A2 to exit the recording and
save.
The audio can be imported in the APP-album, and
then click to save to the mobile phone.
The recording duration can be set according to your
needs (click “Home” in the APP-G2 Pro-Recording
Settings-Recording Duration-Select Duration).
2.7 Call
Answer: When you receive a call, press the A1 button to
answer.
Hang up: During the call, press the A1 button to hang up.
Reject: Long press the A1 button 2S to refuse.
2.8 Restore Factory Settings
Long press the A1 button 11-13S. After restoring the
factory settings, all the contents stored in the glasses will
be cleared.
2.9 Fitting Check
In the factory setting state, the wearing detection
function of glasses is open by default. When you take off
the eye button, the concert will be paused automatically.
After putting on the glasses, double-click B to continue
playing music.
2.10 WIFI function
Make sure that the WIFI of the mobile phone is turned
on; enter the APP album interface and click import, and the
mobile phone will automatically connect to the glasses wifi.
After the WiFi is connected, it will be imported one after
another; after the import is completed, you can see photos,
videos and recordings on the APP terminal, and you can
also save them to the mobile phone album.
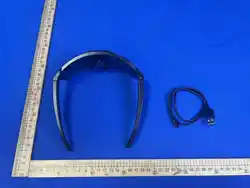
2.11 Charging
The red light is on at D during charging, and the blue
light is on at D after charging.
3. AI assistant
3.1 Wake up
Voice wake-up: Say “Hello Little Orange” or “Hey
Cyan” to wake up the AI voice assistant;

Key wake-up: Press the A2 button to wake up the AI
voice assistant.
3.2 Dialogue
After waking up the AI voice assistant, you can ask
questions directly.
3.3 Image Recognition
1) You can aim at the object and ask, “What's in front of
me?” The glasses will take photos first -then identify
and finally answer.
2) You can also double-click the A2 key to quickly
recognize the picture.
3.4 Take photos
After waking up the AI voice assistant, you can aim
at the position you want to shoot and say, “take a photo”.
If you hear the photo prompt, it means that the photo has
been taken successfully.
3.5 AI Translation
Open APP-Homepage-AI Translation-Select the
translation scenario. Say what you want to translate,
supporting 130+ languages.
Support one-to-one dialogue translation,
simultaneous translation, meeting minutes and other
functions.
4. Basic parameters
Product Name: AI Smart Glasses
Product Model: TXDSGS02-001V01
Product Size: 153x152x50 mm
Product Weight: 42 g
Camera: 800 W, 1080 P
Bluetooth Distance: >10 M
Internal storage: 32 GB
Operating voltage of the temple: 3.8 V
Charging time for the temple: about 1.5 H
Charging input: Magnetic punch, 5 V/1000 mA
Battery capacity: 250 mAh
Music time: 7 H (70 % volume)
Call time: 6 H (70 % volume)
Video time: 1 H
Battery life: 180 days (When switched off and left idle)
Battery cycle life: Charge and discharge cycles: ≥ 500.
FCC Statement
1. This device complies with Part 15 of the FCC Rules.
Operation is subject to the following two conditions:
(1)This device may not cause harmful interference.
(2) This device must accept any interference
received,including interference that may cause undesired
operation.
2. Changes or modifications not expressly approved by the
party responsible for compliance could void the user’s
authority to operate the equipment.
Note: This equipment has been tested and found to comply
with the limits for a class B digital device, pursuant to Part
15 of the FCC Rules. These limits are designed to provide
reasonable protection against harmful interference in a
residential installation.
This equipment generates uses and can radiate radio
frequency energy and, if not installed and used in
accordance with the instructions, may cause harmful
interference to radio communications. However, there is
no guarantee that interference will not occur in a particular
installation. If this equipment does cause harmful
interference to radio or television reception, which can be
determined by turning the equipment off and on, the user
is encouraged to try to correct the interference by one or
more of the following measures:
• Reorient or relocate the receiving antenna.
• Increase the separation between the equipment and
receiver.
• Connect the equipment into an outlet on a circuit different
from that to which the receiver is connected.
• Consult the dealer or an experienced radio/TV technician
for help.
The device has been evaluated to meet general RF
exposure requirement.
The device can be used in portable exposure condition
without restriction.