INSTALLATION GUIDE
®
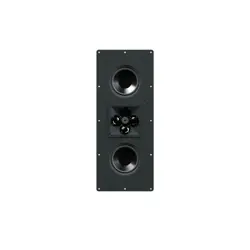
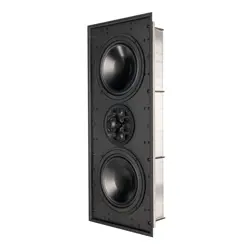
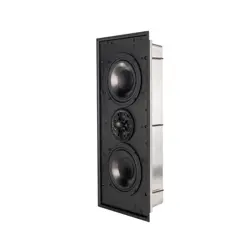
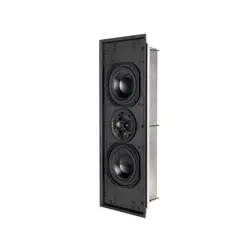
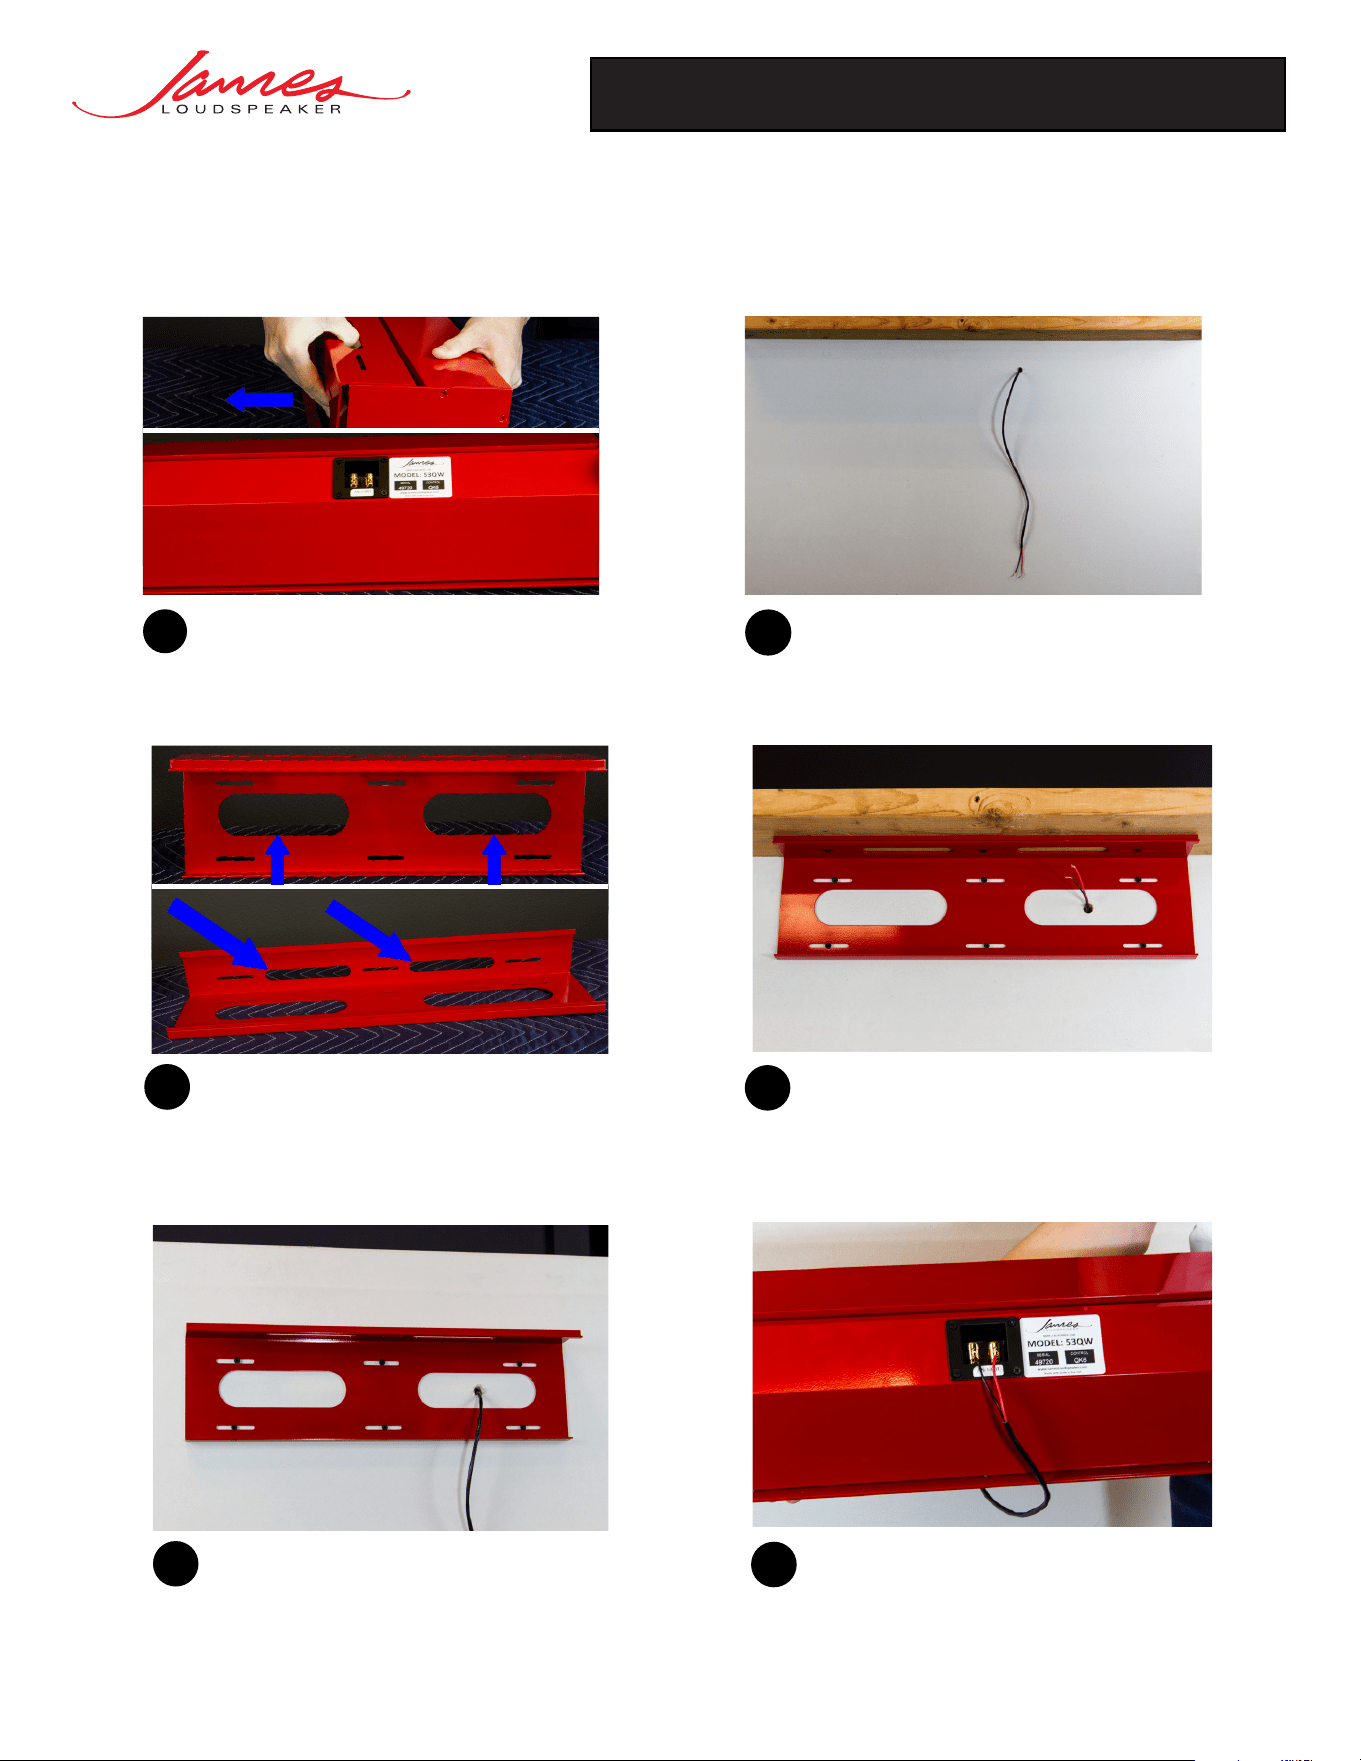
Installation guide for James Wedge Series Speaker
Remove the two allen head retention screws from
the trim plate. Then pull the bracket away from the
front of the speaker.
1
3
If the wires are in the wall, then run it through
the bottom slots on the bracket (top photo).
If the wire is in the ceiling, then run the wire
through the top slots of the bracket (bottom
photo).
Next, determine if your wires are located in the
ceiling or the wall.
2
If the speaker is being installed flush with the wall
and ceiling, then install all nine screws to secure
the bracket.
4
Now connect your wires to the speaker. (Red to
red, and black to black)
6
5
The bracket can also be secured to a wall
using just six wall screws.
WEDGE SERIES INSTALLATION GUIDE
James Loudspeaker | 2185 Park Place, Minden, NV 89423 | 775.461.7500 | www.JamesLoudspeaker.com
®
20200303
WEDGE SERIES INSTALLATION GUIDE
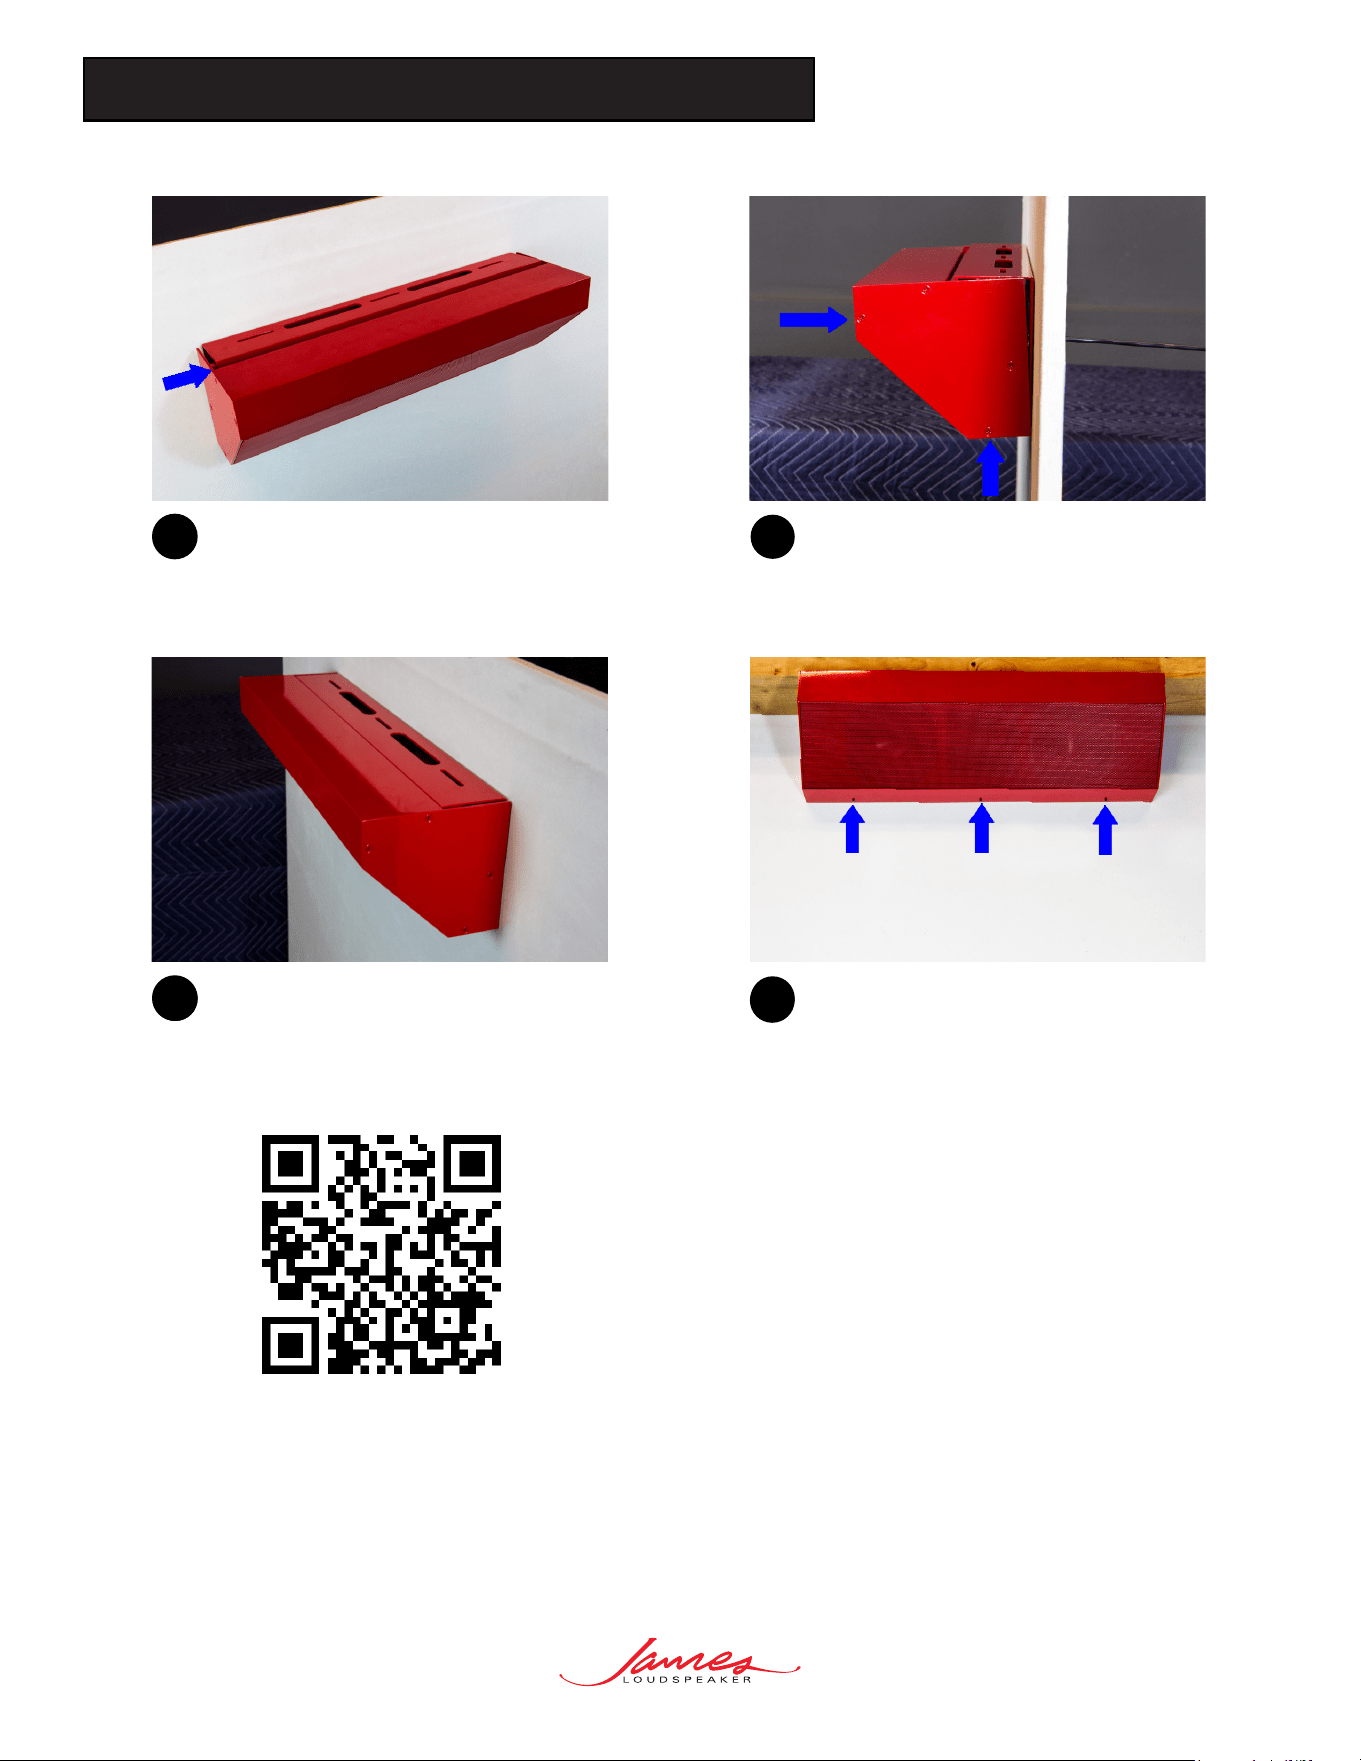
8
Finally, tighten down the three set screws, with
the hex key we have provided, located on the
bottom of the speaker.
The speaker should sit flush with the wall and/or
ceiling before proceeding to the next step.
7
8
Once you have the speaker mounted into place,
then lift the speaker from the bottom and use a
fist to pound the speaker back into the wall in
order to make the speaker flush.
Now, mount the speaker onto the bracket by
guiding the upper channel of the speaker into
the top portion of the bracket.
7
10
9
Installation
Video