
W11659148A
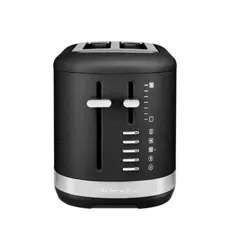
2 SLICE AND 4 SLICE TOASTER
5KMT2109A, 5KMT4109A
OWNER’S MANUAL
2
PRODUCT SAFETY
Your safety and the safety of others are very important.
We have provided many important safety messages in this manual and on your
appliance. Always read and obey all safety messages.
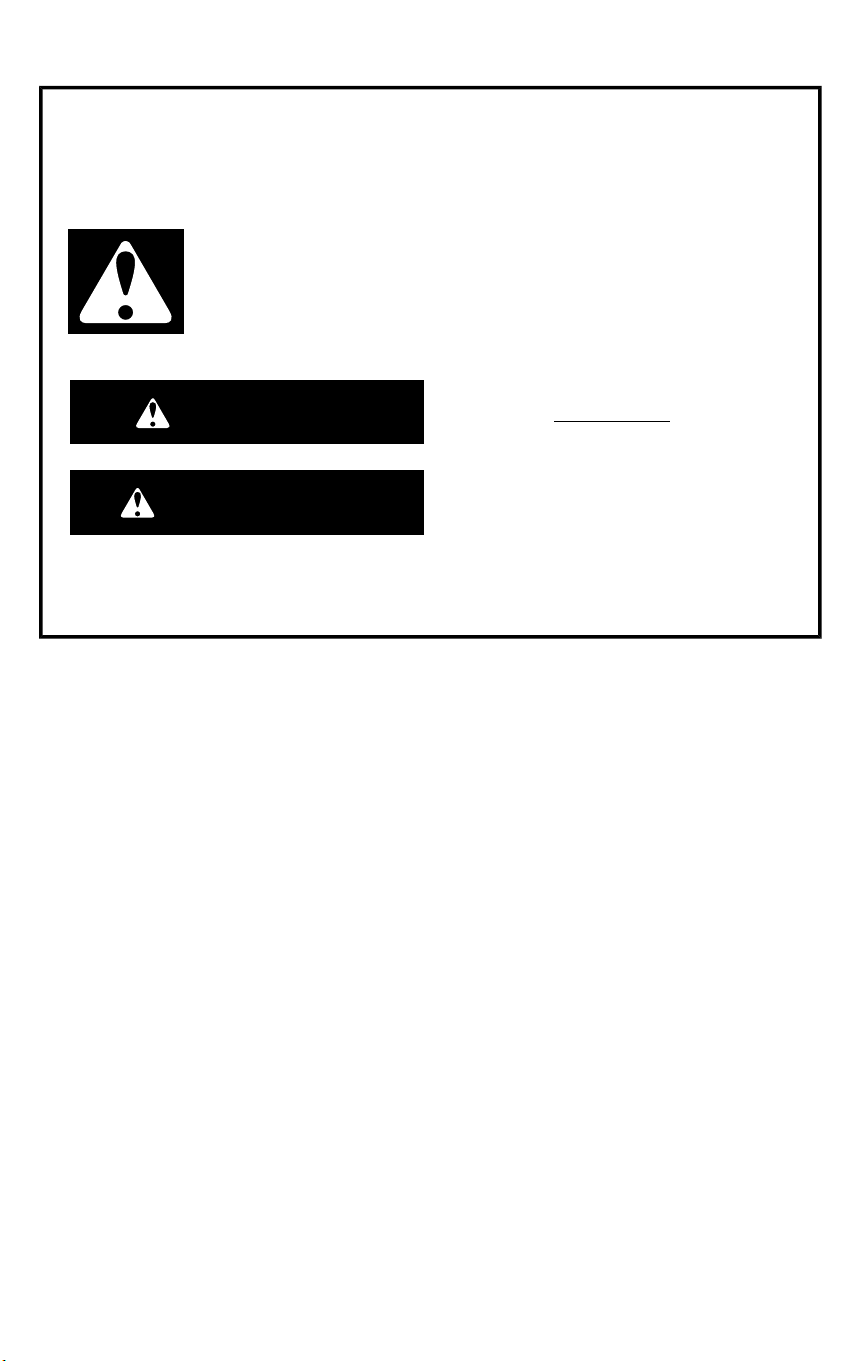
This is the safety alert symbol.
This symbol alerts you to potential hazards that can kill or hurt you
and others.
All safety messages will follow the safety alert symbol and either
the word “DANGER” or “WARNING.” These words mean:
DANGER
You can be killed or seriously injured
if you don't immediately follow
instructions.
WARNING
You can be killed or seriously injured
if you don’t follow instructions.
All safety messages will tell you what the potential hazard is, tell you how to reduce
the chance of injury, and tell you what can happen if the instructions are not
followed.
IMPORTANT SAFEGUARDS
When using electrical appliances, basic safety precautions
should always be followed, including the following:
1. Read all instructions. Misuse of appliance may result in
personal injury.
2. Do not touch hot surfaces. Use handles or knobs.
3. To protect against electrical shock, do not immerse cord, plugs,
or Toaster in water or other liquid.
4. This appliance is not intended for use by persons (including
children) with reduced physical, sensory, or mental capabilities,
or lack of experience and knowledge, unless they have been
given supervision or instruction concerning use of the
appliance by a person responsible for their safety.
5. Close supervision is necessary when any appliance is used
near children. Children should be supervised to ensure that
they do not play with the appliance.
6. Unplug from outlet when not in use and before cleaning. Allow
to cool before putting on or taking off parts.
7. WARNING: To prevent electric shock, unplug before servicing.

EN
3
8. Do not operate the Toaster with a damaged cord or plug, or
after the Toaster malfunctions or is dropped or damaged in any
manner. Return the Toaster to the nearest Authorised Service
Centre for examination, repair, or adjustment.
9. Do not use the appliance outdoors.
10. To disconnect, turn the appliance off, then remove plug from
wall outlet.
11. The use of accessories/attachments not recommended or sold
by KitchenAid may cause fire, electrical shock, or injury to
persons.
12. If the supply cord is damaged, it must be replaced by
KitchenAid, its service agent or similarly qualified persons in
order to avoid a hazard.
13. Do not let the cord hang over the edge of the table or counter,
or touch hot surfaces.
14. Do not place on or near a hot gas or electric burner, or in a
heated oven.
15. Do not use Toaster for other than intended use.
16. The bread may burn, therefore do not use the Toaster near or
below combustible material, such as curtains.
17. Oversized foods, metal foil packages, or utensils must not be
inserted in the Toaster as they may involve a risk of fire or
electric shock.
18. A fire may occur if the Toaster is covered with or touching
flammable material, including curtains, draperies, walls and the
like when in operation.
19. Do not attempt to dislodge food when the Toaster is plugged in.
20. Never leave the appliance unattended while it is in operation.
21. Do not operate Toaster unattended.
22. When heating toaster pastries, always use the lightest toast
colour setting.
23. Allow the appliance to cool completely before putting on or
taking off parts, and before cleaning the appliance.
24. Refer to the “Care and Cleaning” section for instructions on
cleaning the surfaces in contact with food.
4
25. This appliance is intended to be used in household and similar
applications such as:
■ staff kitchen areas in shops, offices and other working
environments;
■ farmhouses;
■ by clients in hotels, motels and other residential type
environments;
■ bed and breakfast type environments.
26. The appliances are not intended to be operated by means of
an external timer or separate remote-control system.
SAVE THESE INSTRUCTIONS
For complete details on product information, instructions and
videos, including Guarantee information, visit
www.kitchenaid.com.au or www.KitchenAid.co.nz.
ELECTRICAL REQUIREMENTS
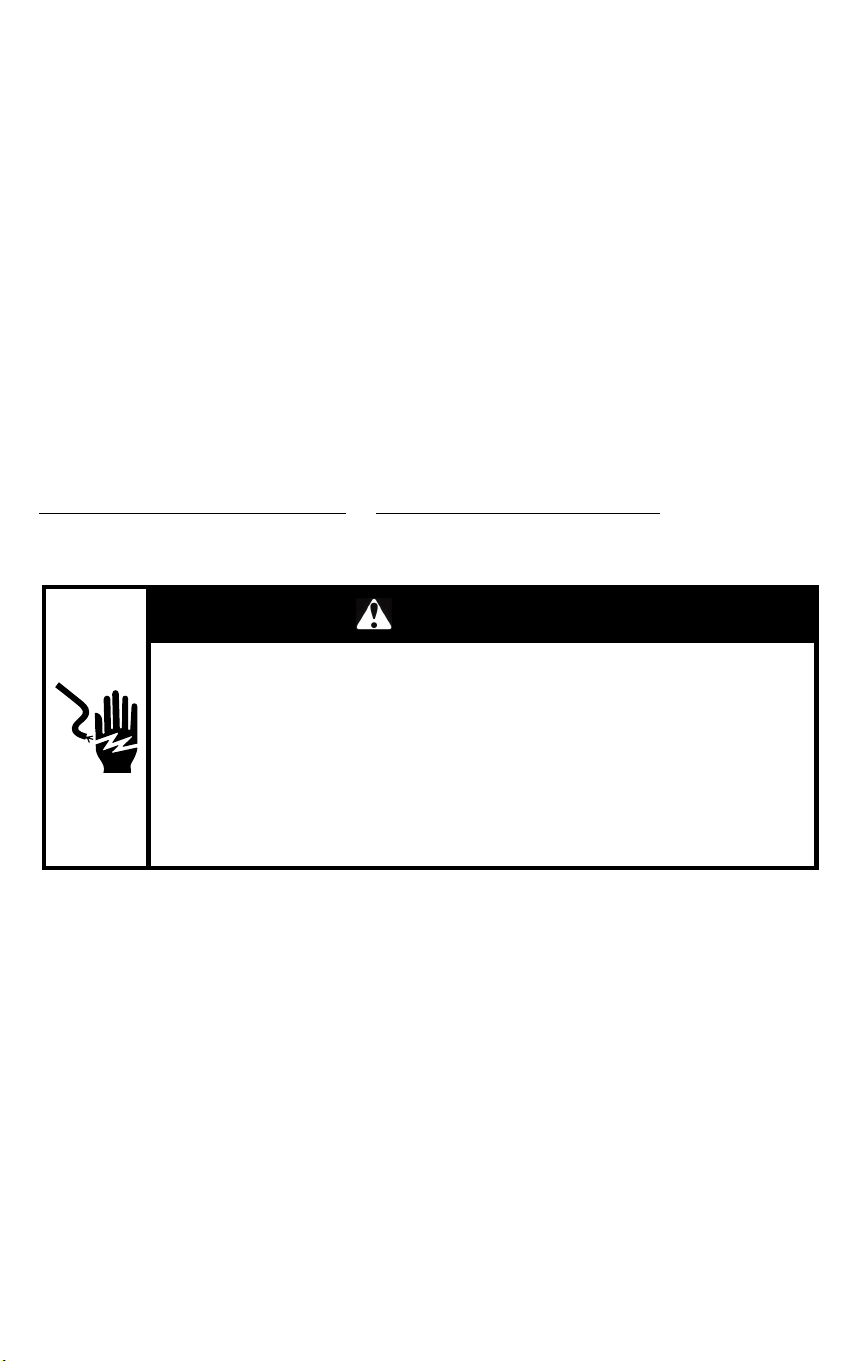
WARNING
Electrical Shock Hazard
Plug into an earthed outlet.
Do not remove earth prong.
Do not use an adapter.
Do not use an extension cord.
Failure to follow these instructions can result in death, fire, or
electrical shock.
Voltage: 220-240 VAC
Frequency: 50-60 Hz
Power: 823-980 W for 5KMT2109A
1640-1960 W for 5KMT4109A
NOTE: Your Toaster has an earth prong plug. To reduce the risk of electrical shock, this plug
will fit in an outlet only one way. If the plug does not fit in the outlet, contact a qualified
electrician. Do not modify the plug in any way.
Do not use an extension cord. If the power supply cord is too short, have a qualified electrician
or technician install an outlet near the appliance.
A short power supply cord (or detachable power supply cord) should be used to reduce the risk
resulting from becoming entangled in or tripping over a longer cord.
EN
5
GETTING STARTED
Before using your Toaster for the first time, check the Slots and remove any packing or printed
material that might have fallen inside during shipping or handling.
IMPORTANT: To avoid damage to the Toaster, do not probe inside the Toaster Slots with any
metal objects, including utensils.
WARNING
Electrical Shock Hazard
Plug into an earthed outlet.
Do not remove earth prong.
Do not use an adapter.
Do not use an extension cord.
Failure to follow these instructions can result in death, fire, or
electrical shock.
1.
Tuck the power cord into the channel of the Cord Guide on the bottom of the Toaster so
that it exits from the rear of the Toaster beneath the Crumb Tray. Plug into an earthed
outlet.
NOTE: You may see light smoke the first time you use the Toaster. This is normal. The
smoke is harmless and will soon dissipate.
PRODUCT USAGE
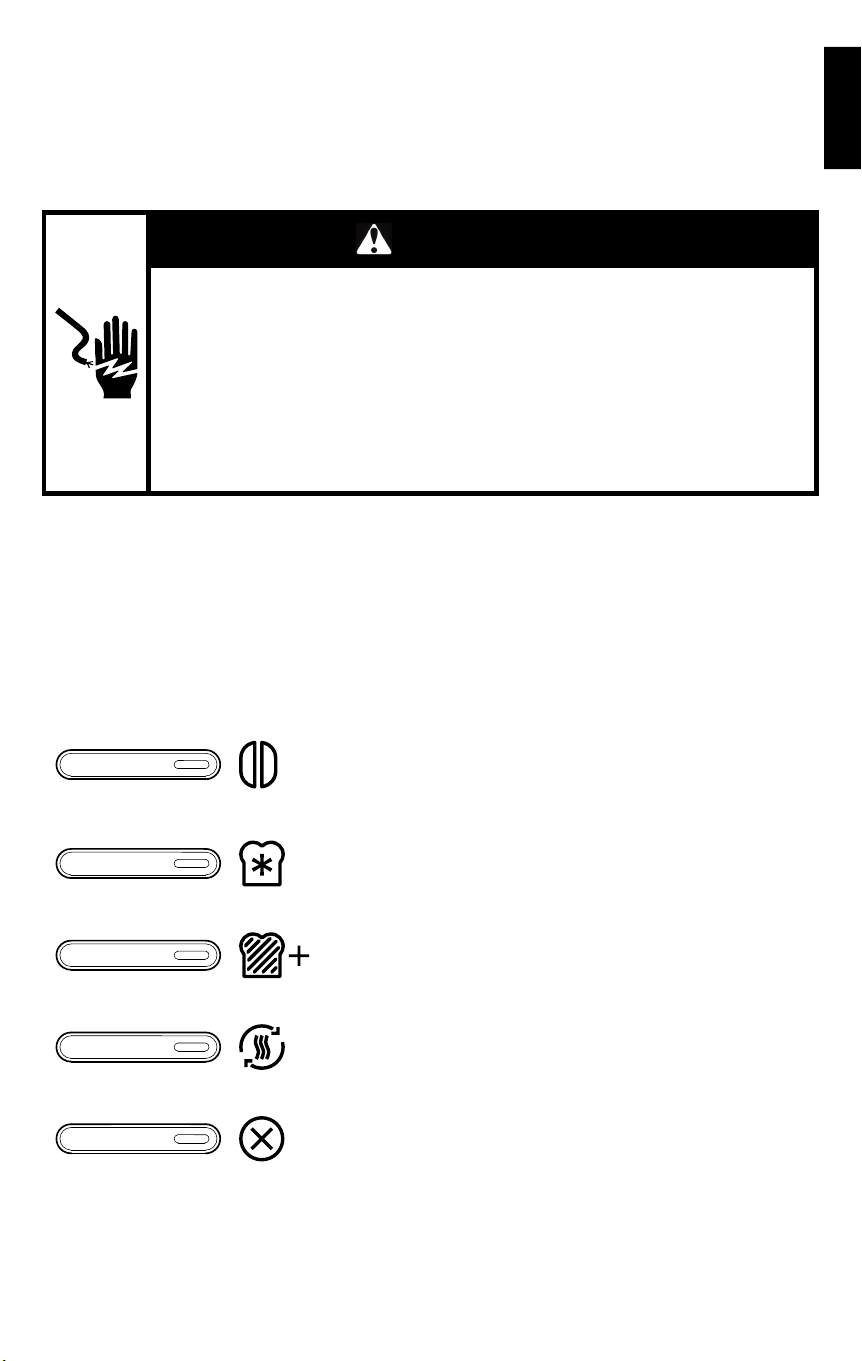
FUNCTION BUTTONS
BAGEL
Toasts the inside of a cut bagel without burning the
bagel’s outside surface.
DEFROST
Defrosts and toasts frozen food.
A LITTLE LONGER
Allows you to toast something for just “A little longer”.
REHEAT
Quickly reheats previously toasted food.
CANCEL
Cancels the toasting cycle and raises your bread for
removal.

6
TOASTING
1. Insert bread or other food to be toasted into the slots.
TIP: For even toasting, toast only one bread type and thickness at a time. If toasting
bagels, be sure to press the Bagel button (
). See “Toasting Bagels” section.
NOTE: The age, type, and moisture level of different breads may require different shade
settings. For example, dry bread will brown more rapidly than moist bread and will require
a lighter setting.
2. Select your desired shade by raising the Shade Lever for darker toasting or lowering the
lever for lighter toasting.
3. Press down on the Start Lever to start the toasting cycle. The toast will pop up
automatically at the end of the cycle and the Toaster will turn off.
NOTE: If using a function button, you must lower the Start Lever first before selecting the
function. The LED light next to the function will be lit while the function is in use.
4. To cancel toasting at any time, press Cancel ( ). The toast will pop up and the Toaster will
turn off.
TIP: For smaller items, lift up on the Start Lever to raise toast above the top of the Toaster.
TOASTING BAGELS
Your Toaster features a special Setting for bagels, ensuring optimal heating time for the best
results. The heating elements will adjust to nicely toast the inside of a cut bagel without burning
the outside surface.
1. Insert bagels as indicated by the Bagel Icon ( ) on top of the Toaster.
2. With the Shade Lever set to your desired shade, press down on the Start Lever to start the
toasting cycle.
3. Press ( ); the Bagel Indicator Light will glow. The bagels will pop up automatically at the
end of the Cycle and the Toaster will turn off.
TIP: The Bagel function can be used at the same time as the Defrost function.
DEFROST
The Defrost function adds extra time to the toasting cycle to defrost frozen items before
toasting them.
1. Insert bread or other food to be toasted into the Slots.
2. With the Shade Lever set to your desired shade, press down on the Start Lever to start the
toasting cycle.
3. Press ( ); the Defrost Indicator Light will glow. The toast will pop up automatically at the
end of the cycle and the Toaster will turn off.
A LITTLE LONGER
This function allows you to toast something for just “A Little Longer” at the touch of a button
without changing your favourite setting. Use this function after the toasting cycle is complete
and the toast has risen.
1. Press down on the Start Lever to lower the toast again into the Toaster to resume toasting.
2. Press ( ); the toast will pop up automatically at the end of the cycle and the Toaster will
turn off.
REHEAT
This function allows you to quickly reheat previously toasted foods.
1. Insert the previously toasted food into the Slots.
NOTE: Do not place food with butter or any other topping in the Toaster. Use the Reheat
Function with dry foods only.
2. Press down on the Start Lever to start the toasting cycle.

EN
7
3. Press ( ); The toast will pop up automatically at the end of the cycle and the Toaster will
turn off, or you may press (
) at any time to cancel the function.
NOTE: No shade adjustment is necessary — the Reheat function overrides whatever
shade level you have set.
CARE AND CLEANING
IMPORTANT: Allow the appliance to cool completely before putting on or taking off parts, and
before cleaning the appliance.
CLEANING THE TOASTER
IMPORTANT: The Crumb Tray will be hot immediately following a toasting cycle. Allow the
Toaster to cool before emptying the Crumb Tray.
NOTE: For consistent browning results, empty the Crumb Tray after each use.
1. Unplug the Toaster and let it cool before cleaning.
2. Wipe the Toaster with a soft, damp cotton cloth. Do not use paper towels, abrasive
cleansers, or liquid cleaning products. Do not immerse the Toaster in water.
NOTE: If grease or oil splatters on the Toaster, wipe splatters away immediately using a
clean, damp cotton cloth.
3. Press the icon located in the centre of the Crumb Tray.
4. Once the Crumb Tray has opened slightly, slide it out of the Toaster and shake the crumbs
into a waste container.
IMPORTANT: Be sure to open the Crumb Tray by pressing the icon. Forcing the Crumb
Tray open may damage it.
5. The Crumb Tray should be hand washed only.
6. Replace Crumb Tray by sliding it back into its slot, and pressing in on the centre of the
Crumb Tray until it clicks into place.
NOTE: Do not use the Toaster without the Crumb Tray installed.
NOTE: KitchenAid does not recommend the use of a Toaster cover.
CUSTOMER SERVICE
In Australia:
For any questions, or to find the nearest Authorised KitchenAid Service Centre, please find our
contact details below.
NOTE: All service should be handled locally by an Authorised KitchenAid Service Centre.
Toll free number: 1-800-990-990
Phone number: 02 49026500
Address Australia: KitchenAid Australia Pty Ltd
6-8 Billbrooke Close
Cameron Park NSW 2285, Australia
Phone: 1-800-990-990
Mobile: 0249026500
Email: [email protected]
In New Zealand:
Website: www.KitchenAid.co.nz
Email: [email protected]
Phone: 0800 881 200
In other countries:
For all product related questions and after-sales matters, please contact your dealer to obtain
the name of the nearest Authorised KitchenAid Service/Customer Centre.

8
For complete details on product information, instructions and videos, including Guarantee
information,For more information, visit our website at: www.KitchenAid.com.au
©2023 All rights reserved.

NOTES

NOTES

NOTES

NOTES

NOTES

NOTES

NOTES
©2023 All rights reserved.
W11659148A
03/23