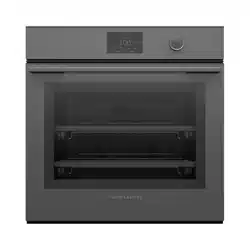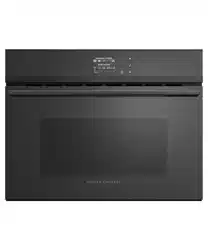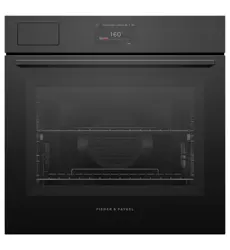


MINIMAL
OS60SAMHUNB5, OS60SAMHUNG5, OS60SAMHUB5, OS60SAMHUG5,
OS60SAMVUB5, OS60SAMVUG5, OS60SAMVTB5, OS60SAMVTG5,
OS60NAMHUNB5, OS60NAMHUNG5, OS60NAMHUB5, OS60NAMHUG5,
OS60NAMVUB5, OS60NAMVUG5, OS60NAMVTB5, OS60NAMVTG5,
OB60SAMPUNB5, OB60SAMPUNG5, OB60SAMPUB5, OB60SAMPUG5,
OB60SAMPTB5, OB60SAMPTG5, OB60SAMTB5, OB60SAMTG5
CONTEMPORARY
OS60SACHUDX5, OS60SACVUDX5, OS60SACVTDX5, OS60NACHUDX5,
OS60NACVUDX5, OS60NACVTDX5, OB60SACPUDX5, OB60SACPTDX5,
OB60SACTDX5, OB60SACPGX5, OB60SACPGB5, OB60SACGX5,
OB60SACGB5

3
COMPONENTS REQUIRED
TOOLS
Not supplied
F Powered driver
F Cross-head screwdriver
PARTS
Supplied
F Screws (2)
F Cabinetry trim (some models only)
All imagery shown in this guide is representative. Your product may differ.
4
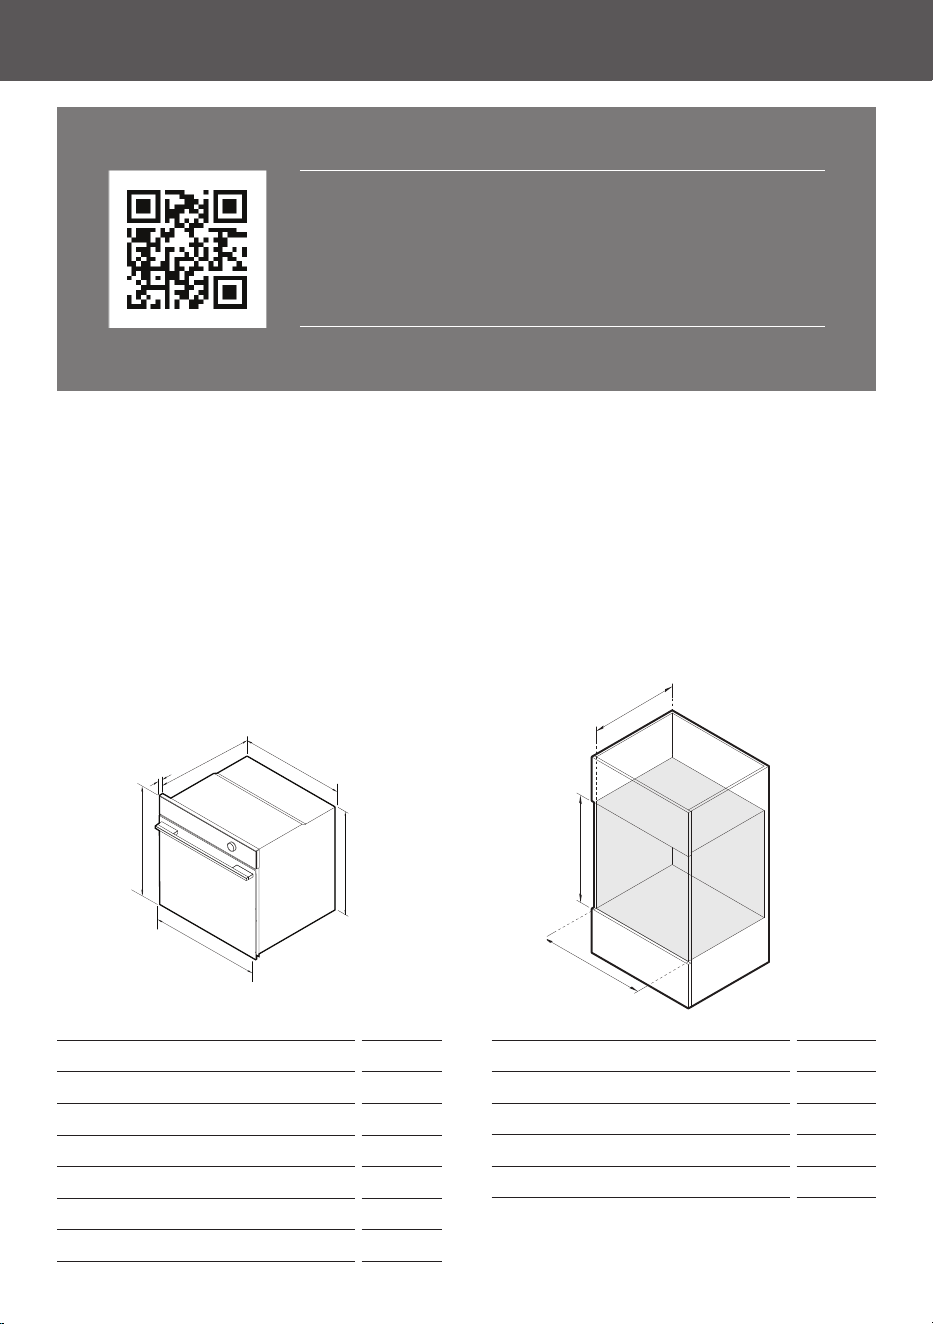
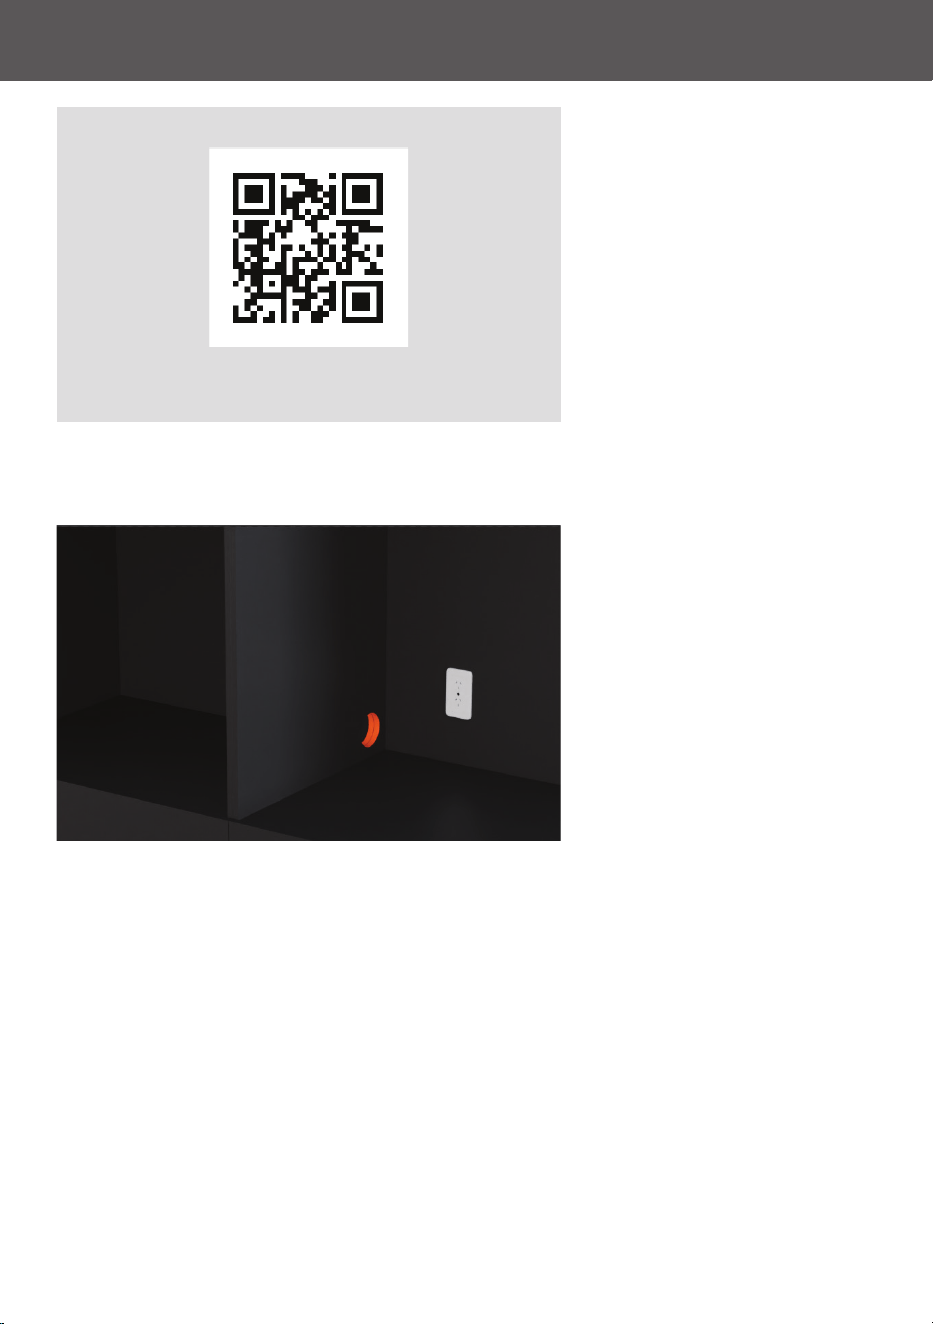
ACCESSING YOUR PRODUCT SPECIFICATIONS
For full product, cabinetry and service specifications, refer
to the Planning Guide. To access the Planning Guide, scan
the QR code or visit fisherpaykel.com/specify. Search by
appliance type, product name or model code.
STANDARD (MINIMAL & CONTEMPORARY MODELS)
OS60SAMHUNB5, OS60SAMHUNG5, OS60SAMHUB5, OS60SAMHUG5,
OS60SAMVUB5, OS60SAMVUG5, OS60SAMVTB5, OS60SAMVTG5,
OS60SACHUDX5, OS60SACVUDX5, OS60SACVTDX5, OB60SAMPUNB5,
OB60SAMPUNG5, OB60SAMPUB5, OB60SAMPUG5, OB60SAMPTB5,
OB60SAMPTG5, OB60SAMTB5, OB60SAMTG5, OB60SACPUDX5,
OB60SACPTDX5, OB60SACTDX5, OB60SACPGX5, OB60SACPGB5,
OB60SACGX5, OB60SACGB5
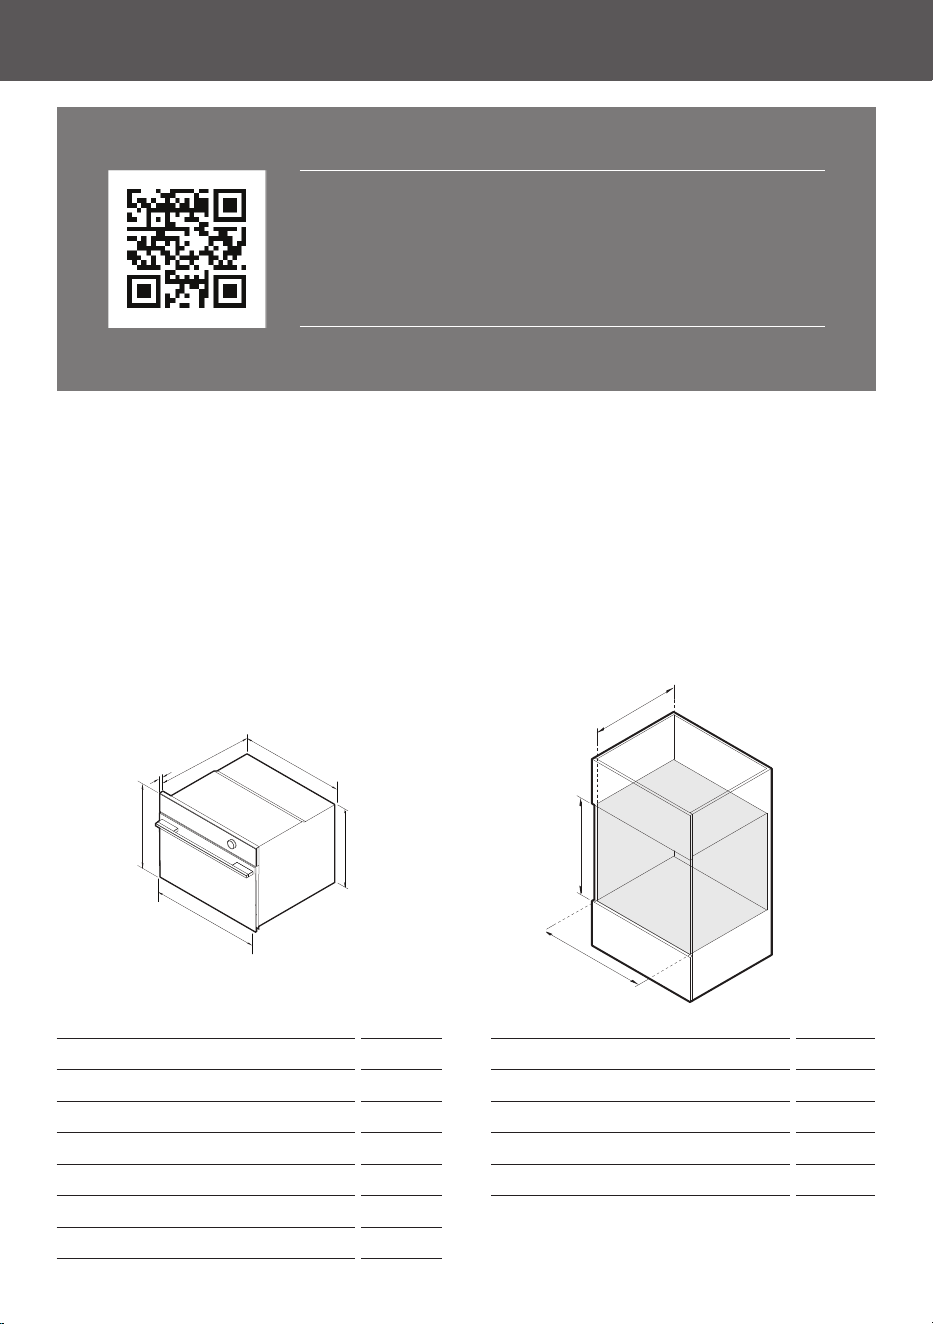
CAVITY DIMENSIONS mm
A Minimum inside height of cavity 580
B Minimum inside width of cavity 560
C Minimum inside depth of cavity 550
Recommended cabinet width 600
PRODUCT DIMENSIONS mm
A Overall height 598
B Overall width 596
C Chassis height 575
D Chassis width 556
E Chassis depth 545
F Control panel thickness 20
A
B
C
D
E
F
A
B
C
5
ACCESSING YOUR PRODUCT SPECIFICATIONS
For full product, cabinetry and service specifications, refer
to the Planning Guide. To access the Planning Guide, scan
the QR code or visit fisherpaykel.com/specify. Search by
appliance type, product name or model code.
COMPACT (MINIMAL & CONTEMPORARY MODELS)
OS60NAMHUNB5, OS60NAMHUNG5, OS60NAMHUB5, OS60NAMHUG5,
OS60NAMVUB5, OS60NAMVUG5, OS60NAMVTB5, OS60NAMVTG5,
OS60NACHUDX5, OS60NACVUDX5, OS60NACVTDX5
CAVITY DIMENSIONS mm
A Minimum inside height of cavity 440
B Minimum inside width of cavity 560
C Minimum inside depth of cavity 550
Recommended cabinet width 600
PRODUCT DIMENSIONS mm
A Overall height 458
B Overall width 596
C Chassis height 435
D Chassis width 556
E Chassis depth 545
F Control panel thickness 20
A
B
C
D
E
F
A
B
C
7
UNPACK PRODUCT
z
Do not lift or move the product using the door handle.
z
Keep all packing materials until the unit has been inspected.
z
Inspect the product to ensure there is no shipping damage. If any damage is detected
contact the dealer or retailer you brought the product from to report the damage.
z
Fisher & Paykel is not responsible for shipping damage.
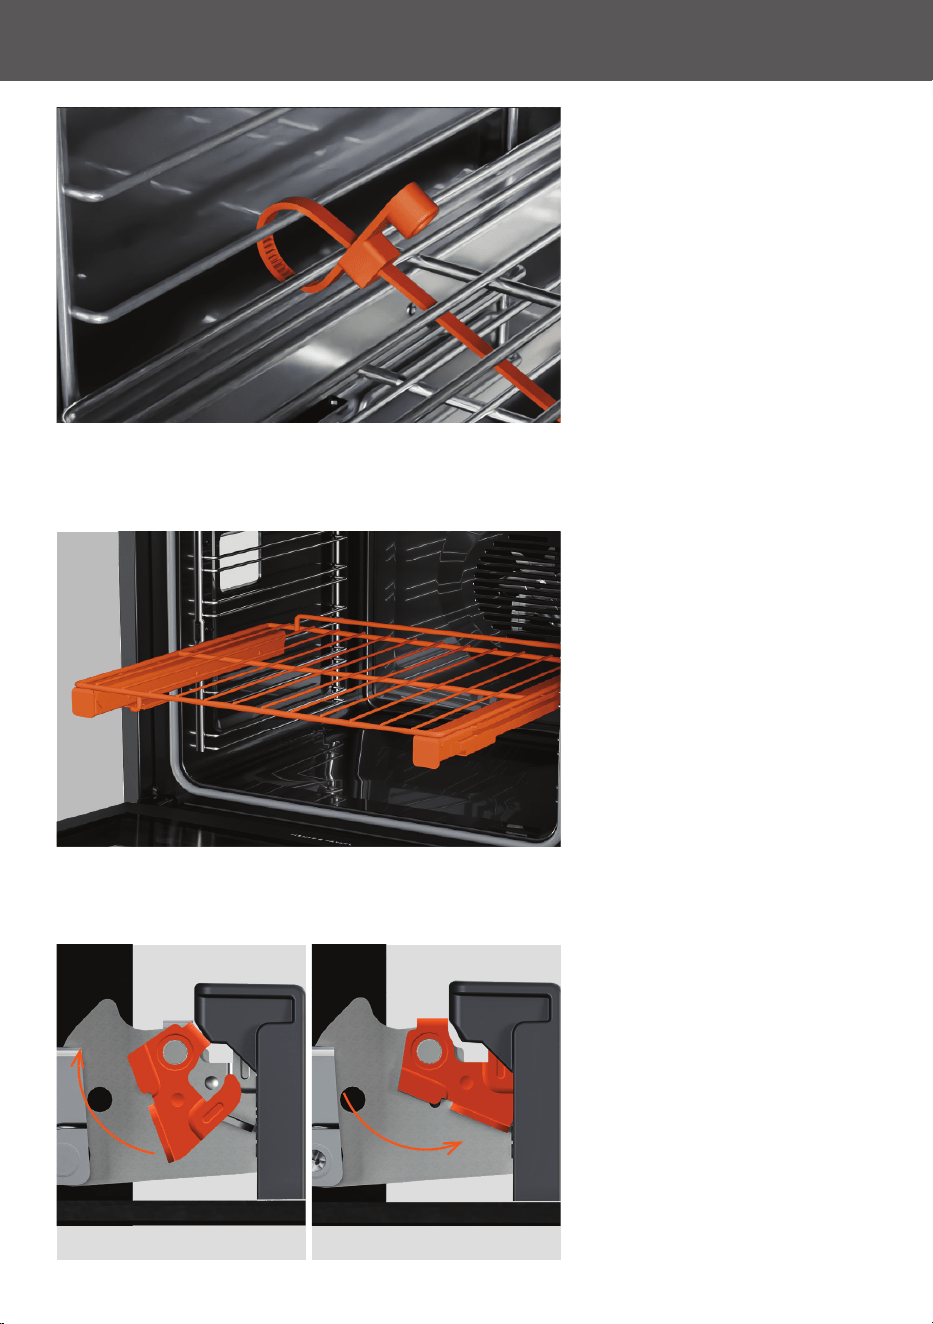
1. Cut and remove all straps and
outer packaging. Lift off the
carton sleeve and remove any
internal packing materials.
2. Slide out the front packing
support, then lift the oven up
and forward to remove it from
the pallet
Dispose of packaging
responsibly.
8
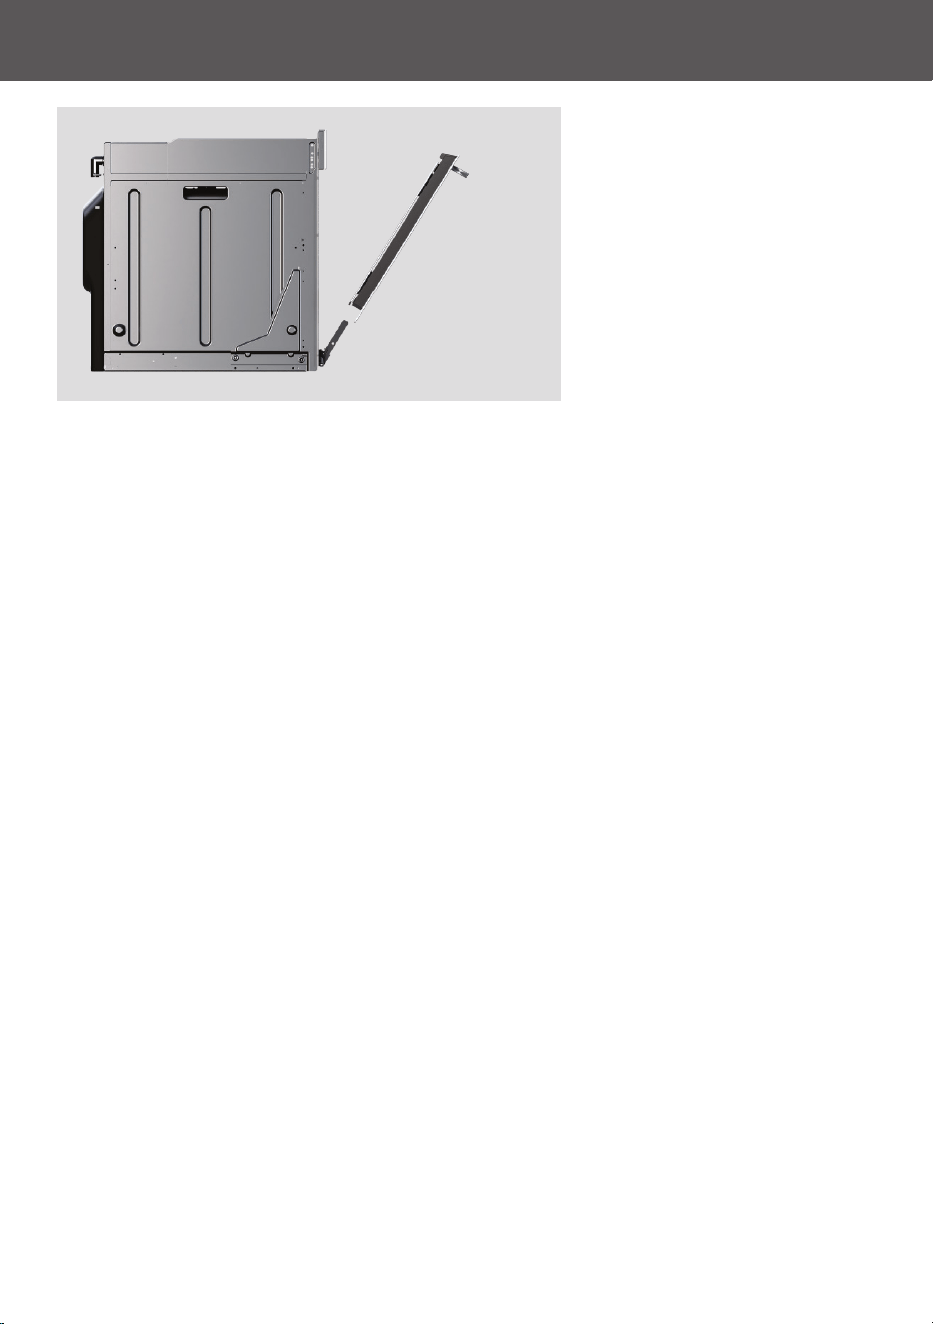
REMOVE DOOR
1. Open the door and remove all
cable ties and packaging holding
the oven shelves in place.
2. Grip the shelves at the front,
making sure to hold the wire
shelf and frame together. Lift
upwards and pull out from the
oven. For more guidance on
removing the shelves, refer to
page 14.
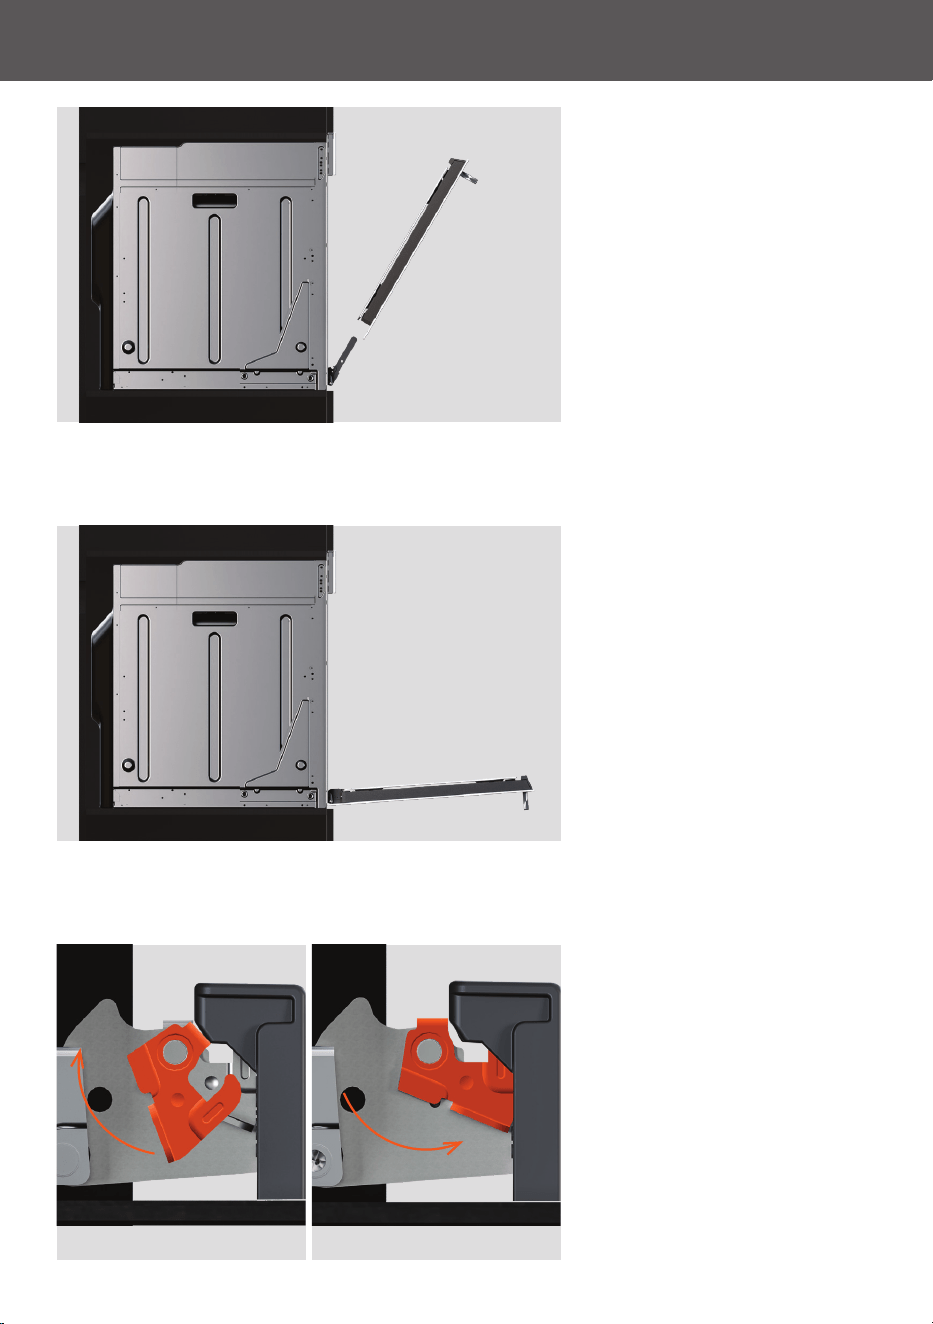
3. Locate the hinge locks on
either side of the door. Push the
locks upwards to release.
UNLOCKED LOCKED
9
REMOVE DOOR
4. Holding the door on both
sides, partially close the door
and carefully pull the door away
from the hinges.
10
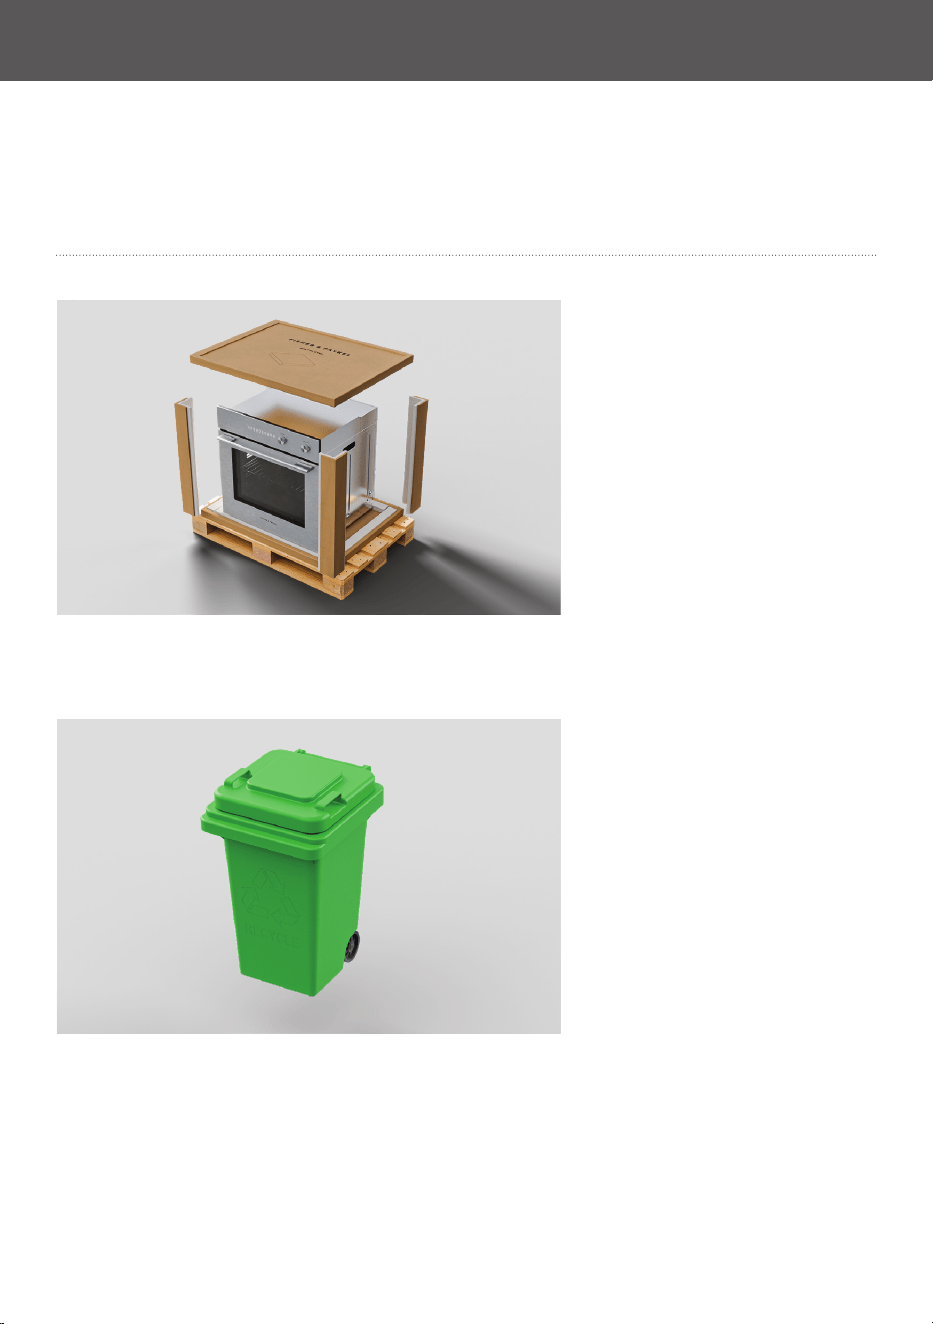
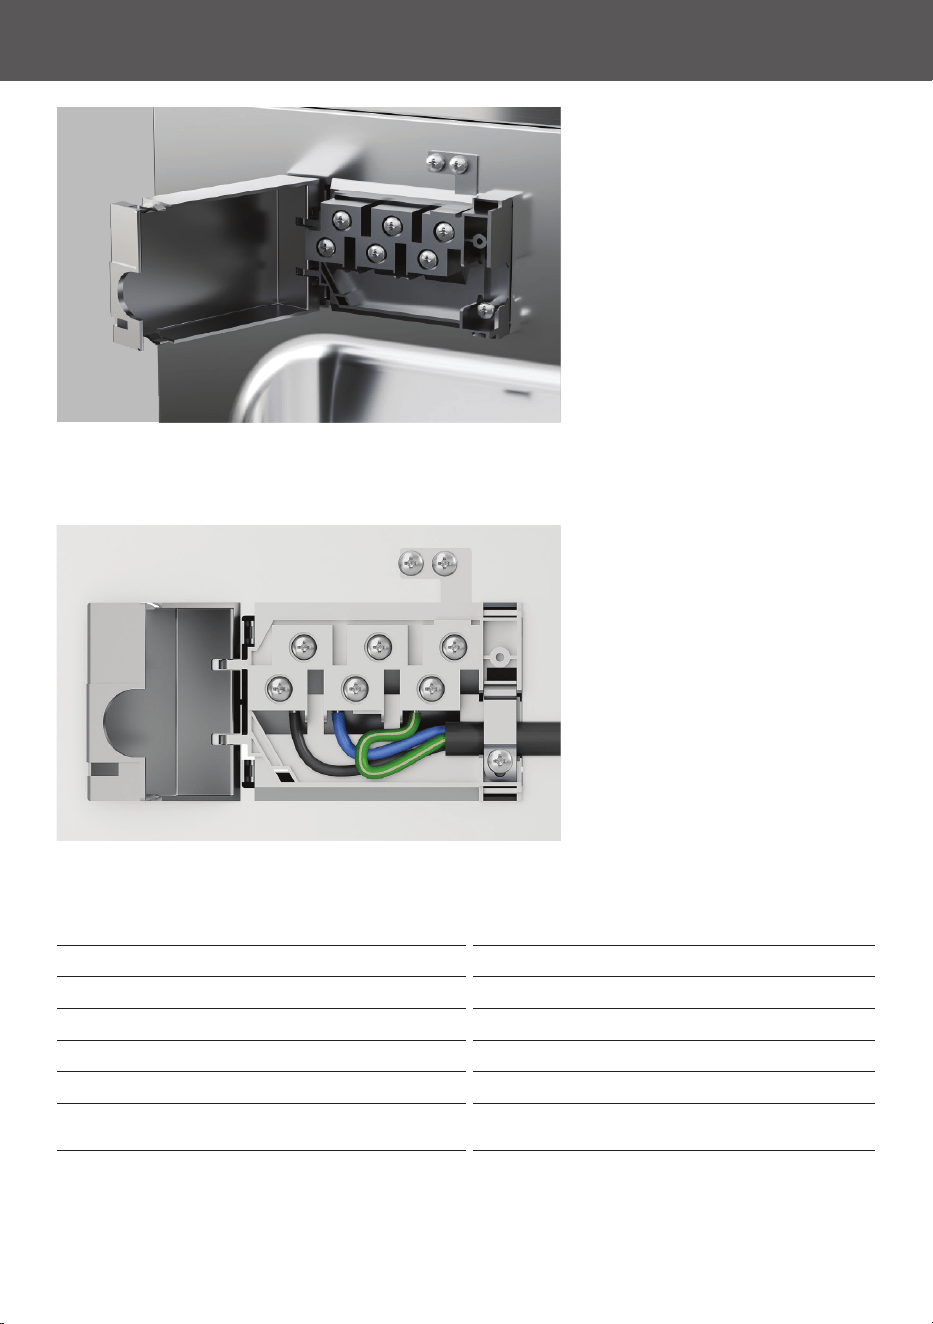
CONNECT POWER
1. Unclip and lift cover to access
terminal block.
2. Connect wires as shown.
Connector and ports may not be
present on all models.
Ensure oven is correctly Earthed
and cable clamp is tightened
before closing the cover.
SPECIFICATIONS OS60/OB60 MODELS
Dedicated Circuit (A) 16
Rated Power (W) 2800 - 3300
Supply (Hz) 50-60
Voltage (V) 220 – 240
Connection
Hard-wired
min 1500mm
11
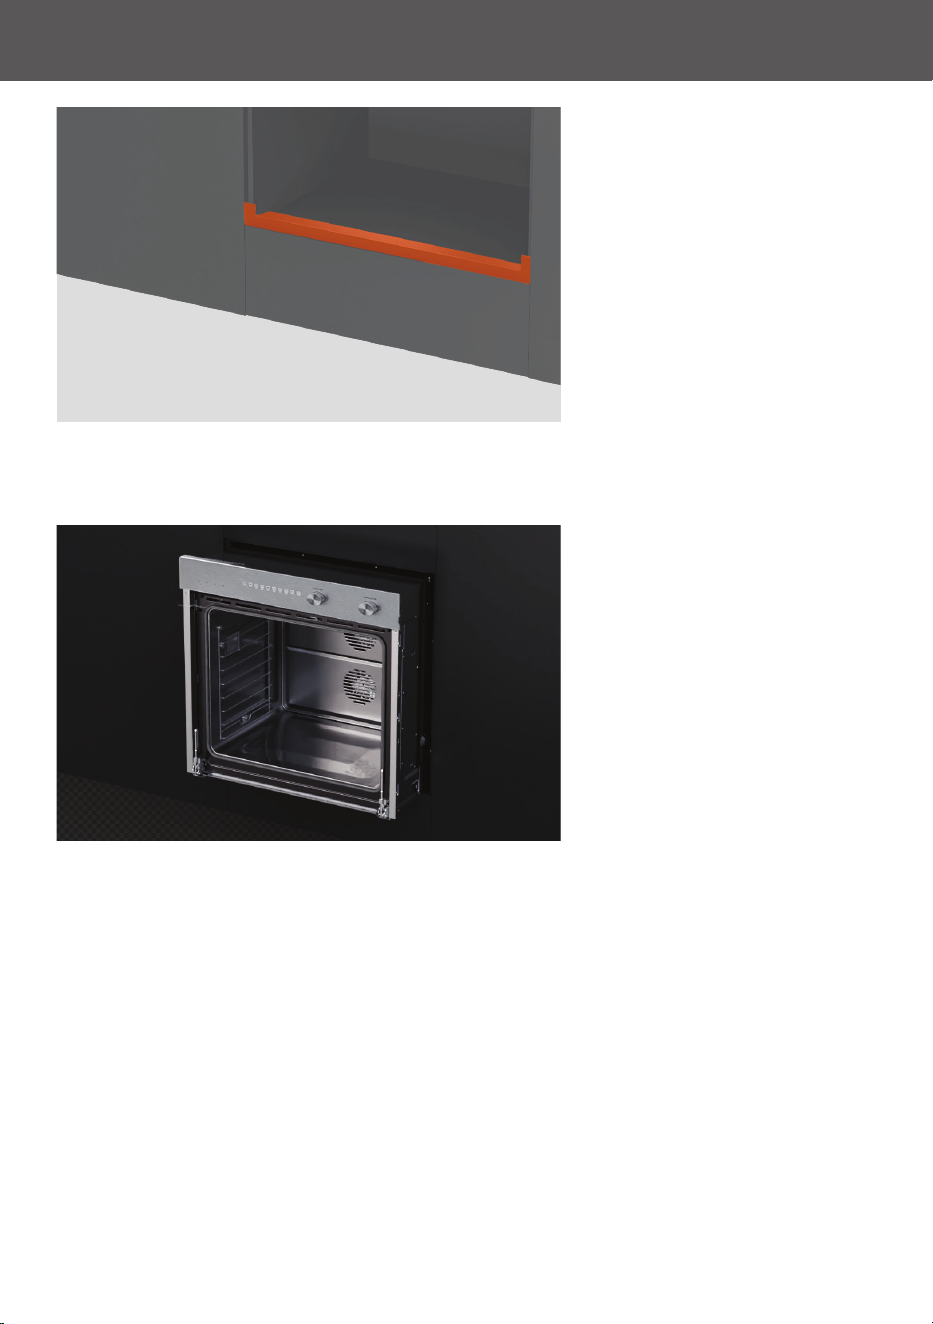
POSITION IN CAVITY
*To purchase cabinetry trim as an optional accessory, visit fisherpaykel.com
1. For light cabinetry, the
supplied trim can be used to
enhance clashing finish. To
install, remove the trim adhesive
and press to secure to cavity*.
2. Apply protective tape to
adjacent cabinetry panels before
lifting product into place.
12
REFIT DOOR
1. Holding the door on both
sides, carefully lift door back
onto the hinges.
2. Open the door fully and push
each locking lever down and lock
into place.
3. Ensure both hinges are fully
locked before shutting the door.
UNLOCKED LOCKED
13
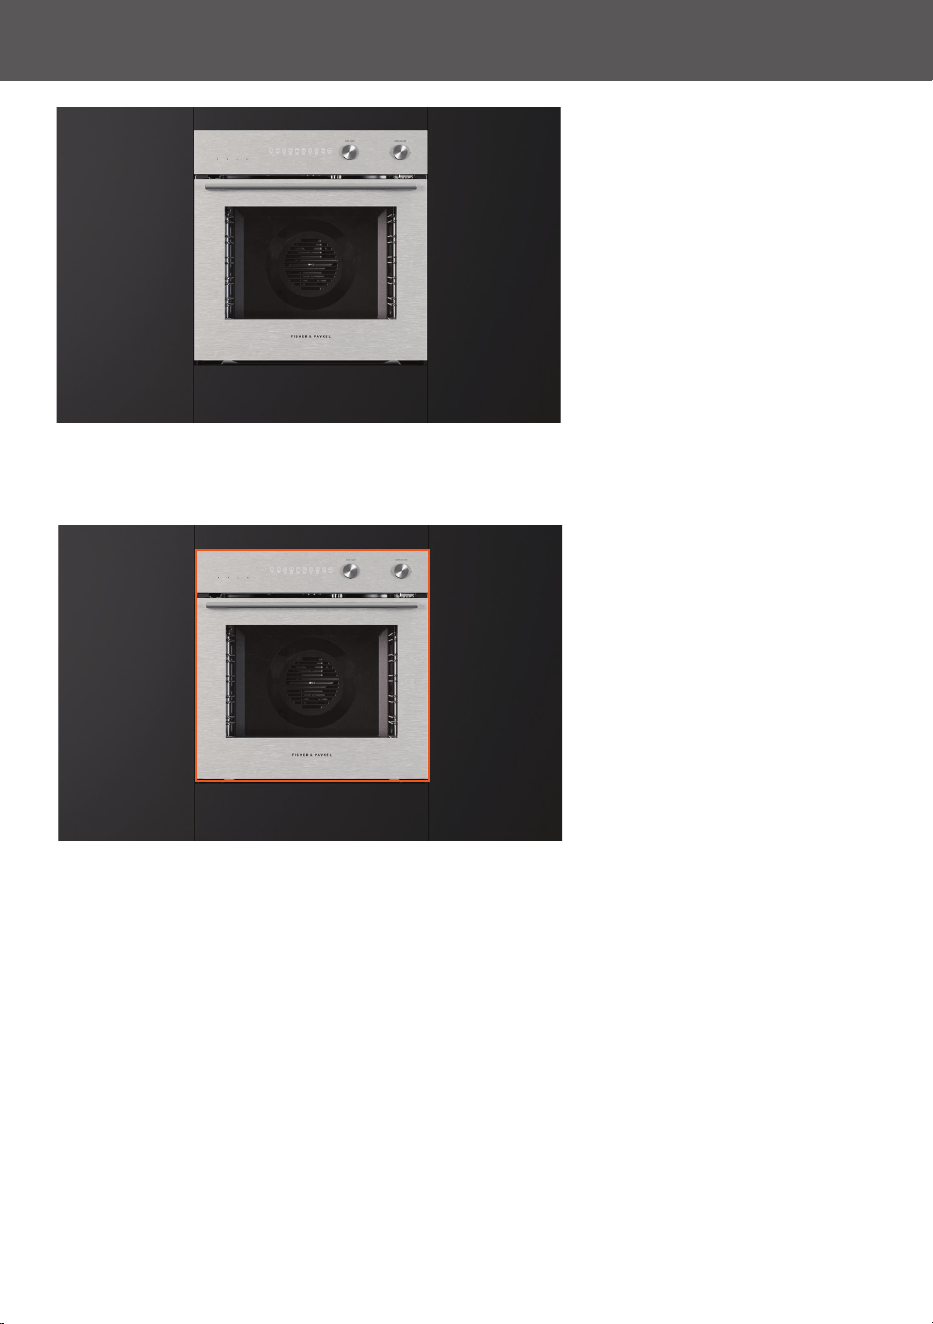
ALIGN TO SURROUNDINGS
1. Align oven with surrounding
cabinetry and appliances.
2. Ensure the vertical gaps
are even before making any
horizontal adjustments.
14
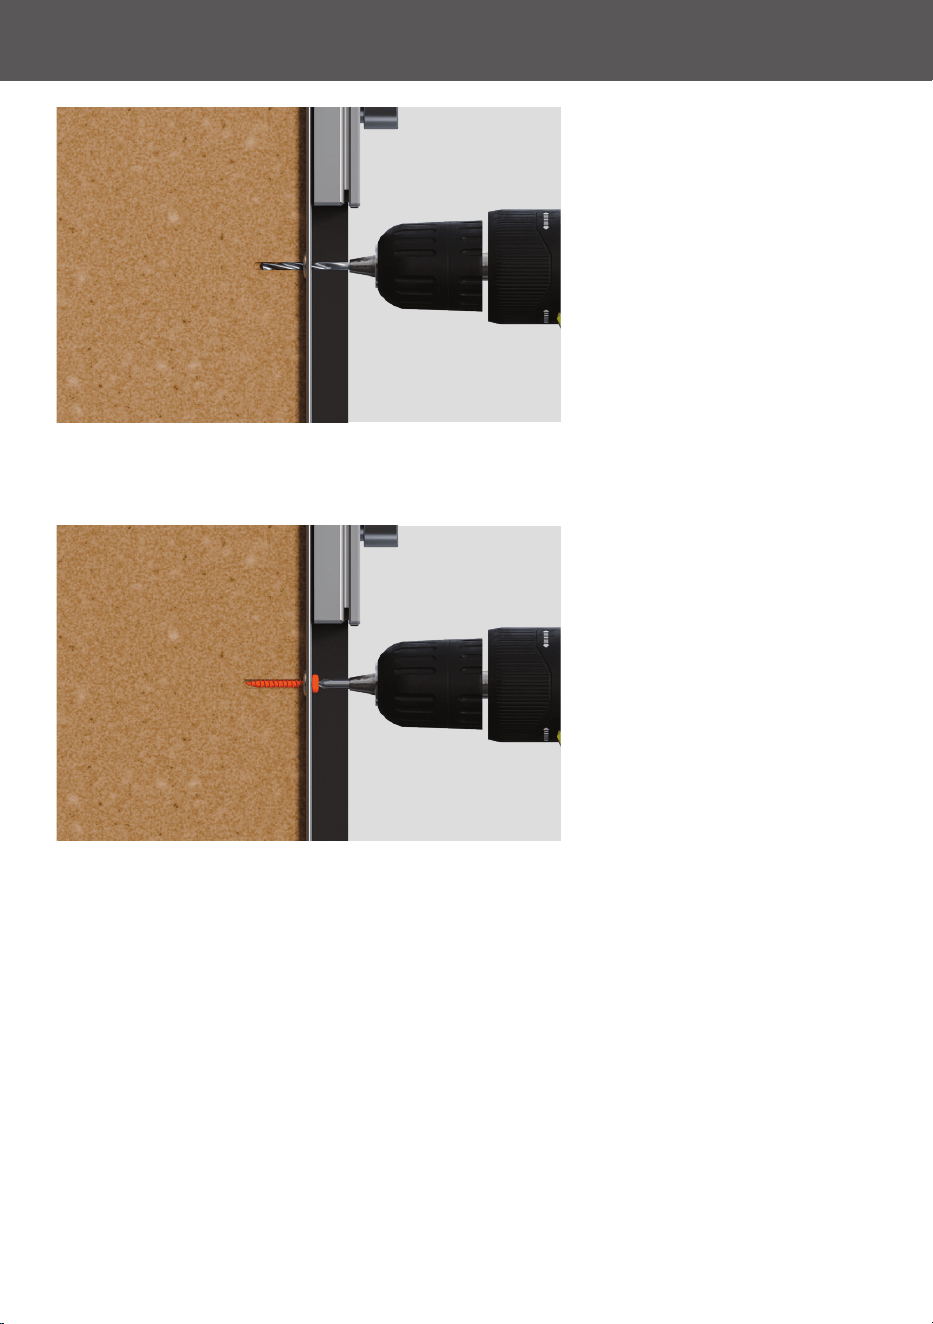
SECURE TO CAVITY
1. Using the product as a guide,
pre-drill 2 x 3mm pilot holes.
2. Secure oven to cavity using
the 2 x screws provided.
15
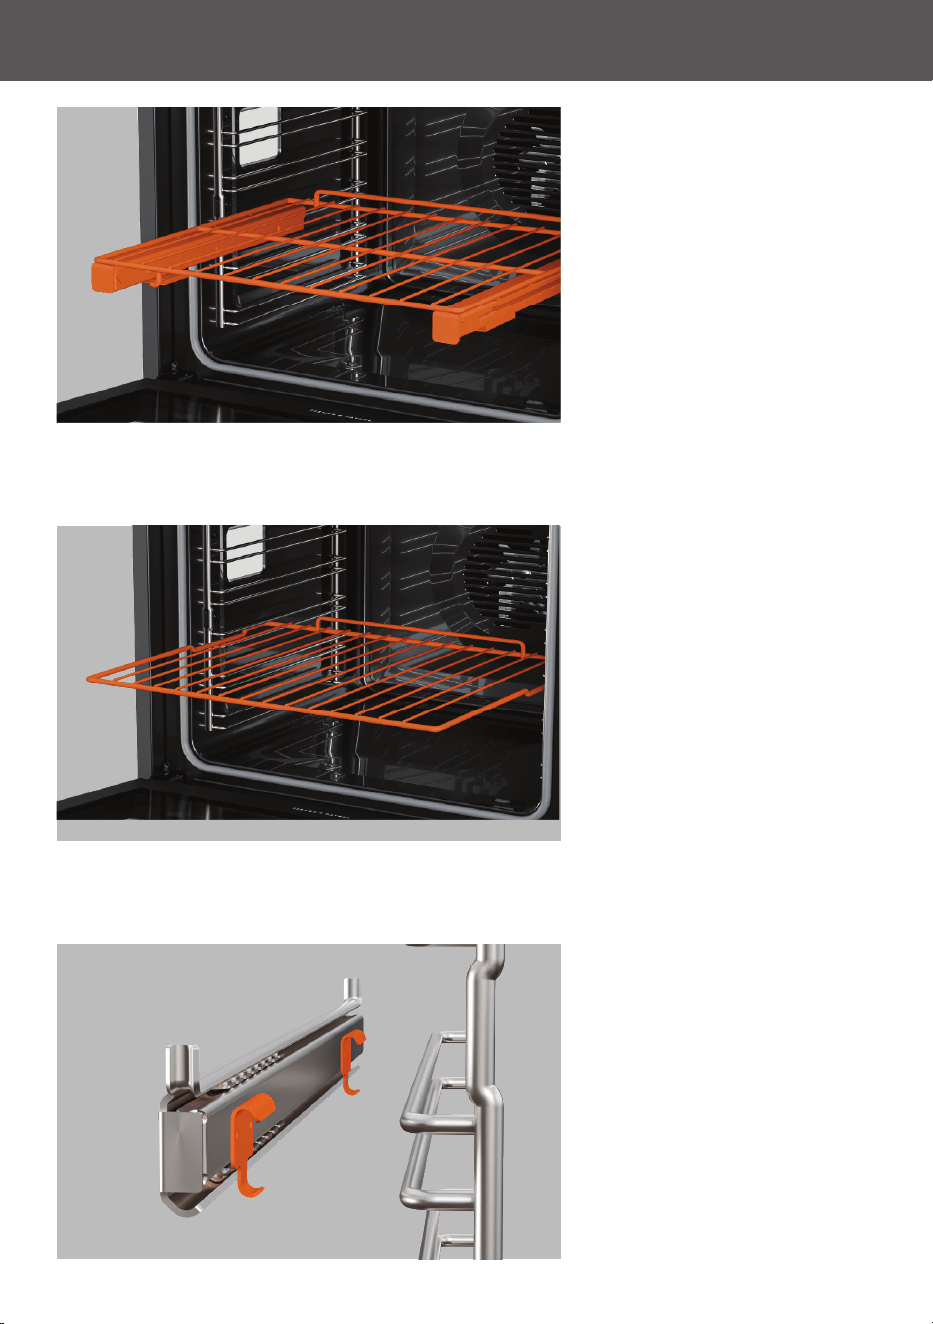
REFIT SHELVES
Wire shelves
Slide shelves into the cavity.
Clip-on runners
Fit the top clips over the side
ladder. The front clip should be
fitted as close to the front of the
side ladder as possible. Click the
bottom clips into place.
Sliding shelves
Place shelves back into the oven
at the desired level. Ensure
shelves are level and correctly
positioned with the guard rail at
the back.

16
Complete and keep for safe reference:
Model
Serial no.
Purchase date
Purchaser
Dealer address
Installer’s name
Installer’s signature
Installation company
Installation date
CHECKLIST
Installation checks
F All clearances are correct.
F The product is level and securely fitted in the cabinetry.
F Check the lower trim is undamaged.
F All internal packaging is removed.
F The isolating switch can be easily reached.
Test operation
F Turn product on at the power supply.
F Follow the on-screen guidance to connect the product to Wi-Fi and set the clock.
433915A 07.26
FISHERPAYKEL.COM

433915A 07.26
© Fisher & Paykel Appliances 2026. All rights reserved.
The models shown in this guide may not be available in all markets
and are subject to change at any time.
The product specifications in this guide apply to the specific products and models
described at the date of issue. Under our policy of continuous product improvement, these
specifications may change at any time.
For current details about model and specification availability in your country,
please go to our website or contact your local Fisher & Paykel dealer.
FISHERPAYKEL.COM