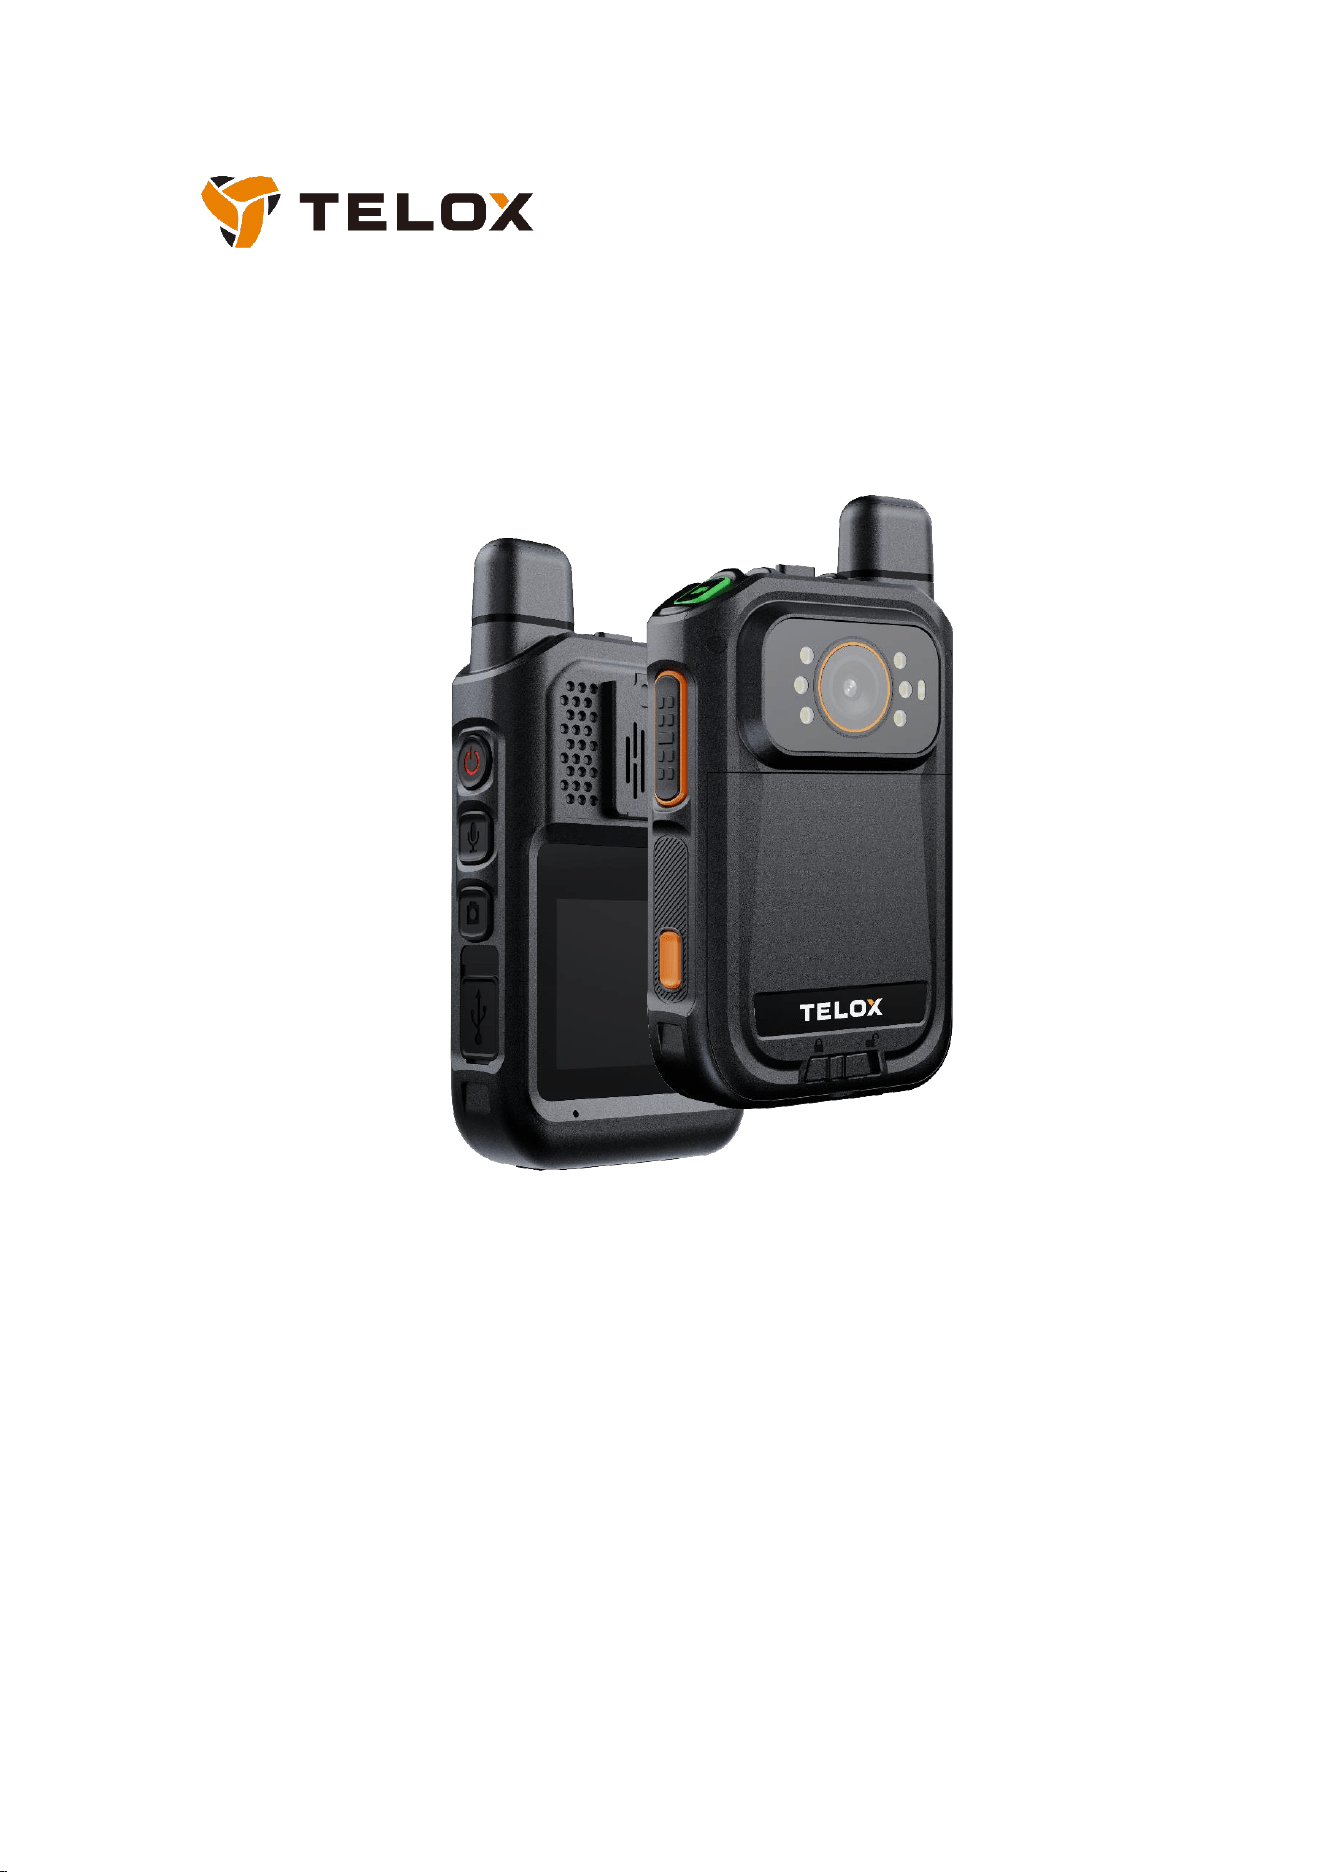
CP680
Push-to-Talk Body Worn Camera
Quick Start Guide
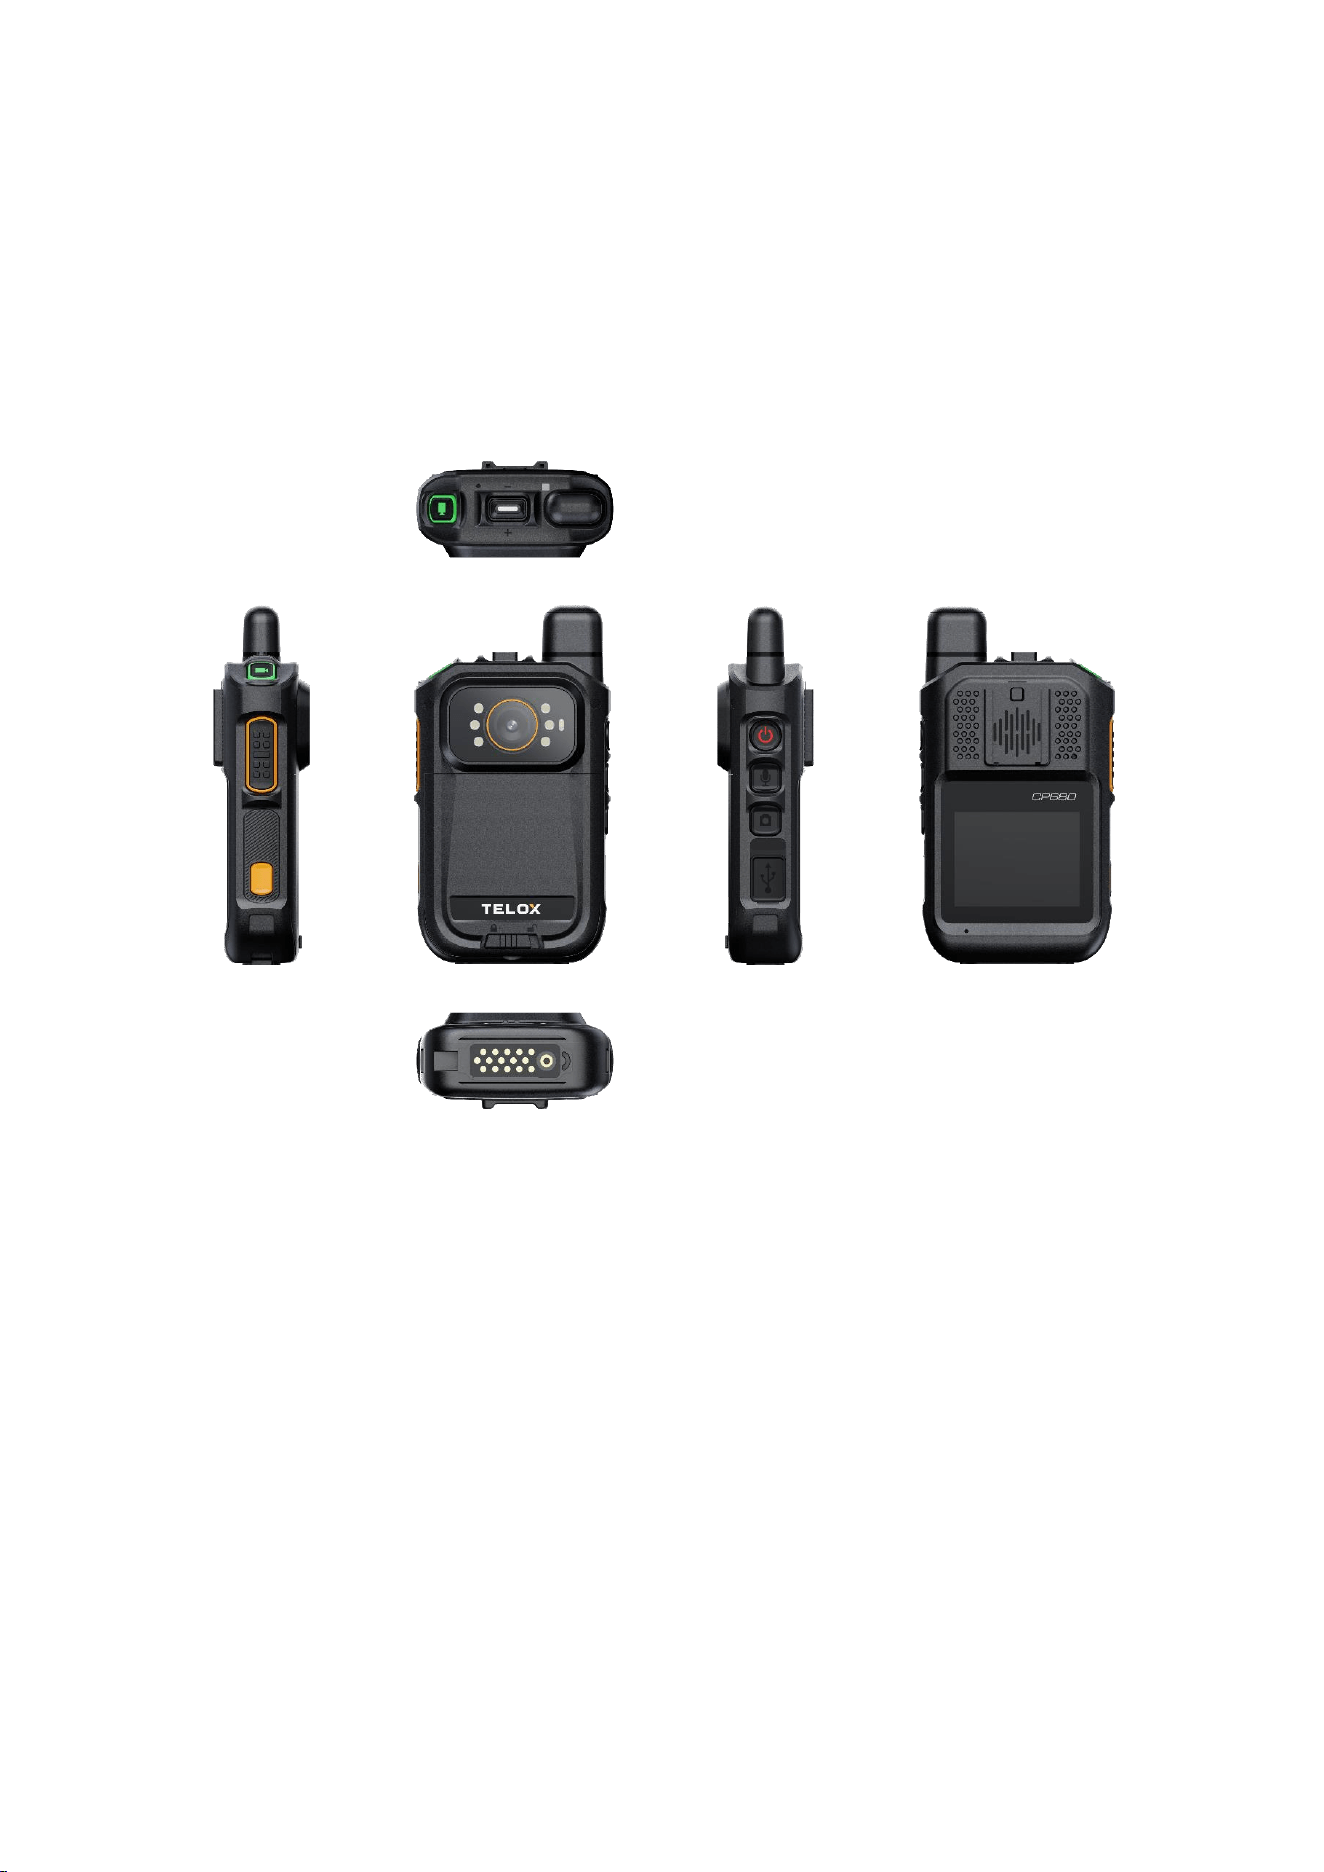
Meet the product
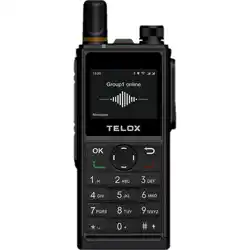
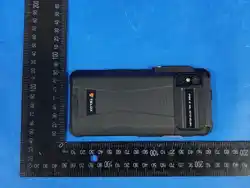
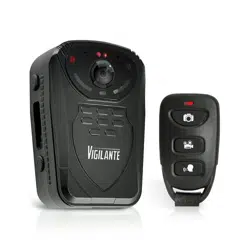
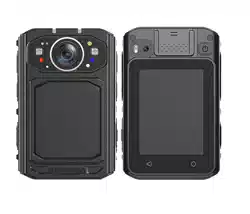
Component introduction
Operation of Keys
⚫ Long press: Press and hold a button, and release it after the preprogrammed
period.
⚫ Short press: Press a button and release it quickly.
⚫ Press and hold: Keep pressing a button.

LED indicator
Indictor signs
Interpretation
Shining red
1. Executing transmission of voice signal or emergency alarm
signal
2. Charging
3. Power-off (last for 7 seconds)
4. Recording audio
5. TF card storage space is full (last for 2 seconds)
Shining green
1. Power-on
2. The battery is fully charged
3. Executing reception of voice signal or emergency alarm signal
Shining orange
1. Executing transmission of [PTT] button voice signal
Flashing orange
quickly
1. The storage capacity of the TF card is less than 2GB (last for 2
seconds)
Flashing red slowly
1. Recording video (flash once every 1 second)
2. The battery is low (flash once every 5 seconds)
Preparation before use
Install battery
①Warning: Please DO use the standard or optional battery of our company.
It may cause fire or explosion if using batteries from other manufacturers or
mistake with the positive and negative poles of batteries.
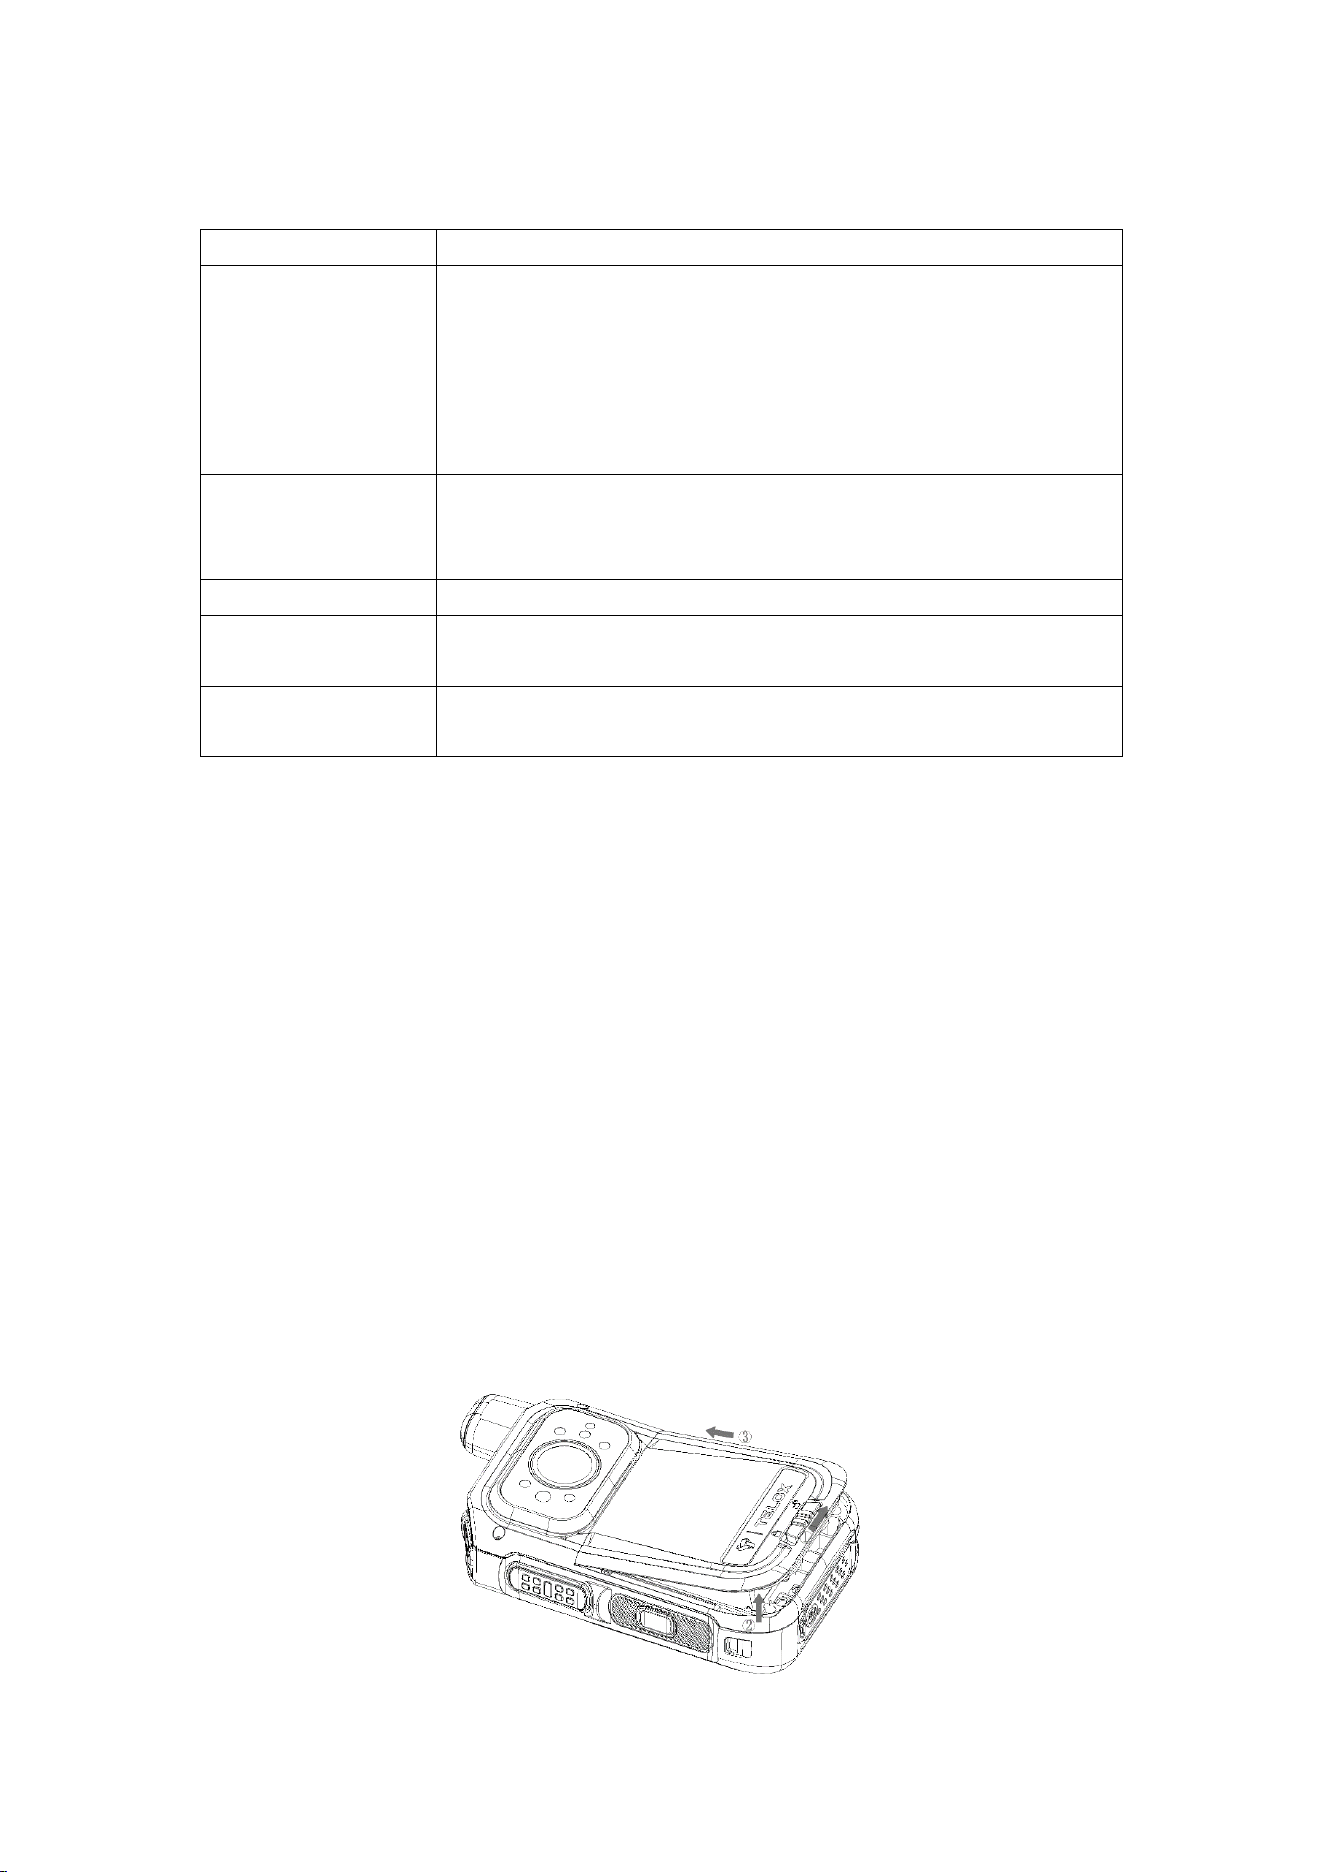
The specific steps of installing battery are as follows. If you need to remove the
battery, please turn the device off first, and follow the operation steps in reverse
order.(Missing battery loading steps)
Insert Nano SIM card(12mm*9mm)
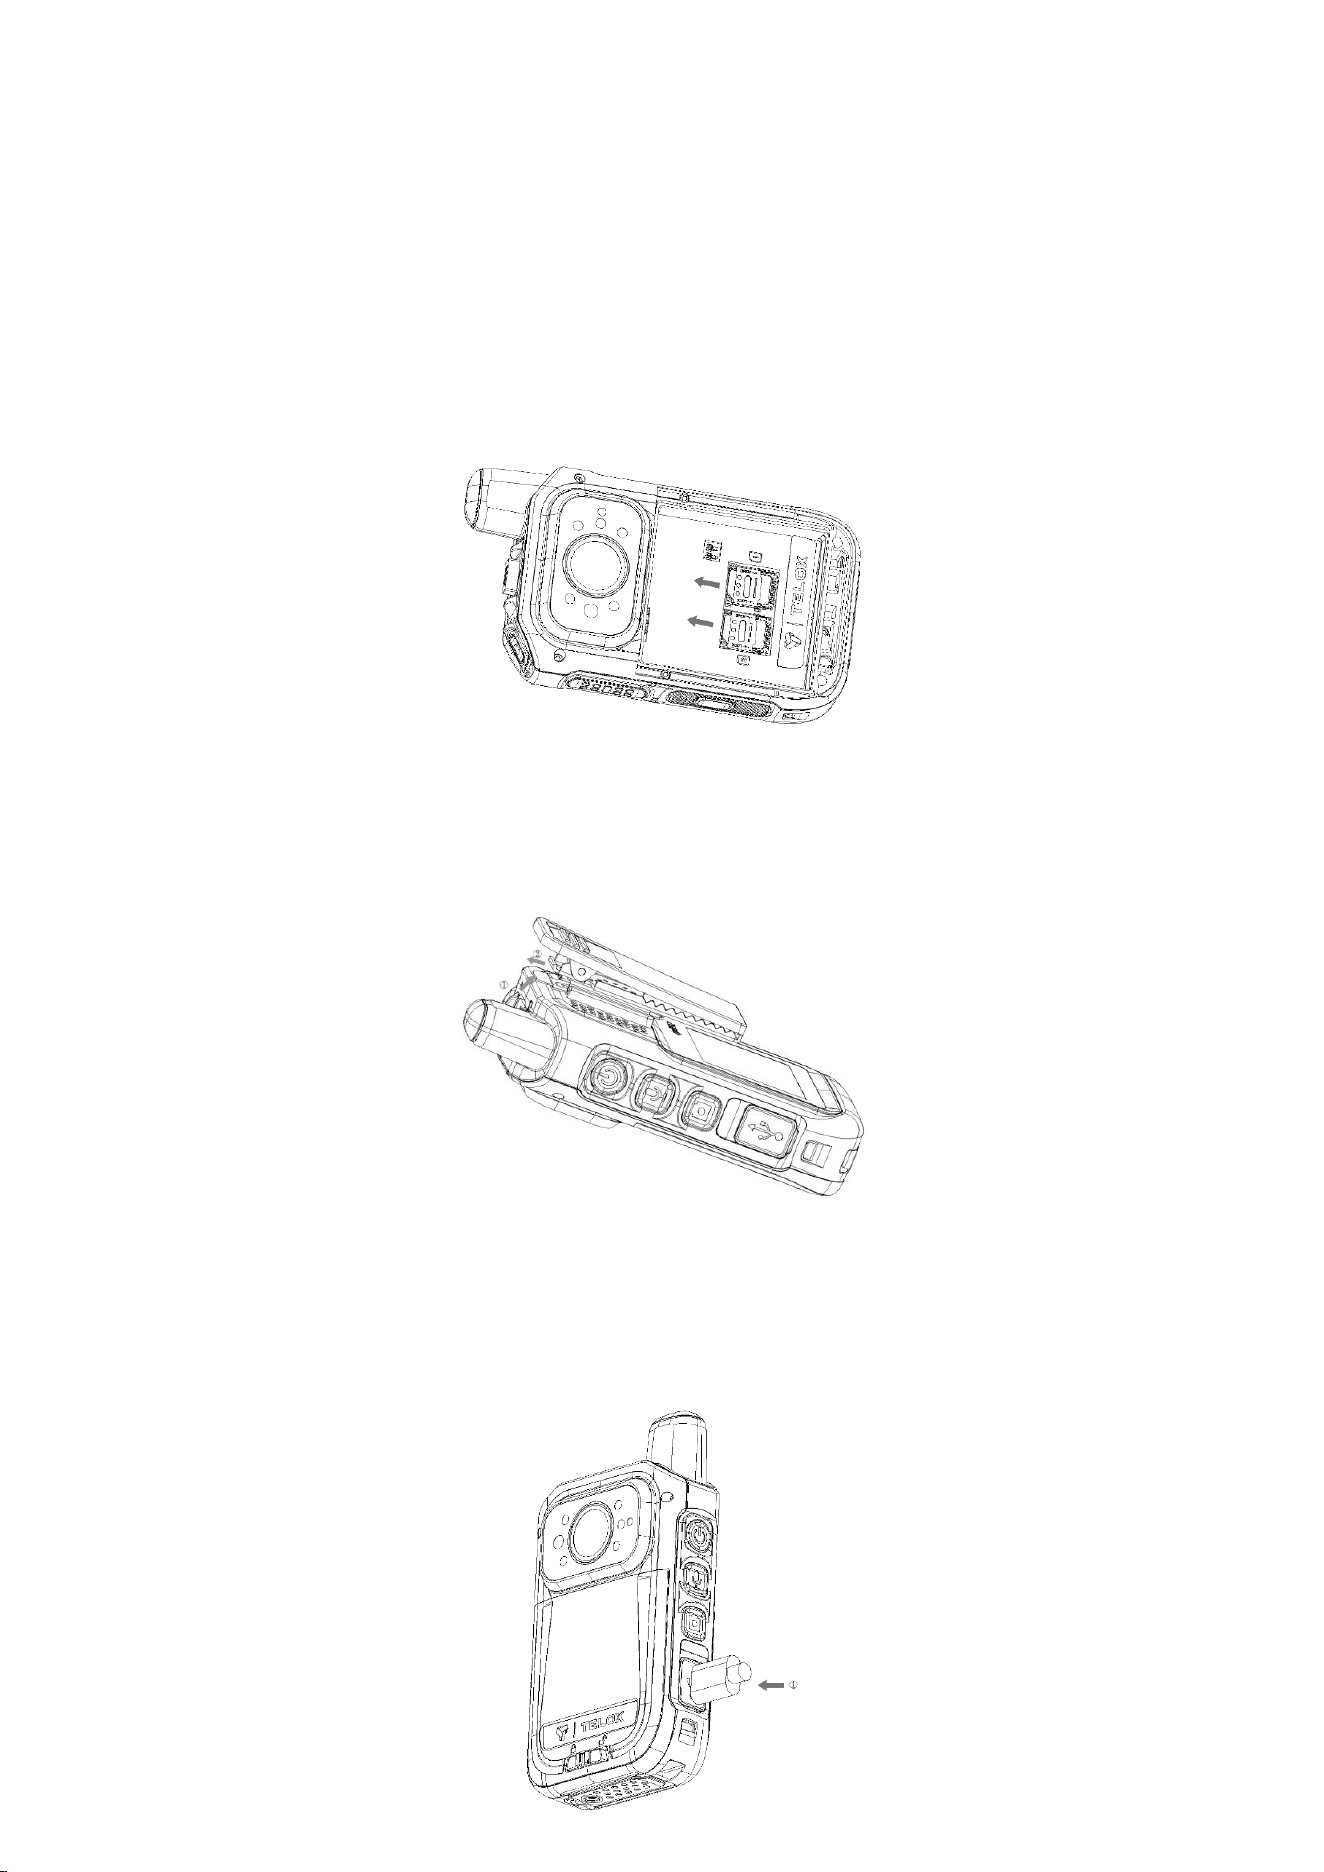
After Open the lid of Nano SIM card slot, unlock according to the
instruction, insert the SIM card and lock, and then cover the SIM card
lid back. As shown in the picture below.
Installing belt clip
The specific steps of installing belt clip are as follows. If you need to remove the
belt clip, please follow the operation steps in reverse order.
Charging
If the LED indicator flashes red once every 5 seconds, it indicates that the battery
is low and needs to be charged in time. During charging, you can get to know
the charging status through the LED indicator. For details, please refer to “LED
Indicator”.

Introduction
Power-on/off
Power-on
In the off state, long press the power button (for 3 seconds) to turn it on.
Power-off
In the on state, long press the power button (for 5 seconds) to turn it off.
Video recording
Ordinary recording
When not recording, press the [Record Video] button or click the recording button on the
screen, there will be a voice prompt of "Start video recording” and the LCD touch screen
displays the recording time. During recording, press the [Record Video] button or click the
recording button on the screen, there will be a voice prompt of "Video saved successfully"
and the recording ends.
Audio recording
When not recording, press the [Record Audio] button or click the recording button on the
screen, there will be a voice prompt of "Start audio-recording" and the LCD touch screen
displays the recording time. During audio recording, press the [Record Audio] button or
click the recording button on the screen, there will be a voice prompt of "Audio saved
successfully" and the recording ends.
Photo taking
Press the [Photo] button to take a photo.
Emergency alarm
Activate emergency alarm
In the event of an emergency, long press the [Alarm] button for 3 seconds to activate the
emergency alarm and seek help from the Command and Dispatch Centre.
Deactivate emergency alarm
When the emergency alarm is on, short press the [PTT] button to deactivate the emergency
alarm.
PTT talkback
Transmit and receive to (half-duplex) duplex voice calls. Press and hold the [PTT] button
and speak to the microphone. After talking, please release the PTT button to receive.
RED Statement

1. Risk of explosion if battery is replaced by an incorrect type. Dispose of used batteries
according to the instructions.
2. The product shall be connected to a USB interface of version USB2.0 or higher.
3. Adapter shall be installed near the equipment and shall be easily accessible.
4. The plug considered as disconnect device of adapter.
5. The device complies with RF specifications when the device used at 25mm from front of
your face, 5mm from your body and 0mm from your body with back splint.
6. The operating temperature of the EUT can't exceed 40C and shouldn't be lower than -
20°C.
Hereby, Telo Communication (Shenzhen) Co, Ltd declares that this product is incompliance
with essential requirements and other relevant provisions of Directive2014/53/EU. This
product is allowed to be used in all EU member states.
Frequency Bands:
GSM 900: 880 MHz to 915 MHz
GSM1800: 1710 MHz to 1785 MHz
WCDMA Band I: 1920 MHz to 1980 MHz
WCDMA Band VIII: 880 MHz to 915 MHz
LTE Band 1: 1920 MHz to 1980 MHz
LTE Band 3: 1710 MHz to 1785 MHz
LTE Band 7: 2500 MHz to 2570 MHz
LTE Band 8: 880 MHz to 915 MHz
LTE Band 20: 832 MHz to 862 MHz
LTE Band 28: 703 MHz to 733 MHz
Bluetooth: 2402~2480 MHz
WLAN 802.11b/g/n: 2412 to 2472MHz
WLAN 802.11n: 2422 to 2462MHz
GPS: 1575.42MHz
NFC: 13.56MHz
BDS: 1561.098MHz
GLONASS: 1602 MHz
Max power:
GSM 900: 33.74dBm
GSM 1800: 31.53dBm
WCDMA 900: 23.98dBm
WCDMA 2100: 24.15dBm
LTE Band 1: 24.34dBm
LTE Band 3: 24.63dBm
LTE Band 7: 24.56dBm
LTE Band 8: 24.24dBm
LTE Band 20: 24.46dBm
LTE Band 28: 24.34dBm

BT BDR+EDR: 6.16dBm
BT BLE: -7.56dBm
2.4G WIFI: 16.11dBm
Modulation Mode:
GSM: GMSK for GSM/GPRS; GMSK and 8PSK for EDGE
WCDMA: WCDMA: QPSK; HSDPA:QPSK/16QAM; HSUPA:BPSK
LTE: QPSK/16QAM
BT BDR + EDR: GFSK(1Mbps),π/4-DQPSK(2Mbps),8-DPSK(3Mbps)
BT BLE: GFSK(1Mbps)
2.4GWIFI:
802.11b(DSSS): CCK, DQPSK, DBPSK
802.11g(OFDM): BPSK, QPSK,16-QAM,64-QAM
802.11n(OFDM): BPSK, QPSK,16-QAM,64-QAM
GPS: GMSK
NFC: ASK
BDS: QPSK
GLONASS: FDMA
Antenna Specification:
GSM/WCDMA/LTE: FPC Antenna
Bluetooth: FPC Antenna
WLAN: FPC Antenna
GPS: FPC Antenna
NFC: Coil Antenna

Federal Communication Commission Interference Statement
FCC ID: 2AYEZ-CP680
This device complies with Part 15 of the FCC Rules. Operation is subject to the following two
conditions: (1) This device may not cause harmful interference, and (2) this device must accept
any interference received, including interference that may cause undesired operation.
This equipment has been tested and found to comply with the limits for a Class B digital
device, pursuant to Part 15 of the FCC Rules. These limits are designed to provide
reasonable protection against harmful interference in a residential installation. This equipment
generates, uses and can radiate radio frequency energy and, if not installed and used in
accordance with the instructions, may cause harmful interference to radio communications.
However, there is no guarantee that interference will not occur in a particular installation. If
this equipment does cause harmful interference to radio or television reception, which can be
determined by turning the equipment off and on, the user is encouraged to try to correct the
interference by one of the following measures:
-Reorient or relocate the receiving antenna.
-Increase the separation between the equipment and receiver.
-Connect the equipment into an outlet on a circuit different from that to which the receiver
is connected.
-Consult the dealer or an experienced radio/TV technician for help.
FCC Caution: Any changes or modifications not expressly approved by the party responsible
for compliance could void the user's authority to operate this equipment.
Radiation Exposure Statement:
This device meets the government’s requirements for exposure to radio waves.
This device is designed and manufactured not to exceed the emission limits for exposure to
radio frequency (RF) energy set by the Federal Communications Commission of the U.S.
Government.
The exposure standard for wireless device employs a unit of measurement known as the
Specific Absorption Rate, or SAR. The SAR limit set by the FCC is 1.6W/kg. Tests for SAR are
conducted using standard operating positions (10mm) accepted by the FCC with the device
transmitting at its highest certified power level in all tested frequency bands.