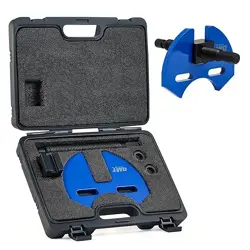
Wheel Hub Remover Tool
User Manual
Read Carefully Before Use
Keep for Future Reference
V20240516

1
• The instructions provided herein are only for general information.
ALWAYS
perform all repairs
in full compliance with your machinery’s service manual. After any repair, test your engine
and machinery in your workshop and at low speed before returning to normal use. Failure to
do so may result in serious property damage and severe personal injury.
• ONLY
use this tool for its intended purpose, removing wheel hub assembly binding too tight
to the knuckle.
• DO NOT
allow use by children, by persons whose mental or physical condition precludes
safe use, or by persons unfamiliar with this product and its compatible vehicle systems.
• DO NOT
use while under the inuence of alcohol, drugs, or any medication that negatively
aects your judgment or reexes. Keep children and bystanders away during use.
•
Keep your work site clean and well lit. Cluttered and dark work areas invite accidents.
•
For best results, keep the kit clean and dry. Remove any uid, oil, or grease before and after
work.
• ALWAYS
use personal protective equipment (PPE) suitable to your task.
ALWAYS
wear
ANSI and OSHA-approved eye, breathing, and hand protection while using this product.
Normal use of this product typically produces microscopic particles known to the state of
California to cause cancer, birth defects, or other reproductive harm. Nonslip footwear is also
highly recommended. Other equipment such as ear, head, and body protection may also be
necessary depending on your work, work environment, and other equipment.
• ALWAYS
know and understand the specific safety warnings and instructions for your
machinery before using this kit. Use the correct fluids, pressures, adapters, etc. for your
machinery. Make sure the machinery is fully supported and parked before beginning any
work. Take care to
NEVER
touch any heated surface with exposed skin.
•
Dress properly for automotive servicing.
DO NOT
wear loose clothing or jewelry and keep
hair, clothing, gloves, hoses, and tools away from any moving parts during use.
• ALWAYS
know and understand the specic safety warnings and instructions for your vehicle
before using this kit. Use the correct uids, pressures, adapters, etc. for your vehicle. Make
sure the vehicle is fully supported and parked before beginning any work. Take care to
NEVER
touch any heated surface with exposed skin.
•
Prior to servicing your machinery, turn o its engine and refer to its manufacturer’s service
and repair manual for instructions on how to safely secure the machinery in place with
chocks, jacks, stands, etc.
•
In case of an accident or injury, have a first aid kit and a communication device (e.g., a
phone) readily available. Know the location of emergency medical facilities.
Safety Information
2
•
Maintain this product. Check for misalignment, binding, wear, or other damage before use. If
any damage is detected, repair or replace the problematic components before further use. In
a large shop, mark such tools “
DO NOT USE
” until they have been repaired.
ONLY
replace
components with identical parts.
•
Machinery repair is an inherently dangerous activity. This manual and the separate
machinery service manual cannot cover all possible situations that may arise.
ALWAYS
exercise discretion and good judgement. Seek training if needed.
Safety Information
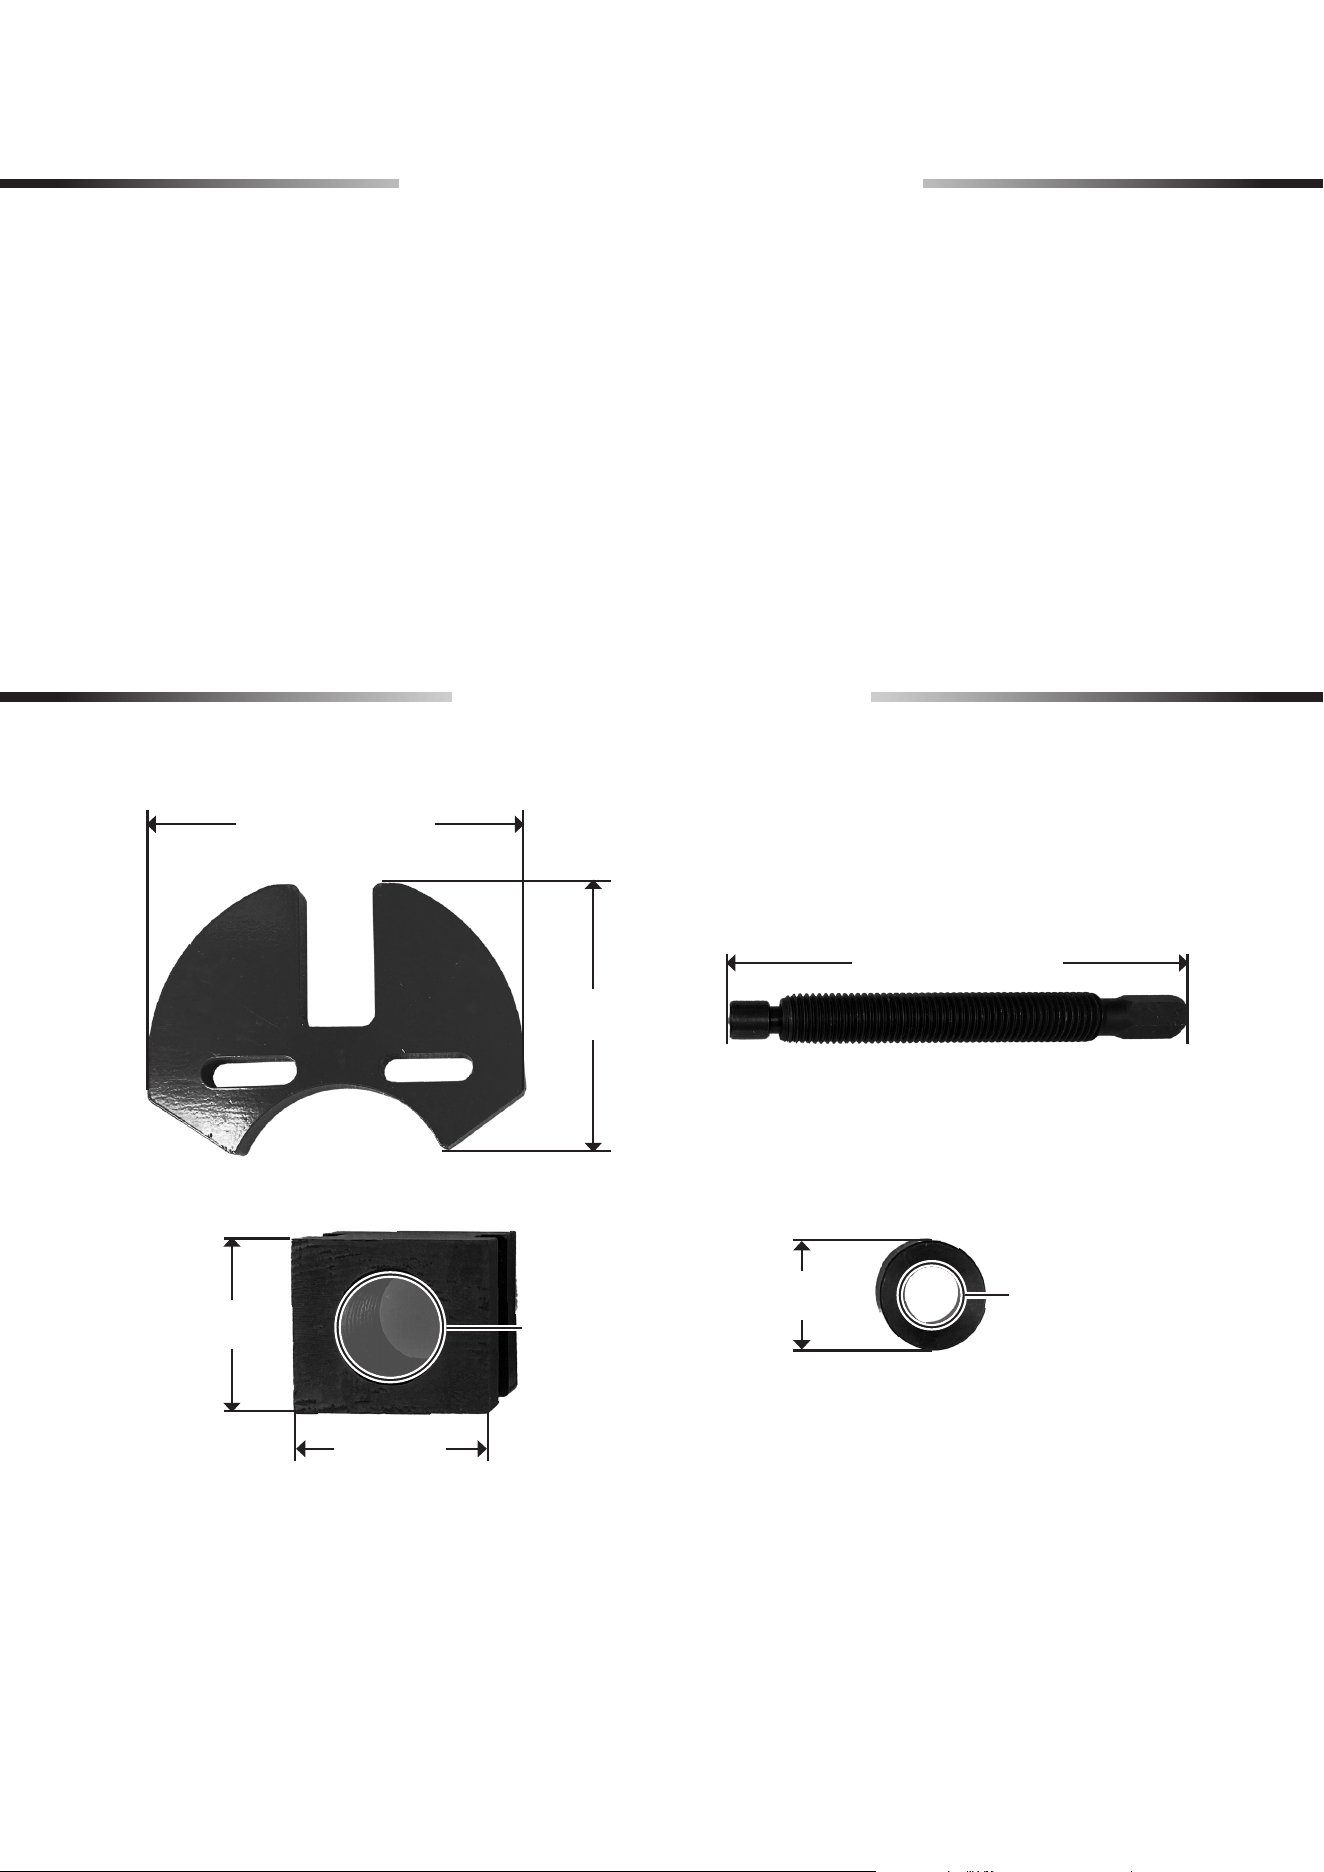
Specications
203 mm (7.99 in.)
257 mm (10.12 in.)
53.5 mm
(2.11 in.)
Ø28 mm (1.10 in.)
45 mm
(1.77 in.)
31 mm
(1.22 in.)
Ø16 mm (0.63 in.)
150 mm
(5.90 in.)
3
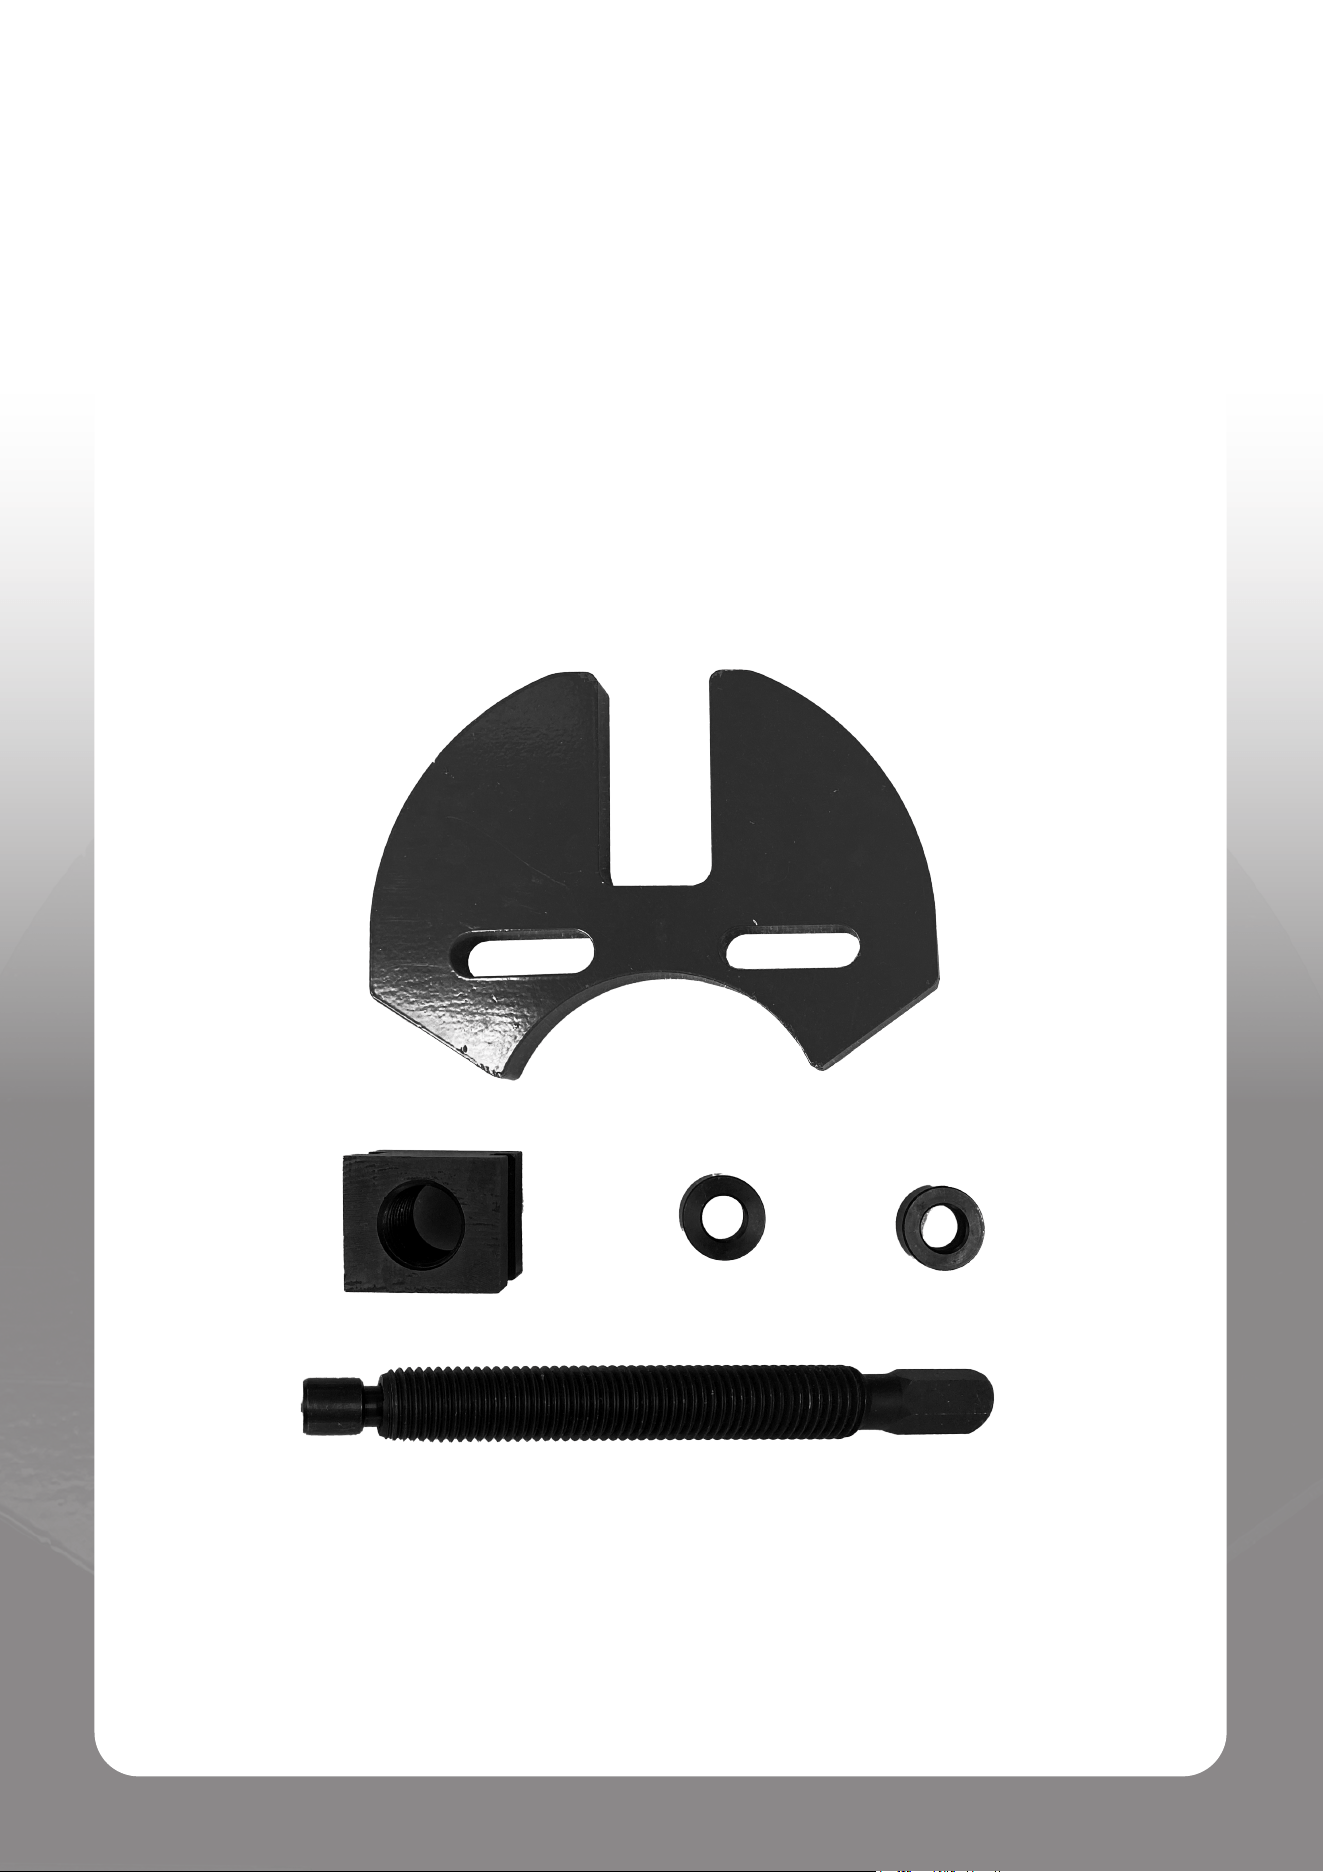
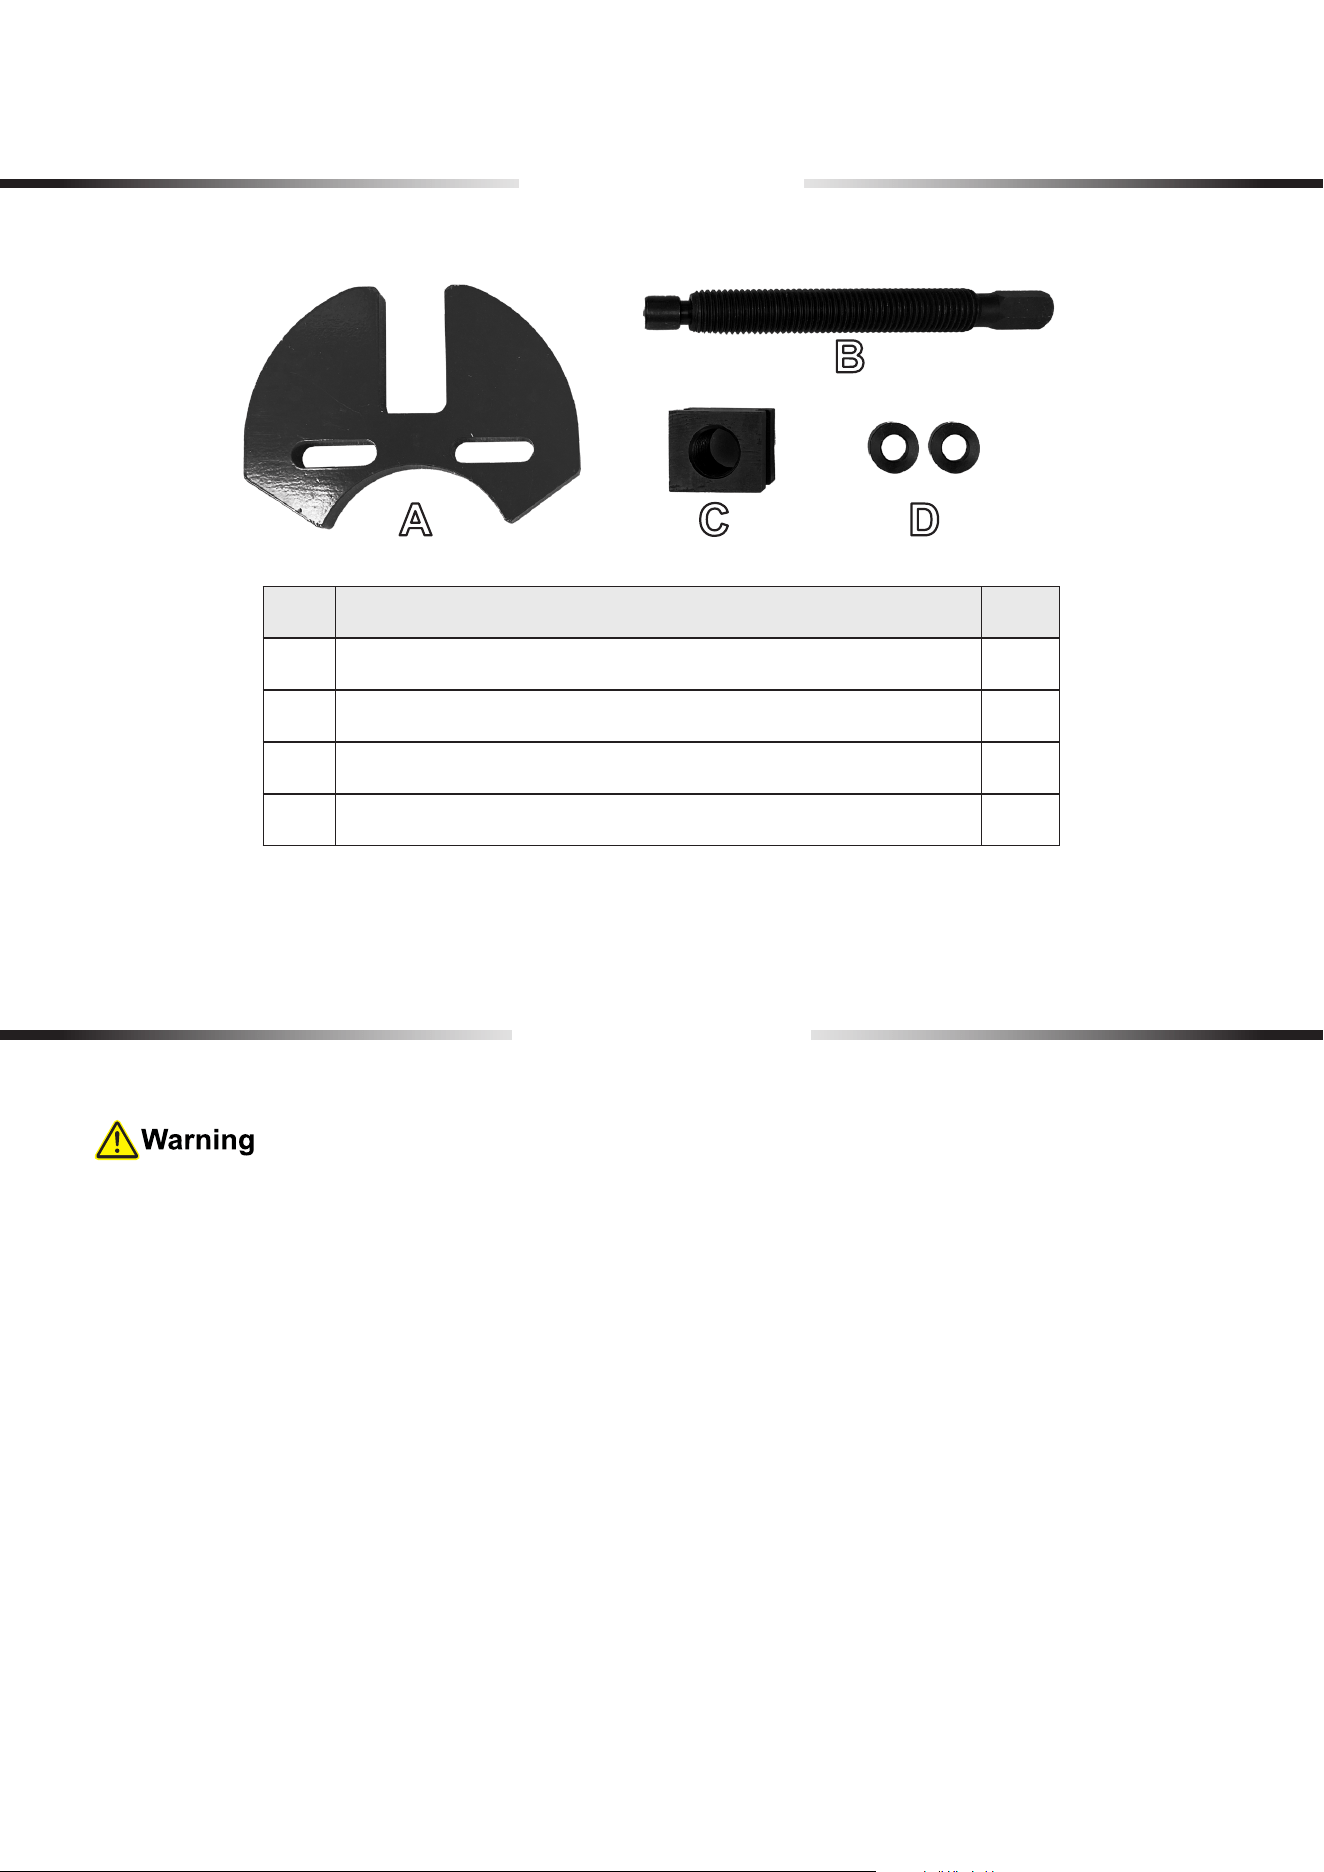
No. Item Qty.
A Remover Plate 1
B Forcing Screw 1
C Screw Assembly 1
D Washers 2
Fitment: 5, 6 & 8 lug hub assembles.
Parts List
Operation
• Shut the engine before servicing, make sure the vehicle is in a stationary state for easy
maintenance, and that the engine has cooled to room temperature before performing
maintenance or adjustments.
• Use correct tools and personal protective equipment (PPE) before performing any operation.
Be extremely careful with possible pinching points, moving parts, or parts that may suddenly
spring out.
• Make sure your surroundings are safe for using the tool. Avoid operating in crowded or
unstable areas.
• Makesuretheworkareaiscleanandclearofanyclutterordirtthatmayaectoperations.
•
ALWAYS
ensure that your vehicle has been jacked up and is adequately supported with axle
stands.
• Do not force the tool. Excessive force may cause serious personal injuries and severe
property damage.
• For an abundance of safety, we recommend you take training before using these tools.
Serious injury could happen due to a lack of training.
4
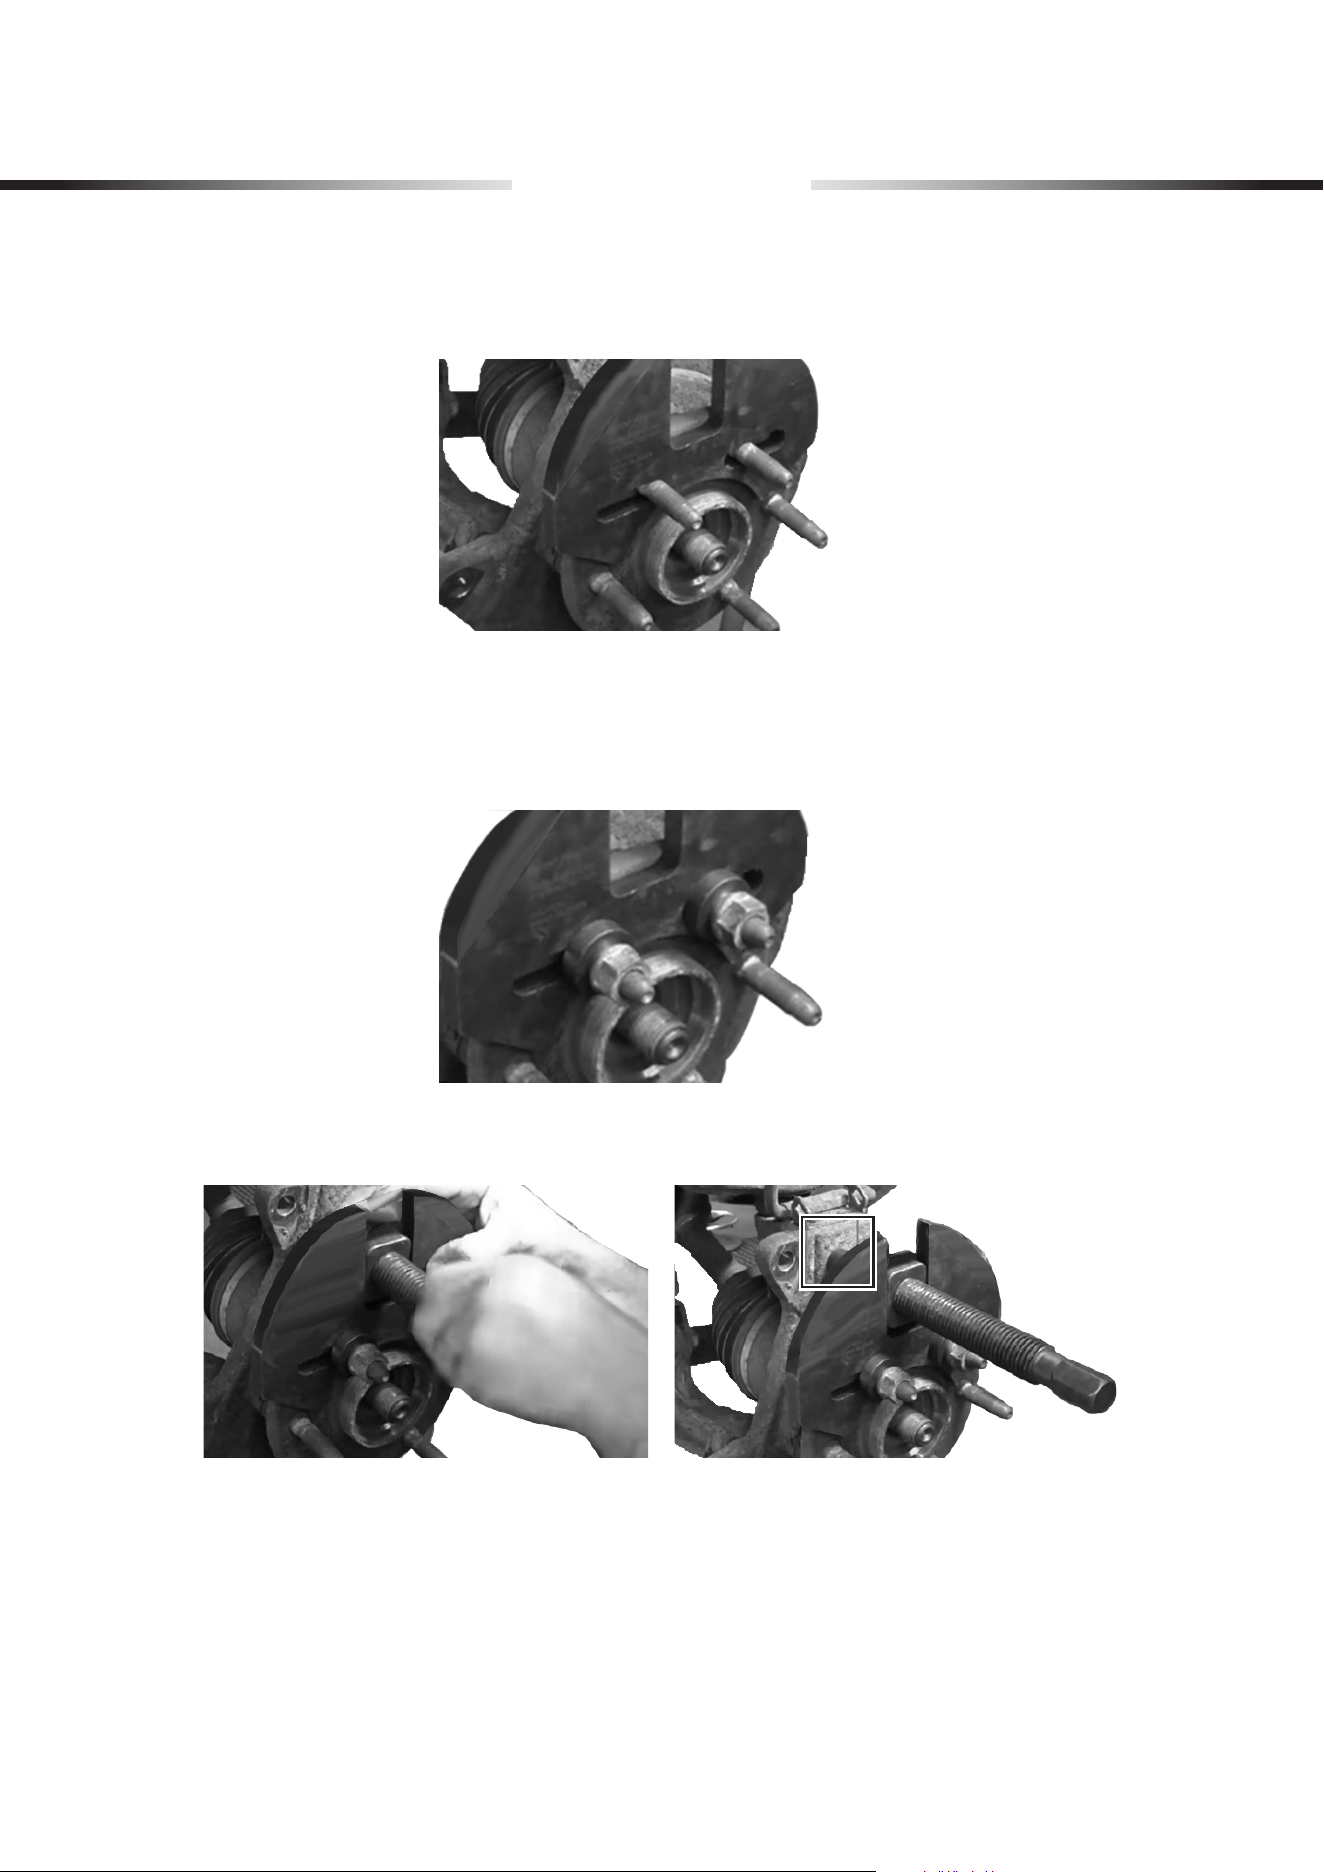
1. Place the remover plate on the hub, passing through the wheel studs.
Operation
2. Put the washers on the studs and x the washers using nuts (not included).
Note
: Refer to the vehicle’s manual for the dimensions of the nuts on the hub.
3. Set the screw assembly behind the plate and screw the forcing screw against the knuckle.
5
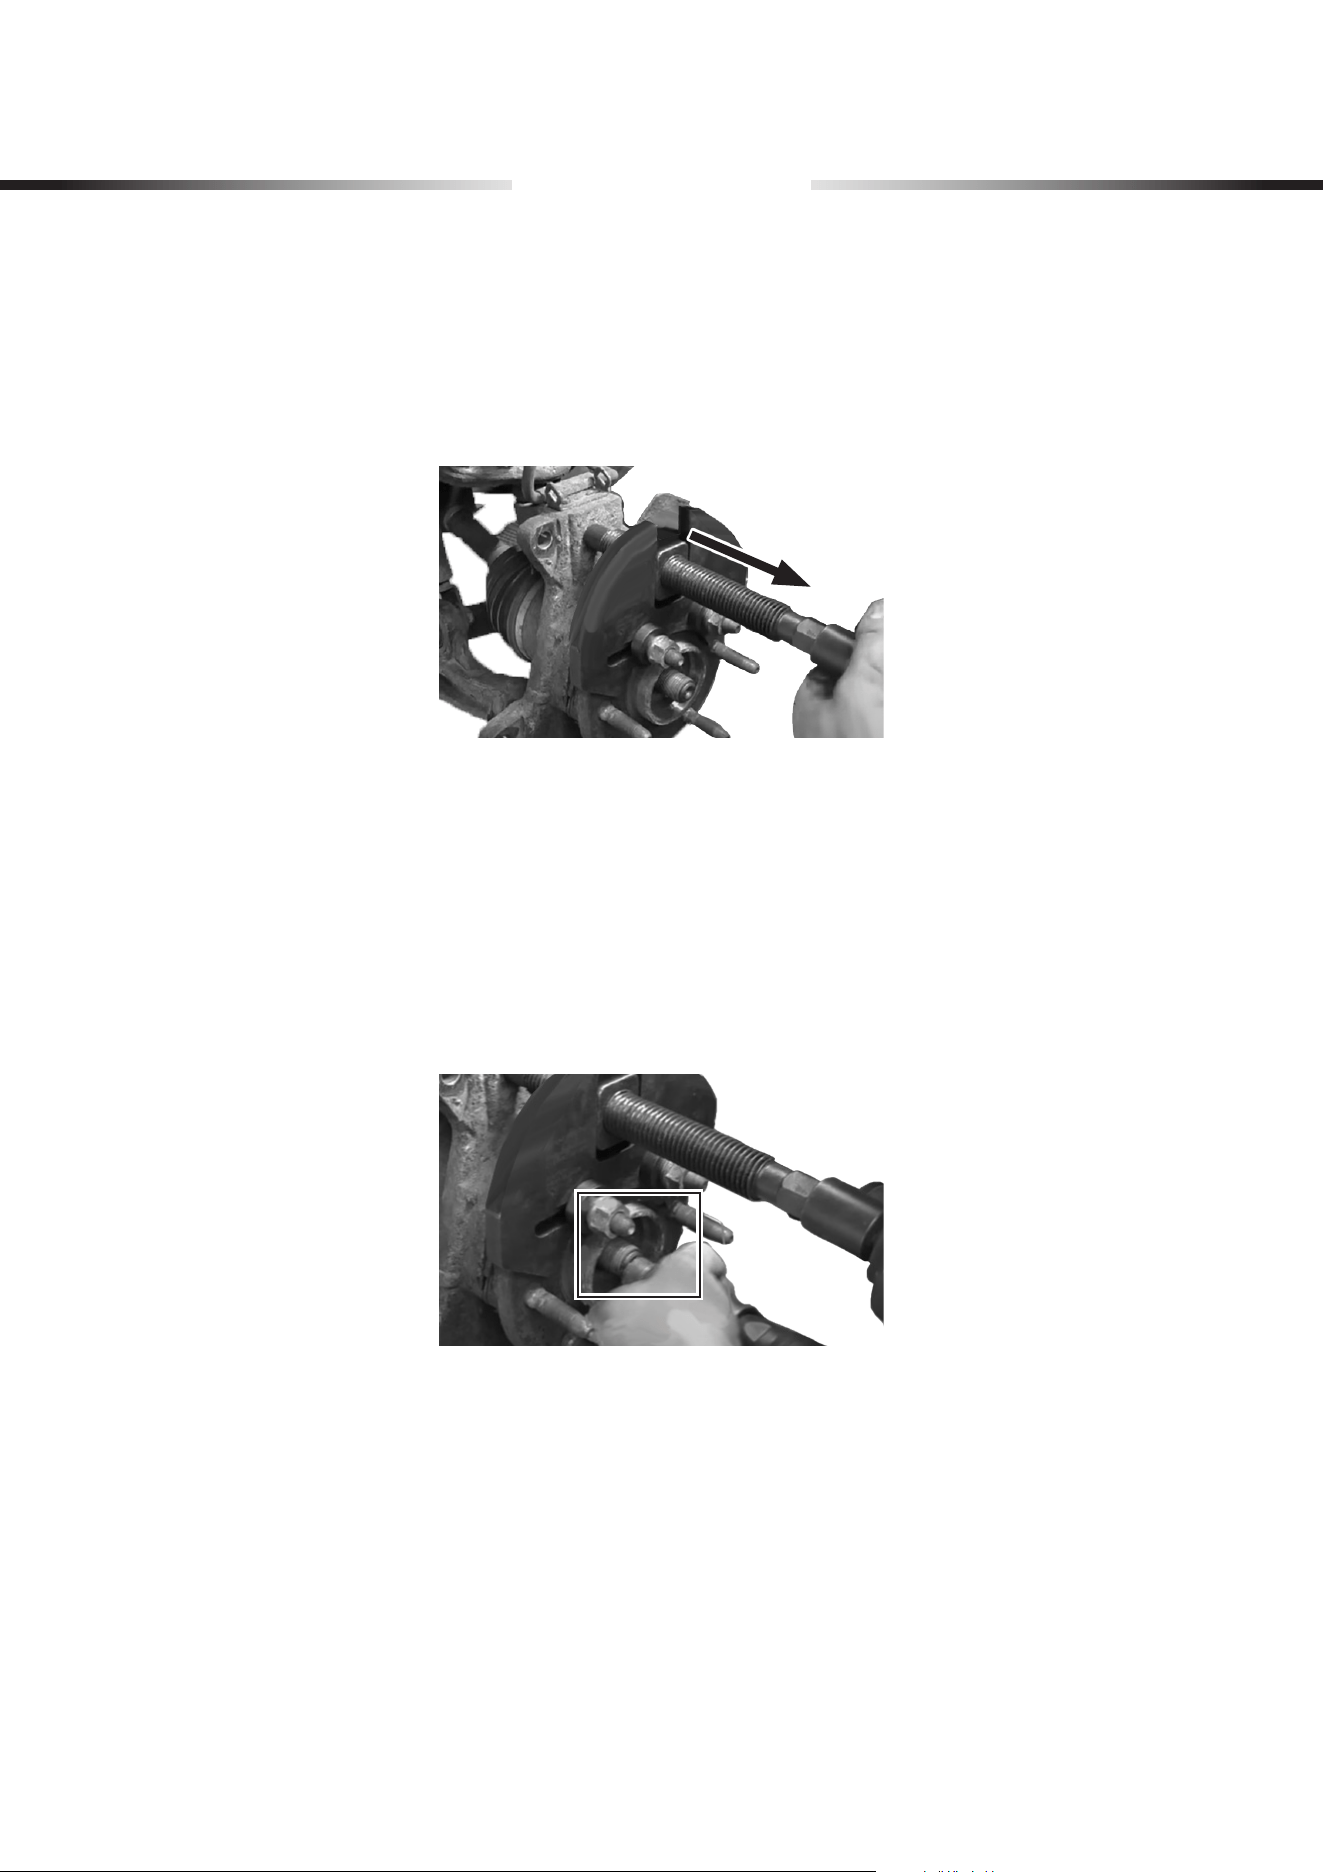
Operation
4. Use a suitable socket and pneumatic or power tool to keep driving the forcing screw until the
hub tilts outward as shown.
Note
:Makesurethetiltangleisaboutfteendegrees.Excessivetiltmaycausethewheel
hub to break.
5. Press the stud axle from the hub using a pneumatic or power tool.
Note
: Spray suitable lubricant at their connection to separate the stud axle and hub.
6. Remove the forcing screw and screw assembly from the plate.
7. Rotate the hub and set the screw assembly behind the plate and screw the forcing screw
against the other side of the knuckle.
8. Use a suitable socket and pneumatic or power tool to keep driving the forcing screw until the
hub comes o the knuckle.
Note
: If the hub remains tightly bound, loosen the stud axle using a pneumatic or power tool
again.
9. Remove all the tools from the hub when nished.

6
Maintenance
• Disassemble all parts before storing them in a cool, dry, and clean place after use.
• The exterior of the product can be cleaned with a soft damp cloth.
DO NOT
use abrasive
cleaners or caustic chemicals.
•
NEVER
scrape the hose or drop the pressure gauge on hard or rough surfaces.
• Check all parts of the product periodically for any wear or damage. Repair or replace any
problematic parts before further use.
• Store this product in a cool, dry place away from direct sunlight and inaccessible to children.

PUL-WH02-02 Rev. 16 May 2024
Thank you for choosing our products! If you have any questions
or comments, contact us at
support@orionmotortech.com
and we'll resolve your issue ASAP!
For a .pdf copy of the latest version of these instructions, use the
appropriate app on your smartphone to scan the QR code to the
right.
Contact Us