USER GUIDE
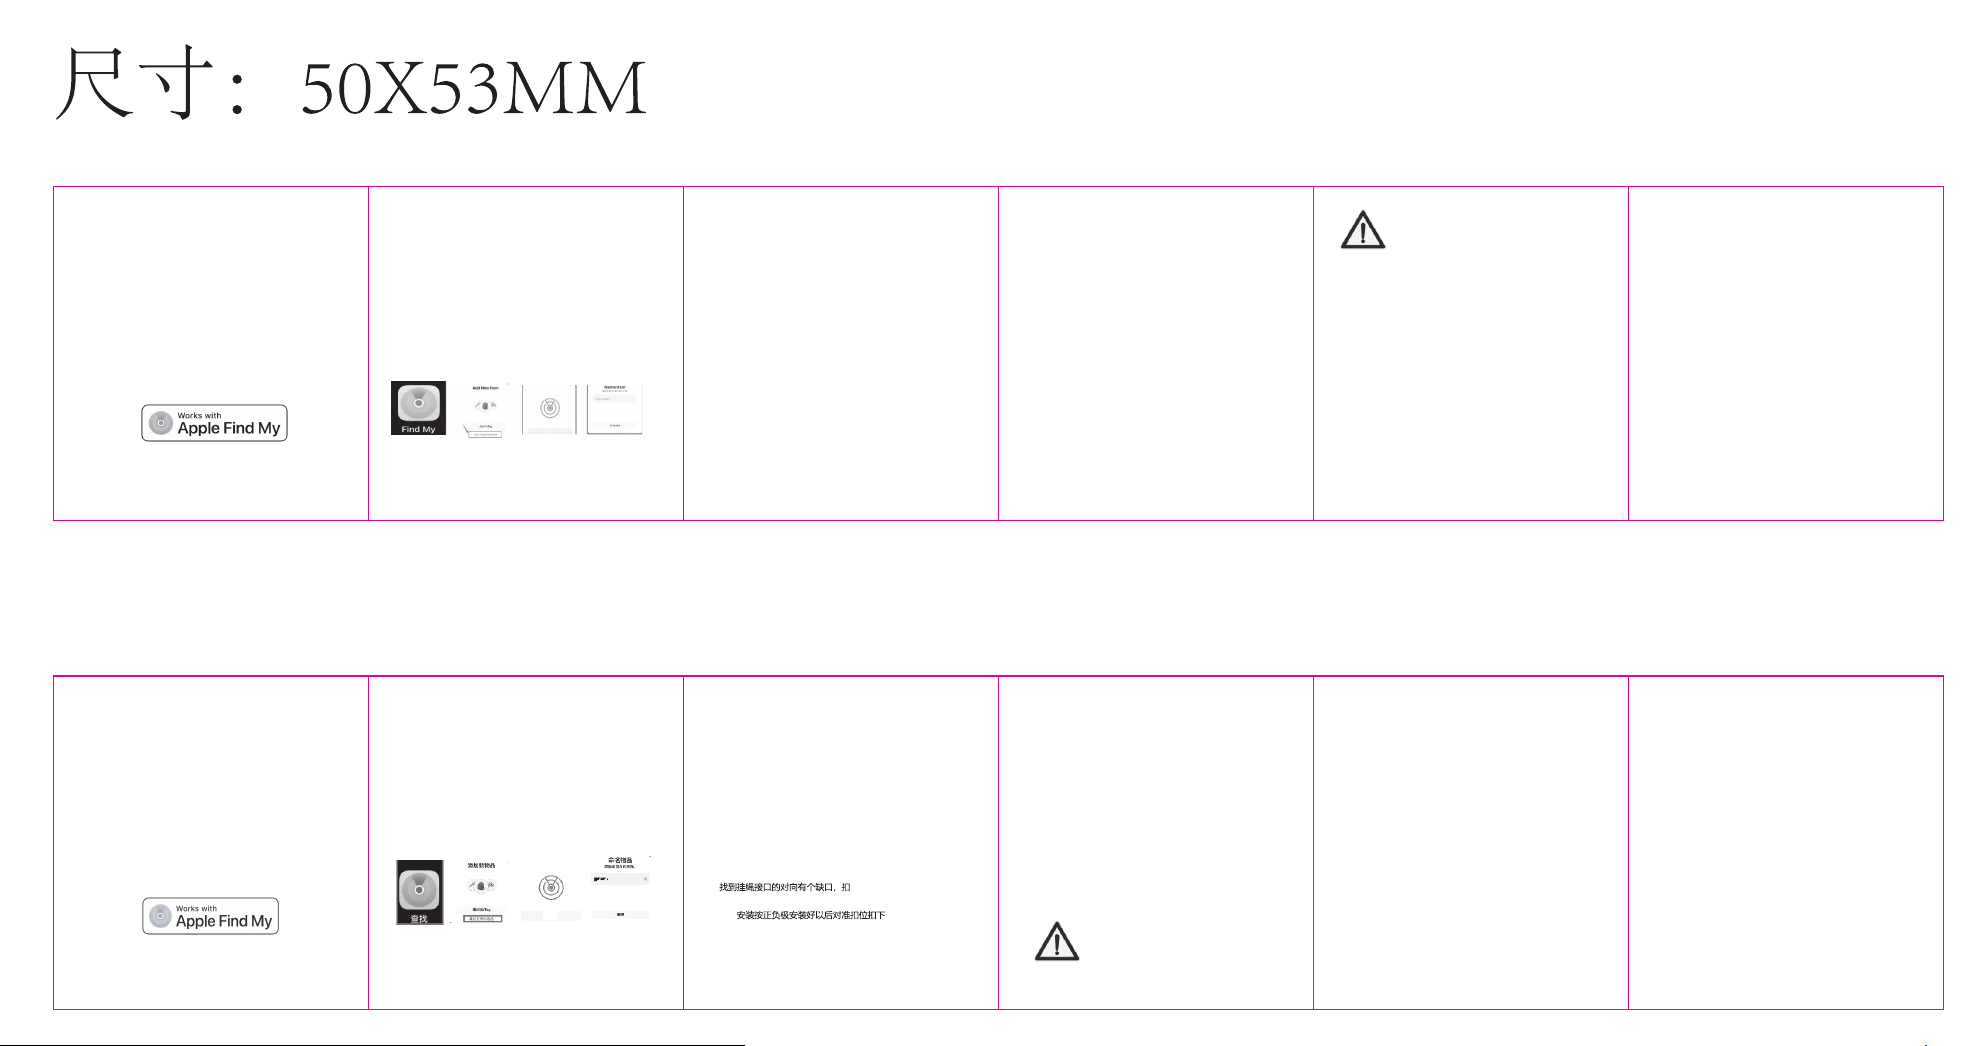
1.4 Open the 'Find My' app as shown in Figure 1
1.5 In 'Find My' app, click on Add Item - Other Suppor t Items. As
shown in Figur
( Figure 1 ) ( Figure 2 ) ( Figure 3 ) ( Figure 4 )
1. 1 Place the Smart Tag nex t to your Apple dev ice like iPhone.
Over view introduction
Smart Tag integrates with Apple's Find My network, providing a secure
and user-friendly solution for finding items. Use Find My network to
easily locate keys, wallets, etc., and prioritize security. Smart Tag is
designed specifically for user convenience, simplifying daily life. Say
goodbye to lost items using Smart Tag and Apple's Find My network,
and experience an enhanced way of preventing lost items and
ensuring peace of mind. Believe that Smart Tag can redefine your easy
management of items.
HOW TO PAIR
Note: iOS or macOS with the lat est v ersion.
1. 2 Turn on Bluetooth on iPhone and connect to Internet.
1. 3 Press and hold the Smart Tag button, hear one beep to
po wer on.
e 2
Batter y
Smart Tag Contains a coin shaped battery. During the product's
lif espan, it may be
necessary to replace the battery. By observing
the correct negativ e and positive connections, only replace
1. 6 Click 'Continue'. A s shown in Figure 3
1. 7 Name y our
Smart Tag and click ' Continue'. As shown in
Figure 4 1. 8 Select emoticons.
1. 9 Click 'Continue', then click 'Finish' to complete.
batteries of the same ty pe (CR2032) and rating.
ADDITIONAL TIPS
Batter y replacement:
2.1 Find a gap in the opposite direction of the hanging rope
interface and open the back cover
2.2 Replace a new batter y.
2.3 After installing the battery according to the pos
itive and
negative poles, align it with the buckle and close the back cover.
3. 1 To switch f rom activ e mode to Disable mode (Airplane mode),
simply remov e the batter y.
3. 2 To switch f rom Disable mode (Airplane mode) to working
mode, reinstall the batter y. T he Smart Tag w ill be successfully
paired af t er this.
3. 4 To remove the Smart Tag f rom your Apple devi ces, open the
Find My app, select 'items,' f ind the devi ce, and scroll down to
click on 'Remov e this device.
3. 5 If the
Smart Tag
fails to connect to the Find My app, follow the
instructions in section 3.3 to perfo rm a factory reset, and then
restart the pairing process.
WARNING:Do not swallow the battery
Important matters
The
Smart Tag
contains
delicat e electronic parts, including a
battery. To av oid damage, loss of f unct ion, or potential harm,
please refrain from dropping, hitting, puncturing, crushing,
disassembling, ex posing it to extreme heat or liquids, or placing
it in areas w it h a high concent ration of industrial chemicals.
;
here is a chemical bum hazard
pressure with sharp objects on the rubber seal or the battery
terminal contacts inside the device
Choking Hazard Warning
The Smart Tag , its battery compar tment door, the batt er y itself,
and t
he case may pose a choking hazard or cause injur y to small
children. Please keep these items out of reach of y oung children
Medical Device Interference
The Smart Tag contains components and radios that emit
electromagnetic f ields, as well as magnets. These elements ma
y
pot ent ially interf ere w it h pacemakers, def ibrillators, or other
medical devi ces. To ensure safety, maintain a safe distance
bet ween your medical device and the Smart Tag. We strongly
advise consulting your physician and the manufacturer of your
medical
dev ice for information that is specific to y our situation. I f y ou
suspect that the Smart Tag is interfering with y our pacemaker,
def ibrillator, or any other medical dev ice, discontinue its use
immediately.
Important Handling Guidelines
It's normal fo r the
Smart Tag
to show discoloration w it h regular
use. To clean it , use a sof t, dry, lint-f ree cloth. Avoid applying
.
Do not allow moisture to enter any openings or use aerosol
sprays, solvents, or abrasive materials to clean the device.
Legal notice
Use of the W orks with A
pple badge means that a product has
been designed to work specifically with the technology
identified in the badge and has been cer tified by the product
manufacturer to meet Apple Find My network product
specifications and requirements. Apple is not responsible for the
operation of this device or use of this product or its compliance
with safety and regulatory standards.
Apple, Apple Find My, Apple Watch, Find My, iPhone, iPad,
iPadOS, Mac, macOS and watchOS are trademarks of Apple Inc.,
registered in the U.S. and other countries. IOS is a trademark or
registered trademark of Ci
sco in the U.S. and other countries and
is used under license.
PORTABLE
LOCATOR DEVICE
1.4打开“查找”应用程序,如图1所示;
1.5在“查找”应用程序中,点击添加物品-其他支持物品。如图2所示
1. 1将 Smart Tag 放在您的苹果设备(如iPhone)旁边 ;
1. 2在您的苹果设备(如iPhone)上打开蓝牙并连接到互联网 ;
1. 3
长按Smart Tag按钮,听到一声蜂鸣声即可接通电源;
如何配对
注:iOS或macOS为 14.6
概述介绍
Smart Tag 与苹果的Find My网络集成,为查找物品提供了一个安
全且对用户友好的解决方案。使用 Find My 网络轻松定位钥匙
、钱包等,并优先考虑安全性。
Smart Tag 专为方便用户而设计,
简化了日常生活。使用
Smart Tag 和苹果的 Find My网络告别丢失
物品,体验增强物品防丢和安心的生活方式。相信
Smart Tag可以
重新定义您轻松管理物品。
以上版本。
;
电池
Smart Tag包含一个硬币形状的电池。在产品使用寿命期间,可能需
要更换电池。通过观察正确的负极和正极连接,只能更换相同类型
1. 6点击“继续”。如图3所示 ;
1. 7命名您的 Smart Tag
,然后点击“继续”。如图4所示;
1. 8选择一个表情符号;
1. 9点击“继续”,然后点击“完成 ”,即可完成配对。
(CR2032)和额定值的电池。
其他提示
3.1
电池更换:
2. 1
开后盖;
2. 2更换新电池;
2. 3电池
关闭后盖。
要从工作模式切换到禁用模式(飞行模式),只需卸下电池即可。
3.2要从禁用模式(飞行模式)切换到工作模式,请重新安装电
池。在此之后,Smart Tag 将成功配对。
3. 4要从您的苹果设备中删除 Smart Tag,请打开“查找”应用程序,
选择 “物品”,查找设备,然后向下滚动点击“移除此设备”。
3. 5如果 Smart Tag无法连接到Find My应用程序,请按照第3. 3中的
说明,执行恢复出厂重置,然后重新启动配对过程。
重要事项
Smart Tag
包含精密的电子部件,包括电池。为避免损坏、功能丧失
或潜在伤害,请避免跌落、撞击、刺穿、压碎、拆卸、暴露在高温
或液体中,或将其放置在工业化学品浓度高的区域。
窒息危险警告
Smart Tag 、电池舱门、电池本身和外壳可能会造成窒息危险或对
警告:请勿吞下电池;
存在化学灼伤危险
医疗器械干扰
Smart Tag
包含发射电磁场的组件和无线电。
幼儿造成伤害。请把这些东西放在小孩子够不着的地方。
这些元件可能潜在干
扰起搏器或其他医疗设备。为确保安全,请在您的医疗设备和
Smart Tag
之间保持安全距离。我们强烈建议咨询您的医生和医疗
设备制造商,以获取针对您具体情况的信息。如果您怀疑
Smart Tag
干扰了您的起搏器或任何其他医疗设备,请立即停止使用。
法律公告
使
用Works with Apple Find My
徽章意味着产品已被设计为专门
与徽章中确定的技术配合使用,并已通过产品制造商的认证,以
重要处理指南
Smart Tag
在经常使用时出现变色是正常的。要清洁它,请使用柔
软、干燥、无绒布。避免用尖锐物体对设备内部的橡胶密封件或蓄
电池端子触点施加压力。
不要让湿气进入任何开口,也不要使用气雾剂、溶剂或研磨材料清
洁设备。
满
Apple, Apple Find My, Apple Watch、iPhone、 iPad、
iPadOS、Mac、macO
S和watchOS是苹果股份有限公司在美国
和其他国家注册的商标。IOS是思科在美国和其他国家/地区的商标
或注册商标,经许可使用。
便携式防丢器
用户指南
( 1 ) ( 2 ) ( 3 ) ( 4 )
3.3按住按钮,直到听到1个提示音并伴随灯光闪烁1下,然后是2个
连续提示音灯光闪烁2下,再是3个连续提示音灯光闪烁3下。继续按
5秒钟。当您听到长提示音时灯光连续闪烁,松开按钮设备将恢复到
出厂设置。
3.3 Press and hold the button until you hear one beep
accompanied by one light flash, followed by two consecutive
beeps and two light flashes, then three consecutive beeps and
three light flashes. Continue holding for five seconds. When you
hear a long beep with continuous light flashing, release the
button. The device will reset to factory settings.
FCC Caution:
Any changes or modifications not expressly approved by the party
responsible for compliance could void the user's authority to
operate the equipment.
NOTE: This equipment has been tested and found to comply with
the limits for a Class B digital device, pursuant to Part 15 of the
FCC Rules. These limits are designed to provide reasonable
protection against harmful interference in a residential installation.
This equipment generates, uses and can radiate radio frequency
energy and, if not installed and used in accordance with the
instructions, may cause harmful interference to radio communications.
However, there is no guarantee that interference will not occur in a
particular installation.If this equipment does cause harmful interference
to radio or television reception,
which can be determined by turning the equipment off and on, the user
is encouraged to try to correct the interference by one or more of the
following measures:
-- Reorient or relocate the receiving antenna.
-- Increase the separation between the equipment and receiver.
-- Connect the equipment into an outlet on a circuit different from
that to which the receiver is connected.
-- Consult the dealer or an experienced radio/TV technician for help.
The device has been evaluated to meet general RF exposure requirement.
The device can be used in portable exposure condition without restriction.