Operator's Manual
Part No. 356883-1_V101 04/2026
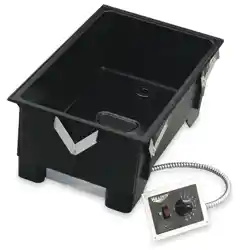
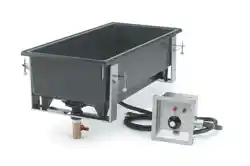
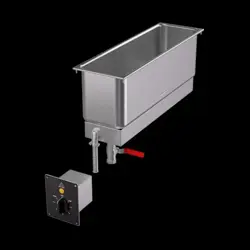
Model DHFL500 Drop-In Half-Size Warmer
Model DHFL500 Drop-In Half-Size Warmer
Thank you for purchasing this Vollrath® product! Save this manual for
reference and the packaging in case shipping is necessary.
SAFETY PRECAUTIONS
To help ensure safe use, please read and fully understand this manual and
all safety messages before operation!
WARNING
Warning indicates a hazardous situation which, if not avoided,
could result in death or serious injury.
CAUTION
Caution indicates a hazardous situation which, if not avoided,
could result in minor or moderate injury.
NOTICE: Addresses practices not related to physical injury.
To reduce risk of injury or damage to the unit
• Use only grounded electrical circuits matching the nameplate-rated
voltage.
• Do not use extension cords or power strips of any kind.
• Use in a flat, level position.
• Turn o and let unit cool before cleaning, moving, and when not in use.
• Outside of unit should not be sprayed with liquid or foam.
• Clean unit with something other than steel wool.
• Keep unit and wires away from open flames, electric burners, and
excessive heat.
• Only operate with water in the well.
• Operate in non-public areas, away from children—and attend the unit
during use.
• Only operate properly-functioning, undamaged units.
• Clean the unit daily.
• Unit may be hot even if the indicator light is o.
• If wiring is damaged, it must be replaced by the manufacturer, service
agent, or similarly-qualified persons to avoid a hazard.
FUNCTION & PURPOSE
This unit is designed to keep food at proper serving temperatures. Food
must be cooked and placed while hot. Unit is not intended to cook
raw food or to reheat prepared food—nor for household, industrial or
laboratory use.
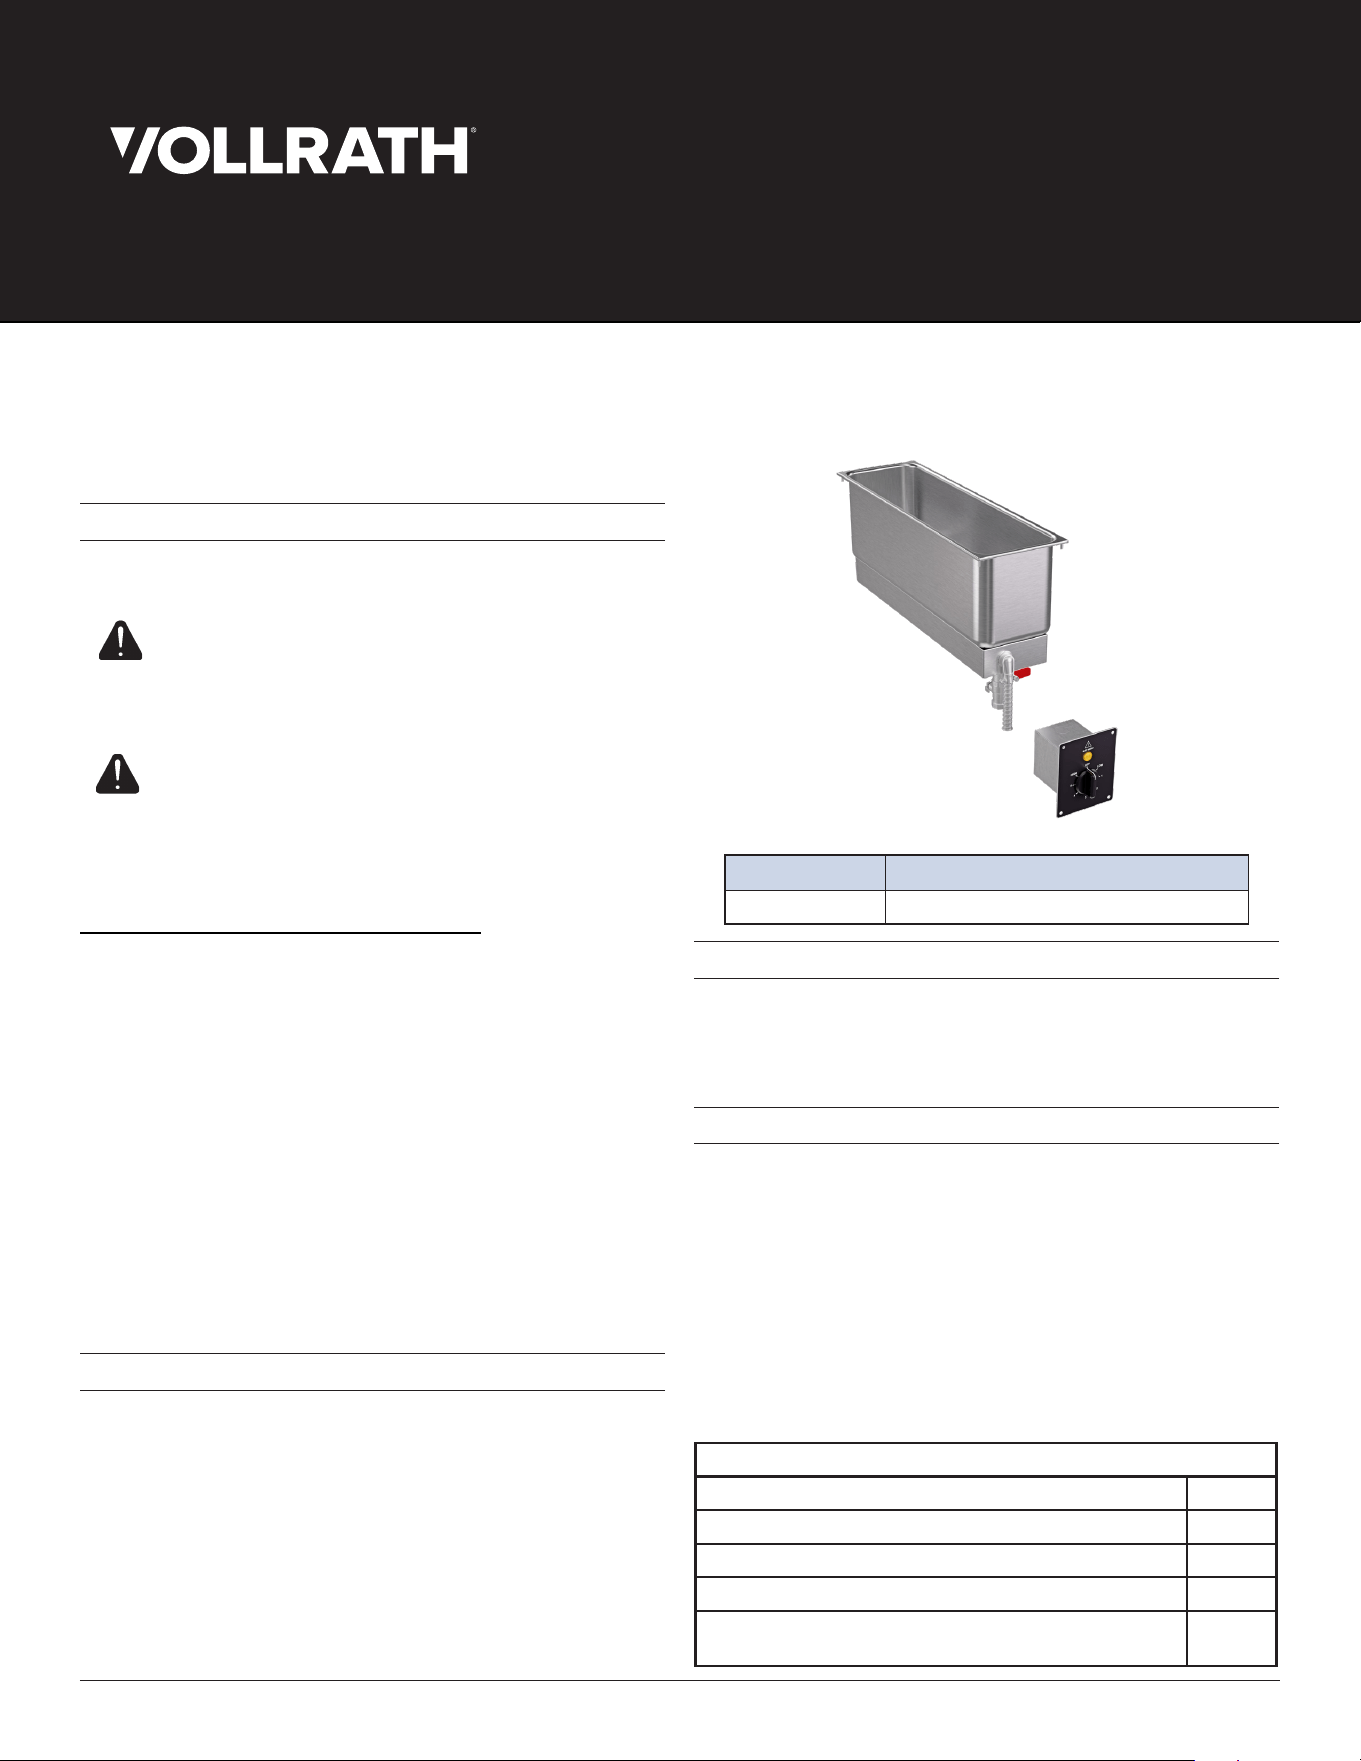
Item Description
FC-4H-HLF120 Drop-In Half-Size Warmer
UNPACKING THE UNIT
1. Remove packing material, tape, and protective plastic.
2. Clean any glue residue left over from the plastic or tape.
3. When no longer needed, dispose of packaging in an environmentally
responsible way.
INSTALLATION INSTRUCTIONS
General Requirements
1. Enclosure must be accessible for servicing.
2. Unit must be connected to a circuit that matches the label rating found
on the side of the warmer.
3. The warmer must only be used with the provided control box.
4. All wiring between the warmer and the control box must be enclosed
immediately in UL-listed conduit or other suitable enclosure that meets
state and local codes.
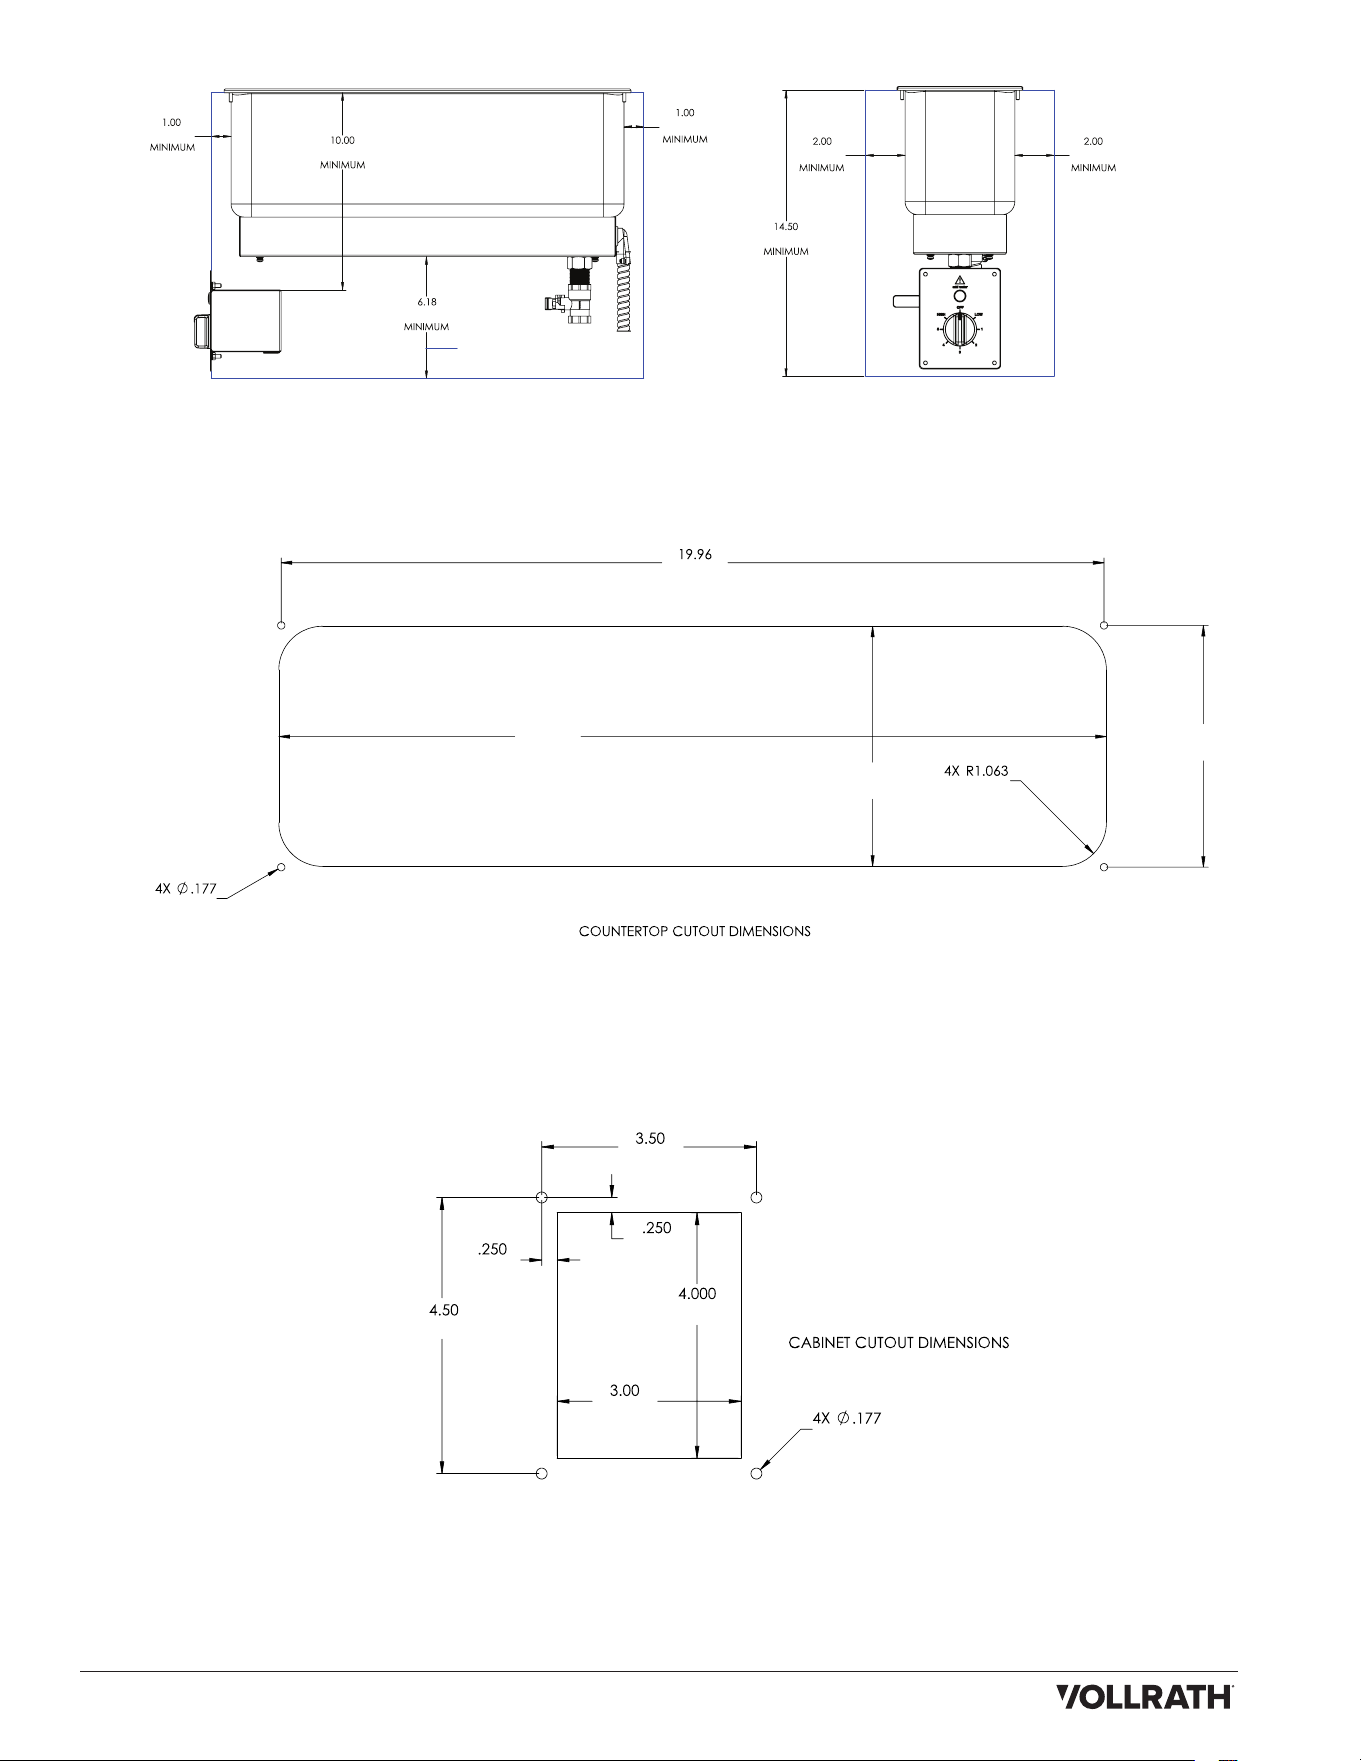
5. Refer to the following diagram for MINIMUM spacing requirements for
warmer and control box, in both combustable and non-combustable
enclosures.
Minimum Spacing
Front of warmer to front wall of enclosure
1"
Back of warmer to back wall of enclosure
1"
Sides of warmer to side walls of enclosure
2"
Bottom of warmer flange (countertop) to bottom of enclosure
14.50"
If control box is mounted directly below warmer body:
Bottom of warmer flange (countertop) to top of control box.
10"
2
Model DHFL500 Drop-In Half-Size Warmer
Warmer Installation:
1. Create the cutout pattern for the warmer and the mounting studs in the countertop per the diagram below. Mounting-hole pattern must be centered
around the warmer cutout. Mounting holes must be sized for M4 clearance.
2. Apply the provided rubber seal between the bottom of the warmer flange and the countertop. Secure the warmer to the countertop using the
provided lock nuts.
3. Connect the included drain valve to the male fitting attached to the warmer. Use thread tape to prevent leaks. Connect additional pipe (not included) as
desired.
Control box installation:
1. Create the cutout pattern for the control box and mounting screws in the cabinet per the diagram below. Mounting hole pattern must be centered
around the control box cutout.
(254)
(157.10)
(25.40)
(50.80)
(50.80)
(368.30)
(25.40)
(507.00)
20.08
(510.00)
(148.00)
(4.50)
(27.00)
5.83
5.87
(149.00)
(88.90)
(6.35)
(114.30)
(6.35)
(101.60)
(76.20)
(4.50)
3
Model DHFL500 Drop-In Half-Size Warmer
C
D
A
B
2. Connect the four lead wires from the warmer to the control box by removing the back cover of the control box. Match the labels of
the warmer wires with the corresponding labels of the control box wires. The line wire labeled “LW” from the warmer connects to the
wire labeled “LW” on the control box; the neutral wire labeled “NW” connects to the wire labeled “NW” on the control box; the wire
labeled “LIGHT” from the warmer connects to the wire labeled “LIGHT” on the control box. The green ground wire from the warmer
must be connected to the green ground wire of the control box. Ensure all wires from the warmer to the control box are enclosed in
suitable conduit material.
3. Connect the incoming power wires and ground wire to the control box. Incoming power must match the label rating on the warmer.
The incoming line lead must attach to the control box lead labeled “L”. The incoming neutral lead must attach to the control box lead
labeled “N”. The incoming ground wire must be connected to the green ground wire of the control box. Ensure all wires from the
incoming power to the control box are enclosed in suitable conduit material.
4. Once all wires are properly connected and enclosed, replace the back cover of the control box with the provided lock nuts. Mount
the face of the control box to the outside of the cabinet using appropriate hardware for the application.
FEATURES AND CONTROLS
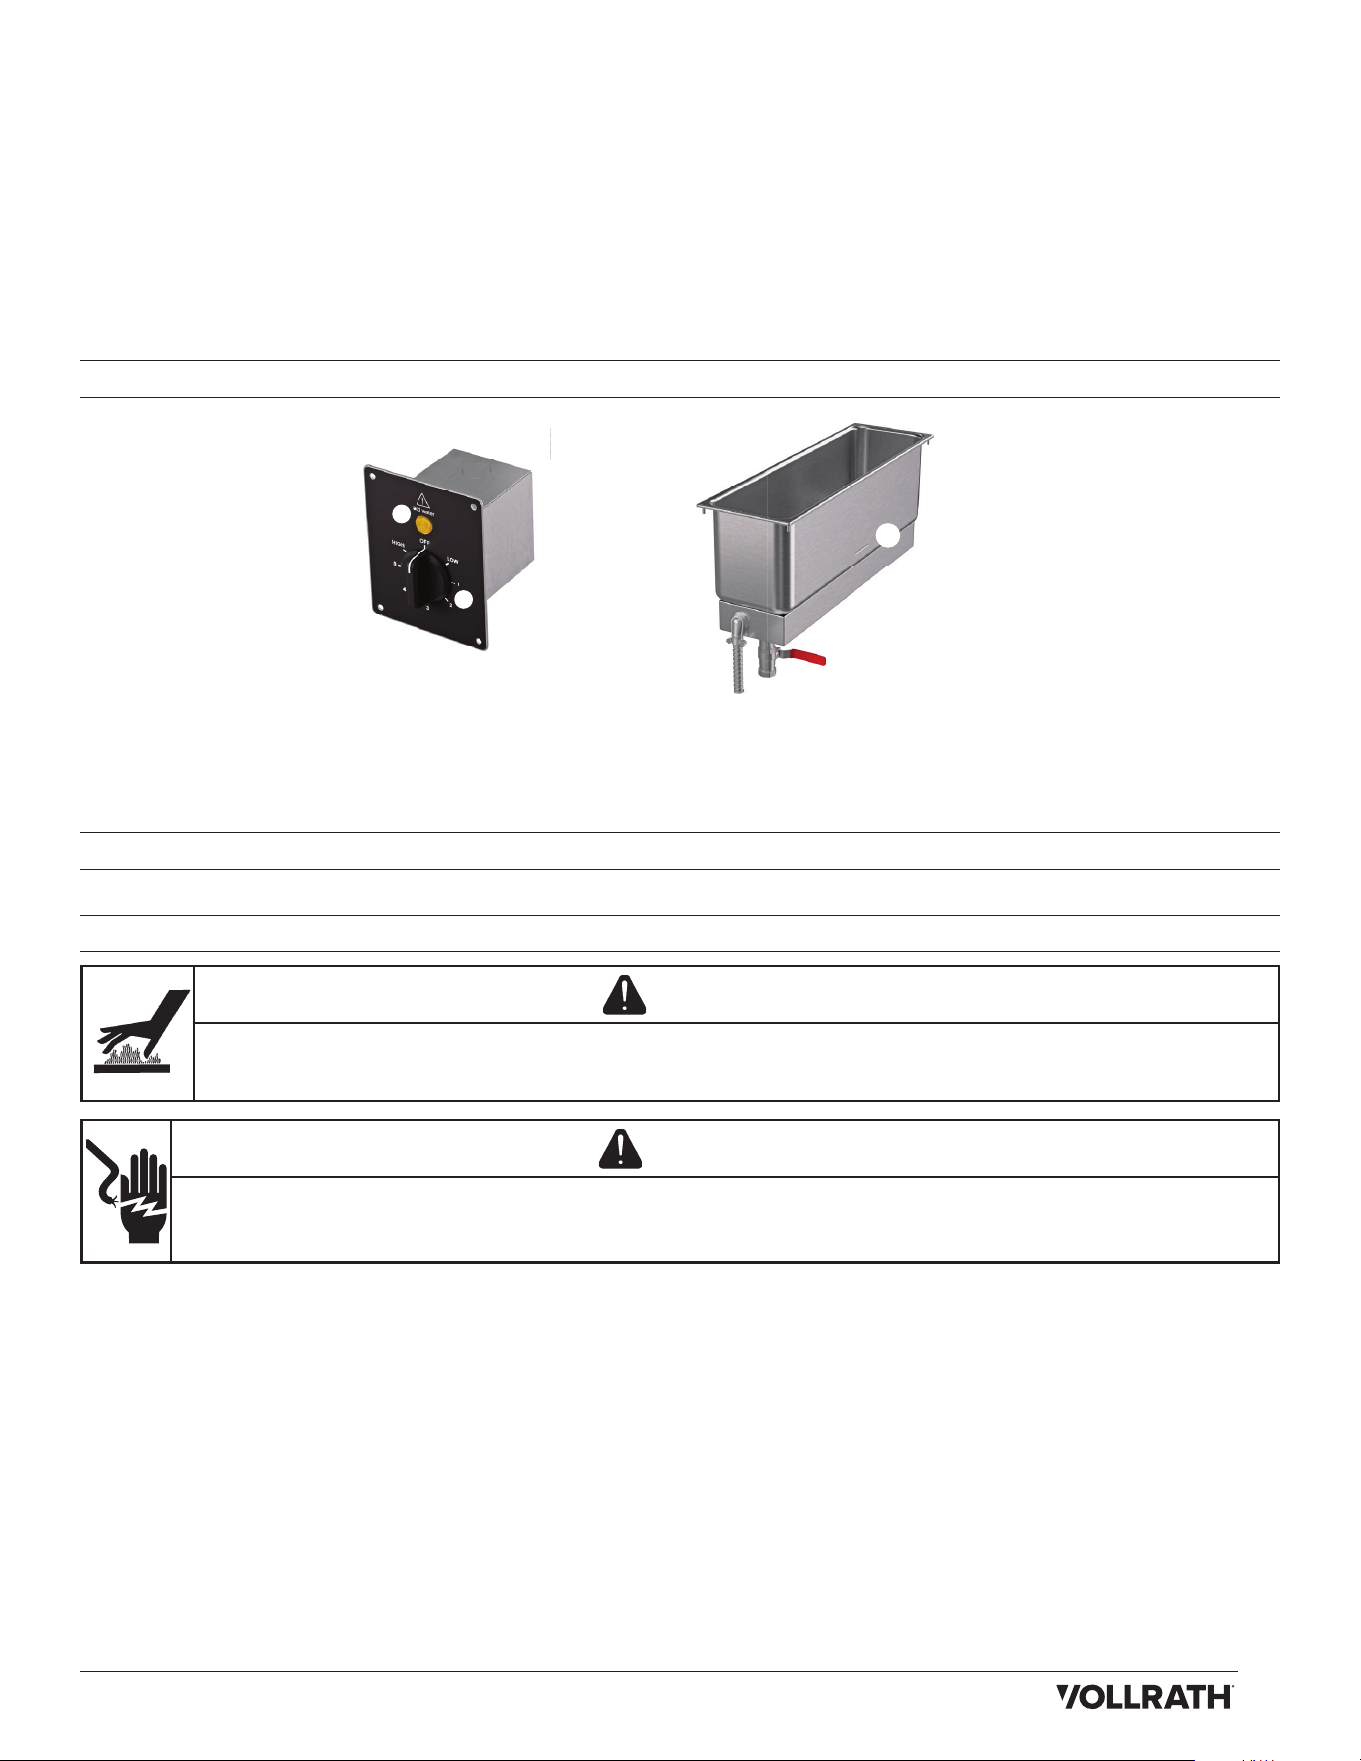
FC-4H-HLF120
A. Add Water Indicator Light— Illuminates when the water in the well needs to be refilled.
B. Control Dial— Push in and rotate dial to turn unit on and o and adjust temperature.
C. Water Fill Line— Indicates the correct water fill level, approximetly 8 cups.
D. Drain— Open to empty well water.
BEFORE FIRST USE
1. Clean the unit per the Cleaning section.
OPERATION
WARNING
Burn Hazard.
To avoid burns and splattering, do not touch cookware, heating surfaces, or food—or drop water onto cooking surfaces while
operating.
WARNING
Electrical Shock Hazard.
Keep water and other liquids from entering the unit. Liquid inside the unit could cause an electrical shock or short circuit.
Do not immerse the cord, plug, or unit in water or any other liquid—or operate if the unit or cord are damaged or altered.
1. Fill the well to about 1” (2.5 cm) or approximately 8 cups (1.9 L) with fresh water, being careful not to overfill.
2. Preheat unit for 25 minutes by covering the well with empty food containers or covers and turning the Control Dial to HIGH.
3. Place the container of hot food, above 140 °F (60 °C), into preheated unit.
NOTICE: Monitor food temperature closely for food safety. The United States Public Health Service recommends that hot food
be held at a minimum of 140 °F (60 °C) to help prevent bacteria growth. Maintain correct water level and temperature setting.
Periodically (approximately every 2 hours) remove food container and check the water level. Add water as needed. This warmer has
been certified by UL Sanitation to meet the NSF4 Hot Food Holding standard at the HIGH setting.
During Operation
• Do not add cold food to hot food.
• Periodically (approximately every 2 hours) remove the container of food and check the water level. Add hot water as needed.
When Finished with the Unit
1. Turn the Control Dial to OFF.
2. Allow unit and water to completely cool.
3. Carefully empty water from the well.
© 2026 The Vollrath Company L.L.C. Part 356883-1_V101 04/2026
The Vollrath Company, L.L.C.
1236 North 18th Street
Sheboygan, Wisconsin 53081-3201 USA
Main Tel: 800-319-9549 or 920-457-4851
Main Fax: 800-752-5620 or 920-459-6573
Canada Customer Service: 800-695-8560
Technical Services
Induction Products: 800.825.6036 Countertop
Warming Products: 800.354.1970 All Other
Products: 800.628.0832
vollrathfoodservice.com
CLEANING
WARNING
Burn Hazard.
To avoid burns and splattering, do not touch cookware, heating surfaces, or food—or drop water onto cooking surfaces
while operating.
WARNING
Electrical Shock Hazard.
Keep water and other liquids from entering the unit. Liquid inside the unit could cause an electrical shock or short circuit.
Do not immerse the cord, plug, or unit in water or any other liquid—or operate if the unit or cord are damaged or altered.
NOTICE: Do not use caustic chemicals, steel wool, or commercial products to clean the unit.
1. Follow steps 1–3 under When Finished Using the Unit.
2. Use a damp cloth or sponge dipped in soapy water to wipe the unit.
3. Wet another cloth with clean water and wipe the soap away.
TROUBLESHOOTING
Problem Potential Cause Course of Action
Unit does not have power.
Circuit breaker tripped. Reset the breaker.
Unit is not wired properly or lead wires are damaged.
Contact Vollrath Technical Service.
Control Dial malfunctioned.
Unit has power but no heat. Heating element or control malfunctioned.
Add-Water Light does not turn
on when well is empty.
Pilot Light or Add-Water Thermostat malfunctioned.
Unit has power and heat but
Power Switch is not illuminated.
Power-Switch Light burned out or malfunctioned.
Circuit Breakers are tripping. There are too many units on one circuit.
Unit does not get hot enough. There is too much water in the well. Reduce water to the correct level.
SERVICE AND REPAIR
Serviceable parts are available on vollrathfoodservice.com.
To avoid serious injury or damage, never attempt to repair the unit or replace a damaged power cord yourself. Do not send units directly to The
Vollrath Company LLC. Please contact Vollrath Technical Services for instructions. When contacting Vollrath Technical Services, please be ready with
the item number, model number (if applicable), serial number, and proof of purchase showing the date the unit was purchased.
WARRANTY STATEMENT FOR THE VOLLRATH CO. L.L.C.
The Vollrath Company LLC warrants to the original commercial end user that each of Vollrath’s foodservice products will be free from defects in
materials and workmanship.
For warranty period, exclusions, and details, visit vollrathfoodservice.com/vollrath-resources/warranty-info/warranty-policy.