2.4G DC Ceiling Fan Light
Controller Specifications
(2.4G APP + Tmall Genie)
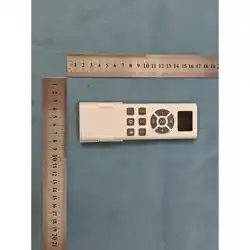
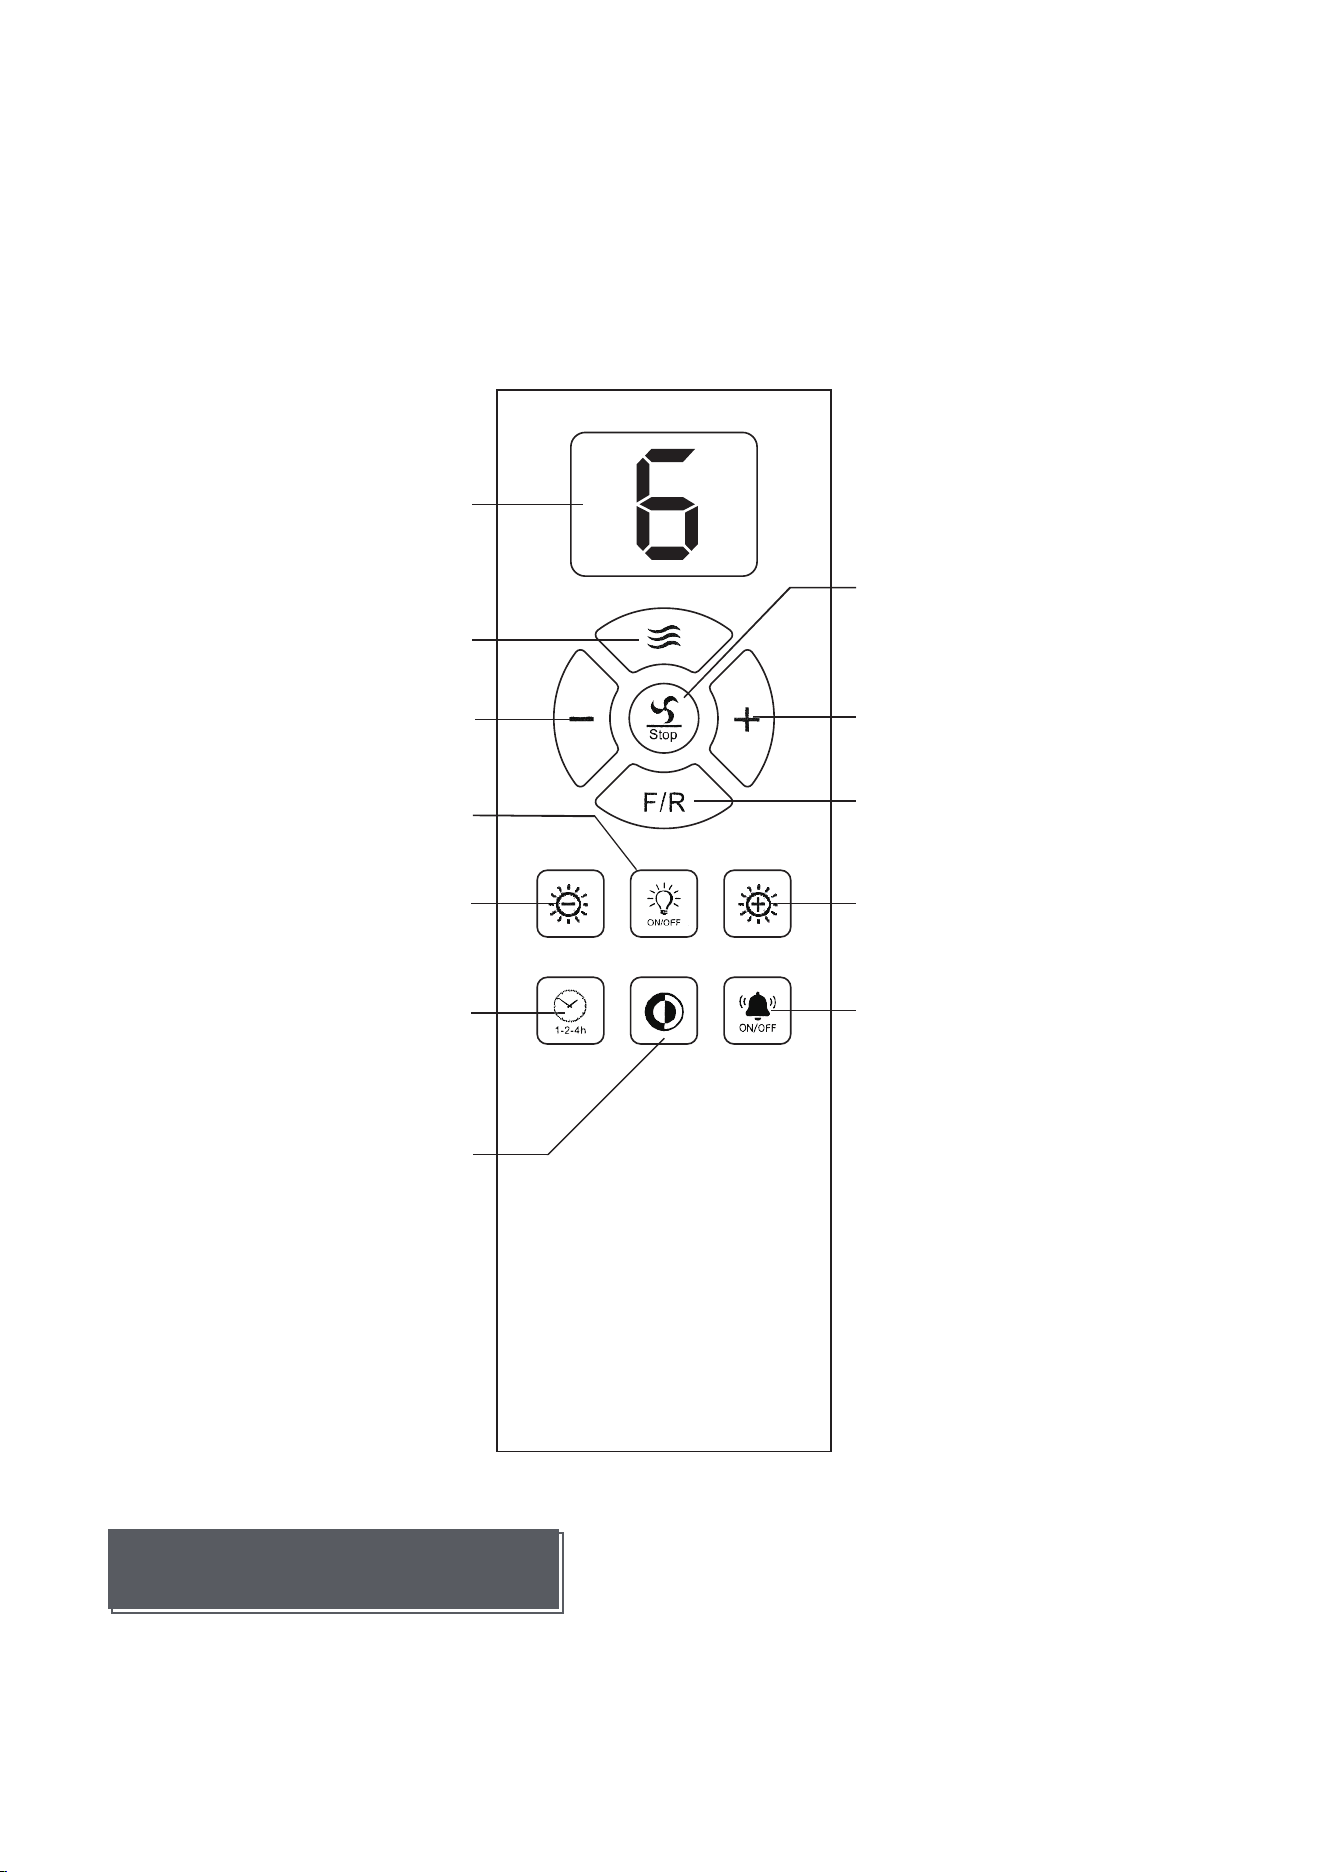
Display Screen
Natural Wind
Fan Stop
Speed +
Forward / Reverse (F/R)
Brightness /+
Buzzer ON/OFF
Speed -
Light ON/OFF
& Pairing
Brightness /−
Timer (1H/2H/4H)
(Power o and re-pair required)
Clear Code / Reset Pairing
Step Control
• Display Screen:Shows the current fan speed level (1–6)
and operating status.
Display Area

• Natural Wind:Activates natural wind mode. The fan speed will
vary automatically to simulate a natural breeze.
• Speed −:Decreases the fan speed level.
• Speed +:Increases the fan speed level.
• STOP (Fan Stop):Stops the fan immediately.
• F/R (Forward / Reverse):
a. Forward (Summer Mode): Produces a downward airflow
for cooling.
b. Reverse (Winter Mode): Circulates warm air by pushing
air upward.
a. Short press: Step-by-step adjustment.
b. Long press: Stepless dimming.
Adjusts light brightness:
Switches the fan rotation direction:
Fan Control Buttons
• Light ON/OFF:Turns the light on or o.Press and hold to
pair the remote control (if applicable).
• Brightness + / −:
• Color Temperature + / −:Adjusts the light color tempera-
ture (Warm / Neutral / Cool).
Light Control Buttons
• Timer (1H / 2H / 4H):Sets the fan auto-o timer.Press repeatedly
to cycle through 1 hour → 2 hours → 4 hours.
• Clear Code (Reset Pairing):Used to clear the pairing code after
power cycling.Refer to the main product manual for detailed
r
eset steps.
• Segment Button:Used for segmented control of light or f
an
functions (depending on model configuration).
• Buzzer ON/OFF:Turns the operation beep sound on or o.
Timer & Additional Functions
• Ensure the ceiling fan is powered on before use.
• Point the remote control toward the fan receiver.
• Replace the batteries if the remote becomes unresponsive.
• Re-pair the remote if the fan does not respond correctly.
Operating Instructions
• Use only the specified battery type.
• Do not mix old and new batteries.
• Remove batteries if the remote will not be used for an e
xtended
period.
• Keep the remote away from heat, moisture, and direct sunlight.
Safety & Maintenance
• Remote not responding:Check battery installation or replace
batteries.
• Fan or light not working properly:Confirm power supply and re-
pair the remote if necessary.
Troubleshooting
• The device has been evaluated to meet general RF exposure
requirement. The device can be used in portable exposure
condition without restriction.
• This equipment has been tested and found to comply with the
limits for a Class B digital device, pursuant to part 15 of the FCC
Rules. These limits are designed to provide reasonable protection
against harmful interference in a residential installation. This
equipment generates, uses and can radiate radio frequency energy
and, if not installed and used in accordance with the instructions,
may cause harmful interference to radio communications.
However, there is no guarantee that interference will not occur in a
particular installation. If this equipment does cause harmful
interference to radio or television reception, which can be
determined by turning the equipment off and on, the user is
encouraged to try to correct the interference by one or more of the
following measures:
• -- Reorient or relocate the receiving antenna.
• -- Increase the separation between the equipment and receiver.
• -- Connect the equipment into an outlet on a circuit different from
that to which the receiver is connected.
• -- Consult the dealer or an experienced radio/TV technician for
help.
• Changes or modifications not expressly approved by the party
responsible for compliance could void the user's authority to
operate the equipment.
• This device complies with part 15 of the FCC Rules. Operation is
subject to the following two conditions:
• (1) This device may not cause harmful interference, and (2) this
device must accept any interference received, including
interference that may cause undesired operation.
FCC Warning Message