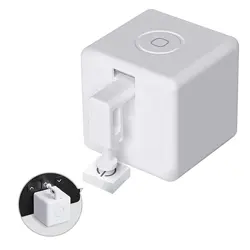
Fingerbot is the world’s smallest robot for smartly controlling
different types of buttons and switches. It can control your
existing home appliances with robotic clicks.
Switch lights via App, schedule a morning coffee, activate
your vacuum cleaner with voice command, and remotely
power on your office PC. Now all these become effortless
with Fingerbot.
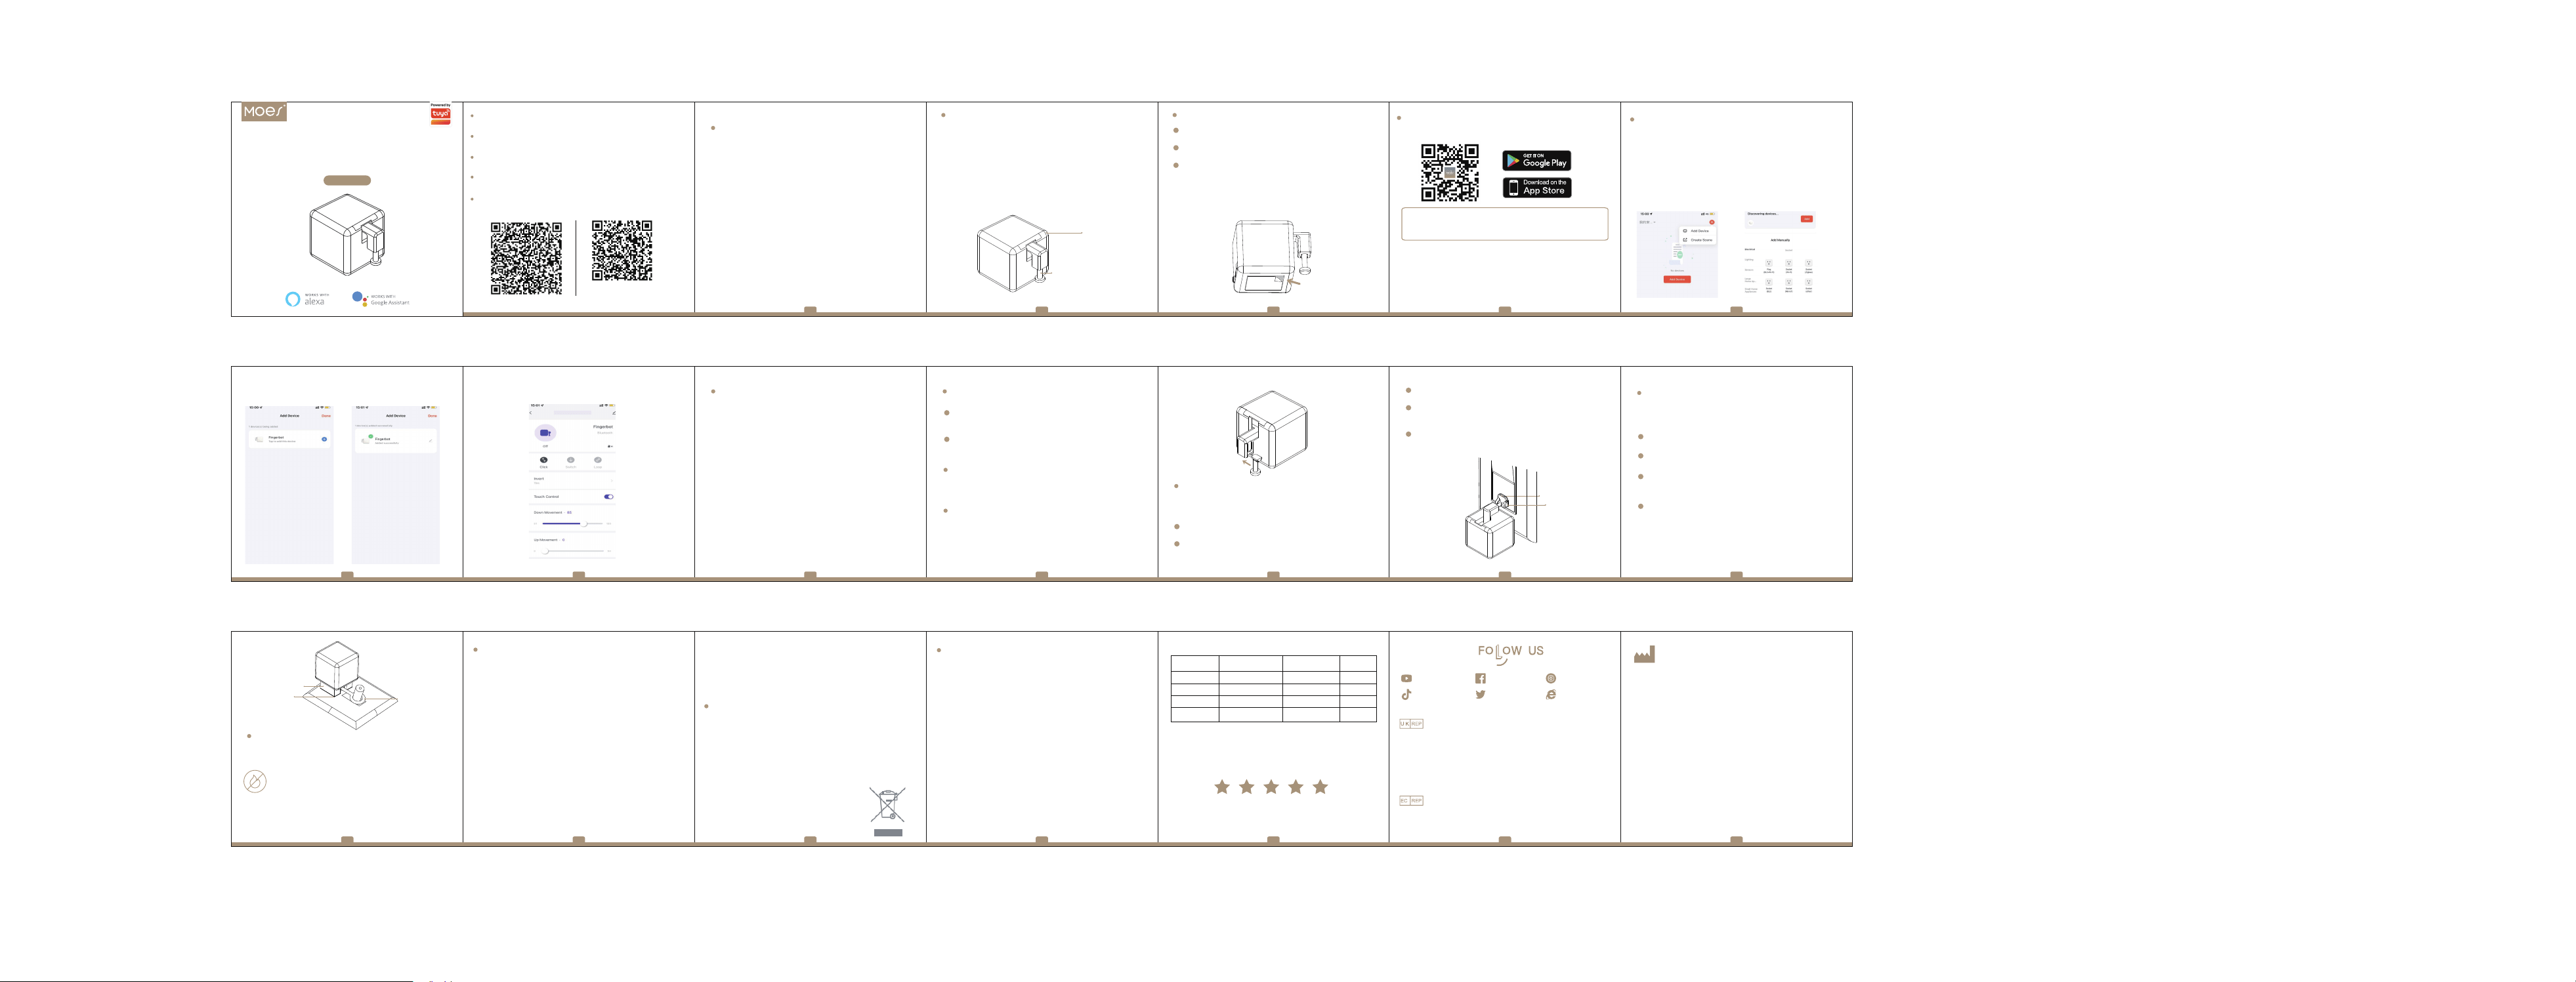
Overview
Replaceable Arm
Fingerbot
Ring arm
Cushion block
3M tapes
Rocker arm
3M tapes
Clean the surface of button or switch panel where you want
to install Fingerbot.
Attach Fingerbot to the panel using a double-sided tape
provided in the Fingerbot package.
Connect your Fingerbot with the App and calibrate the
movement of Fingerbot’s robotic arm to fit your switches and
buttons.
After installation, we recommend resting Fingerbot for 24
hours to reach maximum adhesion.
Device Installation
App Control
You can control Fingerbot directly via Bluetooth with the
App.
Scheduler
You can set schedulers in the App to automatically activate
Fingerbot at certain times.
Device Control
Remote control
With a Fingerbot Bridge (needs to be purchased
separately), you can control your Fingerbot through the
Internet from anywhere.
Voice Control
With a Fingerbot Bridge, you can connect Fingerbot with
voice assistants such as Google Home Assistant and
Amazon Alexa. You can set up voice commands in the App
to active voice-control function.
To reset your Fingerbot:
Turn Fingerbot off for 2 seconds, turn it on for another 2
seconds. Repeat such action 3 times consecutively, that is
"on-off-on-off-on-off-on".
Fingerbot will be reset automatically when the indicator
light turns to purple.
Device Reset
With the modular design, the arm of Fingerbot is replaceable
in order to meet different needs in diverse situations.
You can install the arm by following the picture below. We
provide three straight arms with different lengths to assist
Fingerbot better fitting various button-control cases.
Robotic Arm Extension
Straight Arm
Fingerbot makes use of the rocker arm to push and pull the
switch button to change the switch status of equipment.
Please follow the instructions below to install the rocker arm.
After connecting Fingerbot with the App, set Fingerbot to
the 'Switch' mode.
Move the arm of Fingerbot to the bottom and fix the
Fingerbot on the switch panel.
Rocker Arm
Tear off the tape covering on the rocker arm to stick the
arm to the switch button.
After ensuring the firmness, use the App to adjust the
rising range of Fingerbot's arm, so that its movement range
can be adapted to the switch button.
If the app is showing the opposite status to the actual
status, please use the 'invert' function to invert the display
mode.
Fingerbot makes use of the ring arm to push and pull the
toggle switch to change the switch status of equipment.
Please follow the instructions below to install the ring arm.
After connecting Fingerbot with the App, set Fingerbot to
the 'Switch' mode.
Following the picture, fix two cushion blocks to Fingerbot
with tape.
Put the ring of the arm on the toggle button, and tear off
the tape covering on the other side of the cushion block to
fix the Fingerbot on the switch panel.
After ensuring the firmness, use the App to adjust the
movement range of Fingerbot's arm, so that its movement
range can be adapted to the toggle.
Ring Arm
Dimensions: 32 x 32 x 32 mm / 1.3 x 1.3 x 1.3 inch
Product Weight: 32g / 1.1 oz
Communication Protocol: BLE 4.2
Functionalities: App Control, Voice Control, Cloud Control,
Scheduler
Charging Port: USB Type-C
Stall Torque: 1.6 kgf·cm
Working Temperature: -10 ~ 55
℃ / 14 ℉ ~ 131 ℉
Battery Capacity: 500 mAh
Product Specifications
The product is non-waterproof. Do not install it on
an underwater appliance.
The product contains a lithium battery, therefore
prohibited in the humid, high-temperature
environment.
Do not hinder the movement of the Fingerbot's
arm when it is working. Otherwise it may cause
the arm to fall off and damage to the motor inside
Fingerbot.
Warnings
Smart Bluetooth Fingerbot
User Manual
1
2
3
1
2
3
4
1
2
1
2
3
4
5
请扫描二维码获取中文的说
明书、安装视频及功能介绍
Bitte scannen Sie den QR-Code, um das deutsche Handbuch,
das Installationsvideo und die Funktionseinführung zu erhalten
Escanee el código QR para obtener el manual en español, el
video de instalación y la introducción de la función
Veuillez scanner le code QR pour obtenir le manuel en français,
la vidéo d'installation et l'introduction des fonctions
Отсканируйте QR-код, чтобы получить руководство на
русском языке, видео по установке и описание функций
Leia o código QR para obter o manual em português, o vídeo
de instalação e a introdução das funções
① Download MOES App on App store or scan the QR code.
Moes application is much more compatible than Tuya smart / smart life
application. It also provides a new customized service for controlling scenes
through Siri, widgets and scene recommendation. (Note: Tuya smart / Smart
Life app is still working, but moes app is highly recommended)
② Registration or Log in.
• Download “MOES” Application.
• Enter the Register/Login interface; tap “Register” to create
an account by entering your phone number to get verification
code and “Set password”. Choose “Log in” if you already have
a MOES account.
Preparation for use
1 2 3 4 5
76 8 9 10 11 12
1413 15 16 17 18 19
Steps for connecting the APP to the device
1. First, make sure your phone's Bluetooth is turned on. If not, turn
on Bluetooth.
2.Confirm the blue light is flashing, if not, Press and hold the
reset /function button until the prompt tone is heard and the
button is released, and the blue light slow flashing device enters
the distribution network state.
3.Open MOES App and Click“+” Choice“Add Device”, then the
prompt page will automatically show on the screen. Click “Add”.
4.Add the device successfully, you can edit the name of the
device to enter the device page by click “Done”.
5.Click“Done”to enter the device page to enjoy your smart life
with home automation.
Zigbee Door/Window Magnetic Sensor
All products marked with the symbol for separate collection of
waste electrical and electronic equip ment (WEEE Directive
2012/19 / EU) must be disposed of separately from unsorted
municipal waste. To protect your health and the environment,
this equipment must be disposed of at designated collection
points for electrical and electronic equipment designated by
the government or local authorities. Correct disposal and
recycling will help prevent potential negative
consequences for the environment and human
health. To find out where these collection points
are and how they work, contact the installer or
your local authority.
RECYCLING INFORMATION
Product Information
Product Name_____________________________________
Product Type______________________________________
Purchase date_____________________________________
Warranty Period___________________________________
Dealer Information_________________________________
Customer's Name__________________________________
Customer Phone___________________________________
Customer Address_________________________________
__________________________________________________
WARRANTY CARD
Maintenance Records
Failure date Cause Of Issue Fault Content Principal
Thank you for your support and purchase at we Moes,
we are always here for your complete satisfaction, just
feel free to share your great shopping experience with
us.
If you have any other need, please do not hesitate to
contact us first, we will try to meet your demand.
MOES.Official
@moessmart @moes_smart
@moes_smart
@moes_smart www.moes.net
EVATOST CONSULTING LTD
Address: Suite 11, First Floor, Moy Road
Business Centre, Taffs Well, Cardiff, Wales,
AMZLAB GmbH
Laubenhof 23, 45326 Essen
Made In China
CF15 7QR
Tel: +44-292-1680945
Email: [email protected]
Maker:
WENZHOU NOVA NEW ENERGY CO.,LTD
Address: Power Science and Technology Innovation
Center, NO.238, Wei 11 Road, Yueqing Economic
Development Zone, Yueqing, Zhejiang, China
Tel: +86-577-57186815
After Service Email: [email protected]
AH02
HOME, SMART MOES HOME
BS-FB-V3
SERVICE
Thank you for your trust and support to our products, we will
provide you with a two-year worry-free after-sales service
(freight is not included), please do not alter this warranty
service card, to safeguard your legitimate rights and
interests. If you need service or have any questions, please
consult the distributor or contact us.
Product quality problems occur within 24 months from the
date of receipt, please prepare the product and the
packaging, applying for after-sales maintenance in the site
or store where you purchase; If the product is damaged due
to personalreasons, a certain amount of maintenance fee
shall be charged for repair.
We have the right to refuse to provide warranty service if:
1. Products with damaged appearance, missing LOGO or
beyond the service term
2. Products that are disassembled, injured,
privately repaired, modified or have missing parts
3. The circuit is burned or the data cable or power interface
is damaged
4. Products damaged by foreign matter intrusion (including
but not limited to various forms of fluid, sand, dust, soot,
etc.)