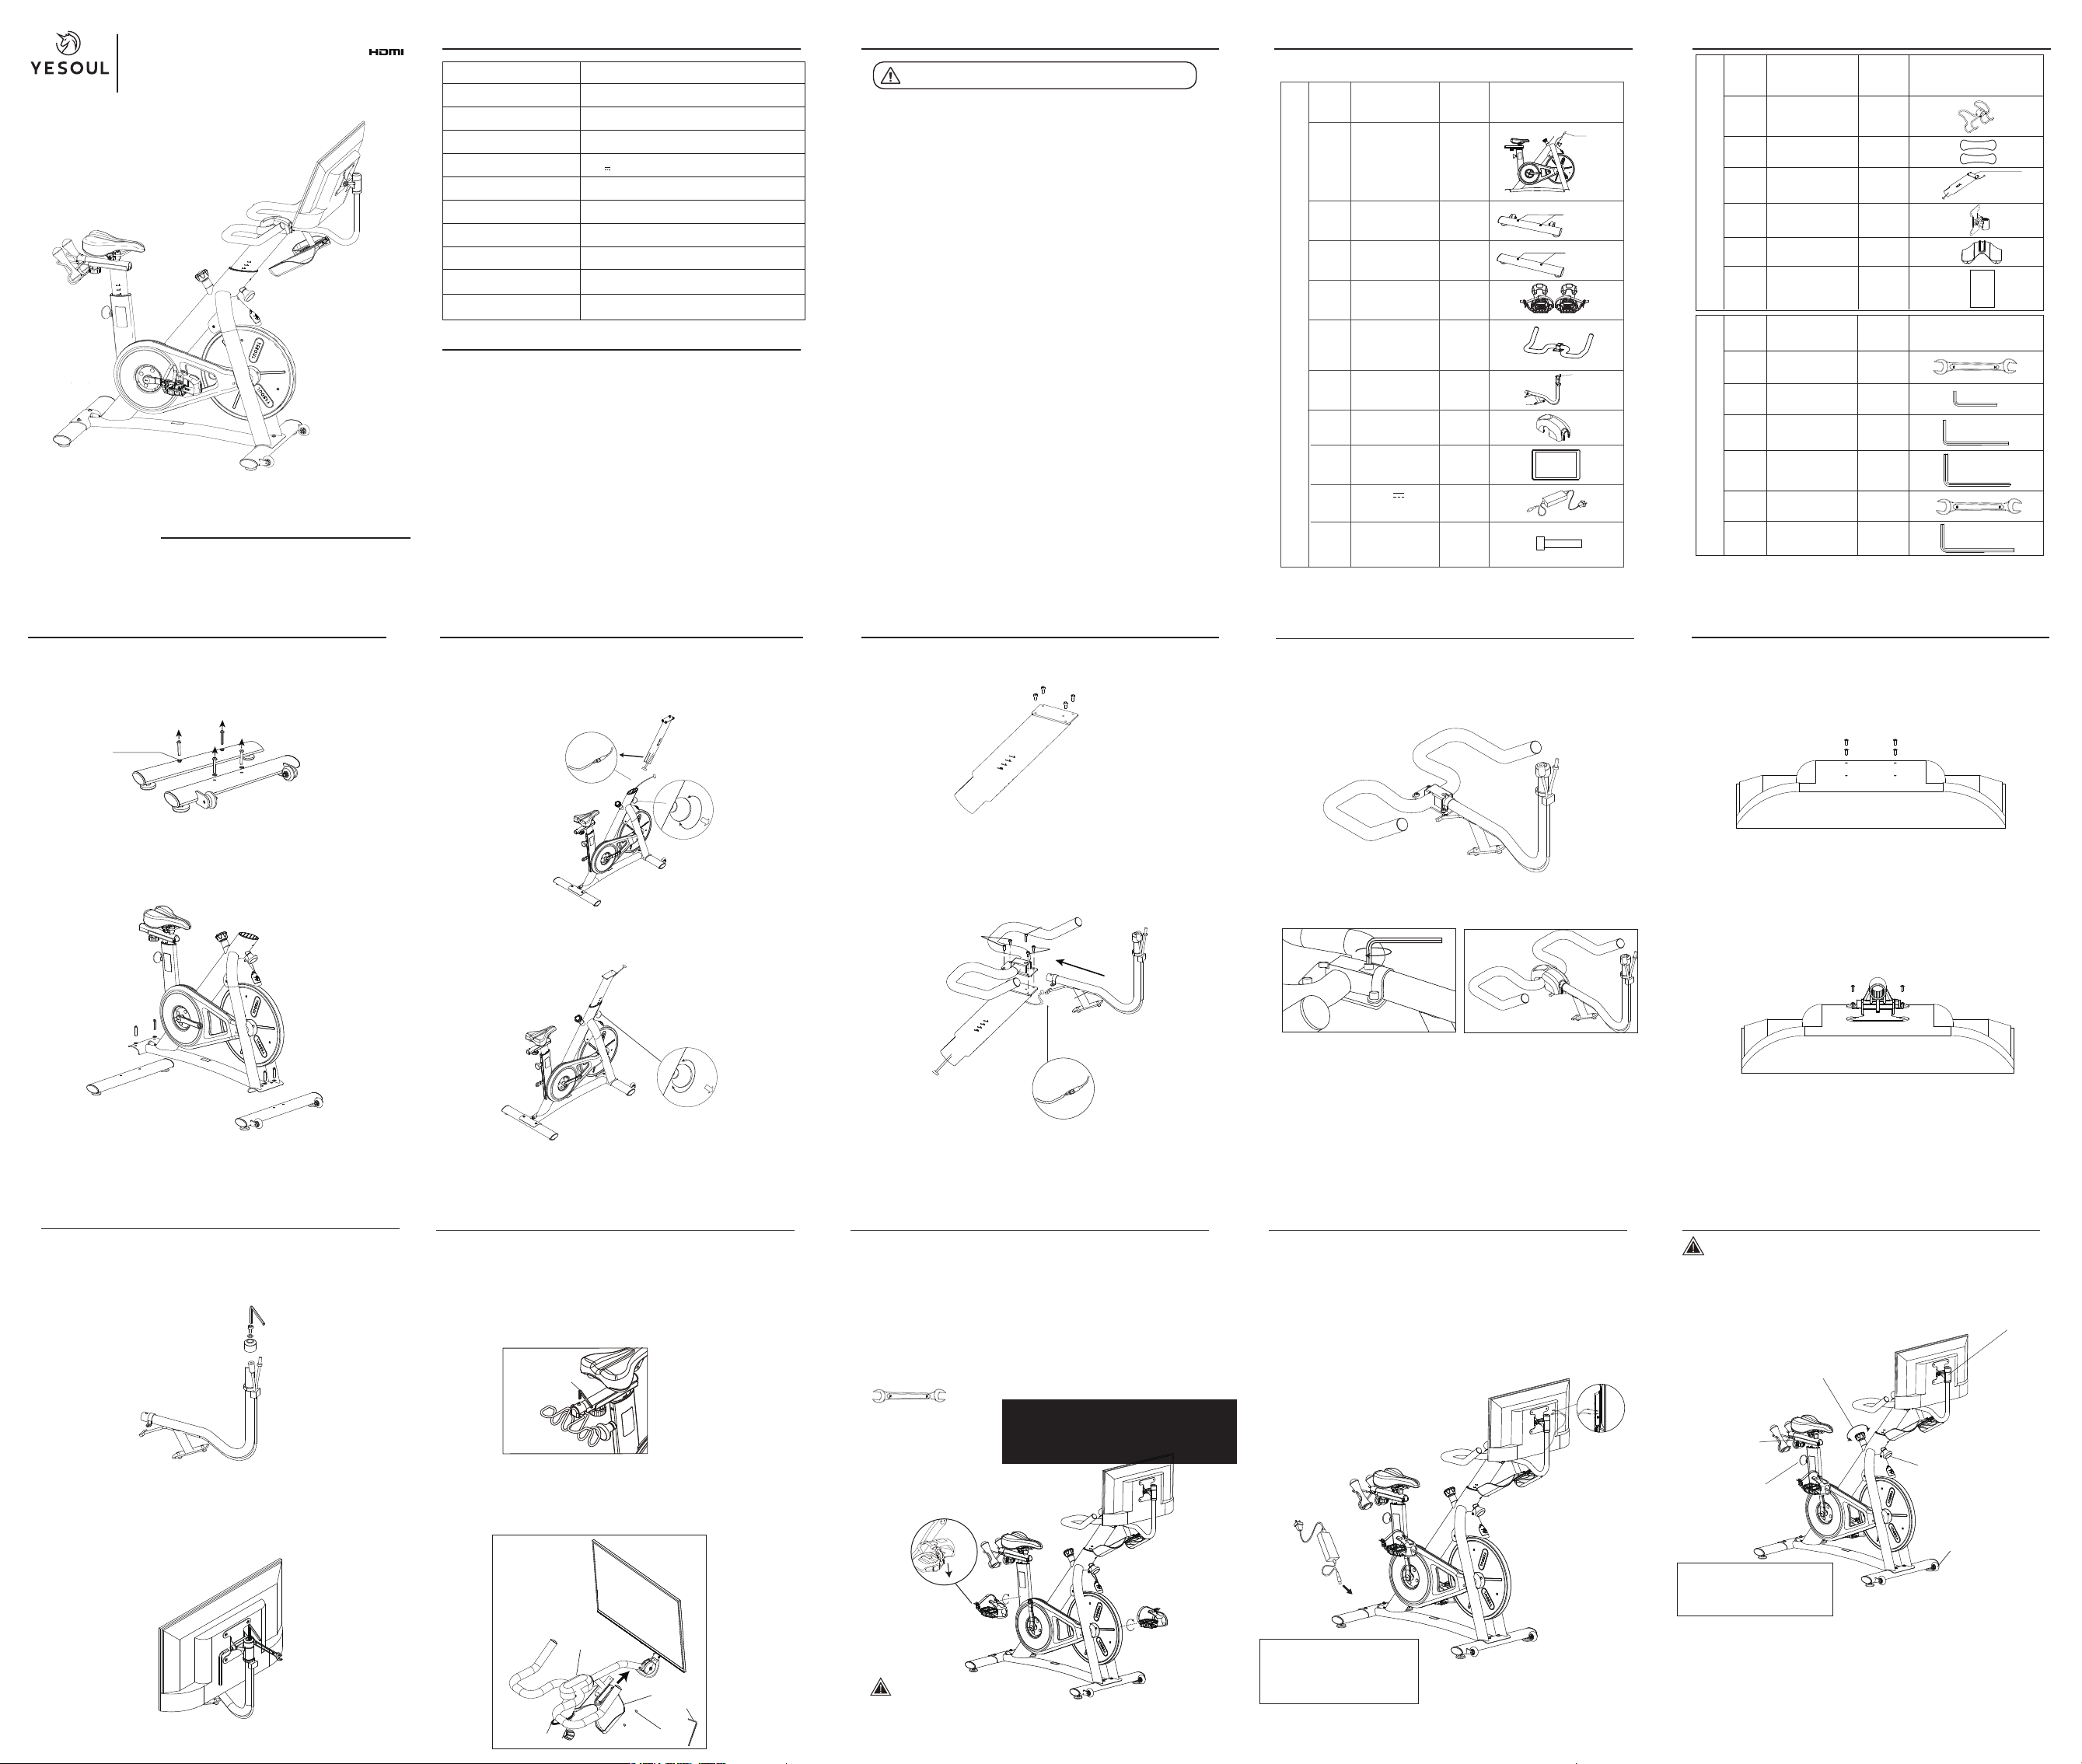
*In order to facilitate assembly, some accessories have been installed on
the body before delivery.
Hexagon socket
cap screw M6×35
⑩
⑨
1
Accessories List (Tools List)
L-shaped head six
Corner wrench, 4#
L-shaped head six
Corner wrench, 5#
L-type cross head
hex wrench, 6#
Open-ended
wrench, 14-17#
Open-ended
wrench,13-15#
Installation Guide Installation Guide
STEP 2: Installation of bottom tube
1. Take L-type cross head hex wrench 6# (D) out of the ziplock bag.
2. Remove four hexagon socket button head screws (M8×45) and washers of the
front tube 2 and rear tube 3 via the L-type cross head hex wrench 6# (D).
3. Align the holes of the front and rear front tube 2 and rear tube 3 with the
bottom holes of the frame 1, manually screw the washers and hexagon socket
button head screws (M8×45), and tighten then via the L-type cross head hex
wrench 6# (D).
5. Finally, tighten all bolts via the L-shaped head six corner wrench 5# (C) and
cover the decorative cover.
M6×12 screws 1-2
Installation Guide
STEP 4: Installation of handlebar assembly
Installation Guide
STEP 5: Fix the Display
1. Use the L-type cross head hex wrench 6# (D) to remove the 4 screws
pre-installed on the screen ⑧, as shown below.
* Please put the screen on the desk flatly. Do not collide with the screen with
hard objects to avoid screen damage!
STEP 9: Installation of connection cable
Important Safety Instructions
G1S PLUS
YESOUL Bike
Display holder
Decorative cover
⑦
1
2×hexagon socket
button head screw
M8×45/washer
2×hexagon socket
button head screw
M8×45/washer
Gasket with M8*16
pre - locking hex socket
head screws
Installation Guide - List of Parts
Parts List (Components List)
NO. Name
Handlebar assembly
Pedal set left/right
Front tube
Rear tube
Quantity Picture
②
③
④
1
1
1
①
1
(left)
(right)
⑤
⑥
1
1
Screen
⑧
1
1
Routine Maintenance
Product Parameters
Installation Guide
STEP 8: Installation of pedal
Safety tips:
Open-ended wrench (E)
(in the ziplock bag)
Reverse riding is not recommended, as it is likely to loosen pedals. After reverse
riding, check whether the pedals are locked, in order to avoid safety issues arising
from loose pedals.
Left pedal
assembly④
Right pedal
assembly④
L-shaped head six Corner wrench
4#(B)
Installation Guide
(for reference only, subject to the actual product)
Note: Check whether the pedal
straps are tightened before
riding. Tighten them by pulling
them down.
Screen connecting
cable
Washer
STEP 3: Installation of head tube
Before installing the
head tube, please screw
out the adjustment
knob as indicated by
the arrow.
Align the port to
connect to the screen
connection cable
* Please make sure
that the connection
direction is correct.
Please do not connect
it with violence.
1. Screw out the adjustment knob as indicated by the arrow, and connect the
screen connection cable in the head tube 13 to the cable in the bike 1 (as shown in
the figure). After the screen connection cable is connected, align the head tube 13
to the mounting hole of the frame 1 (Note: Place the surface with a hole in the
head tube 13 outwards. Do not press the cable);
2. Insert the head tube 13 into the frame1, and keep the scale parallel to the top
surface of the tube. Align the hole on the head tube 13 with the hole on the frame1.
Then, tighten the adjustment knob as indicated by the arrow.
After installation,
tighten the head tube as
indicated by the arrow.
STEP 6: Installation of dumbbell rack
STEP 7: Installation of bottle holder
⑥
⑮
⑯
1. Take the pedals from the package.
2. Distinguish left and right pedals. The right pedal is marked blue “R”, and the
left pedal is marked red “L” (Pay attention to distinguish left and right pedals. If
they are not installed correctly, crank threads will be damaged!)
3. Stand behind the seat and face the handlebar. Install the right pedal on the right
crank, and ensure that the pedal is vertical to the crank mounting hole. Use an
open-ended wrench (C) to lock it toward the head direction. Install the left pedal to
the left crank, and ensure that the pedal is vertical to the crank mounting hole. Use
an open-ended wrench (C) to lock it toward the head direction. Note: During
installation, correspond the red mark on the crank to the red mark on the pedal,
and the blue mark on the crank to the blue mark on the pedal.
Tight
Loose
Tight
Loose
L-shaped head six
Corner wrench, 8#
1. Remove the four M6×12 hexagon socket bolts pre-locked on the head tube1.
2. Align the screen’s fixed part ④ with the hole position (the two protruded
holes on the screen’s fixed part shall be parallel with the screen). Use the L-type
cross head hex wrench 6# (D) to fix the screen’s fixed part ⑭ on the screen ⑧
through the hole positions on the screen’s fixed part ⑭ through the 4 screws;
Installation Guideline
3. Use the L-type cross head hex wrench 6# (D) to remove the screws fixed on the
support ⑥, and remove the knob’s upper cover; insert the pre-assembled TV
from top to bottom into the sleeve, and use the tool D to put the removed parts
back in order and tighten them;
As shown in the figure, remove the two hexagon socket button head screws
pre-installed in the screen bracket 6; and align the bottle holder with the slot in
the screen bracket 6, and push it in along the direction shown in the figure.
Then, use the L-shaped head six corner wrench 4# (B) to align two hexagon
socket button head screws with the holes, and lock the bottle holder.
Safety tips:
Never insert the cable into the
interface of the tablet or pull it
out without cutting off the power supply.
Statement:
This manual contains the functional introduction and operating instructions as
much as possible when printed. With the continuous improvement of hardware
and software and optimization of design, this manual may be inconsistent with
the purchased product.
In case of any discrepancy in appearance, interface and color, the actual
product shall prevail.
Rear column
tightening knob
(Adjust the saddle
height)
Front tightening knob
(Adjust the head height)
Lockable pulley
Saddle tightening
knob(Adjust the
saddle
horizontally)
Saddle tightening
knob(Adjust the
saddle
horizontally)
Resistance knob
(Please adjust the resistance appropriately
according to your exercising needs. Press
the knob to brake in an emergency.)
M6×12 screws 3-4
4. After installation, check whether the screen will fall off when flipping up and
down. If this happens, use the
L-shaped head six corner wrench 8#(F) and the
14-17 open-end wrench (A) to tighten it, as shown in the figure; (If there is
looseness during usage or it is required to adjust the joint, please follow this
step for adjustment).
360 degrees of rotation angles
of the screen(Here, the L-type
cross head hex wrench 6# (D)
can be used to tighten/loose).
+
-
Installation Guide
3. Align the holes at the connection of the handlebar assembly 5, and place
the M6×12 bolts 1-2 (as shown in the figure) into the holes, and manually
rotate the screws (at this point, do not screw them tightly); then, connect
the screen connection cable to the cable inside the display holder 6(as
shown in the figure). Then, insert the display holder 6 into the round hole of
the handlebar as indicated by the arrow.
4. Align the holes correctly, and put the M6×12 bolts 3-4 (as shown in the figure)
into the holes, and screw them tightly respectively. Then, take one hexagon
socket cap screw M6×35 10 from the part bag, and manually screw it into the
corresponding hole. (Pay attention to protecting the cable and avoid damage)
(The picture on the right shows the effect after placing the screen bracket6 into
the handlebar assembly 5).
* Note: check that the screen support’s rotary joint should be locked tightly.
Before using this product,
carefully read and properly
keep this manual.
Product model: YS-001
YESOUL Smart Cycling Bike
G1S PLUS Product Manual
Screen size
Supporting software version
Resistance system
Drive mode
Power supply input
wireless connection
Height limit
Rated maximum load
Net weight
Gross weight
Overall dimensions
23.6 inch (1366*768 pixels)
Android 5.1
Magnetron resistance system
Belt drive
12V 3A
150 ~ 188cm
120kg
33.5kg
37kg
(Length) 1295mm × (Width) 530mm × (Height) 1420mm
Please read them carefully. Improper use may result in personal
injury or death!
1. Make sure that the saddle height adjustment knob is secured correctly, and will not affect
motion during exercise.
2. Keep children and pets away from this product. This product is for those over 16 years old only.
3. Never stretch any object or body part into the openings of the bike.
4. The weight of the user must not exceed the maximum load.
5. Get off the bike until flywheel and pedals stop rotating. Otherwise, severe injuries may be
caused due to control failure.
6. If you feel any discomfort, such as dizziness or breathing difficulty, stop riding the bike and
carefully get off.
7. Never turn pedals by hand. or touch any rotating mechanical part; otherwise, personal injury
may be caused.
8. Keep the body hydrated as needed during riding.
9. Use this product according to the instructions in this manual. Warm up fully before exercise.
10. Without the preliminary determination of baseline fitness level and medical certificate signed
by a doctor, never be engaged in high-speed or high-intensity sports. Before attempting any
high-intensity short sprints, pay attention to the body state and posture, and apply a controllable
speed.
11. Wear professional cycling clothes or tight-fitting sportswear and sports shoes, and tighten foot
straps to avoid injury caused by pulling or entanglement by this product.
12. Never use this product with inappropriate shoes or barefoot.
13. Incorrect or excessive training may cause injury.
14. Check whether the bike for loosening or damage before each use.
15. Never refit this bike or use non-original accessories without permission. The casing must be
opened by professionals, in order to avoid damage.
16. Those pregnant or with high blood pressure, heart disease, lumbar spondylosis or reduced
mobility must not use this product without the permission of doctors.
17. In case of any discomfort such as dizziness or chest pain during exercise, stop exercising
immediately and go to a hospital for examination.
18. If the product fails, immediately stop using it.
19. This product must not be used for medical rehabilitation.
20. Use this product on a flat and clean ground.
21. Carry out preventive maintenance regularly.
22. Never expose this product in a humid place. This product must not be used outdoor or in any
humid place.
23. This product is for household use (Class H) and not medical fitness equipment.
24. Get off the bike or enable the emergency brake until inertia wheel and pedals stop rotating.
Otherwise, severe injuries may be caused due to control failure.
25. Turn the knob to the right end to lock the corresponding component.
26. Please use the standard power adapter. Replacement of the power adapter without
authorization may cause serious consequences.
STEP1: Check of parts
Frame
Installation Guide - List of Parts
Name Quantity Picture
Align the port to connect to the
screen connection cable
* Please make sure that the
connection direction is correct.
Please do not connect it with
violence.
1. Use the L-shaped head six corner wrench 4# (B) to remove the screws
(M6×12) from the slide tube;
2. Put the dumbbell rack 11 on the slide tube and align the holes;
3. Manually install screws through the holes, and use the L-shaped head six
corner wrench 4# (B) to lock.
4. Place the dumbbell on the dumbbell rack.
Installation Guide
(for reference only, subject to the actual product)
Screw the pedal into the crank manually first, and then
tighten the pedal assemblies L/R ④ with the open-ended
wrench (E). (Note: The tightening directions for both the
left pedal and the right pedal are towards the head
direction.)
1. Plug the cable of the power port (a) and signal port (b) of the display into the
jack at the bottom of the back of the display. Make sure that the cable is inserted
tightly. Make sure to distinguish the ports specifications. The power cable port
should be tightened without looseness.
2. Connect the power adapter 9 to the power jack on the rear part of the frame 1.
(Please use the standard power adapter. Replacement of the power adapter
without authorization may cause serious consequences.)
Note: Never insert the cable
into the interface of the
tablet or pull it out without
cutting off the power supply.
Installation Guide
(for reference only, subject to the actual product)
Before the first use, please turn the
resistance adjustment knob
counterclockwise to loosen it;
otherwise, you cannot ride the bike!
The device only supports Wi-Fi 2.4G&BT network connection,
do not use Wi-Fi 5G network connection
12V 3A
power adapter
1. Keep the cycling bike on a dry, ventilated and flat floor. If not used in a long time, the bike should
be covered to keep its body clean and tidy.
2. Wipe off sweat on the frame with cloth after exercise. Do not wipe the bike with wet cloth, in order
to avoid rusting.
3. Check the belt pulley for cracking and deviation, and adjust or replace the belt in time. Regularly
clean the belt groove to prevent the belt from jumping out of the groove.
4. Always check the screws of all body parts for loosening or falling, and tighten or replace them in
time.
5. Always check the resistance adjustment knob for loosening or falling. Check whether the
resistance is reasonable, so as to calibrate resistance in time.
6. Always check the screws of pedals and cranks for loosening, and tighten them in time.
7. Always check whether the saddle is loose and tighten it in time. Wipe the saddle with cotton cloth
to keep it dry.
8. Always check the power cable for cracking and deviation, and replace the damaged one in time.
9.The product should have at least 0.5 meters of free space all around it.
10.Lift the rear tube and the roller on the front tube can move the product freely or be placed in a
suitable position.
⑩
⑥
hexagon socket
button head screw
M6*8
NO.
A
B
C
D
1
1
1
1
E
1
F
1
Parts List (Components List)
Dumbbell rack
Dumbbell
Head tube
Screen fastener
Bottle holder
Name Quantity Picture
M6x12 hexagon bolts x4
NO.
⑪
⑫
⑬
2
1
1
⑭
1
⑮
⑯
1
2
instructions
instructions
L-shaped head six
corner wrench 4#
(B)
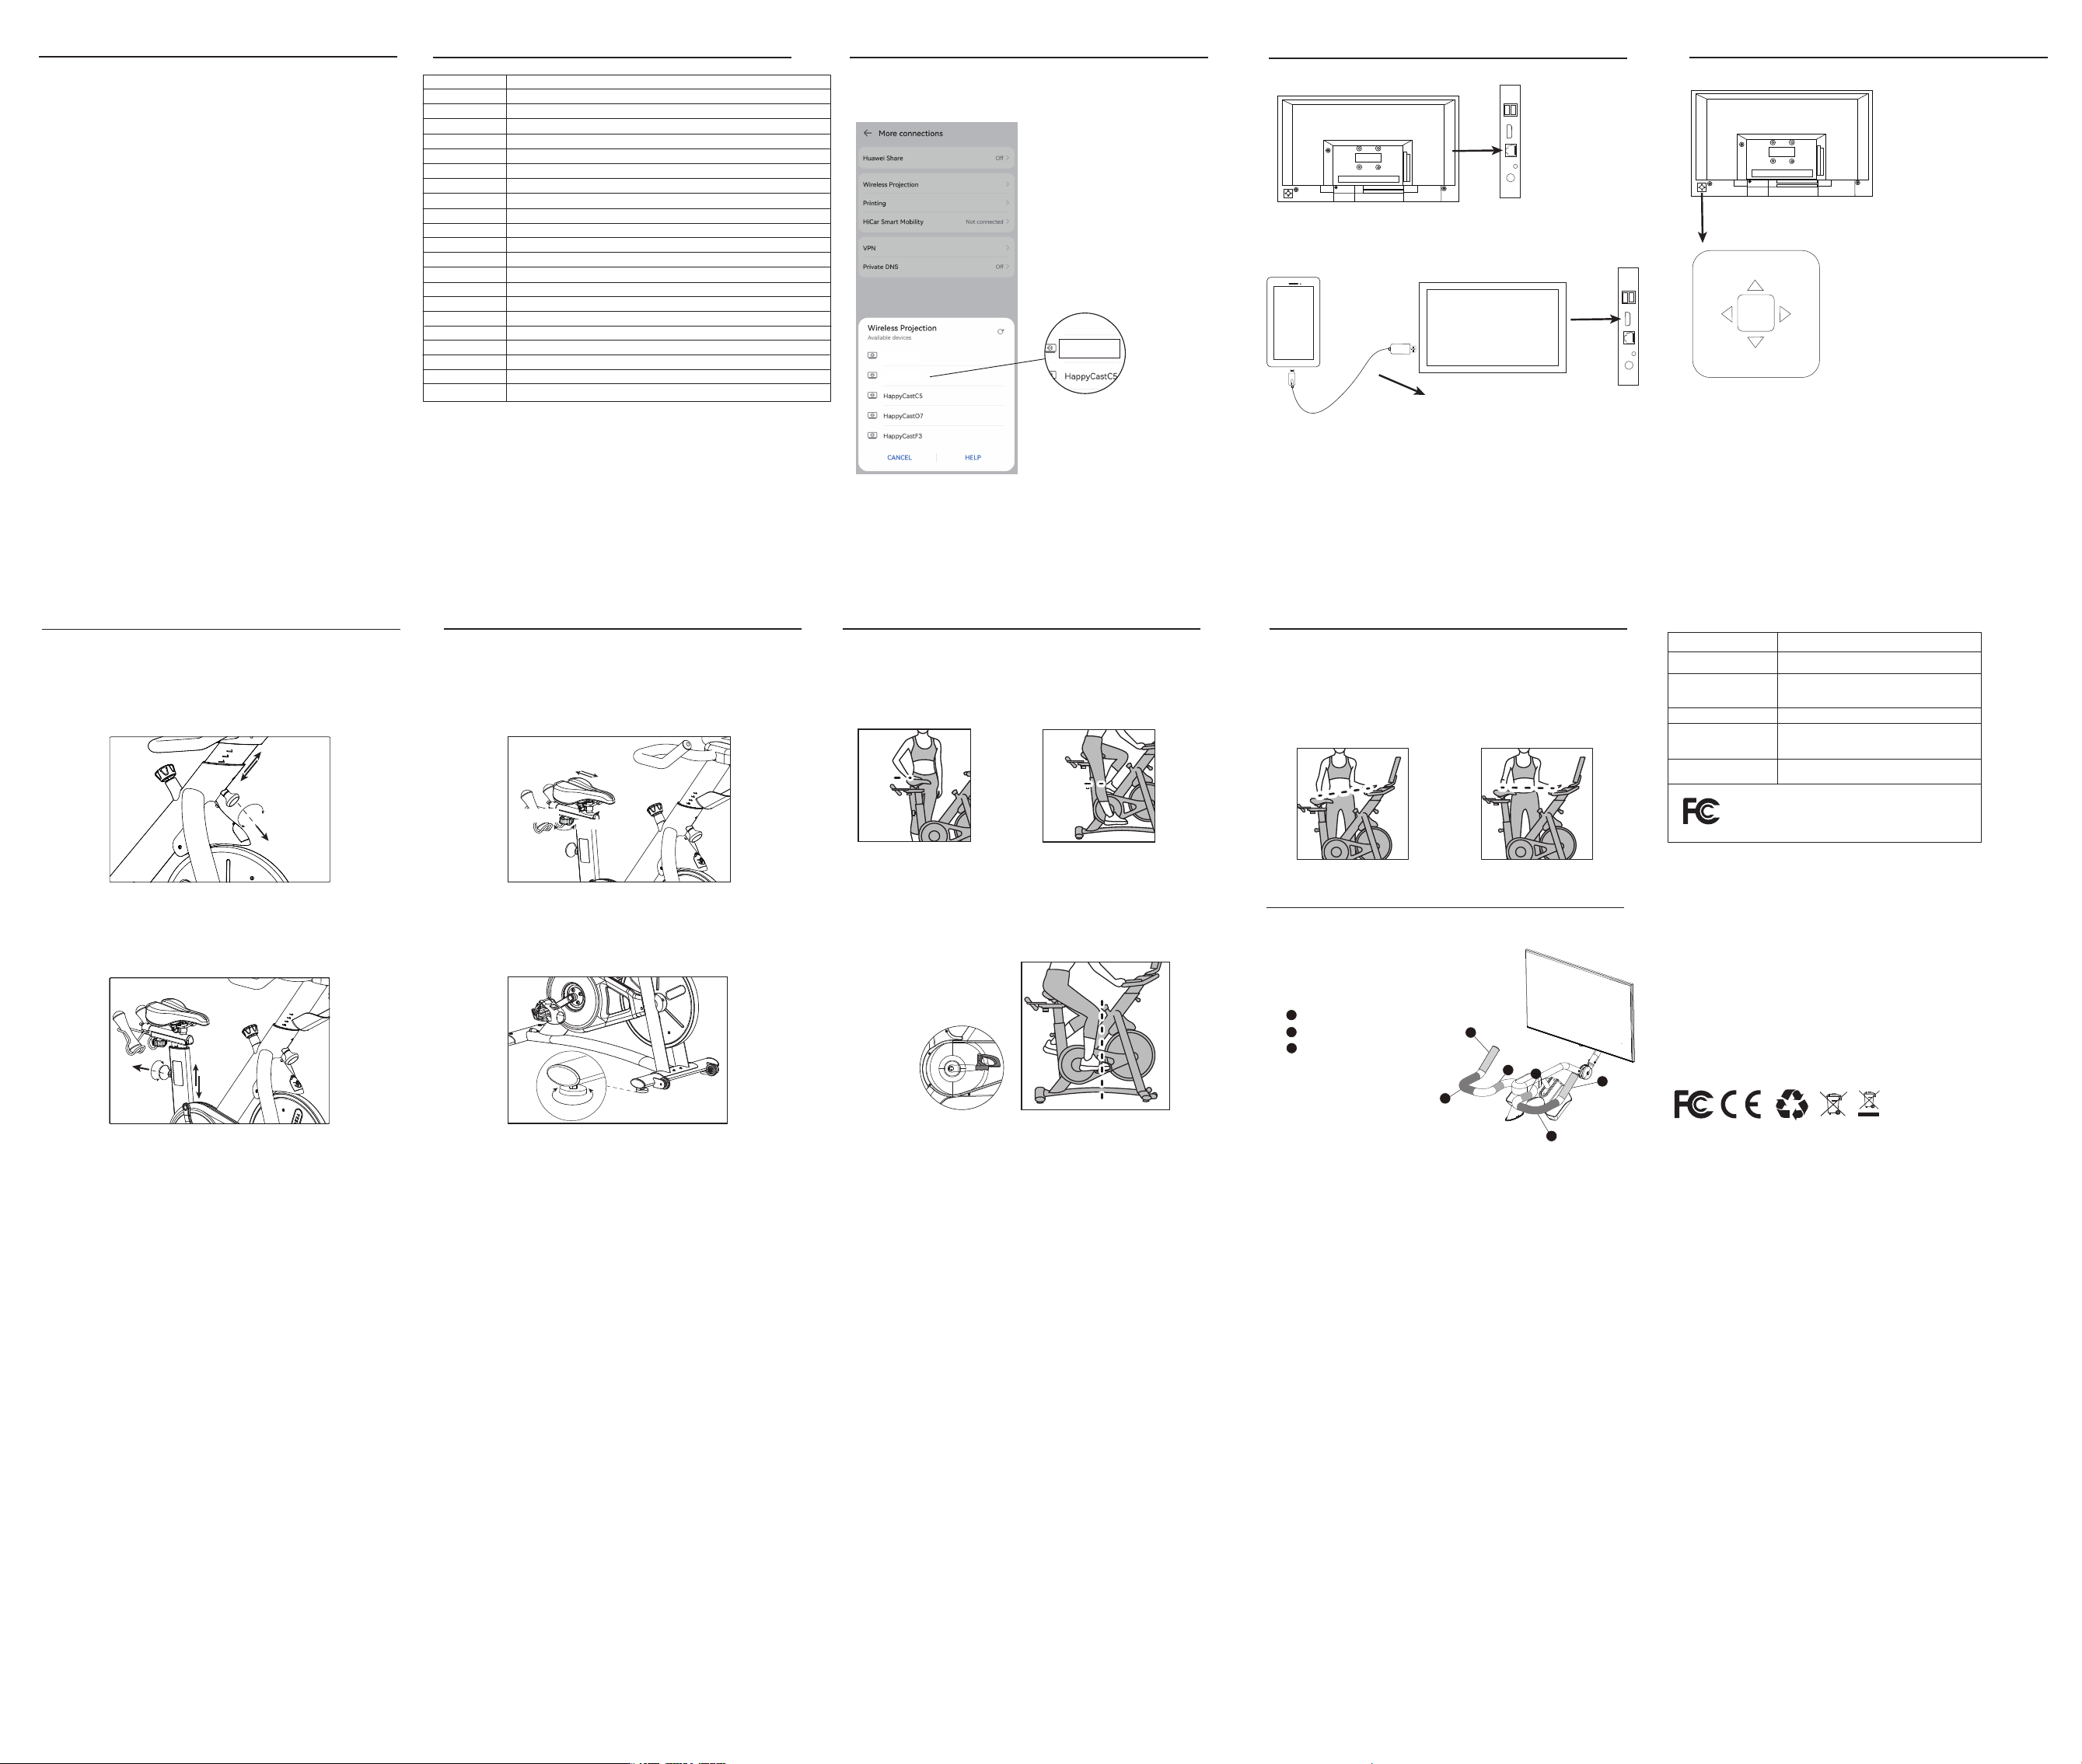
Note: G1S-PLUS needs to be used with the YESOUL FITNESS App on the smartphone
(hereinafter referred to as: APP).
Step 1 - Download and Install the App on your iPhone or Android phone(follow-
ing three ways to choose from)
-Search for "YESOUL FITNESS" in App Store or Google Play (recommended).
-Scan the QR code on the screen of the bike to download and install the App.
-Visit https://yesoul.net/t/t/A45c3 via web browser on your phone to download
and install th App .
Step 2 - Account Registration
-Open the APP on your mobile phone and complete the account registration.
-During registration, you need to authorize the application to use Bluetooth and
Location Service, otherwise the application will not be able to connect to your bike
normally.
Step 3 - APP Connection with G1S-PLUS
-Enter the APP, click on the "+" in the upper right corner of the Home page to
connect your bike.
-Select your bike for connection and network wiring in the list of searched
devices.
-According to guidelines, select WIFl and enter the correct password, the APP will
help to complete the network wiring.
Note: Please keep your phone's Bluetooth permission on and make sure the
"YESOUL FITNESS" in your phone setting list has been authorized to use
Bluetooth and Location Service.
Step 4 - Start your Yesoul riding journey
-When the calendar shows up on the screen of your bike, it means the connection is
successful.
-You can select any workout or riding mode in the APP and start your Yesoul riding
journey.
Connect your bike with phone
to start your Yesoul riding journey
Company Name
Product Name
Add
FUJIAN YESOUL HEALTH TECHNOLOGY CO., LTD.
YESOUL BIKE G1S PLUS
RM B616, NO.1 Building, Strait Economic and
Trade Plaza,Fuzhou Free Trade Zone, Fujian
Province (Free Trade Zone)
Grade
Executive standard
FCC ID
For Consumer Use Only
ISO 20957-1:2007 ISO 20957-10:2007
GB 17498.1-2008 GB 17498.10-2008
ASTM F 1250 ASTM F 2276
This device complies with part 15 of the FCC Rules. Operation is
subject to the following two conditions: “(1) This device may not
cause harmful interference, and (2) this device must accept any
interference received, including interference that may cause
undesired operation."
Turn the handle to the right with one hand, and hold the middle part of the
handlebar with the other hand, and lift (or press) the handlebar to the desired
position. Then turn the handle to the left until it is tightened.
Turn the handle to the left with one hand, and hold the middle part of the
handlebar with the other hand, and lift (or press) the handlebar to the desired
position. Then turn the handle to the right until it is tightened.
Loosen the handle under the saddle, slide the saddle back and forth to the
desired position, and tighten the knob as much as possible.
There are four adjustment pads at the bottom of the front and rear pedal tubes.
Screw these pads until they are tightly secured on the floor and the body does not
shake.
3 o’clock: the right crank
is parallel to floor
in the right directio
(Fig. 1) (Fig. 2)
(Fig. 3)
How to Adjust Bike
1 .Handlebar height adjustment:
2. Saddle height adjustment:
How to Adjust Bike
3.Horizontal adjustment of saddle:
4.Body level adjustment:
Horizontal position of saddle
Put the right foot into the clamp, and step on the pedals, until the right pedal is at 3 o’clock and
the front side of the knee joint is on the same vertical line as the pedal, that is, the saddle is in the
correct position (Fig. 3).
The head tube must not exceed
the MAX mark during handlebar
adjustment.
Tight
Loose
Low
High
How to Determine Correct Riding Posture
1. Setup of correct saddle position
Saddle height
Put the feet together, stand on one side of the saddle and adjust the saddle to the hip height (Fig.
1). Then site on the saddle, and step on the pedals forcibly until they are stopped at 6 o’clock and
the leg can be fully stretched (Fig. 2).
Hip
joint
Leg
straight
3
1
3
2
2
1
3
How to Determine Correct Riding Posture
2. Setup of appropriate handlebar height
Each user can set up the appropriate handlebar height based on his or her body height and riding
experience.
Recommendation: The handlebar should be slightly higher than the saddle for new users (Fig. 1)
and flush with or slightly lower than the saddle for experienced users (Fig. 2).
Users subject to lumbar muscle strain and lumbar spondylosis may ride the bike with the consent
of doctors. It is recommended to adjust the handlebar into a higher position.
Hand position 1
1
Hand position 2
2
3. Handle position layout of bike
During riding, coaches will show the corresponding hand positions, i.e. the corresponding parts of
the handlebar, as shown below.
Hand position 3
(Fig. 1) (Fig. 2)
Wired projection screen
Monitor Specifications
Five-Button Control
1.Wired network connection
2.Connect one end of the screen mirroring device to your phone and the other
end to the HDMI port of the screen to mirror your phone's content on the screen.
Jack
Jack
Same screen device
Reminder: Screen mirroring devices that support Android or IOS need to be
purchased separately. If you need one, please consult customer service personnel.
Note: Android phones need to support DisplayPort (DP) signal output in order to
use the wired projection function normally.
1. On/Off button: After power on, press once to turn on the device,
and press again to turn off the device;
2. Volume button: Press the right button to increase the
volume, and press the left button to decrease the volume;
3. Screen brightness button: Press the up button to increase the
brightness, and press the down button to decrease the brightness;
4. Reset button: Press and hold the power on/off button for 7
seconds to enter the system recovery mode.
HDMI
Ethernet port
Size
Backlight
Maximum resolution
Contrast ratio(Typ)
Response time(Typ)
Display scale
Color Gamut(NTSC)
CPU Frame
GPU
RAM(DDR)
ROM(Flash)
Audio power(Output)
WIFI(Type)
USB 2.0
RJ-45
Bluetooth(Version)
HDMI
Operation system
Standby power
Rated power
Working condition
Storage condition
23.6" diagonal
DLED direct Type
1366x768
1000:1
14ms
16:09
≥NTSC 62%
ARM Cortex-A55/1.45GHz/Quad core
Mali G31 MP2/Dual core
1GB
8GB
6W+6W
2T2R (MT7663BUN BL-M7663BU4 (IEEE 802.11a/b/g/n/ac) Bluetooth v5.1 2T2R 2.4GHZ/5GHz )
2
1
5.1
1
Android 11
≤0.5W
38W
Temperature:5°C~40°C humidity:20%~80% atmosphere:86kPa~106kPa
Temperature: -20°C~55°C humidity:20%~80% atmosphere:86kPa~106kPa
Brightness+
Brightness-
on/off button
volume-
volume+
2A3YB-YSBG1SPLUS
Cast
Please enable wireless projection feature, cast to "YESOUL-xxxx"
Cast to "YESOUL-xxxx"
YESOUL — xxxx
Happy
YESOUL — xxxx
Happy
Horizontal adjustment
of saddle
Pull
The saddle must
not exceed the MAX
mark during saddle
adjustment.
Tight
Loose
Tight
Loose