How to Install Reolink Bullet
Cameras
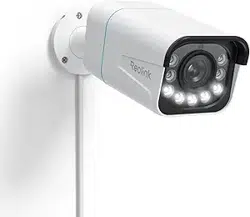
Here is a concise but useful guide for you to learn how to install Reolink bullet
cameras.
Applies to: RLC-410, RLC-410W, RLC-510A, P321, RLC-510WA, W320, RLC-511,
RLC-511W, RLC-511WA, RLC-810A, P331, RLC-811A, P430, RLC-812A,
RLC-1212A, P341, RLC-81MA, P330M, RLC-81PA, P330P, CX410, ColorX Series
P320X, CX410W, ColorX Series W320X, CX810, ColorX Series P330X
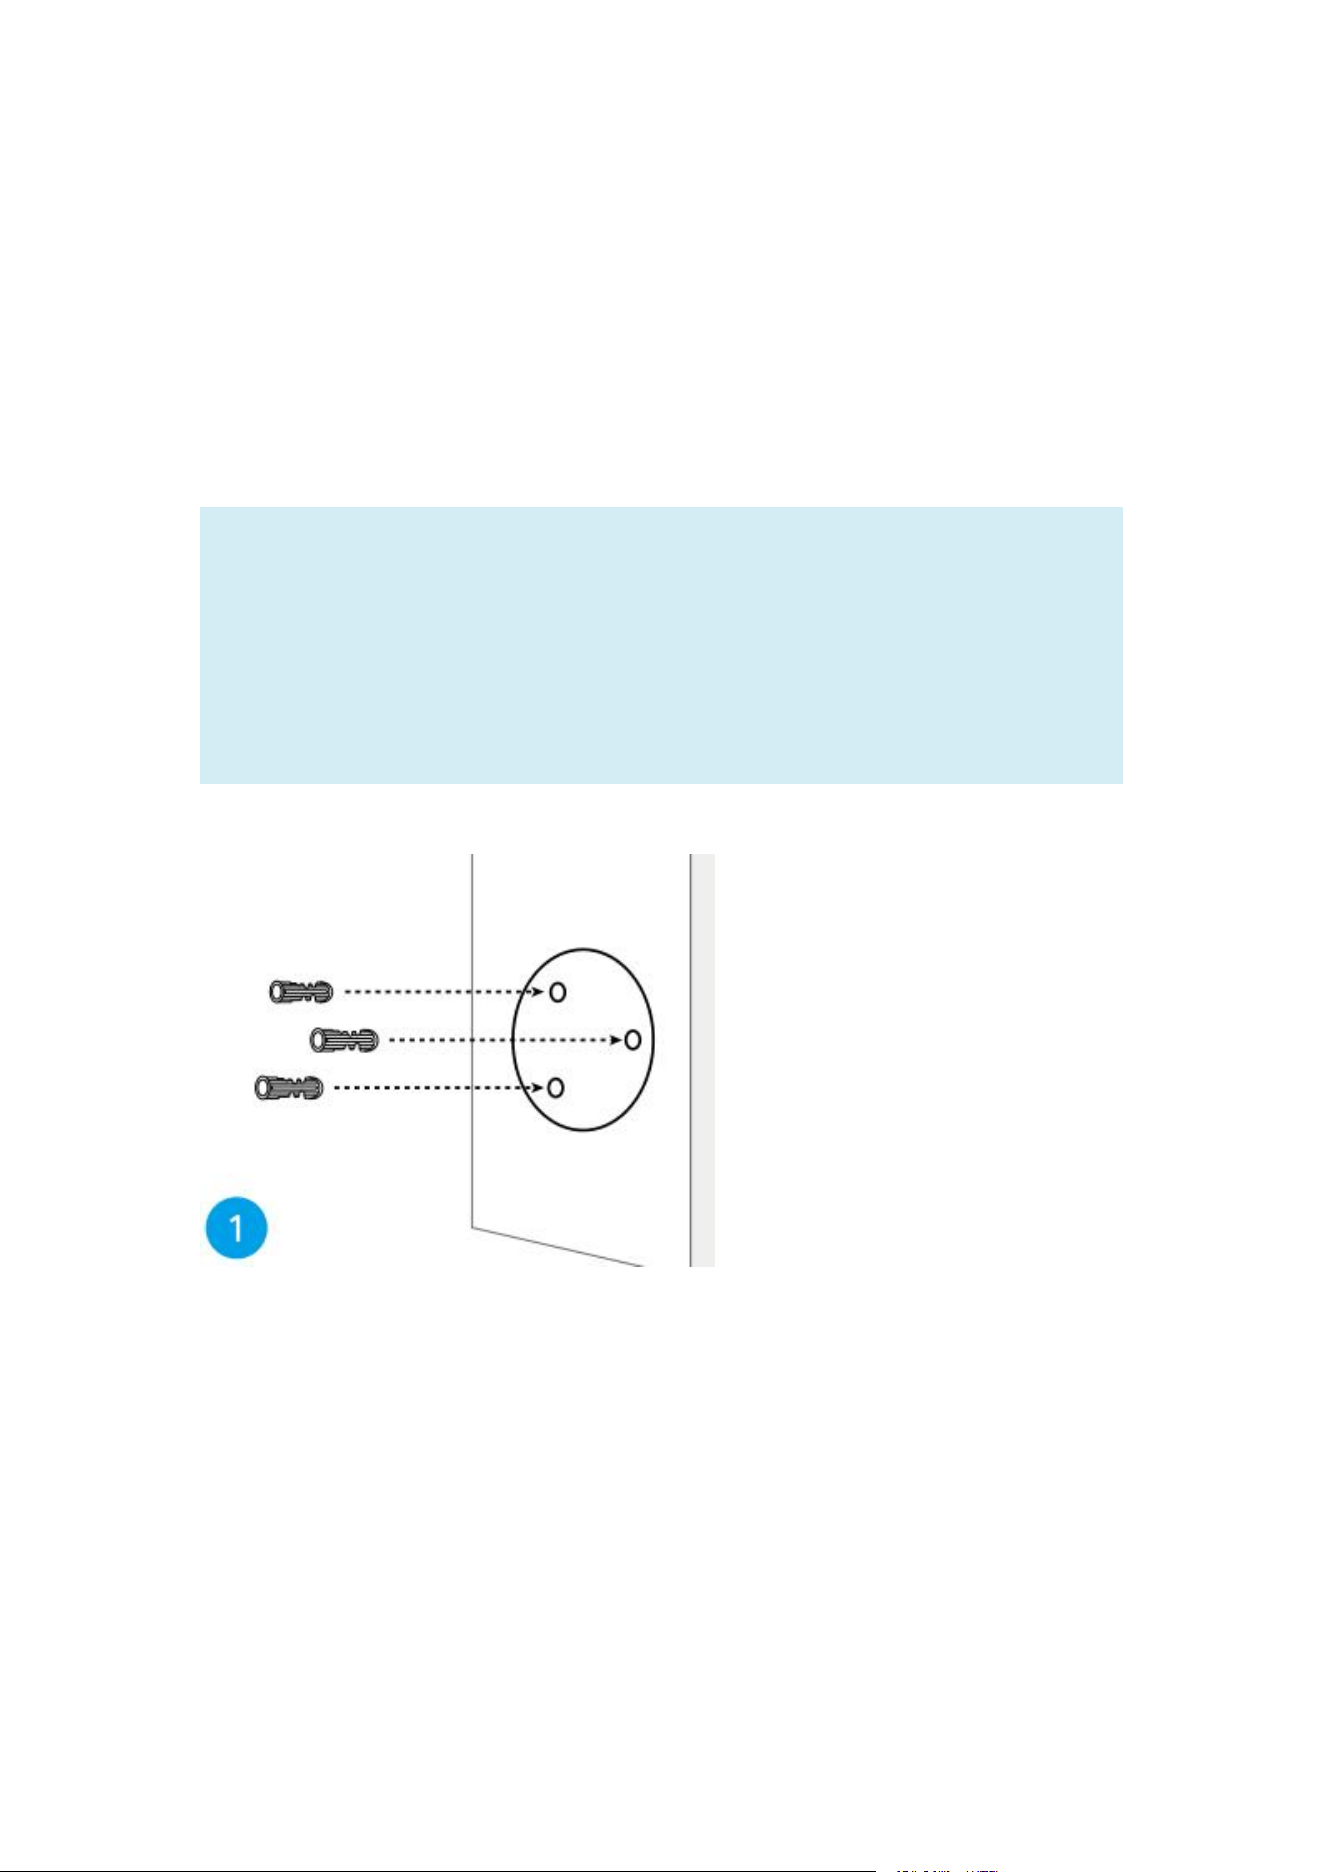
Step 1. Drill holes in accordance with the mounting hole template.
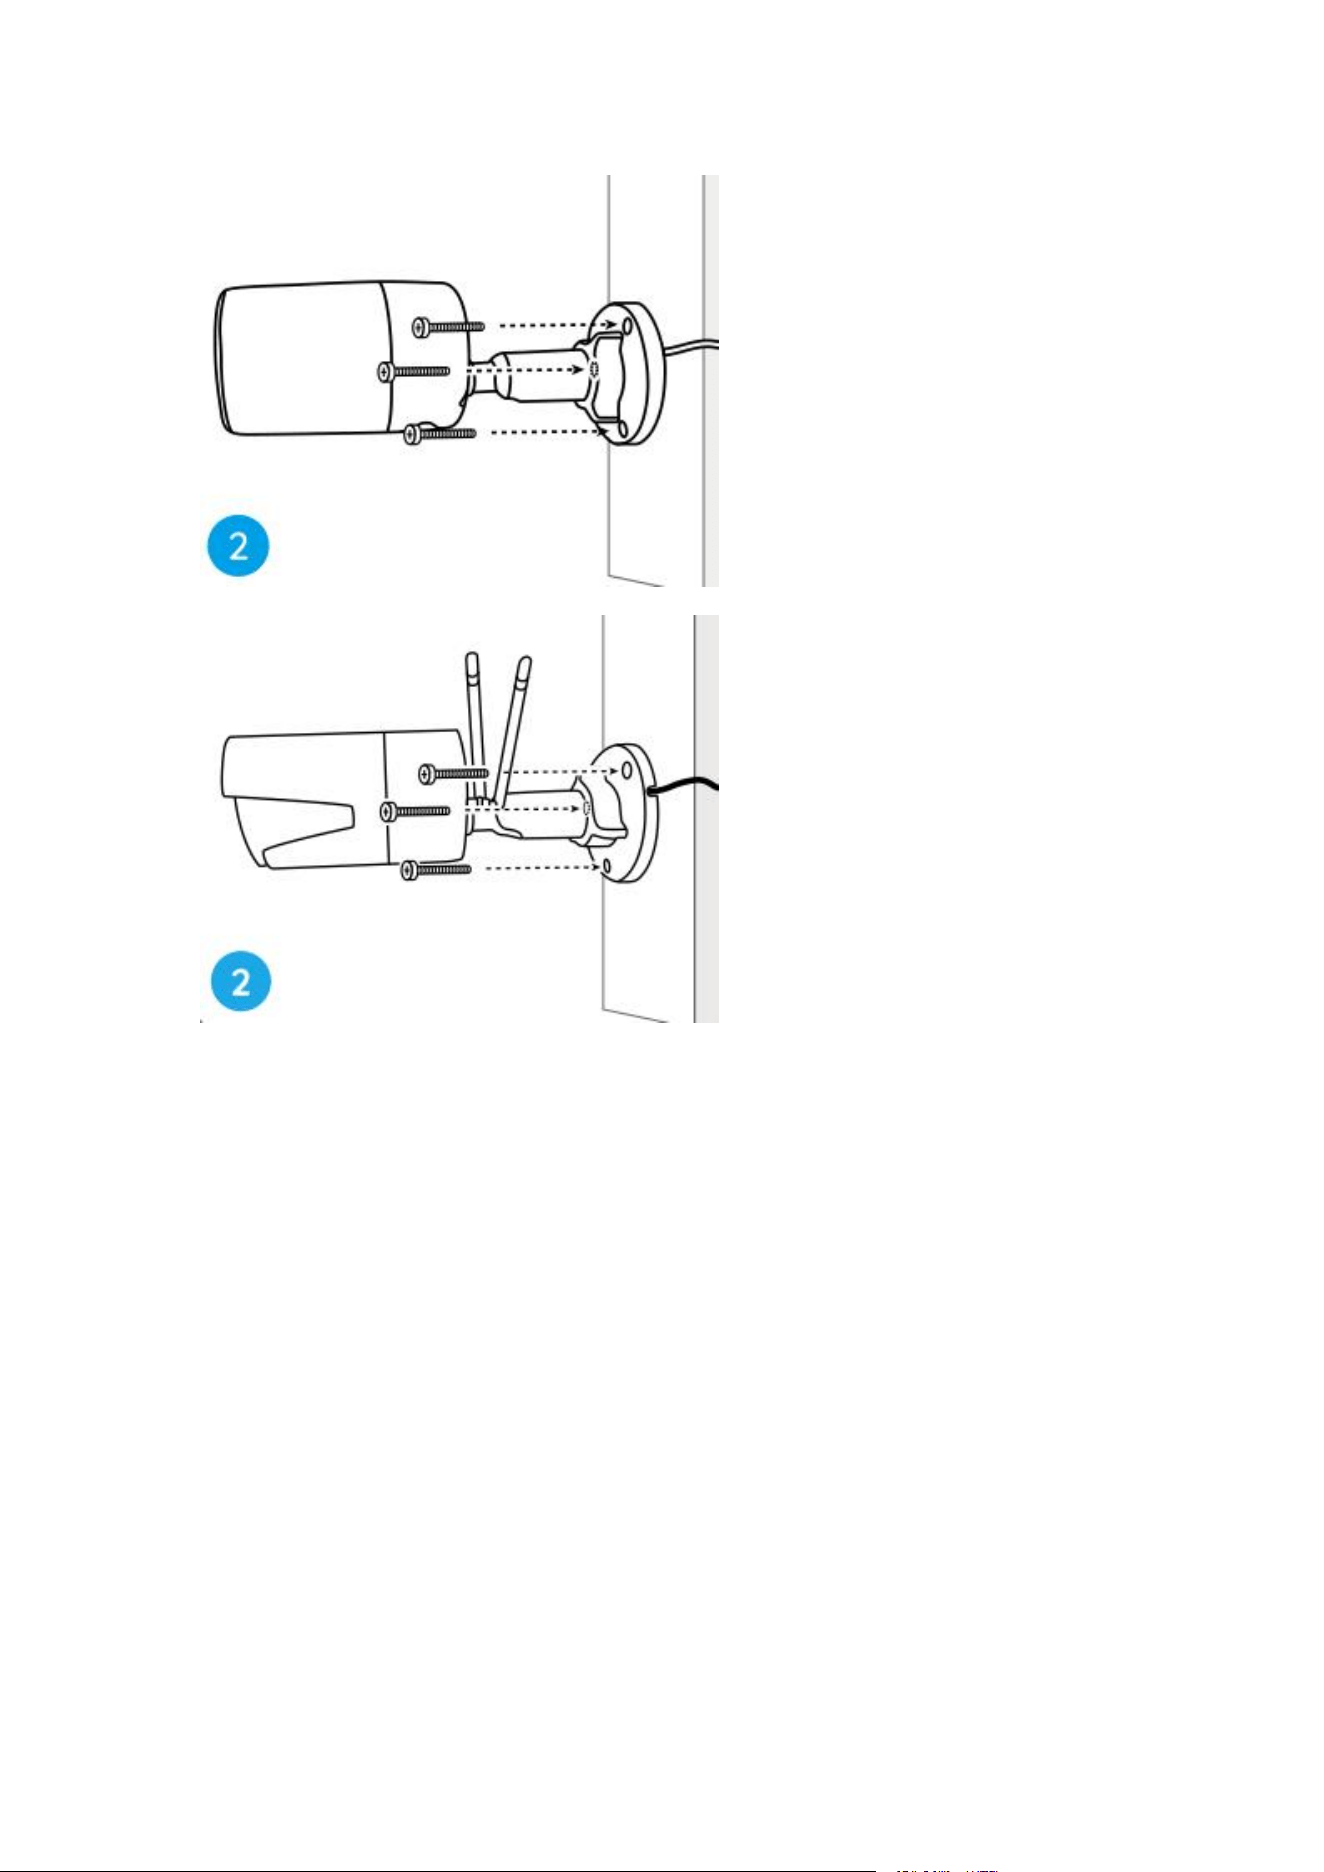
Step 2. Install the mount base with the mounting screws included in the
package. (For WiFi cameras, please install antenna in advance)
Notes:
Run the cable through the cable notch on the mount base.
As for the WiFi camera, it is recommended that the antennas be installed
upward or horizontally for better WiFi connection.
Step 3. loosen the adjustment knob by twisting it counterclockwise on the
security mount, and turn the camera to get an ideal view.
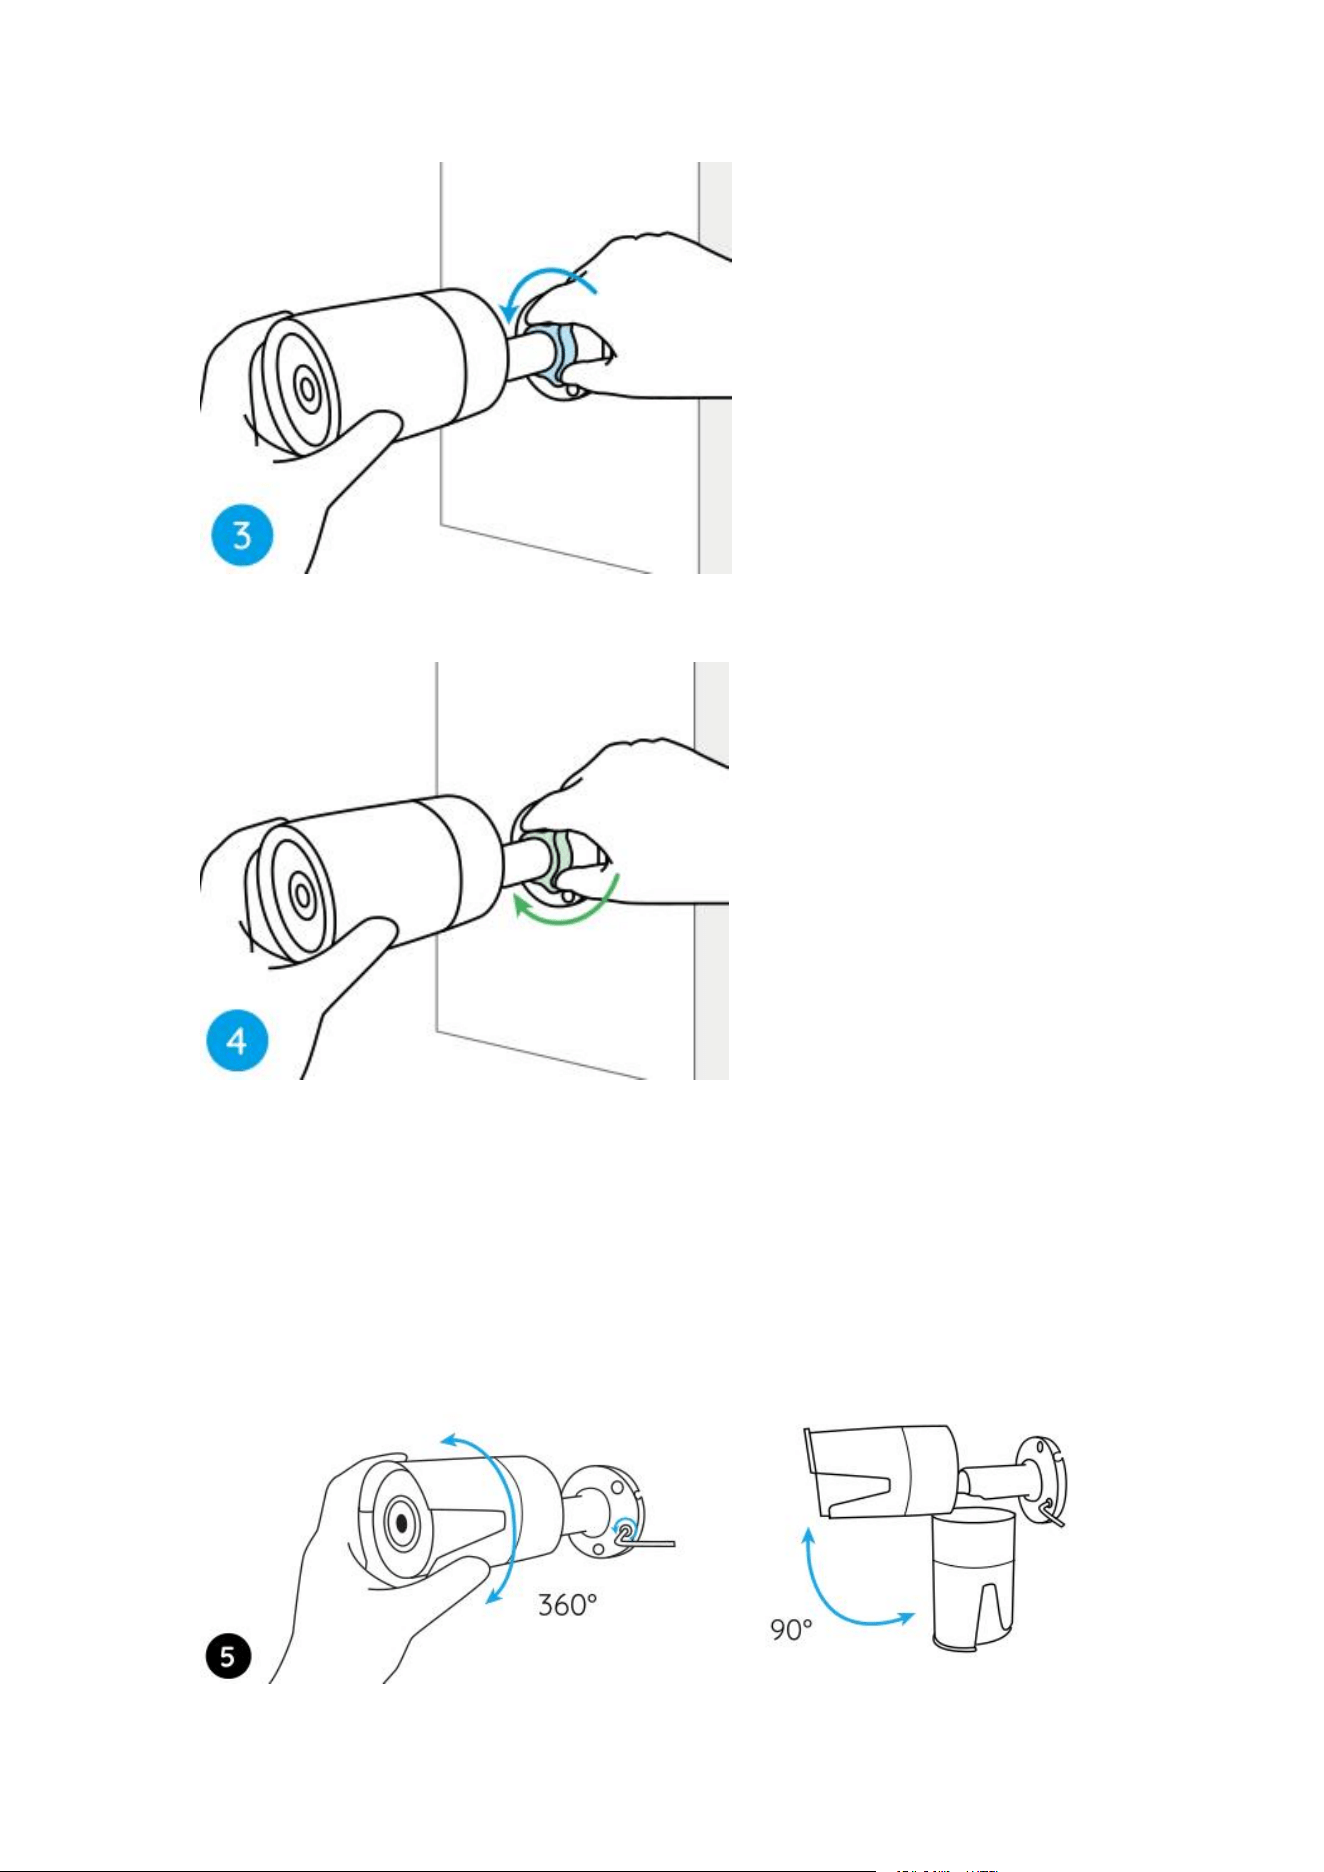
Step 4. Turn the knob clockwise to fix the camera in place.
Note:
1. If your camera has another mount without the adjusting knob, please loosen
the adjusting screw with the provided hex key and turn the camera as shown
below to adjust the angle.
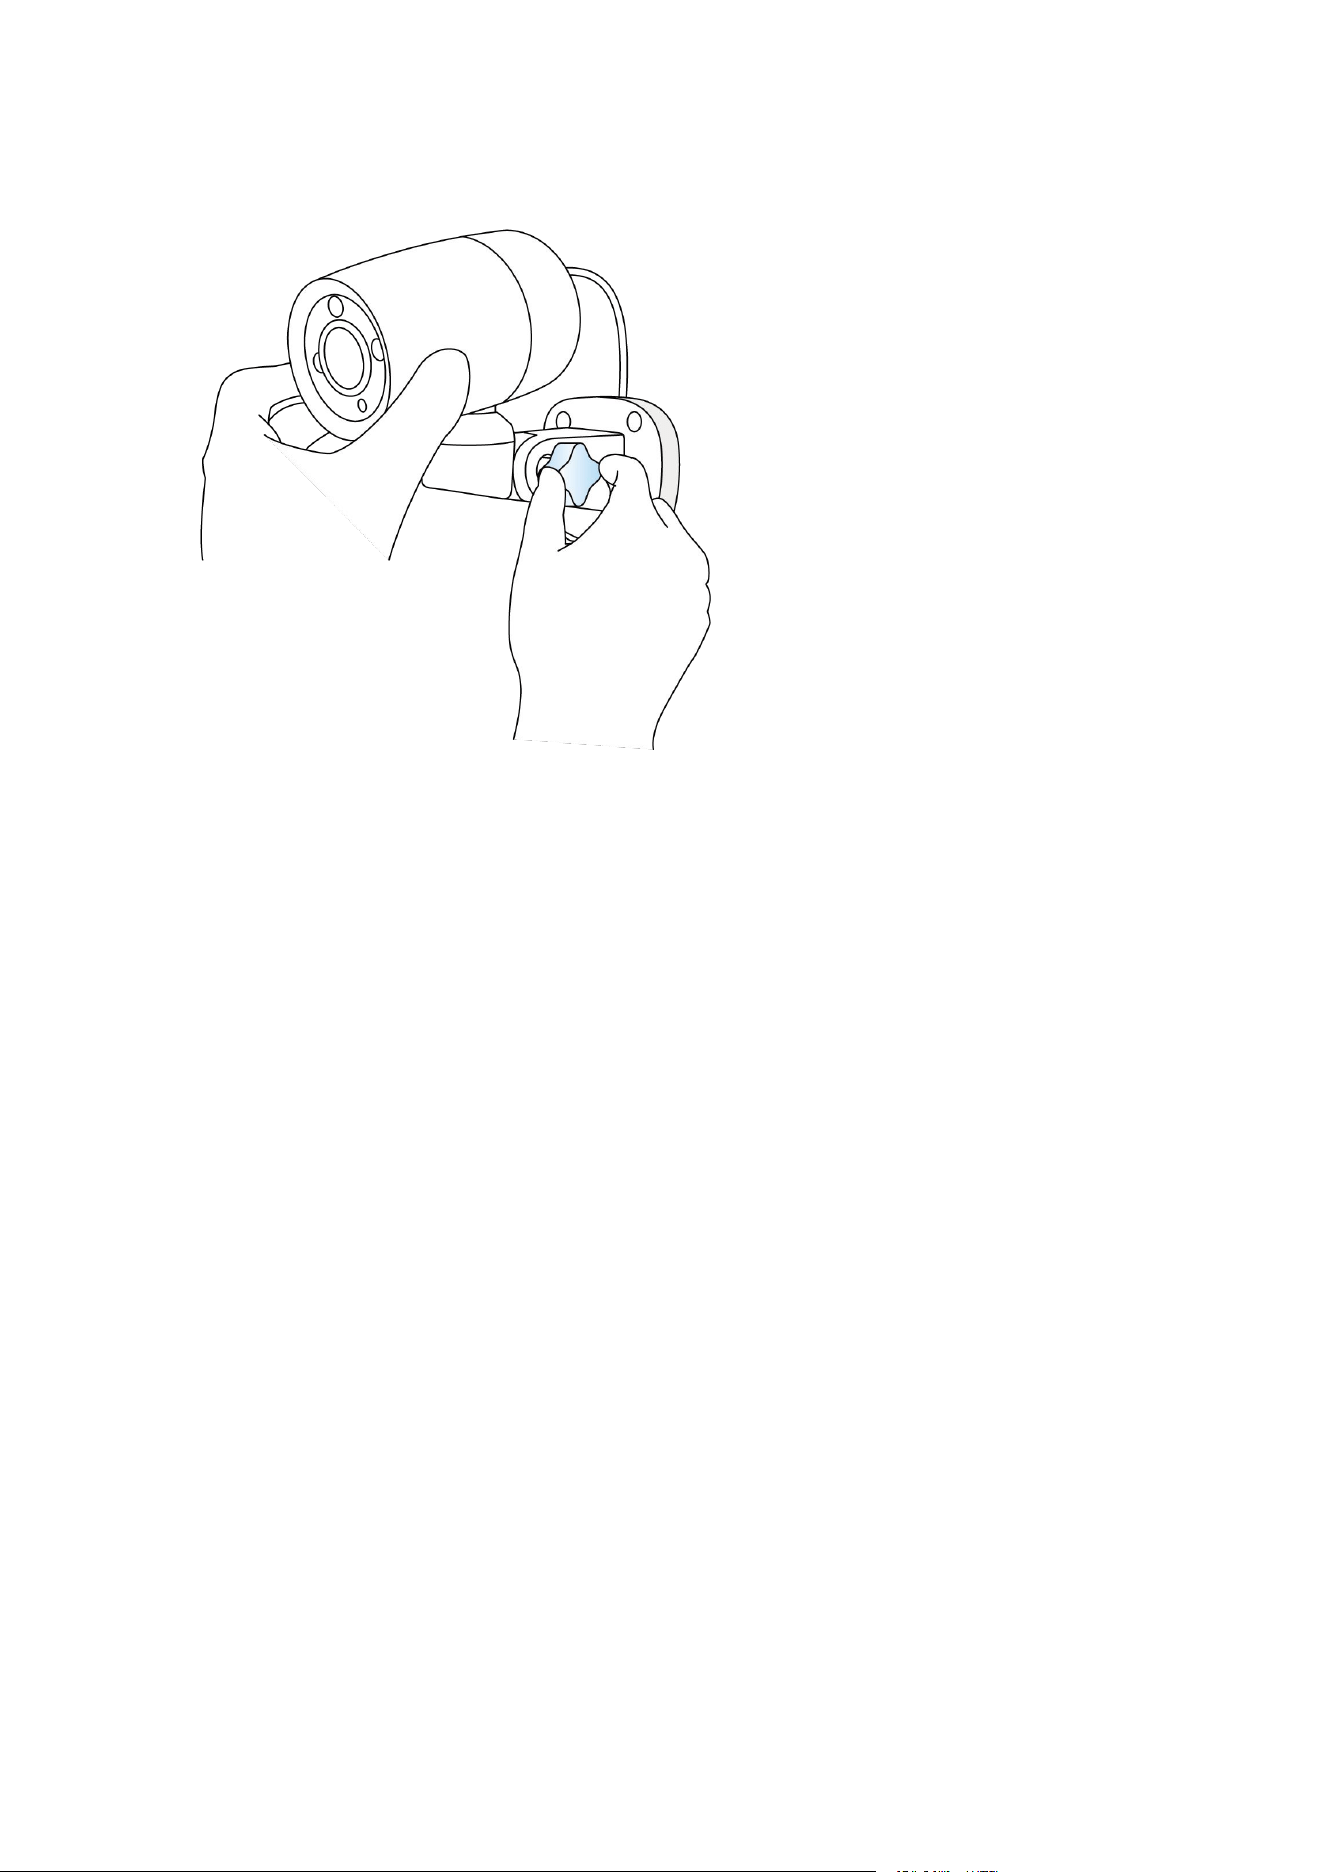
2. If what you have is an RLC-81PA, the adjustment knob looks like this: