Part Number: 000016764 Rev 01 07/22
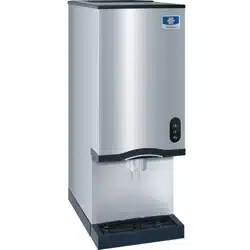
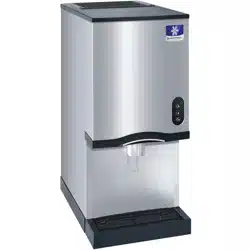
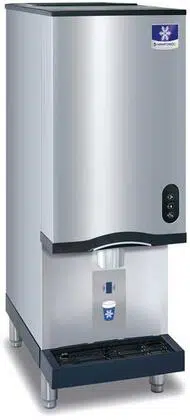
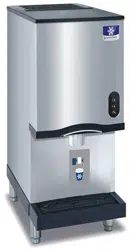
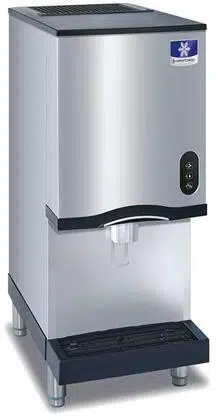
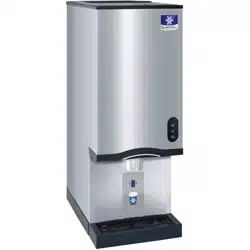
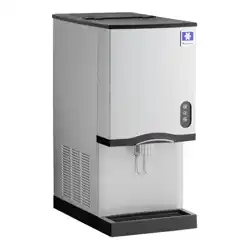
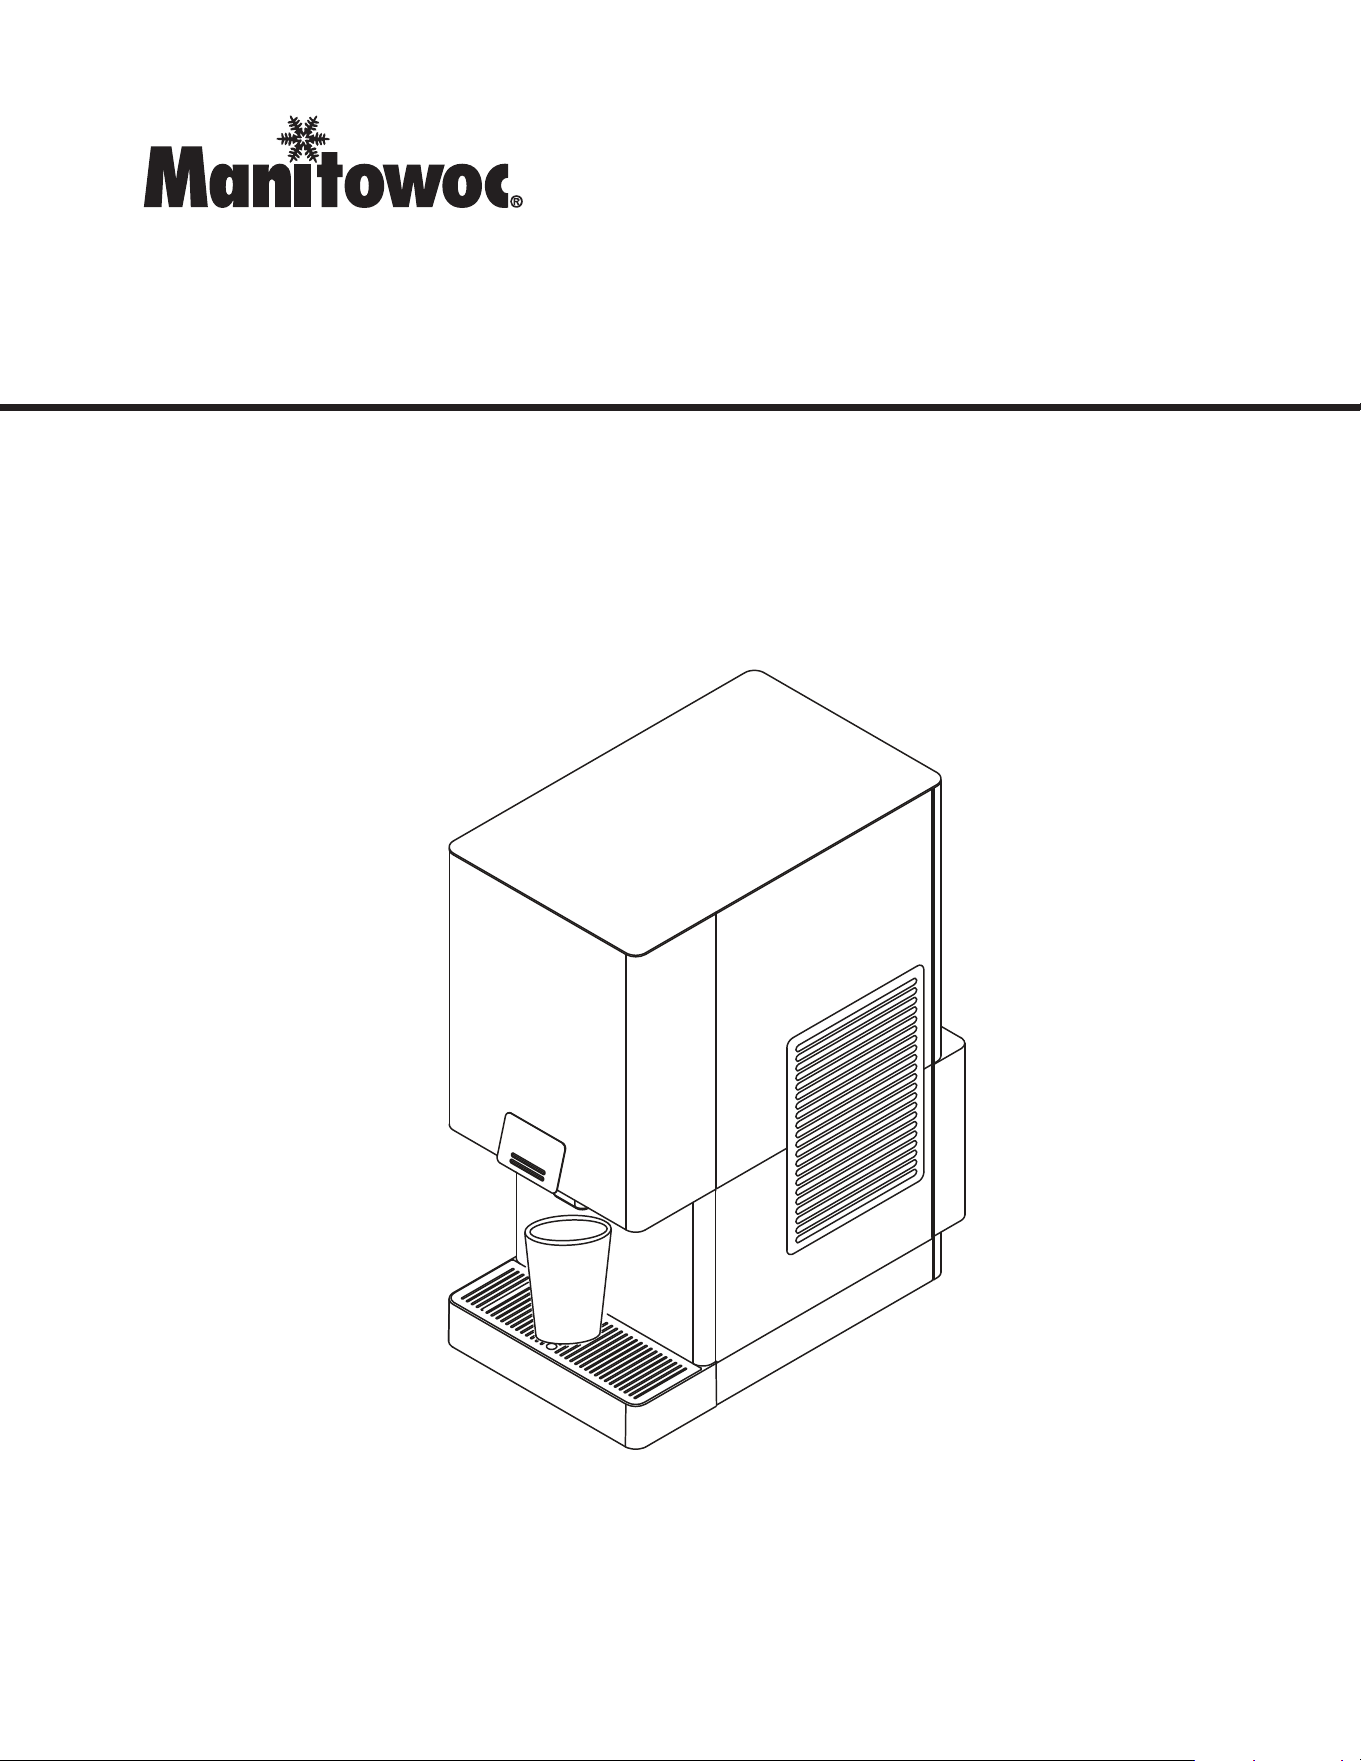
CounterTop Nugget Ice Machine
CNP0200
Installation, Operation and Maintenance Manual
,
Caution
Read this instruction before operating this equipment.
Original Document

Safety Notices
Safety Notices
Read these precautions to prevent personal injury:
• Read this manual thoroughly before operating,
installing or performing maintenance on the
equipment. Failure to follow instructions in this manual
can cause property damage, injury or death.
• Routine adjustments and maintenance procedures
outlined in this manual are not covered by the
warranty.
• Proper installation, care and maintenance are
essential for maximum performance and trouble-free
operation of your equipment. Visit our website www.
manitowocice.com for manual updates, translations, or
contact information for service agents in your area.
• This equipment contains high voltage electricity and
refrigerant charge. Installation and repairs are to be
performed by properly trained technicians aware of
the dangers of dealing with high voltage electricity and
refrigerant under pressure. The technician must also
be certified in proper refrigerant handling and servicing
procedures. All lockout and tag out procedures must be
followed when working on this equipment.
• This equipment is intended for indoor use only. Do not
install or operate this equipment in outdoor areas.
Definitions
DANGER
Indicates a hazardous situation that, if not avoided, will
result in death or serious injury. This applies to the most
extreme situations.
n
Warning
Indicates a hazardous situation that, if not avoided, could
result in death or serious injury.
,
Caution
Indicates a hazardous situation that, if not avoided, could
result in minor or moderate injury.
Notice
Indicates information considered important, but not hazard-
related (e.g. messages relating to property damage).
NOTE: Indicates useful, extra information about the
procedure you are performing.

n
Warning
Follow these precautions to prevent personal injury during
installation of this equipment:
• All field wiring must conform to all applicable codes of
the authority having jurisdiction and comply with all
applicable equipment fire and health codes. It is the
responsibility of the end user to provide the disconnect
means to satisfy local codes. Refer to rating plate for
proper voltage.
• To avoid instability the installation area must be capable
of supporting the combined weight of the equipment and
product. Additionally the equipment must be level side to
side and front to back.
• Legs or casters must be installed and the legs/casters
must be screwed in completely. When casters are
installed the mass of this unit will allow it to move
uncontrolled on an inclined surface. These units must be
tethered/secured to comply with all applicable codes.
Swivel casters must be mounted on the front and rigid
casters must be mounted on the rear. Lock the front
casters after installation is complete.
• Connect to a potable water supply only.
• This appliance must be grounded.
• Remove all removable panels before lifting and installing
and use appropriate safety equipment during installation
and servicing. Two or more people are required to lift or
move this appliance to prevent tipping and/or injury.
• Do not damage the refrigeration circuit when installing,
maintaining or servicing the unit.
• This equipment must be positioned so that the plug is
accessible unless other means for disconnection from the
power supply (e.g., circuit breaker or disconnect switch)
is provided.
• Check all wiring connections, including factory terminals,
before operation. Connections can become loose during
shipment and installation.
DANGER
Do not operate equipment that has been misused, abused,
neglected, damaged, or altered/modified from that of
original manufactured specifications. This appliance is
not intended for use by persons (including children) with
reduced physical, sensory or mental capabilities, or lack of
experience and knowledge, unless they have been given
supervision concerning use of the appliance by a person
responsible for their safety. Do not allow children to play
with, clean or maintain this appliance without proper
supervision.
n
Warning
Follow these precautions to prevent personal injury while
operating or maintaining this equipment:
• Read this manual thoroughly before operating,
installing or performing maintenance on the
equipment. Failure to follow instructions in this manual
can cause property damage, injury or death.
• Crush/Pinch Hazard. Keep hands clear of moving
components. Components can move without warning
unless power is disconnected and all potential energy is
removed.
• Moisture collecting on the floor will create a slippery
surface. Clean up any water on the floor immediately to
prevent a slip hazard.
• Objects placed or dropped in the bin can affect human
health and safety. Locate and remove any objects
immediately.
• Never use sharp objects or tools to remove ice or frost.
Do not use mechanical devices or other means to
accelerate the defrosting process.
• When using cleaning fluids or chemicals, rubber gloves
and eye protection (and/or face shield) must be worn.

DANGER
Follow these flammable refrigeration system requirements during installation, use or repair of this equipment.
• Refer to nameplate - Ice machine models may contain
up to 150 grams of R290 (propane) refrigerant. R290
(propane) is flammable in concentrations of air between
approximately 2.1% and 9.5% by volume (LEL lower
explosion limit and UEL upper explosion limit). An ignition
source at a temperature higher than 470°C is needed for
a combustion to occur. Refer to nameplate to identify the
type of refrigerant in your equipment.
• To minimize the risk of ignition due to improper
installation, replacement parts or service procedures,
only refrigeration technicians with flammable refrigerant
training who are aware of the dangers of dealing with
high voltage electricity and refrigerant under pressure are
allowed to work on this equipment.
• This equipment must be installed in accordance with the
ASHRAE 15 Safety Standard for Refrigeration Systems.
• This equipment can not be installed in corridors or
hallways of public buildings
• Installation must comply with all applicable equipment
fire and health codes with the authority having
jurisdiction.
• All lockout and tag out procedures must be followed
when working on this equipment.
• This equipment contains high voltage electricity
and refrigerant charge. Shorting electrical wires to
refrigeration tubing may result in an explosion. All
electrical power must be disconnected from the system
before servicing the system. Refrigerant leaks, can result
in serious injury or death from explosion, fire, or contact
with refrigerant or lubricant mists.
• Do not damage the refrigeration circuit when installing,
maintaining or servicing the unit. Never use sharp objects
or tools to remove ice or frost. Do not use mechanical
devices or other means to accelerate the defrosting
process.
• All replacement parts must be like components
obtained from the equipment manufacturers authorized
replacement part network.

DANGER
Follow these precautions to prevent personal injury during use and maintenance of this equipment:
• It is the responsibility of the equipment owner to perform
a Personal Protective Equipment Hazard Assessment
to ensure adequate protection during maintenance
procedures.
• Do Not Store Or Use Gasoline Or Other Flammable Vapors
Or Liquids In The Vicinity Of This Or Any Other Appliance.
Never use flammable oil soaked cloths or combustible
cleaning solutions for cleaning.
• All covers and access panels must be in place and
properly secured when operating this equipment.
• Risk of fire/shock. All minimum clearances must be
maintained. Do not obstruct vents or openings.
• Failure to disconnect power at the main power supply
disconnect could result in serious injury or death. The
power switch DOES NOT disconnect all incoming power.
• All utility connections and fixtures must be maintained in
accordance with the authority having jurisdiction.
• Turn off and lockout all utilities (gas, electric, water)
according to approved practices during maintenance or
servicing.
• Units with two power cords must be plugged into
individual branch circuits. During movement, cleaning or
repair it is necessary to unplug both power cords.
• Never use a high-pressure water jet for cleaning on the
interior or exterior of this unit. Do not use power cleaning
equipment, steel wool, scrapers or wire brushes on
stainless steel or painted surfaces.
• Two or more people are required to move this equipment
to prevent tipping.
• These units must be tethered/secured to comply with all
applicable codes.
• The on-site supervisor is responsible for ensuring that
operators are made aware of the inherent dangers of
operating this equipment.
• Do not operate any appliance with a damaged cord or
plug. All repairs must be performed by a qualified service
company.

Part Number: 000016764 Rev 01 07/22 7
Safety Notices
Safety Notices ................................................................................................................... 3
Section 1
Installation
Location of Ice Machine ..................................................................................................... 9
Ice Machine Clearance Requirements ................................................................................ 9
Sealing to Countertop or Stand .......................................................................................9
Electrical Service ............................................................................................................... 9
Voltage ............................................................................................................................9
Fuse/Circuit Breaker ........................................................................................................9
Electrical Specifications ..................................................................................................... 9
Water Supply and Drain Requirements ............................................................................ 10
Drain Connections .........................................................................................................10
Before Starting the Ice Machine ...................................................................................... 10
Installation Checklist .....................................................................................................10
Section 2
Operation and Maintenance
Operation ........................................................................................................................ 11
Initial Start-up ...............................................................................................................11
Freeze Cycle................................................................................................................... 11
Automatic Shutoff .........................................................................................................11
Ice dispense ...................................................................................................................11
Operational Checks ......................................................................................................... 11
General ....................................................................................................................... ...11
Cleaning the water inlet screen ....................................................................................11
Interior Descaling and Sanitizing ...................................................................................... 12
Descaling/Sanitizing Procedure .....................................................................................12
Heavily Scaled ice machines ..........................................................................................12
Exterior Cleaning ............................................................................................................. 12
Descaling/Sanitizing Procedure ....................................................................................... 12
Air-Cooled Condenser Cleaning ....................................................................................... 14
Removal from Service/Winterization ............................................................................... 14

Table of Contents
Part Number: 000016764 Rev 01 07/22 88 Part Number: 000016764 Rev 01 07/22
Table of Contents (continued)
Section 4
Maintenance
Descaling and Sanitizing .................................................................................................. 15
General ....................................................................................................................... ...15
Exterior Cleaning ...........................................................................................................15
Procedures .................................................................................................................... 15
Procedure to Descale Heavily Scaled Ice Machines ......................................................16
Descaling Procedure ......................................................................................................16
Sanitizing Procedure .....................................................................................................17
Component Disassembly for Descaling/Sanitizing ............................................................ 18
Cleaning the Condenser ................................................................................................... 21
Removal from Service/Winterization ............................................................................... 22
General ....................................................................................................................... ...22
Section 5
Troubleshooting
Checklist .......................................................................................................................... 24

Part Number: 000016764 Rev 01 07/22 9
These instructions are provided to assist the qualified
installer. Check your local phone directory for the name of
the nearest Manitowoc distributor, or call Manitowoc Ice for
information regarding start-up services.
Important
Failure to follow these installation guidelines may affect
warranty coverage.
Location of Ice Machine
The location selected for the ice machine must meet the
following criteria. If any of these criteria are not met, select
another location.
• The ice machine can not be installed outdoors and
the location must be free of airborne and other
contaminants.
• The air temperature must be at least 10°C, but must not
exceed 43°C.
• A potable water supply must be available.
• The location must not be near heat-generating
equipment or in direct sunlight.
• The location must be capable of supporting the weight
of the ice machine and a full bin of ice and allow the ice
machine to be level front to back and side to side.
• The location must allow enough clearance for water and
electrical connections in the rear of the ice machine. The
drain can be routed out the rear or bottom of dispenser.
• The location must not obstruct airflow through or around
the ice machine. Airflow is in the left side and out the
top. Refer to chart for clearance requirements.
These ice machines are intended for use in household and
similar applications such as:
• Staff kitchen areas in shops, offices and other work
environments.
• Clients in hotels, motels, farmhouses, bed and breakfast
and other residential type environments.
• Catering and similar non-retail applications.
,
Caution
To avoid instability the ice machine must be installed in an
area capable of supporting the weight of the ice machine
and a full bin of ice.
Ice Machine Clearance Requirements
Top Sides Back
50 mm 50 mm 200 mm
Notice
The ice machine must be protected if it will be subjected
to temperatures below 0°C. Failure caused by exposure to
freezing temperatures is not covered by the warranty. See
“Removal from Service/Winterization”.
SEALING TO COUNTERTOP OR STAND
Ice machines installed without legs must be sealed to the
countertop or stand. This prevent liquids or debris from
infiltrating beneath the ice machine.
Electrical Service
n
Warning
All wiring must conform to local and national codes and
the ice machine must be grounded.
VOLTAGE
The maximum allowable voltage variation is ±10% of the
rated voltage on the ice machine model/serial number plate
at start-up (when the electrical load is highest).
FUSE/CIRCUIT BREAKER
A separate fuse/circuit breaker must be provided for each ice
machine.
Electrical Specifications
Refer to ice machine model serial plate for electrical
specification.
Section 1
Installation
10 Part Number: 000016764 Rev 01 07/22
Installation Section 1
Water Supply and Drain Requirements
,
Caution
Plumbing must conform to local and national codes.
• A shutoff valve and union must be installed in the potable
water line before the ice machine.
• The water temperature must be at least 3°C, but must
not exceed 25°C.
• A water filter is recommended for hard water areas.
Location Water Temperature Water Pressure
Ice Making Water
Inlet
3°C Min.
25°C Max
0.1 Mpa Min.
0.6 Mpa Max.
n
Warning
PERSONAL INJURY POTENTIAL
For ice making, connect to a potable water supply only.
DRAIN CONNECTIONS
Follow these guidelines when installing drain lines:
• Drain lines must have a minimum 22 mm internal
diameter and have a 2.5 cm per meter drop and must not
create traps.
• The floor drain must be large enough to accommodate
drainage from all drains.
• Drains must have a union or other suitable means to
allow in-place disconnection from the ice machine when
servicing is required.
Before Starting the Ice Machine
INSTALLATION CHECKLIST
√ Checklist Item
Is the ice machine level?
Have all of the internal packing been removed?
Have all of the electrical and water connections been
made?
Has the supply voltage been tested and checked against
the rating on the nameplate?
Is there proper clearance around the ice machine for air
circulation?
Has the ice machine been installed where ambient
temperatures will remain in the range of 10°C - 43°C?
Has the ice machine been installed where the incoming
water temperature will remain in the 3° – 25°C range?
Are all electrical leads free from contact with
refrigeration lines and moving equipment?
Has the owner/operator been instructed regarding
maintenance?
Has the ice machine and bin been sanitized?
Has this manual been given to the owner/operator?
Is the water reservoir approximately 2/3 full of water?

Part Number: 000016764 Rev 01 07/22 11
Operation
NOTE: The water reservoir must be 2/3 full of water before
starting the ice machine.
INITIAL STARTUP
The ice machine does not have an on/off switch. With the
water valve open, applying power will start ice making.
FREEZE CYCLE
The float valve automatically maintains the water level in the
reservoir. The ice machine will continue to make ice until the
ice touches the thermostat in the bin.
AUTOMATIC SHUTOFF
After ice contacts the thermostat the ice machine
stops. When ice is dispensed and no longer contacts the
thermostat, the ice machine will start ice making until ice
again contacts the bin thermostat.
ICE DISPENSE
Place a suitable container under the spout and press the
dispense button until the desired quantity of ice is dispensed,
then release the button.
Operational Checks
GENERAL
Normally, a newly installed ice machine does not require any
adjustment.
To ensure proper operation, always follow the Operational
Checks:
• when starting the ice machine for the first time
• after a prolonged out-of-service period
• after descaling and sanitizing
NOTE: Routine adjustments and maintenance procedures
outlined in this manual are not covered by the warranty.
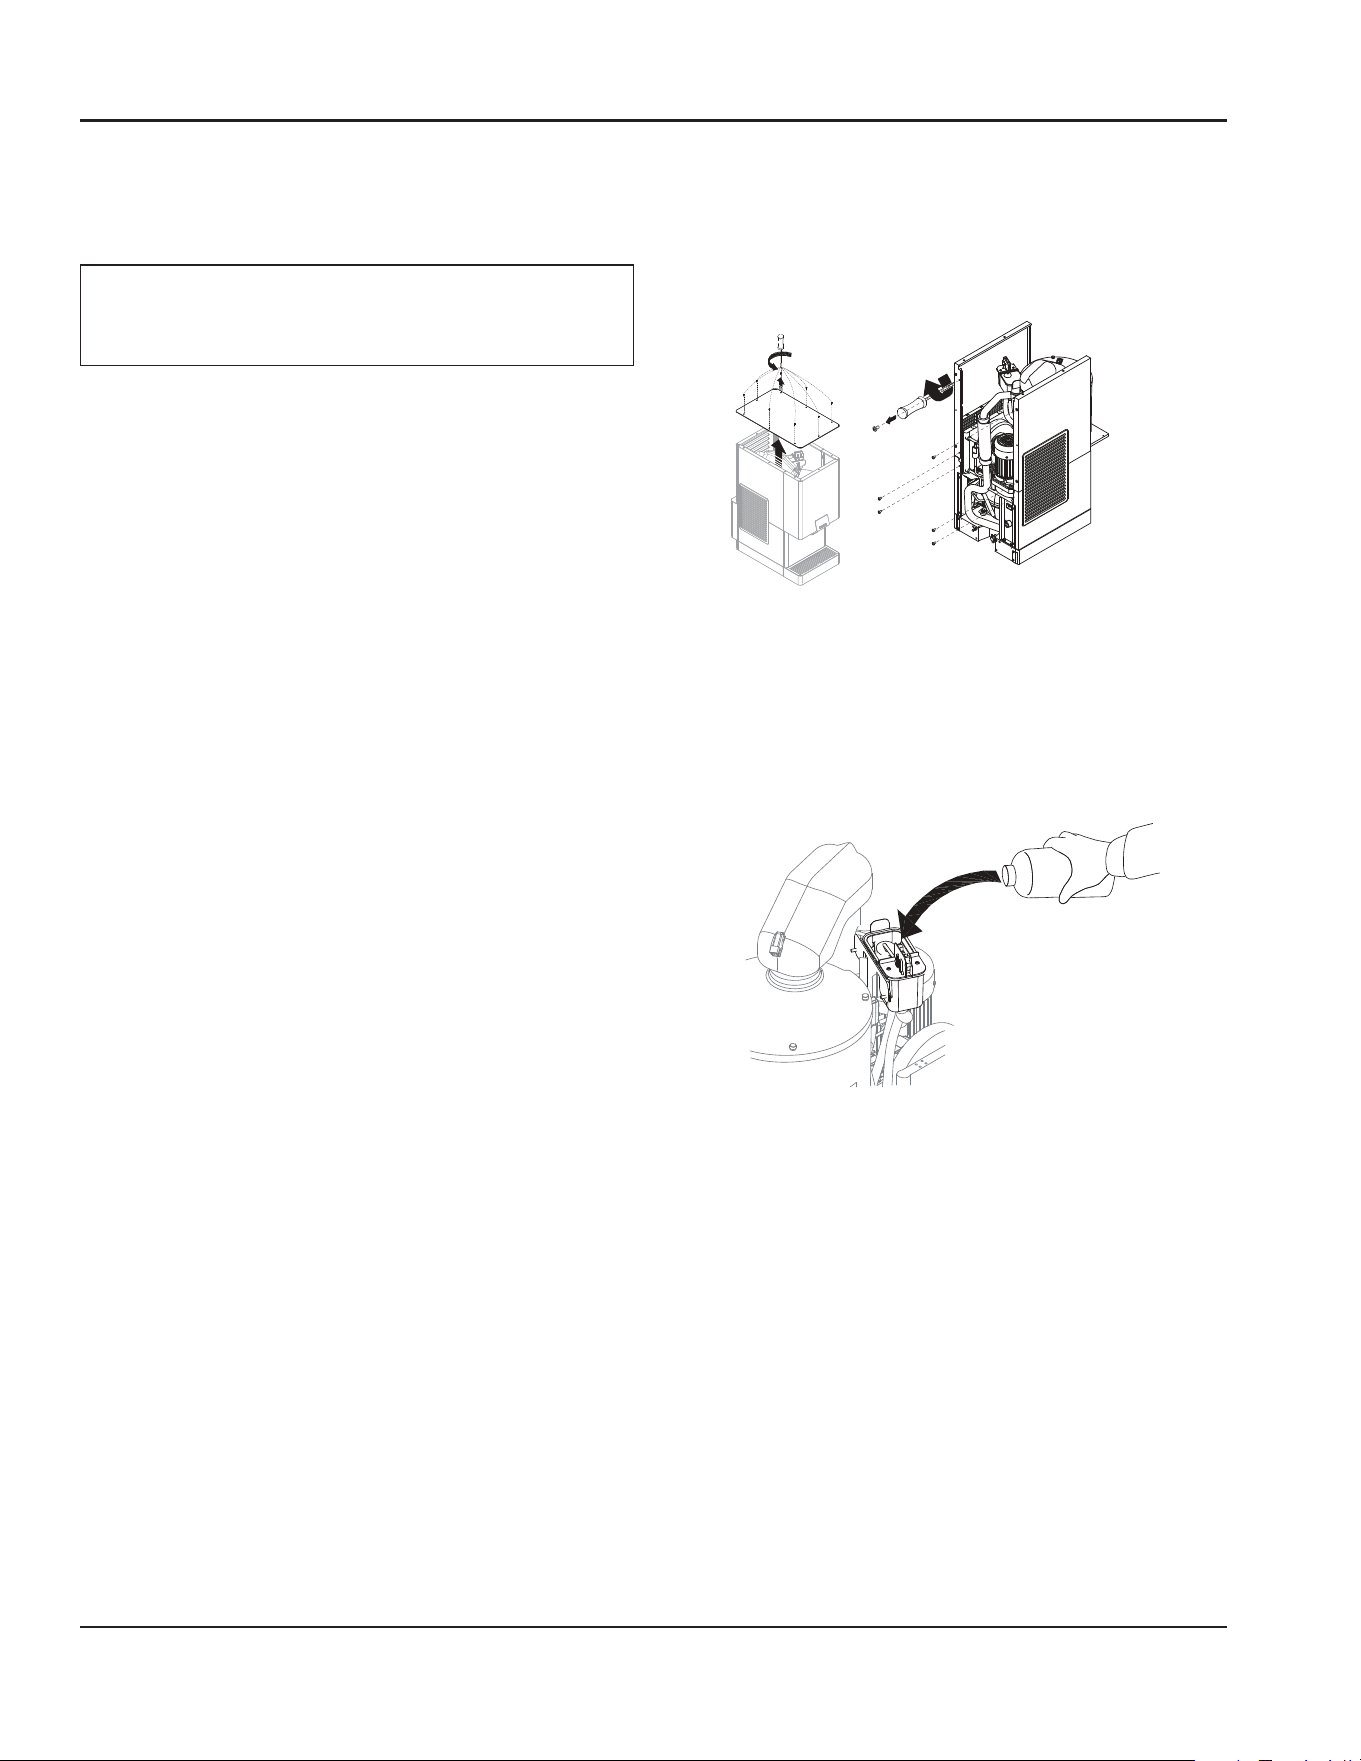
CLEANING THE WATER INLET SCREEN
Clean the water filter screen at least every 2 months.
1. Disconnect power to the ice machine and turn off the
potable water supply.
2. Remove back panels to access potable water inlet .
3. Remove water inlet line from ice machine, then remove
the water filter with a pliers for cleaning. Flush the filter
clean with water or replace as needed.
4. Reassemble filter, water inlet line and replace panels.
Restore water and electrical supply to the ice machine.
Section 2
Operation and Maintenance
12 Part Number: 000016764 Rev 01 07/22
Operation and Maintenance Section 2
Interior Descaling and Sanitizing
Maintenance procedures covered in this manual are not
covered by the warranty.
n
Warning
Wear rubber gloves and safety goggles (and/or face
shield) when handling descaling or sanitizing products.
DESCALING/SANITIZING PROCEDURE
This procedure must be performed once every six months.
• All ice must be removed from the bin.
• The ice machine and bin must be disassembled, descaled
and sanitized.
• The ice machine produces ice with the descaler and
sanitizer solutions.
• All ice produced during the descaling and sanitizing
procedure must be discarded.
HEAVILY SCALED ICE MACHINES
Perform the descaling/sanitizing procedures if you have
some or all of these symptoms.
• Grinding, popping or squealing noises from the
evaporator.
• Grinding noise from gearbox.
Exterior Cleaning
Remove dust and dirt off exterior surfaces with mild
household dish washing detergent and warm water. Wipe dry
with a clean, soft cloth.
Descaling/Sanitizing Procedure
Step 1 Dispense all ice from the bin.
Step 2 Disconnect power to the ice machine.
Step 3 Remove top, back and side panels.
Step 4 Turn off the ice making water supply and drain
water from evaporator and reservoir.
Step 5 Make 2 liters of 25% descaler solution by mixing .5
liters of white vinegar and 1.5 liters water.
Step 6 Remove the top cover from the water reservoir and
fill the evaporator and reservoir with cleaning solution.
Step 7 Reapply power and the ice machine will make ice
with the descaling solution and deposit the ice in the bin.
Add the remaining solution as the water level in the reservoir
drops.
NOTE: Do not allow the solution level to drop below the
minimum water level. The ice machine will discontinue the
cleaning cycle if the water float switch opens.
Step 8 After all of the descaler/water solution has been
added, turn on the ice making water supply. Continue the
freeze cycle for 10 minutes to remove the cleaning solution
from the water circuit.
Step 9 Disconnect power to the ice machine.
Part Number: 000016764 Rev 01 07/22 13
Section 2 Operation and Maintenance
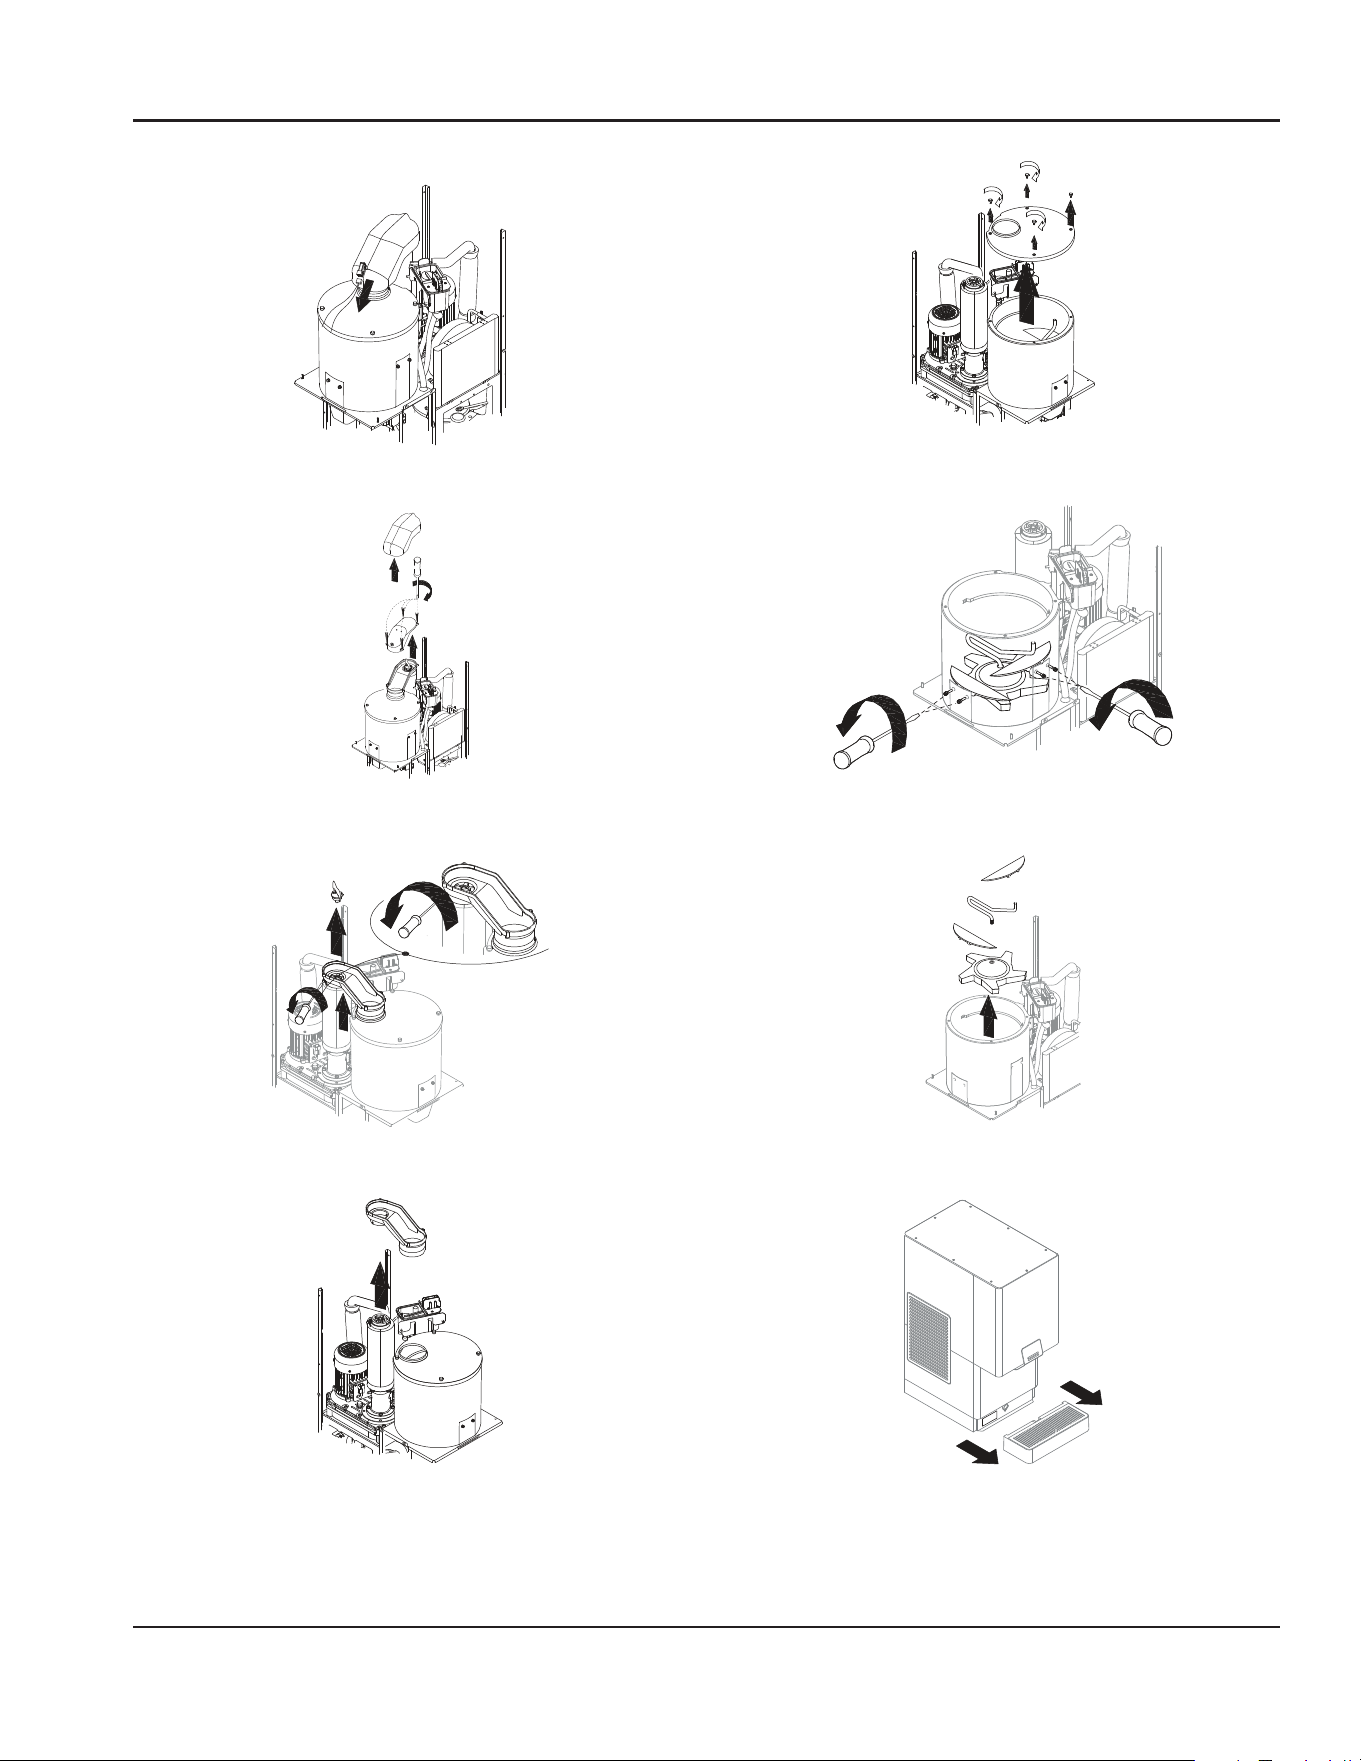
Step 10 Disassemble parts for hand cleaning/sanitizing.
Disconnect ice chute wire
Remove ice chute top cover and fasteners
Remove ice wiper and loosen Ice chute fastener
Remove ice chute
Remove bin cover fasteners and bin cover
Remove ice deflector fasteners
Remove deflectors and dispenser wheel
Remove drain pan

14 Part Number: 000016764 Rev 01 07/22
Operation and Maintenance Section 2
Step 11 Hand descale and sanitize all parts using a sponge
or soft bristle brush.
• Make 2 liters of 25% descaler solution by mixing .5 liters
of white vinegar and 1.5 liters water. Descale all parts
including interior bin surfaces, then rinse with clear
potable water.
• Make 2 liters of a 25°C solution of 200 mg/l sodium
hypochlorite and water. Sanitize all parts including
interior bin surfaces, then rinse with clear potable water.
• Descale/rinse, sanitize/rinse the top of the evaporator.
• Descale/rinse, sanitize/rinse the drain pan.
Step 12 Reassemble all parts removed in step 10.
Step 13 Make 2 liters of a 25°C solution of 200 mg/l
sodium hypochlorite and water.
Step 14 Drain all water from the evaporator and reservoir,
then fill the evaporator and reservoir with sanitizer/water
solution.
Step 15 Reapply power and the ice machine will make ice
with the sanitizer/water solution and deposit the ice in the
bin. Add the remaining solution when the water level in the
reservoir drops.
NOTE: Do not allow the solution level to drop below the
minimum water level. The ice machine will discontinue the
cleaning cycle if the water float switch opens.
Step 16 After all of the solution has been added to the
reservoir, turn on the ice making water supply.
Step 17 Continue the freeze cycle for 30 minutes and then
discard all ice produced.
Air-Cooled Condenser Cleaning
n
Warning
Disconnect electric power to the ice machine and the
remote condenser at the electric service switch before
cleaning the condenser.
A dirty condenser restricts airflow, resulting in excessively
high operating temperatures and reduced ice production.
Clean the condenser at least every six months.
,
Caution
The condenser fins are sharp. Use care when cleaning
them.
Clean the outside of the condenser with a soft brush or a
vacuum with a brush attachment. Shine a flashlight through
the condenser to check for dirt between the fins. If dirt
remains, a method suitable to remove the contamination
must be used to ensure air flow.
Removal from Service/Winterization
1. Descale and sanitize the ice machine.
2. Disconnect electrical power to turn off the ice machine.
3. Turn off the water supply, disconnect and drain the
incoming ice-making water line at the rear of the ice
machine and drain the water trough.
4. Blow compressed air in both the incoming water and the
drain openings in the rear of the ice machine to remove
all water.
5. Replace all panels.

Part Number: 000016764 Rev 01 07/22 15
Descaling and Sanitizing
GENERAL
You are responsible for maintaining the ice machine
in accordance with the instructions in this manual.
Maintenance procedures are not covered by the warranty.
Sanitizing for Exterior, Remedial, and Detailed procedures
can be performed independently and more frequently than
descaling when needed.
Descale and sanitize the ice machine every six months for
efficient operation. If the ice machine requires more frequent
descaling and sanitizing, consult a qualified service company
to test the water quality and recommend appropriate water
treatment. If required, an extremely dirty ice machine may
be taken apart for descaling and sanitizing.
Using non-Manitowoc descalers, sanitizers, cleaners or
solutions may result in bodily harm and/or cause damage to
the ice machine that is not covered under the warranty.
n
Warning
Wear rubber gloves and safety goggles (and/or face
shield) when handling descaling or sanitizing products.
EXTERIOR CLEANING
Weekly: remove grill from scrap ice tray and wipe splash
panel, scrap ice tray and grill with sanitizer and water
solution (refer to page 17). Pour excess solution in scrap
ice tray to clear drain.
PROCEDURES
This Manitowoc ice machine has two separate descaling
procedures.
Descaling/Sanitizing Procedure
This procedure must be performed a minimum of once every
six months.
• All ice must be removed from the bin
• The ice machine and bin must be disassembled descaled
and sanitized
• The ice machine produces ice with the descaler and
sanitizer solutions
• All ice produced during the descaling and sanitizing
procedures must be discarded
Heavily Scaled Descaling Procedure
Perform this procedure if you have some or all of these
symptoms.
• Grinding, popping or squealing noises from the
evaporator
• Grinding noise from gearbox
• Ice machine stops on Safety Shutdown
• Your water has a high concentration of minerals
• The ice machine has not been on a regular maintenance
schedule
Run a descaling procedure as described above after this
procedure is complete.
NOTE: A Sanitizing Procedure must be performed after all
descaling procedures have been completed.
Section 4
Maintenance
16 Part Number: 000016764 Rev 01 07/22
Maintenance Section 4
PROCEDURE TO DESCALE HEAVILY SCALED ICE
MACHINES
Ice machines that are heavily scaled or have not been
descaled on a regular basis will need to run this procedure.
Failure to do so may result in binding of the auger as the lime
scale releases from the auger and evaporator barrel.
Step 18 Discharge all ice from bin.
Step 19 Disconnect the power supply.
Step 20 Turn off the water supply to the ice machine.
Step 21 Remove top and side panels.
Step 22 Wait approximately 30 seconds (or until the
evaporator is drained) and place the toggle switch in the OFF
position.
Step 23 Refer to chart and add the correct amount of
descaler for your model ice machine.
Model Amount of Descaler
CNF201 CNF202 12 ounce (355 ml)
Step 24 Turn on the water supply to the ice machine.
Important
Leave the descaler/water solution in the evaporator for a
minimum of 4 hours.
Step 25 Move the toggle switch to the ICE position. The
compressor will energize and produce ice with the descaling
solution. Continue the freeze cycle for 15 minutes.
Step 26 Move the toggle switch to the OFF position, then
follow the standard descaling (page 16) and sanitizing
procedures (page 17).
DESCALING PROCEDURE
Ice machines that are heavily scaled or have not been
descaled on a regular basis will need to run the Heavily
Scaled Descaling Procedure before this one. Failure to do so
may result in binding of the auger as the lime scale releases
from the auger and evaporator barrel.
Ice machine descaler is used to remove lime scale or other
mineral deposits. It is not used to remove algae or slime.
Refer to the “Sanitizing Procedure” for removal of algae and
slime.
Step 1 Remove panels and set the ICE/OFF/CLEAN toggle
switch to the OFF position.
Step 2 Turn off the water supply to the ice machine.
Step 3 Remove all ice from the bin.
Step 4 Place ICE/OFF/CLEAN toggle switch in the CLEAN
position. The dump valve will open and drain the water from
the evaporator and reservoir.
Step 5 Wait approximately 30 seconds (or until the
evaporator is drained) and place the toggle switch in the OFF
position.
Step 6 Refer to chart and premix the correct solution of
descaler and cool water for your ice machine.
Model
Amount of Descaler
Part Number
000000084
Amount of Water
CNF201 CNF202 2 ounces (60 ml) 32 ounces (1 liter)

Part Number: 000016764 Rev 01 07/22 17
Section 4 Maintenance
Step 7 Remove the top cover from the ice chute and pour
the descaler/water solution into the evaporator. Add the
entire amount of premixed solution (excess solution will exit
through the overflow tube in the water reservoir).
Step 8 Replace the ice chute cover and allow the ice
machine to stand for 30 minutes.
Step 9 Turn on the water supply to the ice machine.
Step 10 Move the toggle switch to the ICE position. After
the 15 minute delay period expires, the compressor will
energize and produce ice with the descaling solution.
Step 11 The ice machine will freeze and discharge the
descaling solution into the bin. Allow the cycle to run for
15 minutes.
Step 12 Place the toggle switch in the OFF position and
refer to sanitizing procedure.
NOTE: Discard all ice produced during the descaling process.
Descaling and sanitizing must be performed on adjacent
surface areas not contacted by the water distribution system.
Refer to Component Disassembly for Descaling/Sanitizing
(page 18) - Disassemble, descal and sanitize the ice
machine a minimum of once every six months.
SANITIZING PROCEDURE
Ice machine sanitizer is used to remove algae or slime. It is
not used to remove lime scale or other mineral deposits.
Refer to the “Descaling Procedure” for removal of lime scale
or other mineral deposits.
NOTE: Sanitizing must be performed on adjacent surface
areas not contacted by the water distribution system. Always
perform Component Disassembly for Descaling/Sanitizing
procedure and a Descaling Procedure before sanitizing the
ice machine.
Step 1 Turn off the water supply to the ice machine.
Step 2 Place ICE/OFF/CLEAN toggle switch in the CLEAN
position. The dump valve will open and drain the water from
the evaporator and reservoir.
Step 3 Wait approximately 30 seconds (or until the
evaporator is drained) and place the toggle switch in the OFF
position.
Step 4 Refer to the chart and add the correct amount of
sanitizer and cool water for your model ice machine.
Model Amount of Sanitizer Amount of Water
CNF201 CNF202 2 ounces (60 ml) 3 gallons (11 liters)
Step 5 Remove the top cover from the ice chute and pour
the sanitizer/water solution into the evaporator. Add the
entire amount of premixed solution (excess solution will exit
through the overflow tube in the water reservoir).
Step 6 Replace the ice chute cover and allow the ice
machine to stand for 30 minutes.
Step 7 Turn on the water supply to the ice machine.
Step 8 Move the toggle switch to the ICE position. After
the 15 minute delay period expires the compressor will
energize and produce ice with the sanitizing solution.
Step 9 The ice machine will freeze and discharge the
sanitizing solution into the bin. Allow the cycle to run for
15 minutes.
NOTE: Discard all ice produced during the sanitizing process.
Step 10 Place the toggle switch in the CLEAN position. The
ice machine will run a wash cycle, a series of rinse cycles and
then stop. This entire cycle lasts approximately 30 minutes.
Step 11 Refer to Component Disassembly for Descaling/
Sanitizing (page 18), remove descal and sanitize all parts
listed.
18 Part Number: 000016764 Rev 01 07/22
Maintenance Section 4
Component Disassembly for Descaling/Sanitizing
The ice machine must be disassembled descaled and
sanitized every six months.
,
Caution
Do not mix Descaler and Sanitizer solutions together. It
is a violation of Federal law to use these solutions in a
manner inconsistent with their labeling.
1. Turn off water supply to ice machine.
n
Warning
Wear rubber gloves and safety goggles (and/or face
shield) when handling Ice Machine Descaler or Sanitizer.
2. Place toggle switch in the CLEAN position for 30 seconds
to drain water from reservoir, then move toggle switch
to OFF position.
3. Run dispenser to transfer all ice from the bin to a
container.
n
Warning
Disconnect electric power to the ice machine at the
electric switch box before proceeding.
4. Disconnect electrical power to the ice machine.
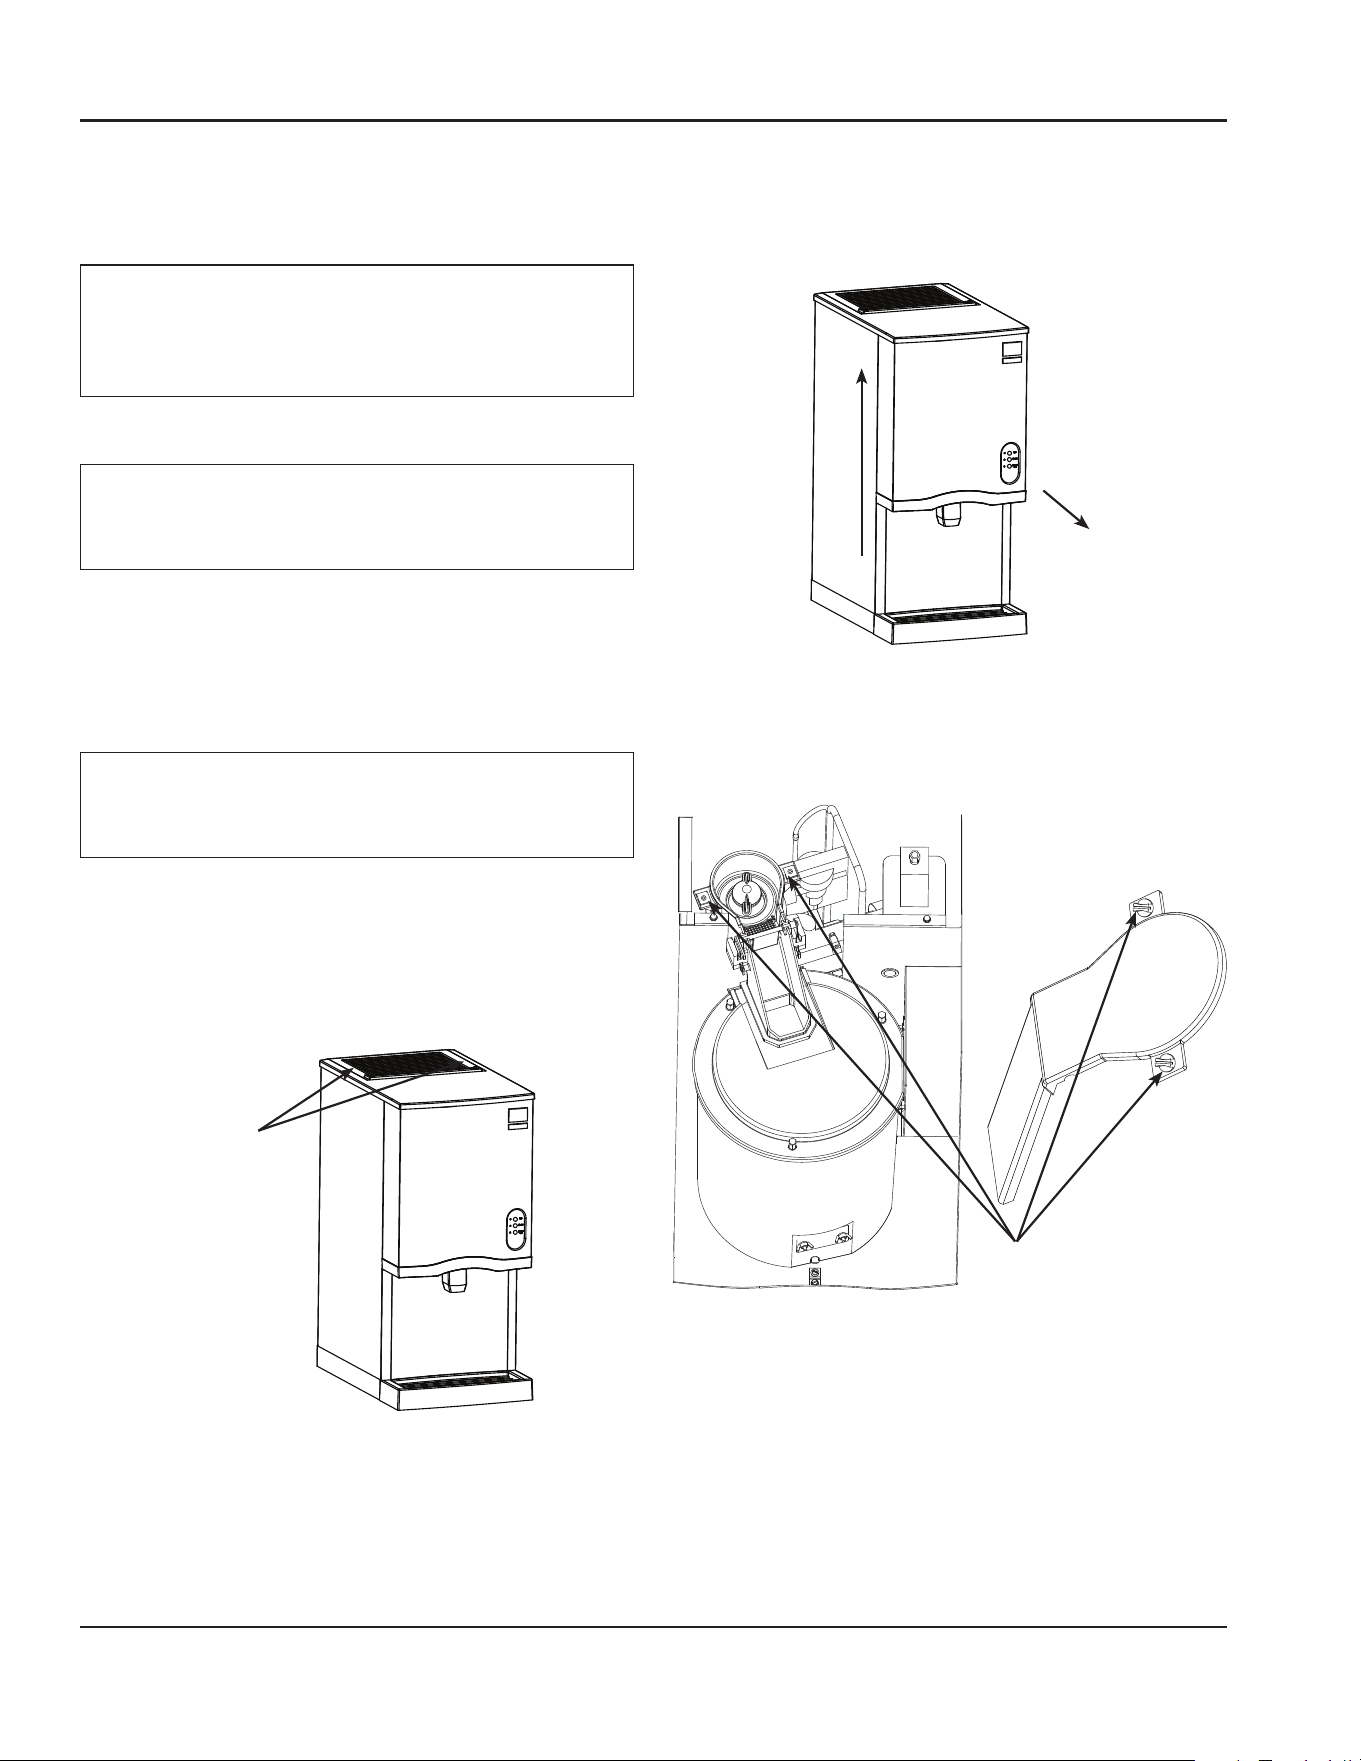
5. Remove top cover.
A. Remove two thumbscrews.
B. Lift up on top cover to remove.
Remove
Screws
6. Remove front cover.
A. Lift up on front cover.
B. Pull forward to disengage keyhole slots.
7. Remove ice chute cover.
A. Turn the two thumbscrews 1/4 turn.
B. Lift to remove cover.
Loosen
Thumbscrews
Part Number: 000016764 Rev 01 07/22 19
Section 4 Maintenance
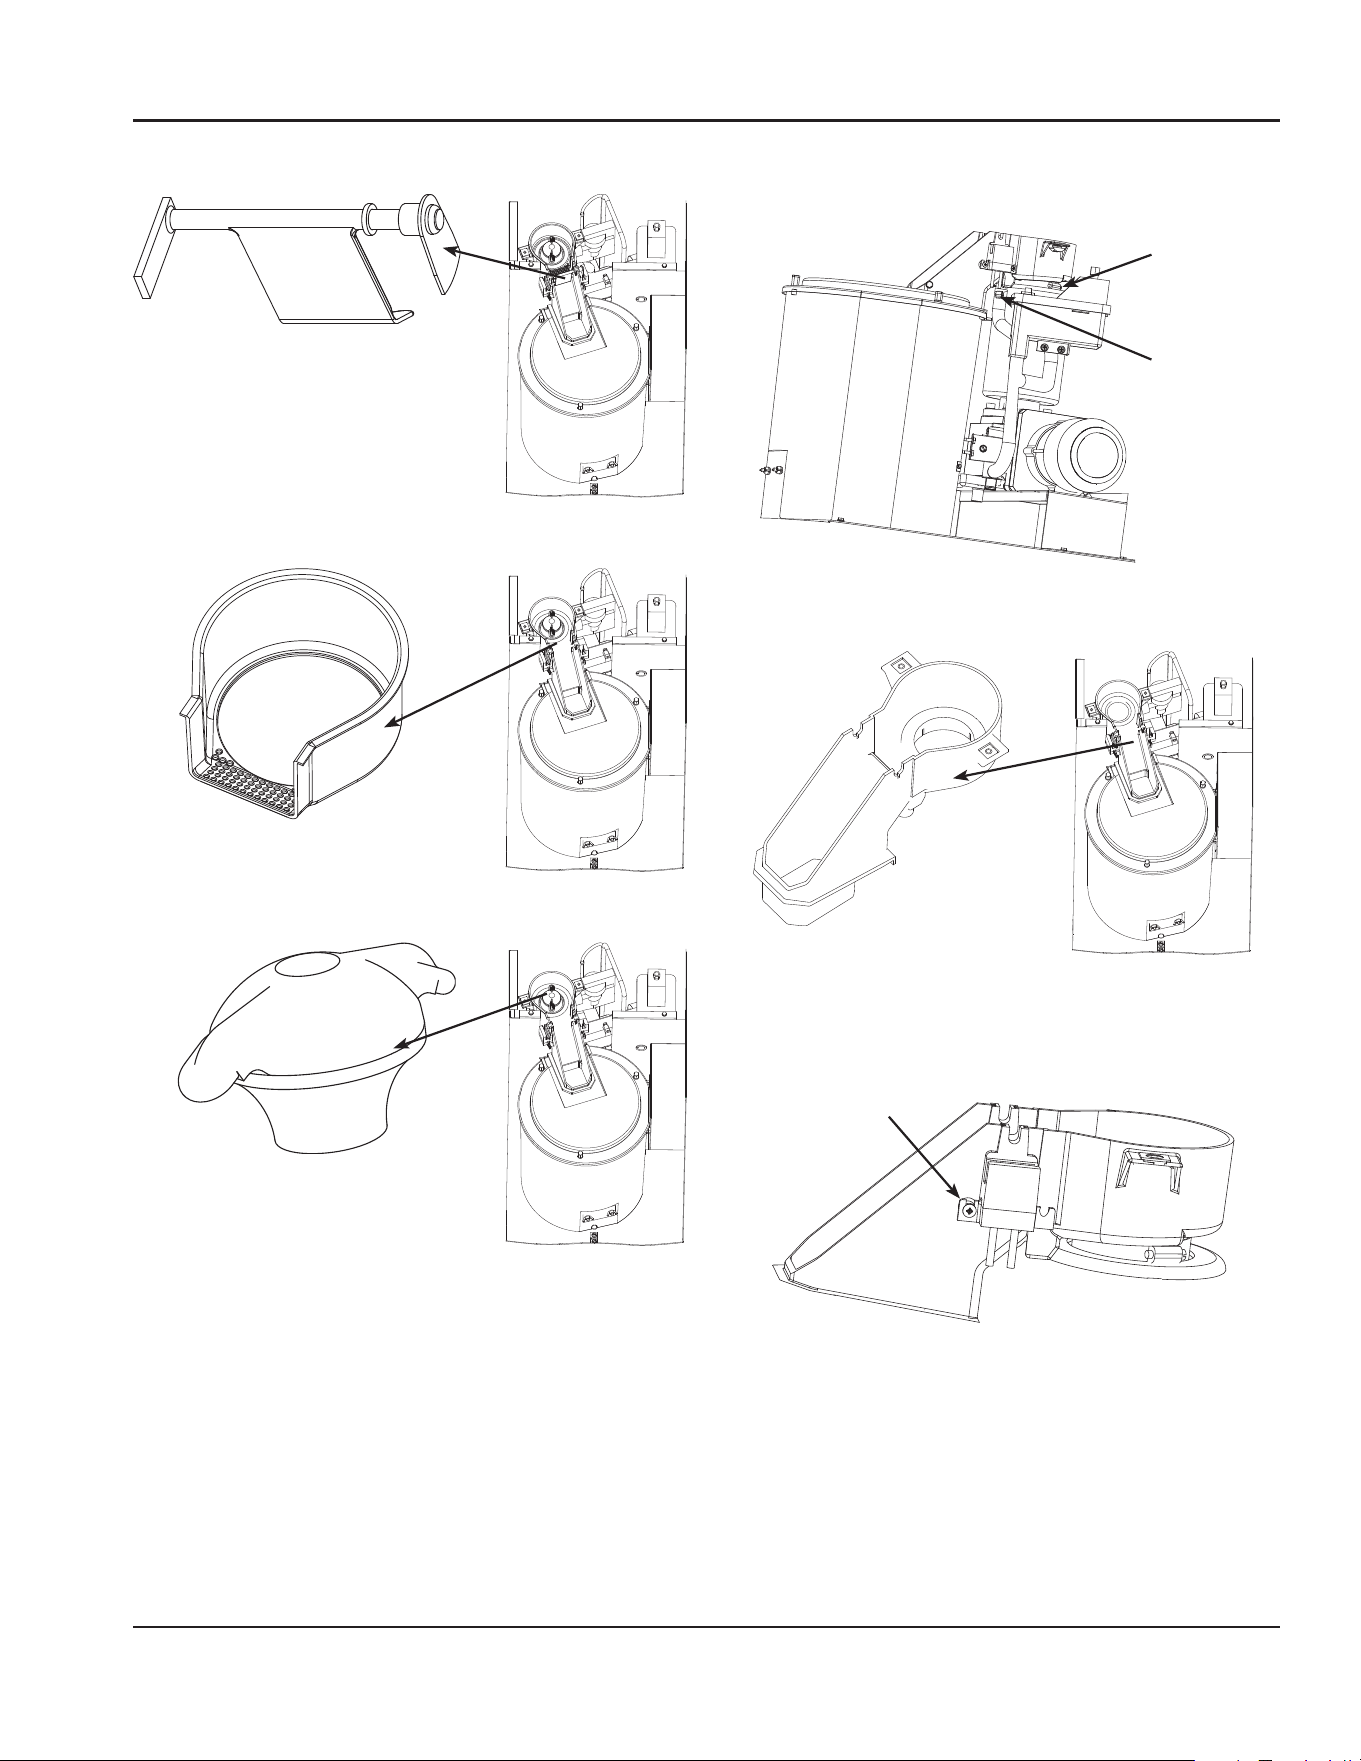
8. Lift out ice damper.
9. Lift out ice strainer ramp.
10. Turn ice wiper counterclockwise to remove.
11. Loosen ice chute hose clamp.
12. Disconnect ice chute drain.
Ice Chute
Drain
Ice Chute
Hose Clamp
13. Lift up on ice chute to remove. The ice chute must be
removed before the bin cover can be removed.
14. The ice chute can be descaled in place. If complete
removal is desired, use a Phillips screwdriver to remove
the Hall Effect switch assembly from the ice chute.
Remove
Screw
20 Part Number: 000016764 Rev 01 07/22
Maintenance Section 4
15. Remove three thumbscrews, then remove bin cover.
Remove Thumbscrews
16. Remove agitator bar and ice breaker on CNF202.
NOTE: Bar must be reassembled by inserting front edge into
the paddle wheel, then lowering the back edge (rounded
90 angle) to prevent water leakage into the compressor
compartment.
CNF201 - Remove Thumbscrew &
Agitator Bar
CNF202 - Remove Upright Agitator
& Agitator Bar, Then Ice Breaker
Thumbscrews, Bolts & Breaker Bar
17. Remove ice deflector.
A. Remove the two thumbscrews.
B. Lift the ice deflector out.
Remove
Wingnuts
18. Remove ice dispensing wheel by lifting straight out.