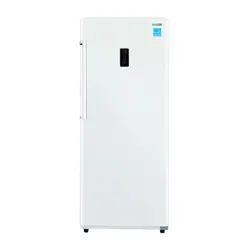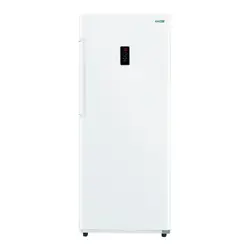
Model - FR 300 SG
Upright Freezer
STOP
DO NOT RETURN TO STORE!
HAVE QUESTIONS OR NEED SERVICE?
1-800-776-3538
Read the instructions carefully and keep for
future reference. Information maybe updated
from time to time so please refer to the
website for the latest version of the manual.
Installation – e.g. Insufficient spacing around the appliance
Maintenance – e.g. Cleaning the appliance using solvents
Mishandling – e.g. Breakage of door or shelves
1. Scan QR Code
Open Smart Phone
Open Camera
Click the Link
2. Register online at ApplianceDesk.com/Warranty
Note: QR Code is also used to obtain Product Information, Manuals and Updates

Congratulations on your new Compact Upright Freezer!
In addition to its contemporary design, this is a highly sophisticated engineered
product that will give you many years of satisfaction. Here are some of the best
reasons for buying your freezer:
•
•
•
•
•
1
Compact size can fit in any room
Recessed handle and flush back for smooth look
Door is reversible as you prefer
Adjustable feet to ensure stability
Can be placed in a garage
Safety
Do not store explosive substances such as aerosol cans
with flammable
propellant in
this appliance.
Refrigerant and foaming material is flammable. Take
precautions during
handling,
installation,
and
maintenance.
Ensure that the refrigerant circuit is not damaged.
Keep ventilation openings clear of obstructions.
Use a dedicated 110V
electrical outlet and a three-prong
power socket, that is properly
grounded.
Do not use an extension cord
or ungrounded 2 prong adapters.
Do not use a damaged power cord.
When positioning the appliance, ensure the electrical cord is not trapped or damaged.
Do not place
multiple portable socket-outlets
at the rear of the appliance.
Never unplug the appliance
by pulling on
the power cord.
Grip the plug
firmly and pull
straight out to remove from wall socket.
Do not connect or disconnect the electrical cord with wet hands.
Do not use mechanical devices or other means to accelerate the defrosting process.
Children should be supervised to ensure that they do not climb on or play with the
appliance.
This appliance is not intended for use by children or persons with
reduced physical, sensory or mental capabilities, or lack of experience and
knowledge, unless they have been given supervision or instruction
concerning use of
the appliance by a person responsible for their safety.
Safe Disposal
Before discarding the appliance, remove the door
in order to prevent risk of child
entrapment.
Leave shelves in place.
Please dispose of this appliance in accordance with local regulations.
State of California
Proposition
65
Warnings:
WARNING:
This product contains one or more chemicals known to the State of California to cause cancer.
WARNING:
This product contains one or more chemicals known to the State of California to cause birth defects or
other reproductive harm.
2
Installation
This appliance is designed to be free
standing and not built in.
Do not tilt the appliance
at
an angle of more than 45°
when moving it.
Place the appliance away from
direct sunlight,
sources of heat and high humidity, and
also away from areas or moisture and exposure to cold temperatures.
Ensure the appliance is placed in a well-ventilated
and dry environment.
Plug the appliance into a dedicated, properly installed-grounded wall outlet. Do not cut
or remove the third (ground) prong from the power cord.
Check the plug and cable before you connect the power and
make sure of the correct
voltage.
Ensure that the plug is accessible.
Ensure that the appliance is placed on flat and stable ground.
Adjust the 2 front feet
to
make
it level.
Before Use
After moving the appliance
in place,
and before turning it on, keep it standing upright
and stable for 6 hours. The appliance should be on for up to 2-3 hours and adequately
cold, before putting food in it.
Clean the outside and inside surfaces with a damp soft cloth
before putting food in the
appliance.
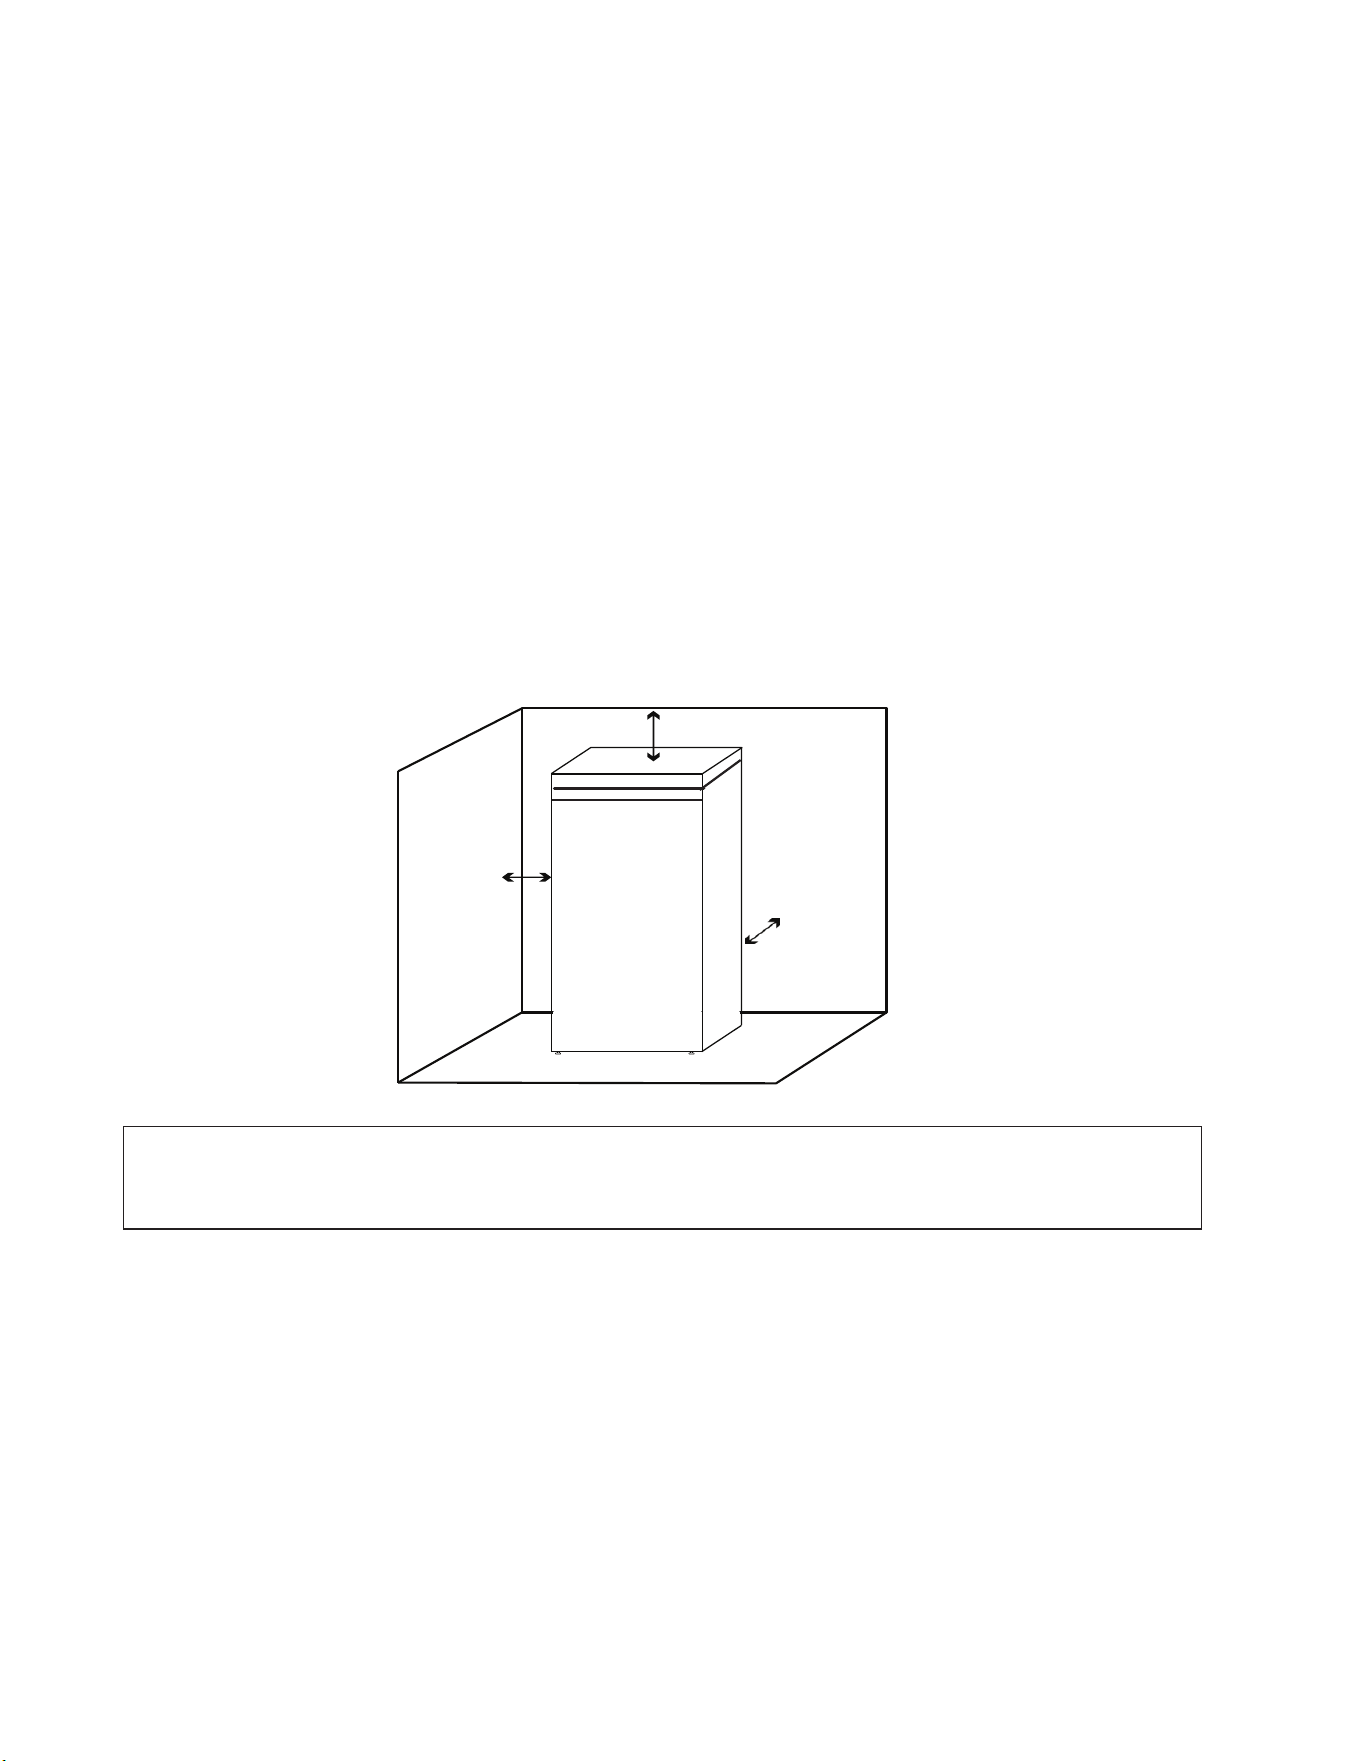
Place the appliance
on a flat level surface, leaving 5 inches (12.5 cm) on either side
and at least 5 inches (12.5 cm) between back of appliance and the wall.
5" (12.5 cm)
5" (12.5 cm)
5" (12.5 cm)
3
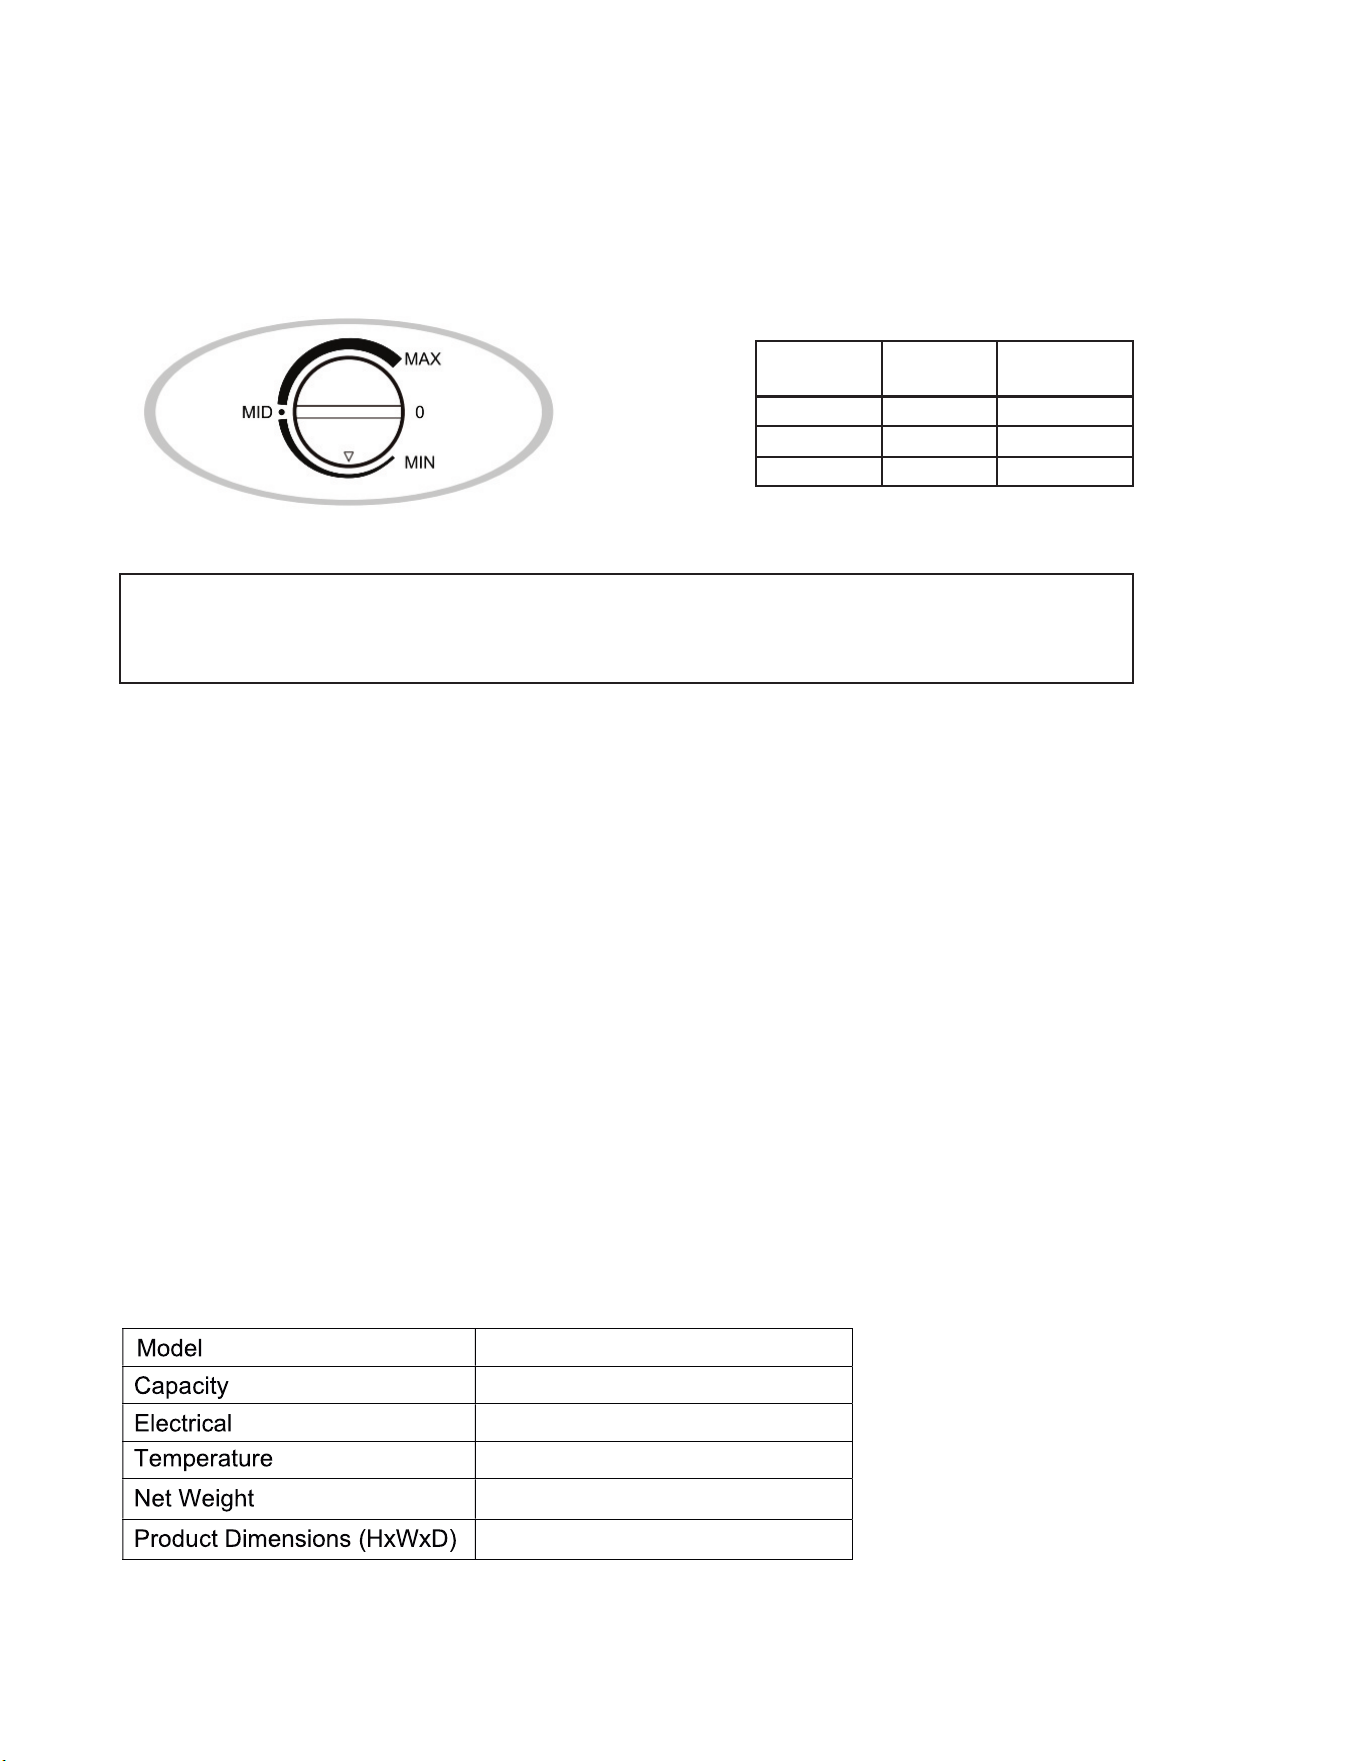
Operation
This appliance is intended for
household use.
Turn the Temperature Dial, located at the top of the appliance, to select the desired
temperature setting: MIN, MID or MAX. Use the table below as a guide.
Note: If the appliance is switched off or after a power failure, wait five minutes before
switching on the appliance again to prevent damage to the compressor.
Maintenance
Ensure the power cord is unplugged before moving or cleaning the back of the
appliance.
Clean the outside and inside of the appliance regularly,
including the door gasket, using
water,
mild detergent
and a soft cloth.
Please do not use strong chemicals and abrasive materials to clean.
The US Food and Drug Administration (FDA) recommends:
Freezer temperature should be 0°F (-18°C)
FR 300 SG
3.1 cu. ft. / 88 L
110V
o o
-11 ~ 14 F
63.9 lbs
20.7 x 21.3 x 34.4 in
Specifications Table
4
TemperatureTemperature
Setting
Cold Level
14°F (-10°C)
-0.4°F (-18°C)
-11°F (-24°C)
MIN
MID
MAX
Least Cold
Mild Cold
Coldest
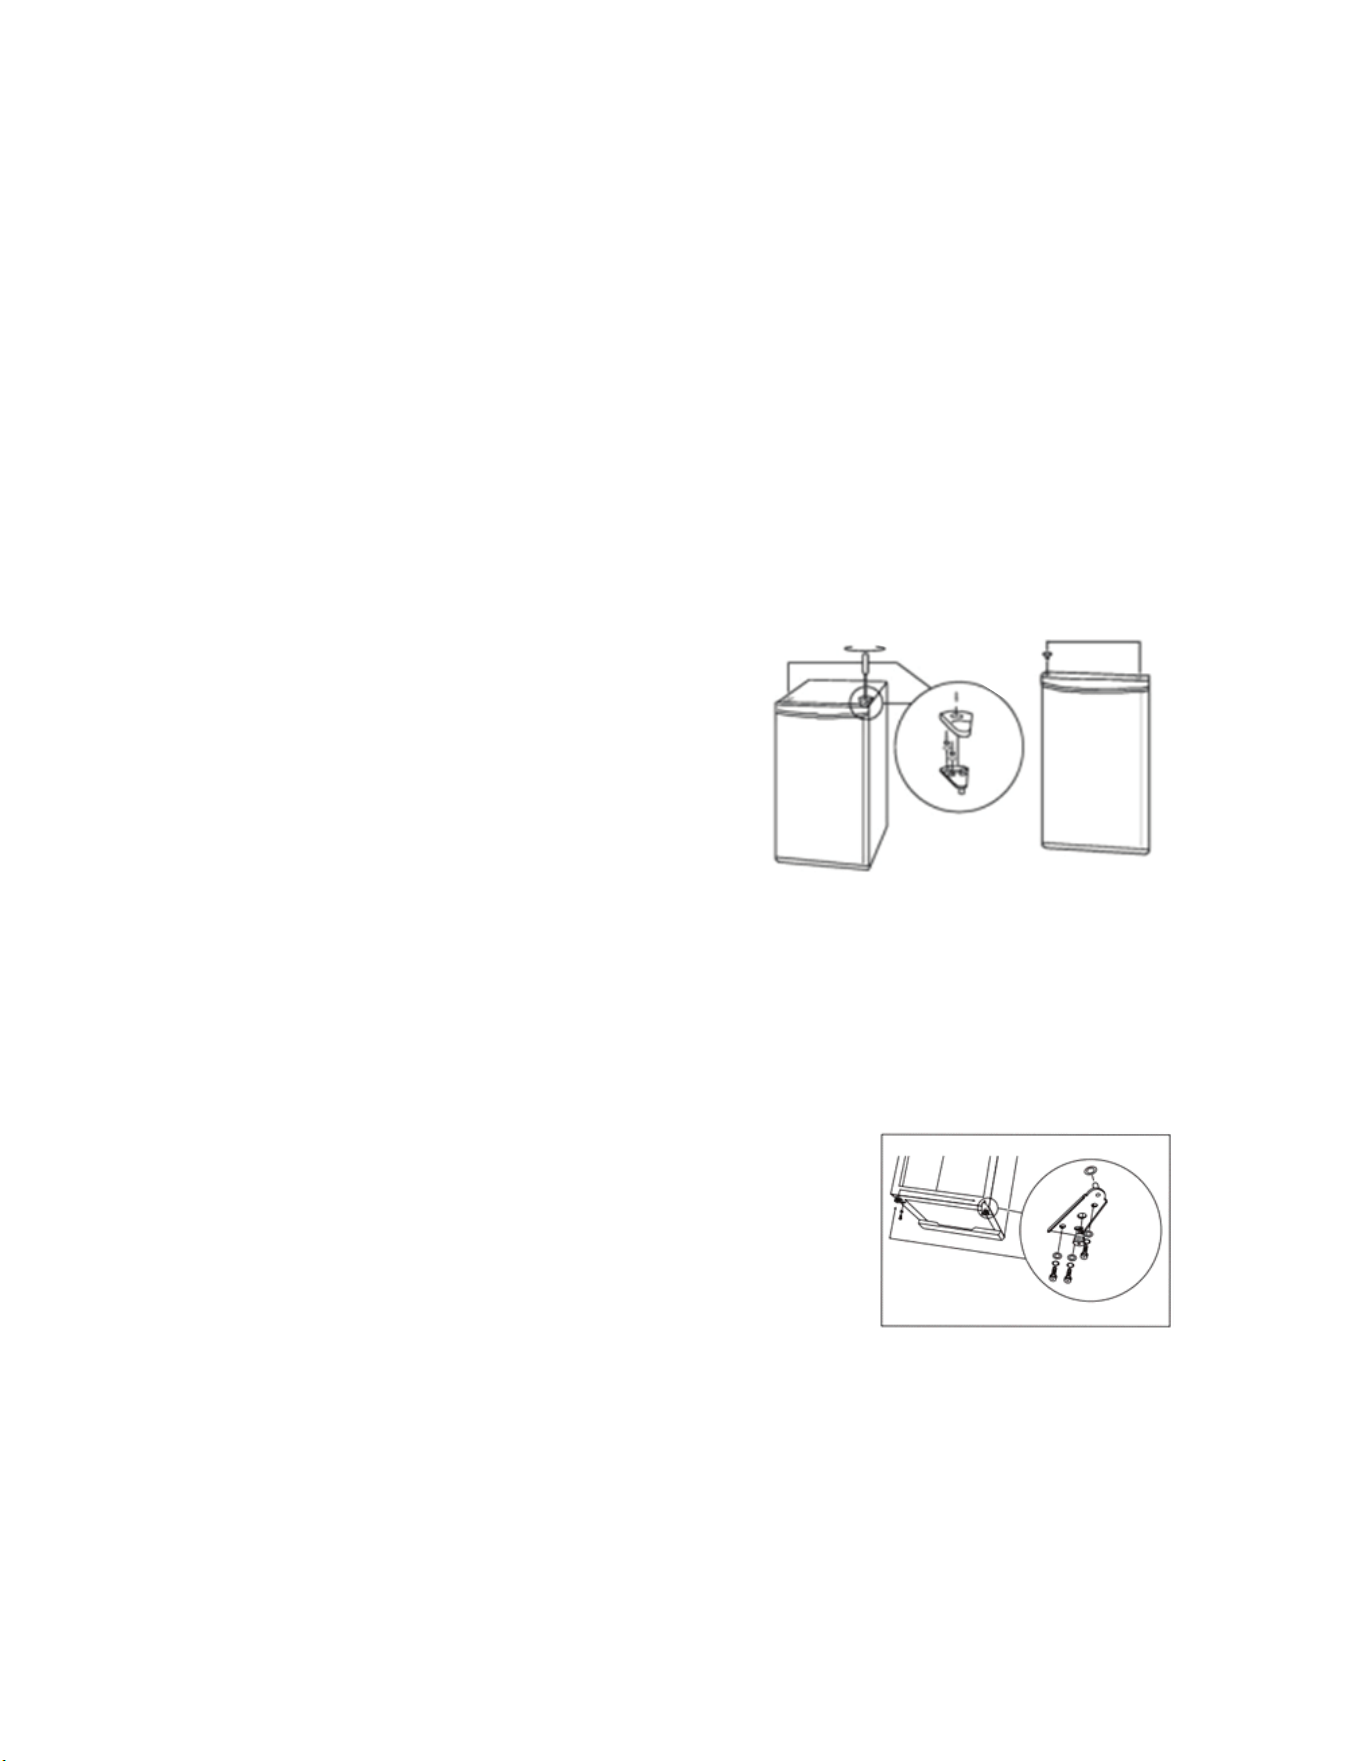
Warning: Unplug the appliance before reversing the door.
1. Tilt back the appliance or lay it on its back.
2. Remove bottom hinge and other parts from
both sides.
3. Install the bottom hinge on the left side, ensuring
to tighten the screws.
4. Plug the holes on the right side with the caps.
5. Check that the door is aligned with the cabinet.
6. Adjust the leveling feet in front to ensure the
appliance is level.
Move the appliance to the vertical standing position and ensure that it remains
upright for at least 6 hours before plugging it in and turning the power on.
Door Reversal Instructions
1. Use a screwdriver to remove the top hinge
and screws from the right side, and other
parts from the left side.
2. Re-install the top hinge and parts removed
from the right side on the left side.
3. Install the parts removed from the left side
on the right side.
Top Hinge:
It is recommended that 2 people, who are qualified technicians, carry out the door
reversal procedure.
The door of the appliance opens to the right. If it is preferable to have the door open
to the left, the door swing can be reversed.
Instructions are provided to move the hinges from the right side to the left side.
Replace the top door hinge first and then the bottom door hinge. Place the appliance
on its back with the door facing up before beginning the procedure.
Bottom Hinge:
5
Troubleshooting
In most cases, when your appliance doesn’t work, the problems can be
easily solved without having to call for a technician. Before calling for service, please
check the following table.
Problem
Possible Cause and Solution
Does not work
Power is not on,
or the unit is not connected to power
Check if it is plugged in correctly to the power source
Check fuse and power socket
Low voltage
Not Cooling
Temperature is not set correctly. Adjust the temperature
Move unit
if near a heat source or in direct sunlight
Check for proper ventilation around the appliance
Check if there are too many items in the appliance
Door opened frequently or not shut properly
Door seal is damaged
Too much noise
Appliance not placed on flat surface or not level. Adjust the
feet to level it
Appliance is against a wall.
Move it forward to ensure adequate
space behind the appliance
Door does not
close properly
Check the
door
seal
Shelves are not positioned properly. Adjust the shelves
or bins
Ensure no items in the appliance are obstructing the door from
closing
Ensure the appliance is level
The following phenomenon is normal:
•
Sound of fluid is the compressor when it is starting or stopping
•
Flowing sound of refrigerant in the refrigeration system
•
The outer surface on the sides of the appliance feel warm
•
Condensation forming
–
wipe with dry cloth
•
•
•
•
•
•
•
•
•
•
•
•
•
•
•
•
6