STOP
DO NOT RETURN TO STORE!
HAVE QUESTIONS OR NEED SERVICE?
1-800-776-3538
Read the instructions carefully and keep for
future reference. Information maybe updated
from time to time so please refer to the
website for the latest version of the manual.
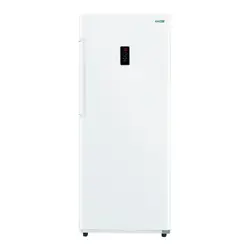
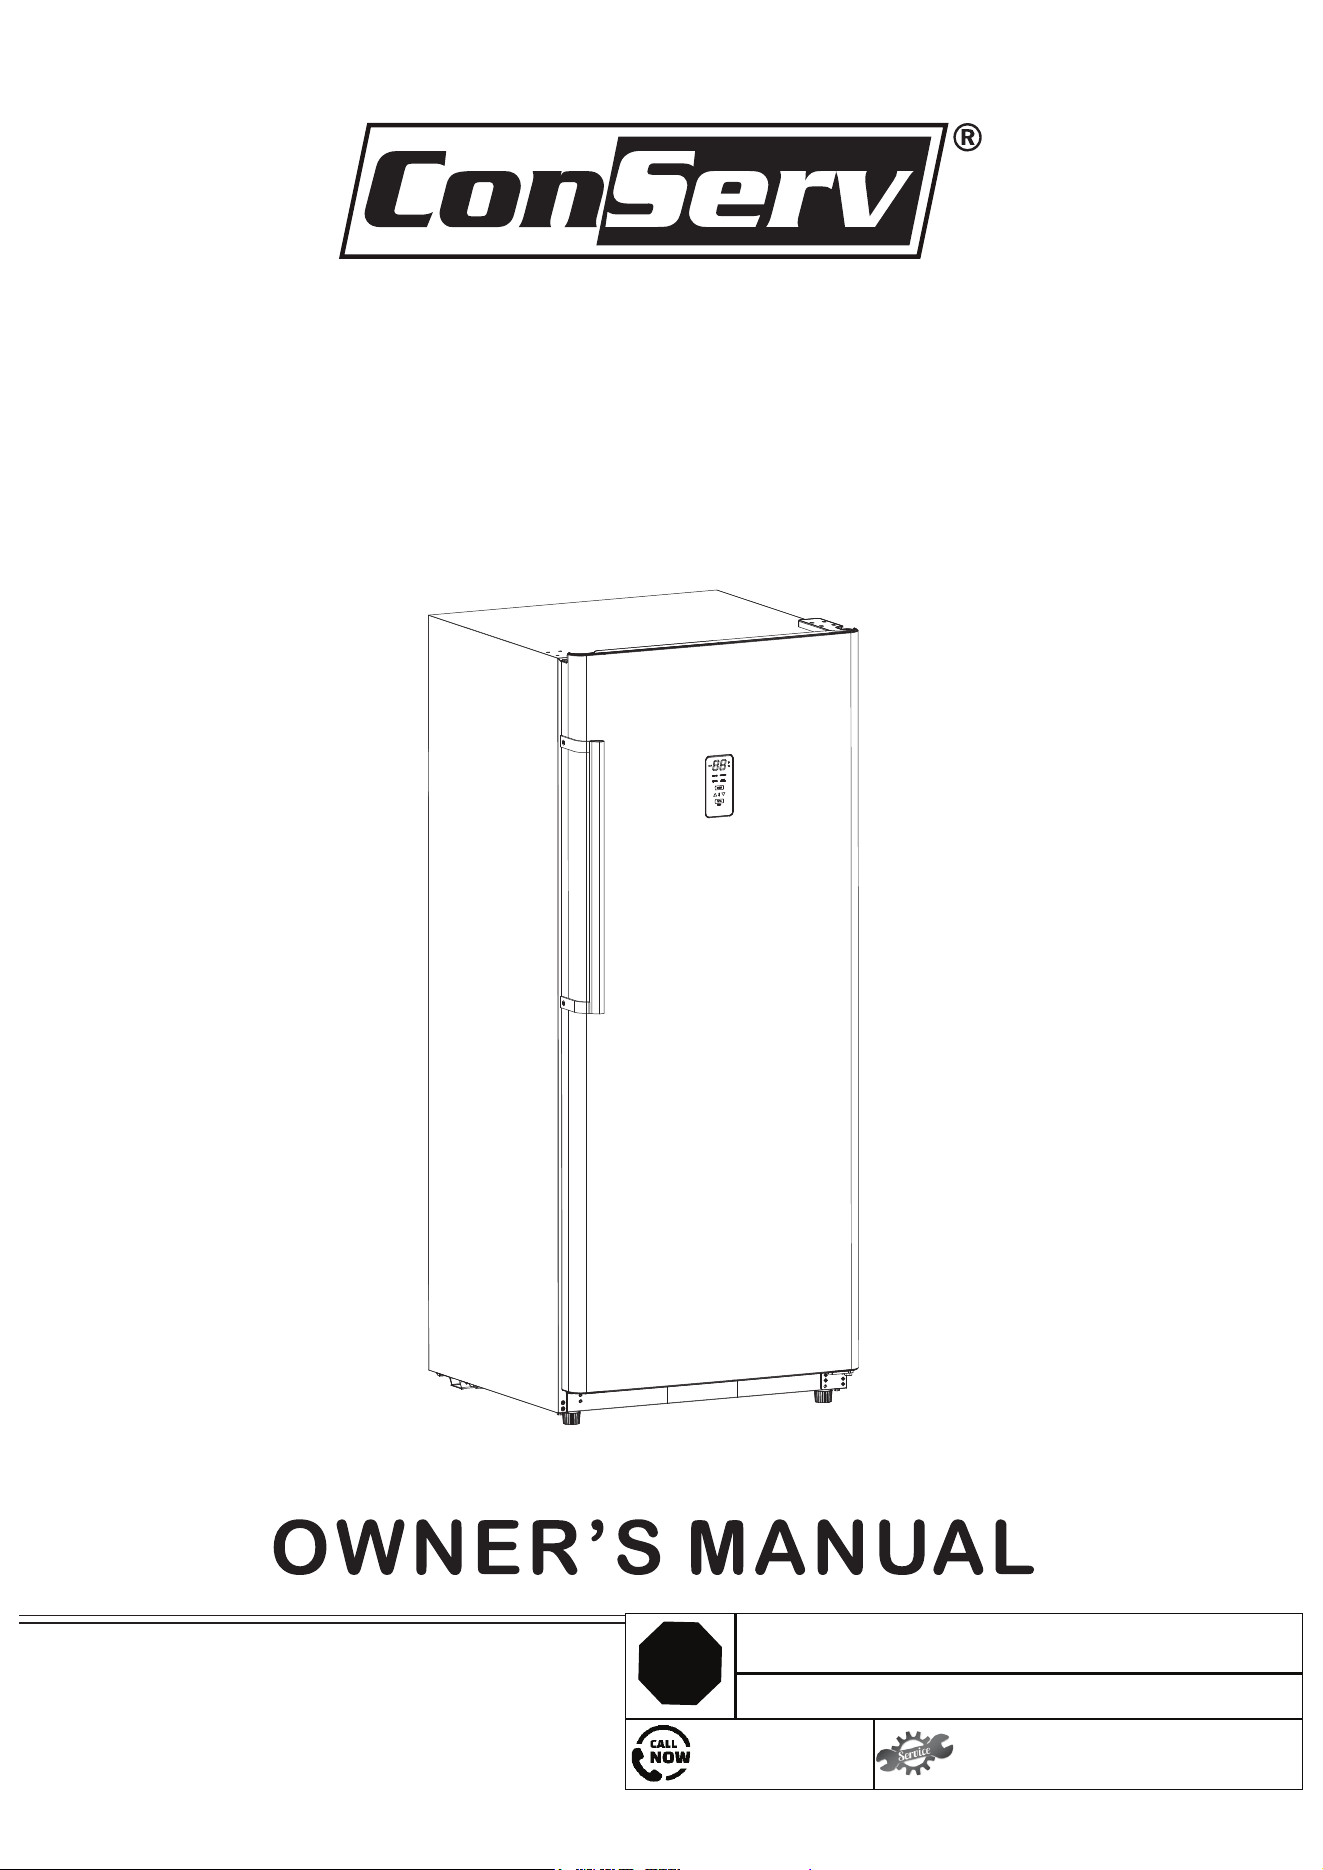
Upright Freezer
Convertible Freezer / Refrigerator
Model - FR 1400 REV
Chat-AI
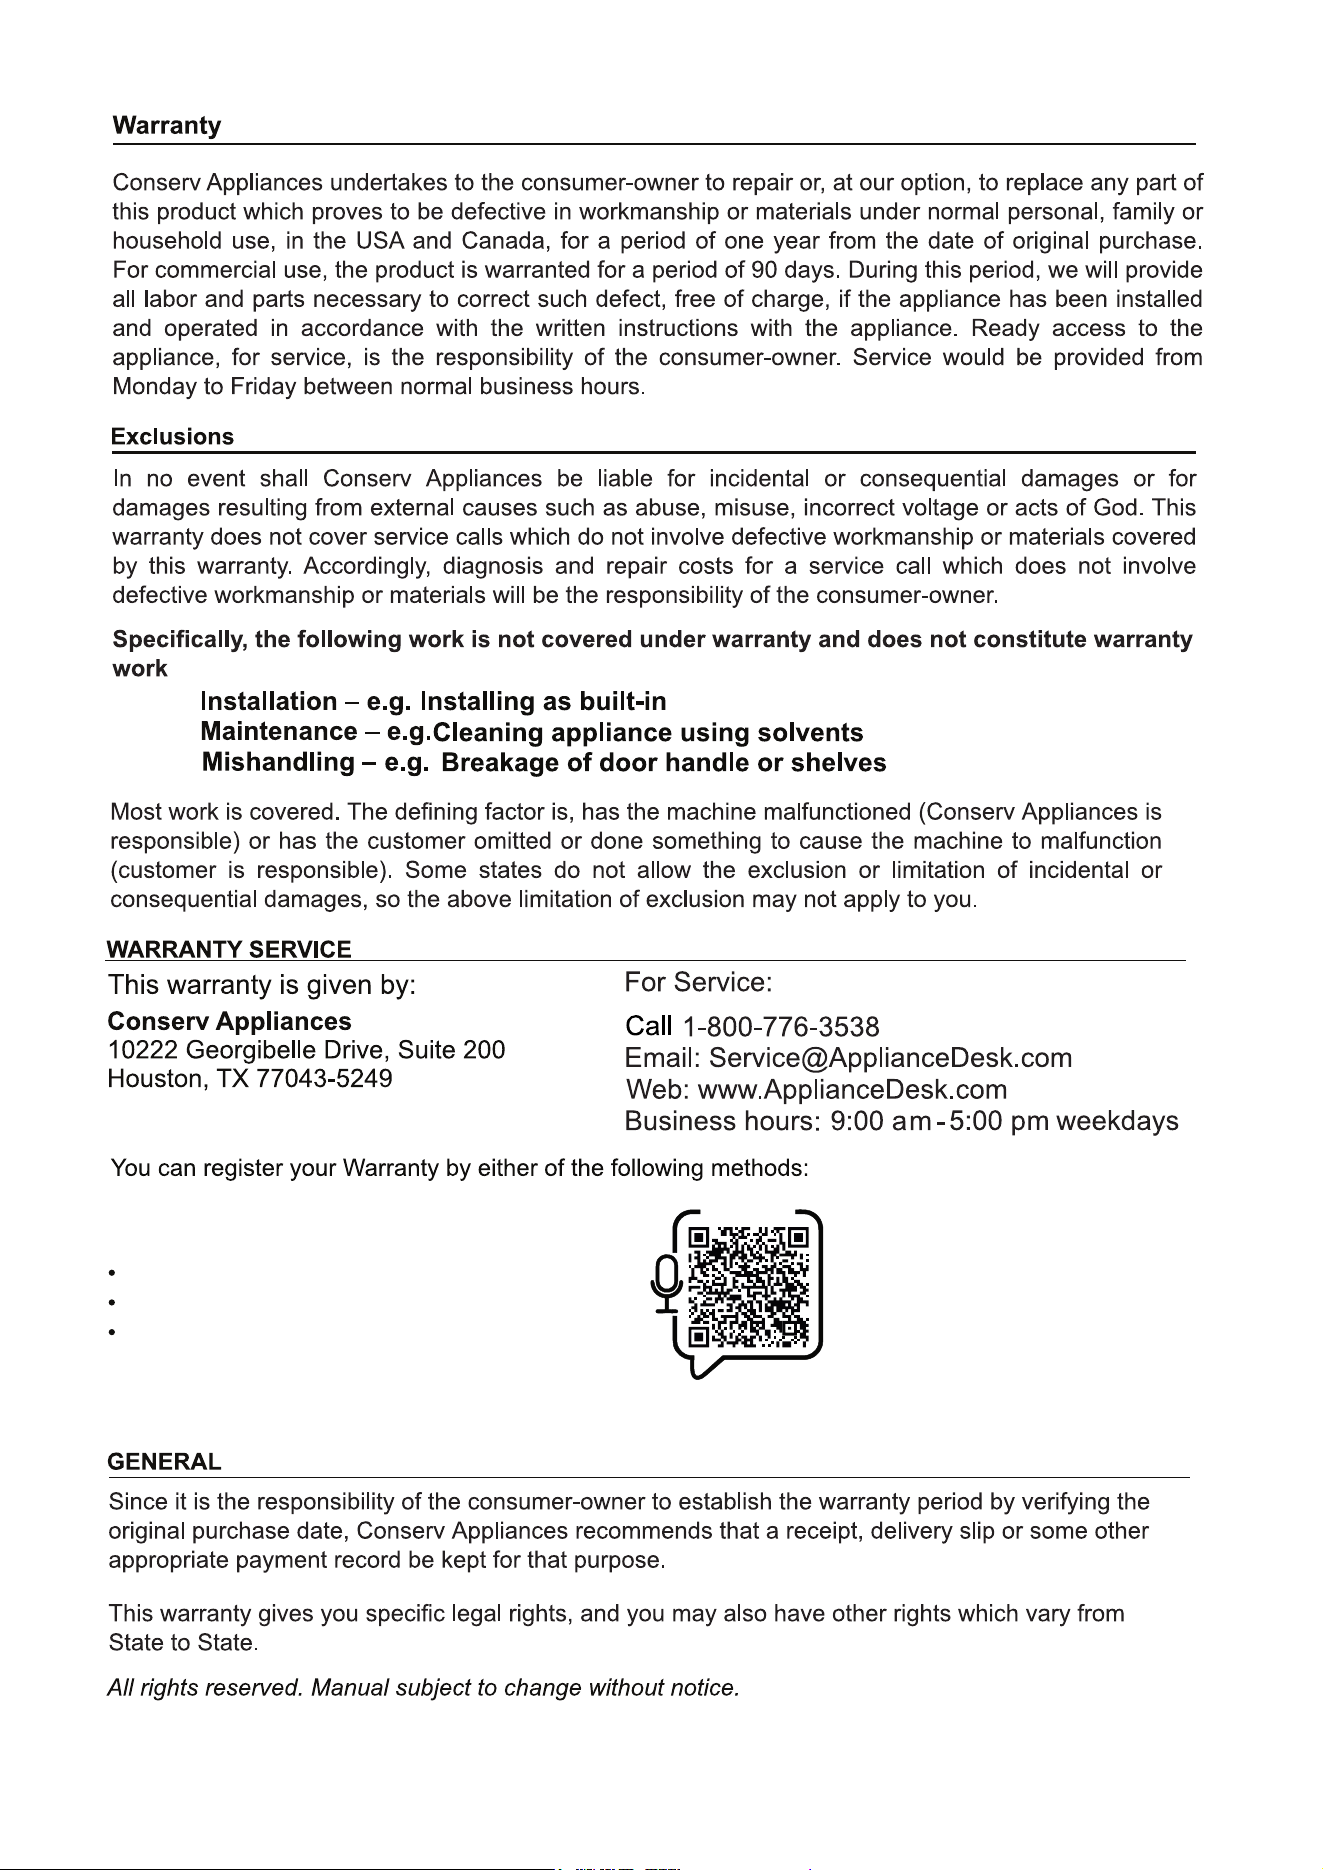
1. Scan QR Code
Open Smart Phone
Open Camera
Click the Link
2. Register online at ApplianceDesk.com/Warranty
3. QR Code is also used to obtain Product Information, Manuals and Updates
Do not puncture or damage refrigerant tubing.
Safe Disposal
Before discarding the refrigerator, remove doors and leave the shelves in place in order to
prevent risk of child entrapment.
U
Use a dedicated power outlet and a three prong power socket, that is properly
grounded.
Do not use the power cord or plug if it is damaged.
When removing the power plug, do not pull on the cord. Grasp the plug firmly and pull
it out from the socket.
Unplug the unit first when doing maintenance or repair and when replacing the light
bulb.
Keep ventilation openings free of obstructions.
Dispose o ffthis appliance in accordance with local regulations.
Do not use extension cords or ungrounded two prong adapters.
This appliance is not intended for use by children or persons with reduced physical,
sensory or mental capabilities, or lack of experience and knowledge, unless they have
been given supervision or instruction concerning use of the appliance by a person
responsible for their safety. Children should be supervised to ensure that they do not
play with the appliance.
Customer Service.
Do not put acid or flammable or volatile materials inside the appliance.
Safety
Congratulations on your new Upright Freezer!
In addition to its contemporary design, this is a highly sophisticated
engineered product that will give you many years of satisfaction.
Here are some of the best reasons for buying your appliance:
· Can be converted from a freezer to a refrigerator.
· Door and handle are reversible as you prefer.
· Can be placed in a garage.
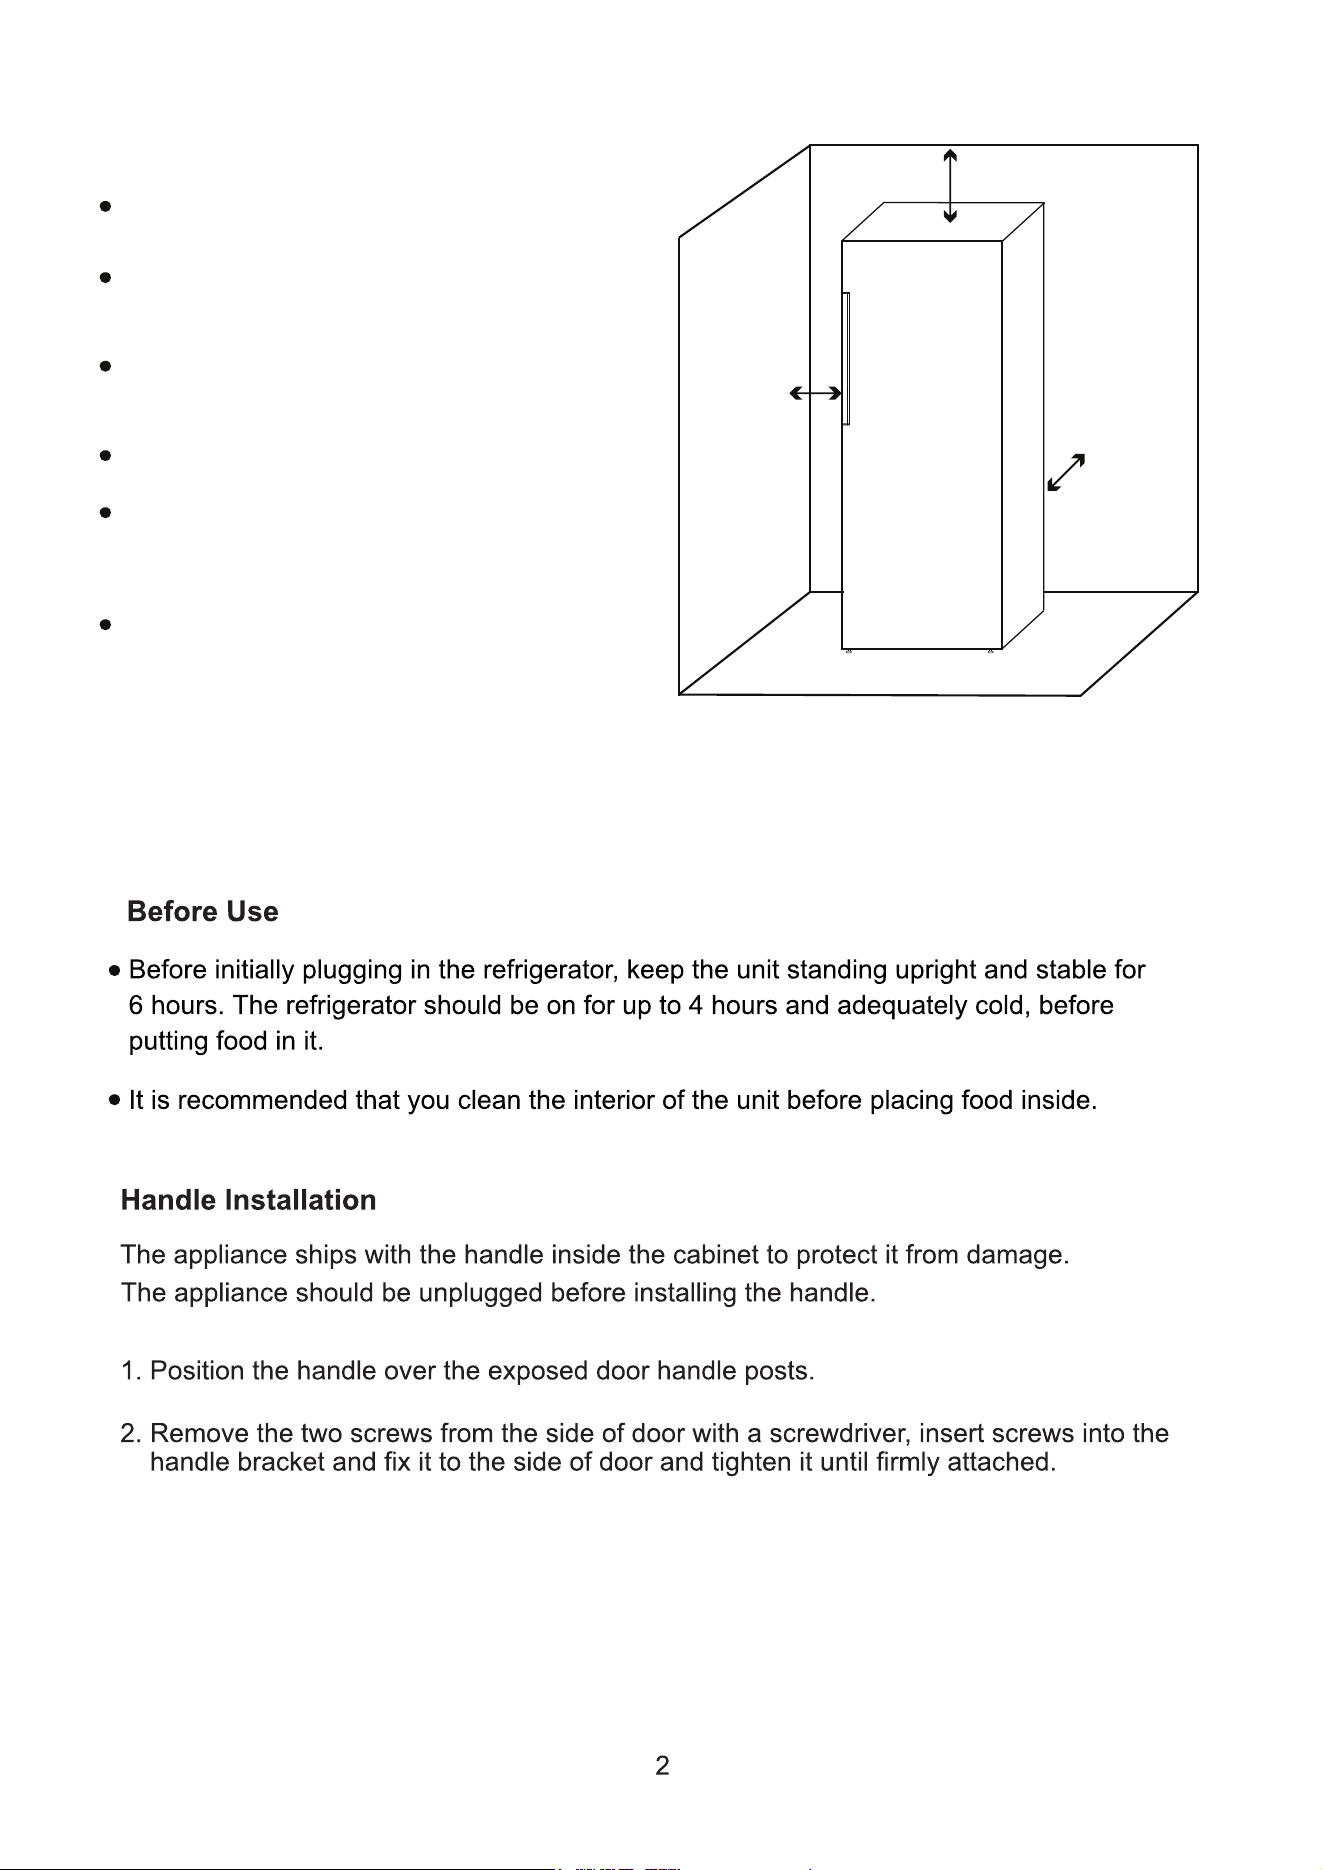
5" (12.7cm)
5" (12.7cm)
5" (12.7cm)
Placement
This unit is designed to be free standing and
not built-in.
The unit should be placed in a ventilated and
dry environment.
Do not put the unit in direct sunlight, and keep
it as far as possible from heat sources.
Don't put the unit in a cold area.
The unit should be placed on flat and stable
ground. Keep the unit level by adjusting the
2 front leg levelers.
There should be 5" (12.7cm) space around
the top, sides and back of the unit as shown,
to allow proper ventilation.
Turn the leveling leg counter-clockwise as far as it will go, until the top of the foot is
Slowly turn the leveling leg clockwise until the appliance is level.
touching the bottom of the unit.
1.
2.
Warning: Unplug the appliance before reversing the door.
It is recommended that 2 people, who are qualified technicians, carry out the door reversal procedure.
Parts required for this procedure are provided in an accessory bag. Instructions are provided to move
the hinges from the right side to the left side. Replace the top door hinge first and then the bottom
door hinge. Place the appliance on its back with the door facing up before beginning the procedure.
Door Reversal Instructions
Replace the top door hinge
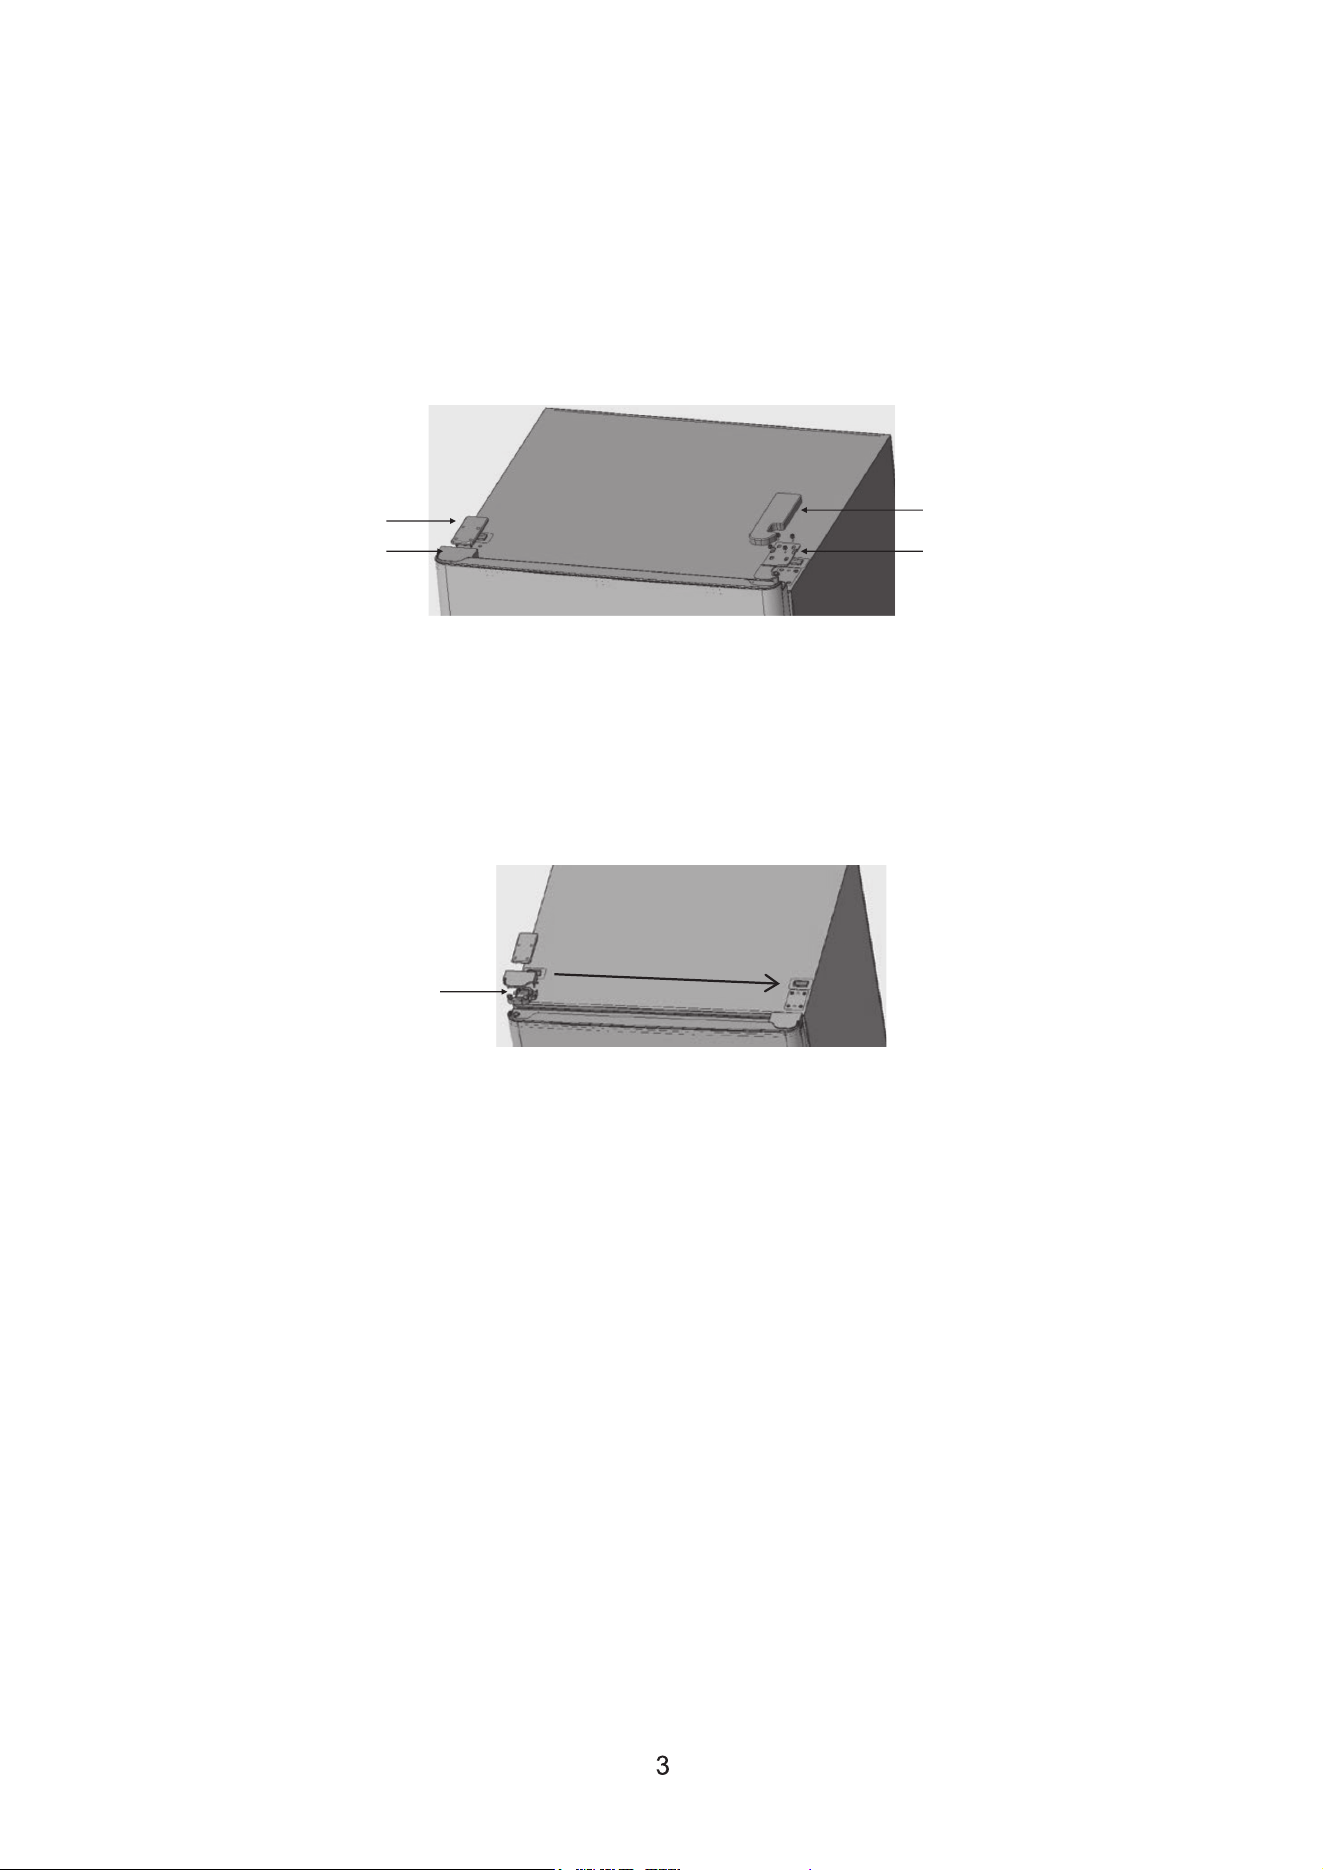
Surface Cover
Wiring Cover
Hinge Cover
Hinge
Wire Housing
1. From the left top of the unit, remove the top cover that covers the wiring (wiring cover).
2. Remove the wiring from the grooves of the wire housing and leave the wire assembly
hanging on the side.
3. Using a screwdriver, remove the screws that attach the wire housing to the unit.
4. Remove the plastic wire housing piece.
5. Remove the surface cover below it. (This will expose the holes and wire terminal).
6. Fit the hanging wire assembly into the notch of the metal hinge place the hinge flat on top
of the unit.
7. On the right side, remove the hinge cover.
8. Remove the 4 bolts holding the hinge in place and then remove the hinge and unplug the
wiring from the terminal.
9. Use these same bolts, removed from the right side, to attach the hinge on to the unit on
the left side.
10. Insert the wiring plug into the terminal.
11. P lace the hinge cover over the hinge. The hinge is now on the left side of the unit.
12. Remember to complete the assembly of remaining pieces on the right side of the unit.
13. Attach the wire housing piece on the right side with screws.
14. Wrap the wiring assembly into the grooves so it neatly fits into the housing.
15. Snap the wiring cover in place.
16. Press the surface cover into place over the exposed holes and wire terminal.
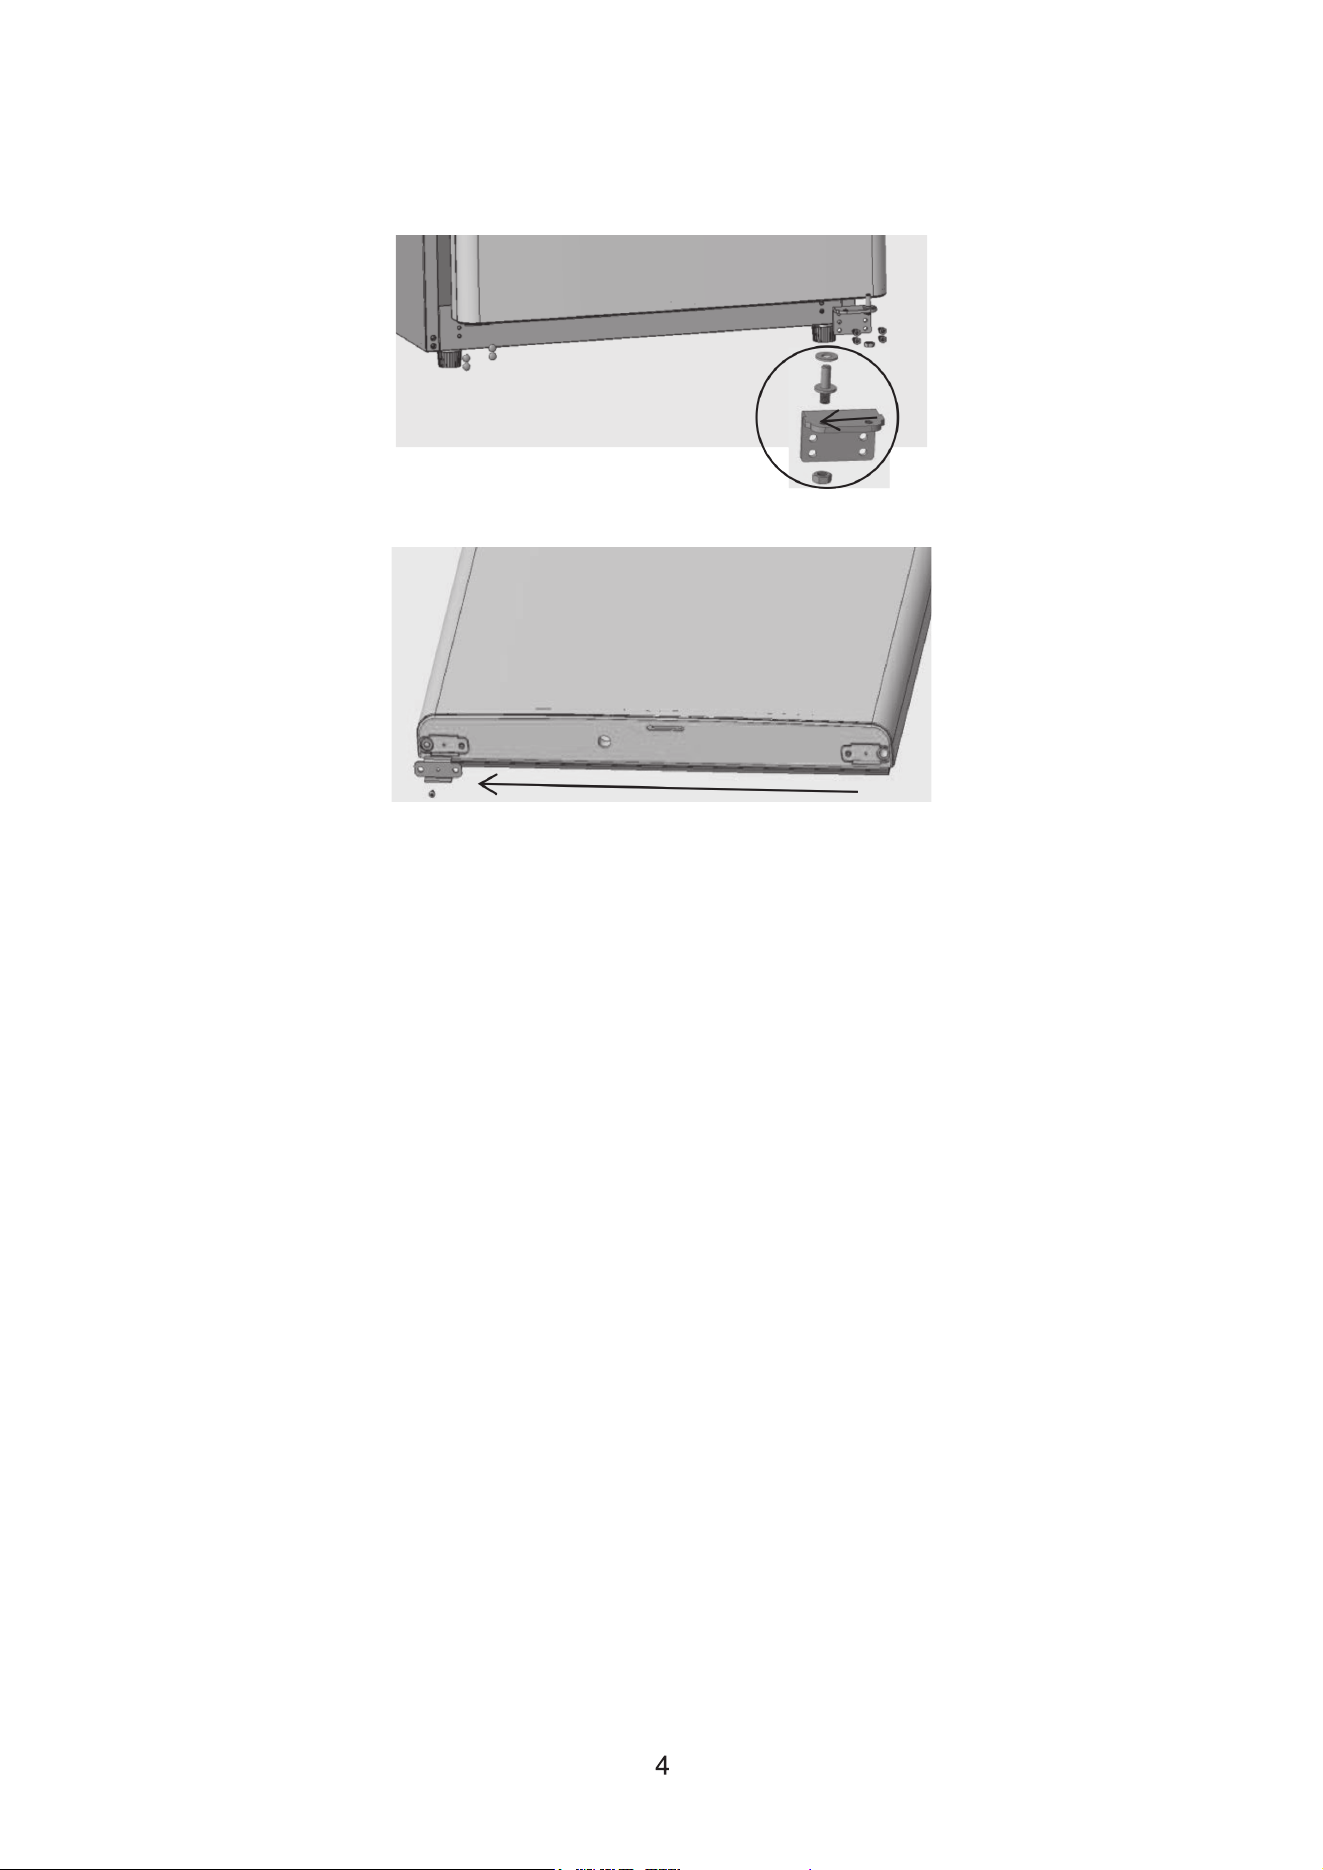
Replace the bottom door hinge
1. Remove 4 bolts and bottom hinge from the right side.
2. Remove 4 caps on the left side (keep them to replace on the opposite side).
3. Unscrew the door shaft nut.
4. Move the shaft and hinge to the left side and tighten.
5. Remove the door block from the right side and install it on the left side.
6. Install the hinge on the left side ensuring to tighten the 4 screws.
7. Plug the holes on the right side with the 4 caps which have previously been removed.
Finally check that the door is aligned with the cabinet. Adjust the leveling feet in front to ensure
the appliance is level.
Move the appliance to the vertical standing position and ensure that it remains upright for
at least 6 hours before plugging it in and turning the power on.
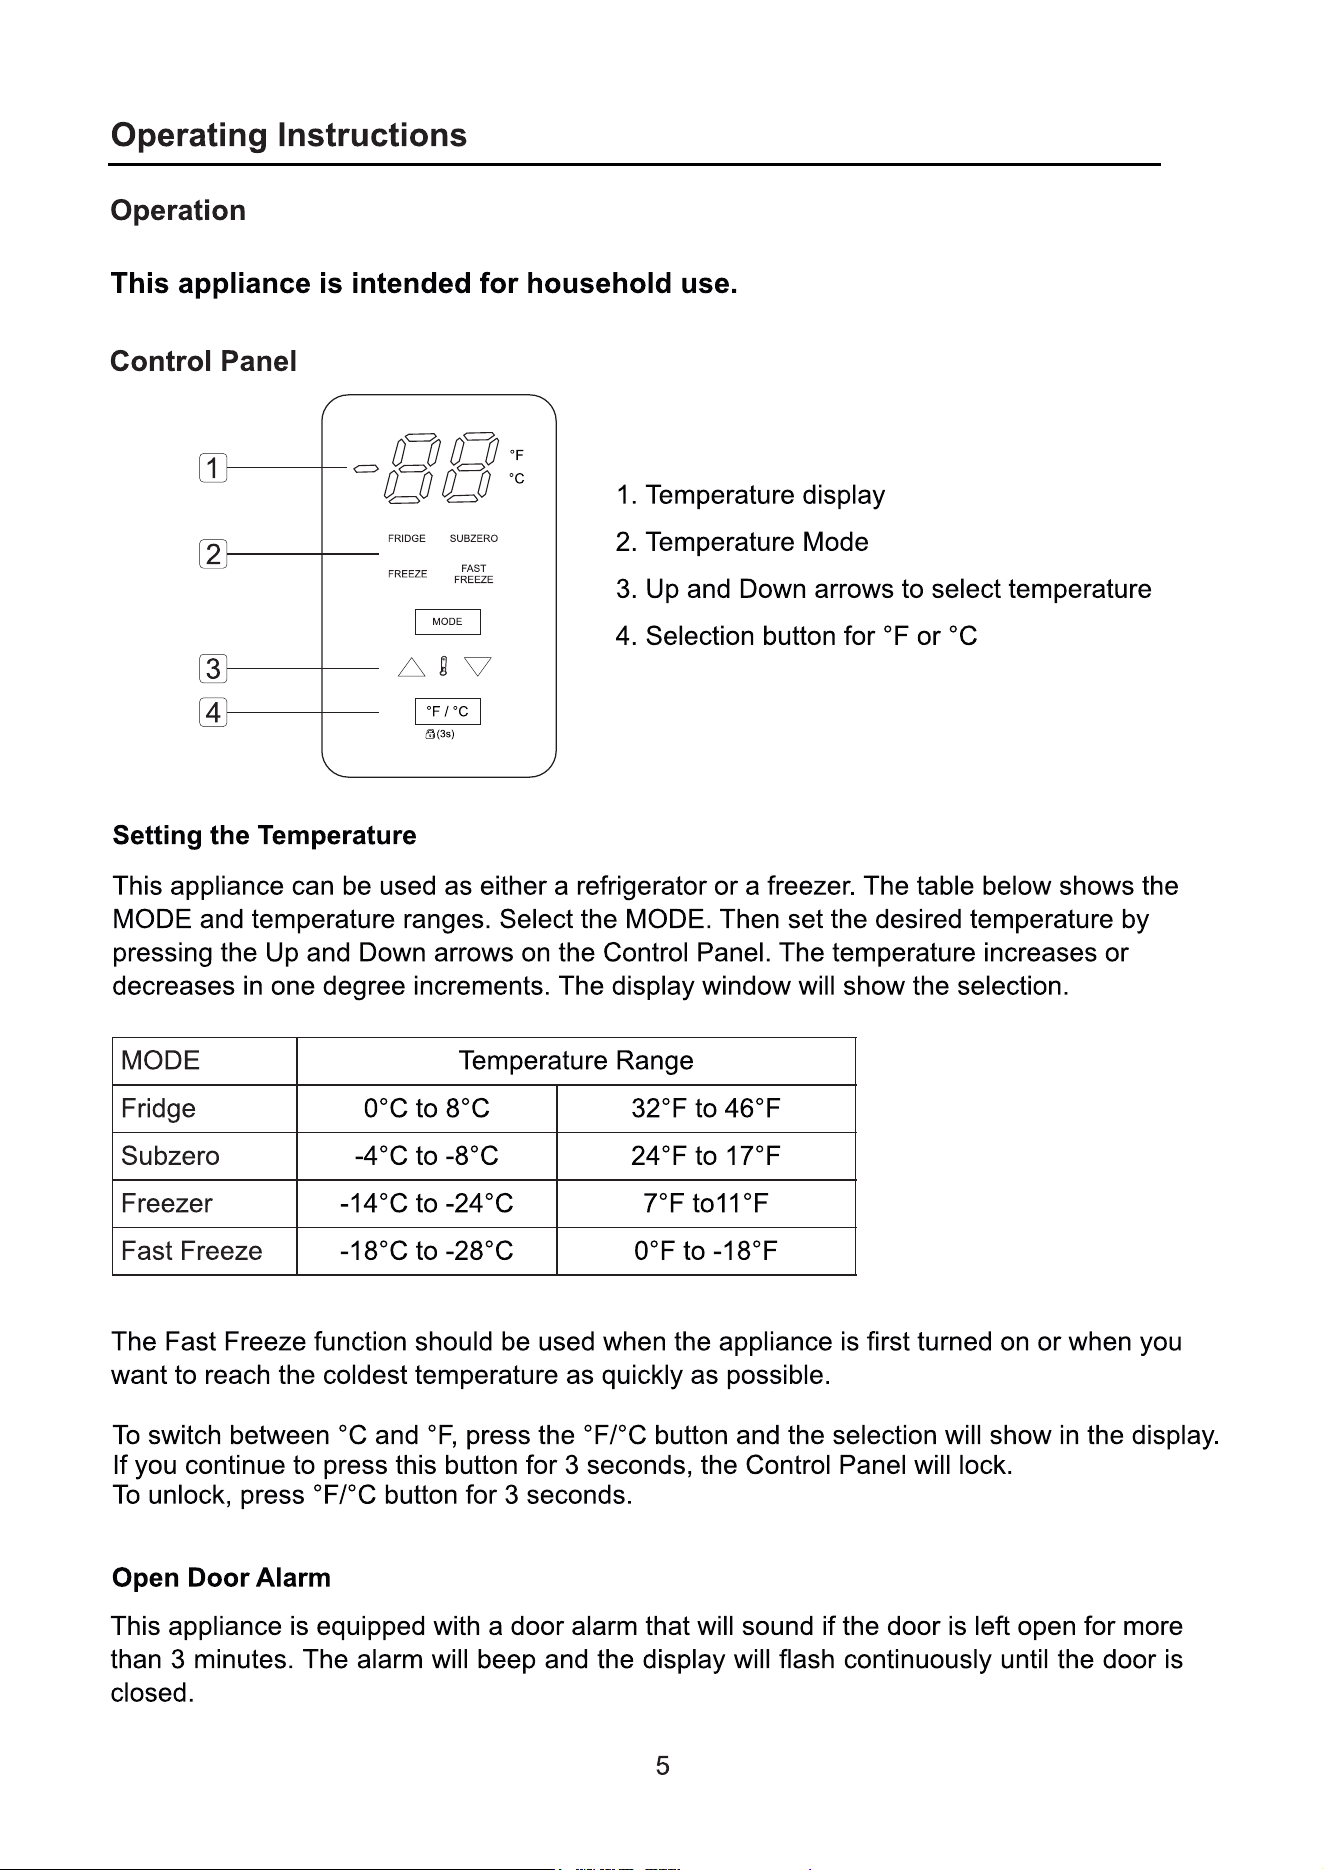
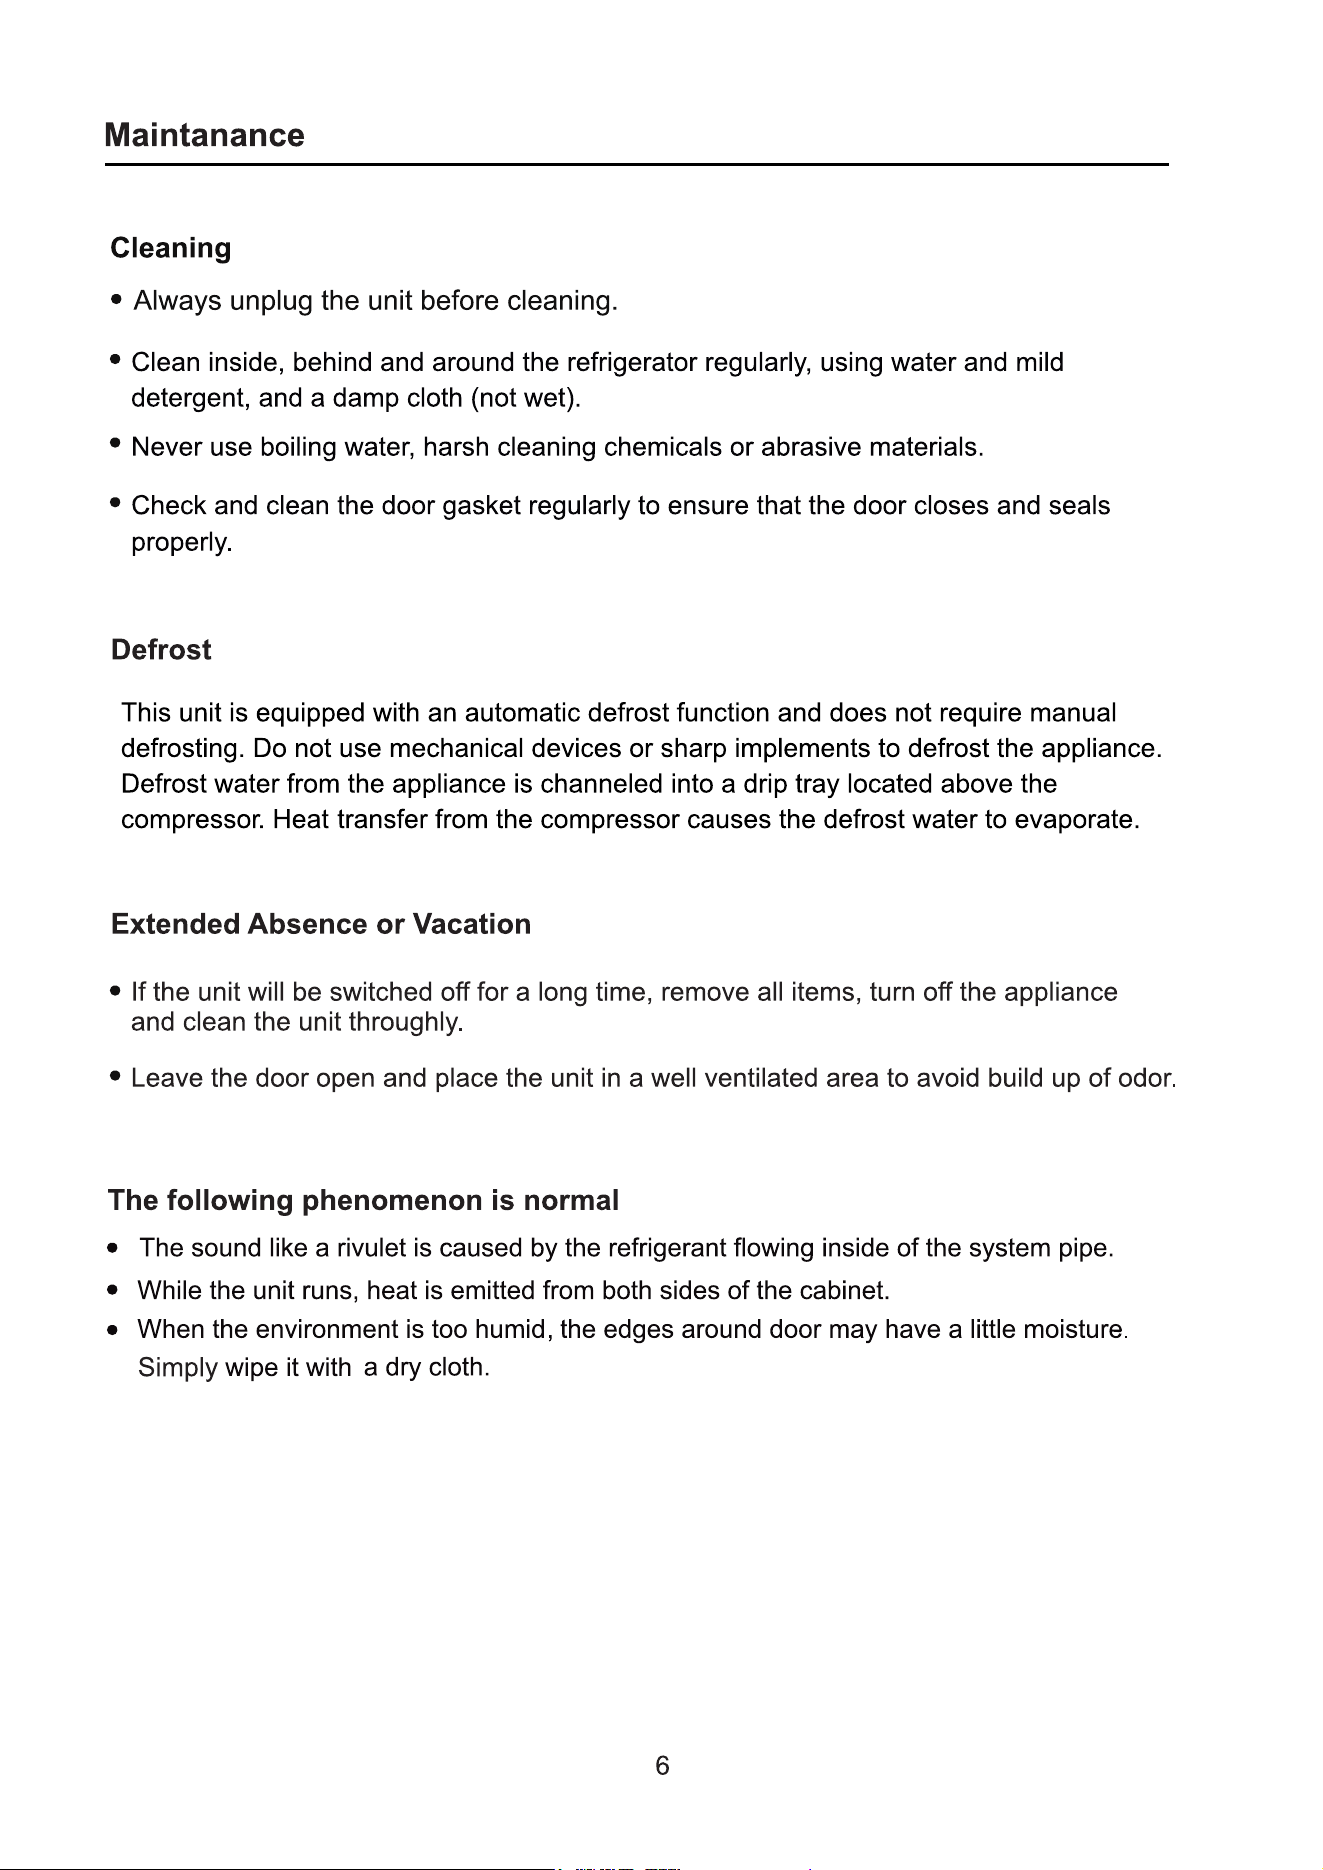
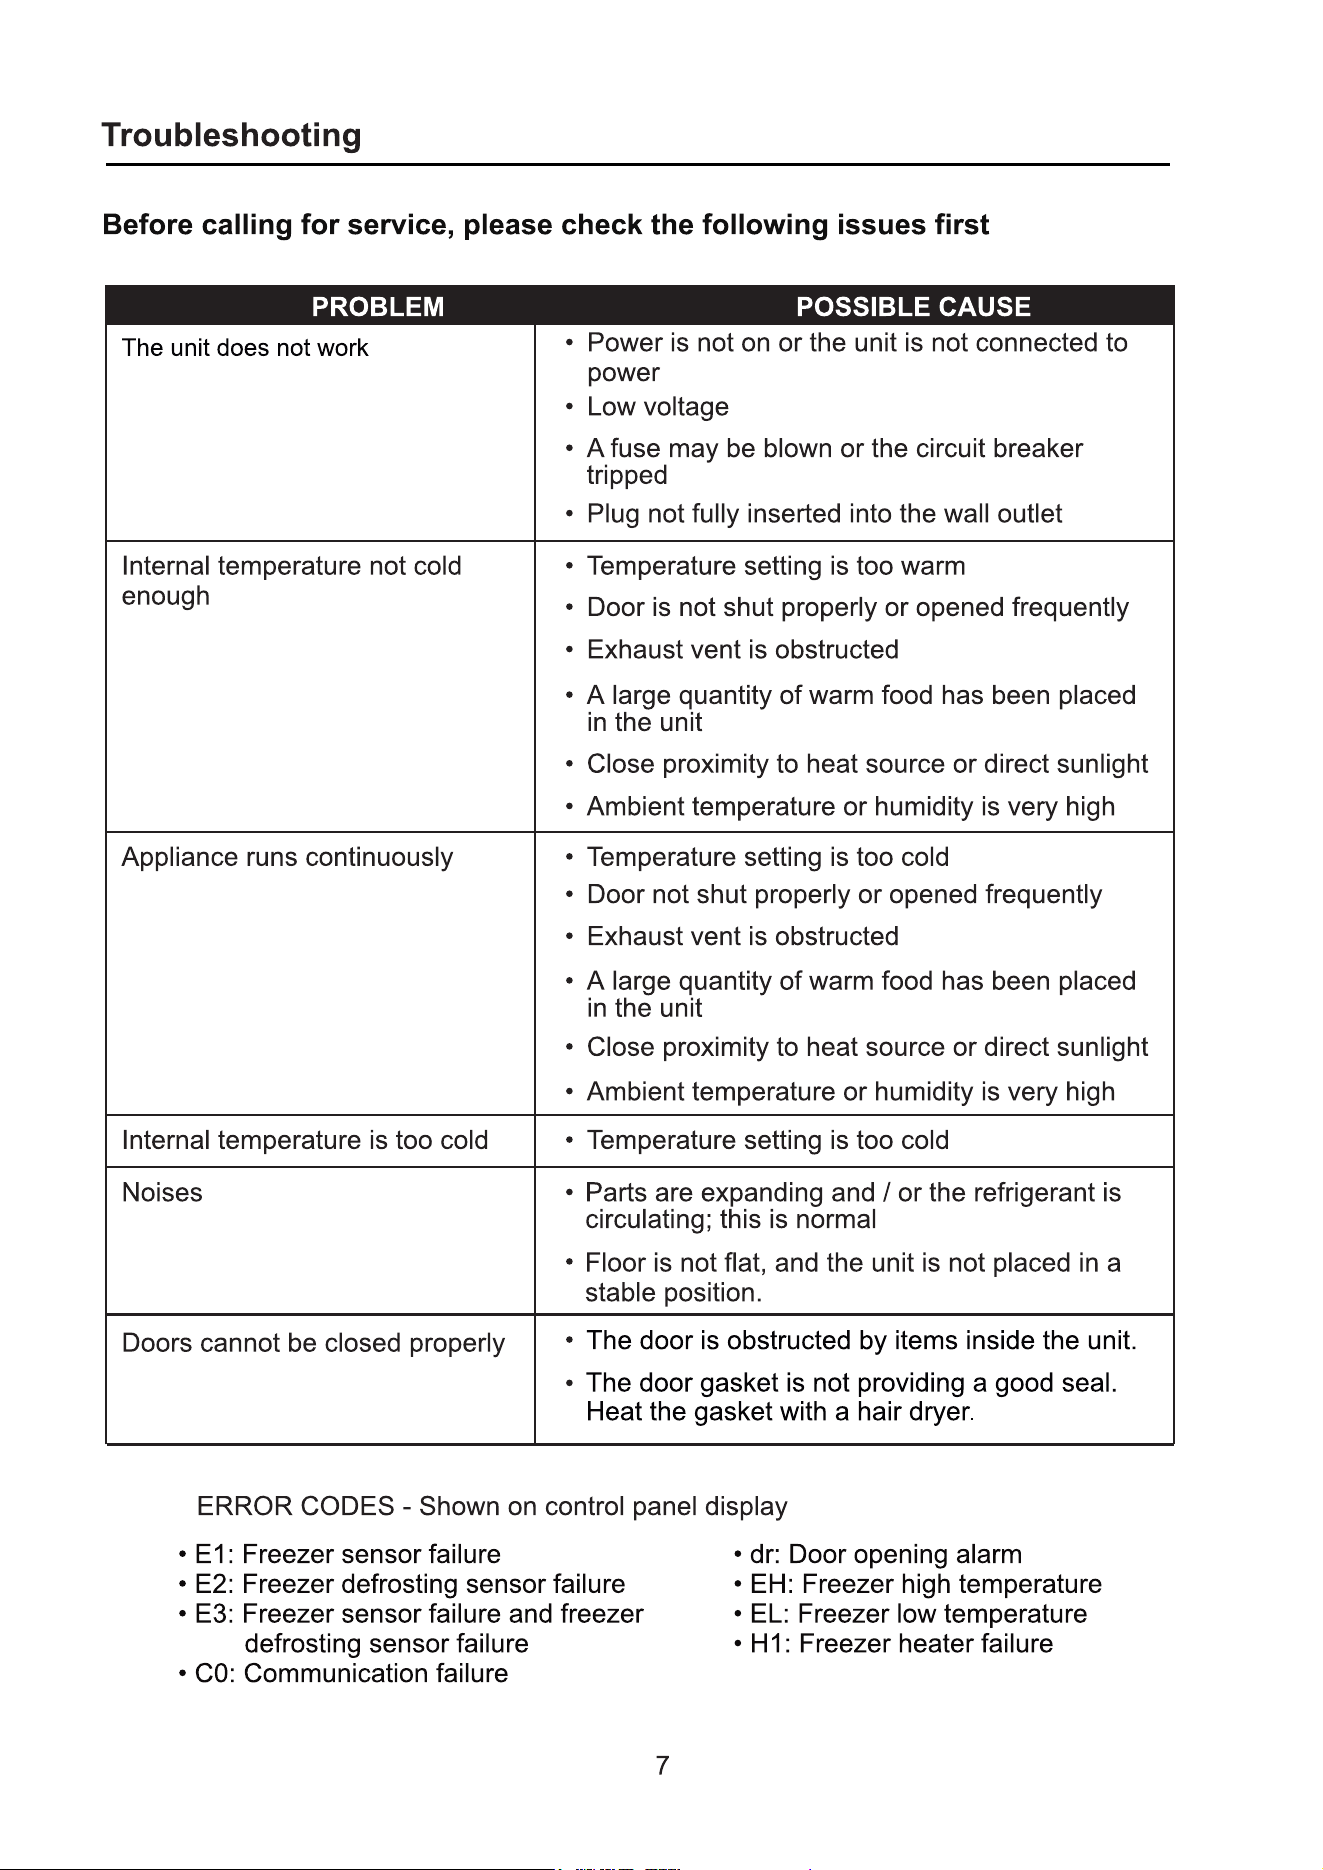
8
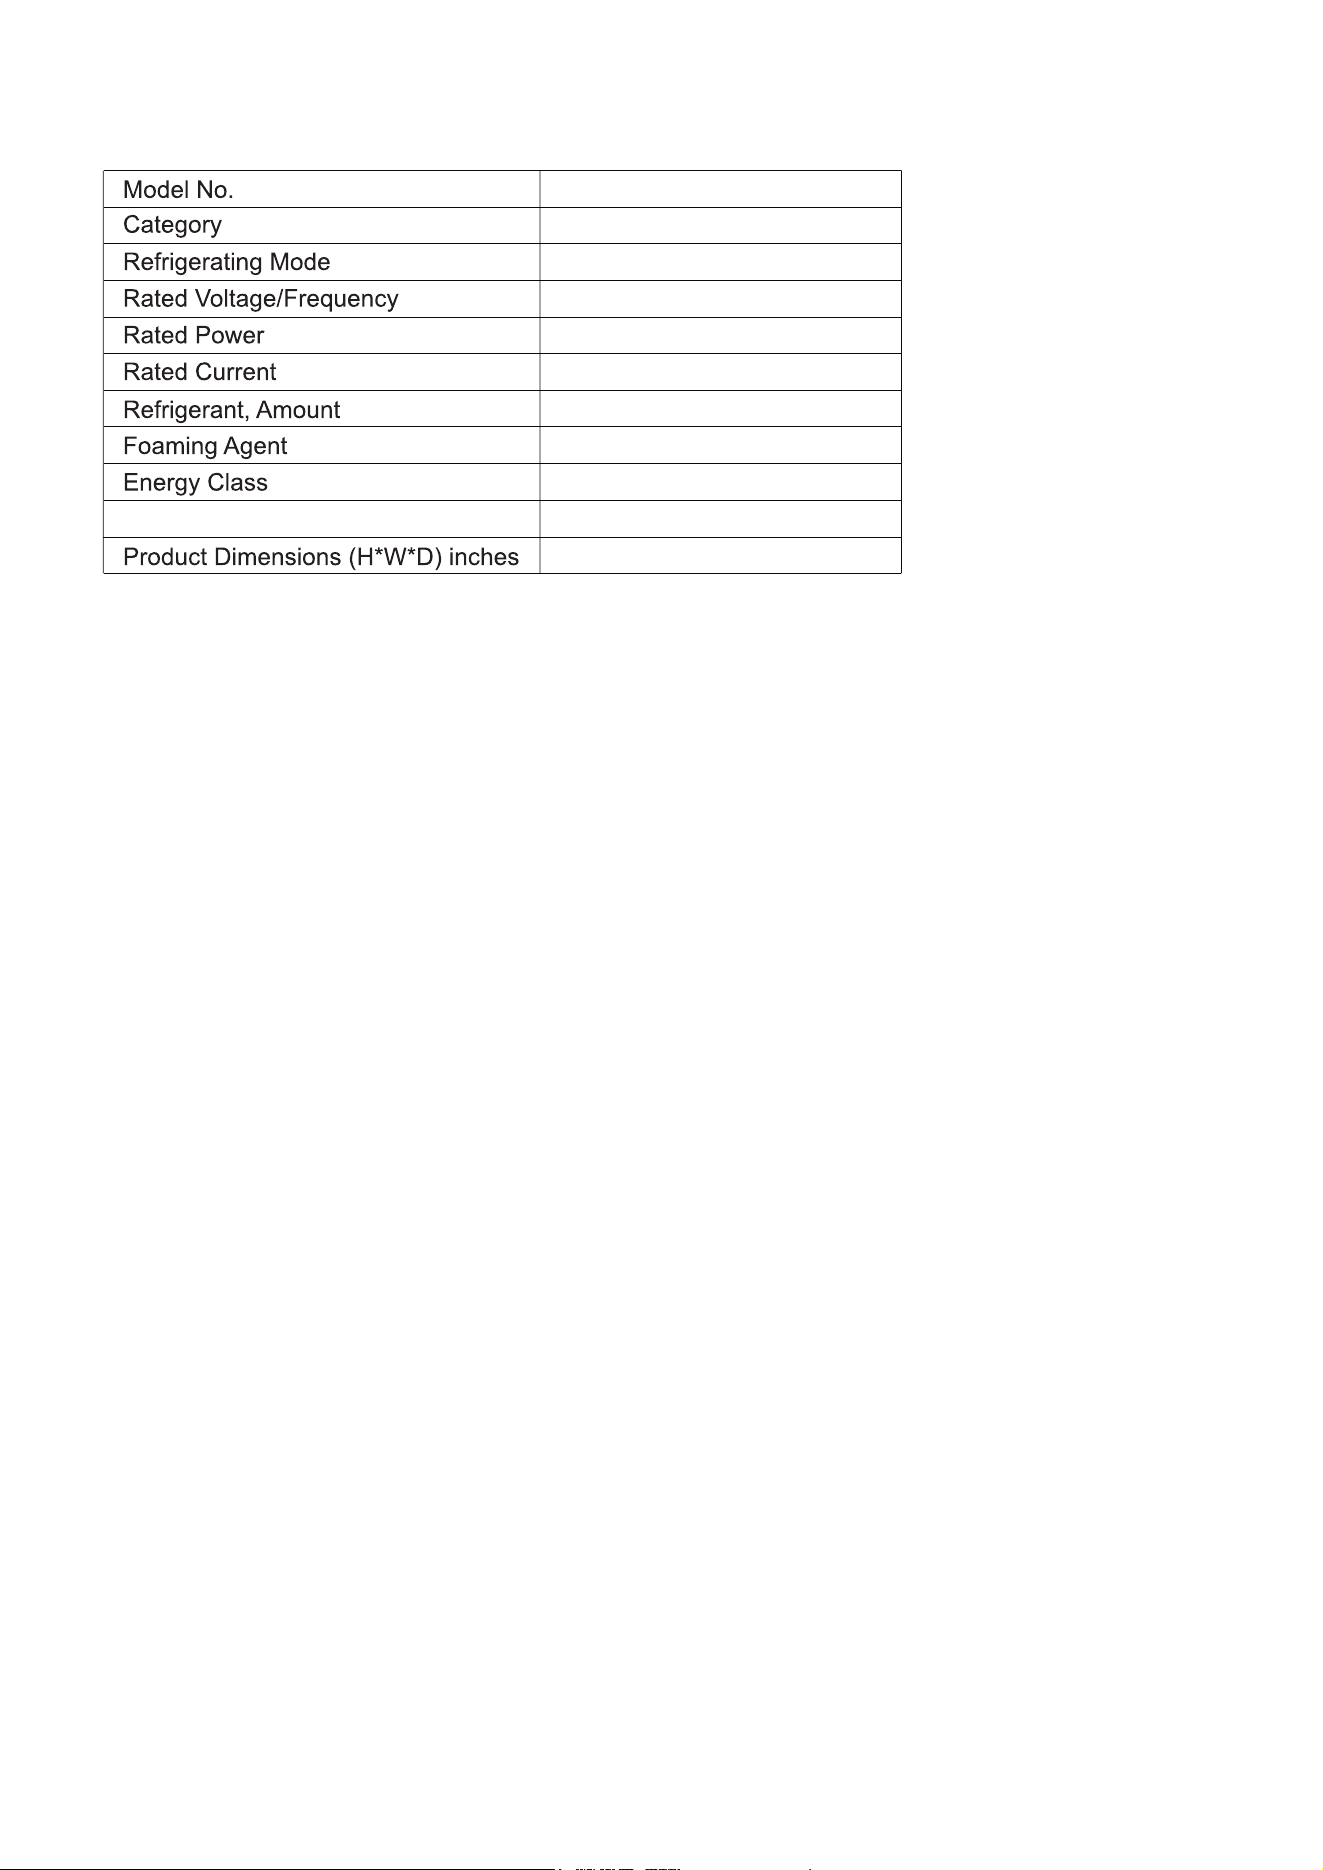
Net Weight
FR 1400 REV
Upright Freezer-Refrigerator
No Frost
110V~60Hz
180 W
1.6 A
R600a (57g)
108 lbs
68 x 28 x 28
Energy Star
Cyclopentane
Technical Specifications
State of California Proposition 65 Warnings:
WARNING:This product contains one or more chemicals known to the State of California to cause cancer.
WARNING:This product contains one or more chemicals known to the State of California to cause birth defects or
other reproductive harm.