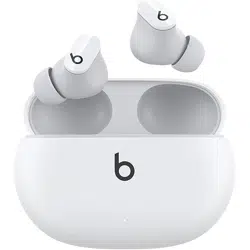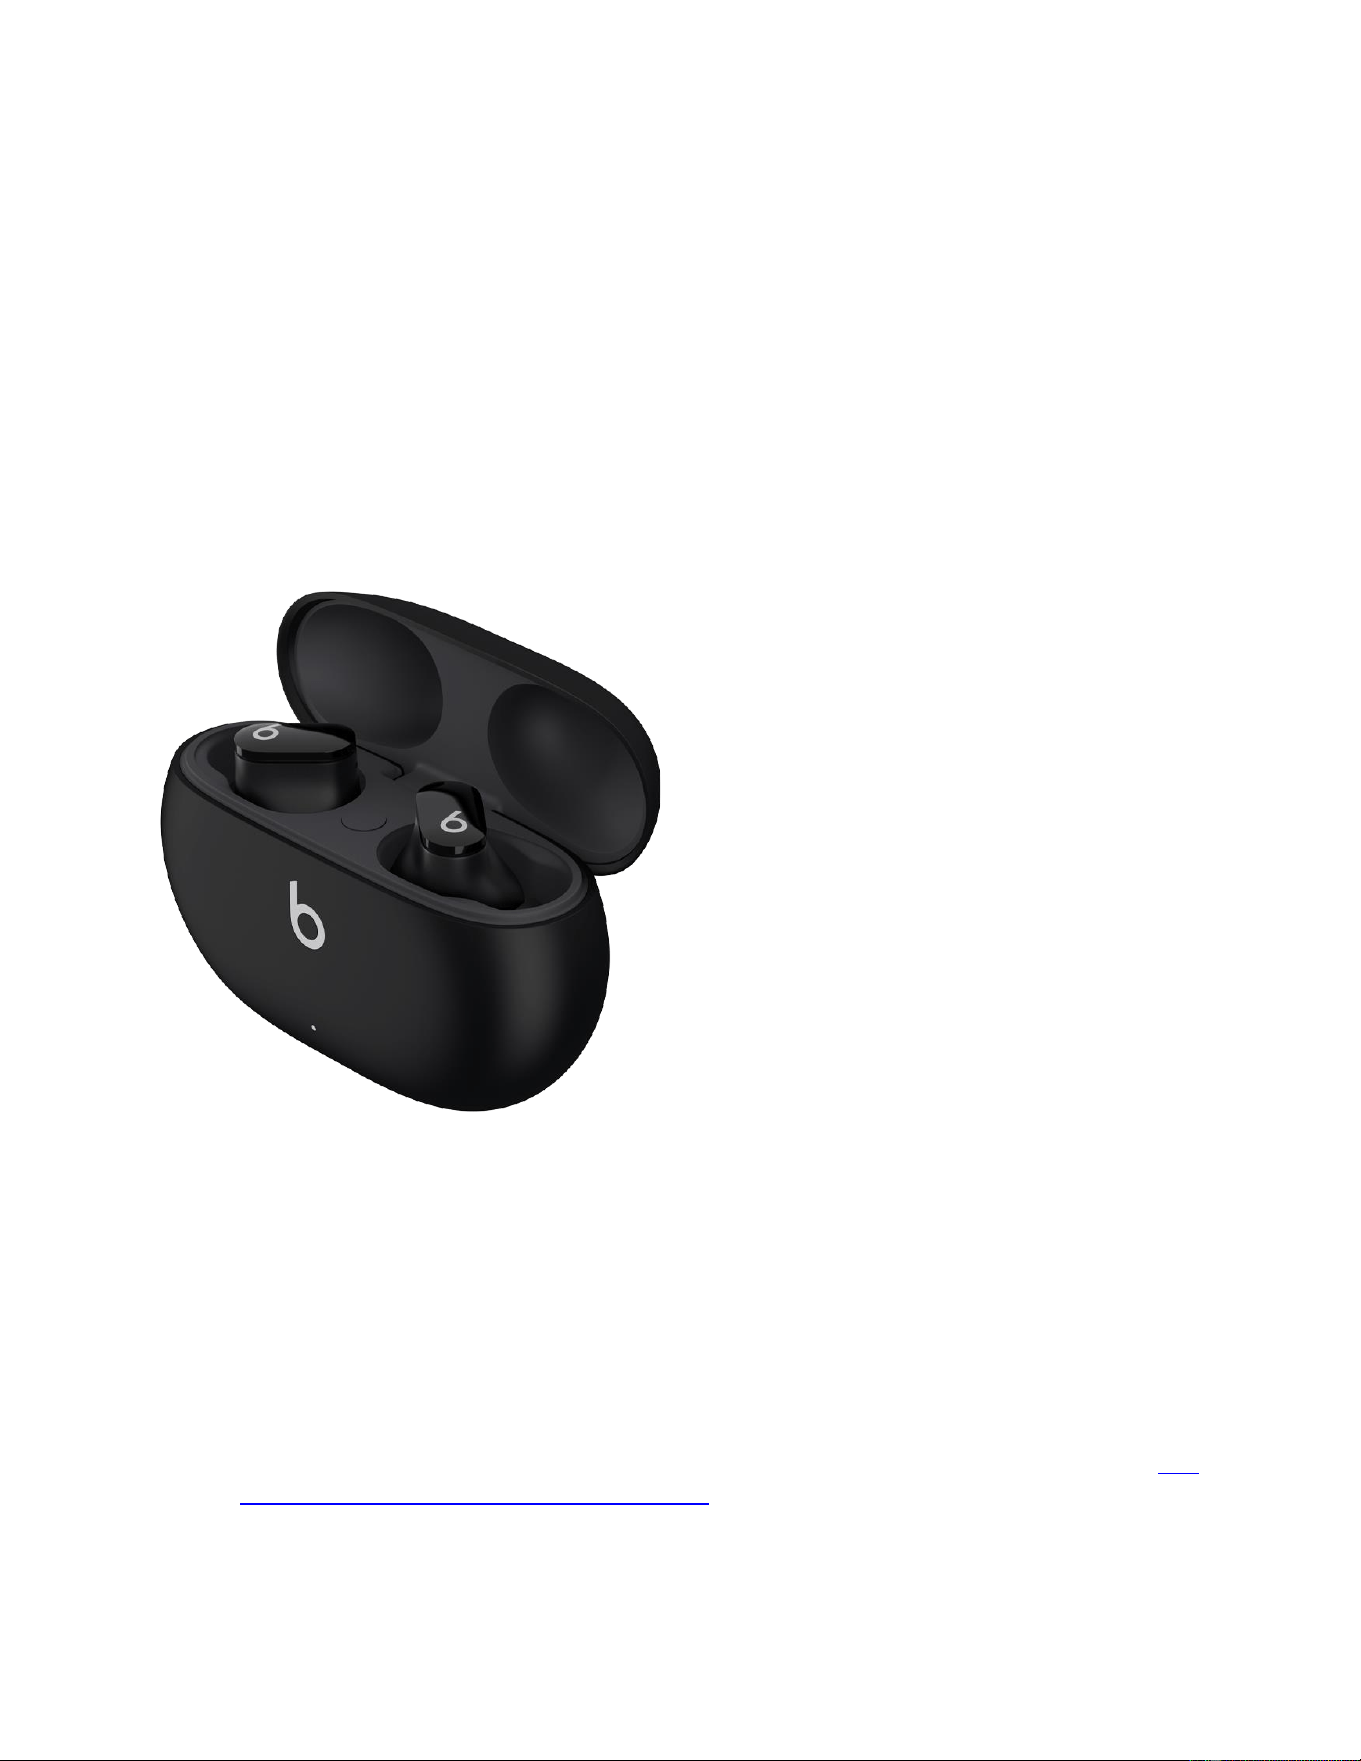
Troubleshooting guide
Set up and use your Beats Studio Buds
You can listen to music, make phone calls, use Siri, and more with your Beats Studio Buds.
Pair your Beats Studio Buds
Learn how to pair your Beats Studio Buds with your device.
Pair with your iPhone, iPad, or iPod touch
1. Turn on Bluetooth on your iPhone, iPad, or iPod touch.
2. With the case lid open, hold your Beats Studio Buds next to your unlocked iPhone, iPad,
or iPod touch.
3. Follow the onscreen instructions. If you don't see any instructions, follow the steps to pair
your Beats Studio Buds with another device.
Pair with an Android device

Pair your Beats Studio Buds using the Beats app for Android.
You can also use Fast Pair to pair your Beats Studio Buds with an Android device:
1. Make sure that your phone is using Android 6.0 or higher, and that it has Bluetooth and
Location turned on.
2. With the case lid open, hold your Beats Studio Buds near your phone or tablet.
3. When you get a notification, tap "Tap to pair." You'll get a "Device connected" or
"Pairing complete" notification.
4. If you need to set up your Beats Studio Buds, tap "Set up now." If you don't get a
notification, open the Bluetooth settings on your phone or tablet, and tap the device that
you want to pair.
Fast Pair requires your location to be enabled. Full access to features requires an Android 6.0 or
newer device with Google Play Services enabled and Google Account.
Pair with your Mac or with another device that uses Bluetooth
1. Turn on Bluetooth on your Mac or other device.
2. With the case lid open, hold your Beats Studio Buds next to your Mac or other device.
3. Press and hold the system button on the charging case until the LED blinks.
4. Open the Bluetooth menu on your Mac or other device. For example, on your Mac,
choose Apple menu > System Preferences, then click Bluetooth.
5. In the list of discovered Bluetooth devices, tap or click your Beats Studio Buds.
Use your Beats Studio Buds
When you take your Beats Studio Buds out of the charging case, they're on and ready to use.
Play music
To control your music, you can use the Beats logo button on either earbud:
• To pause or play audio, press the Beats logo button once.
• To skip to the next track, press the Beats logo button twice.
• To listen to the previous track, press the Beats logo button three times.
Change the volume

To change the volume, say "Hey Siri," then say something like "Turn down the volume." Or drag
the volume slider in the app you're listening to, on the Lock screen, or in Control Center. You
can also open Now Playing on your Apple Watch and turn the Digital Crown to adjust the
volume.
Siri might not be available in all languages or in all areas, and features might vary by area.
Answer phone calls
To control phone calls, use the Beats logo button on either earbud:
• Press once to answer or end a call.
• Press once to answer a second incoming call and put the first call on hold. When two
calls are active, this switches between calls.
• Press and hold to reject an incoming call.
• Press twice to stop listening through your earphones and send the call to your phone.
Use Active Noise Cancellation and Transparency mode
Beats Studio Buds let you control how much you hear your surroundings. Press and hold the
Beats logo button on either earbud to switch between Active Noise Cancellation,
Transparency mode, and Off (to enable maximum battery life).
You can select which modes the press-and-hold action switches between. While wearing your
Beats Studio Buds, go to Settings > Bluetooth > Beats Studio Buds > Press and Hold Beats
Studio Buds.
Press and hold feature customization requires an iPhone, iPad, or iPod touch with iOS or iPadOS
14.6 or later, or an Android device with the latest version of the Beats app installed.
Ask Siri
If you set up "Hey Siri" on your iPhone already, then "Hey Siri" is ready to use with your Beats
Studio Buds. If you haven't set up "Hey Siri," you'll be guided through the setup.
To activate Siri, you can say "Hey Siri," or press and hold the Beats logo button on either earbud.
When you hear a chime, say what you need. Learn what to do if Siri isn't working.
Siri may not be available in all languages or in all areas, and features may vary by area.
Set up Find My on your iPhone, iPad, iPod
touch, or Mac
Make sure that you set up Find My so that you can locate a lost device or item, such as your
paired AirPods, Apple Watch, or a personal item with an AirTag attached.
How to turn on Find My for your iPhone, iPad, or iPod
touch
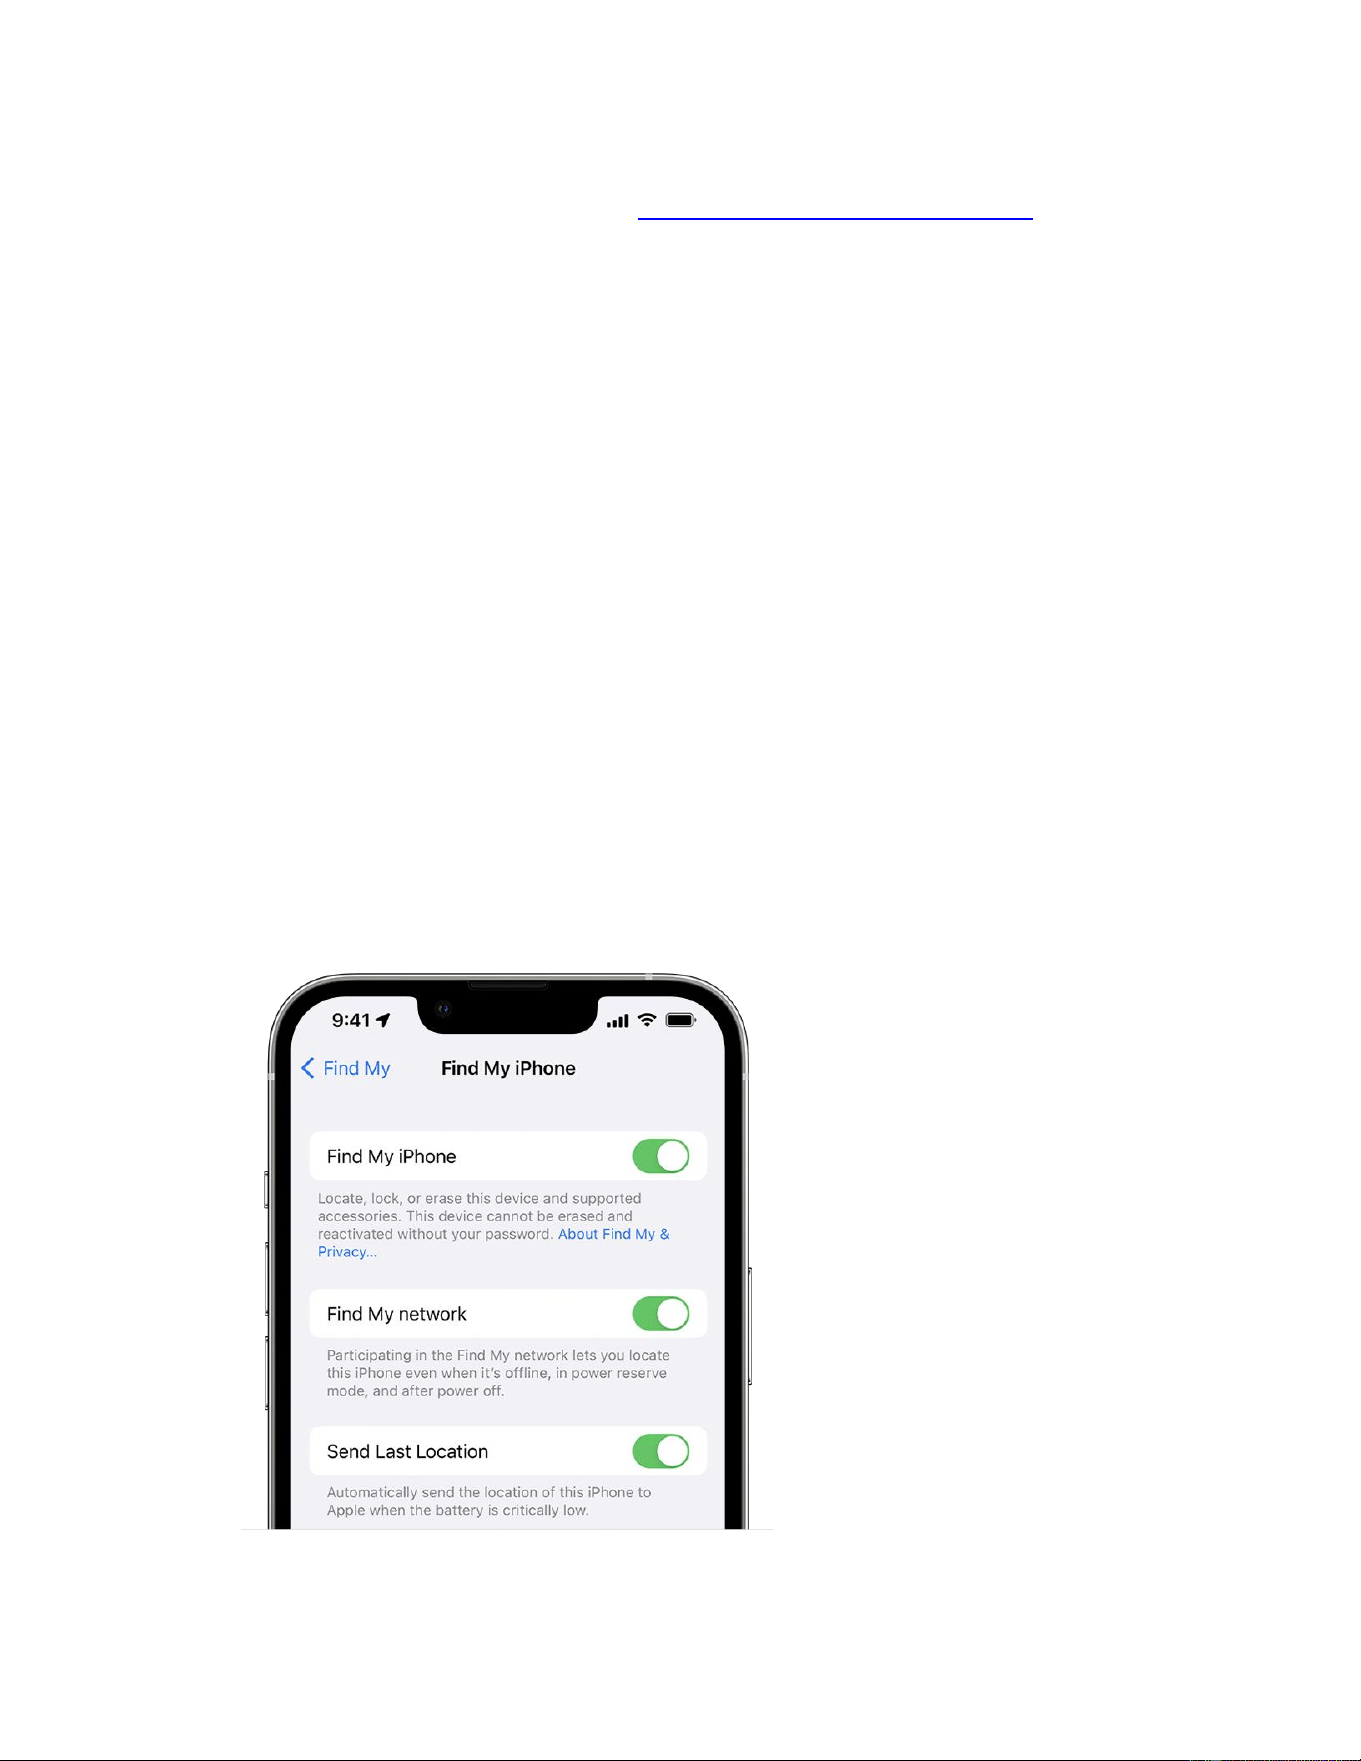
1. Open the Settings app.
2. Tap your name, then tap Find My.
3. If you want friends and family to know where you are, turn on Share My Location.
4. Tap Find My [device], then turn on Find My [device].
5. To see your device even when it's offline, turn on Find My network.*

6. To have the location of your device sent to Apple when the battery is low, turn on Send Last
Location.
If you want to be able to find your lost device on a map, make sure that Location Services is
turned on. To do this, go to Settings > Privacy & Security > Location Services, and turn on
Location Services.
* The Find My network is an encrypted, anonymous network of hundreds of millions of Apple
devices that can help you locate your device.
How to add your AirPods, Apple Watch, or Beats product to Find My
If your AirPods, Apple Watch, or supported Beats product are paired with your iPhone, they're
automatically set up when you turn on Find My iPhone.
To make sure that you can find your devices even if they're powered off or disconnected, check
that Find My network is turned on.
Turn on Find My network for AirPods Pro or AirPods Max
1. Go to Settings > Bluetooth.
2. Tap the More Info button next to your device in the list.
3. Scroll down to Find My network.
4. Make sure that Find My network is turned on.
Turn on Find My network for Apple Watch
1. On your Apple Watch, open Settings.
2. Tap your name.
3. Scroll down until you see your Apple Watch.
4. Tap your watch name, then tap Find My Watch.
5. Make sure that Find My network is turned on.
How to add an AirTag or supported third-party product to Find My
Learn how to set up an AirTag or supported third-party product with Find My
How to add an iPhone Leather Wallet to Find My
Learn how to set up an iPhone Leather Wallet with Find My
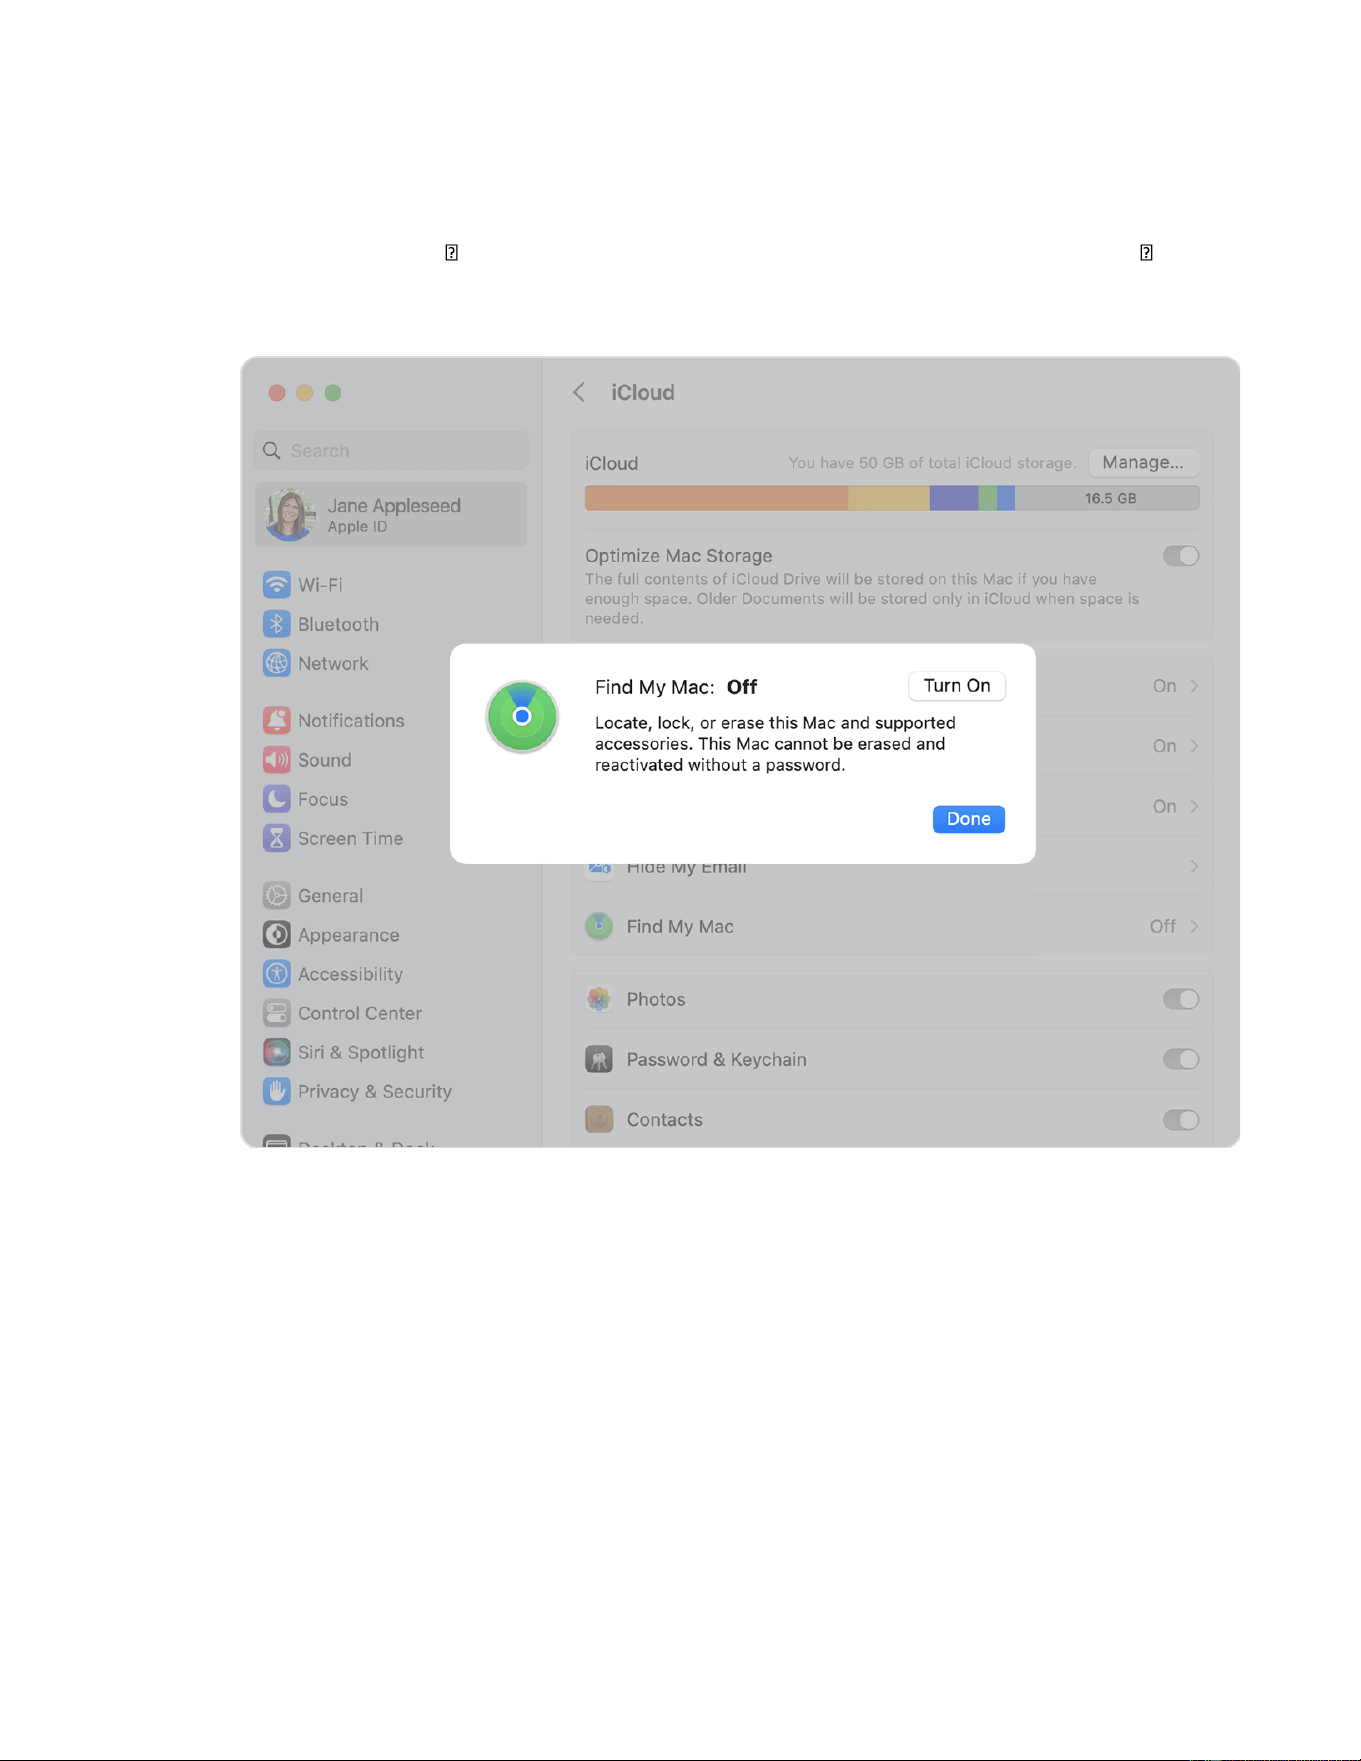
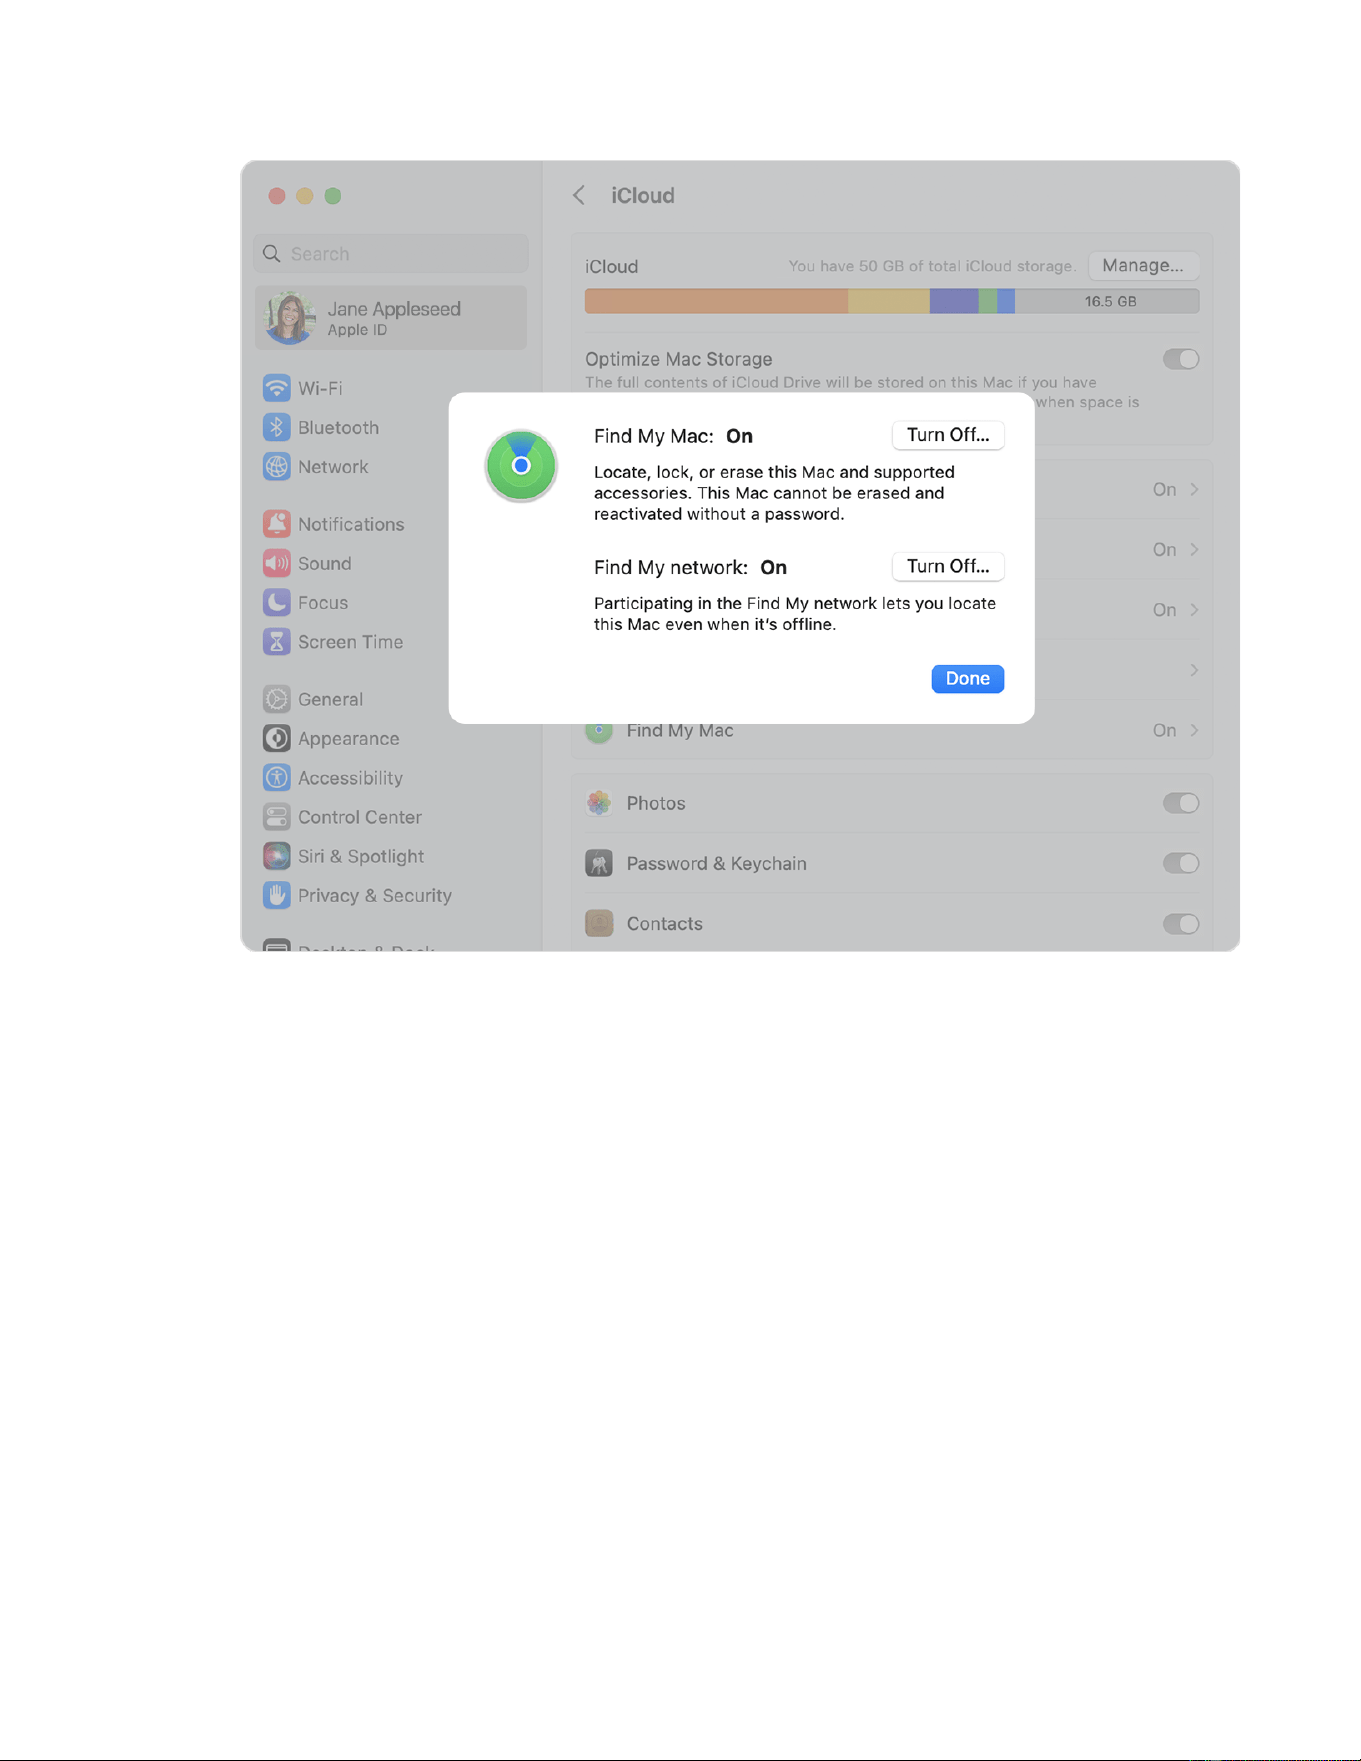
How to turn on Find My for your Mac
1. Choose Apple menu > System Settings. In earlier versions of macOS, choose Apple menu >
System Preferences.
2. Click your name, then click iCloud. In earlier versions of macOS, click Apple ID, then click iCloud.
3. Scroll down, click Find My, then click Turn On.
4. To make sure that you can find your Mac if it's ever lost or stolen, check that Find My Mac is On
and Find My network is On.* In earlier versions of macOS, click Options to check that both are
turned on.
If you want to be able to find your lost device on a map, make sure that Location Services is
turned on:
• macOS Ventura: Go to System Settings > Privacy & Security > Location Services. Next to System
Services, click Details and make sure Location Services is turned on for Find My.
• Earlier versions of macOS: Go to System Preferences > Security & Privacy, then click the Privacy
tab and, if the padlock in the lower left is locked, click it and enter the name and password of
the administrator. Then select Location Services, select the Enable Location Services checkbox,
and make sure that the checkbox next to Find My is selected.